Happy happy Friday!! We are closing in on the last couple of weeks over at the house and it is starting to feel like I might actually make it!! We had an installation for a client on the 16th and when I got back to the house, I walked right into news that we had an unexpected flood in the back couple of rooms. My poor dad. He found it that morning and waited to tell me until it was situated. I think he was scared I would implode. There was significant damage in a few ceilings and the floors were soaked. Big bummer BUT it is a drop in the bucket because there is SO much to be excited about.
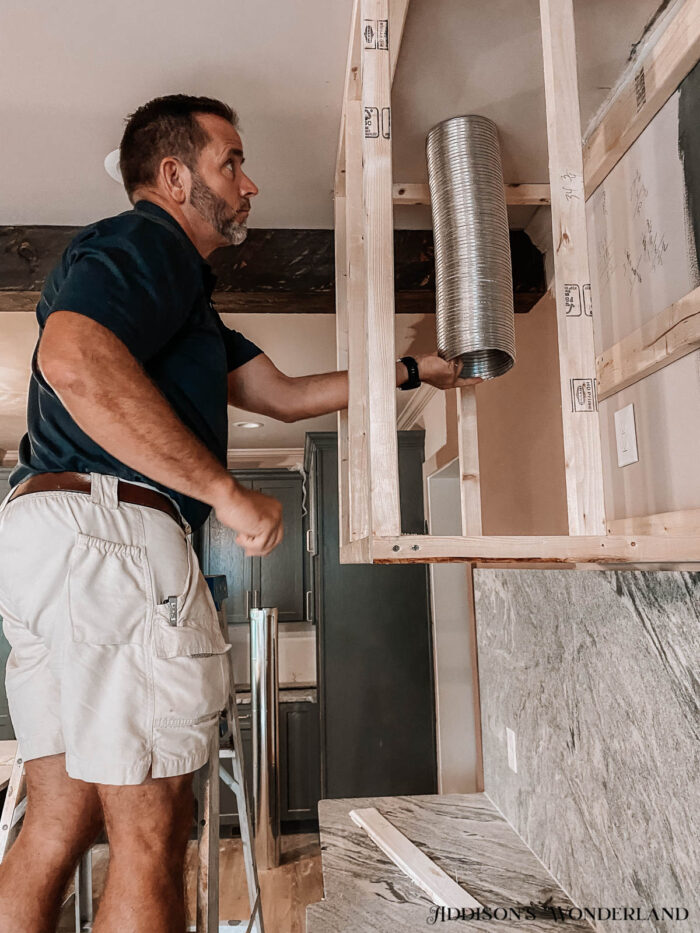
In the last two weeks, electrical, plumbing, and HVAC was trimmed out, the counter tops were installed, the floors were being refinished (before the little water speed bump), AND I built the vent hood that I will be chatting about today.
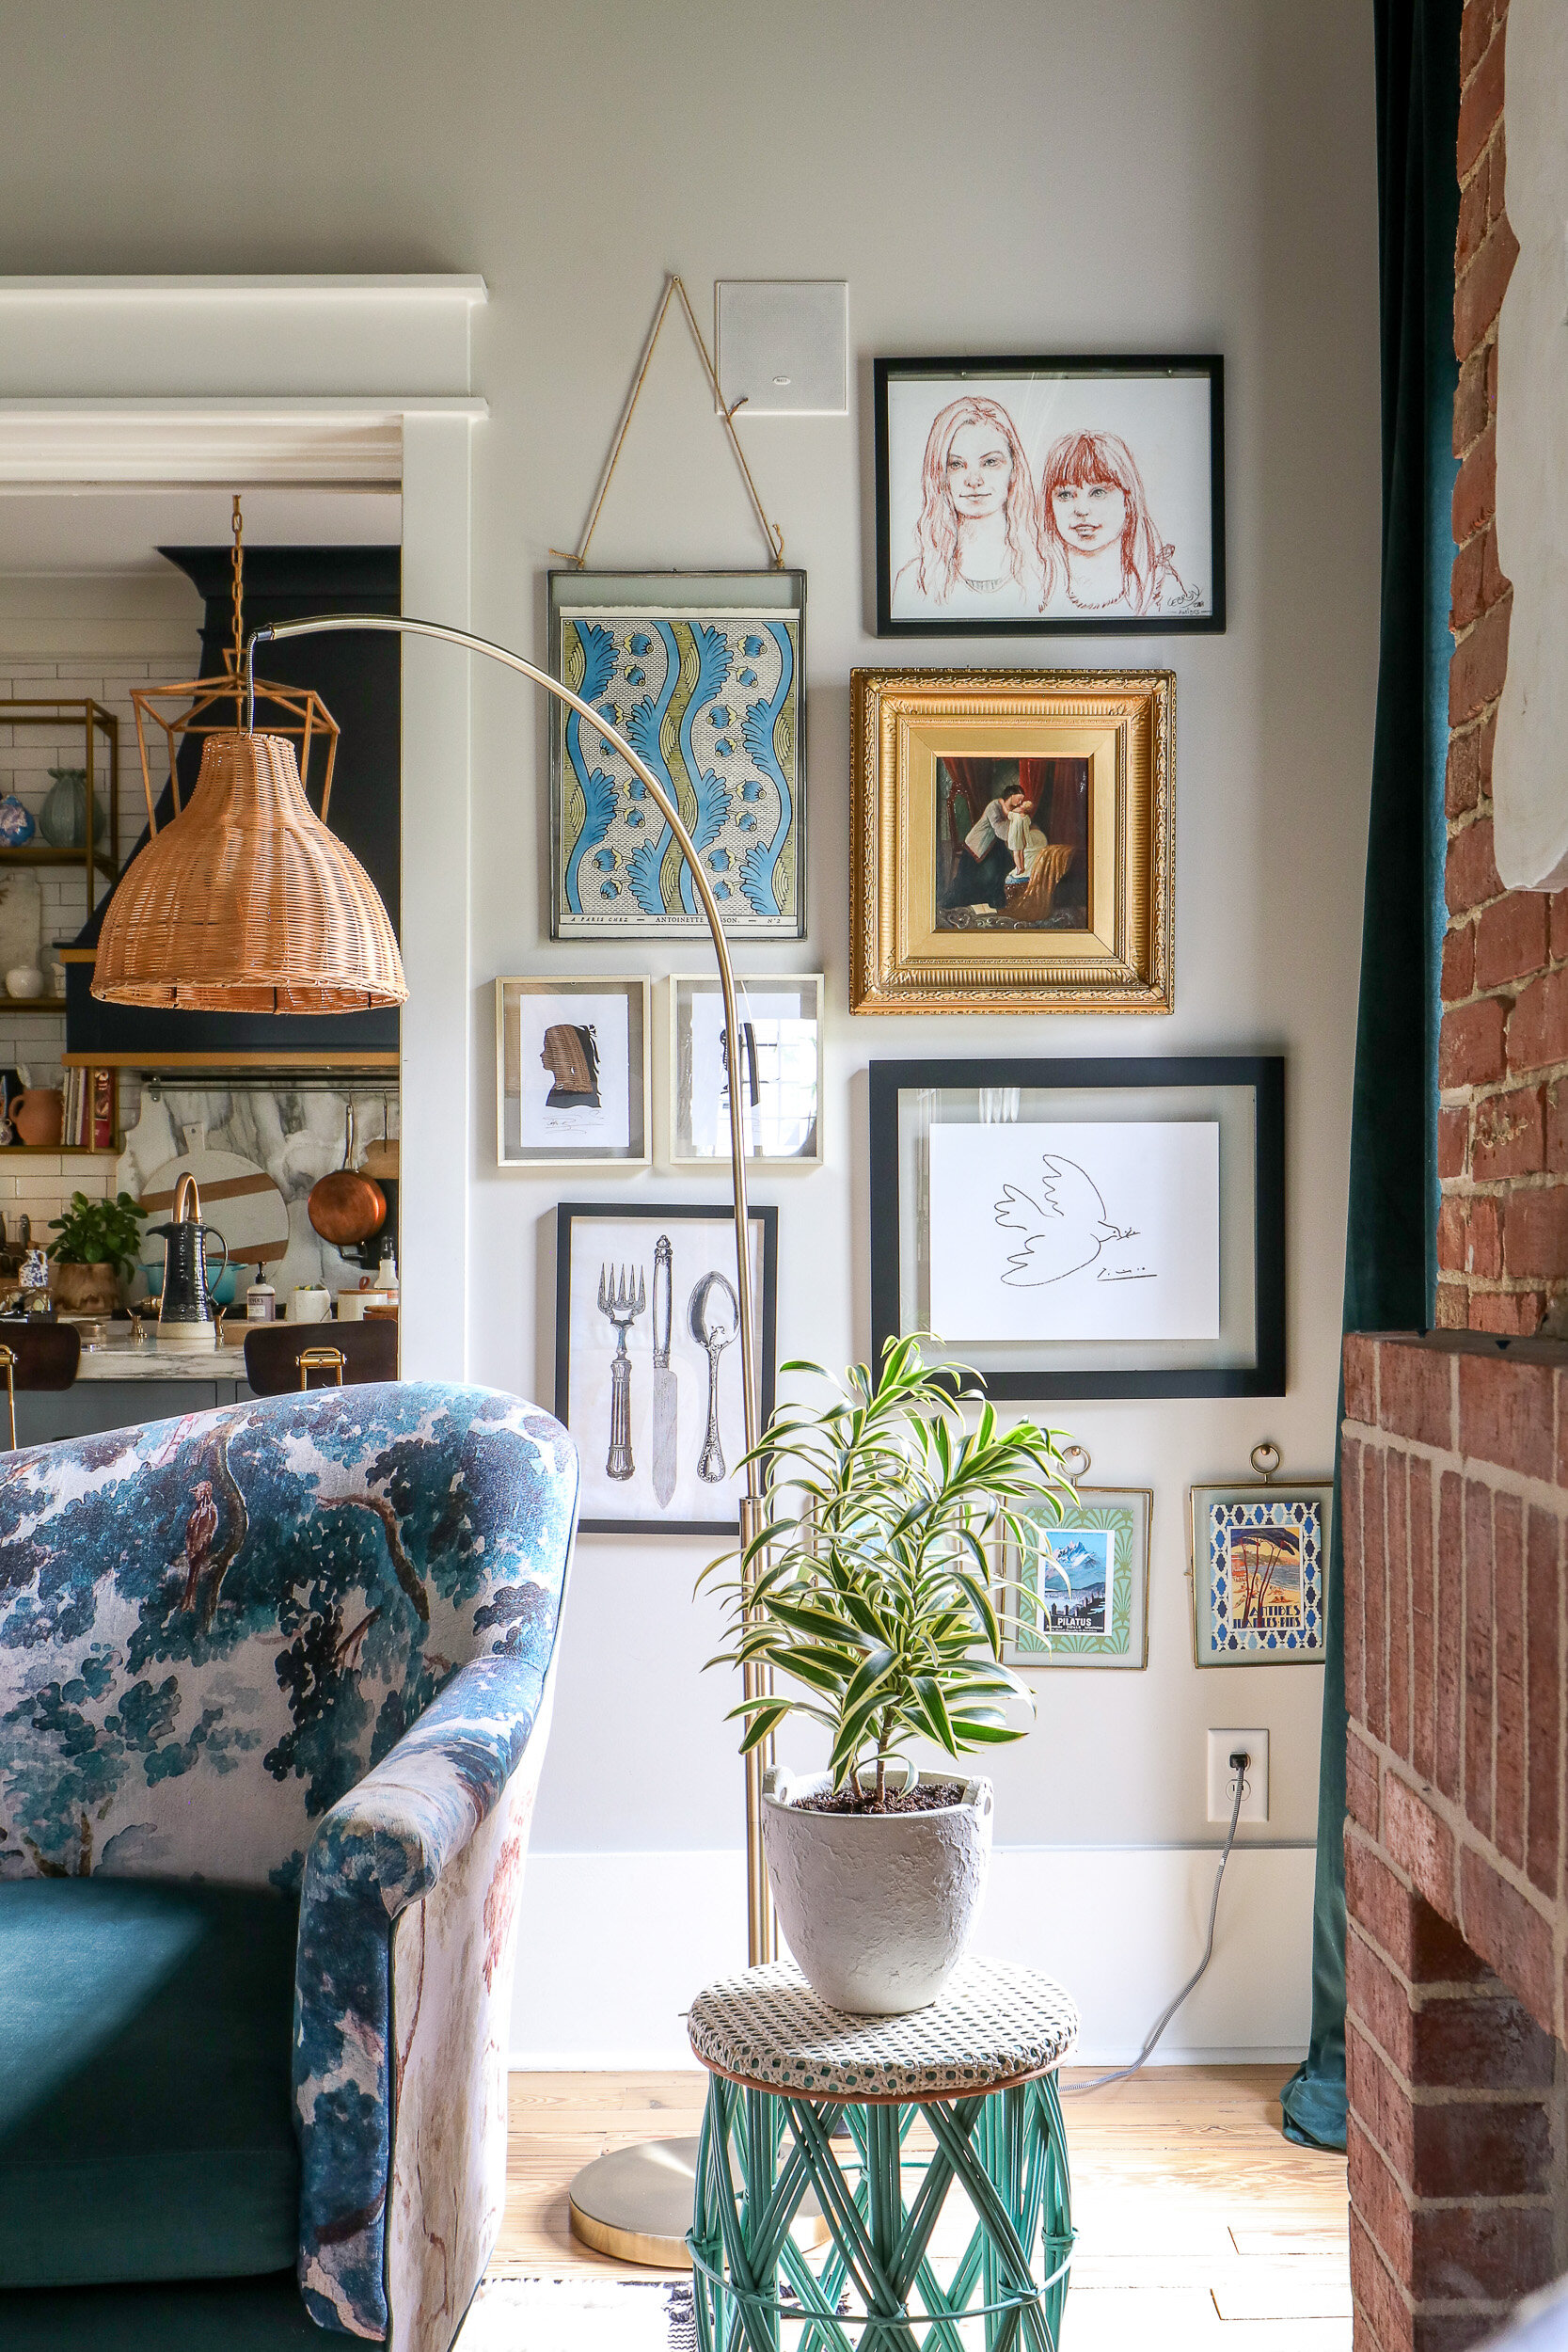
When I was thinking about what direction I wanted to go with the kitchen, I knew a few things for certain: I wanted it to be dark, I wanted the old brick stove to be emphasized as a focal point, and I wanted the all around feeling in the kitchen to be “aged.” Not necessarily vintage or antiqued, more so that it did’t feel sparkly and new.
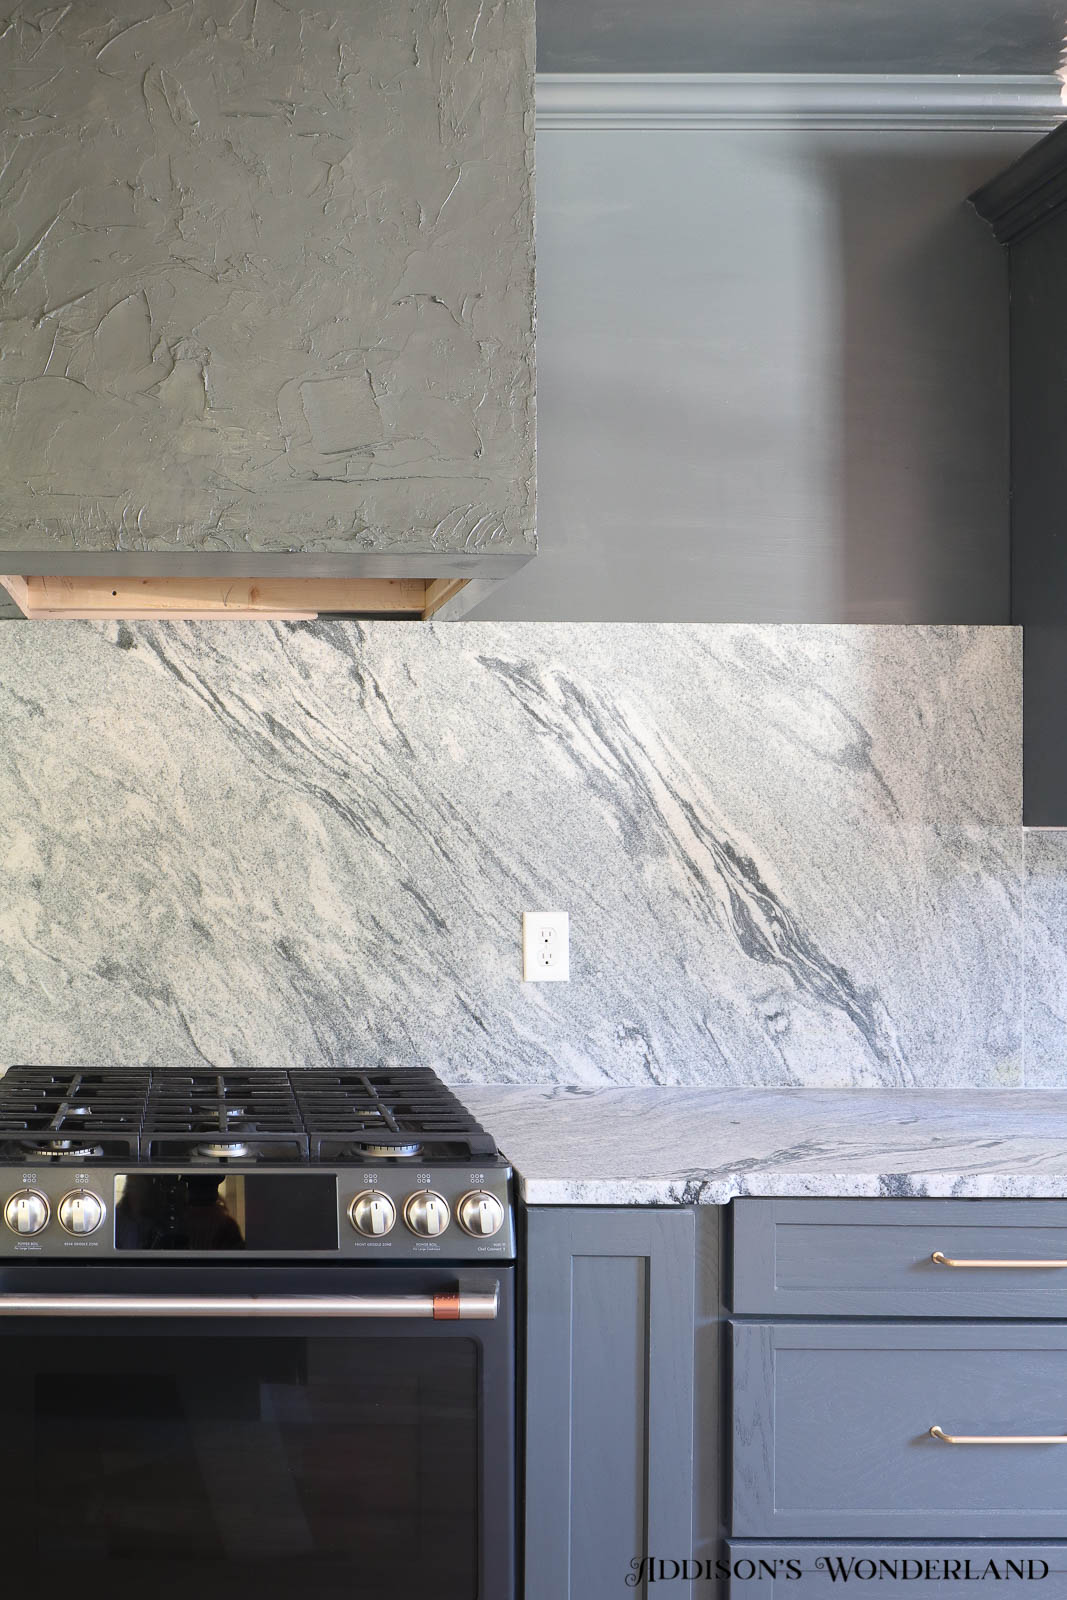
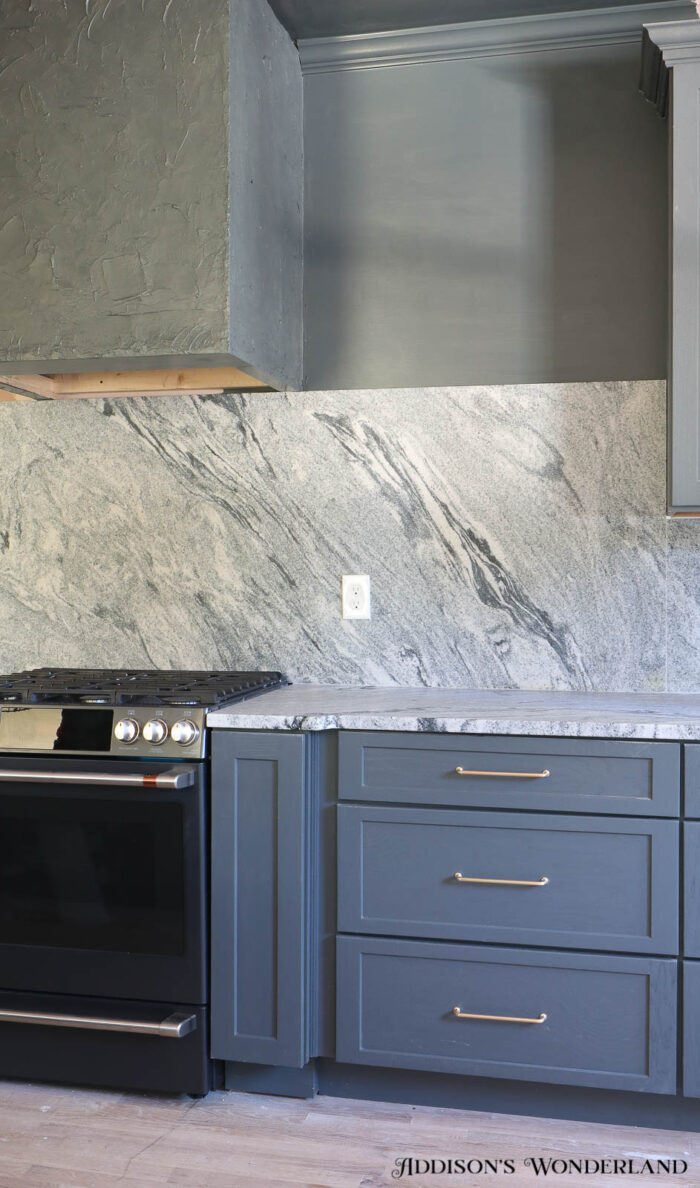
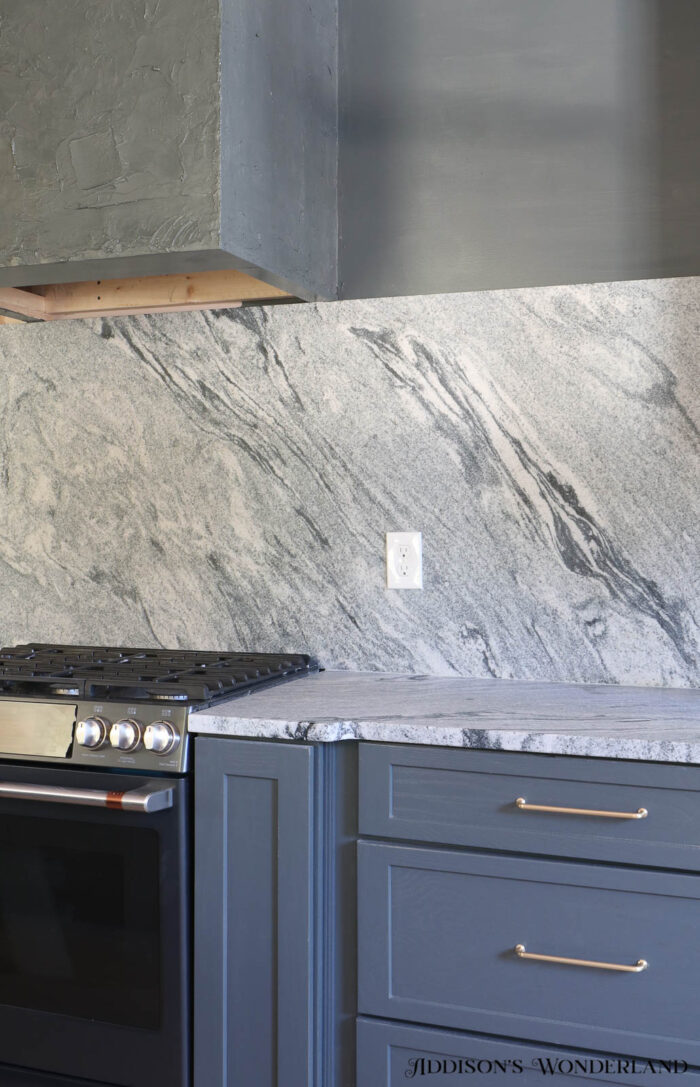
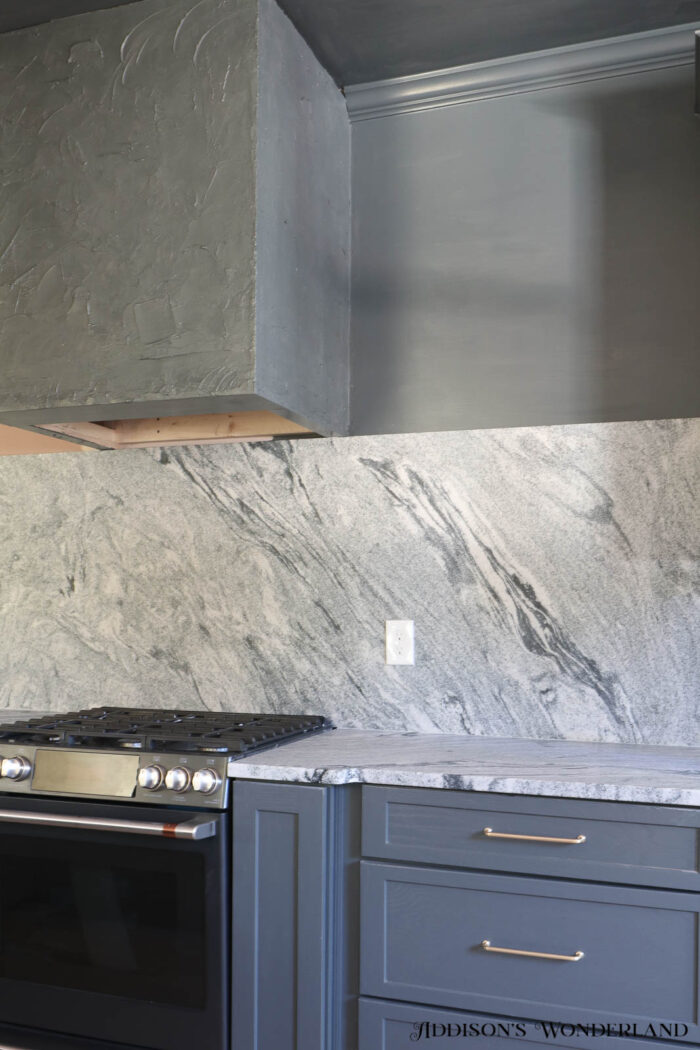
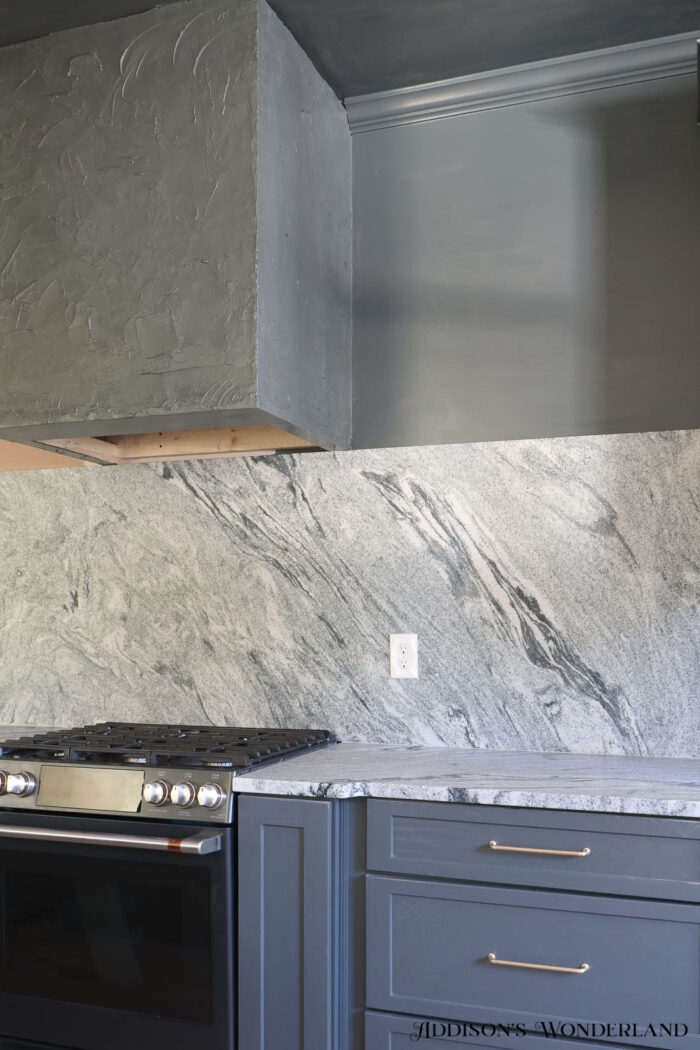
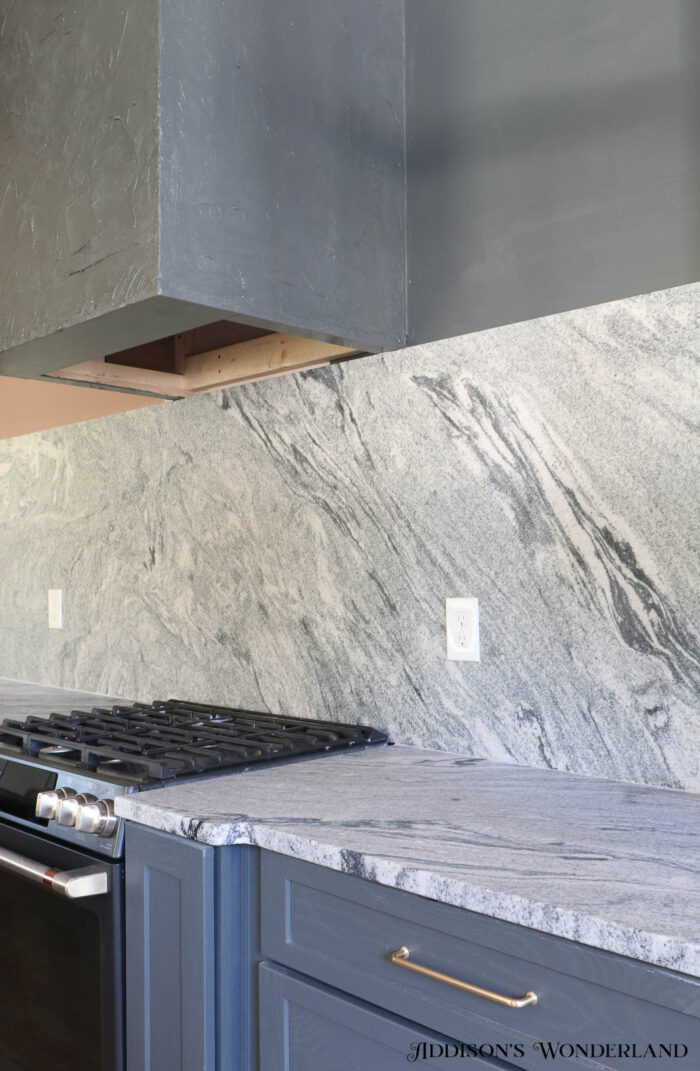
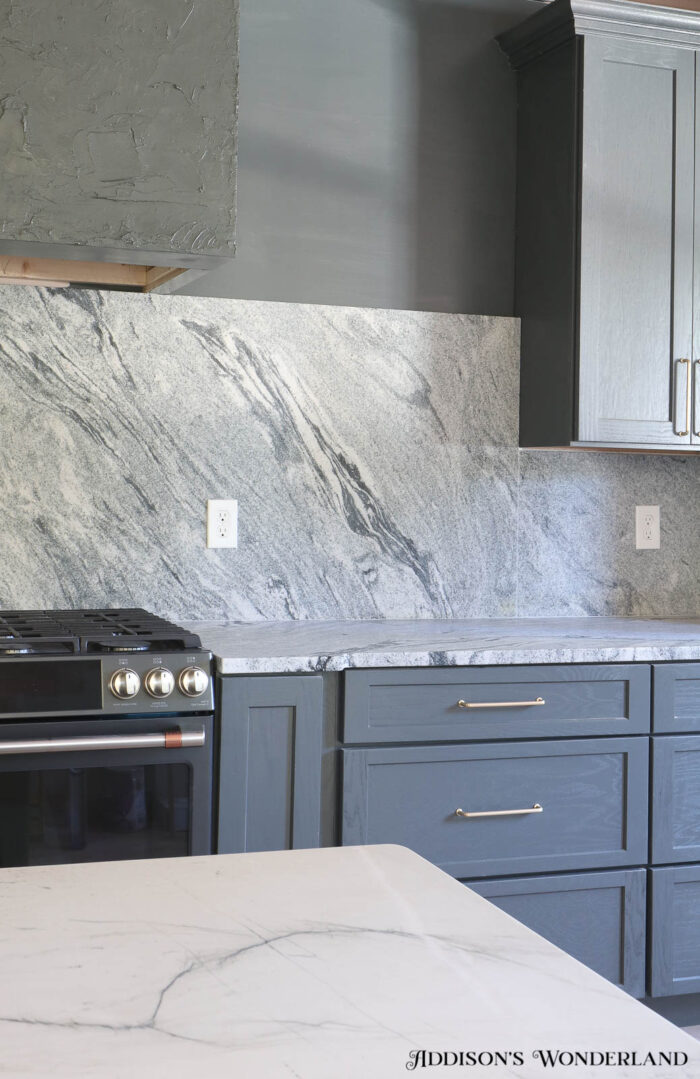
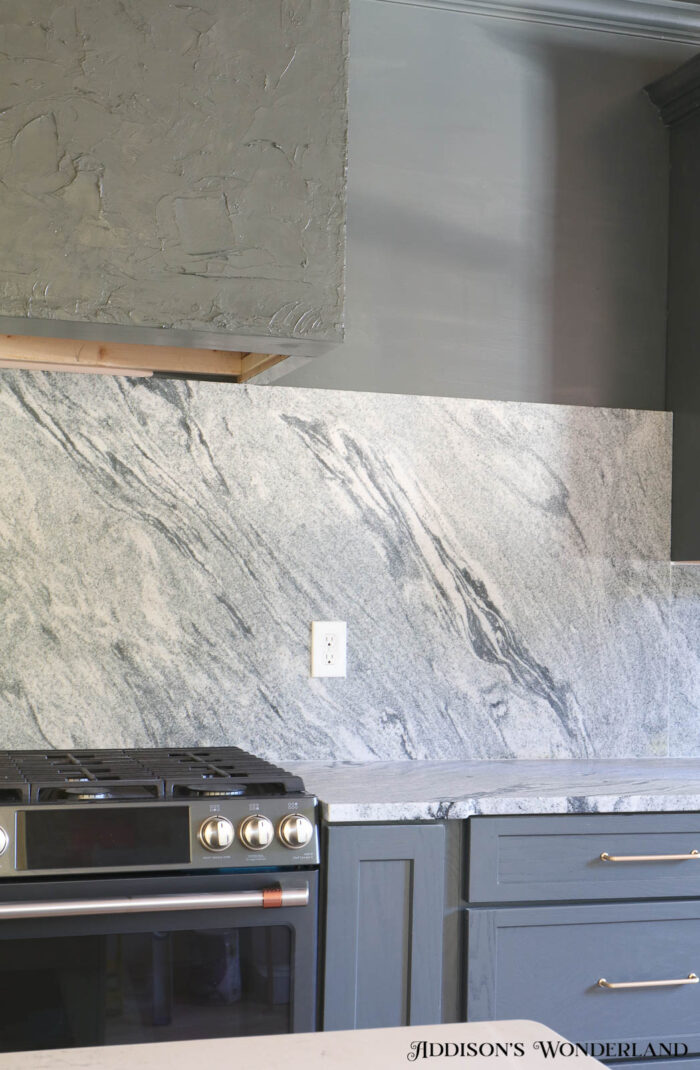
When I picked out the countertop and backsplash selections, I immediately had a visual for what I wanted the vent hood to look like. I felt like I needed some thing streamline since the countertops were so busy. I am not trying to claim this as my own original idea… I am sure that it has been done a million times over but I couldn’t find what I had in mind and felt super confident that I could build it. Some of these steps require preliminary construction knowledge (ie hanging drywall) that I am not detailing in this post but I will maybe cover the basics of drywall if need be in the future (:
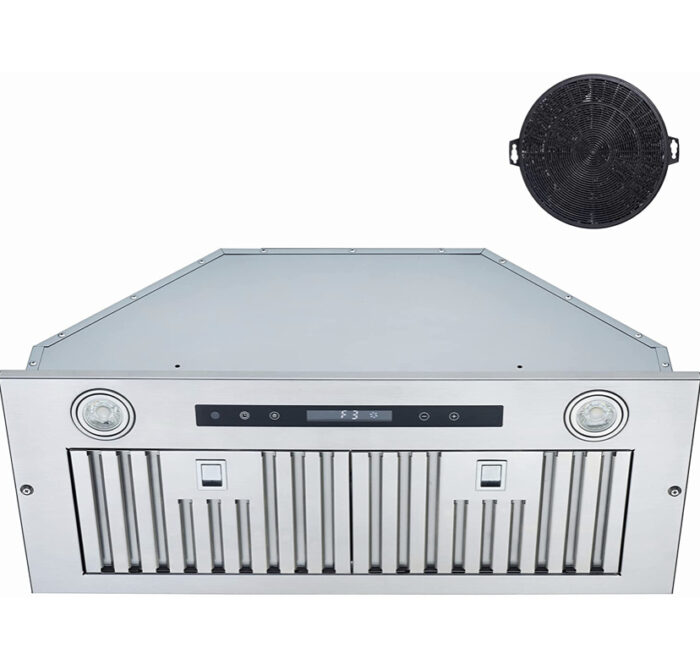
The vent insert that I purchased is ducted (vents to the outside) but this would have worked with a ductless insert also with a few tweeks!
Step One- Frame the Box
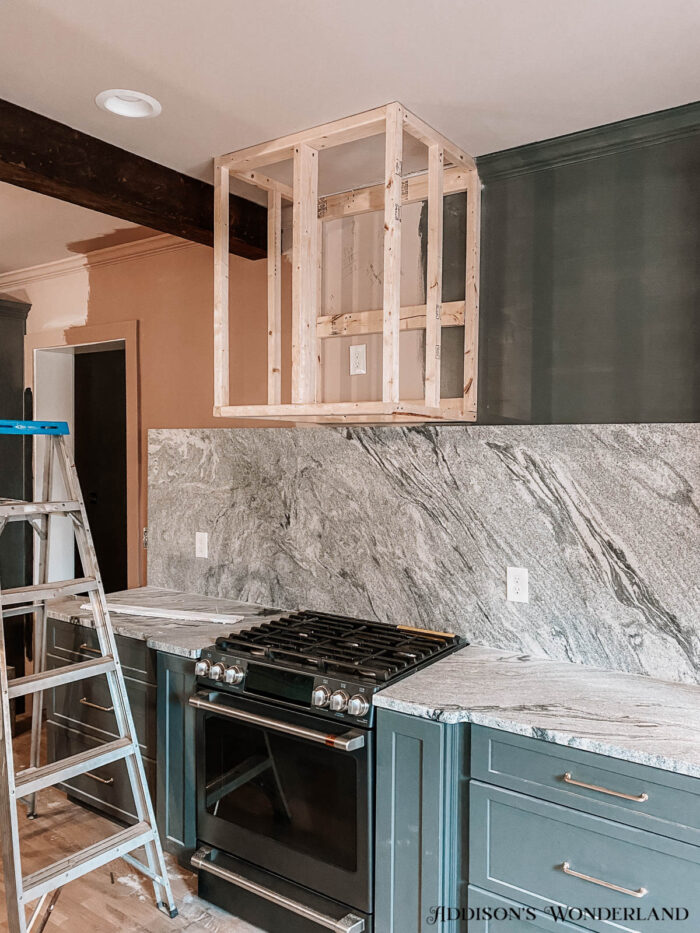
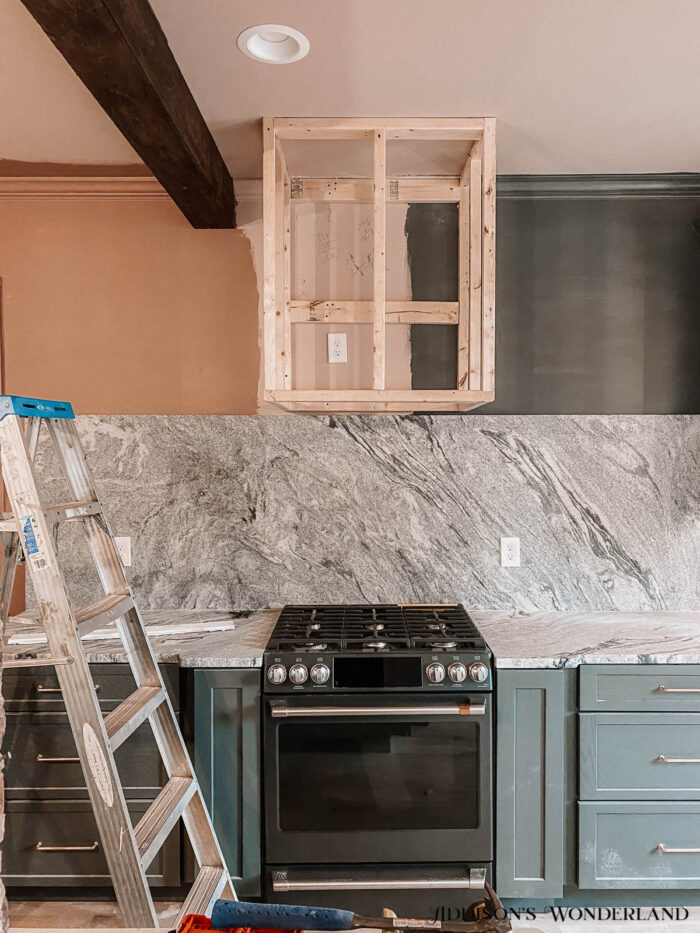

First, we simply just built the frame of the hood. I built mine at 30 inches to mirror the range. I wanted it to be super simple and to almost blend with the wall while still adding some dimension and texture. The height and width of the frame for the hood can be specific to the kitchen it is going in, as long as it is large enough to fit whatever insert is being used!
Step Two: Cut a Hole for the Ventilation

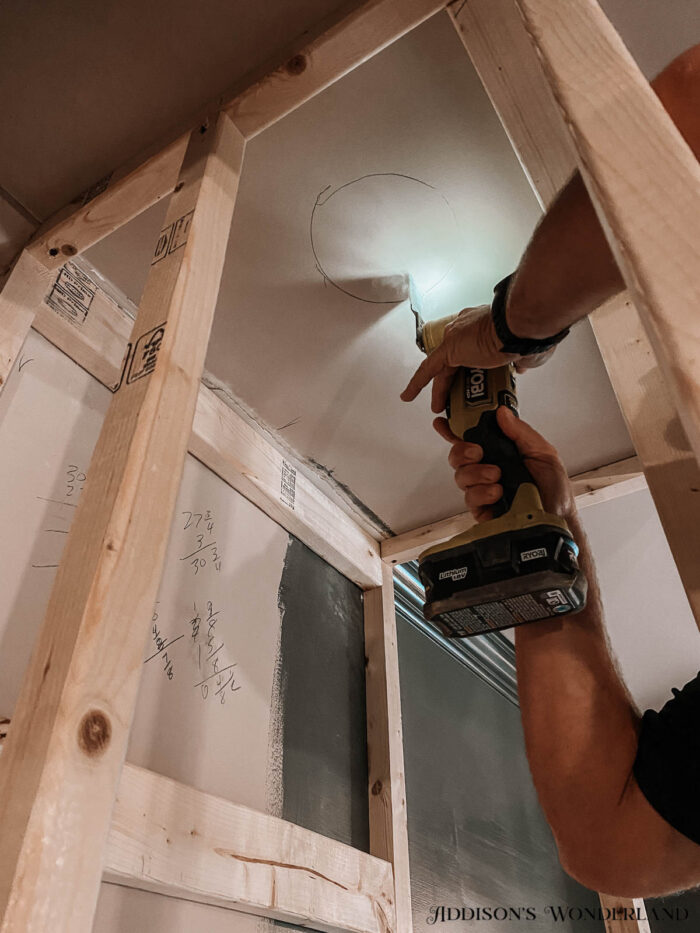
It can get tricky finding a spot to vent out, especially if you have renovated an old home. Ceiling joists, old floor systems, studs, etc might find their way into the space you chose to vent out of. Make sure that you have a clean spot for the ductwork that isn’t going to be constricted. It does not have to be in the exact center of the box. Draw a hole around the ductwork and cut it out with a multicut tool.
Step 3: Drywall the Framed Box

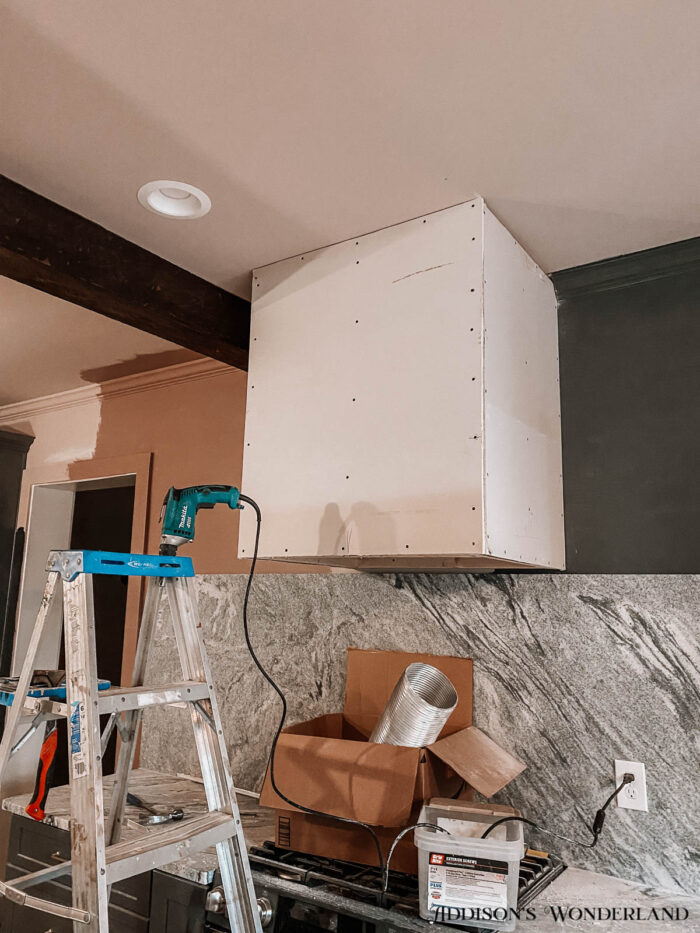
Drywall has always been super intimidating for me, but it is way more simple that I chalked it up to be. This project is a good one to give it a go on for your first time since we will be covering the entire hood with grout! I promise you can do it!
Step 4: Don’t Forget Corner Bead

Step 5: Trim

We decided to buffer the bottom of the hood with trim. I placed it an eighth of an inch off of the hood so that the grout would have something to be pulled to. In hine sight, we could have made it flush with the hood! The grout didn’t end up running like we thought it would.

As far as cuts, this is where you get to choose where the insert will be placed inside the hood. This is specific to your range and where the burners are situated. You will want to ensure that the insert is sitting directly over the burners for optimal venting. Once you establish the placement, cut the trim to the dimensions. This will not function as the support for the weight (the frame is what the insert will screw to)… it is just the finish. Leave the back trim piece off until the insert is secured to ensure that you get clean coverage.
Step 6: Reinforce the Joints with Cement Tape
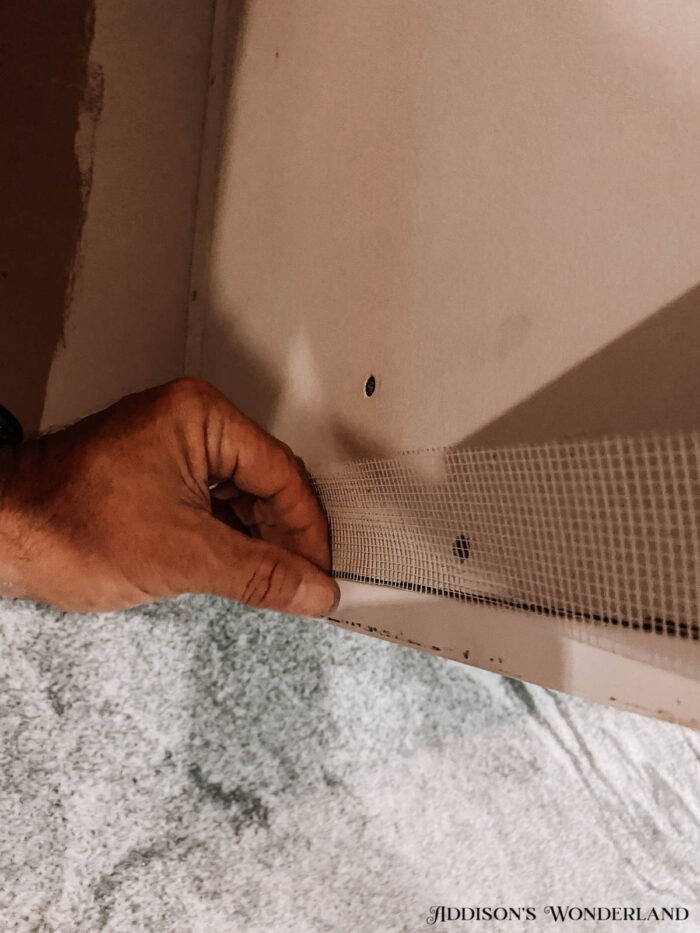
Step 7: Mix the Grout and Get to Designing
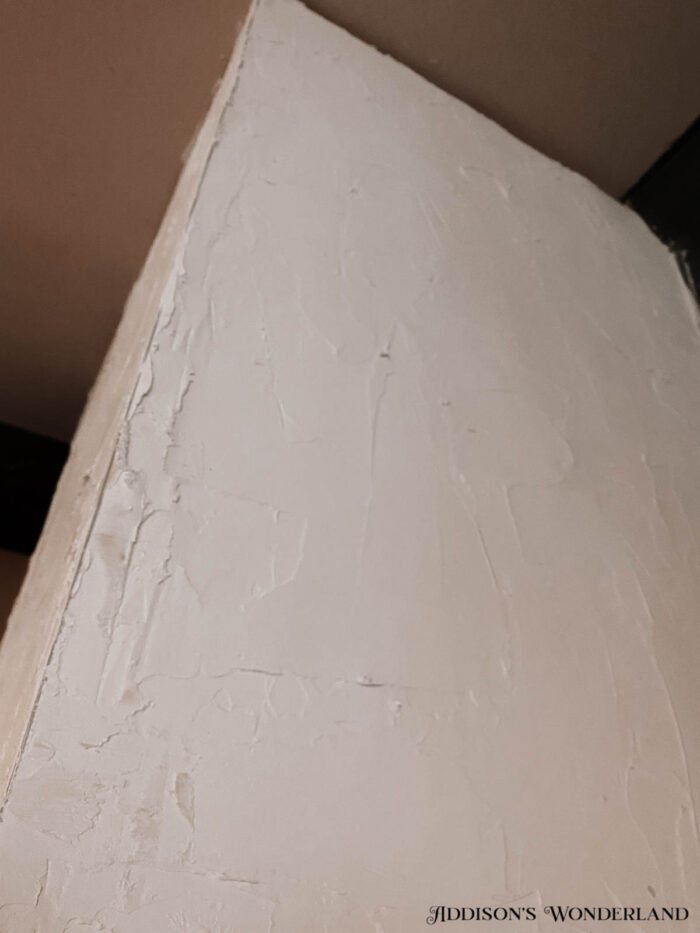
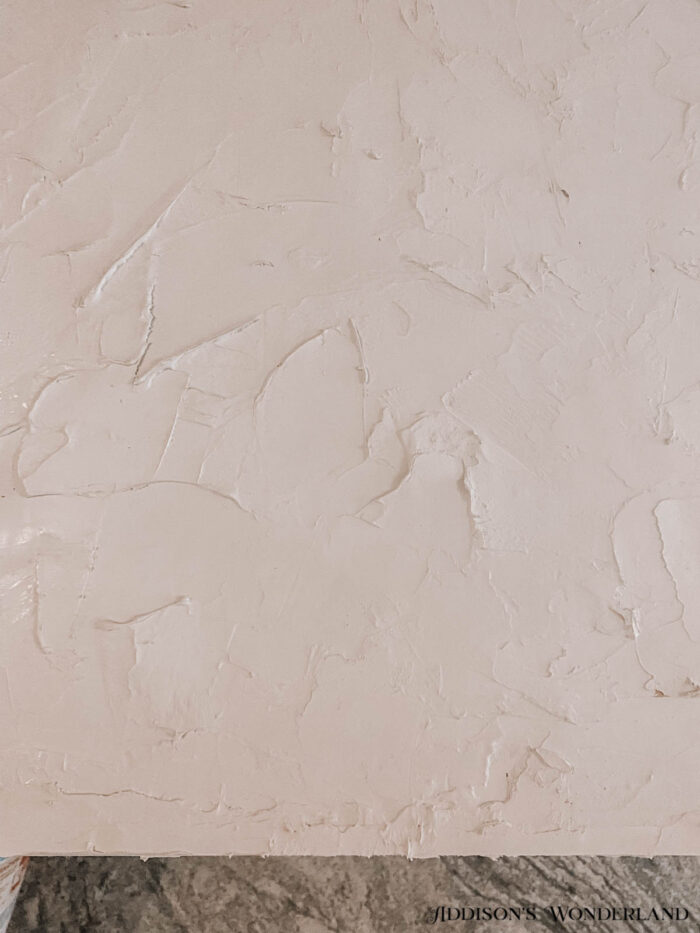
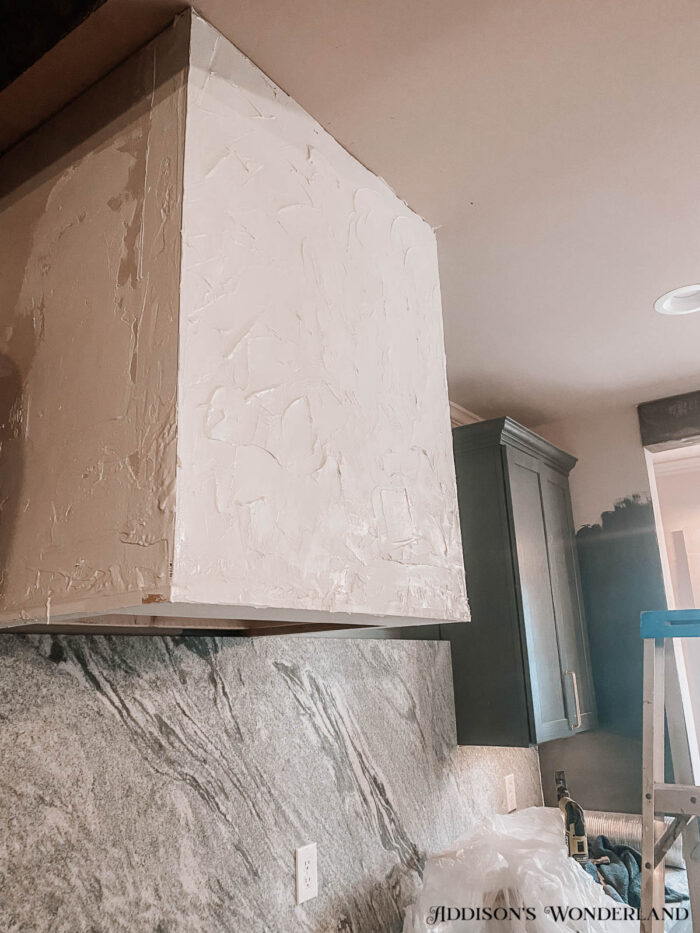
Step 8: Seal the Grout
Make sure that you seal the grout after it is finished setting. It must be atleast 48 hours after the grout is applied!
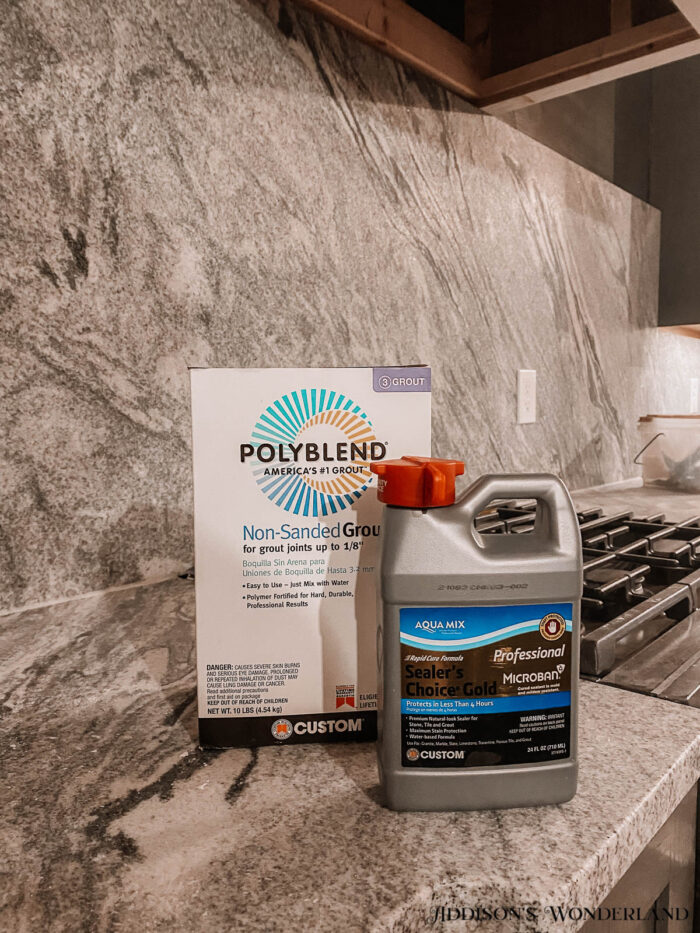
Grout: Polyblend NONSANDED
Sealer: Aqua Mix Sealer’s Choice Gold


+ view the comments
