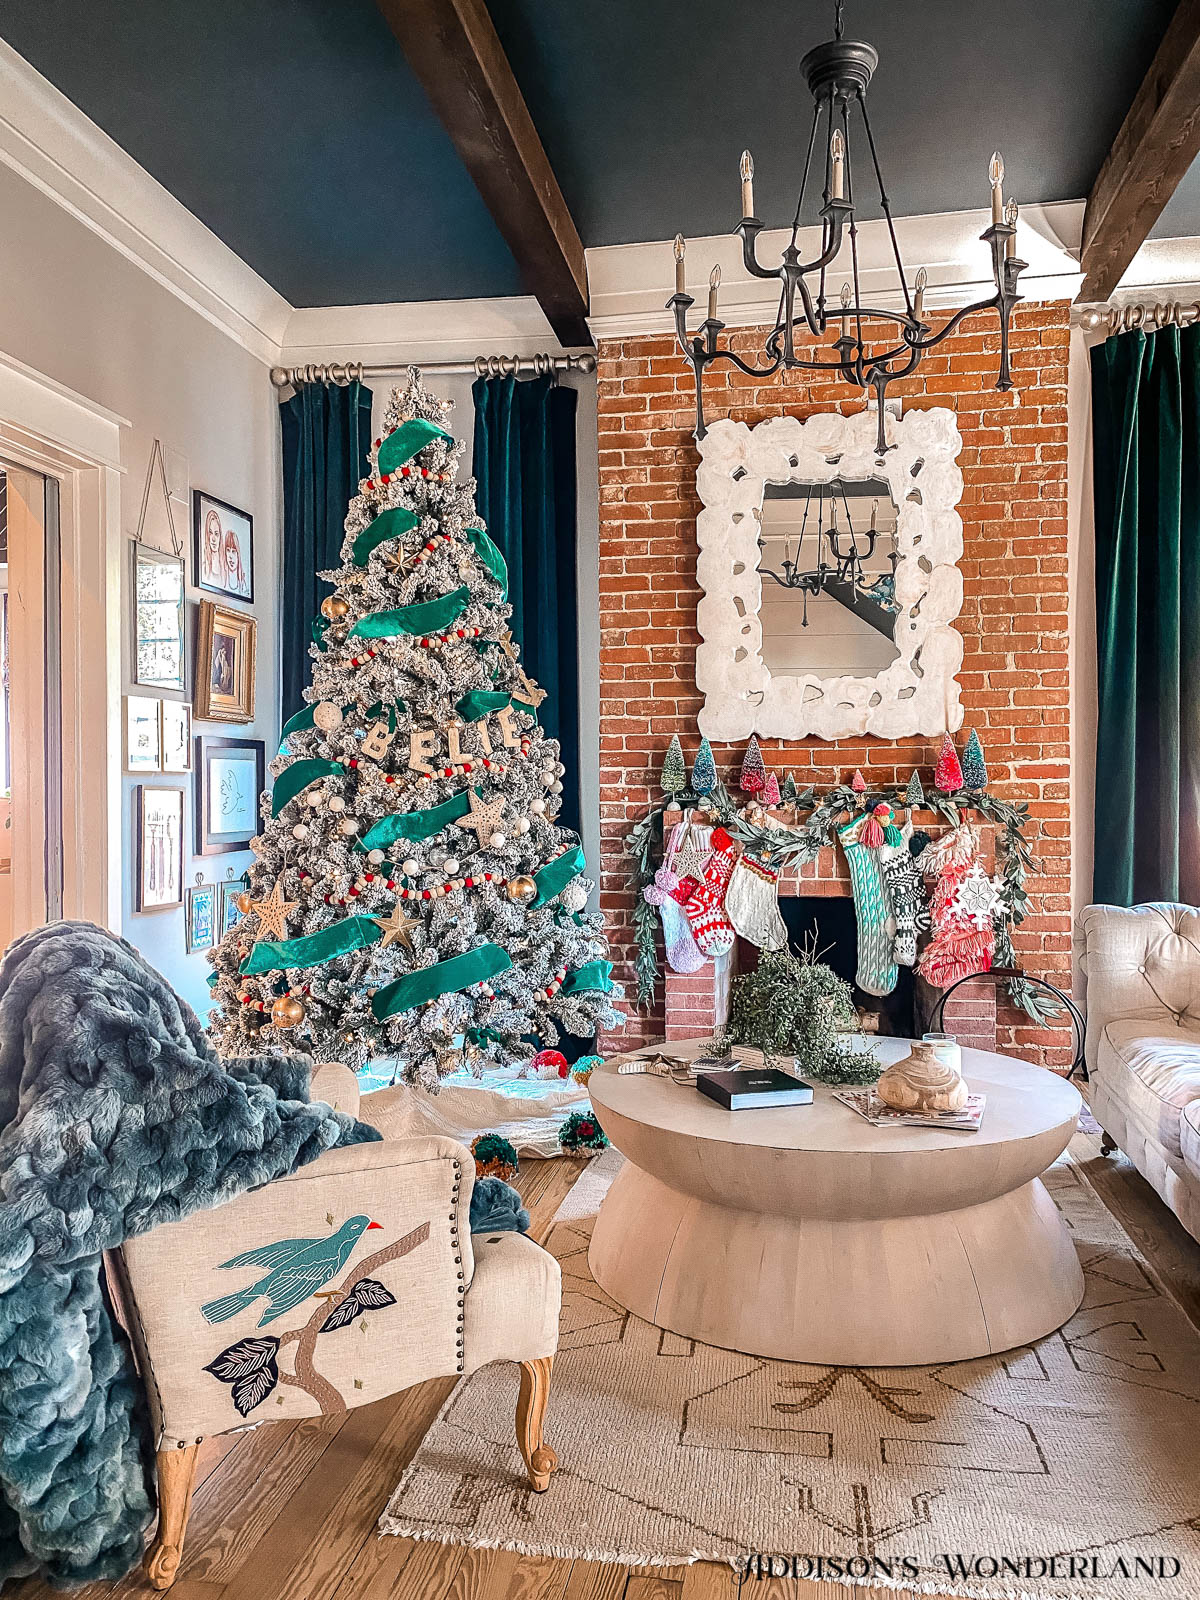
Good morning! Hope you are all having a wonderful Thanksgiving week eve. As you may have seen on stories, John and I are spending part of this week at the cabin trying to FINALLYYYYYY get things finished up. We had decided when we purchased this one that we were going to take our time, not stress too much on a deadline and take on some bigger projects making this one our “forever home away form home”. Not sure we thought we’d still be in reno mode one year in BUT the finish line is just a couple of weeks away! Next week actually we hope!
Today I am popping in to share “my ribbon tutorial”. I say “” because I know lots of people do it this way but I shared it years ago on IG stories and every season I have people asking me to reshare so I though I’d finally make it into an official blog post! Oh and speaking of blog posts… if you aren’t already a blog subscriber, we would LOVE for you to join the fam! I actually just paused our “auto e-mails” for new blog posts so that we could completely revamp our newsletters and make them much cuter and more fun. So, if yo’d like to join and follow along on all of the design and renovation fun, you can do so right here…
So without further chatting, here is first a video and then a picture tutorial on how I add ribbon to our Christmas tree… THE EASY WAY!
Ribbon Tutorial Video…
Step One… Purchase Ribbon!
For our 9′ flocked tree, I used two rolls of 4″ x 10′ ribbon LINKED HERE. I know this one has since sold out so I will link more really pretty possibilities here…
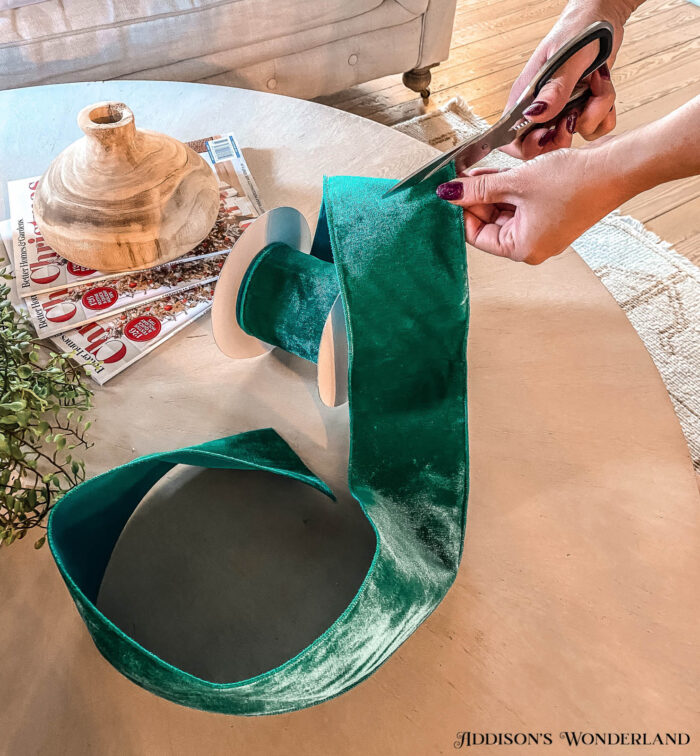
Step Two… Cut the Ribbon
Oh so painful I know… but it’s worth it I promise! my oh so technical method is holding the end in the fingertip, extending my arm out holding the ribbon and cutting around my armpit area. LOL. However long that ends up being is about the perfect length!
Step Three… Tuck One End
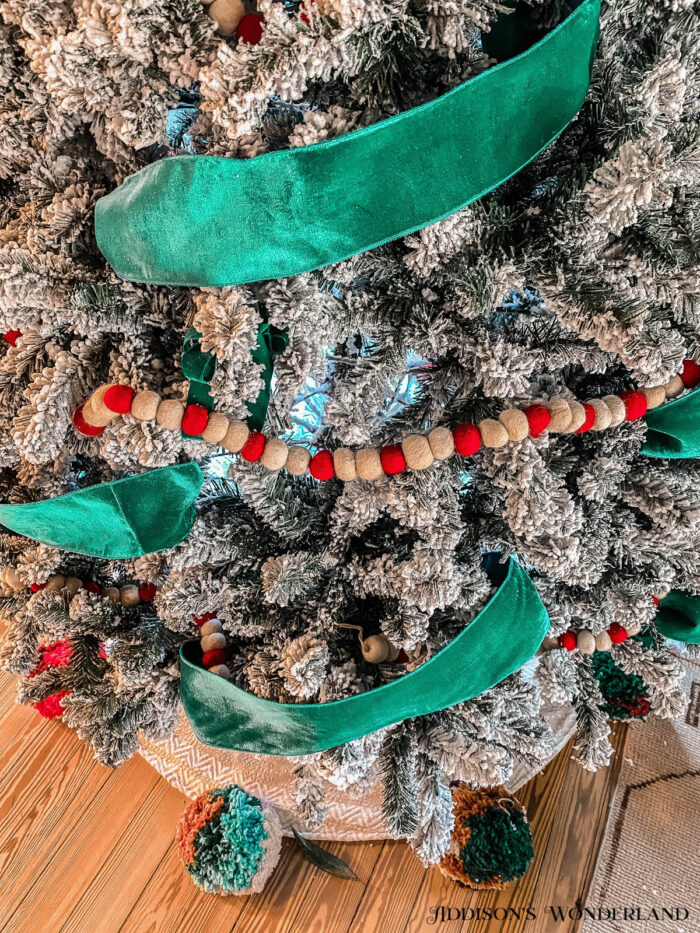
The easiest way I have found to create the look of a ribbon beautifully wrapping a tree while dipping in and out of the tree on it’s way around is to use this cut strip method and deeply tuck each end into the tree while fanning out the exposed corners as you will see in the next step. I tuck one cut end way back inside the tree either wrapping a small branch around the ribbon (only possible with a faux tree) or wrapping the wire ribbon around the branch…
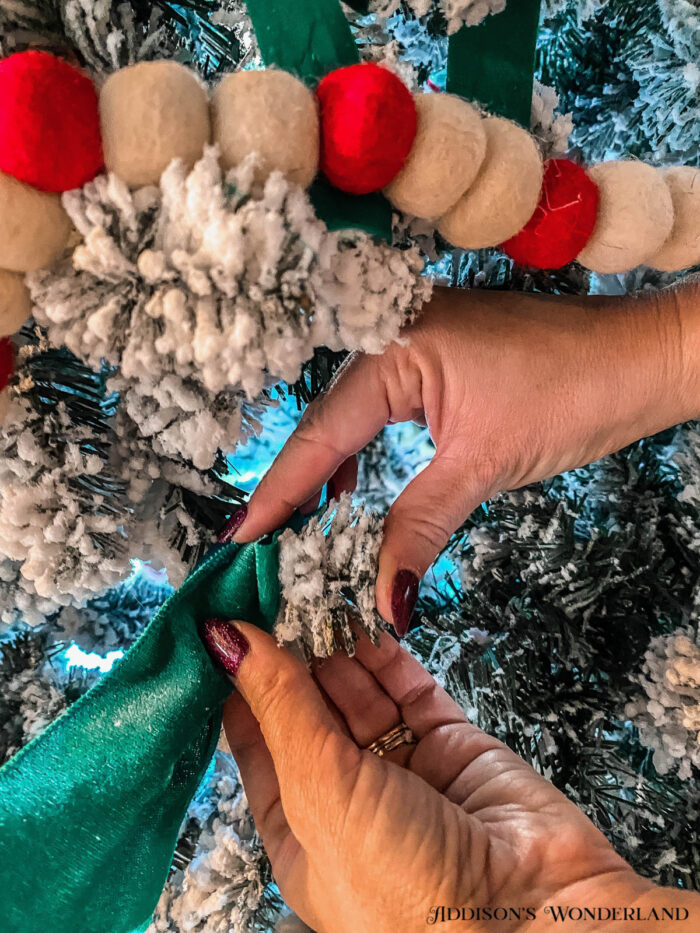
Step Four… Fan it Out!
For some reason the Legally Blonde “bend and snap” came to mind on this one. LOL. Once you’ve wrapped an end and you shove it inside the tree, you’ll want to fan out the part of the ribbon that’s exposed on that same end to hide your bending/folding/wrapping action…
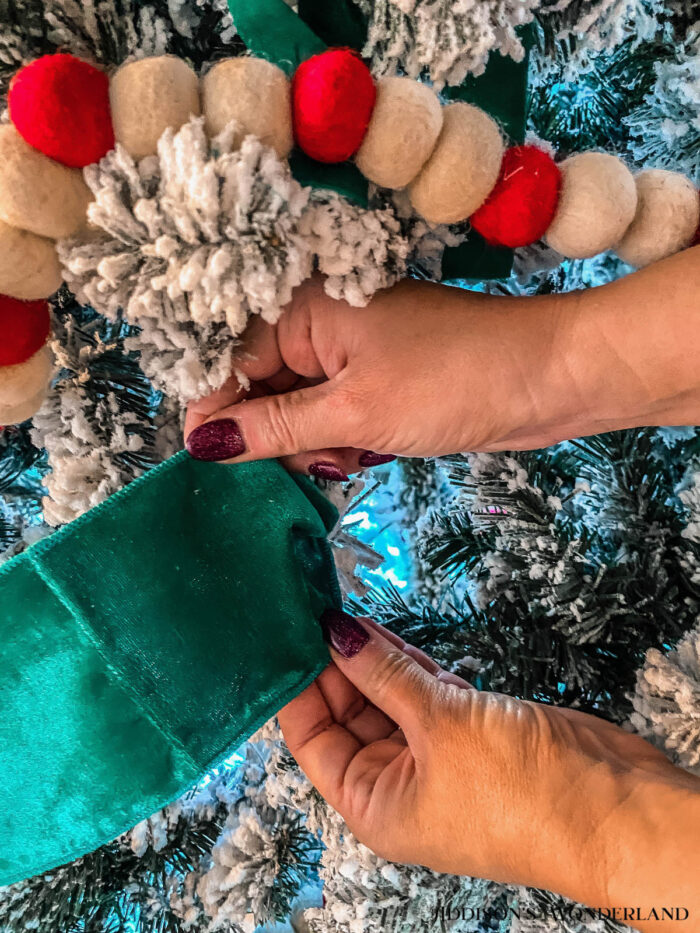
Step Five… Continue Again and Again and Again!
Another little tip is that I like to have every other “line of ribbon” tuck in at opposing places as you can see here. It makes it look more organically wrapped…
VOILA!

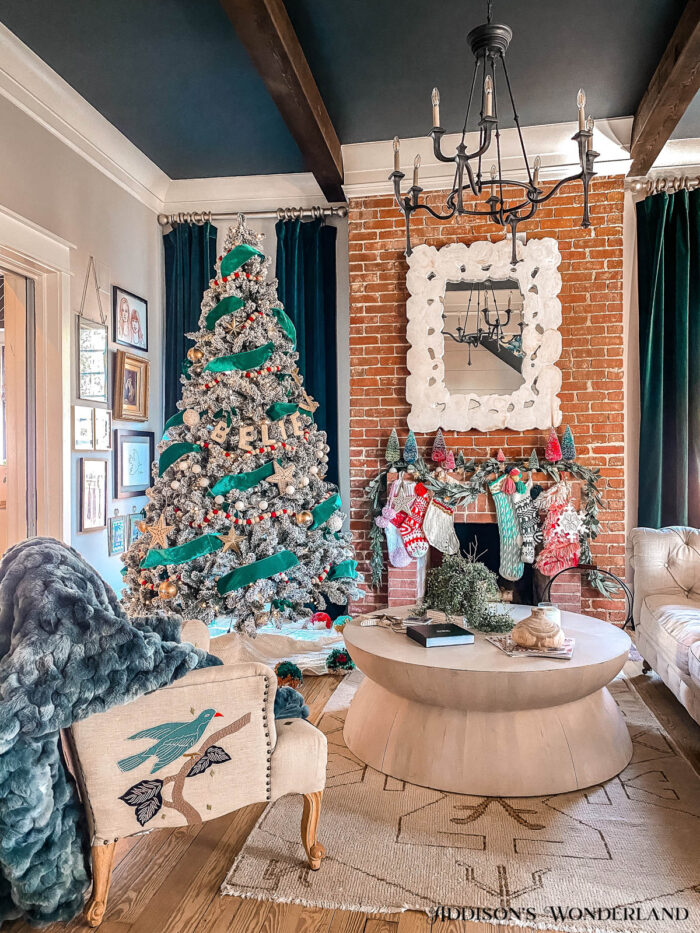
Our Christmas Living Room…
Wall Color- SW Gossamer Veil
Ceiling Color- SW Inkwell
Chandelier- Currey & Company
Sofa- Restoration Hardware
Dark Green Velvet Drapery
Christmas Tree
White Forest Mirror
Curtain Rods & Rings- Kirsch
Similar Items…
XOXO, Brittany Palazzo
+ view the comments


