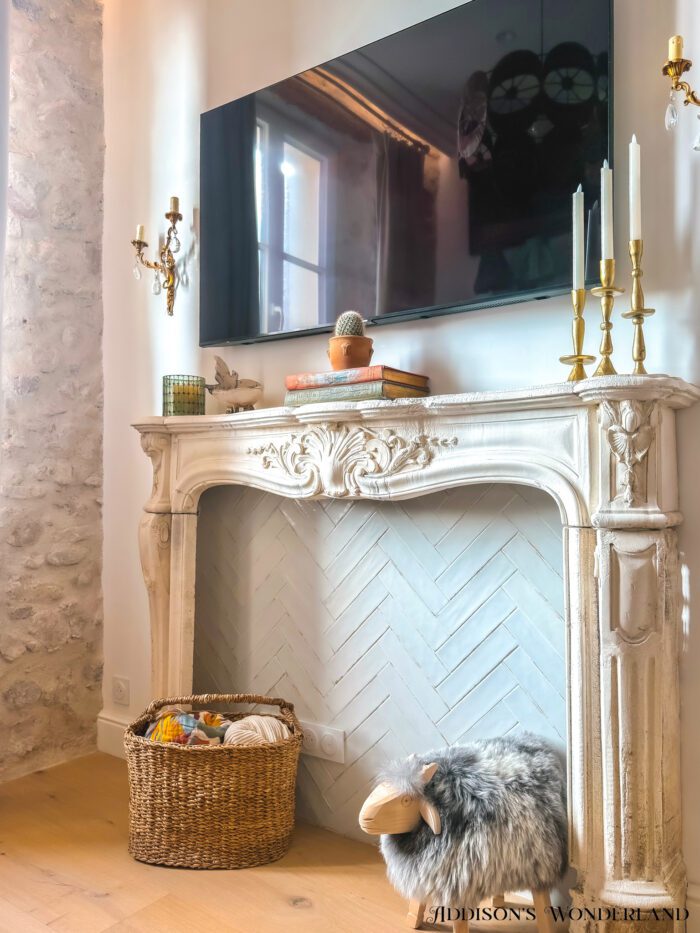
Who says you have to have a fireplace to have a… FIREPLACE! This week we finished up a one year+ long project in our little France home and I am soooo happy to have it completed. This project had a whole lot of layers that we found everywhere from Provence to Nice and it all finally came together and turned out so beautiful. I just LOVE the idea of adding the warmth and charm of a fireplace without needing or having a firebox and without ever even being able to make a fire!
First, let’s take a peek at this living room wall in our Antibes, France home BEFORE we got started…
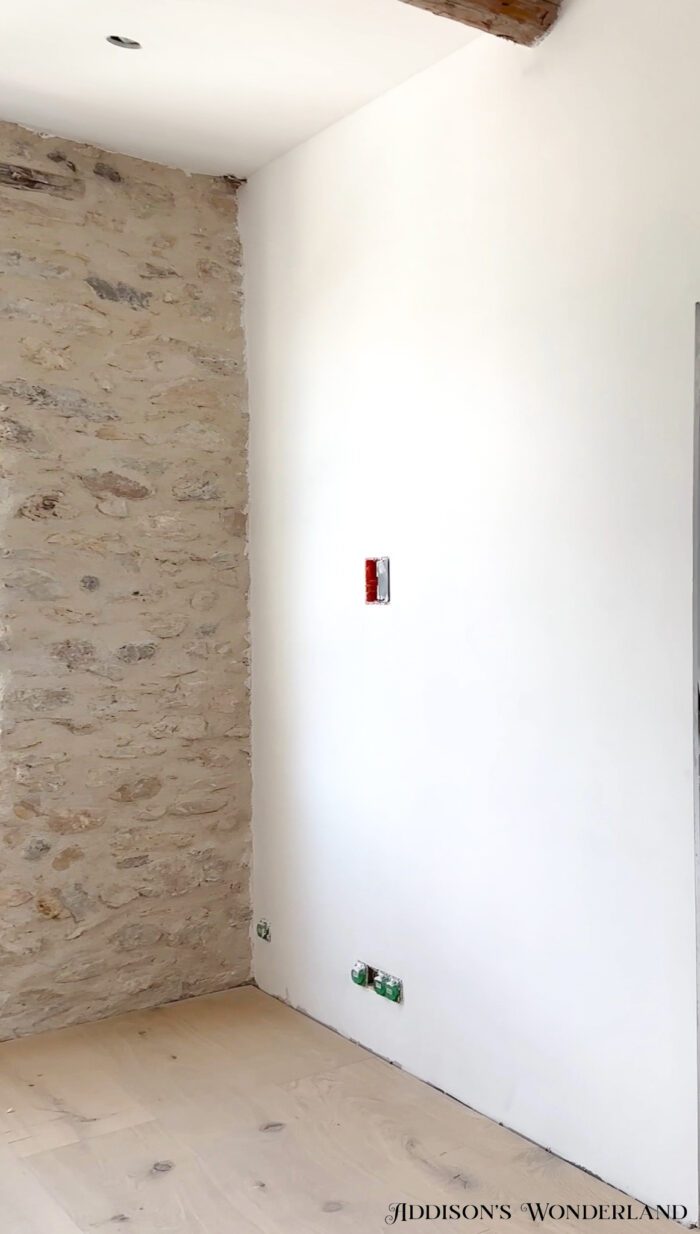
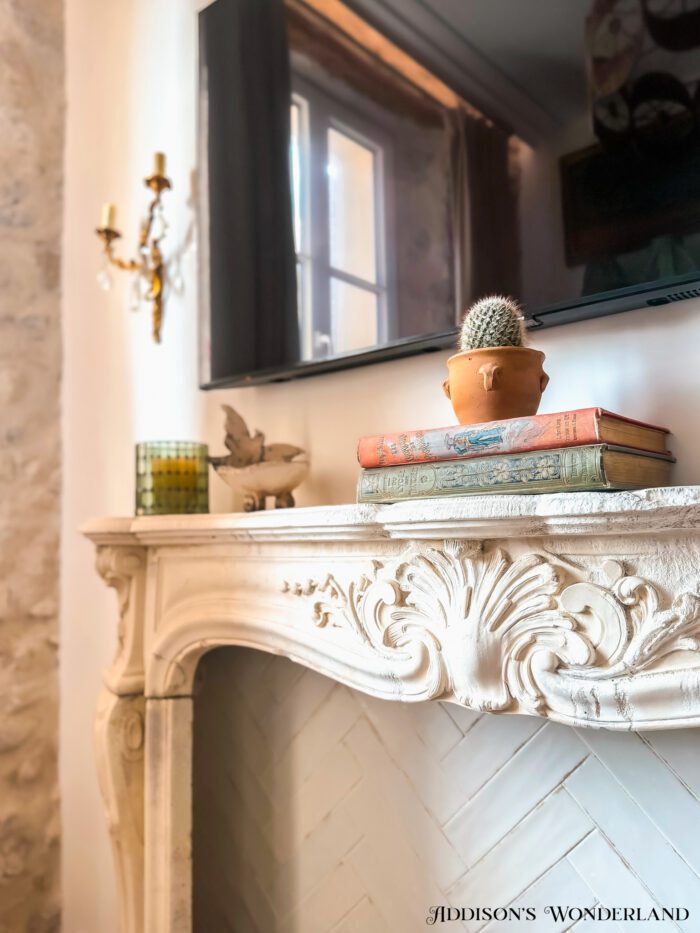
Yep, just a blank little wall with no firm plans other than a TV… since it’s opposite our sofa. Until the day I decided I wanted a fireplace! One day John and I were visiting Aix-en-Provence and we were in the cutest home decor store and they had the most GORGEOUS marble mantle with nothing more than a mirror over the top and some florals on the mantle and it gave me an idea. Who needs a firebox to have the beauty of a fireplace? Especially an antique beauty like that one! So we set out on a mission…
Last Summer, with my newly broken toe and all, John and I rented a car and hit the road for what I’ve heard is the antique capital of Europe… Isles Sur la Sorgue! The cutest little town just outside of Aix-en-Provence. It is a city of quite literally ALL antique stores. Truly UNREAL!!! And then they have huge Summer markets that fill the streets every weekend as well. Let’s just say that if our place here wasn’t so small… we’d be there shopping every weekend. HA!
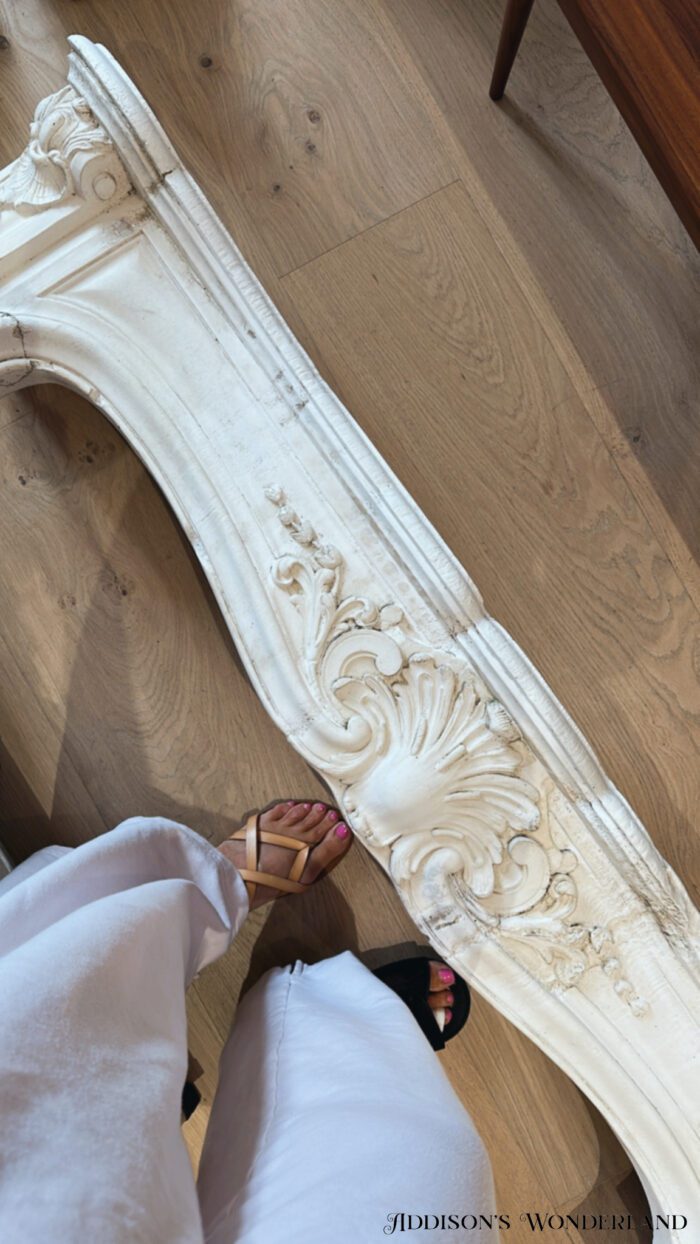
While there, we were in this one big open section of outdoor booths and I spotted it! The most beautiful antique mantle…

It was love and “SOLD!” at first sight. We paid a little over 800 euros (a STEAL!) for this beauty, loaded it up in our rental car and eventually… a few more purchases later… drove it home! But of course not without a trek through the parking garage and the streets of Old Town Antibes plus up two flights of stairs…
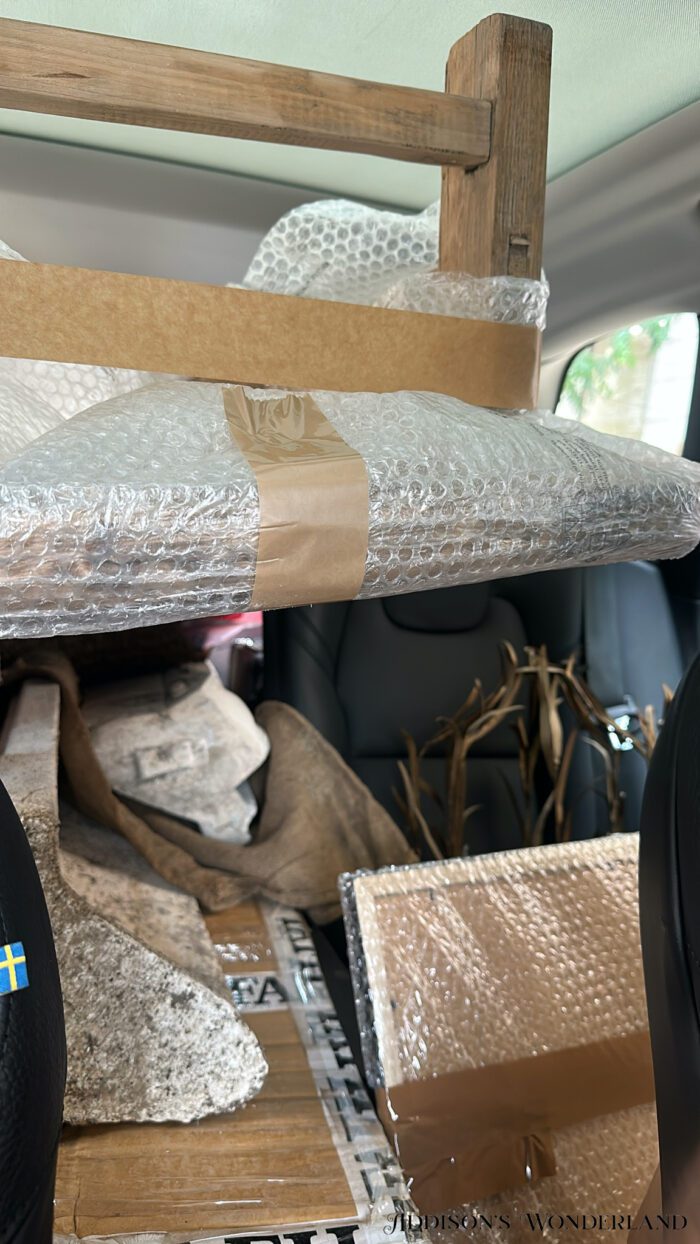
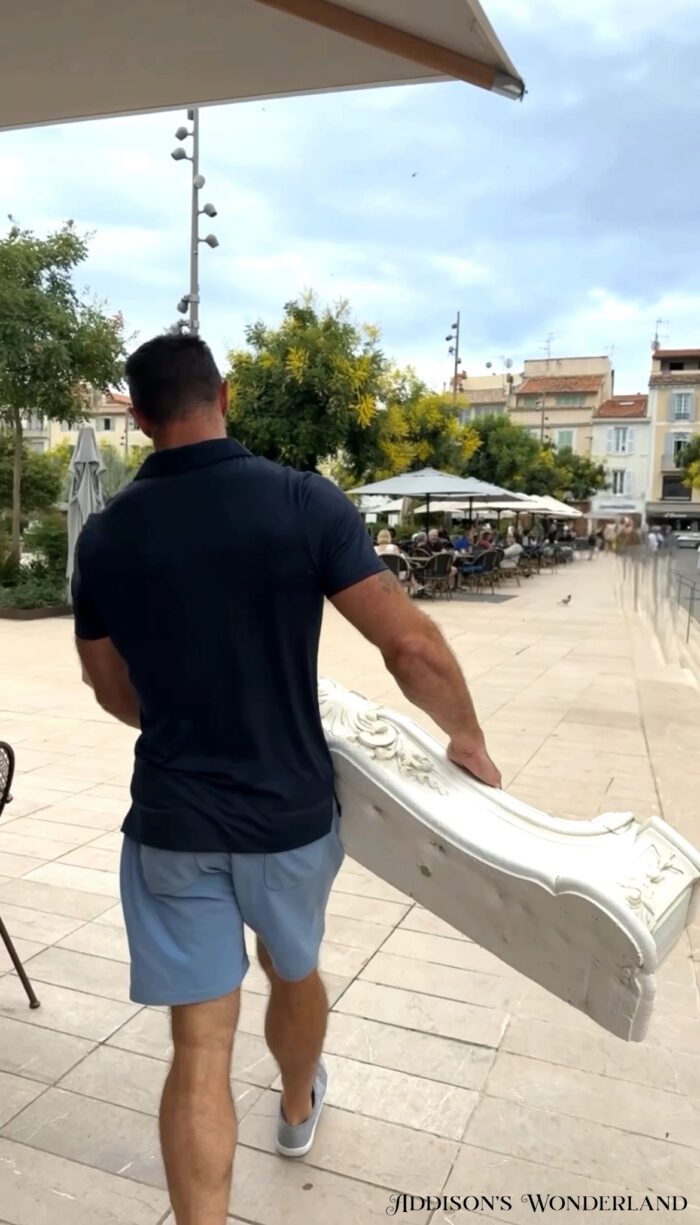
Worth every step! That John took ;-)…
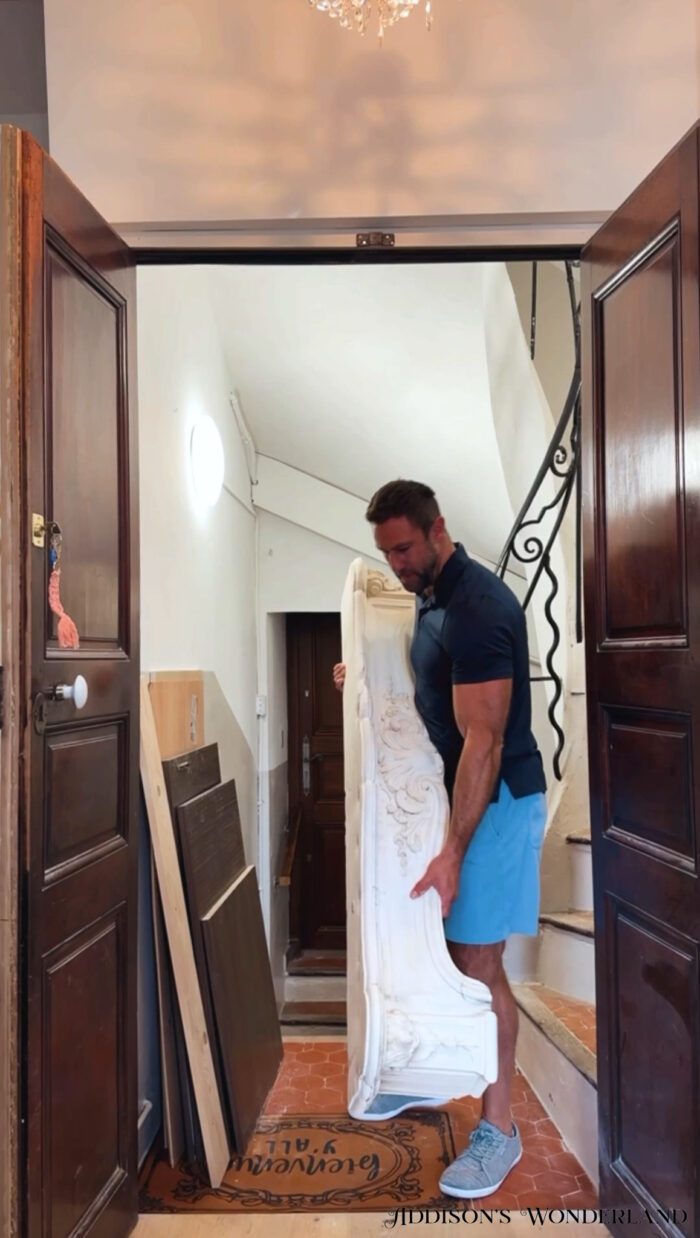
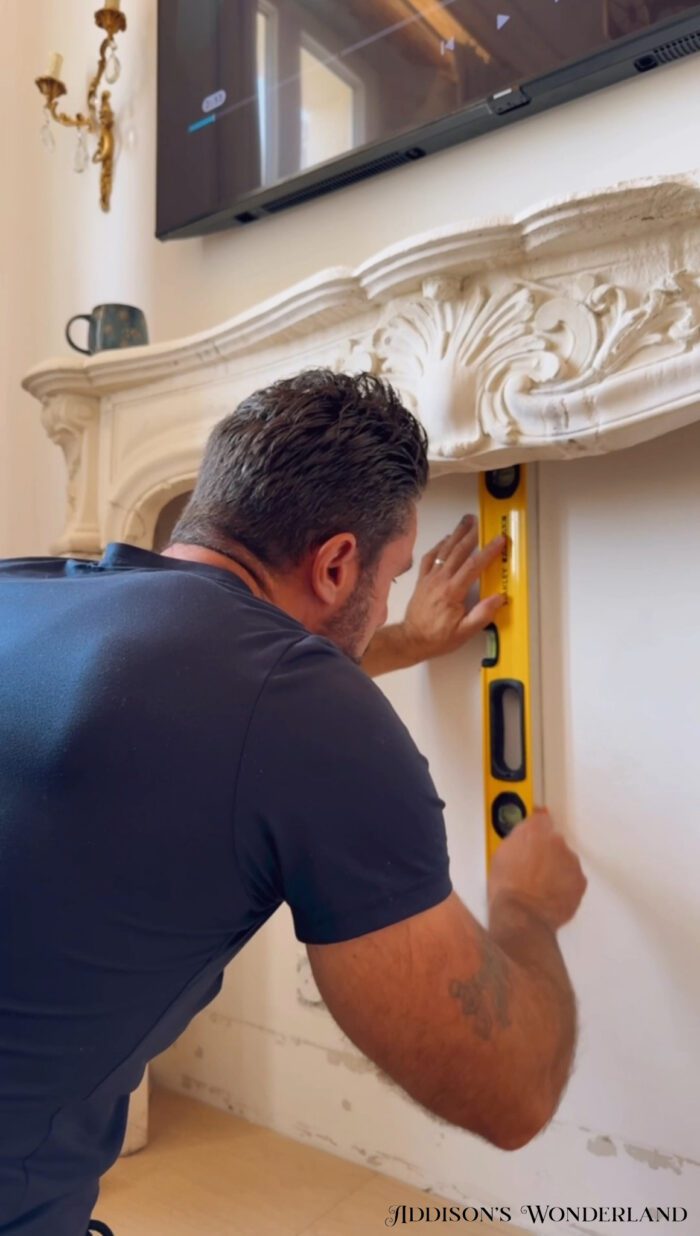
Thankfully it came in three pieces so John was able to carry each piece in individually… it’s definitely rather heavy… and secure it in place. To do so, first he marked the center of the wall. He then measured the length and started to create level and plumb lines for the sides as a reference for attaching each leg to the wall. In this case, the mantle was self supporting so he just needed to make sure it was level and then he simply siliconed it all to the wall.

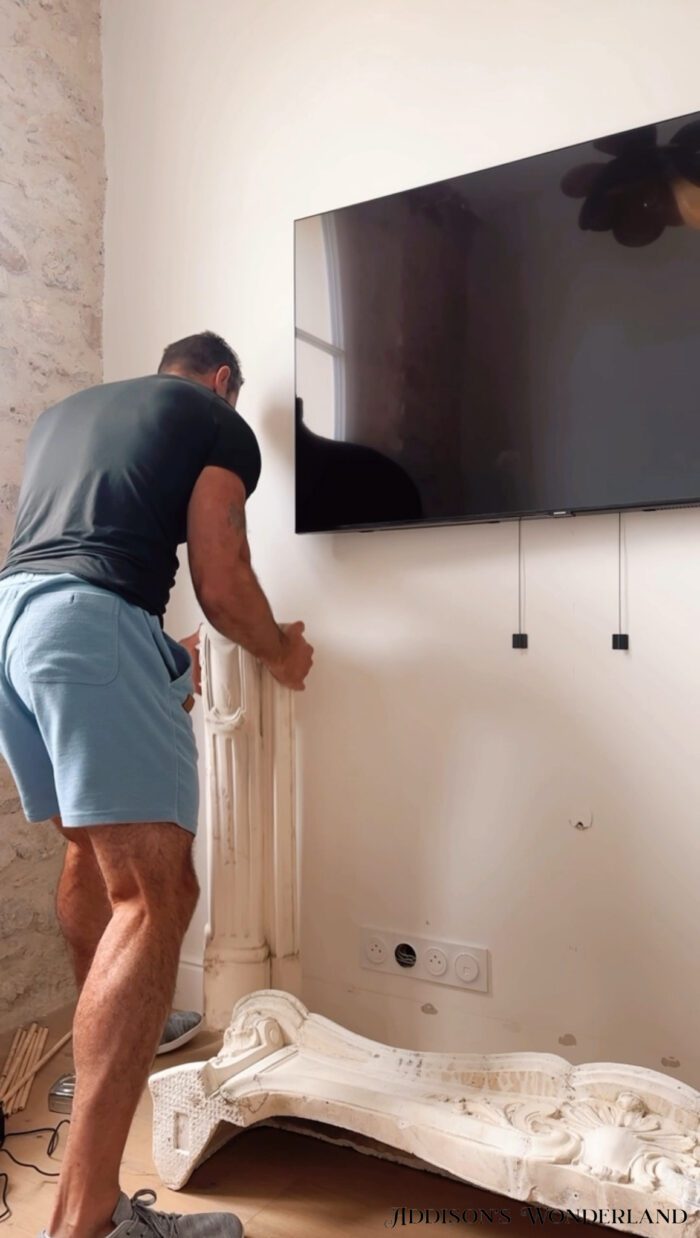
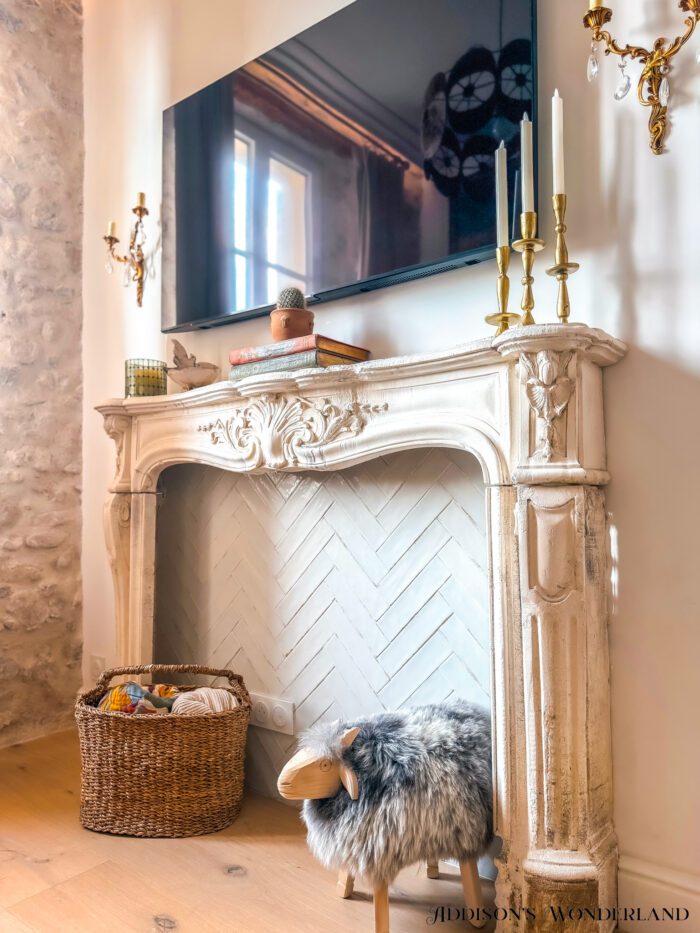
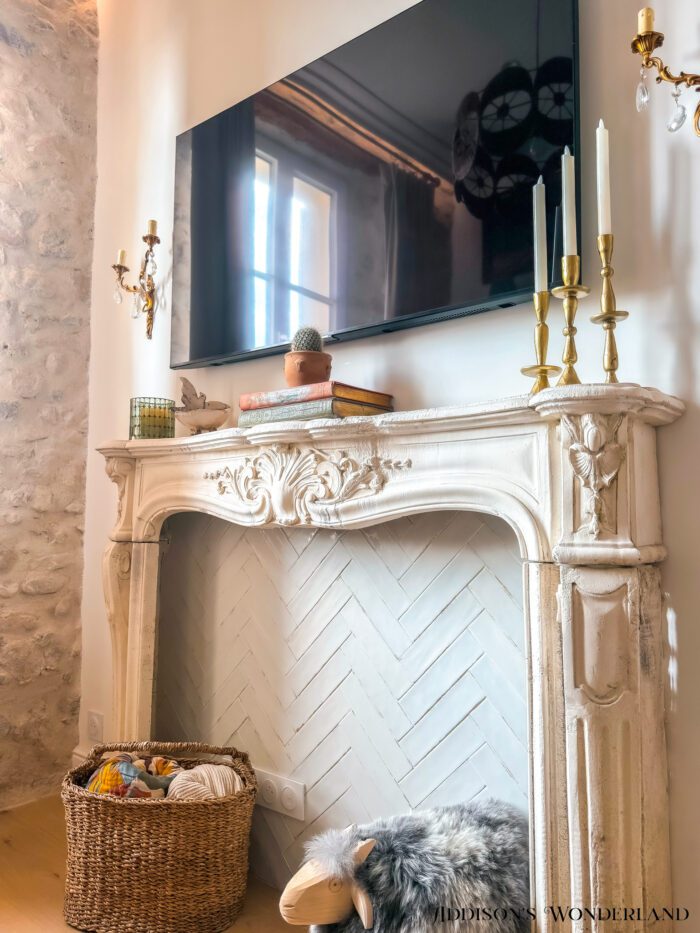
And that was it for last Summer! We’ve since enjoyed it just like this…

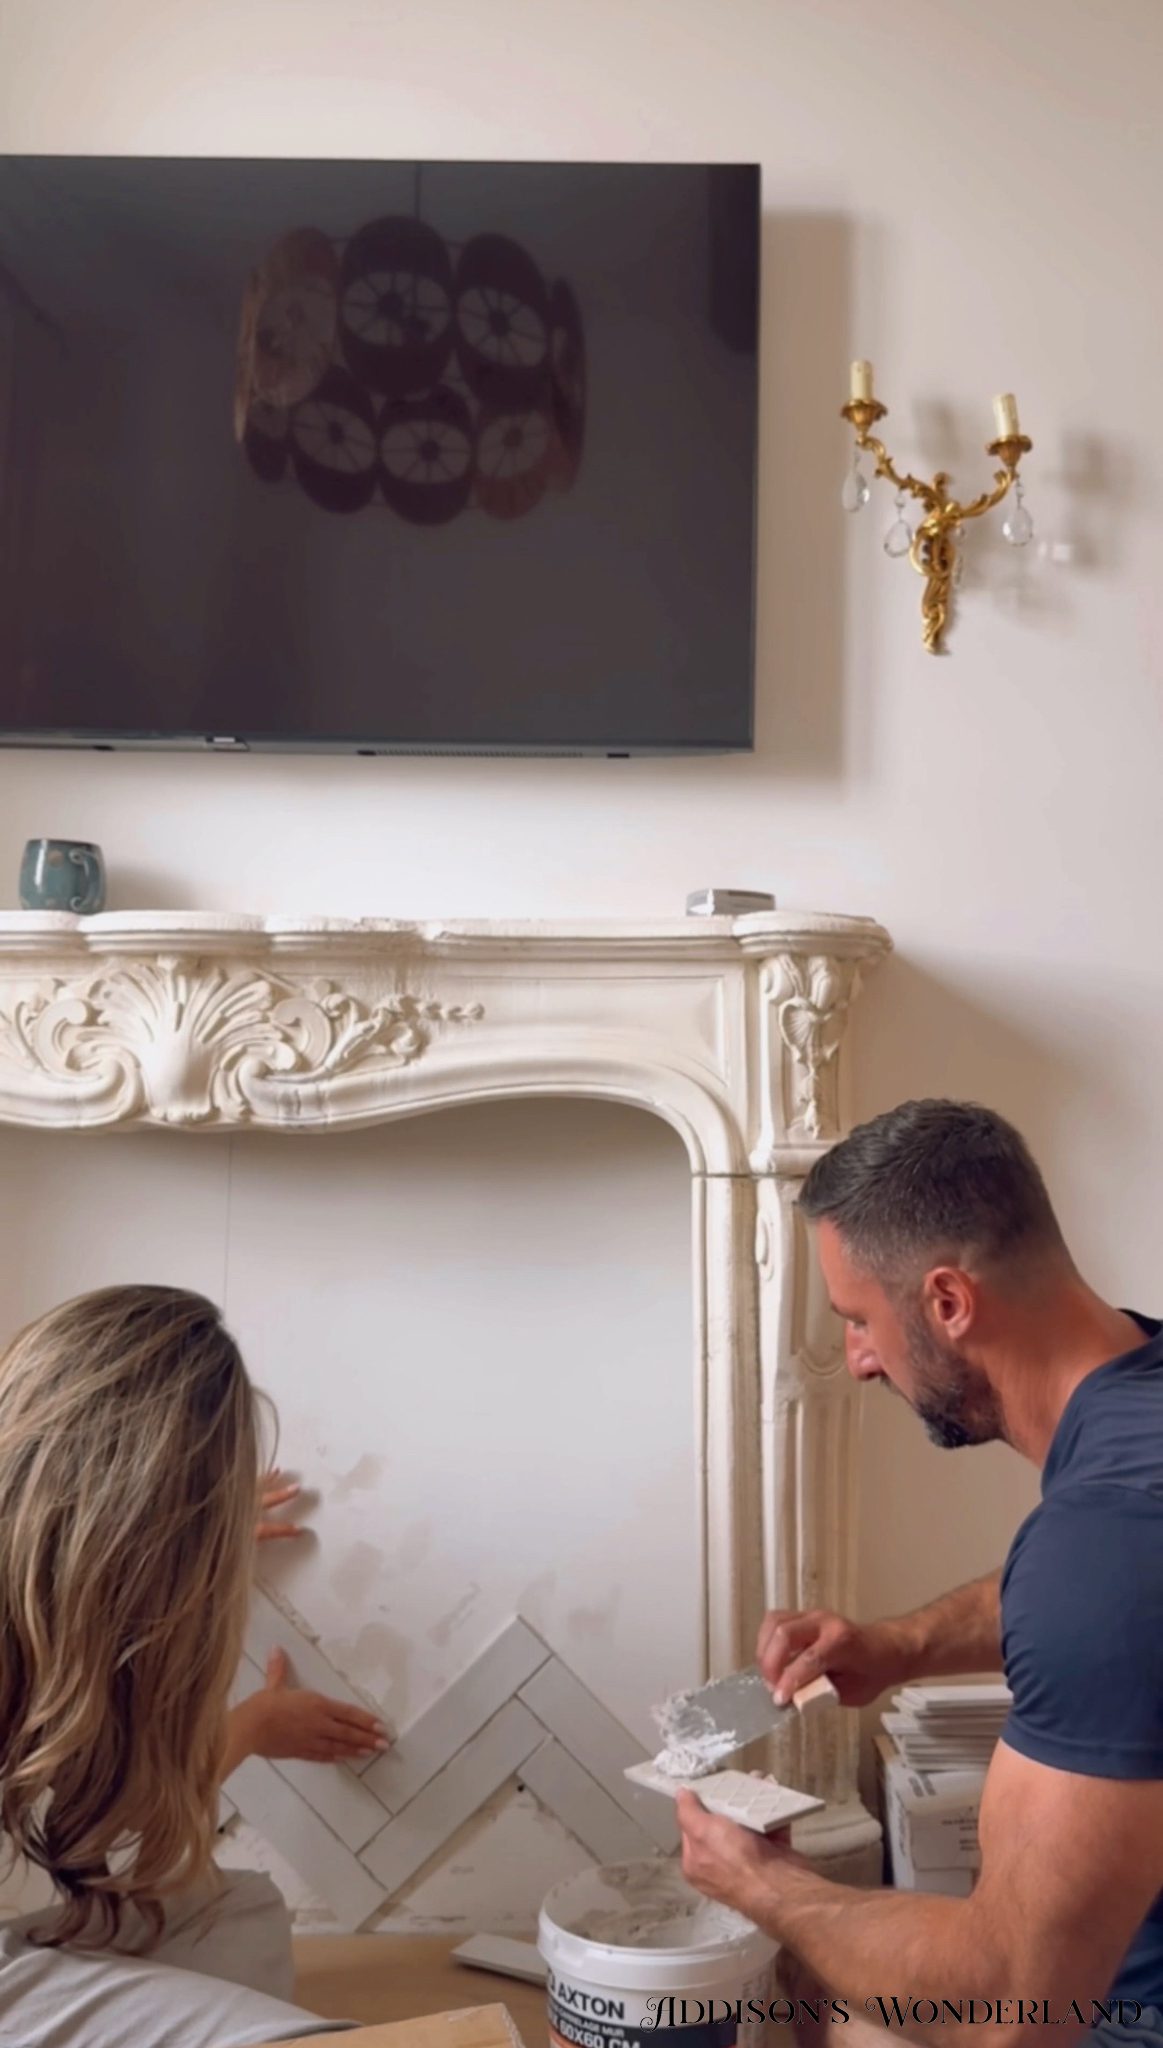
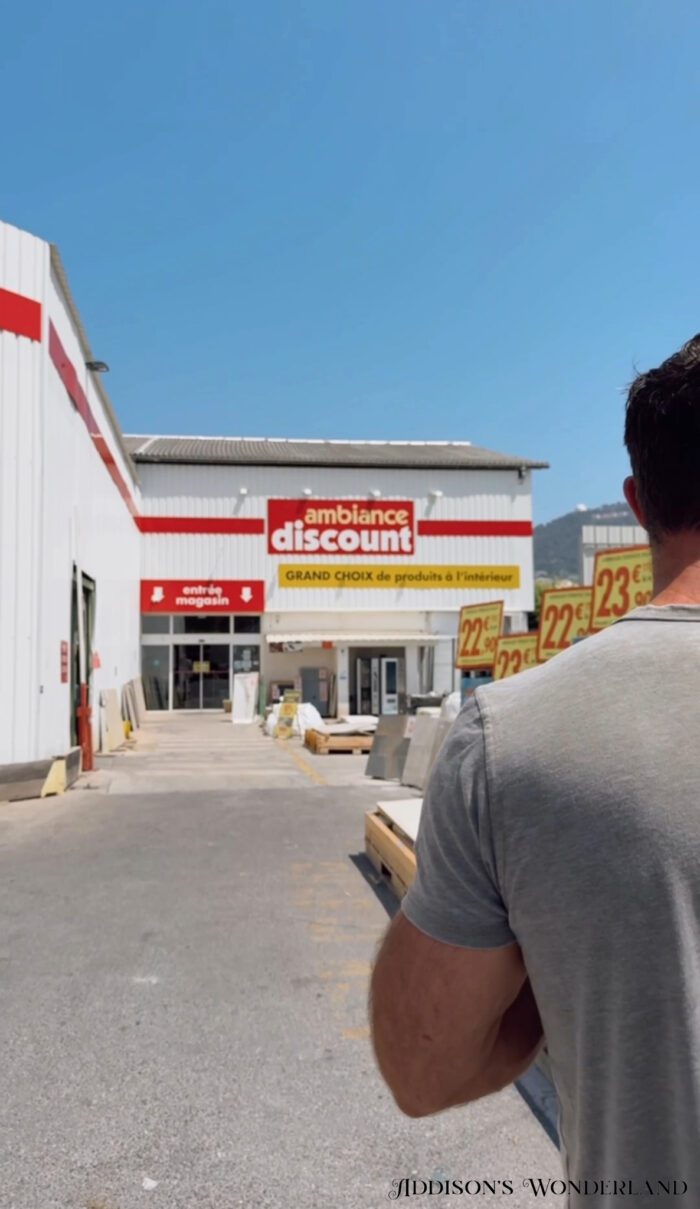
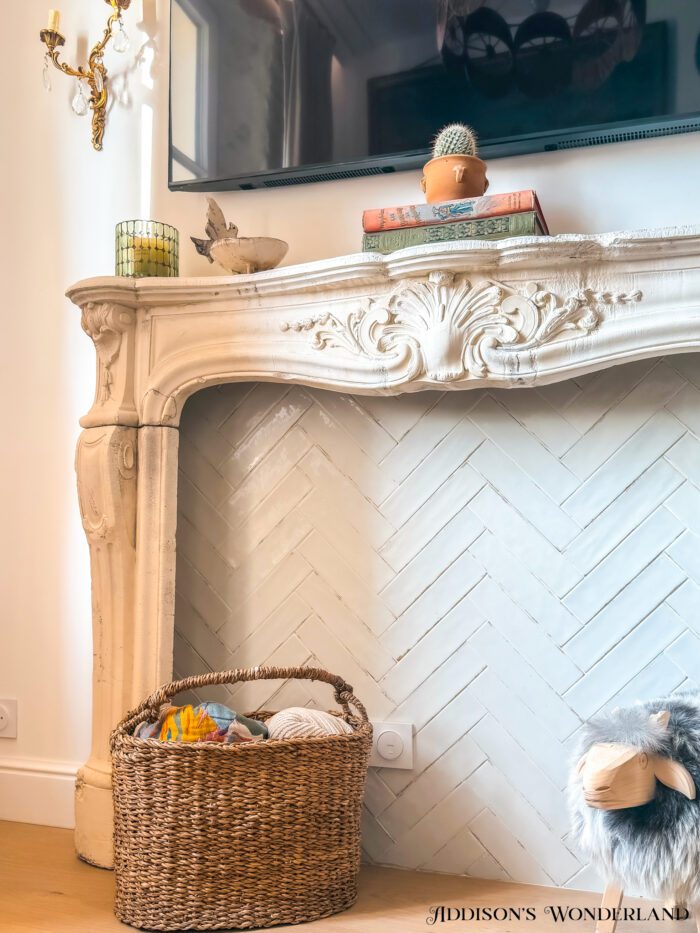
Until this Summer… when our mission was to find TILE! We popped in and out of several places in our area and ended up finding pretty much exactly what I was looking for in Nice…
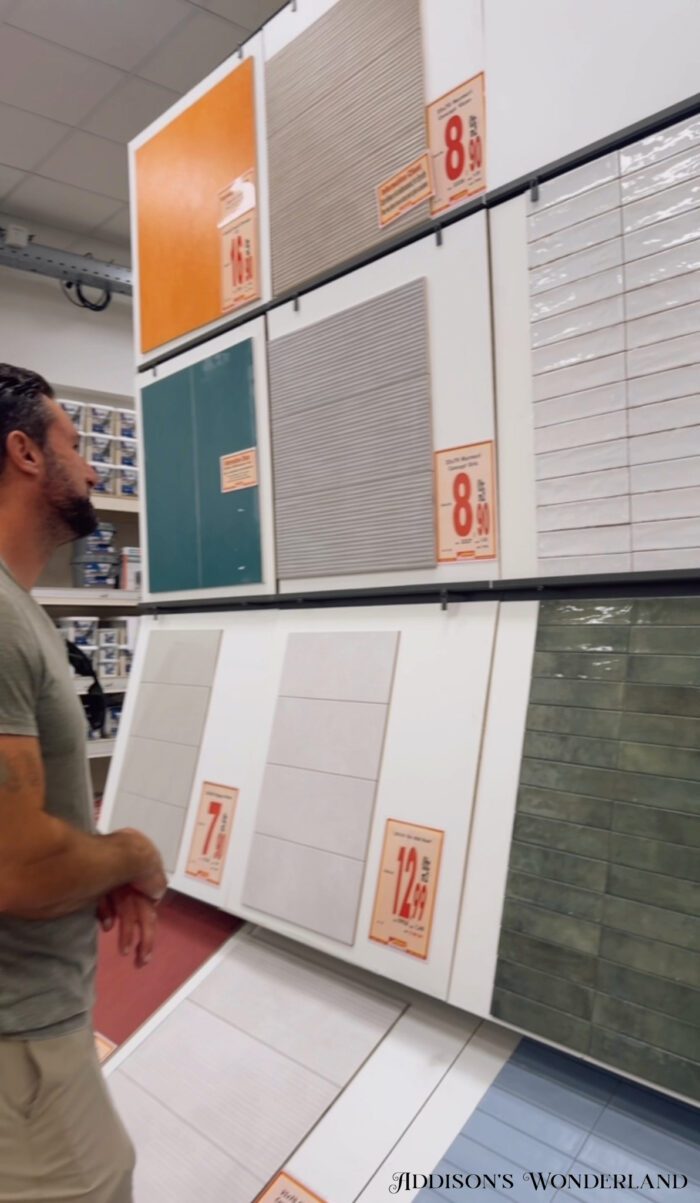
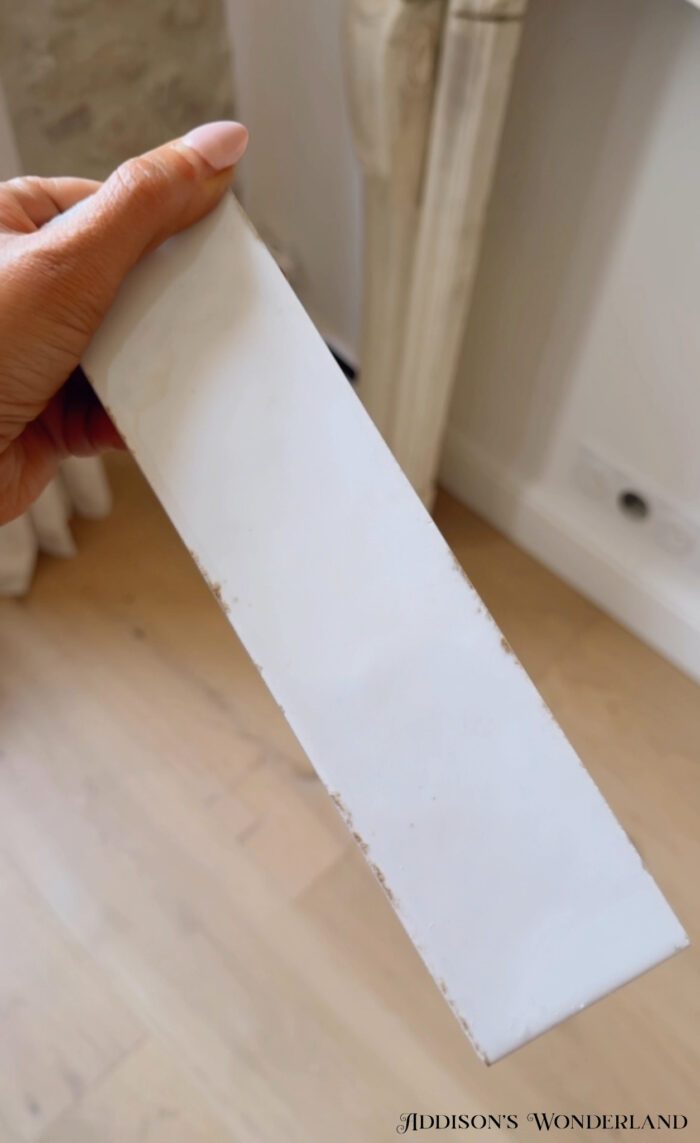
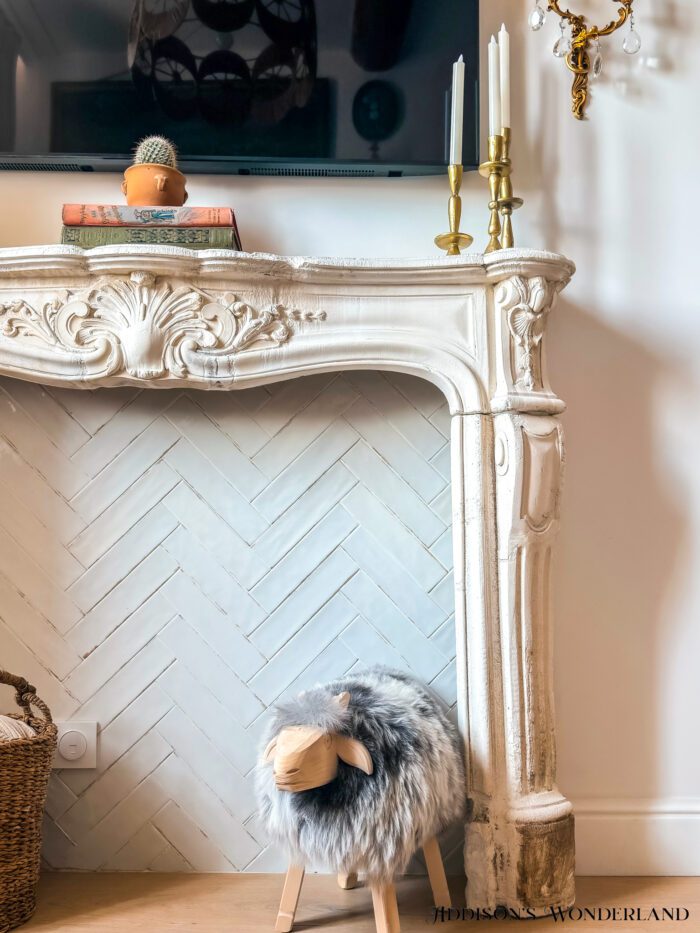
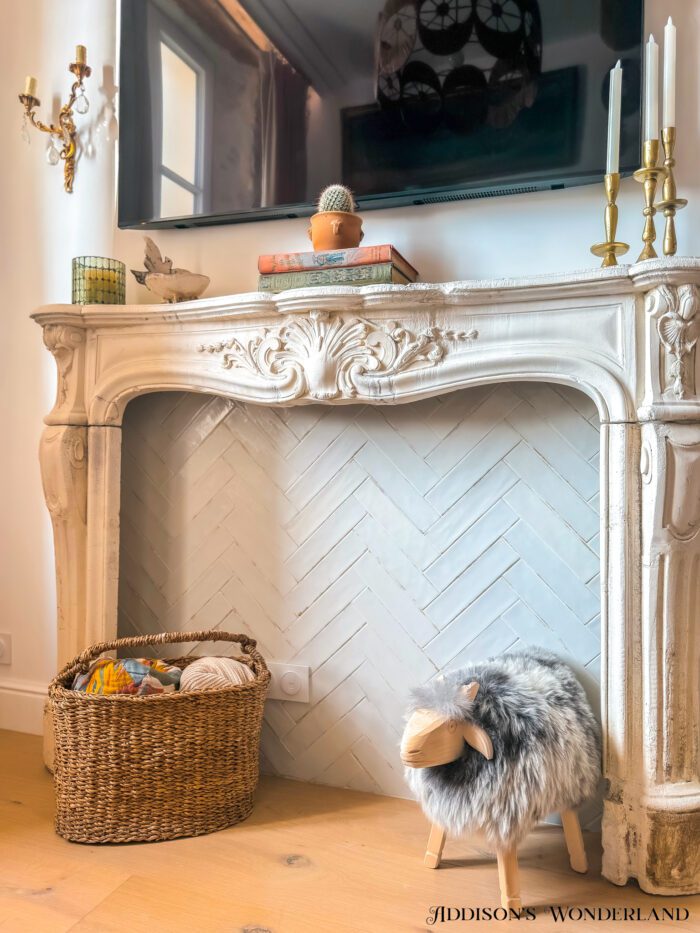
The tile I chose is a 2.5″ x 10″ slightly cream colored glazed porcelain with a little antiquing…
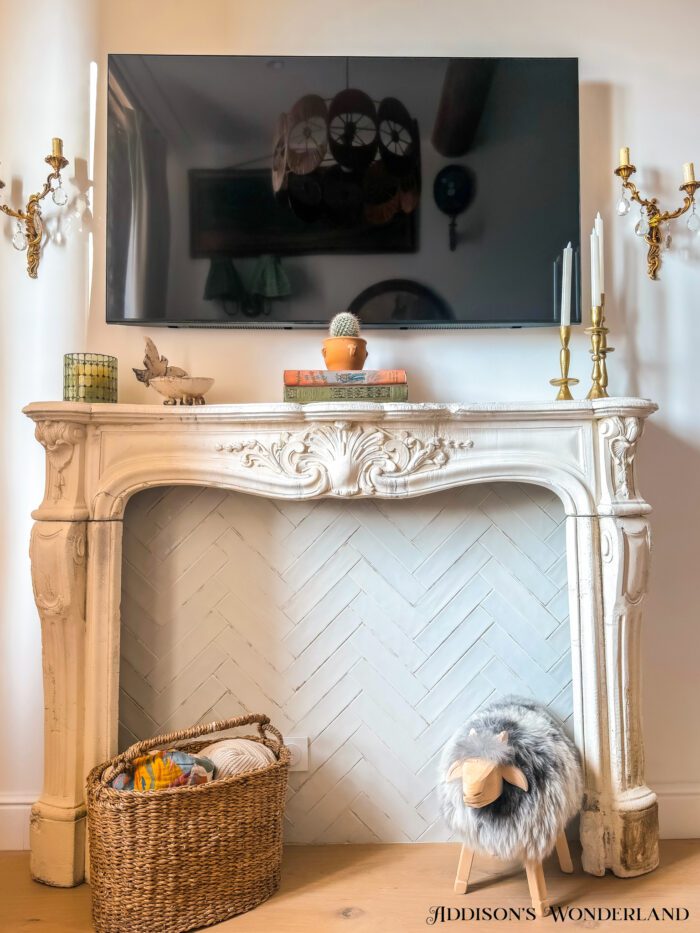
We loaded it up, carried it to our apartment and got to work! First step was removing the baseboard and then marking a level, centerline since I wanted a herringbone pattern…
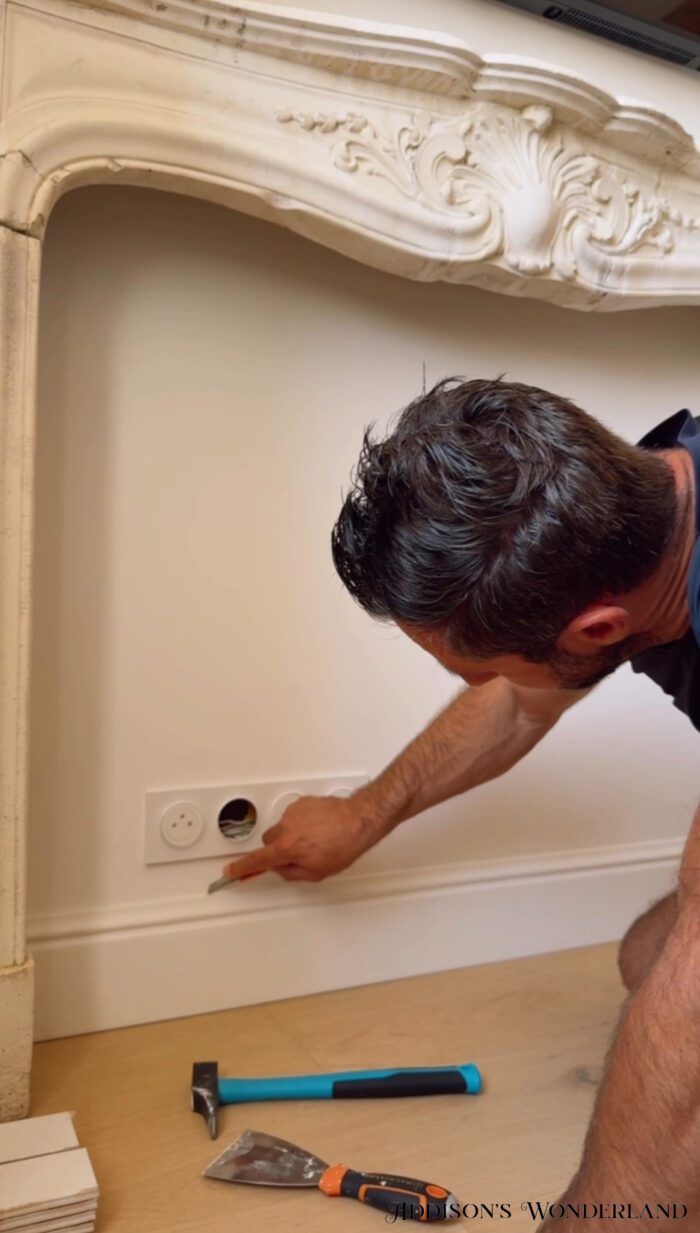
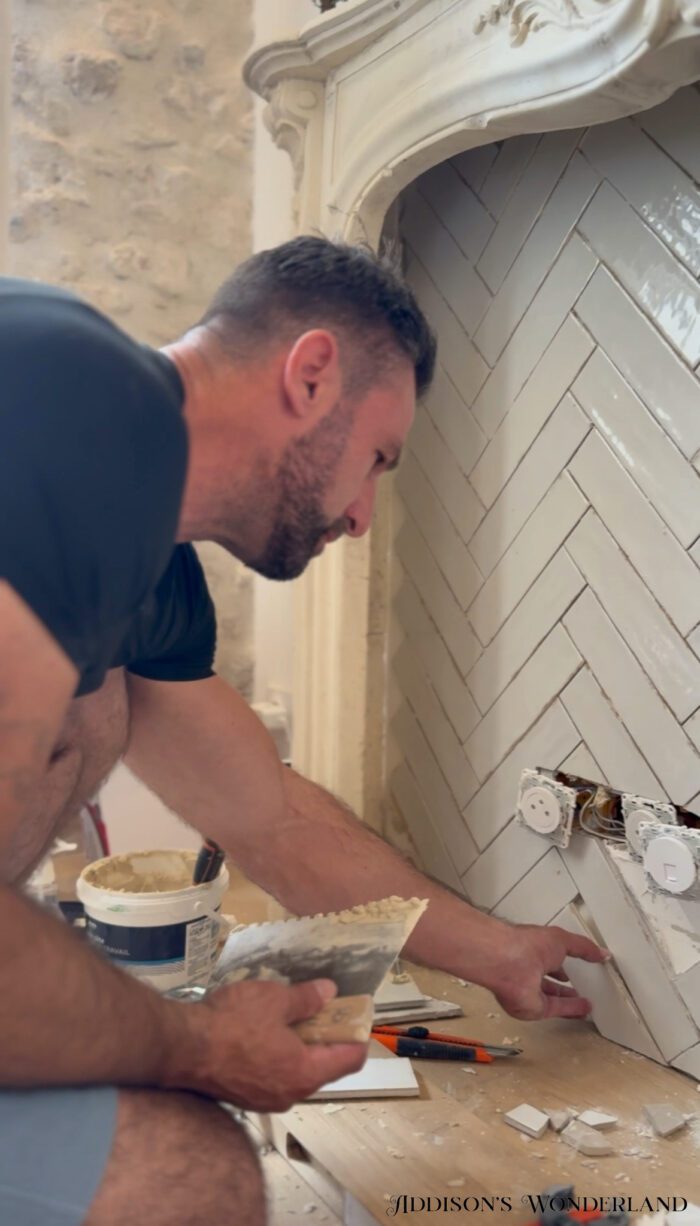
The process was a wee bit trickier than it would’ve been back at home in the States. Partly because things here in France are a bit different than we are accustomed to and partly because we live in a building with other apartments so noise… and the water from a wet saw… would be an issue. Because of this, he mortared each tile individually rather than directly onto the wall in mass amounts. It also took quite a bit more time since he had to cut the tiles with a mix of a small tile cutter and tile chipper. He did use a diamond grinder on a few difficult cuts… while standing in our shower to concentrate the dust. LOL!
But, we got it DONE and I am so happy!!! Another project in our little home checked off the list!
XOXO, Brittany Palazzo
+ view the comments


")
")