


And the Winner Is…
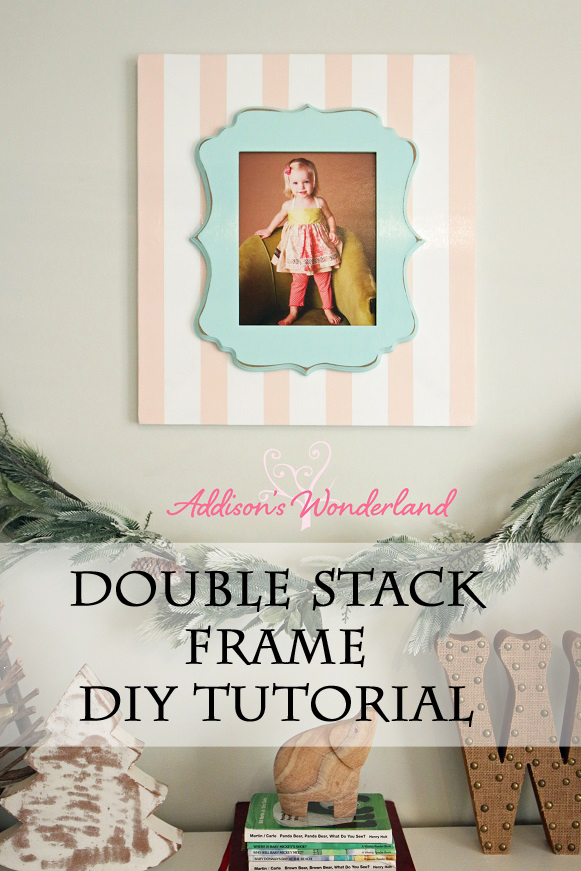
Easy Double Stacked Frame DIY!
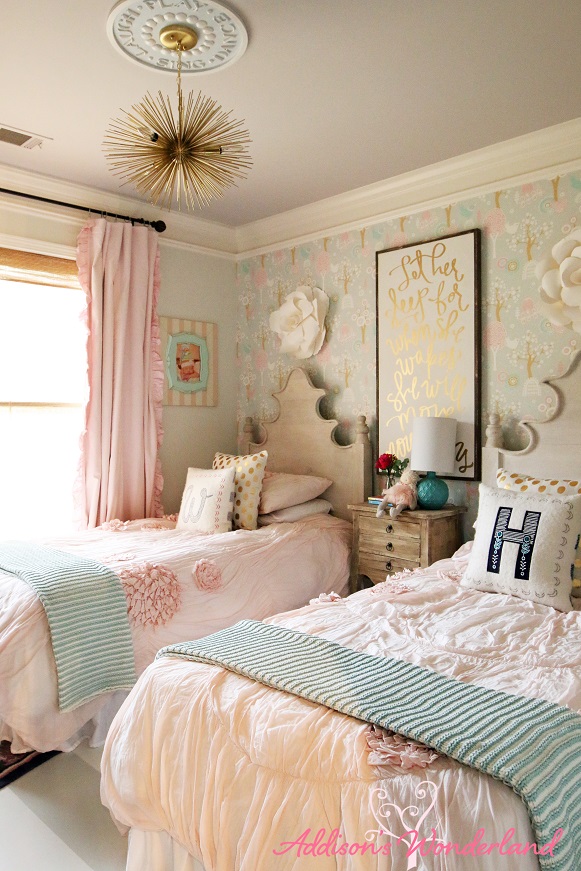
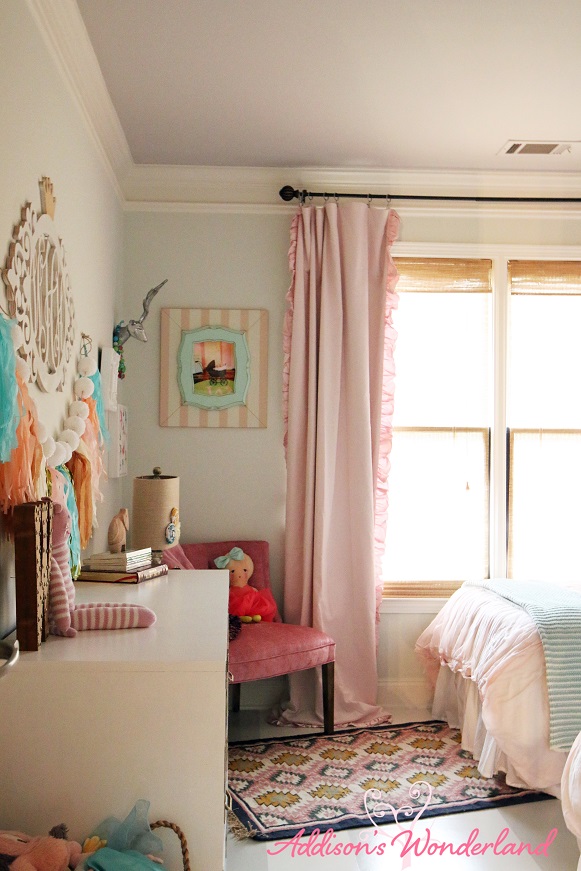
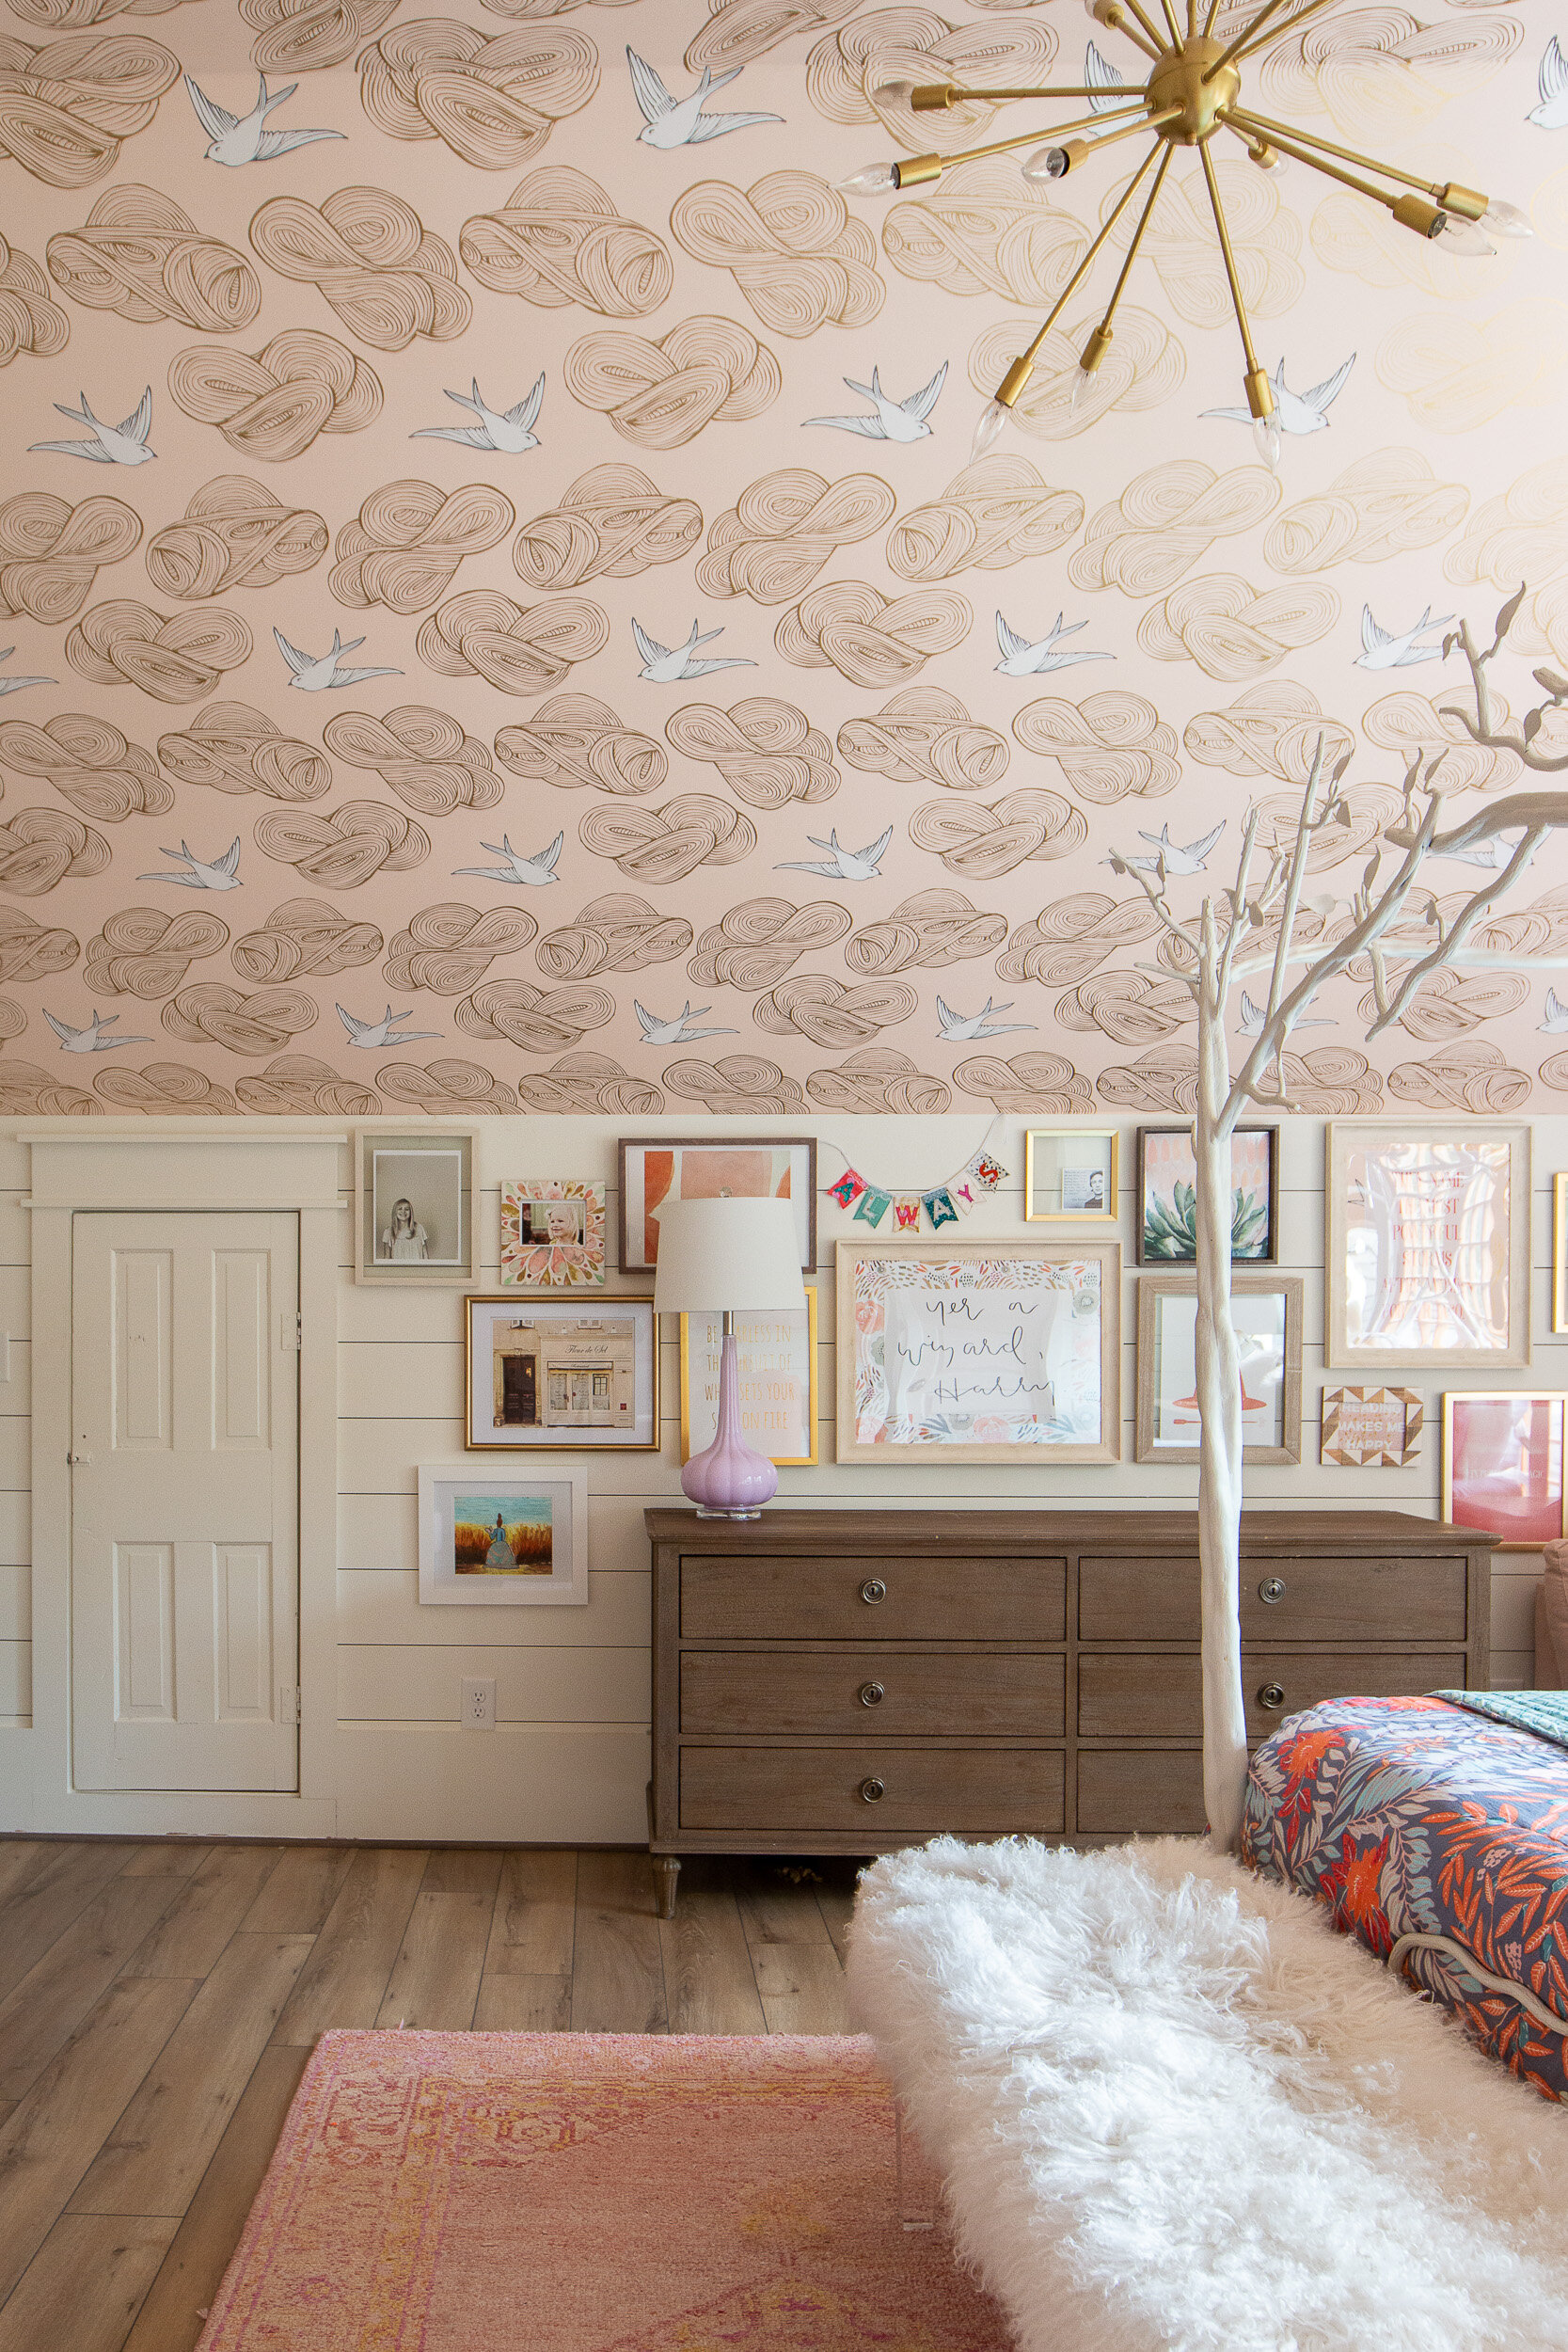
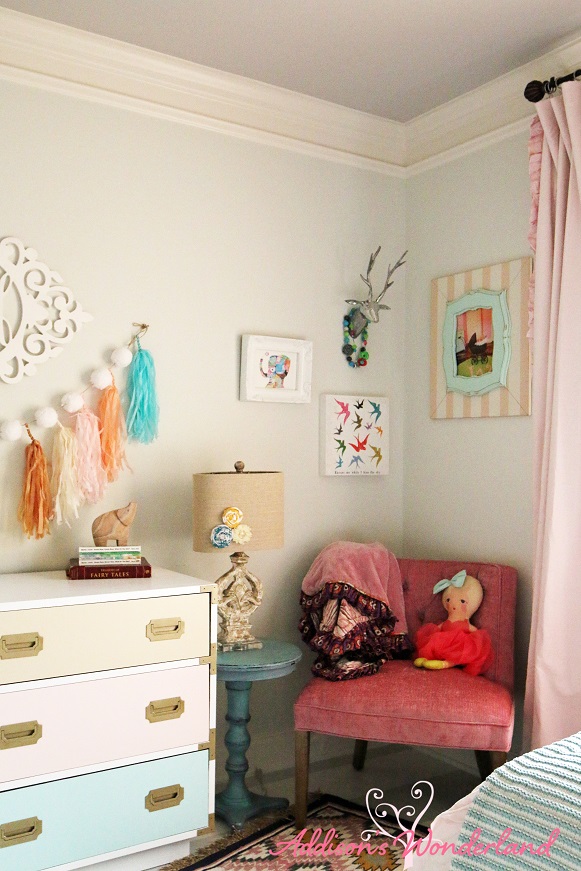
This one is all for you! After posting Winnie’s “Little Girl” Room Reveal last week, I was surprisingly bombarded with questions about the double stacked frames (pink/white striped and blue frames) that flank her windows. Although this was an ounce of a DIY, I decided to do a full-blown DIY just for all of you!
And guess what?!? I am giving away the one that I made to one lucky reader! Simply comment below with where/how you found my blog (just because I am curious) and you are entered to WIN!
Note… it IS a DIY so the one you’d win (pictured above) is not completely perfect.
So here’s the story on my original frame DIY…
I purchased these pink/white striped frames from Restoration Hardware Baby & Child quite a few years ago and unfortunately they are no longer available. They hung in our previous home in the girl’s playroom…
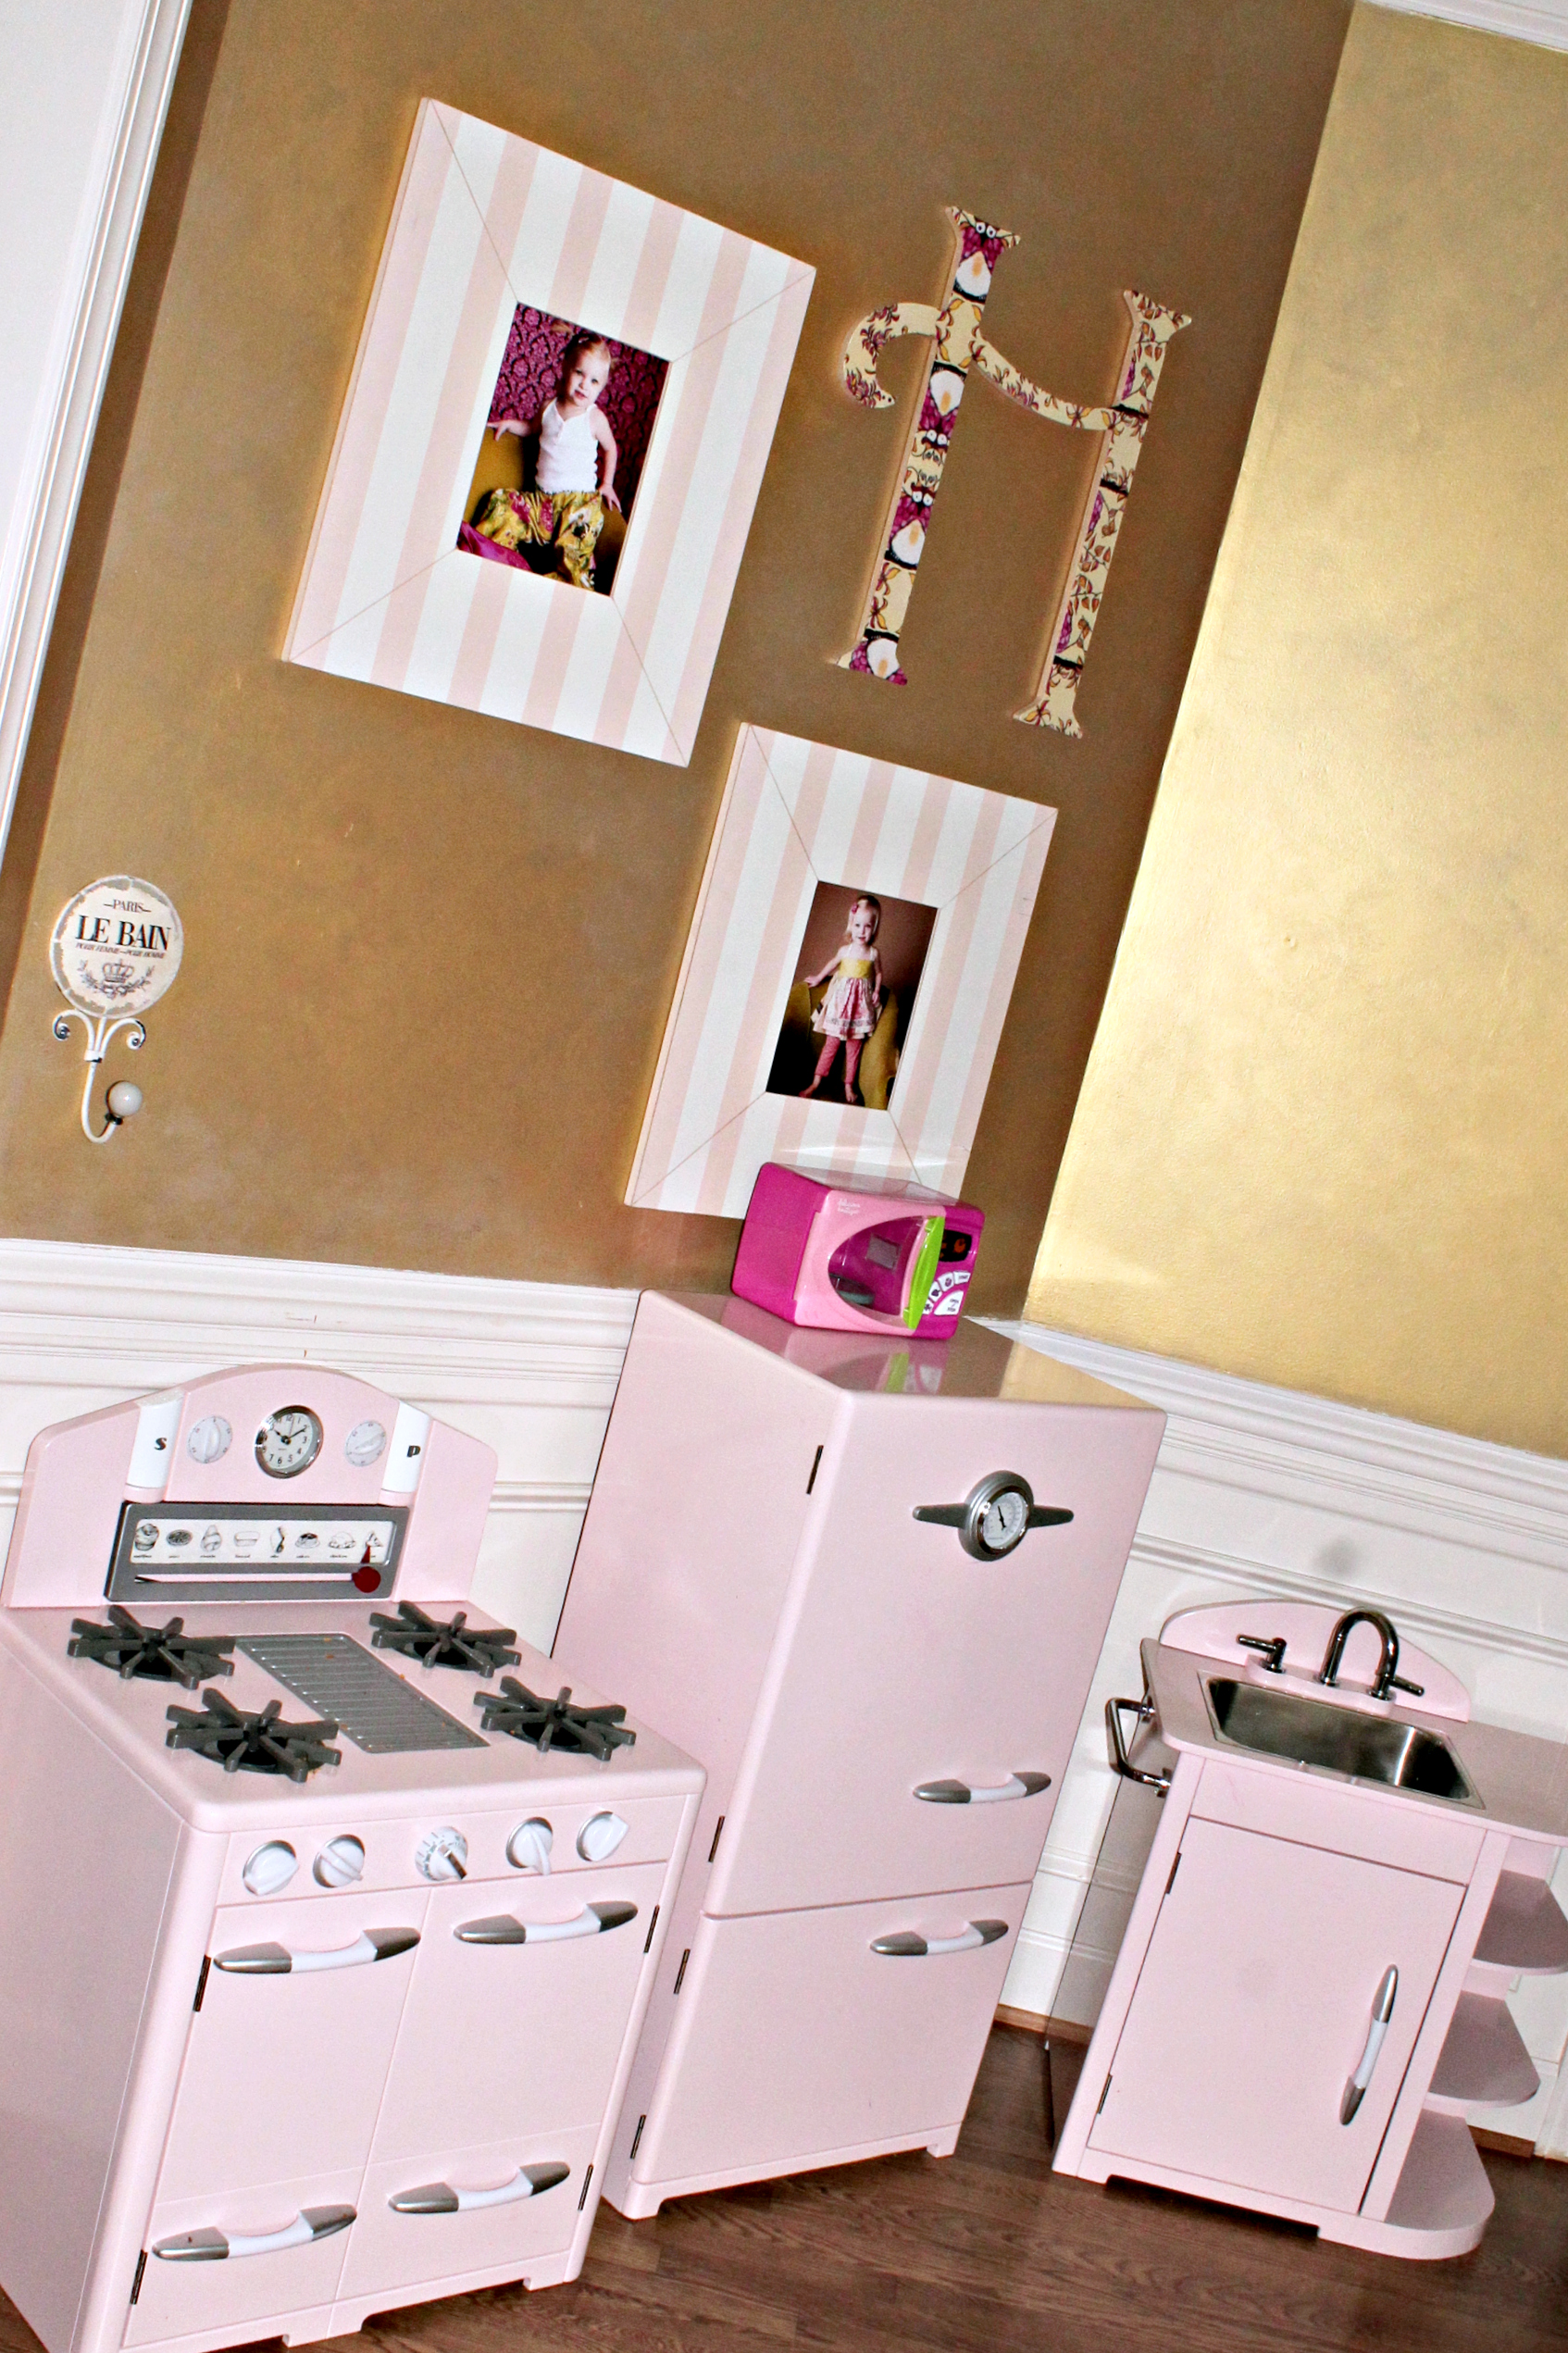
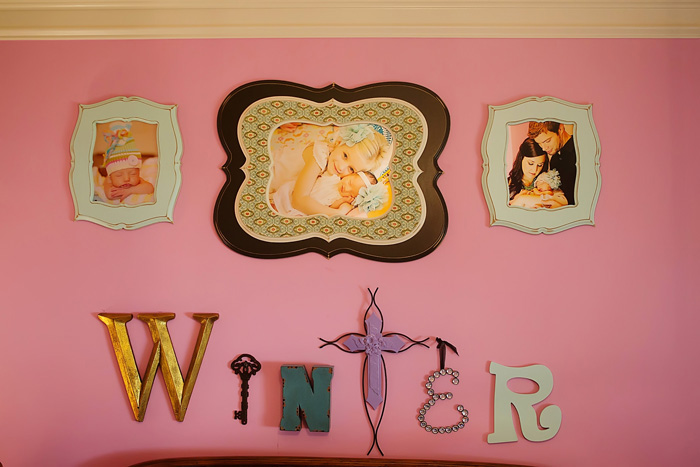
And then these amazingly beautiful blue frames from Poppy Tree Frames hung in Winter’s nursery in our previous home…
(You can see more images from our previous home HERE & HERE)
So one day, I had these all stacked on the ottoman in our bedroom and the blue one was sitting on top of the pink one. I wasn’t sure at the time where I would be hanging them in our new home but the way they were stacked, I thought hmmm. that looks pretty amazing! So I got out my hot glue gun and literally glued the two frames together…
Read more on… Winnie’s “Little Girl” Room Reveal
So now, I am going to show you how you can create the same look for less than $20! P.S. I had a coupon for Hobby Lobby which made the scalloped frame only $9!
The Materials

What You Will Need:
1- 6′ 1×6 Board (cut details are below)
Foam or Paint Brushes
Painter’s Tape
Three Paint Colors (colors I used detailed below)
(You can buy sample sizes for this project or even acrylic craft paints. I just used the leftover quarts I had from Winnie’s DIY Campaign Dresser project)
Wood Glue/Adhesive (do not use this one! LOL!)
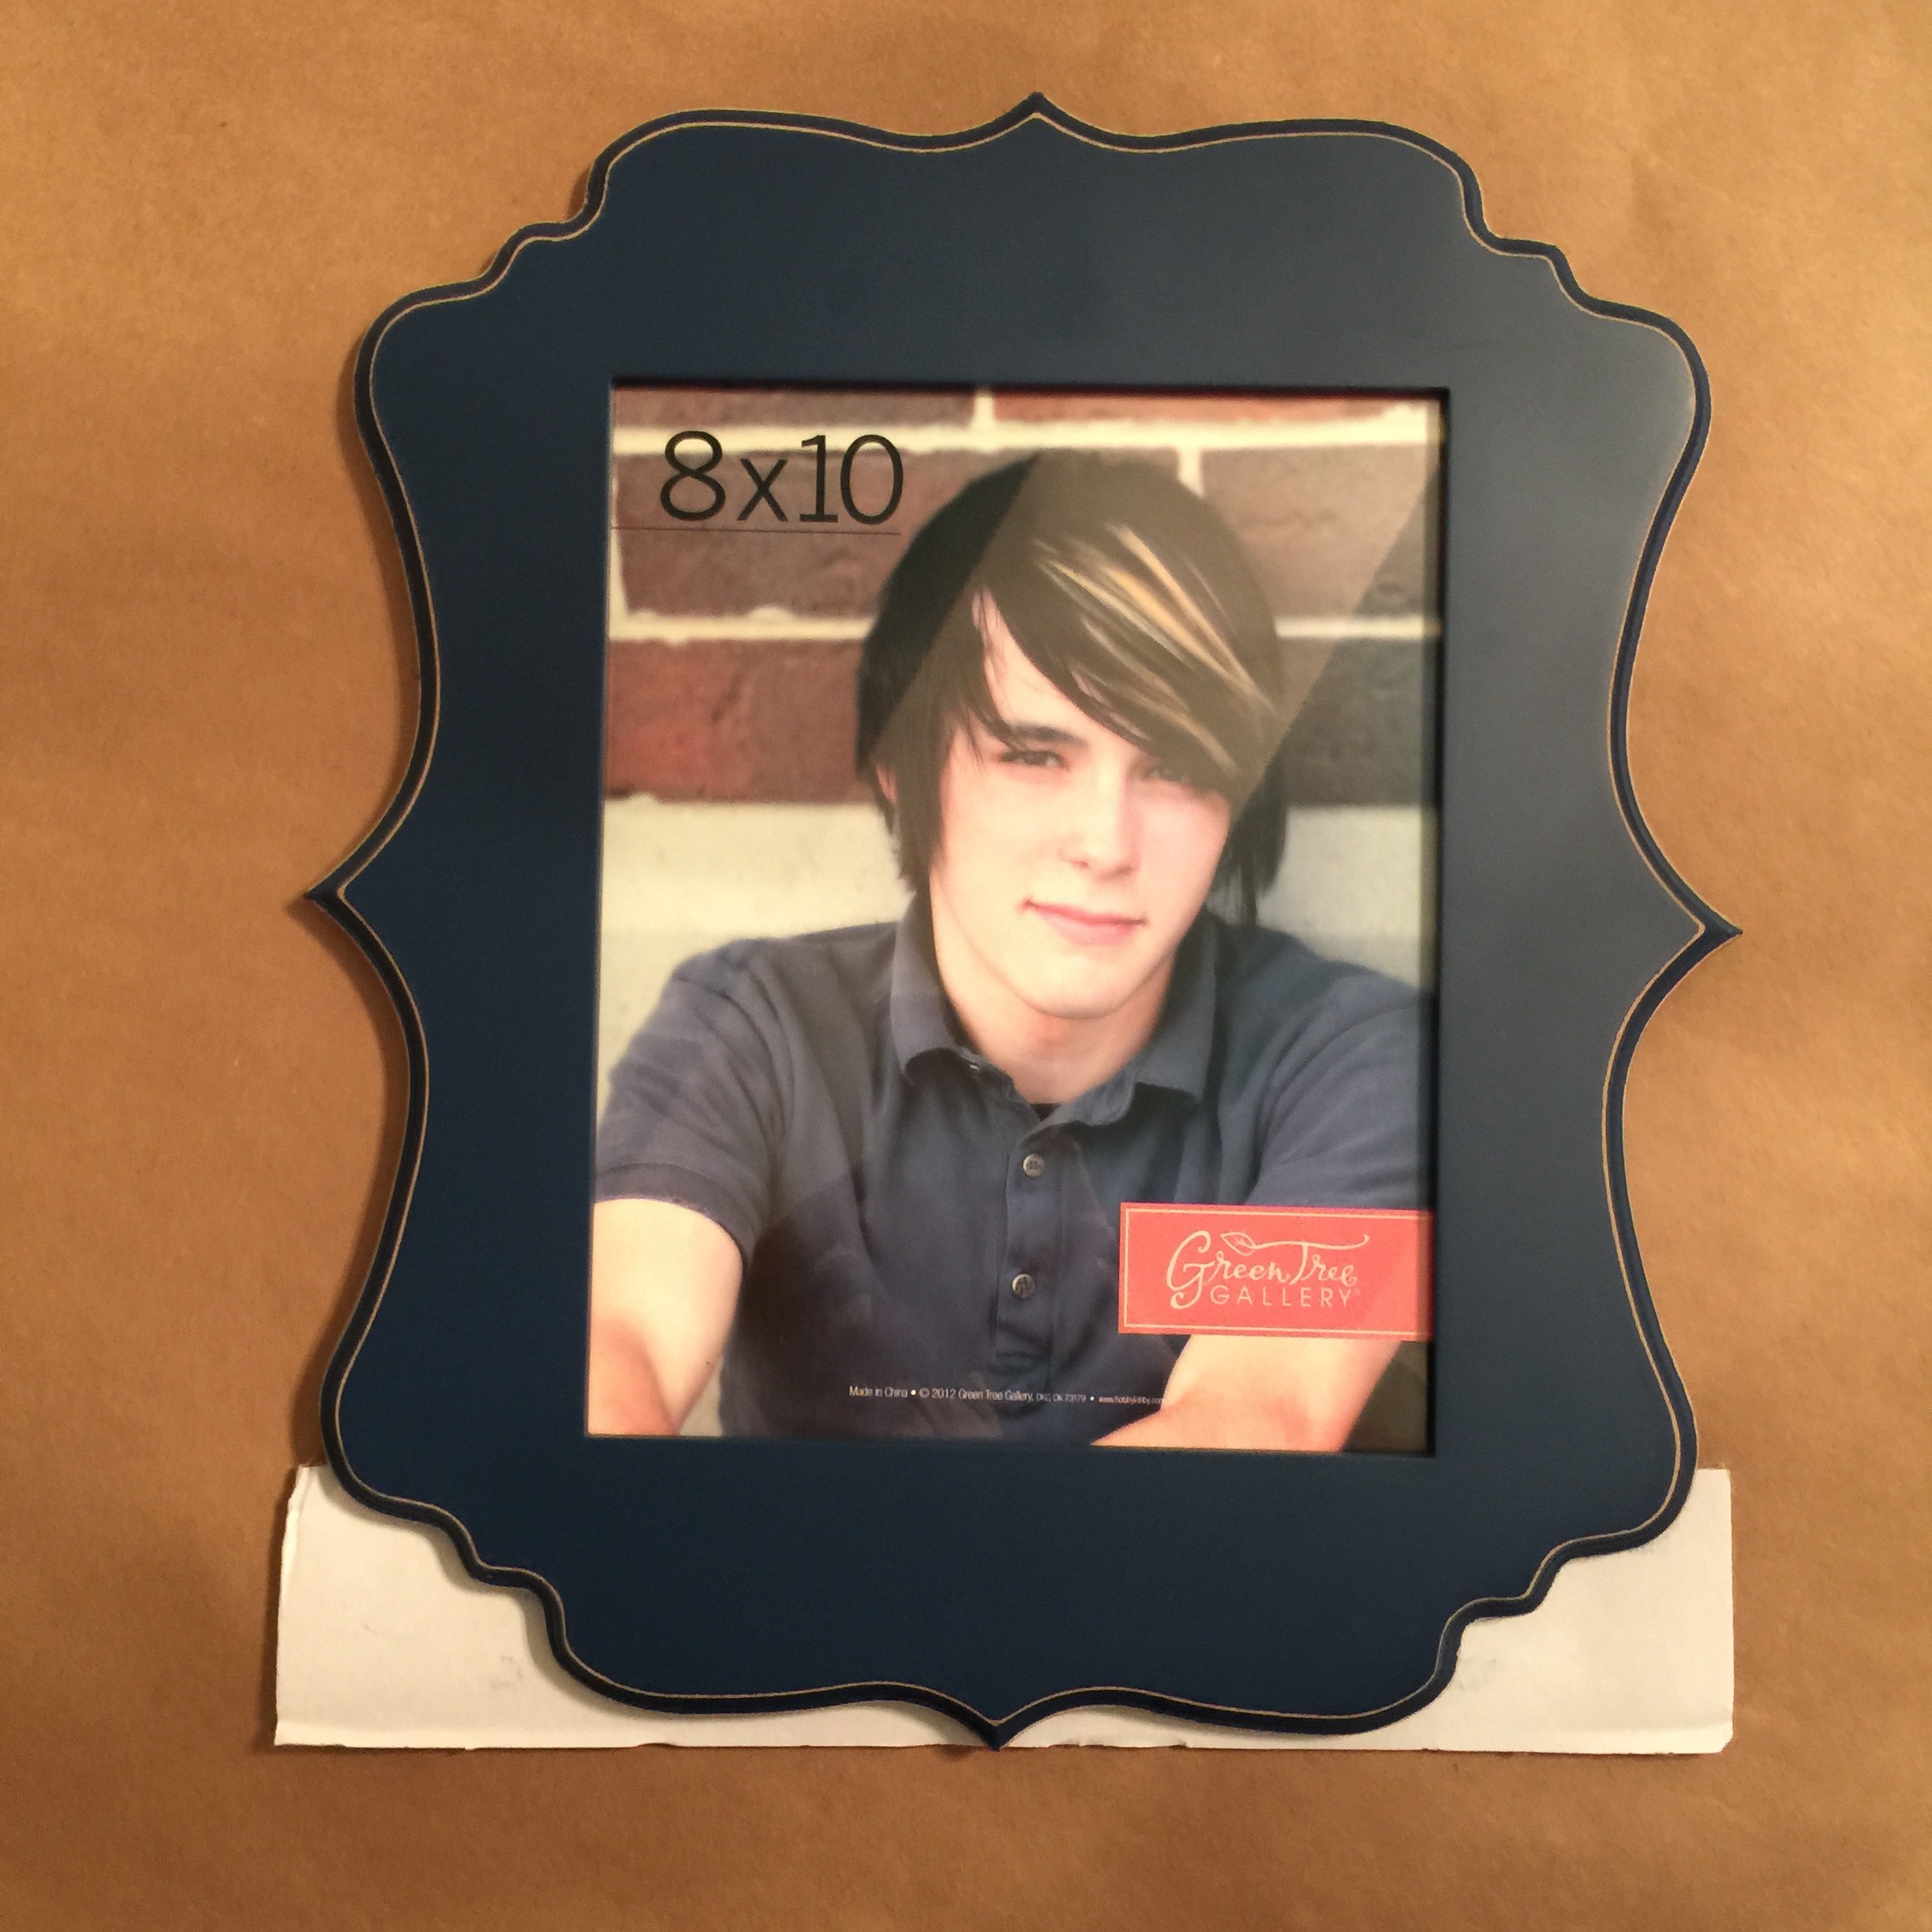
8″ x 10″ Scalloped Frame
Sander
The Process
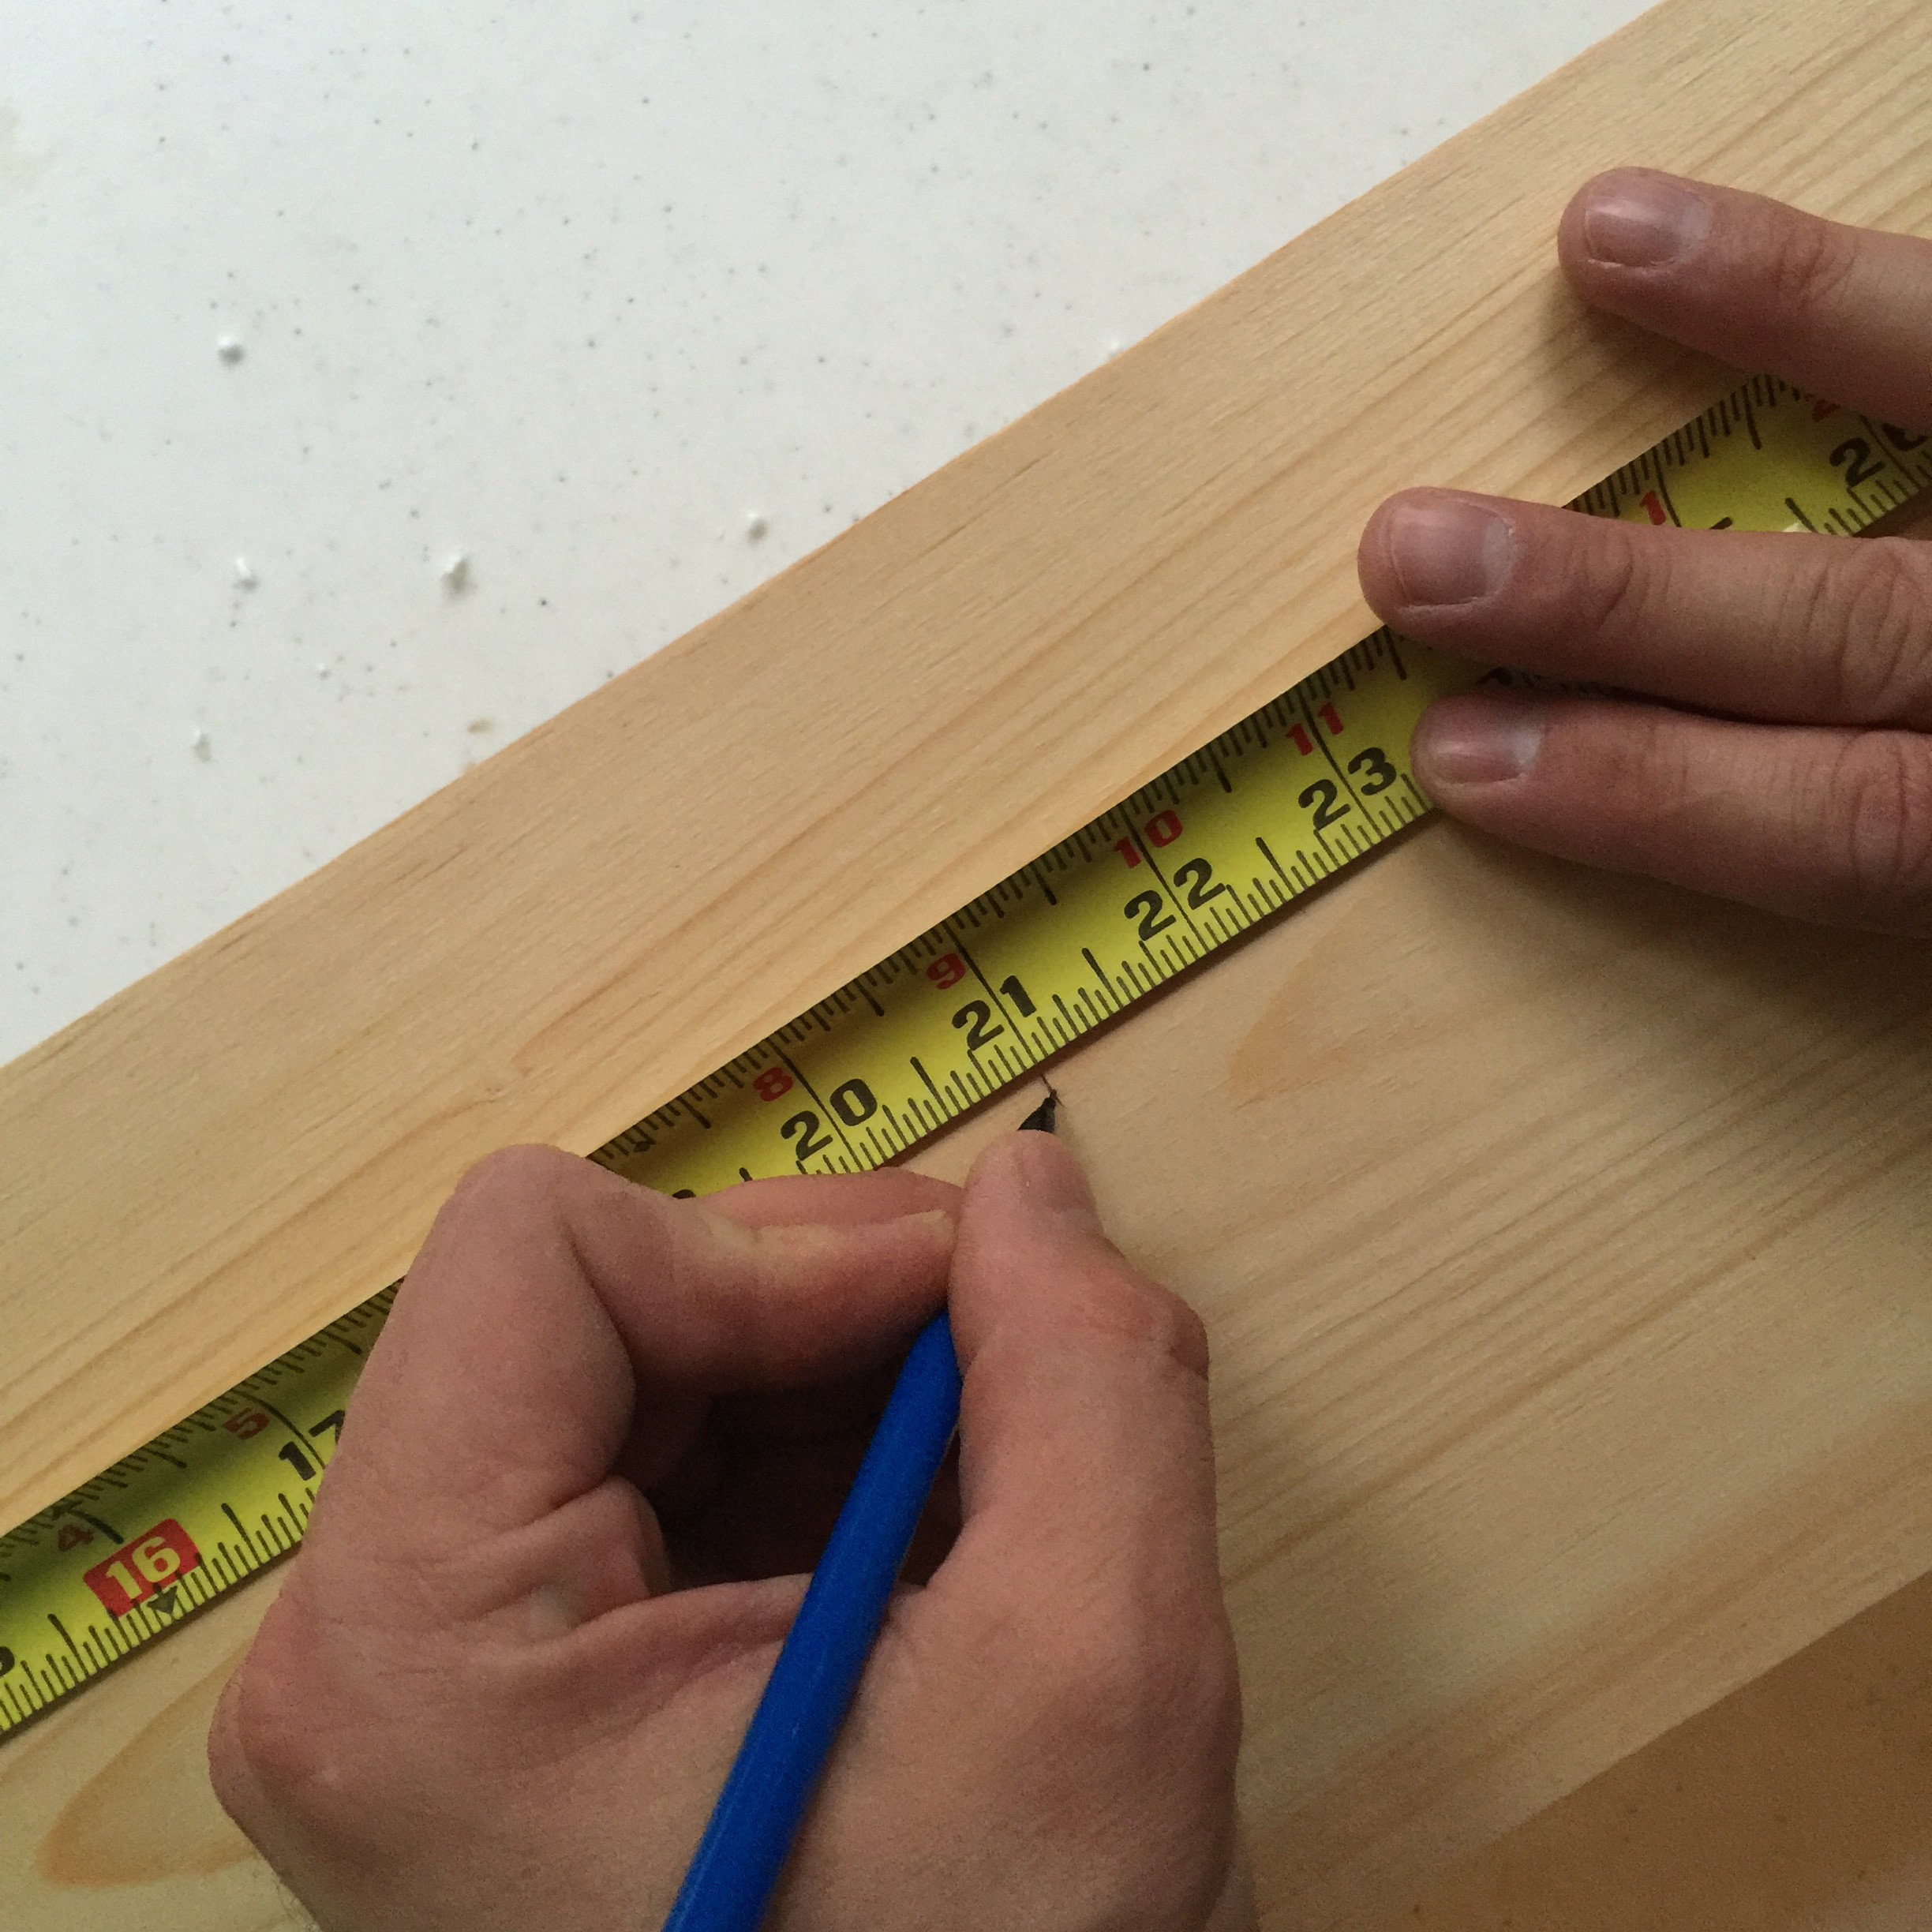
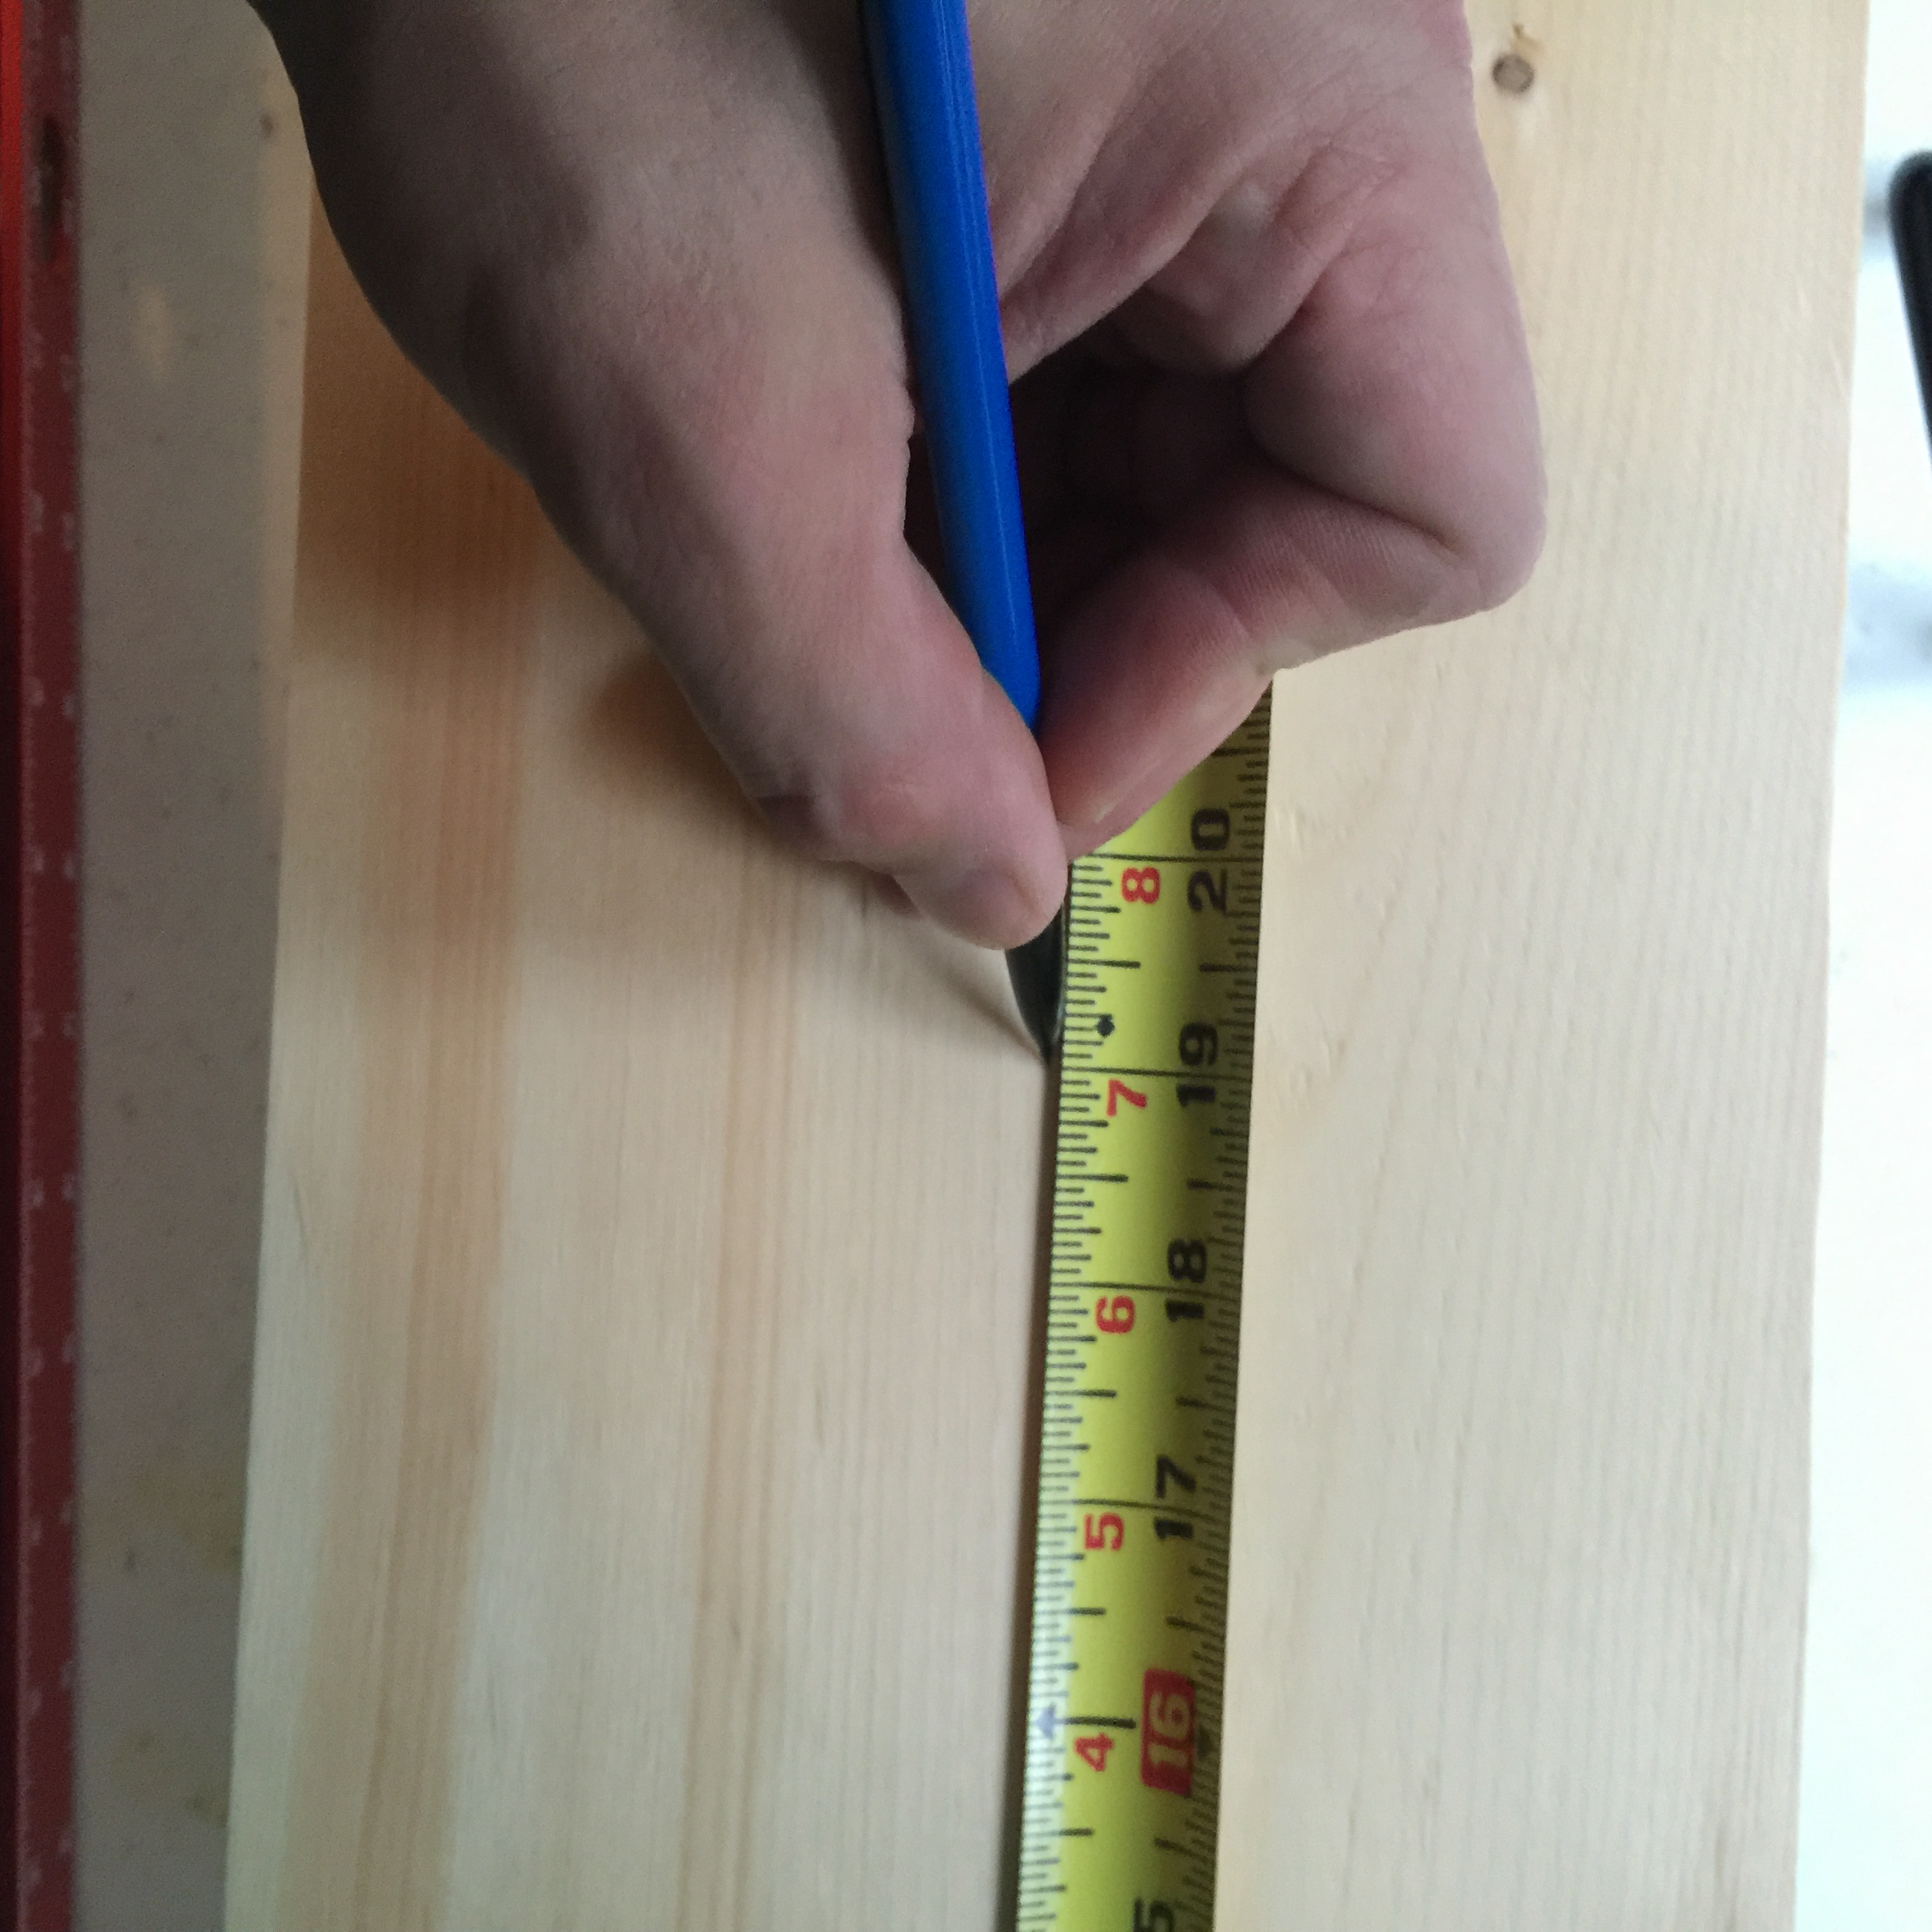
Step One
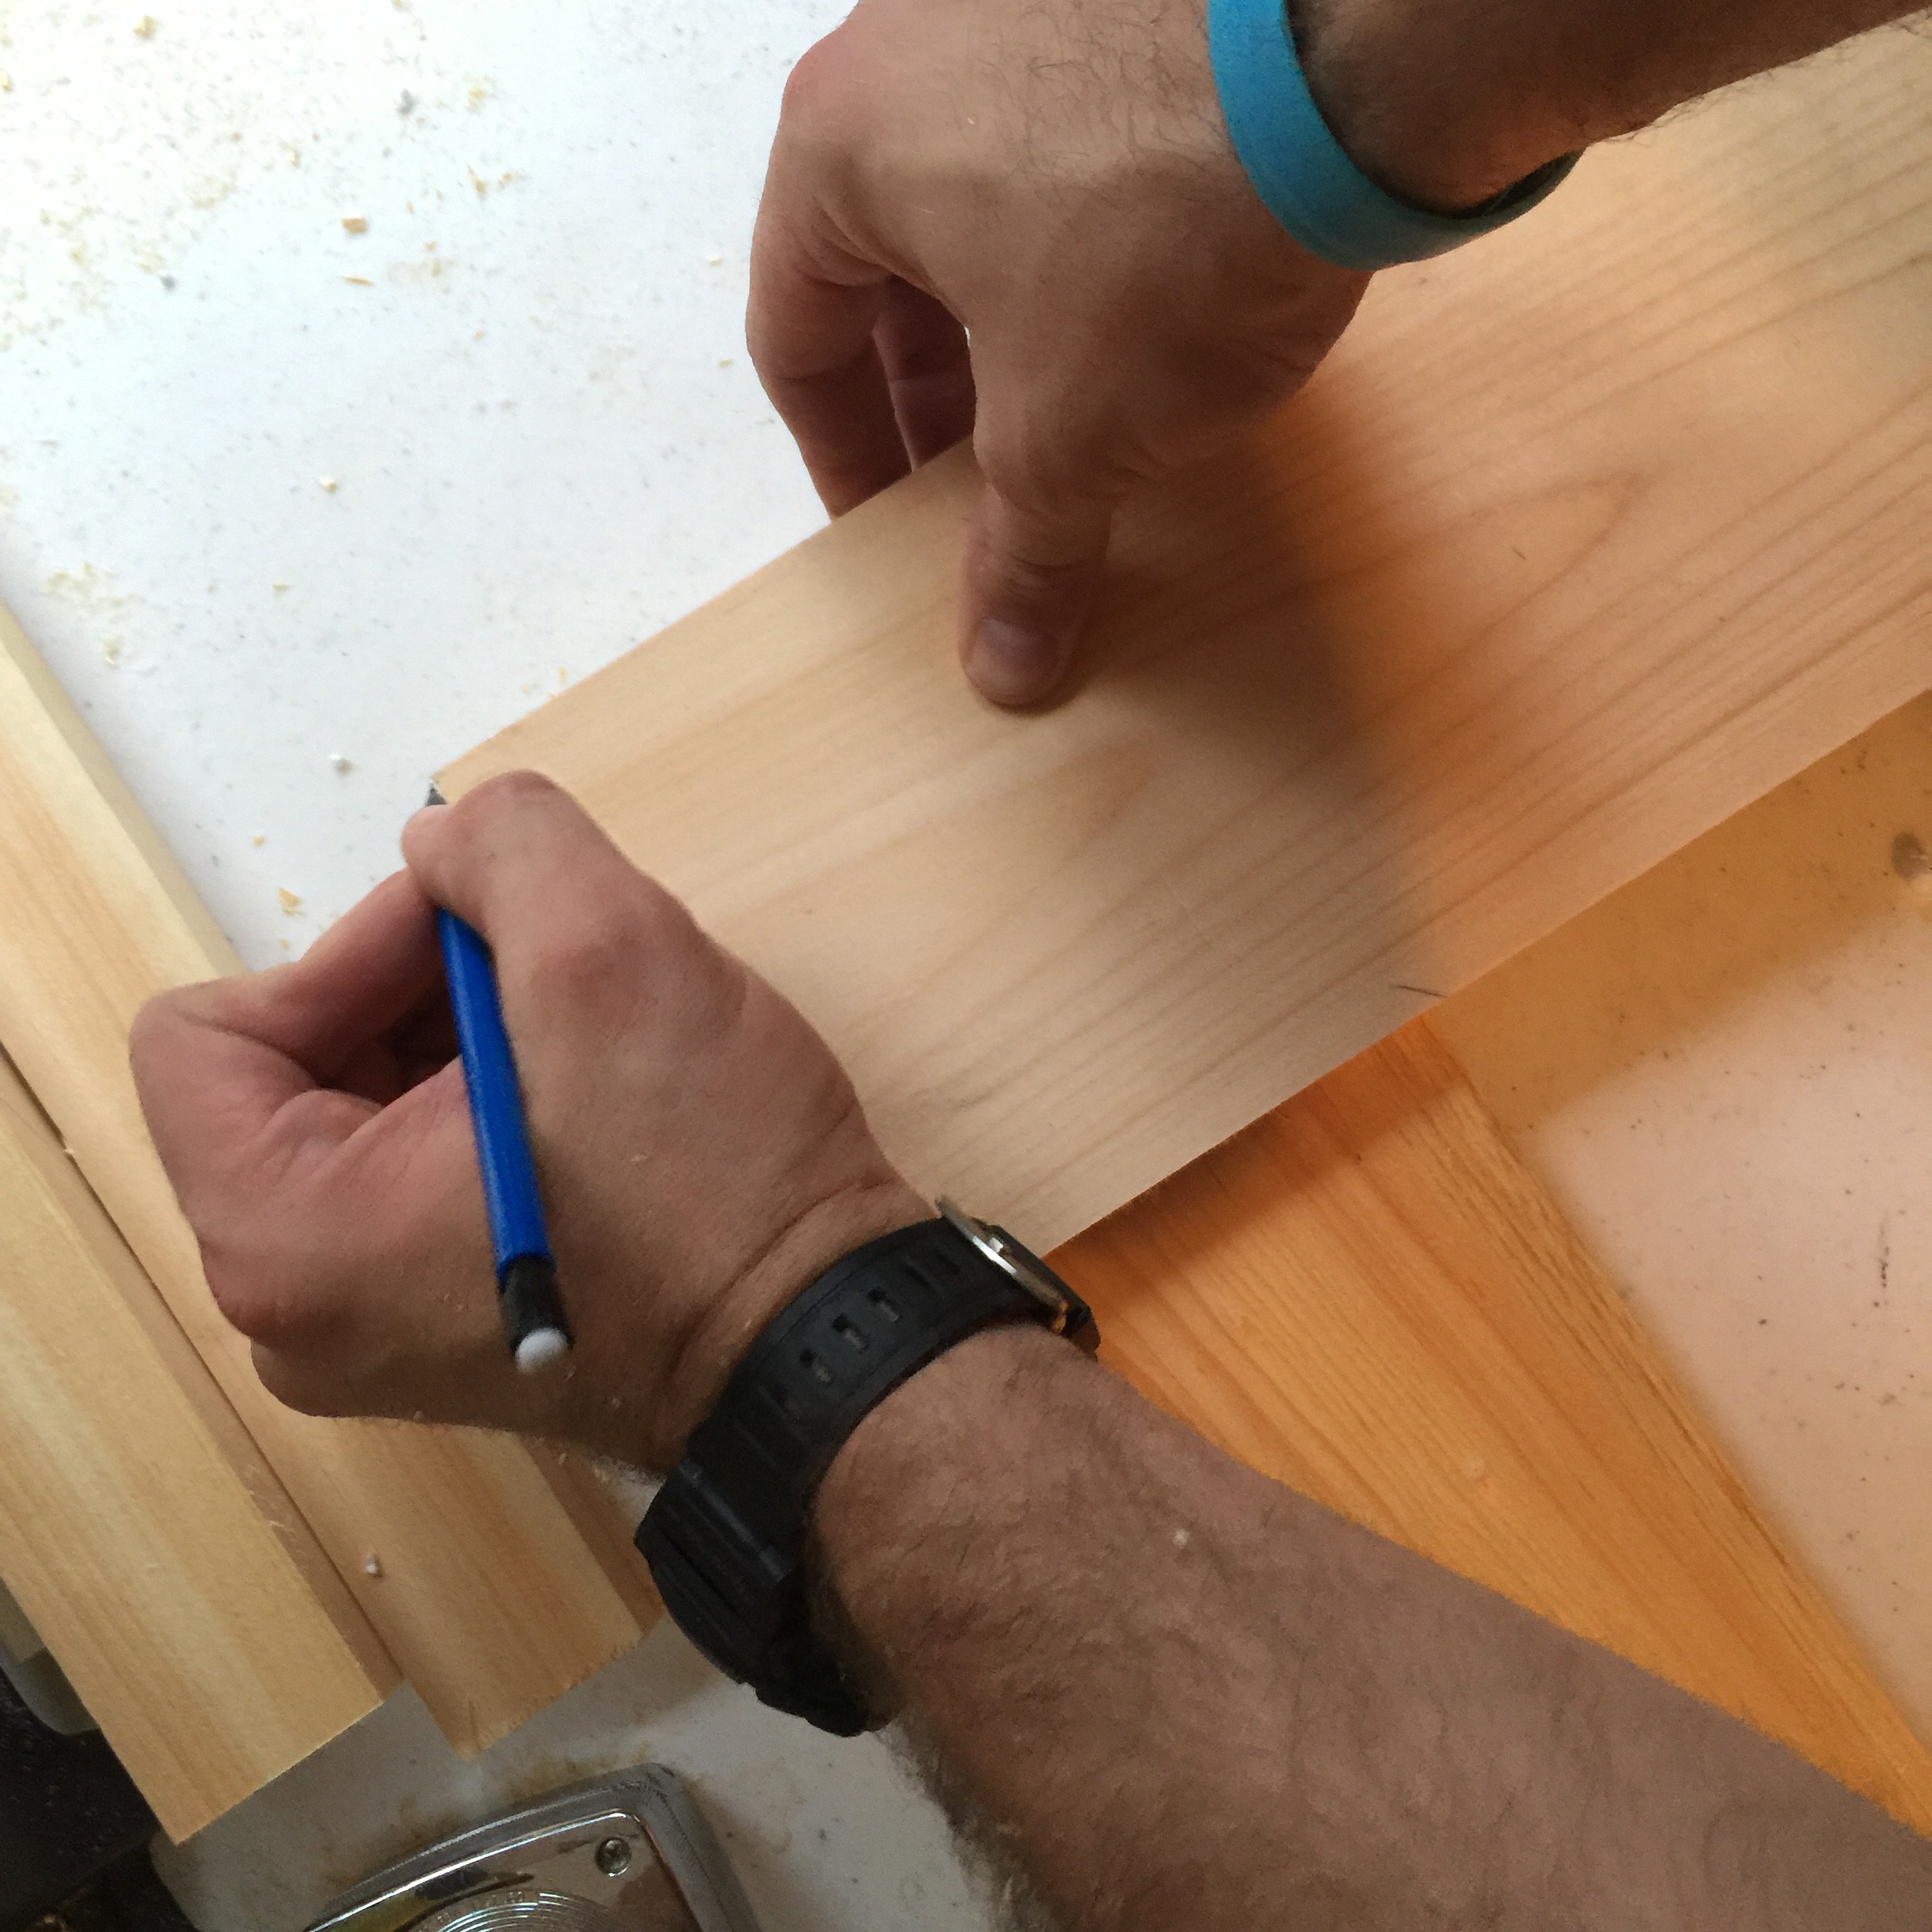
Mark and cut a 6′ long 1×6 into four pieces… 2 @21″ and 2 @ 19″

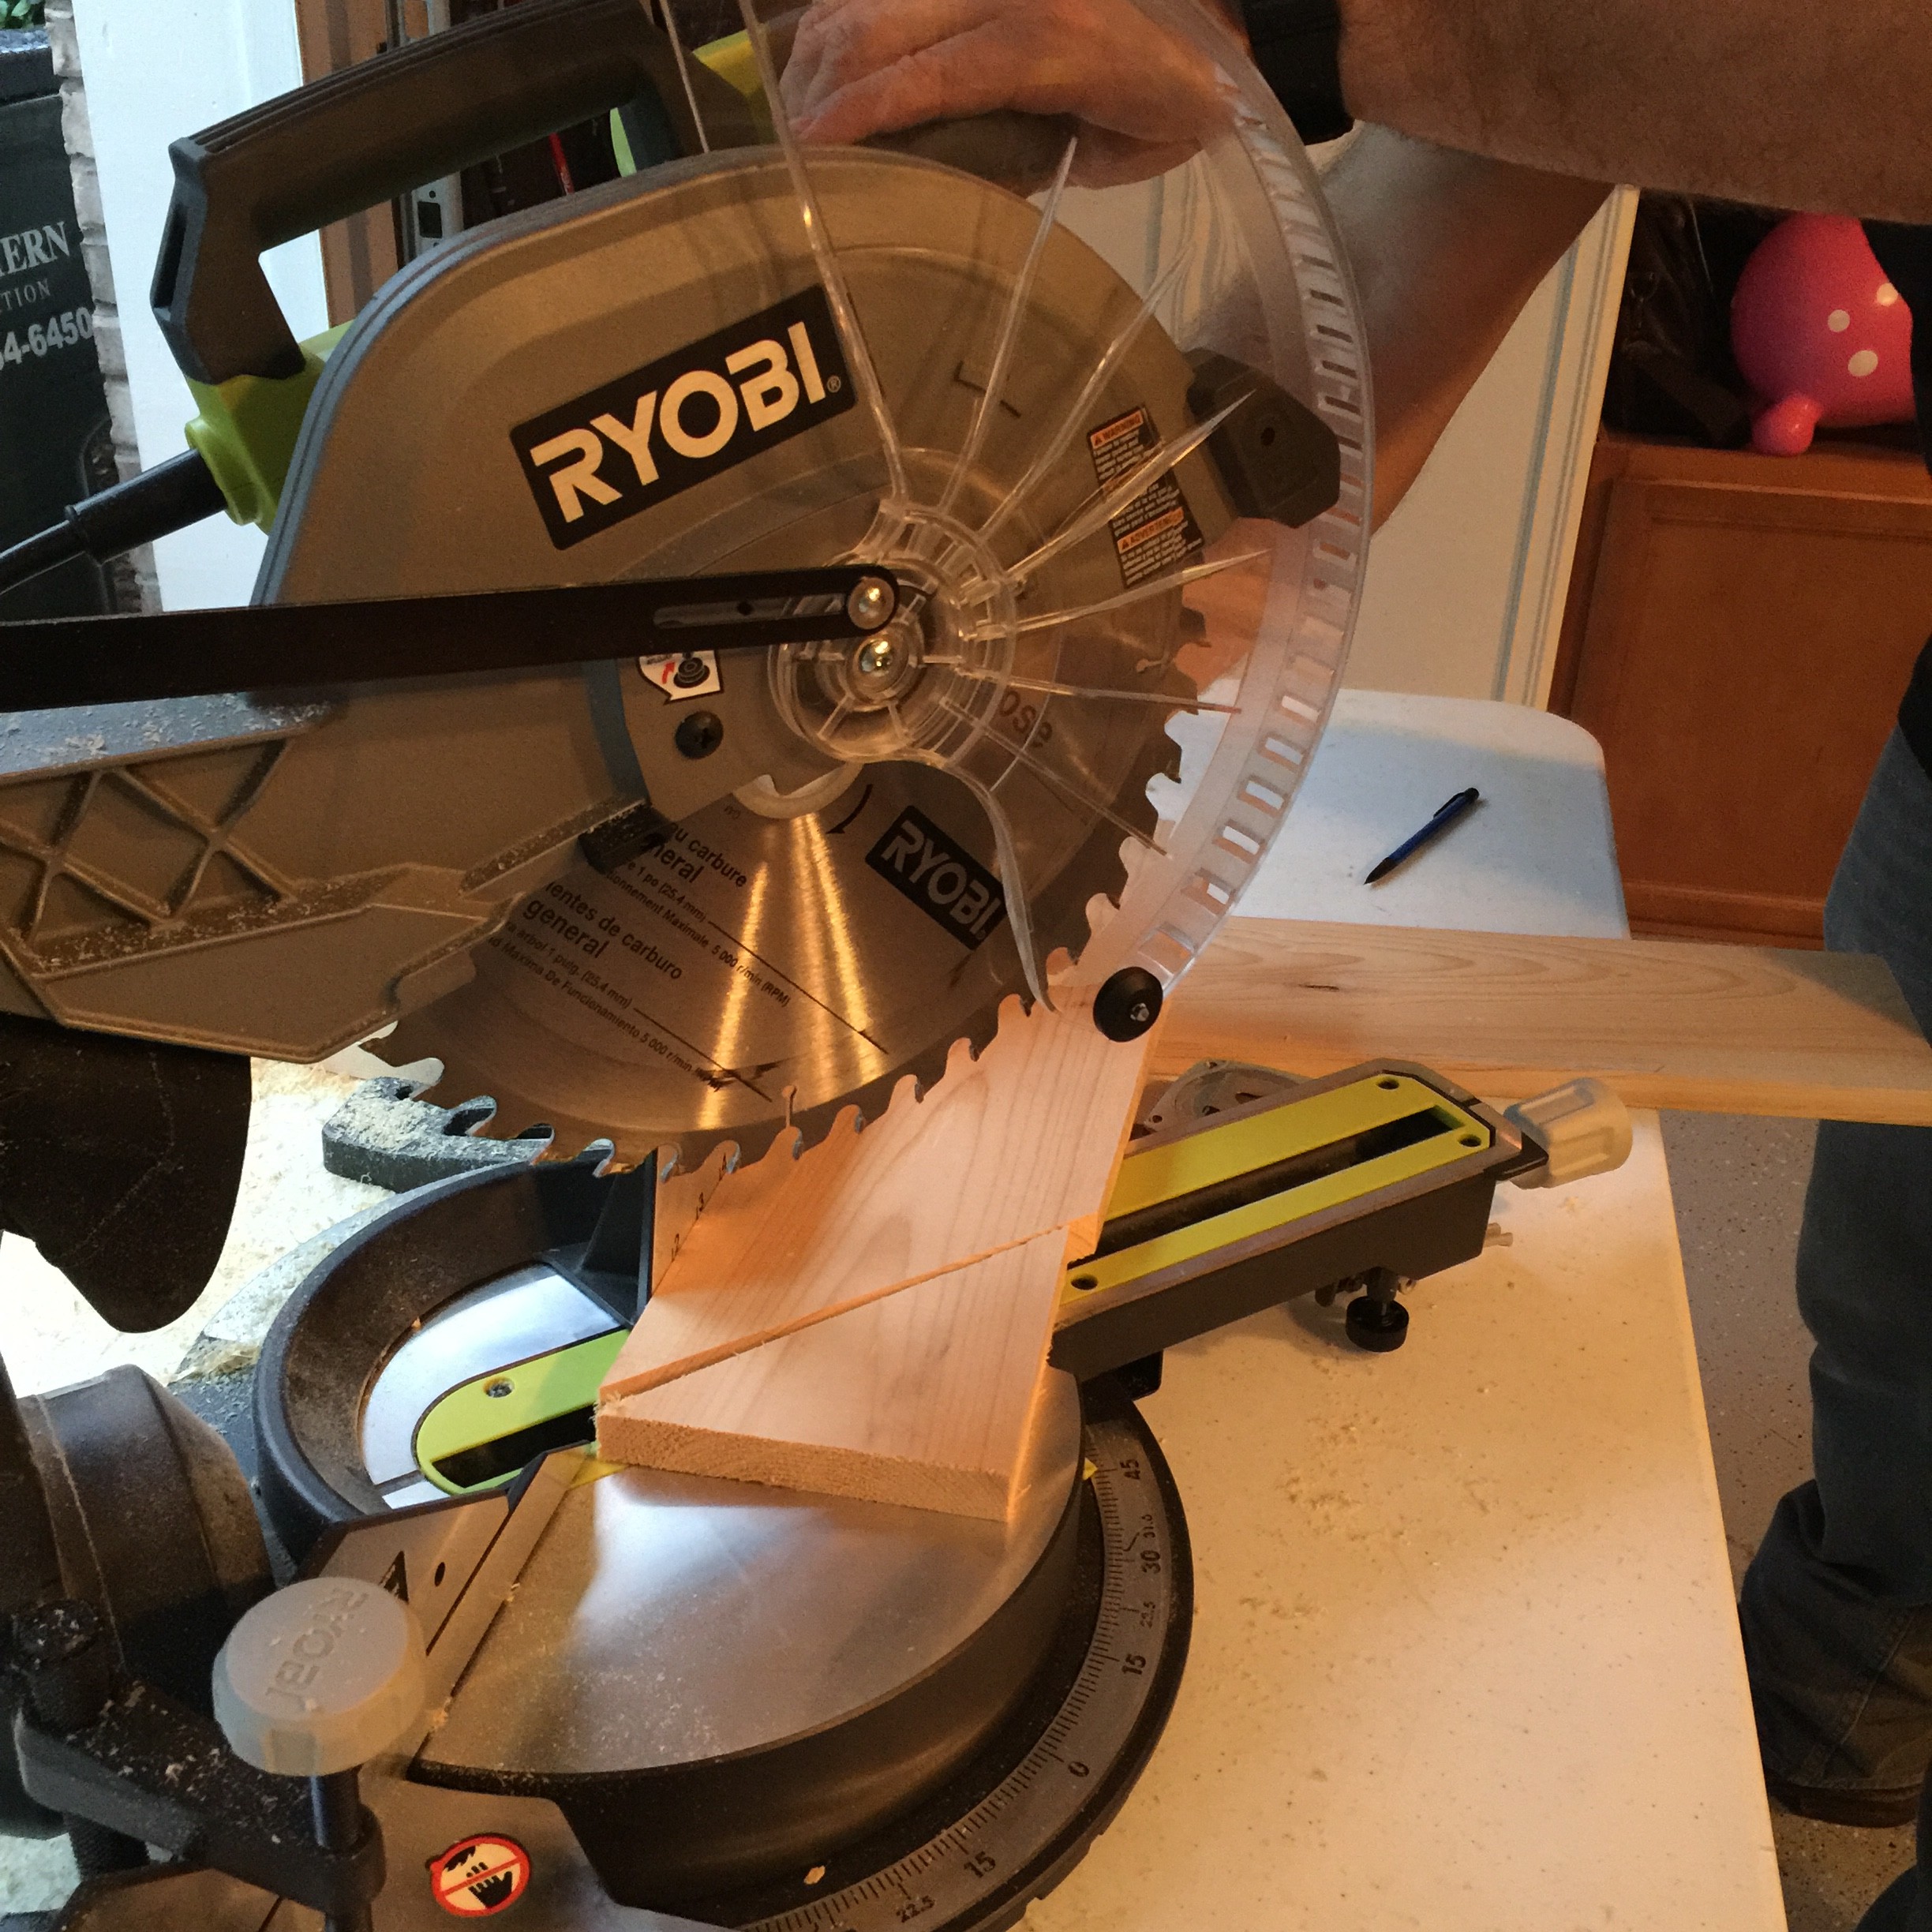
Step Two
Mark and cut each 1×6 on each cut end to create the mitered corners.
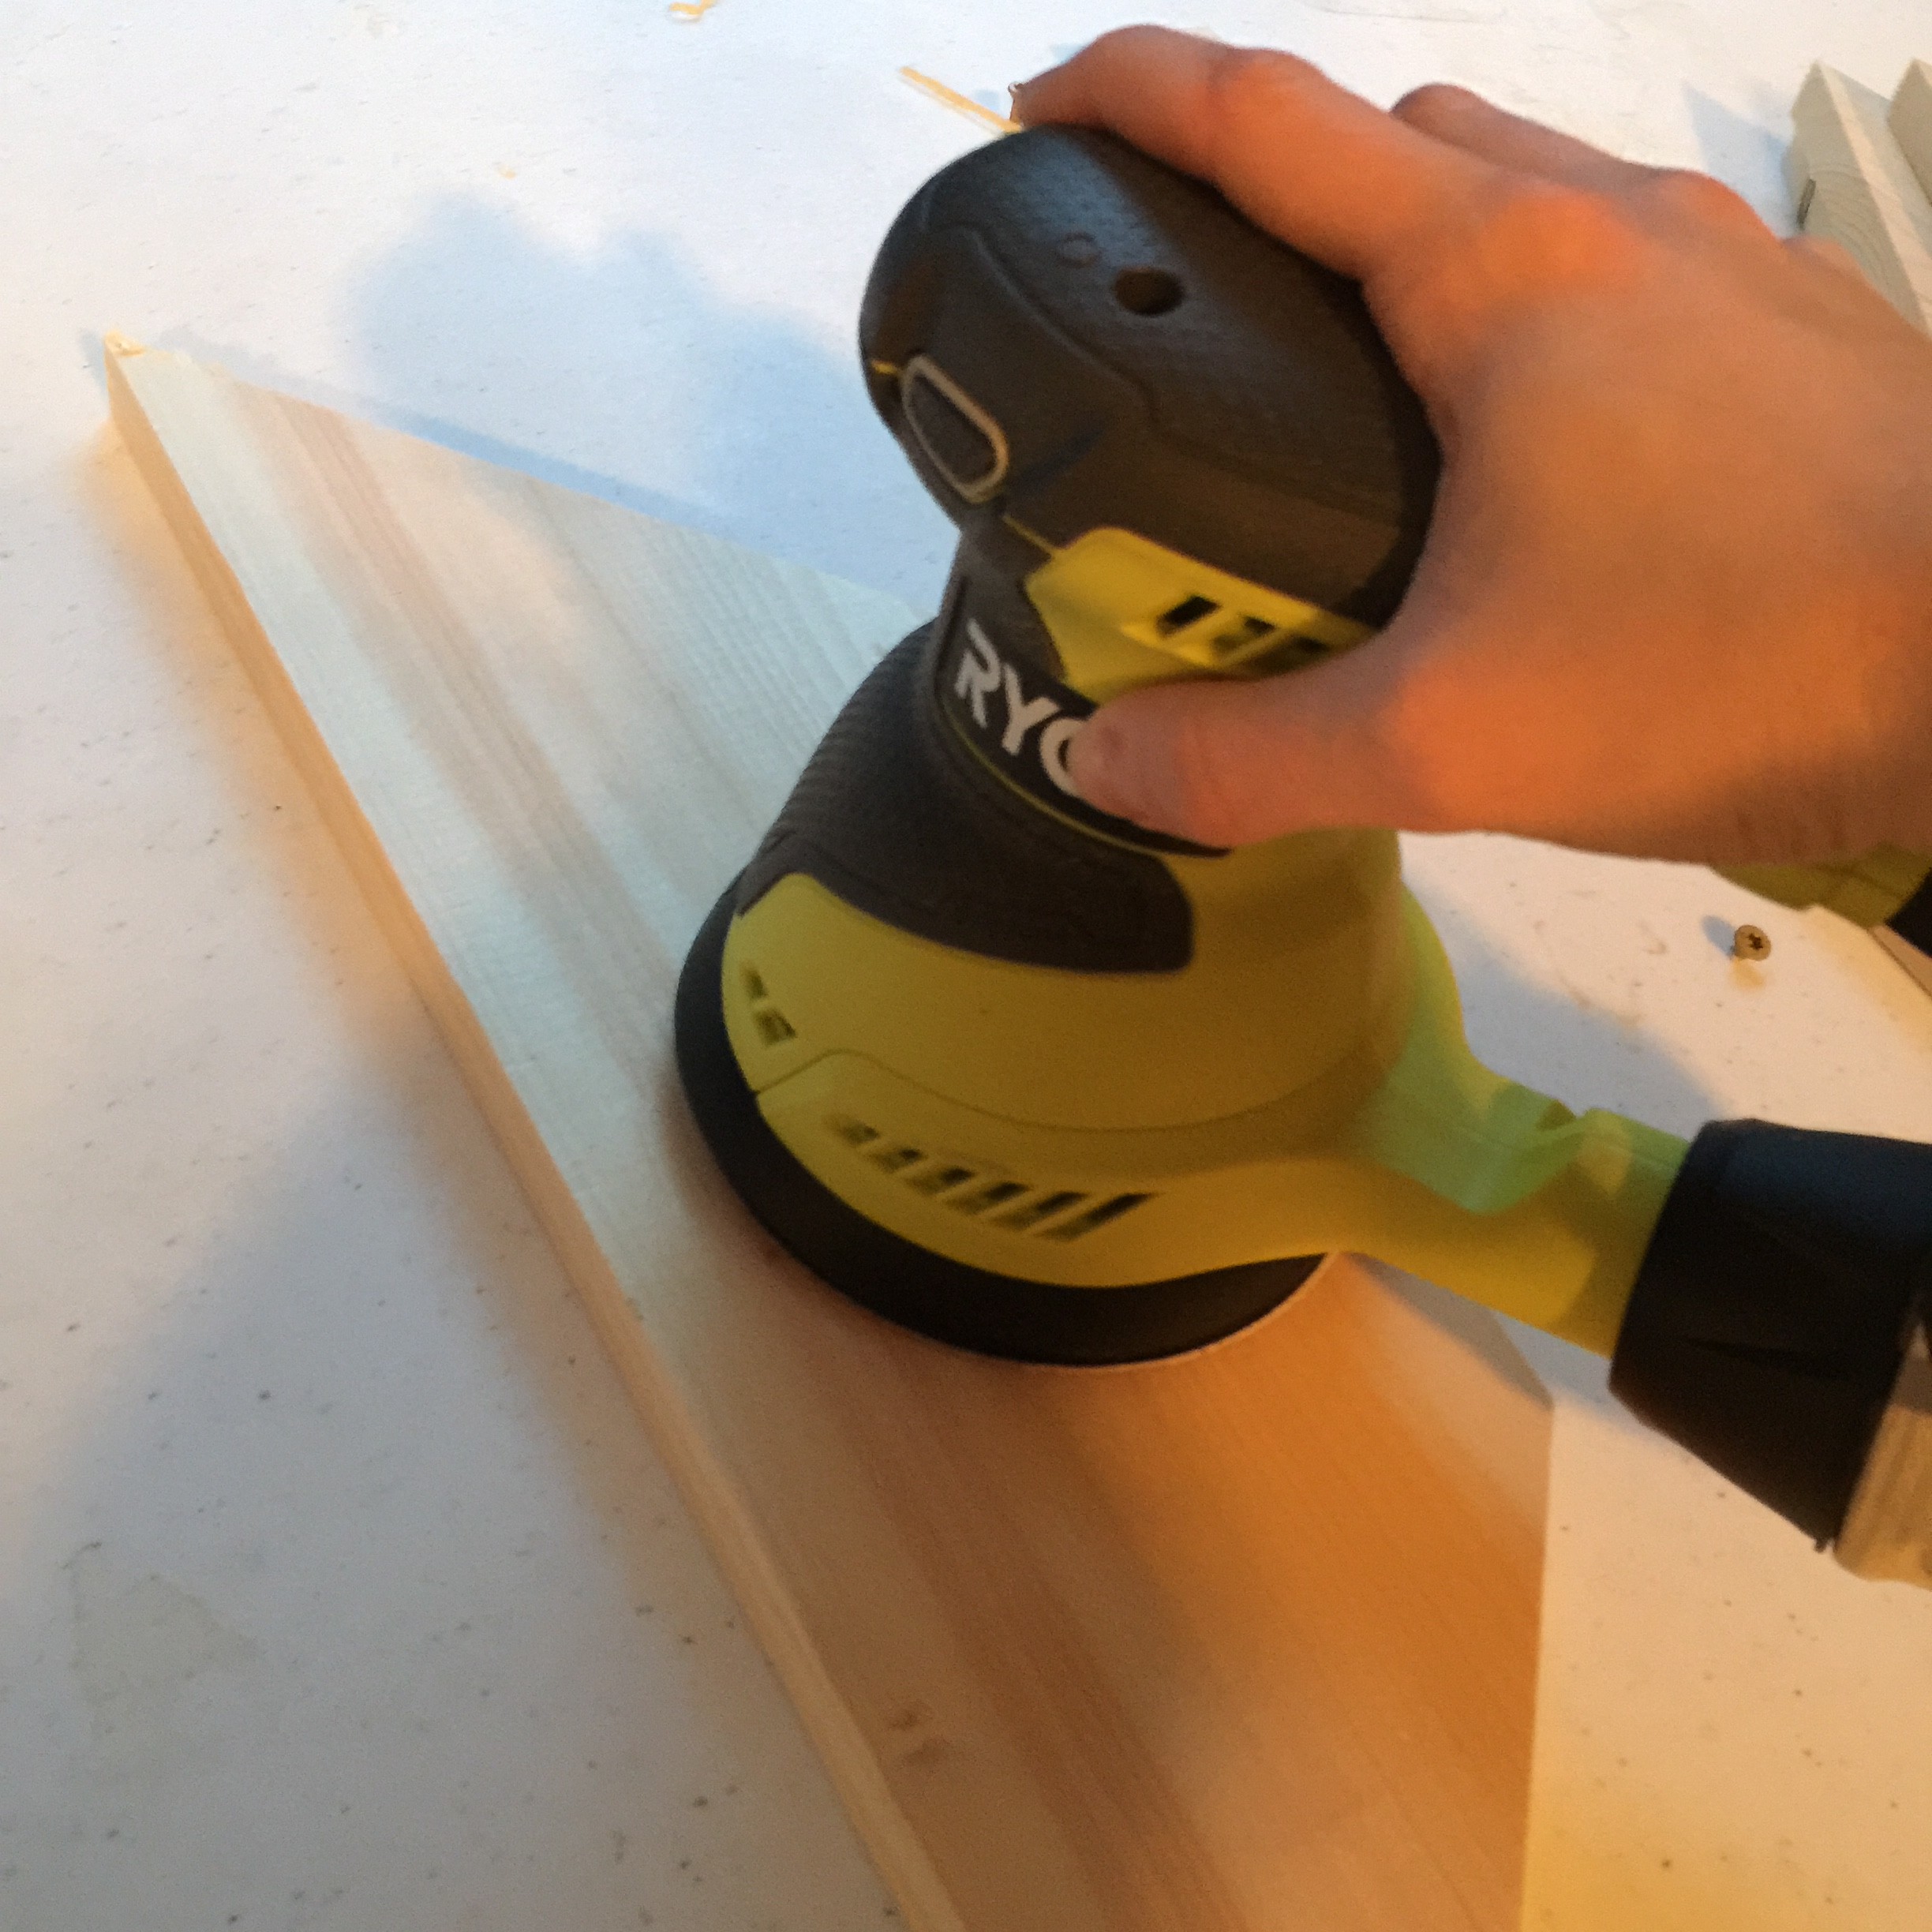
Step Three
Lightly sand each piece on the top, bottom and sides.
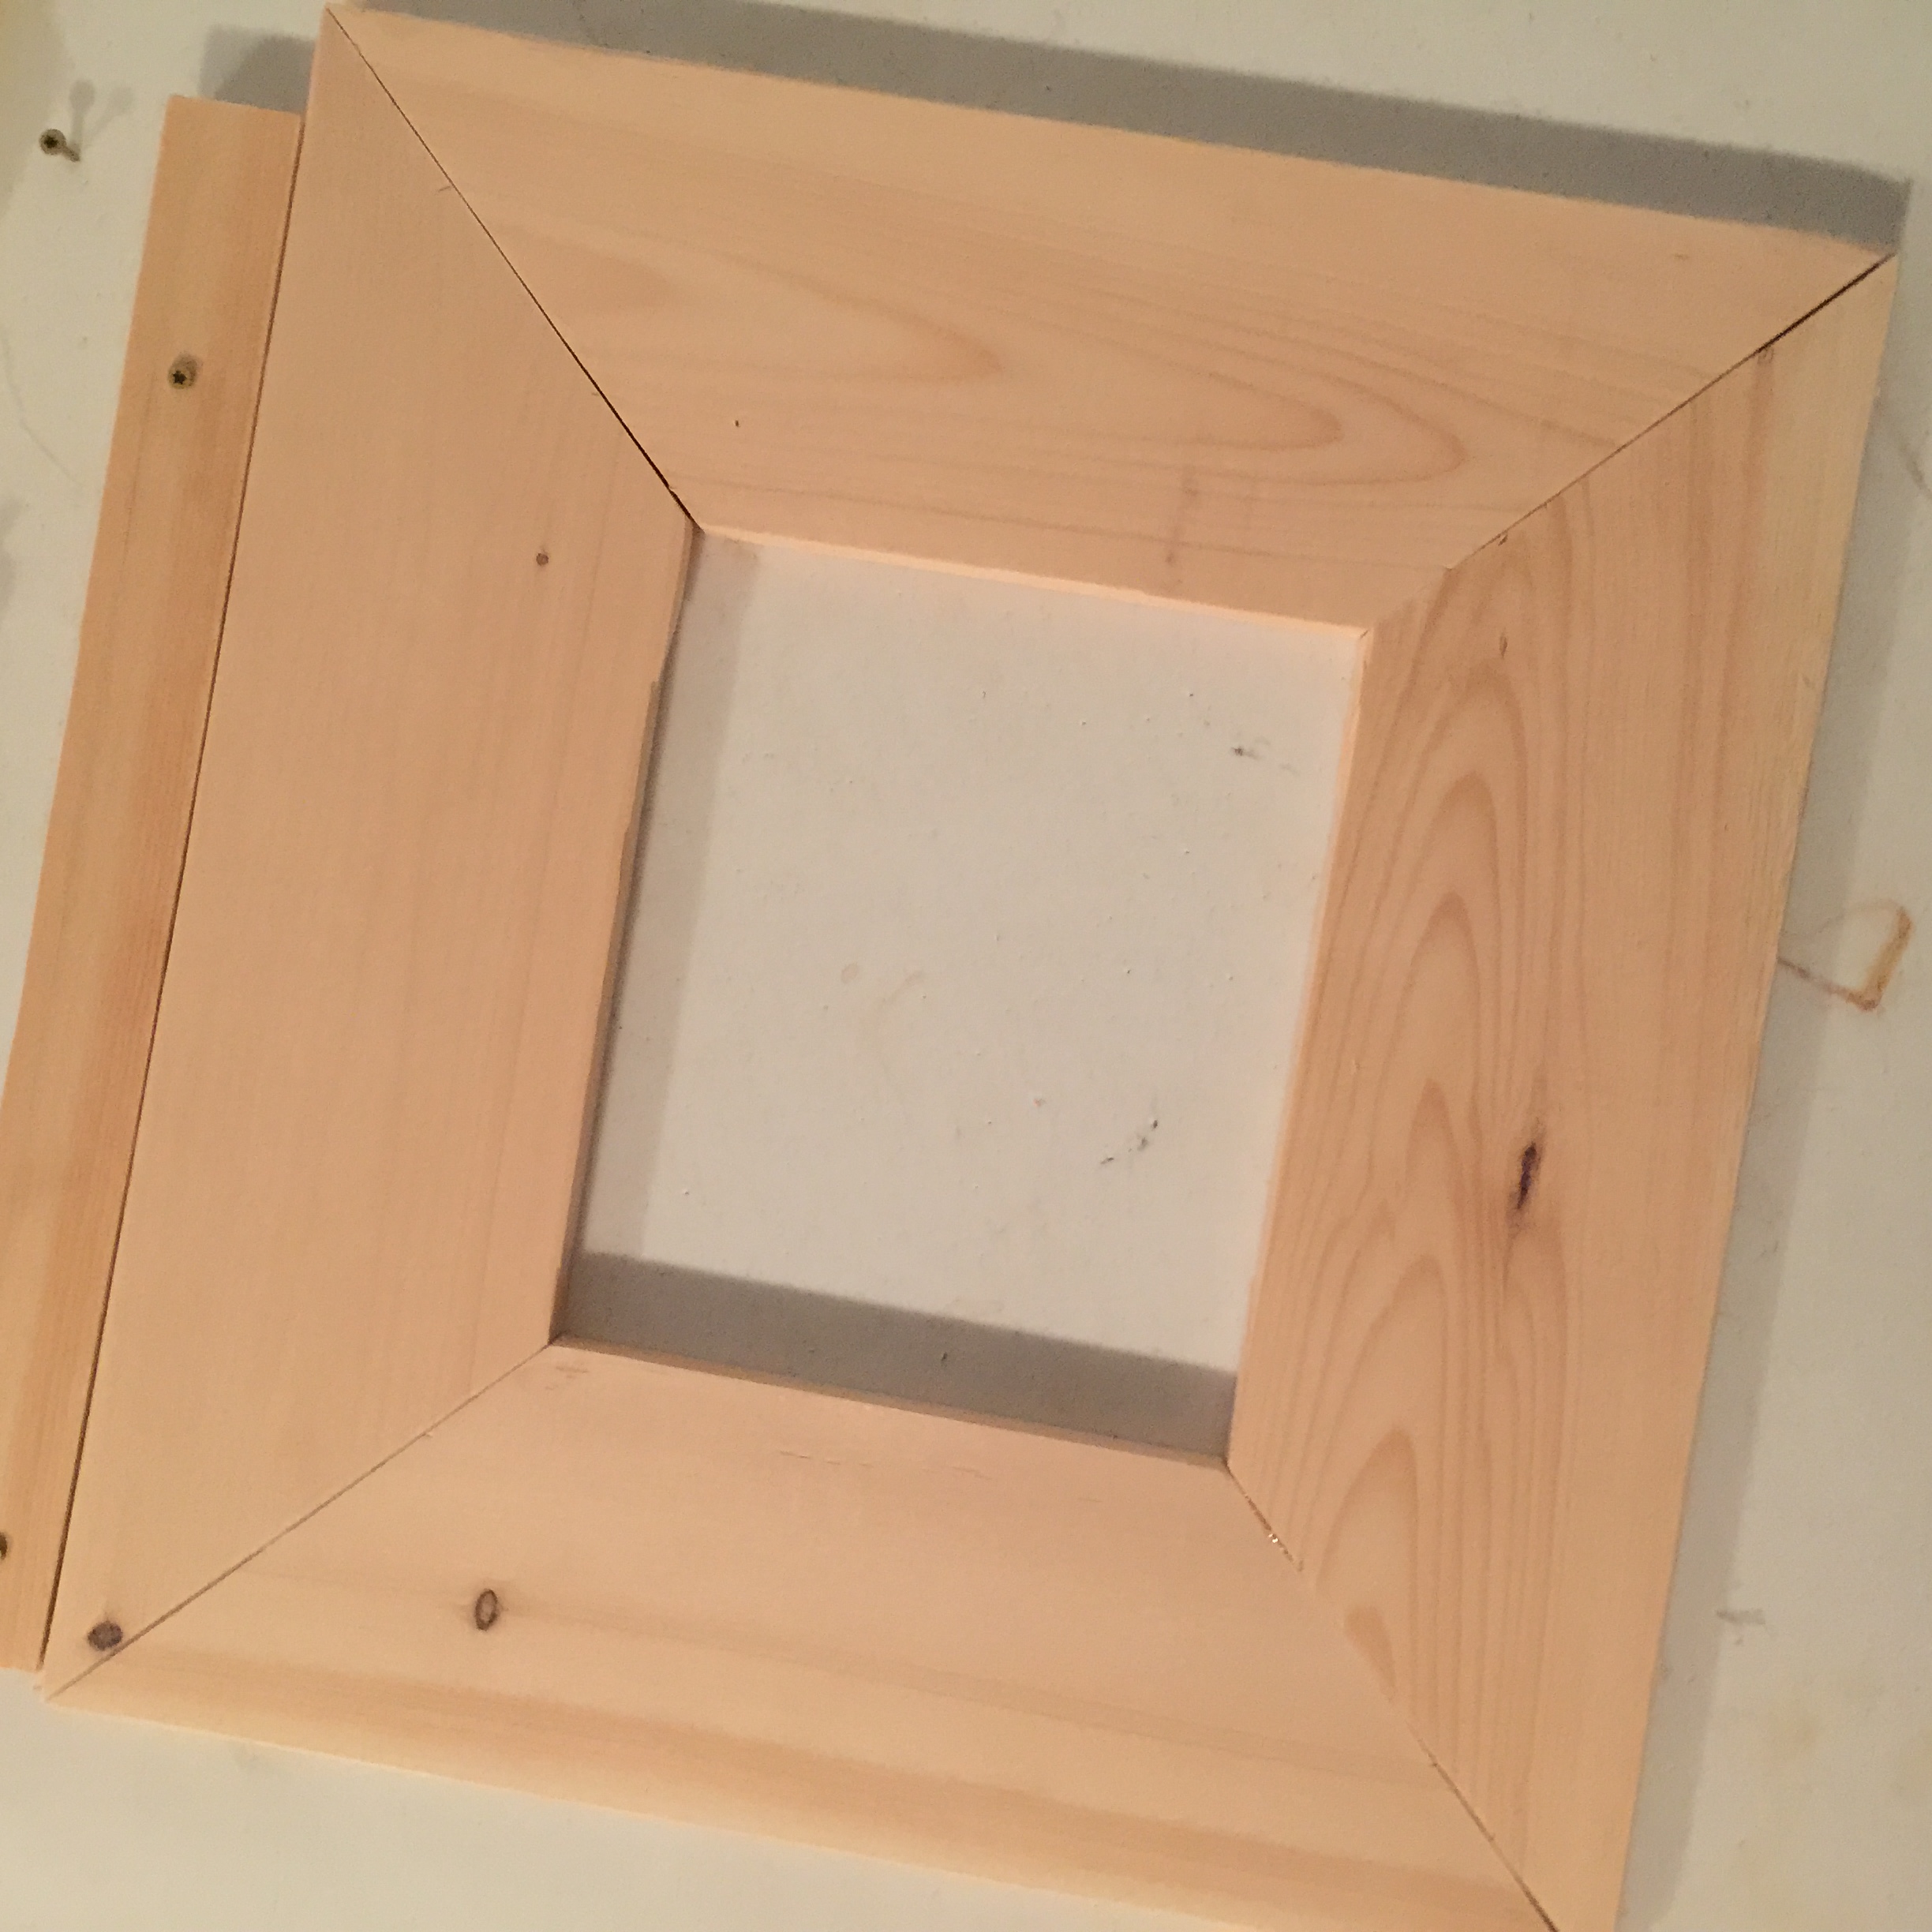
Step Four
Glue each side together to create the box frame shape using wood glue. I first tried unsuccessfully to use the adhesive pictured above and it came apart. I then purchased and used Gorilla glue and it worked perfectly! We also went back after this image was taken and caulked the seams and sanded once more.
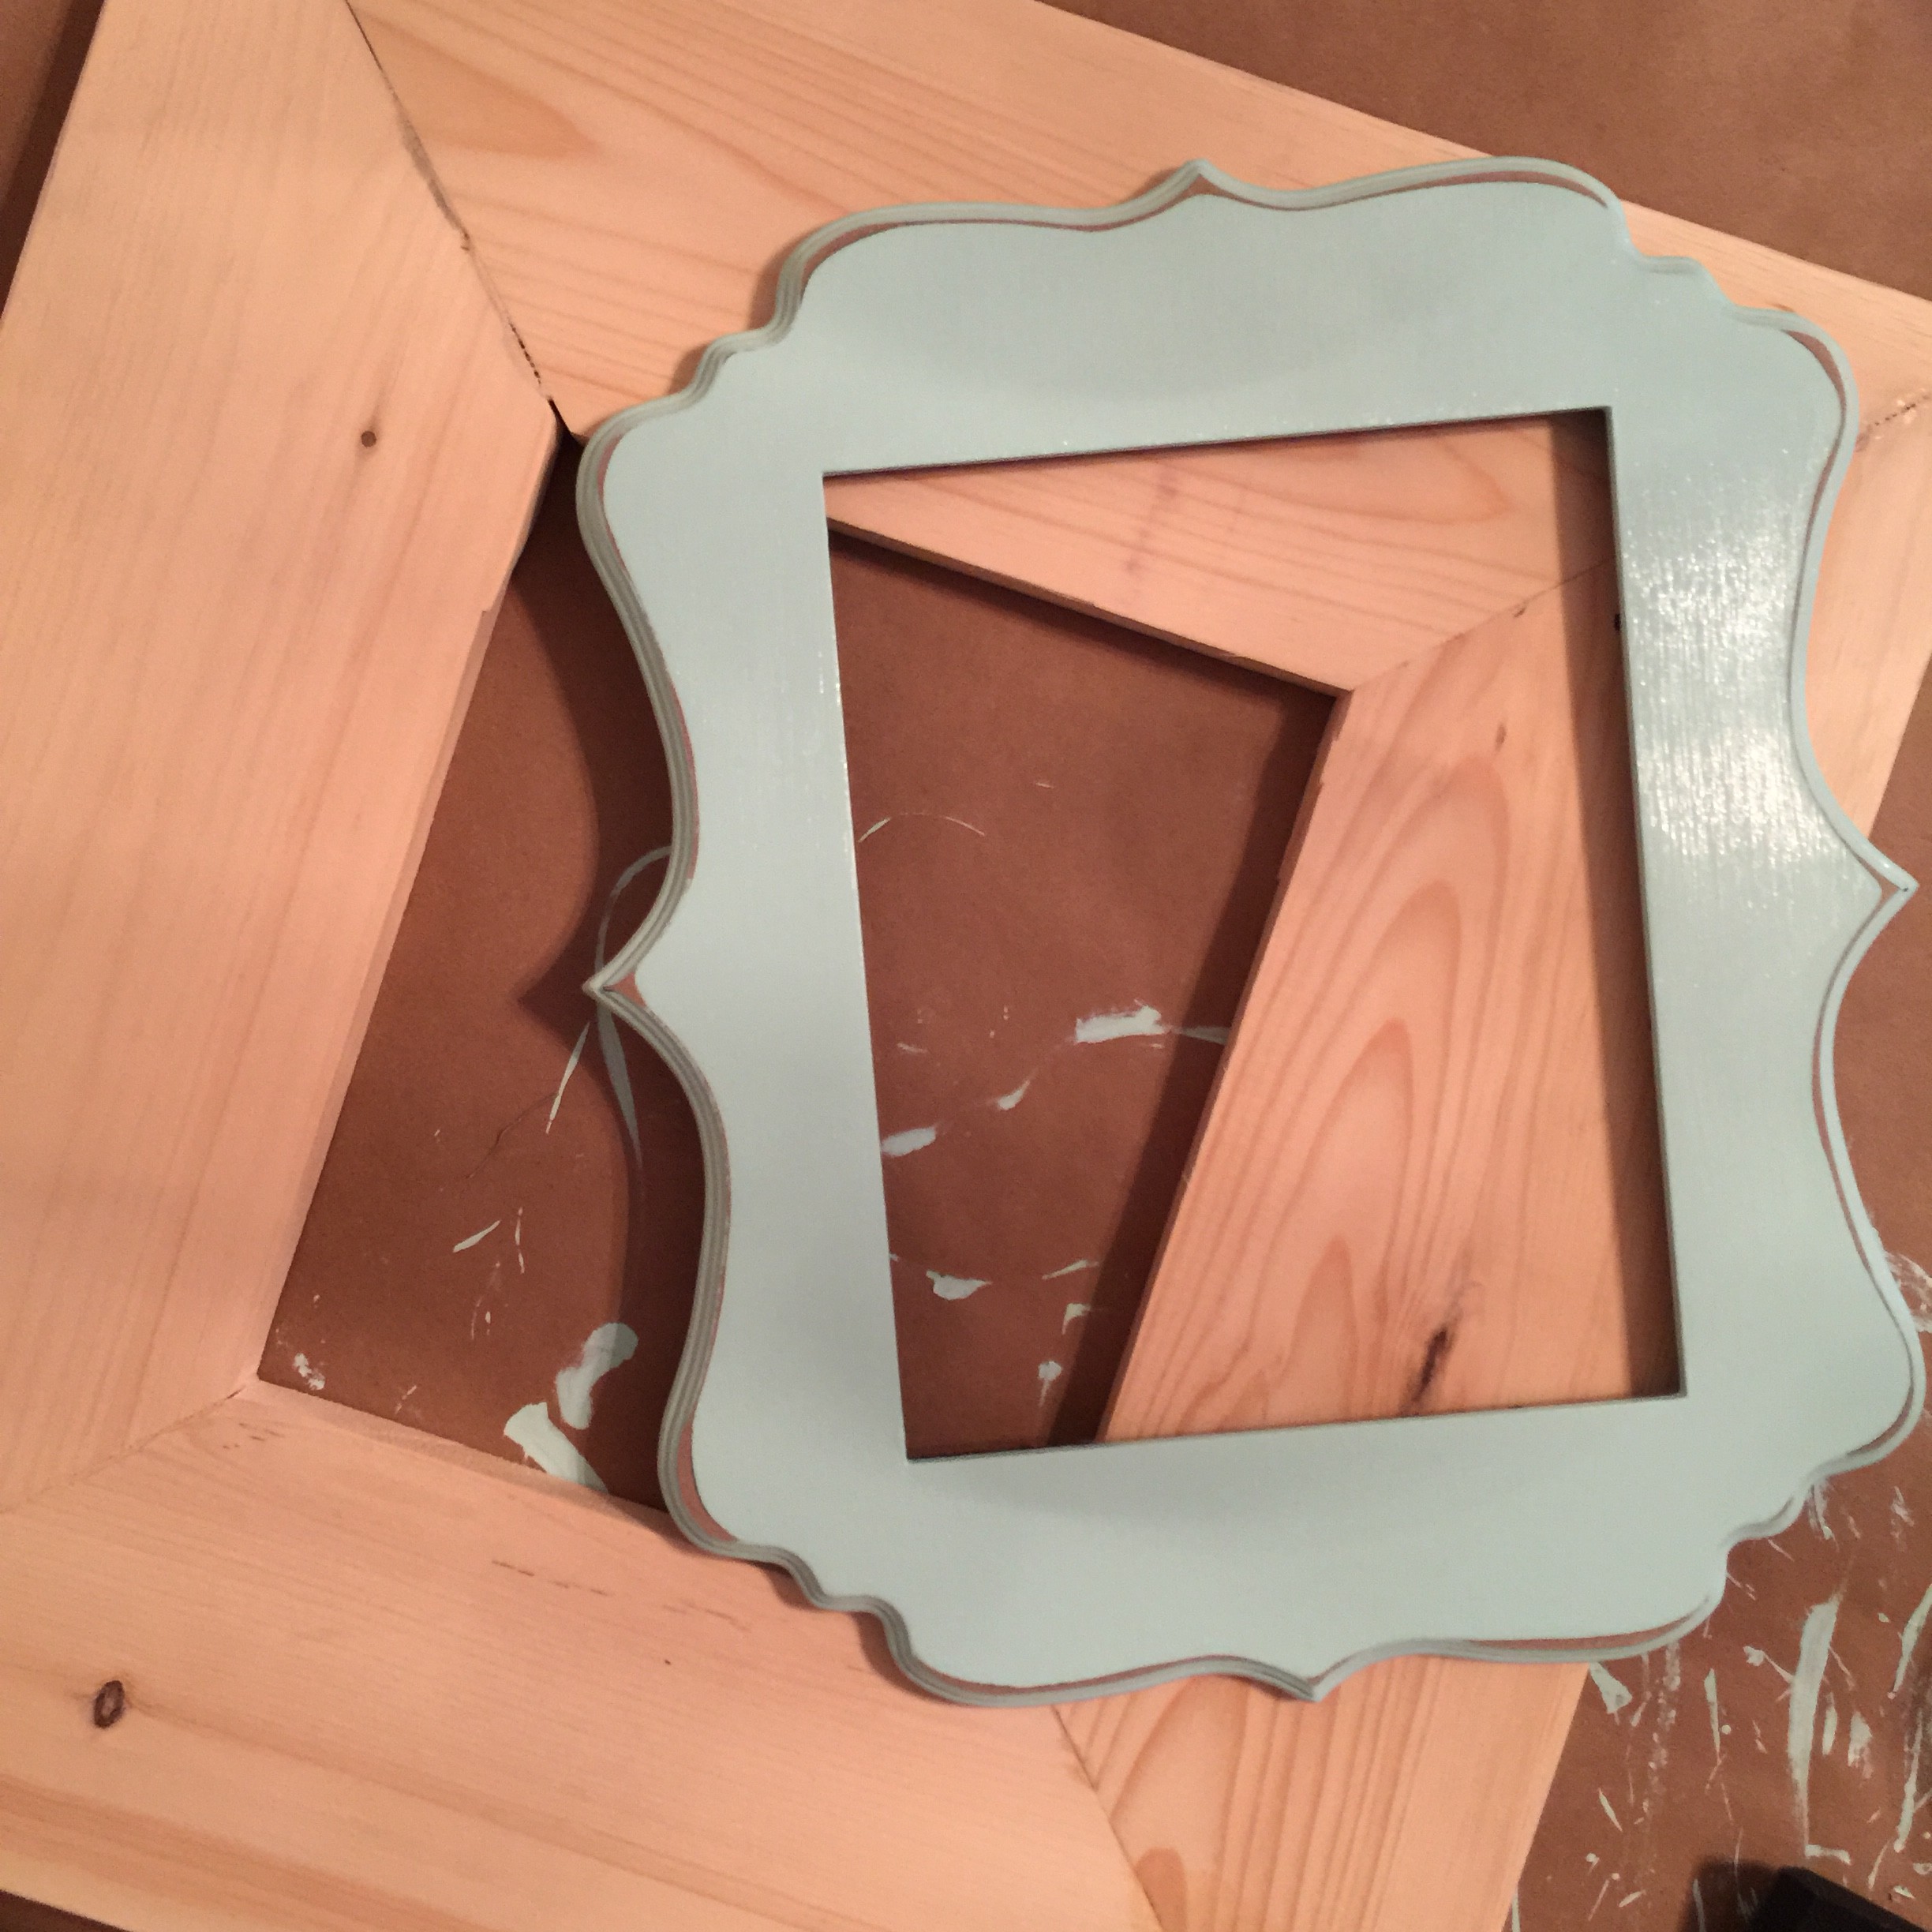
Step Five
While the rectangular frame was drying, I started painting the Hobby Lobby frame I had purchased. I lightly sanded the frame first and then painted on three coats of Glidden Lime Foam. It sounds green but it’s more blue.
Step Six
Once the paint was dry, I lightly sanded the edges to create a slightly distressed finish mimicking the one I had from Poppy Tree Frames.
Step Seven
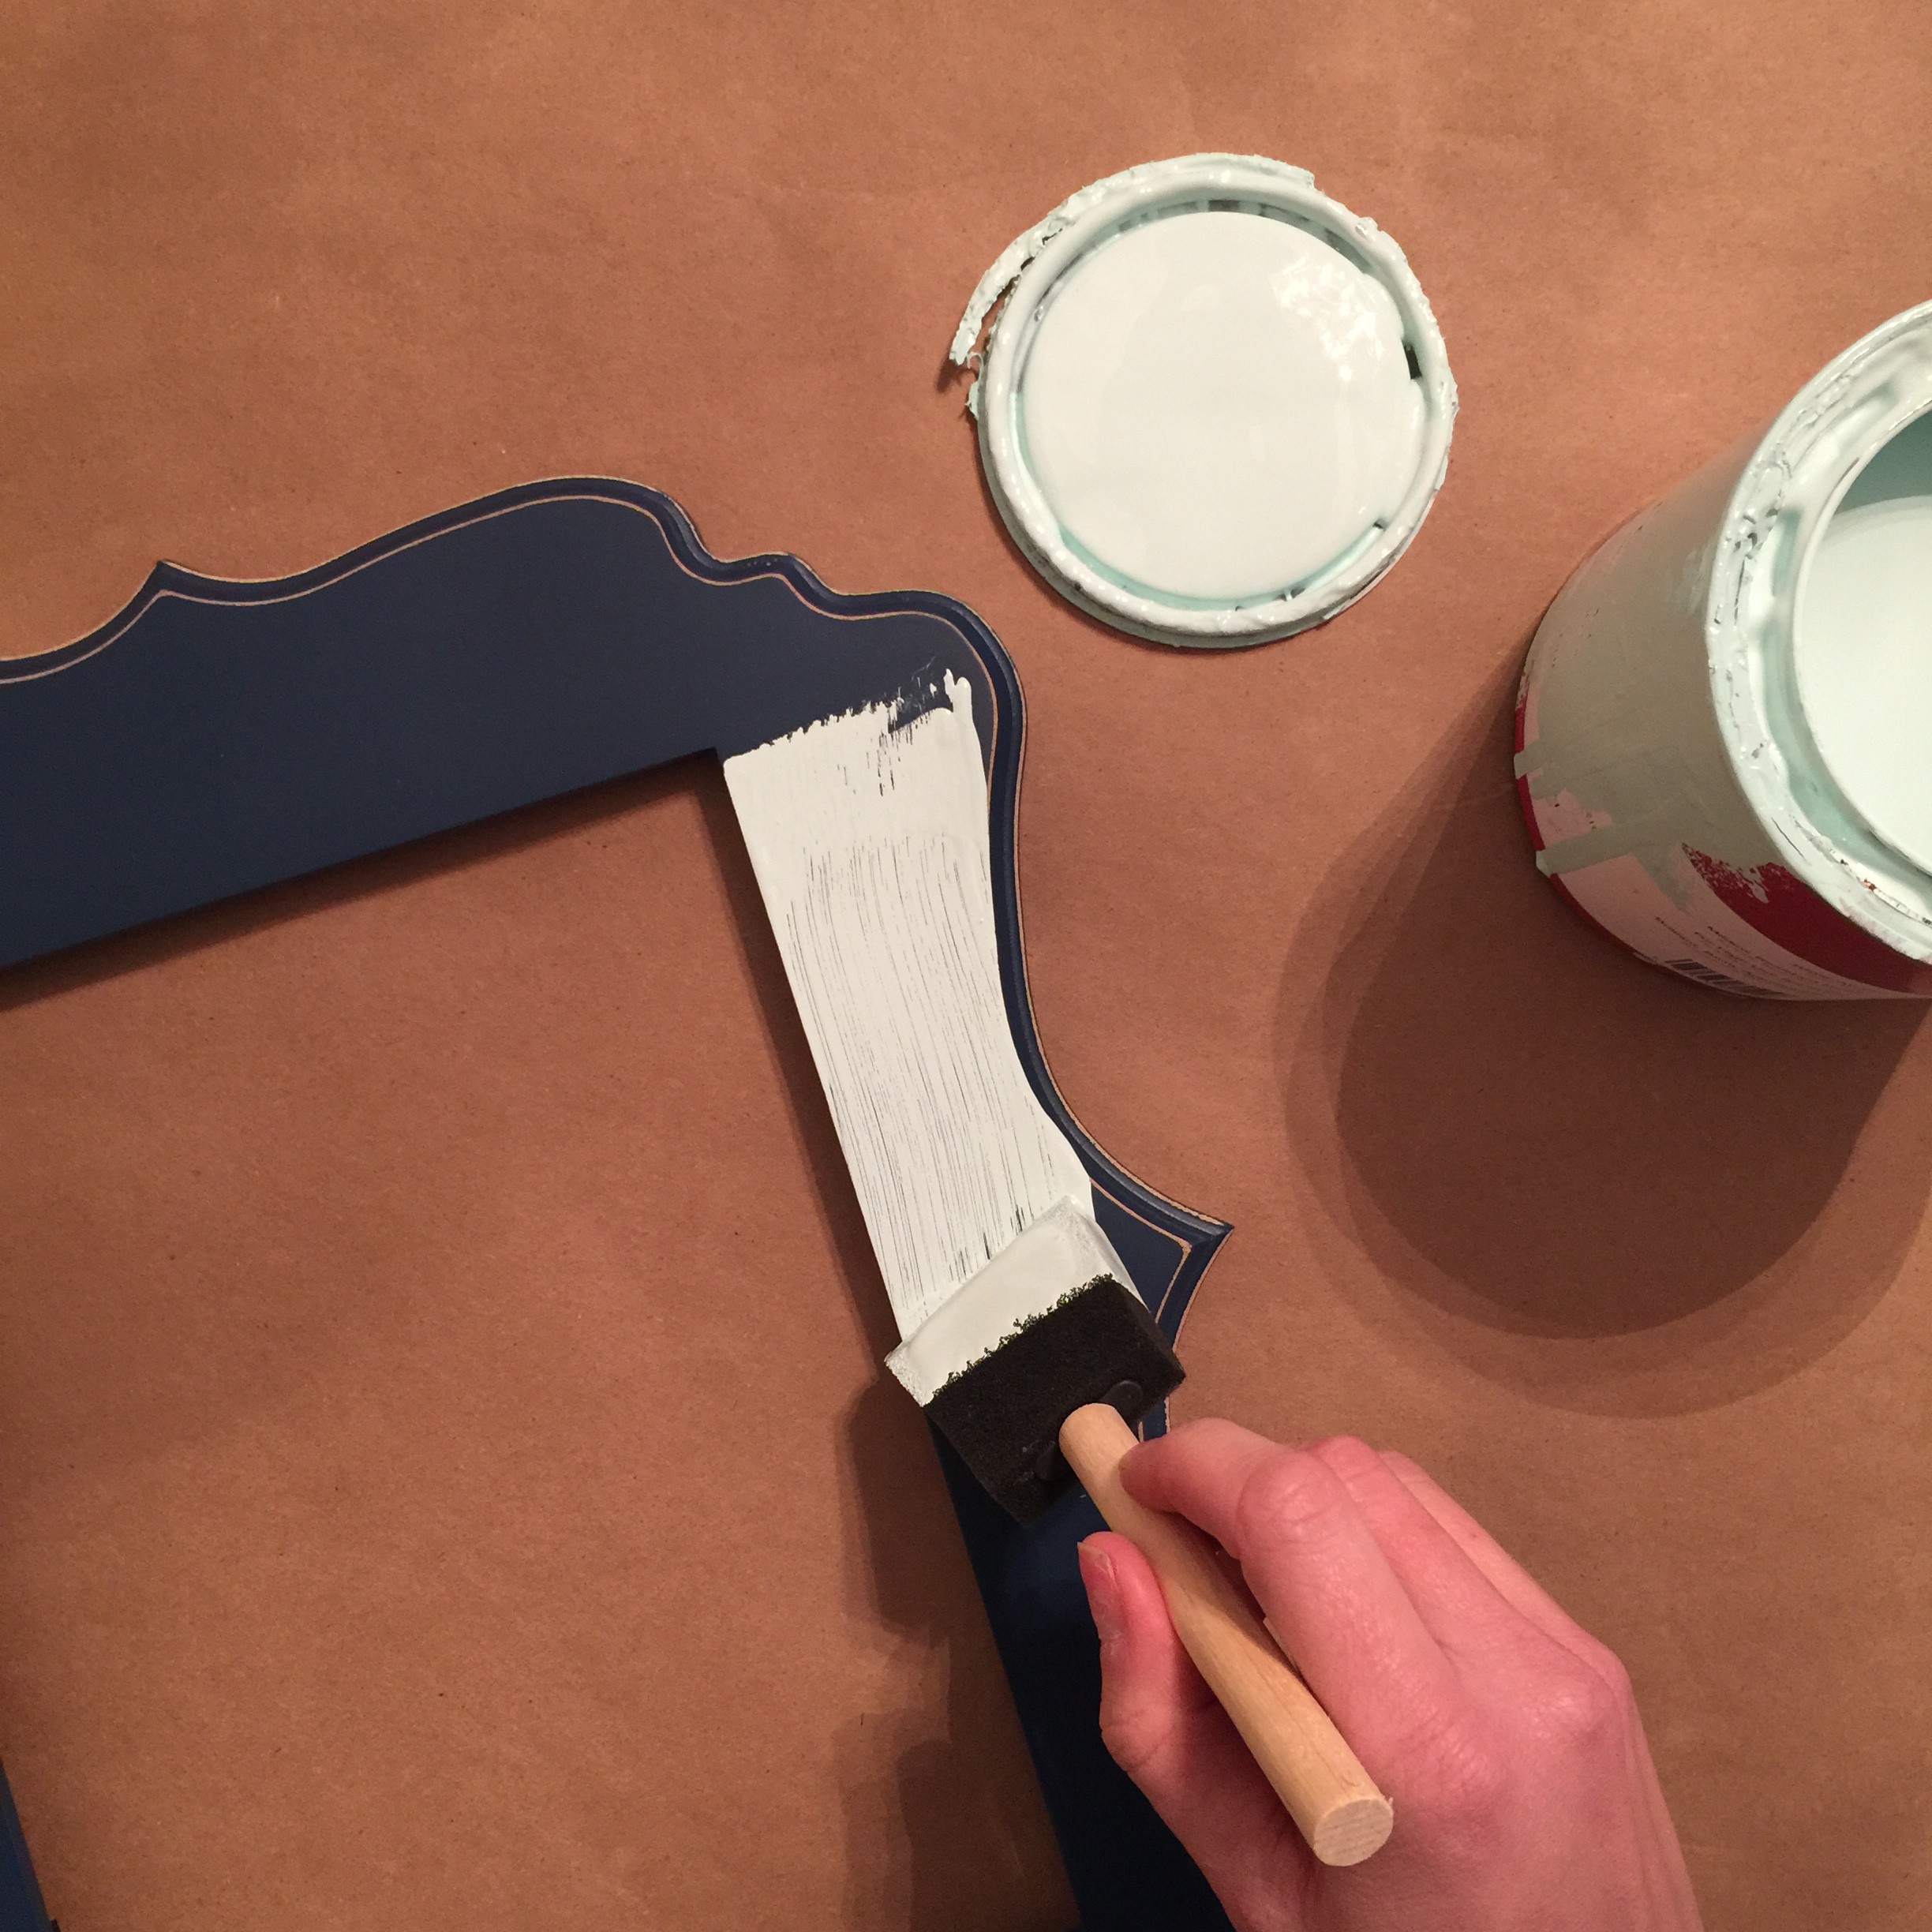
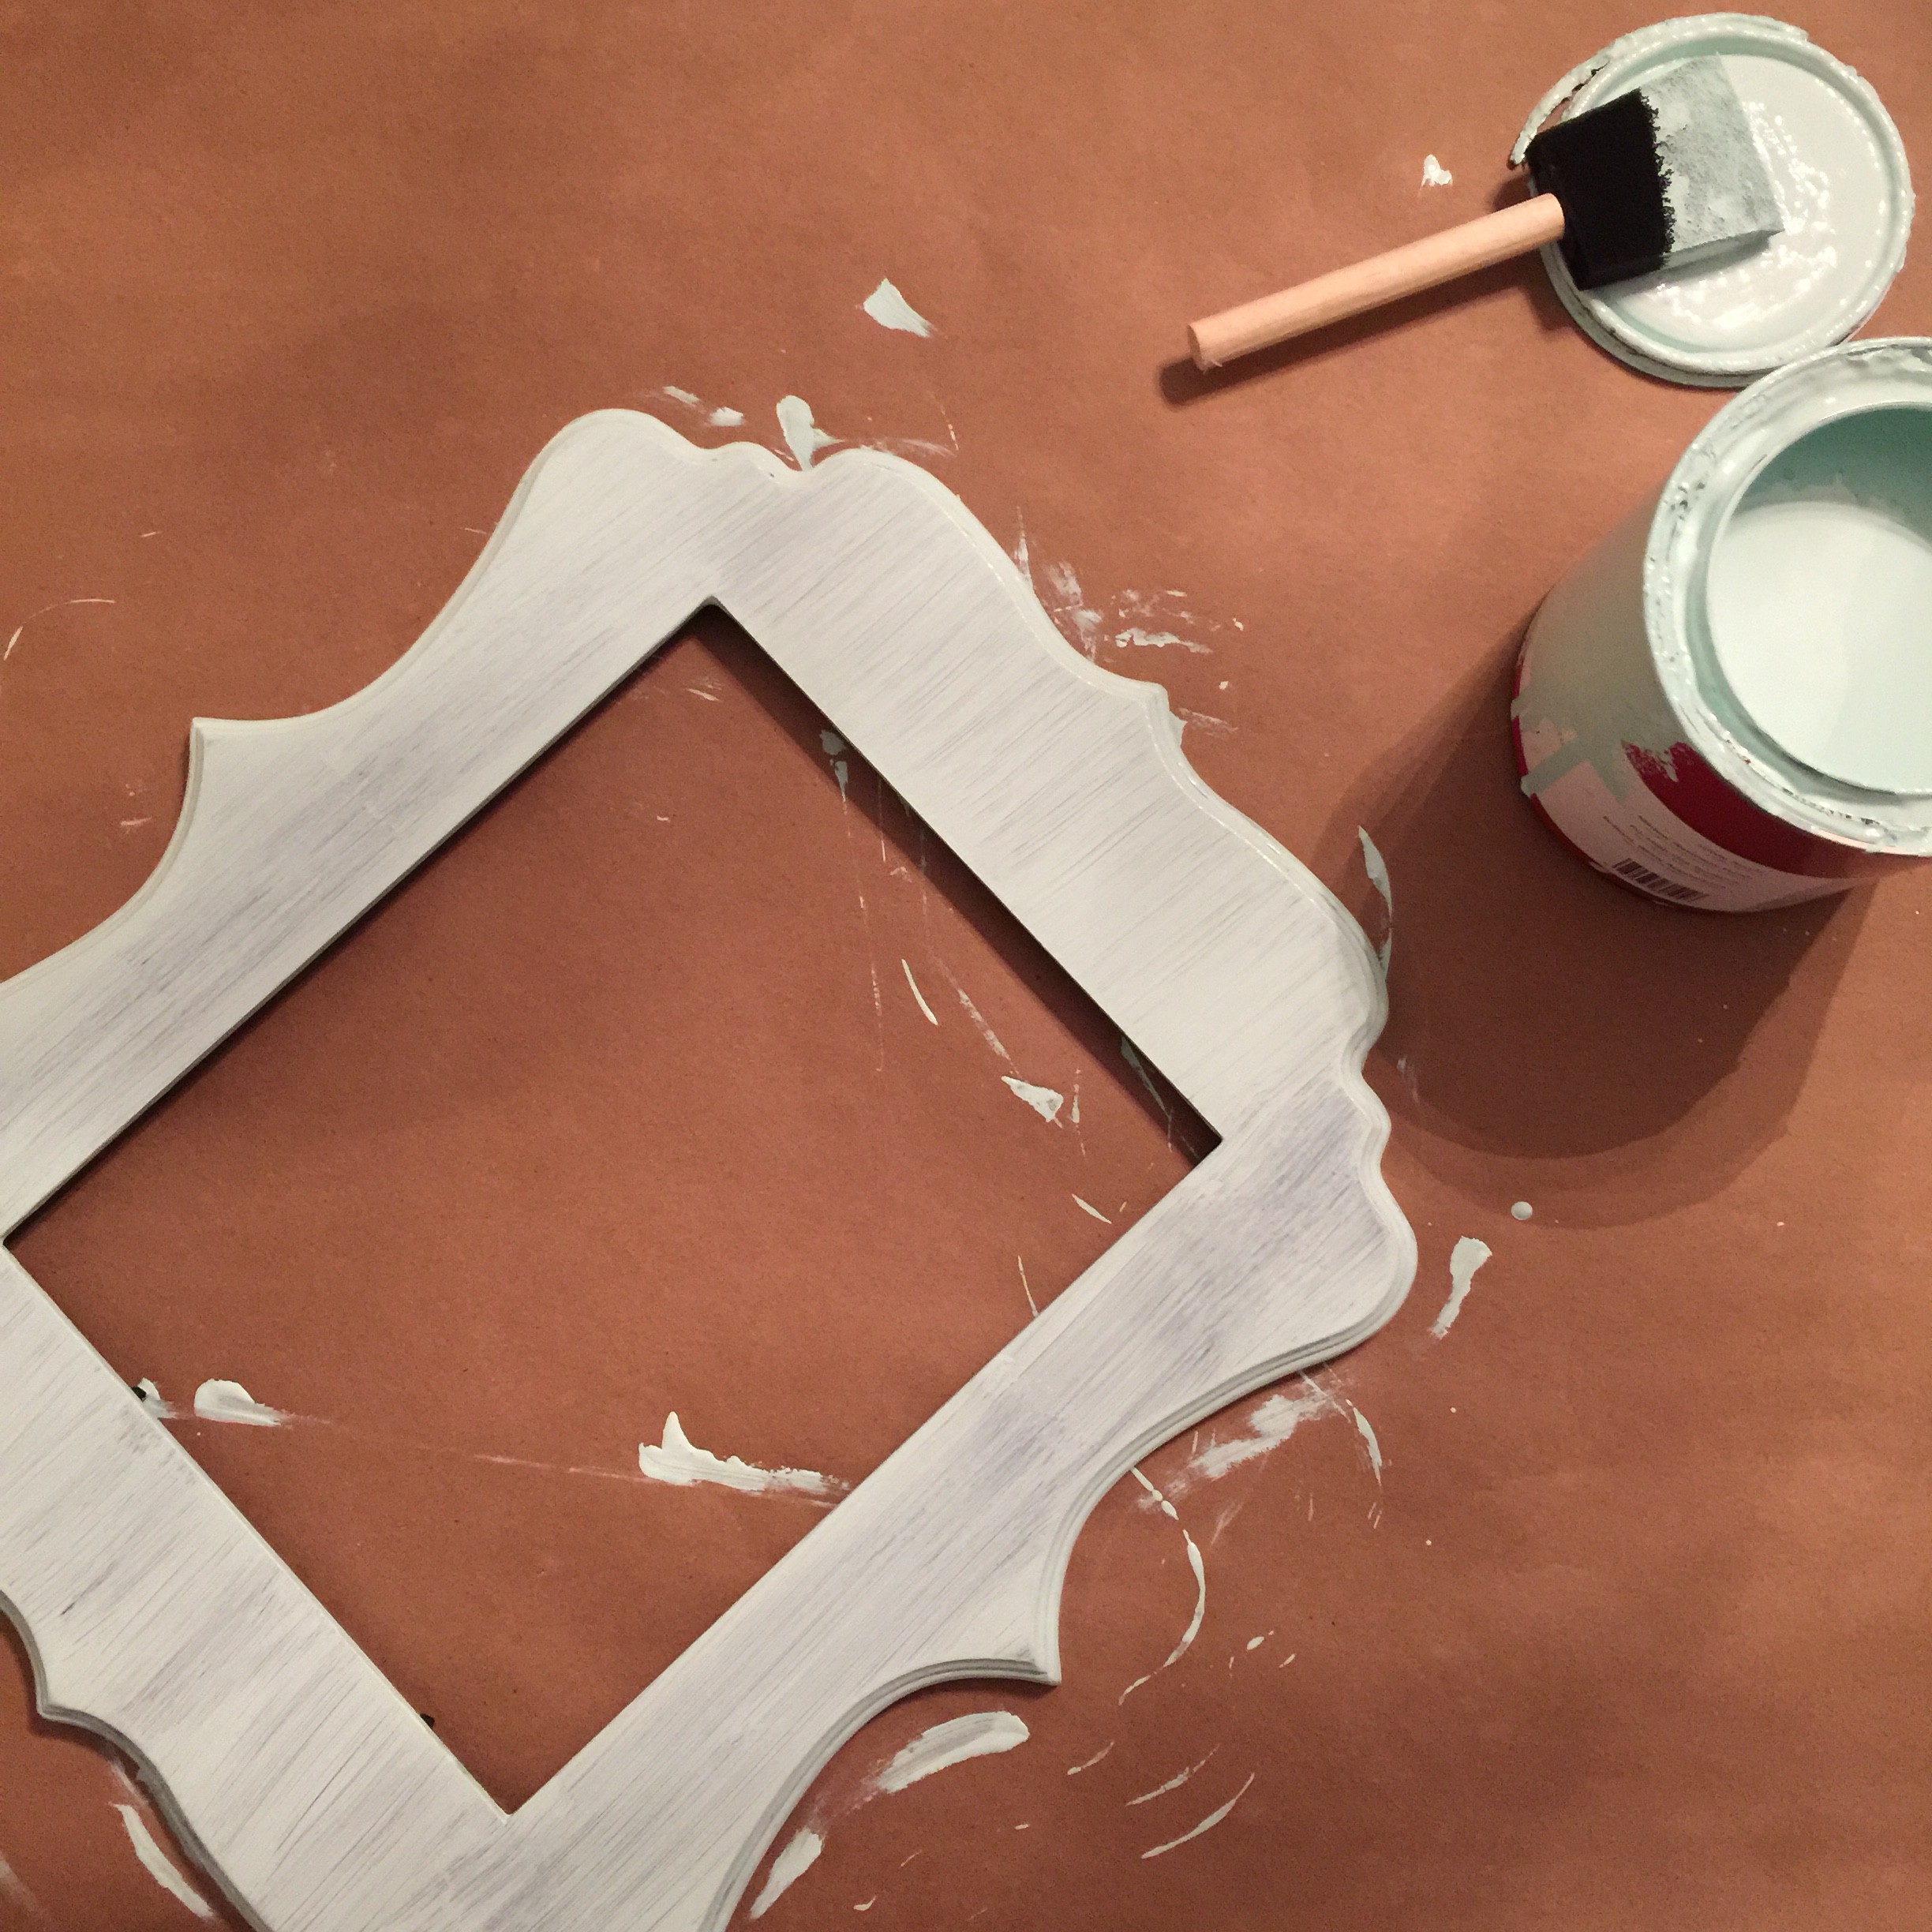
Once the frame was glued together and dry, I painted four coats of Glidden White. Oh and all of the paint I used are a Hi-Gloss enamel finish.
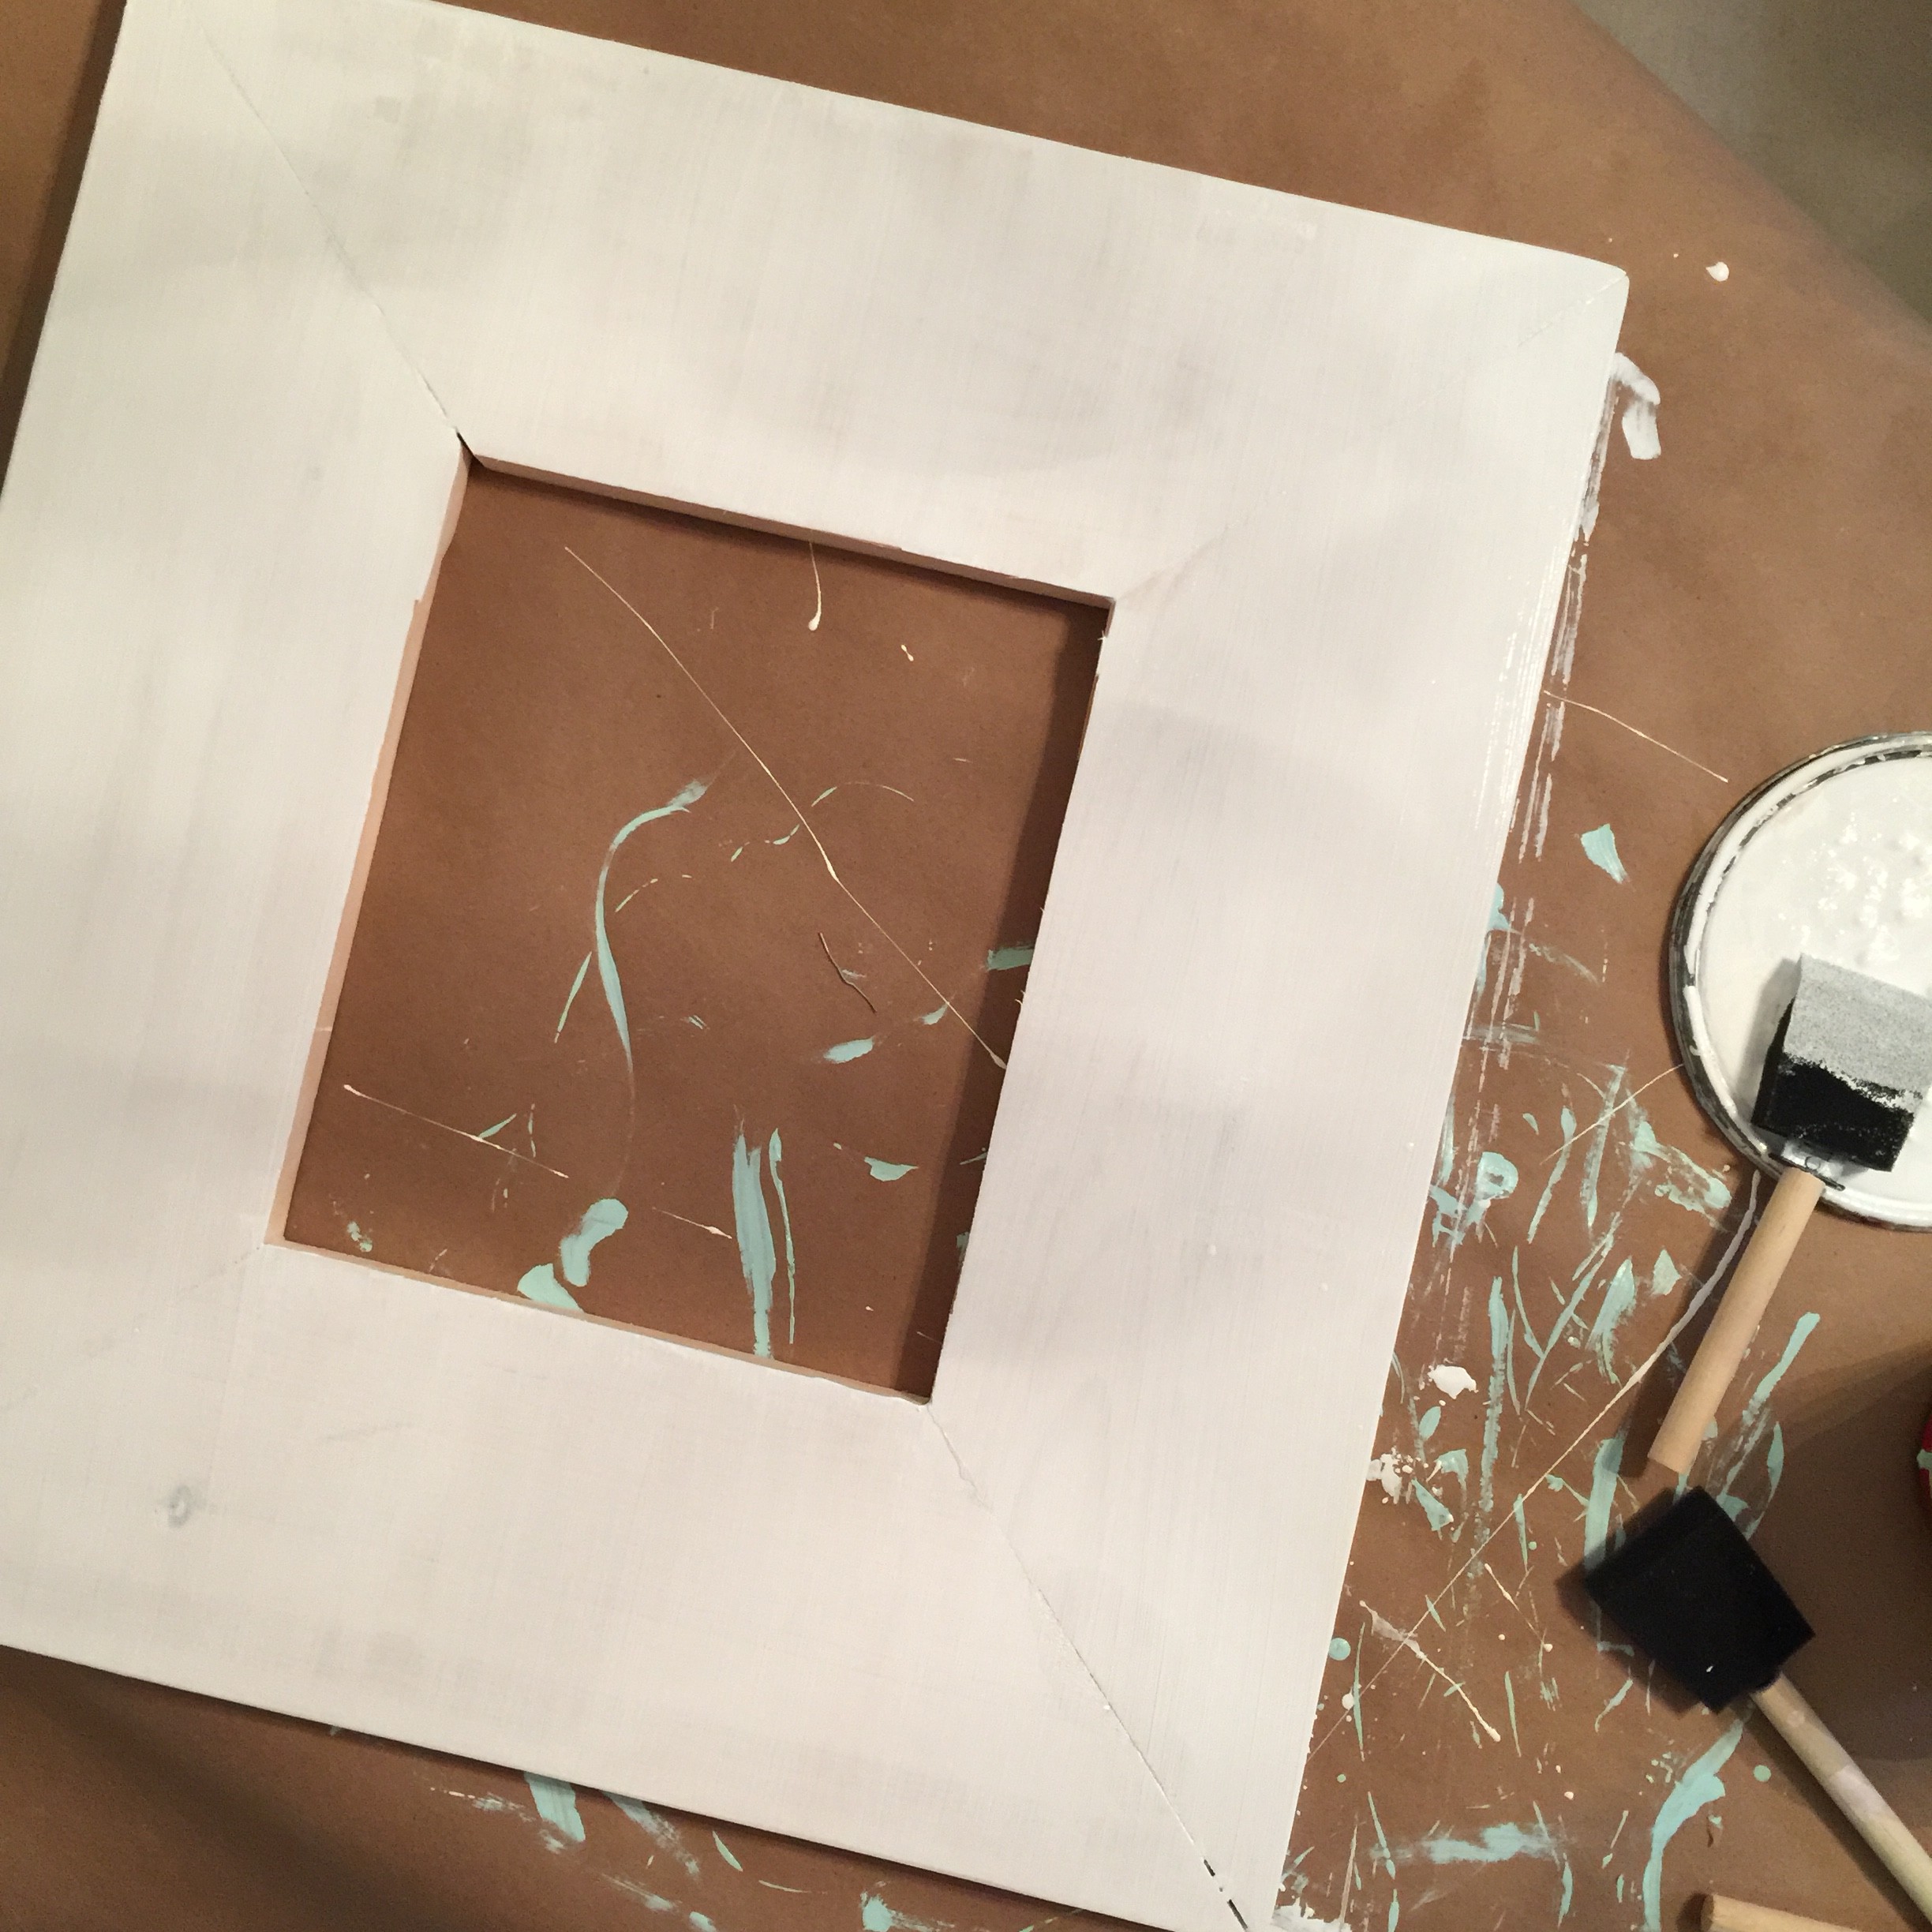
Step Eight
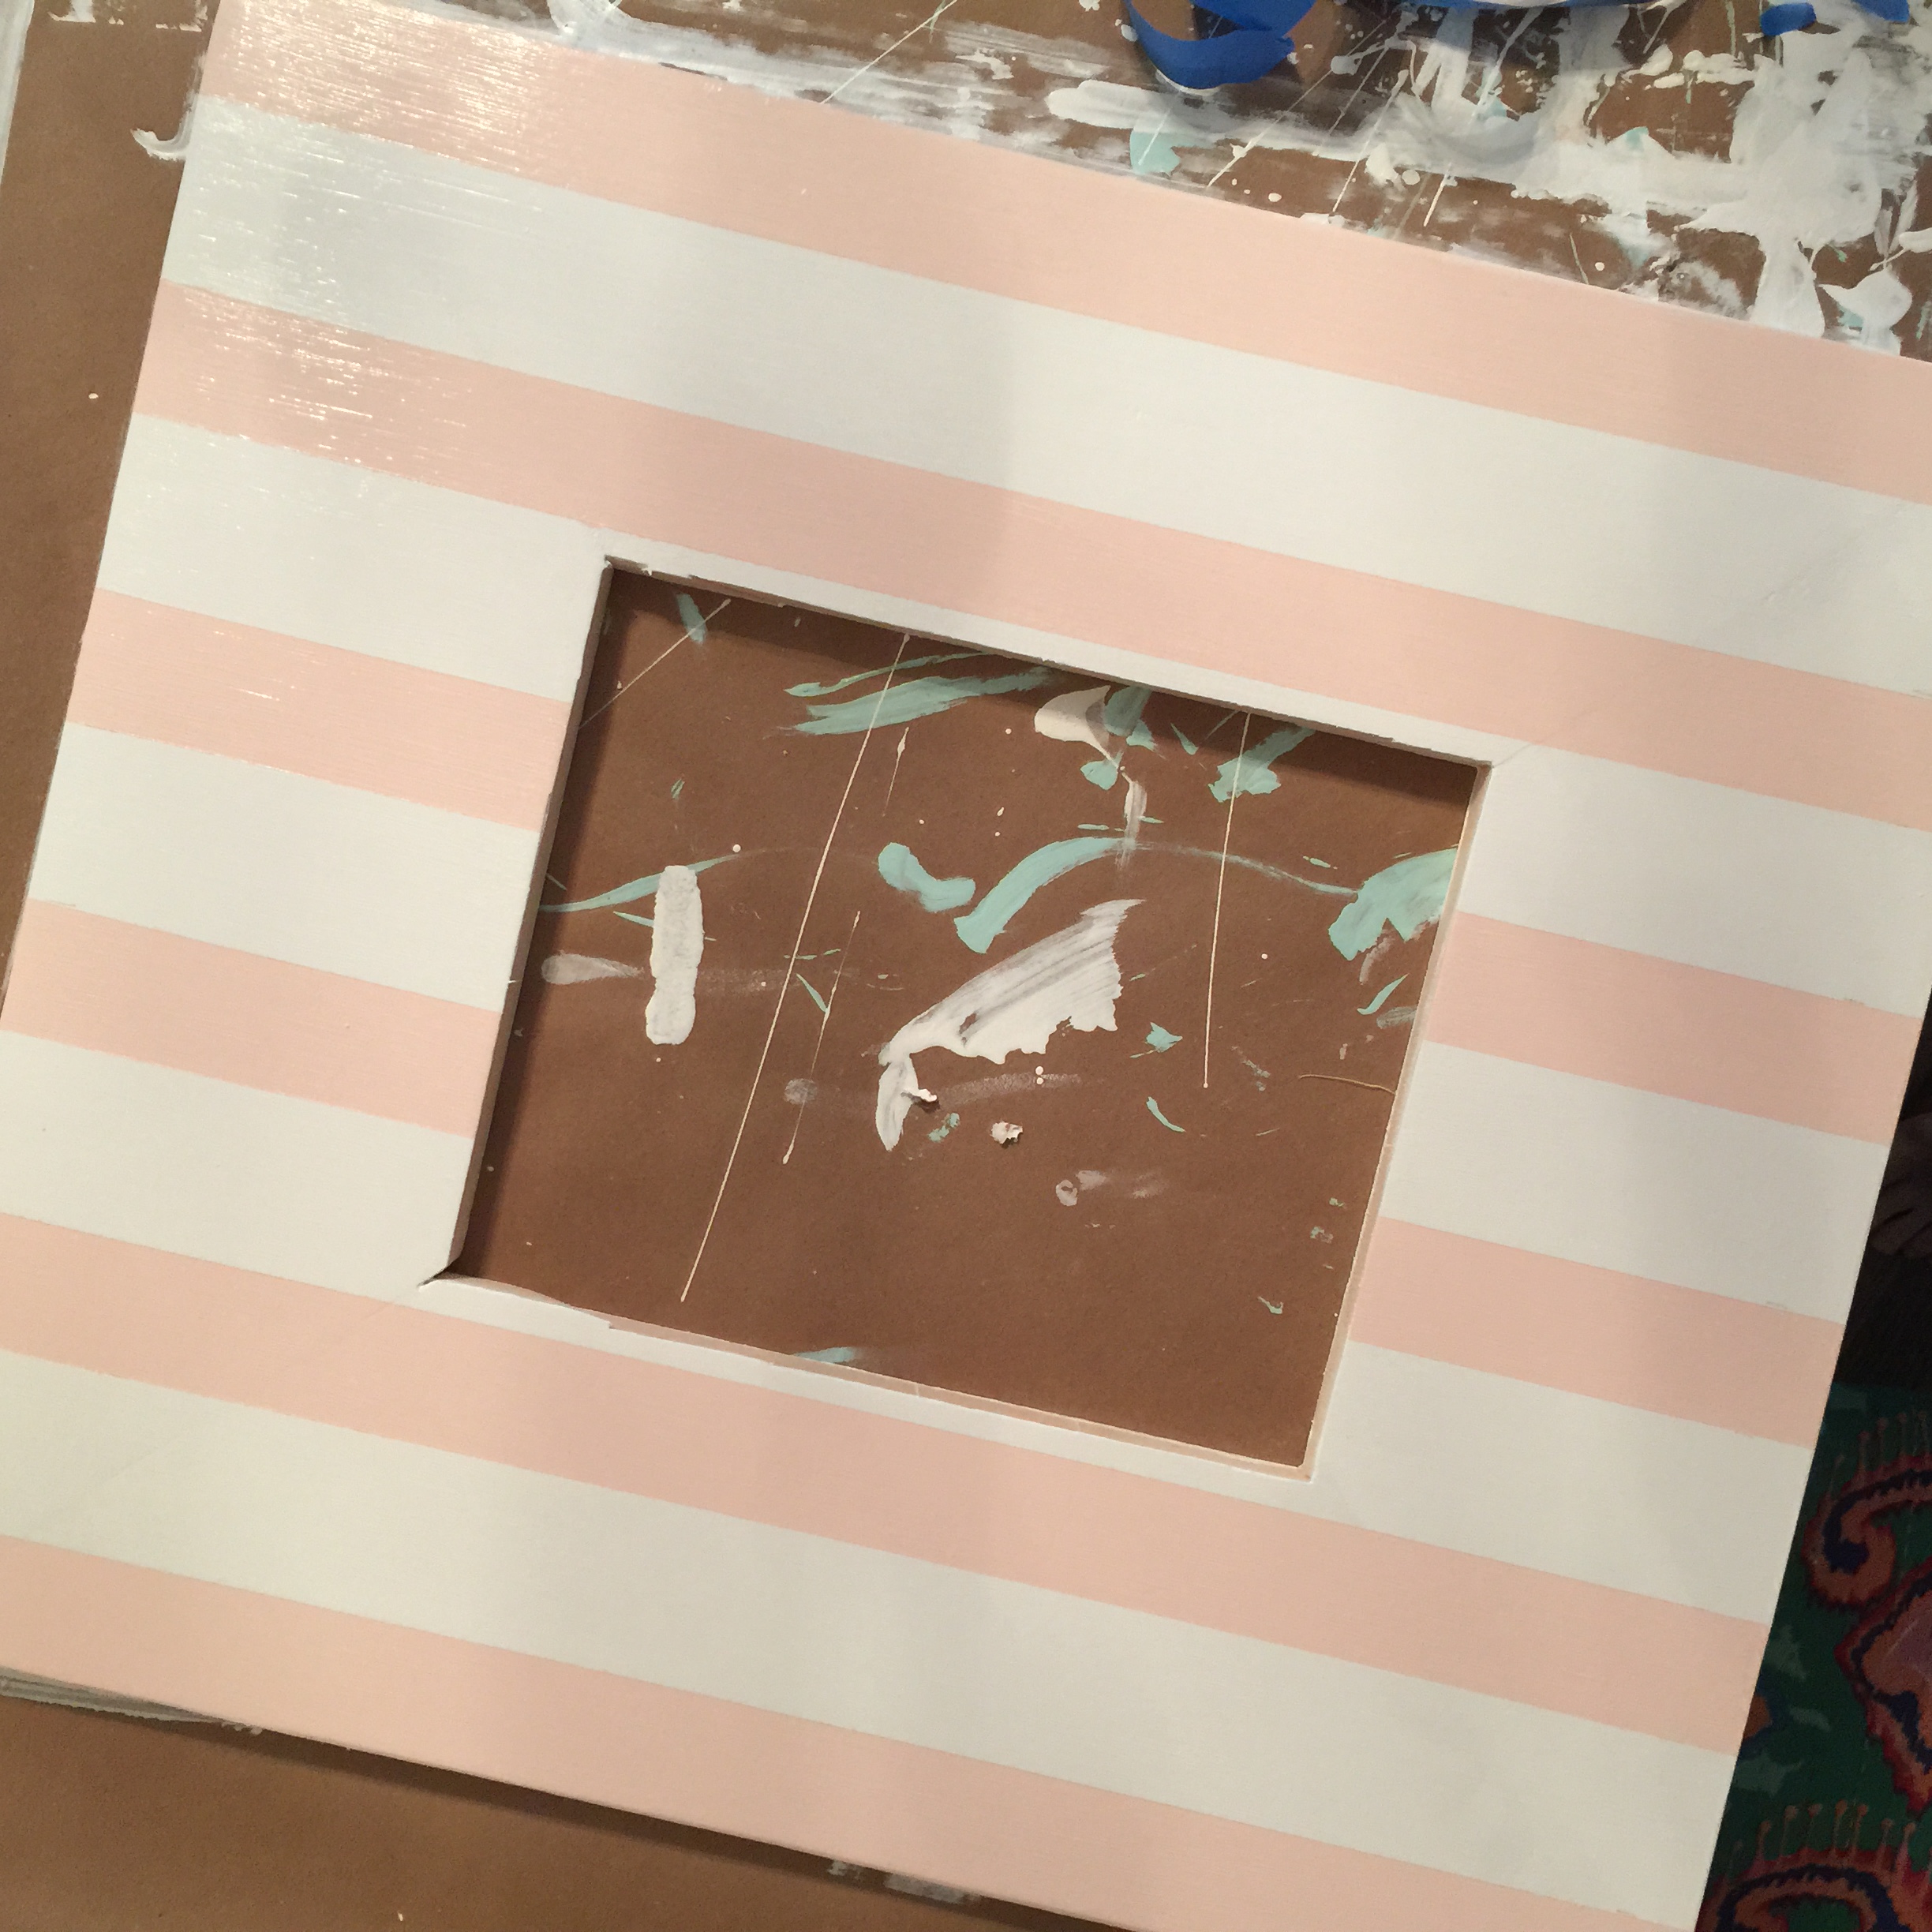
After the four coats were completely dry, I marked the frame off for the stripes mimicking the same look as the Restoration Hardware frame. The pink stripes are 1-1/2″ wide and the white are 2″ wide.

Step Nine
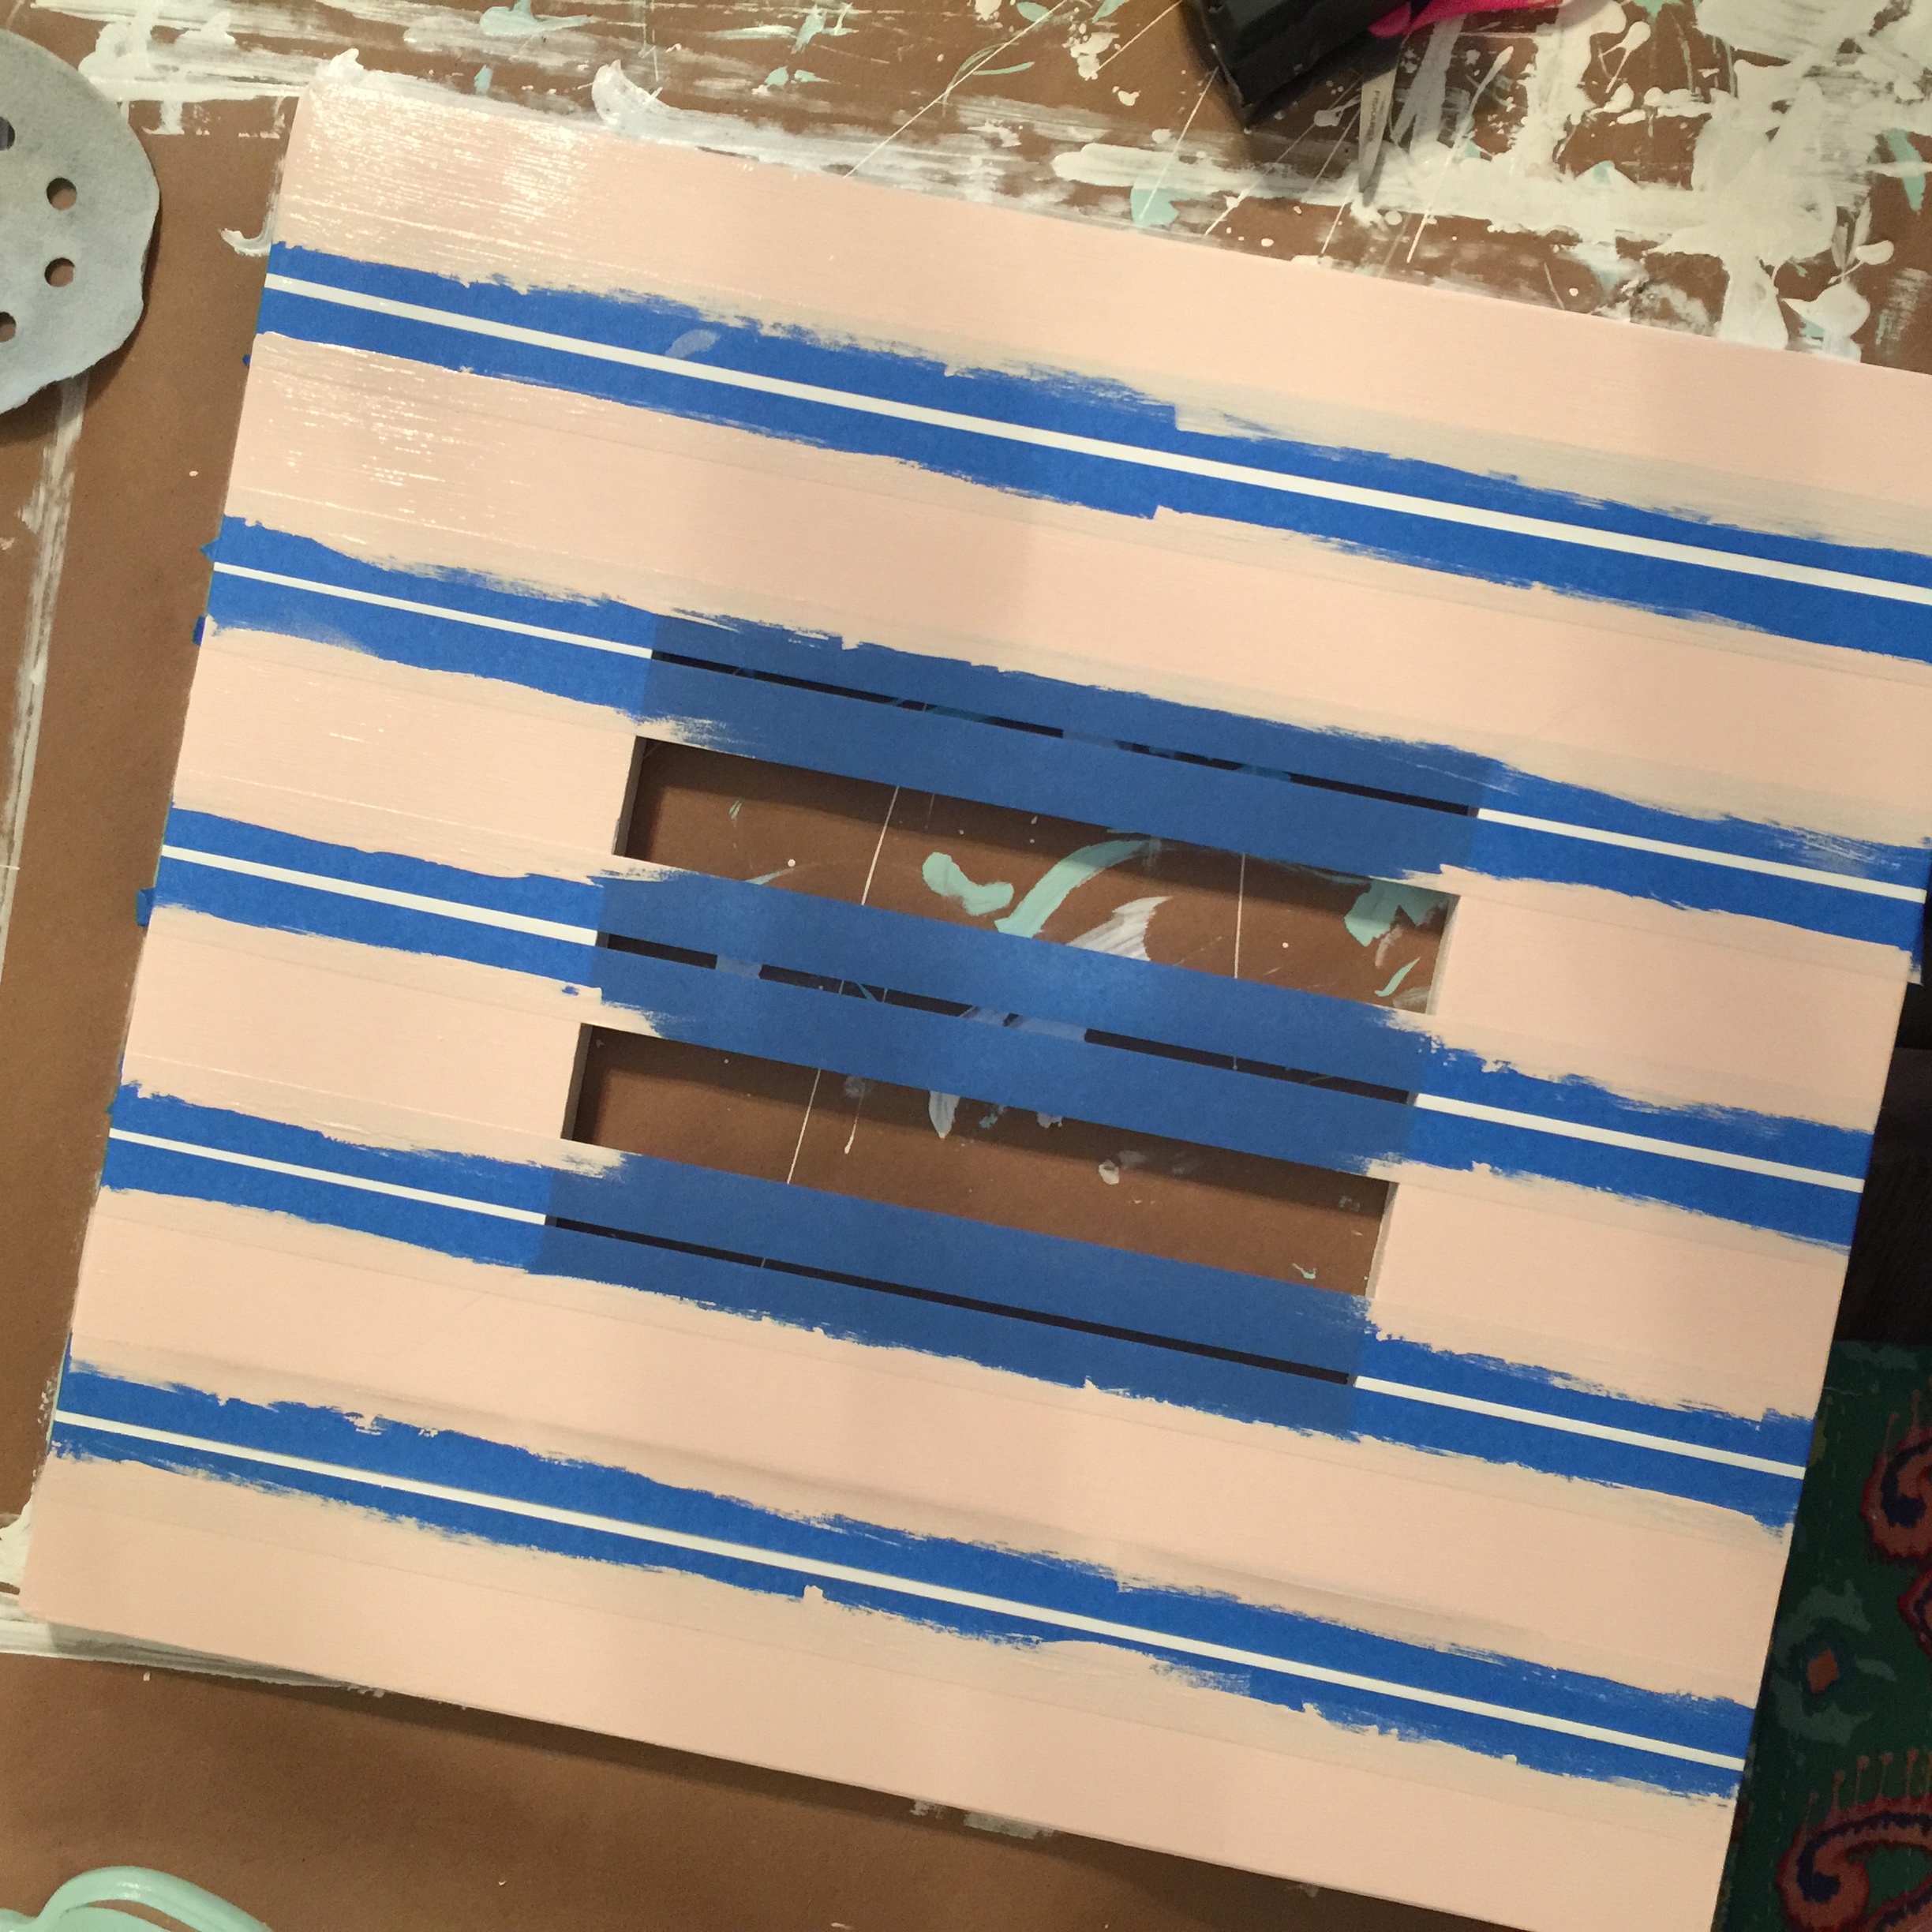
Following the marks I previously made on the top and bottom, I taped off the areas that will be pink.
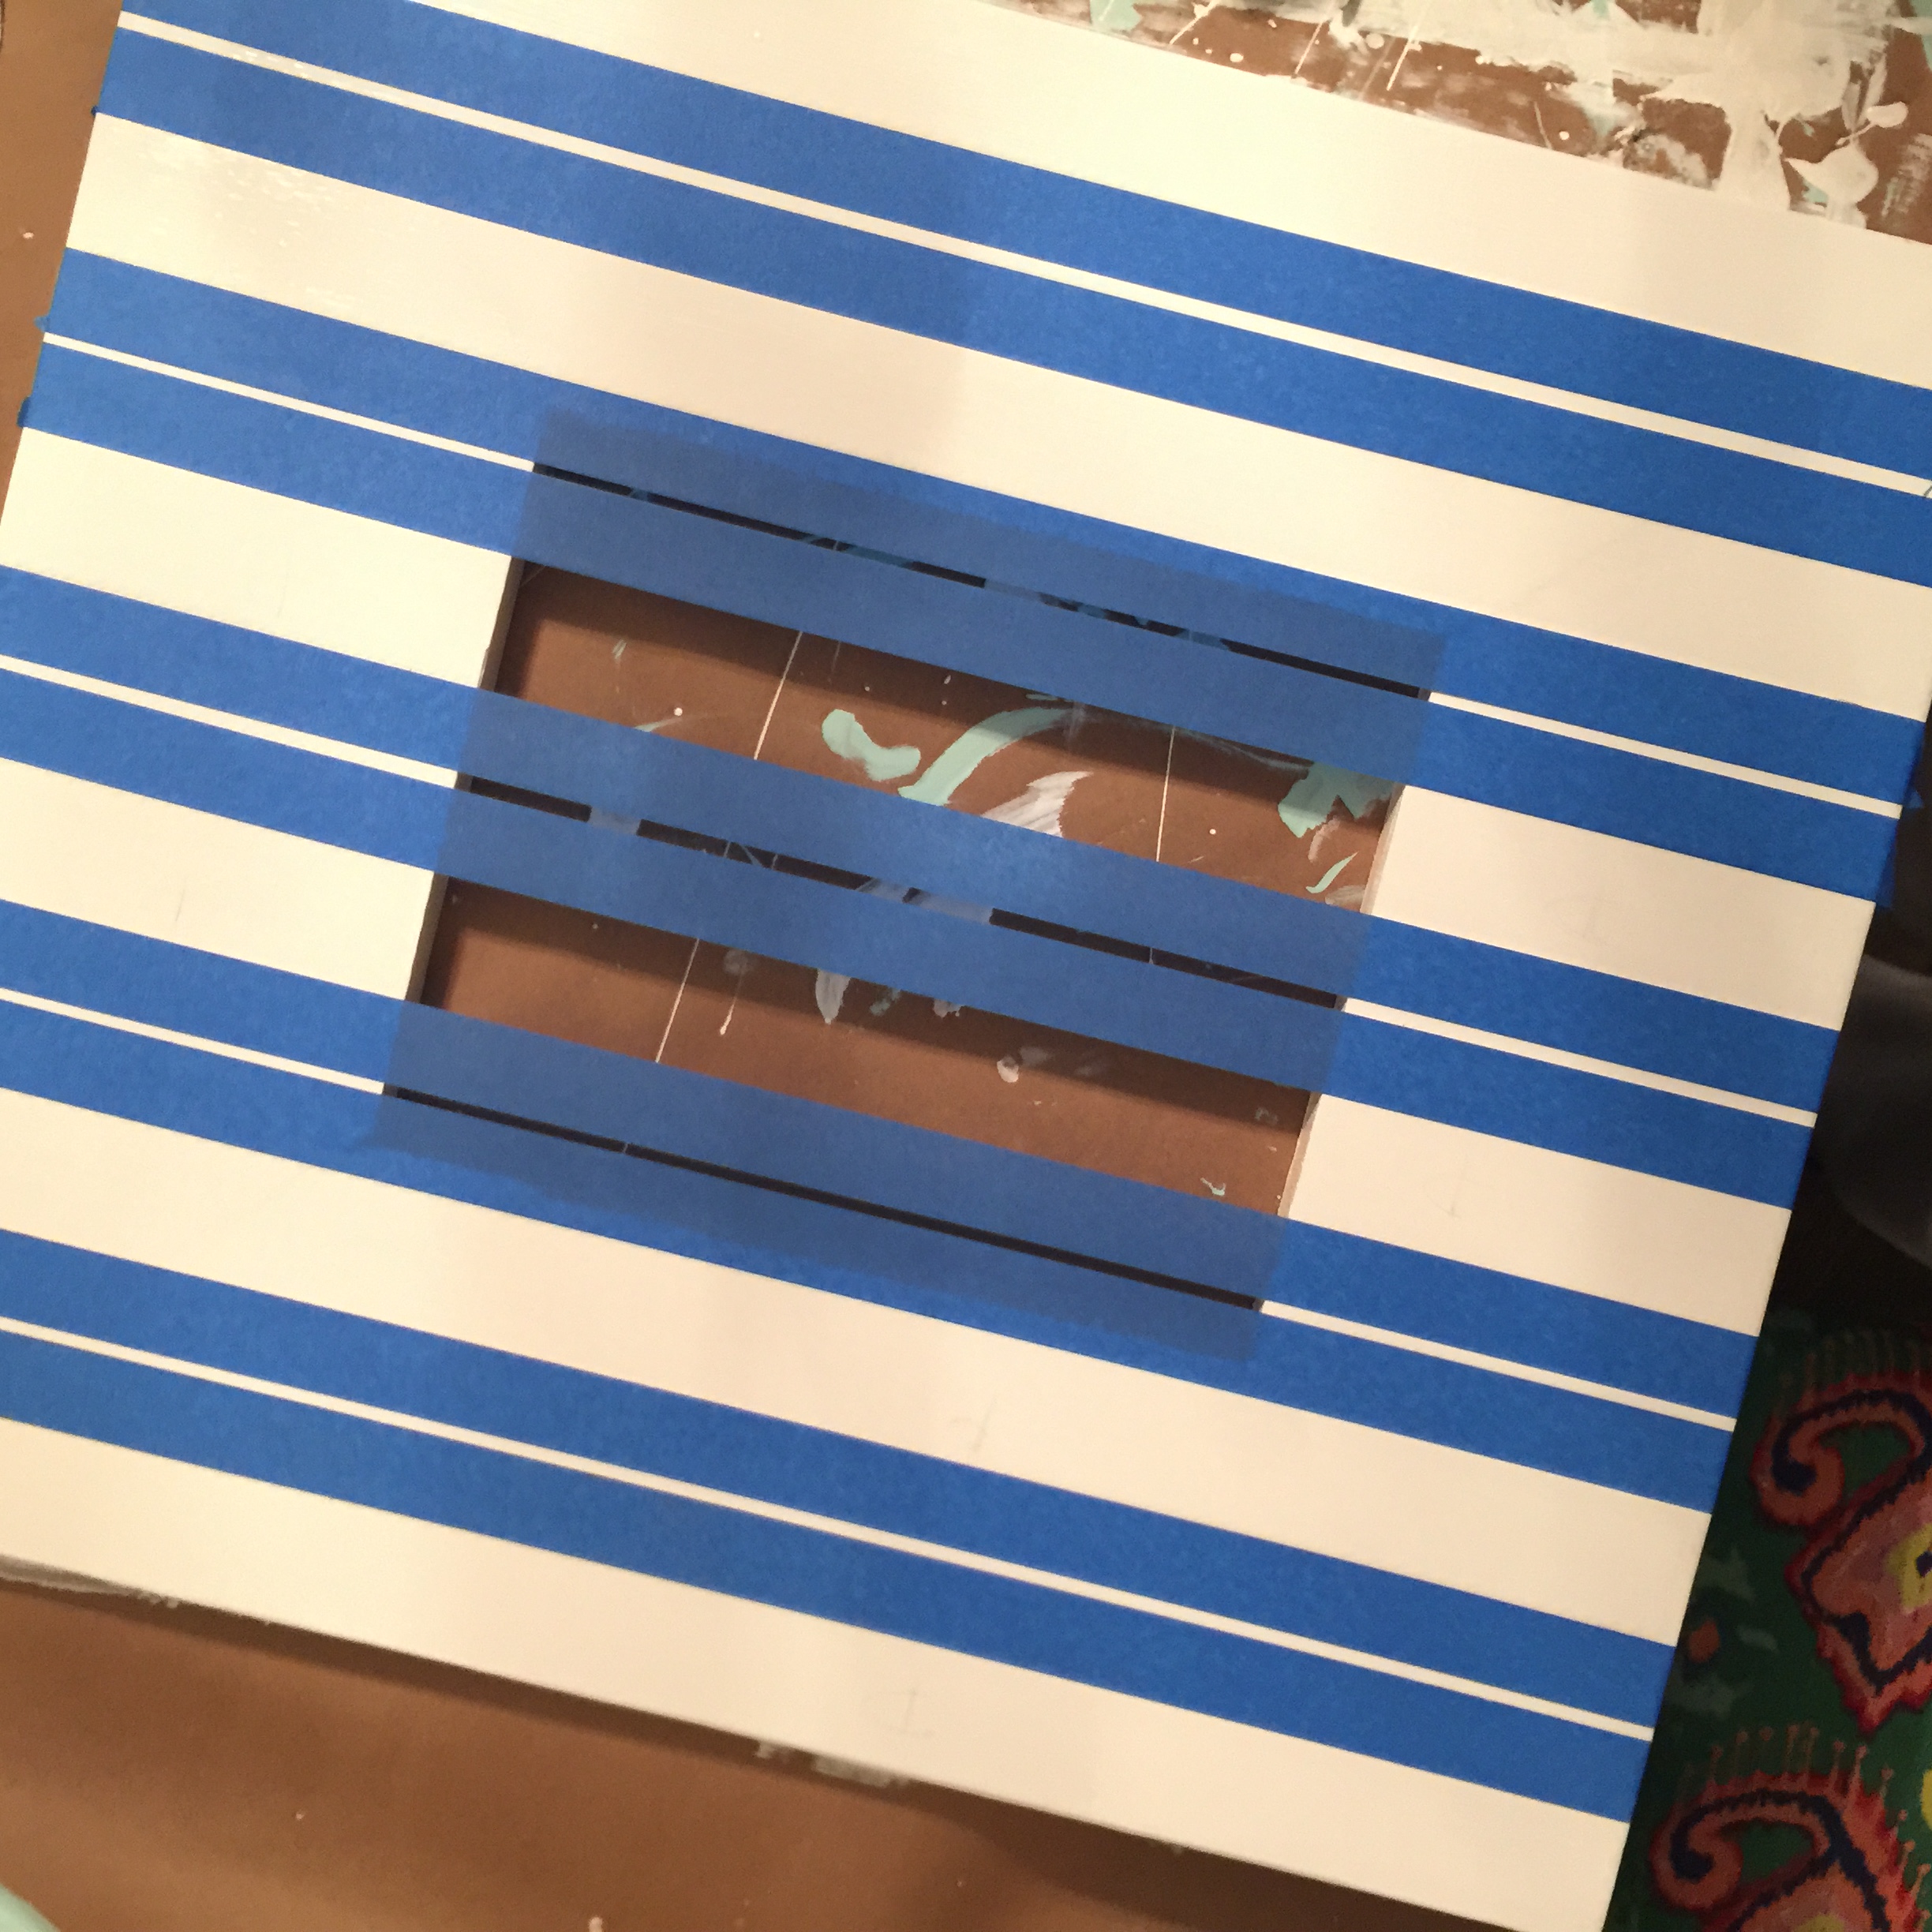
Step Ten
Finally, I painted two coats of Glidden Pink Mimosa onto the taped off areas (except the tiny center striped, my tape just wasn’t wide enough so it need two strips in each 2″ white area).
Step Eleven
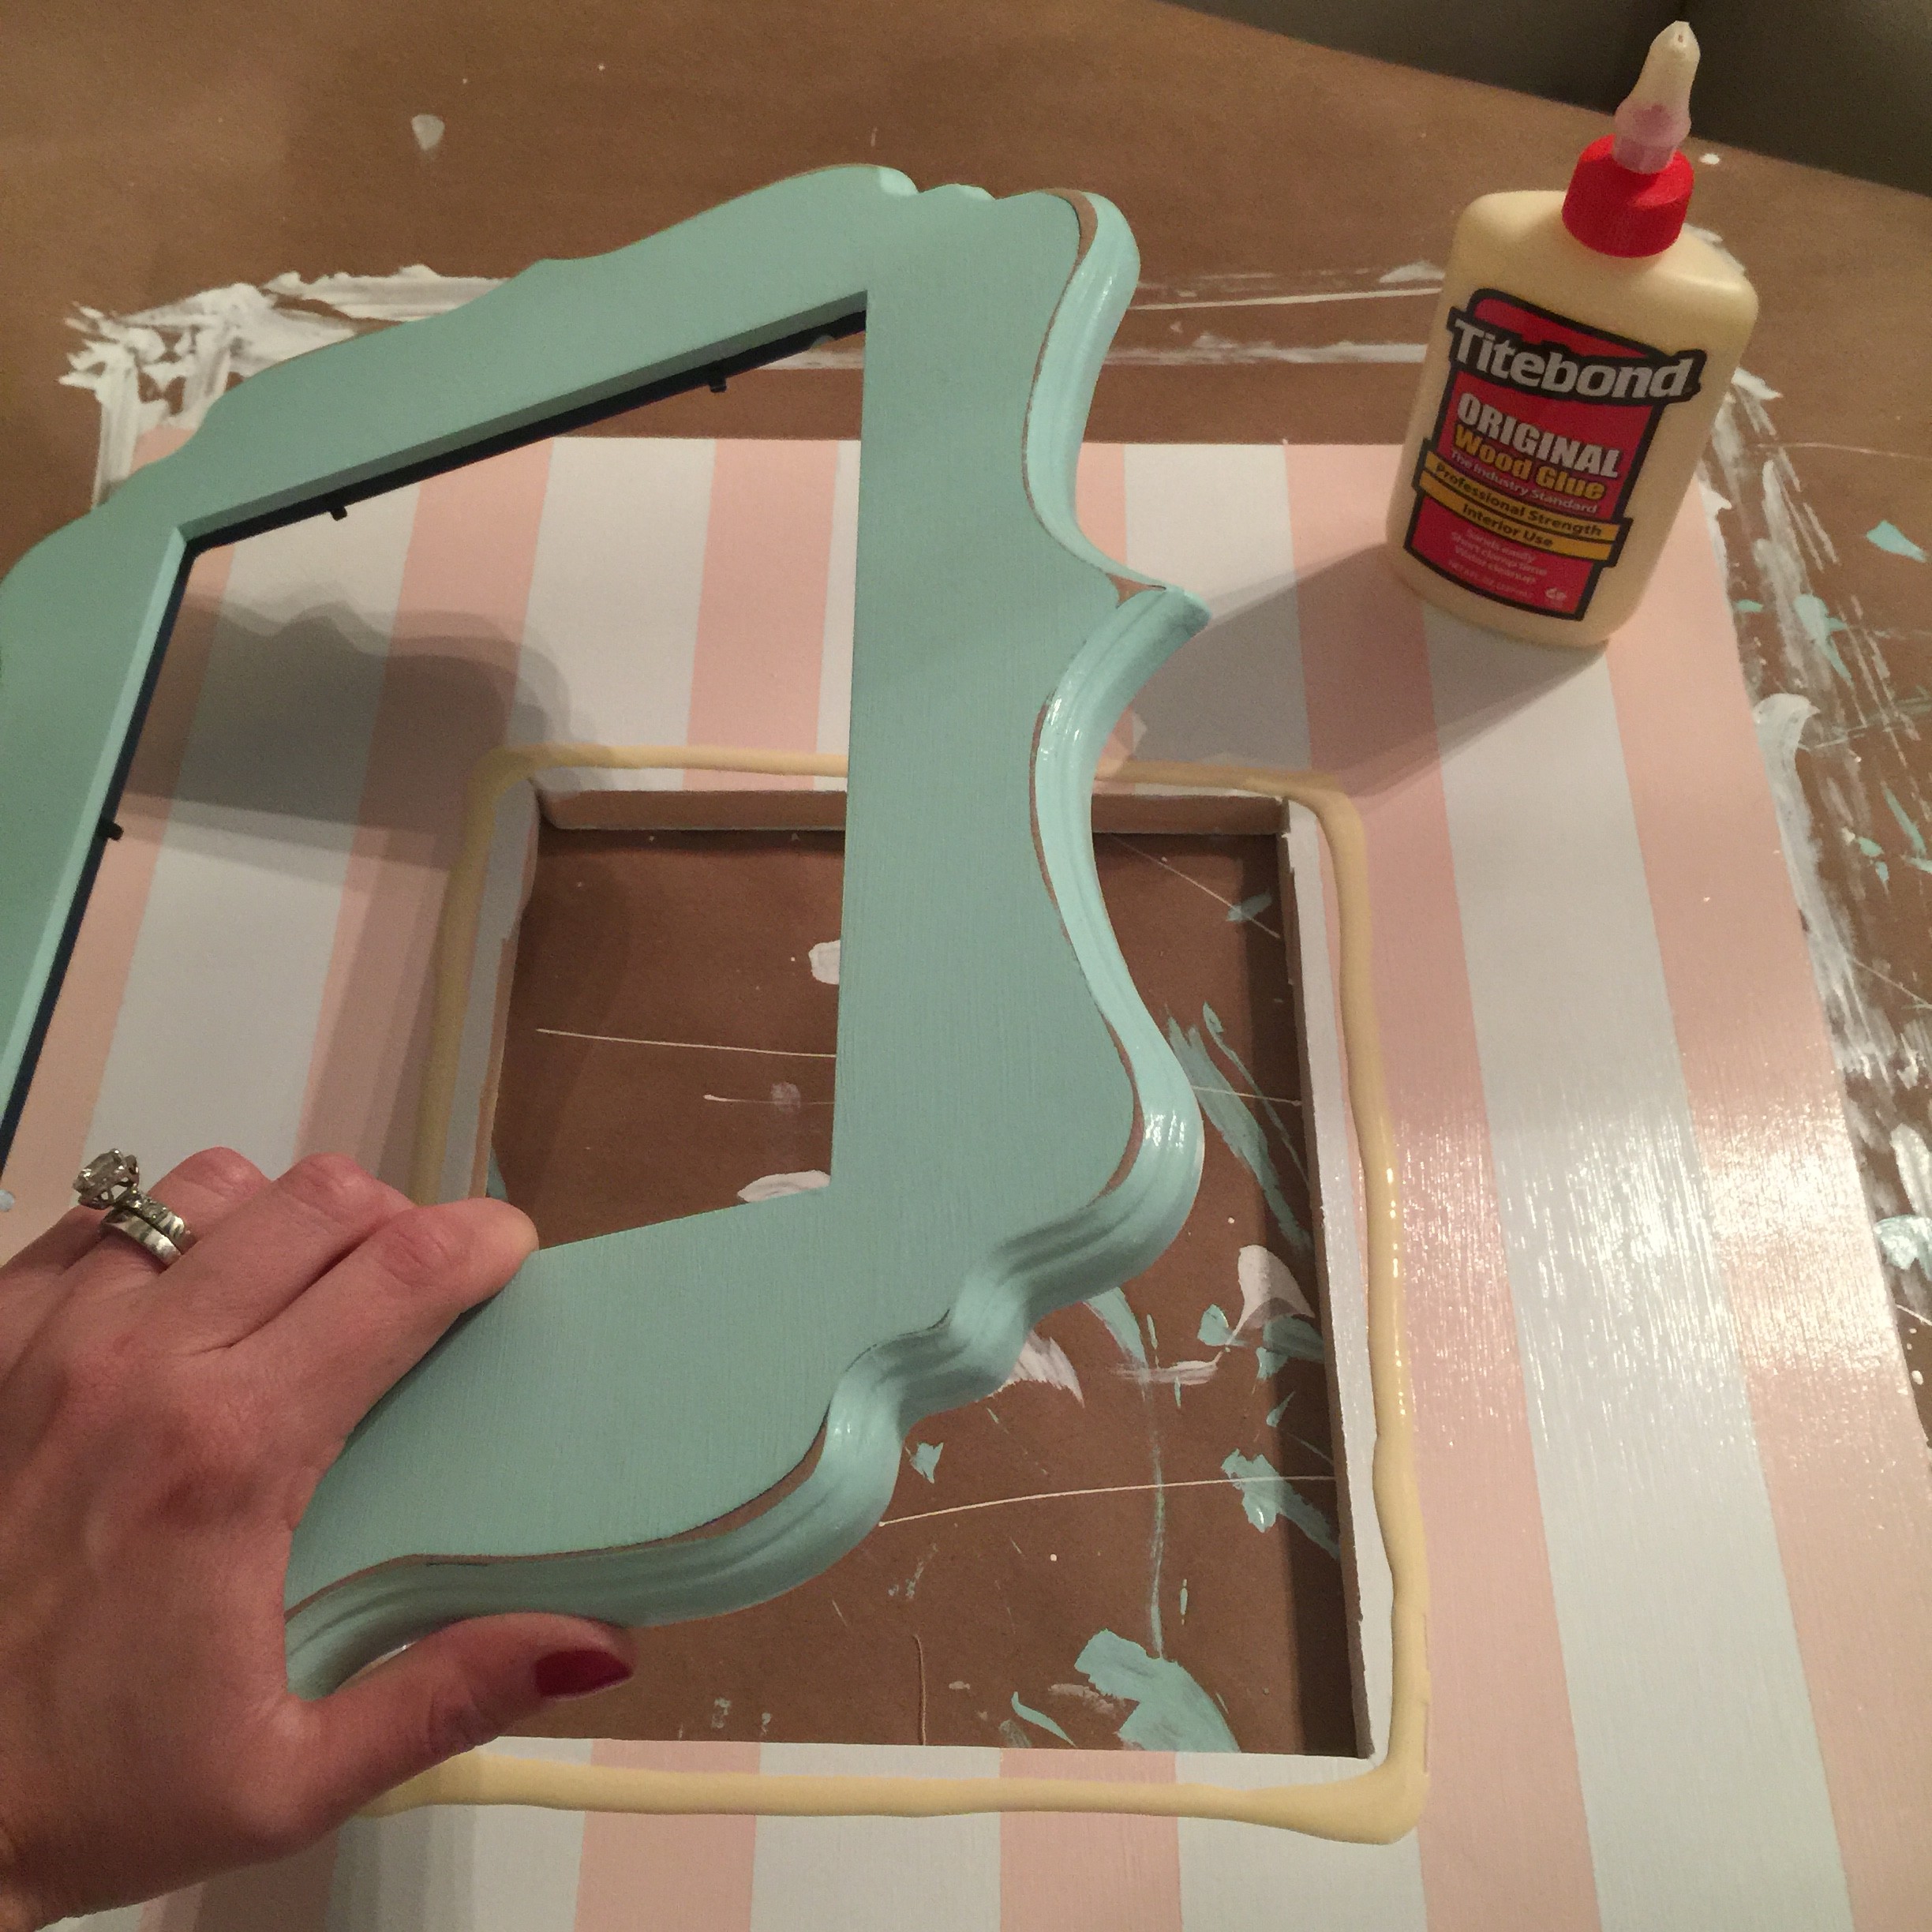
Using Titebond wood glue, I adhered the two frames together lining up the openings.
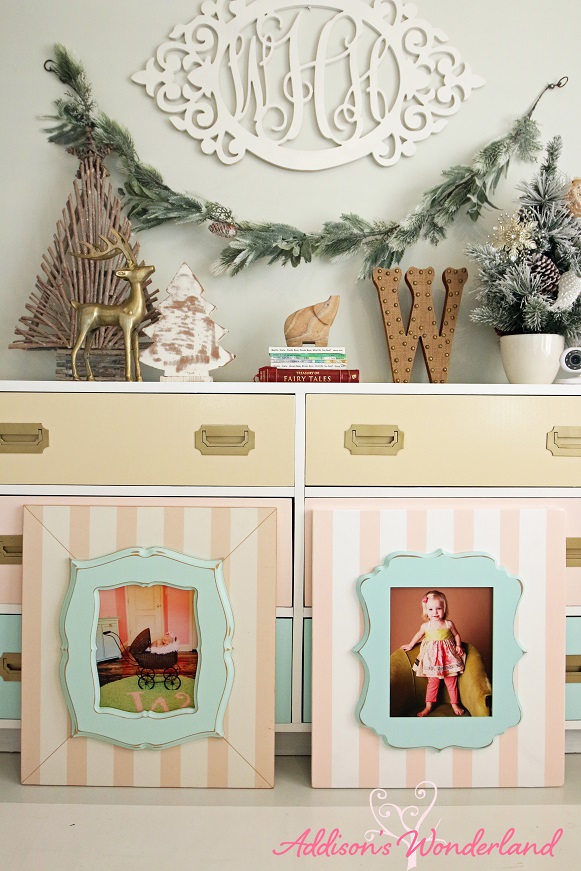
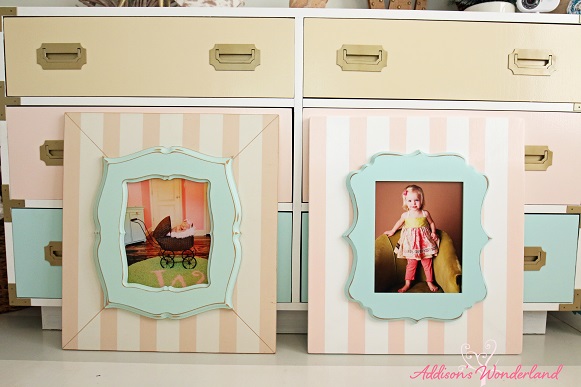
So here’s the “Original”…
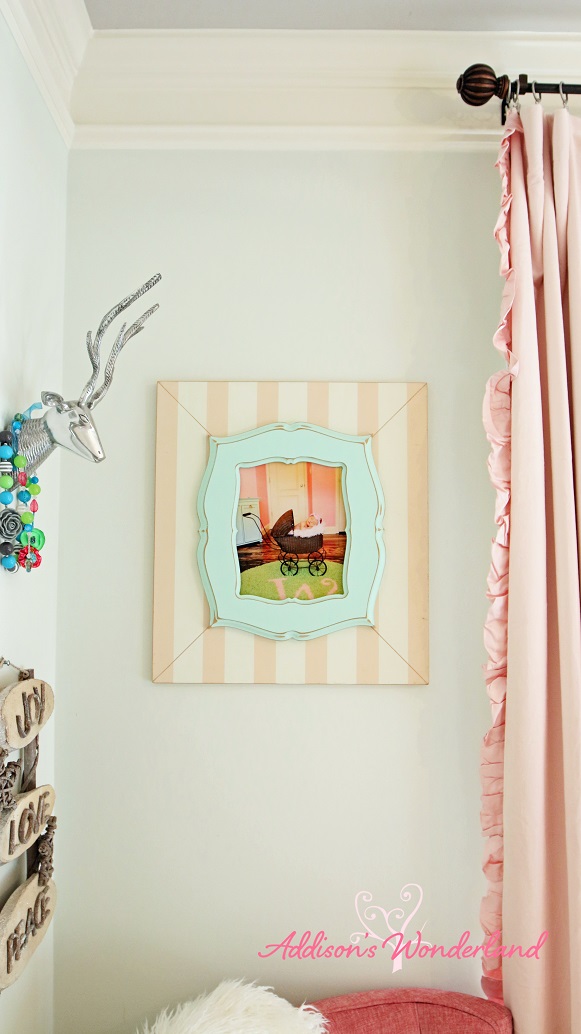
And here’s my “DIY Knock-Off”!

Super excited with the result! Thanks for reading!
XOXO, Brittany Hayes
+ view the comments


")
")


I can’t remember exactly who I found you Instagram feed through, but I instantly fell in love & began following you on Facebook & Pinterest. I don’t want to miss a thing! I just adore your style. Thank you for sharing so much loveliness with the world!