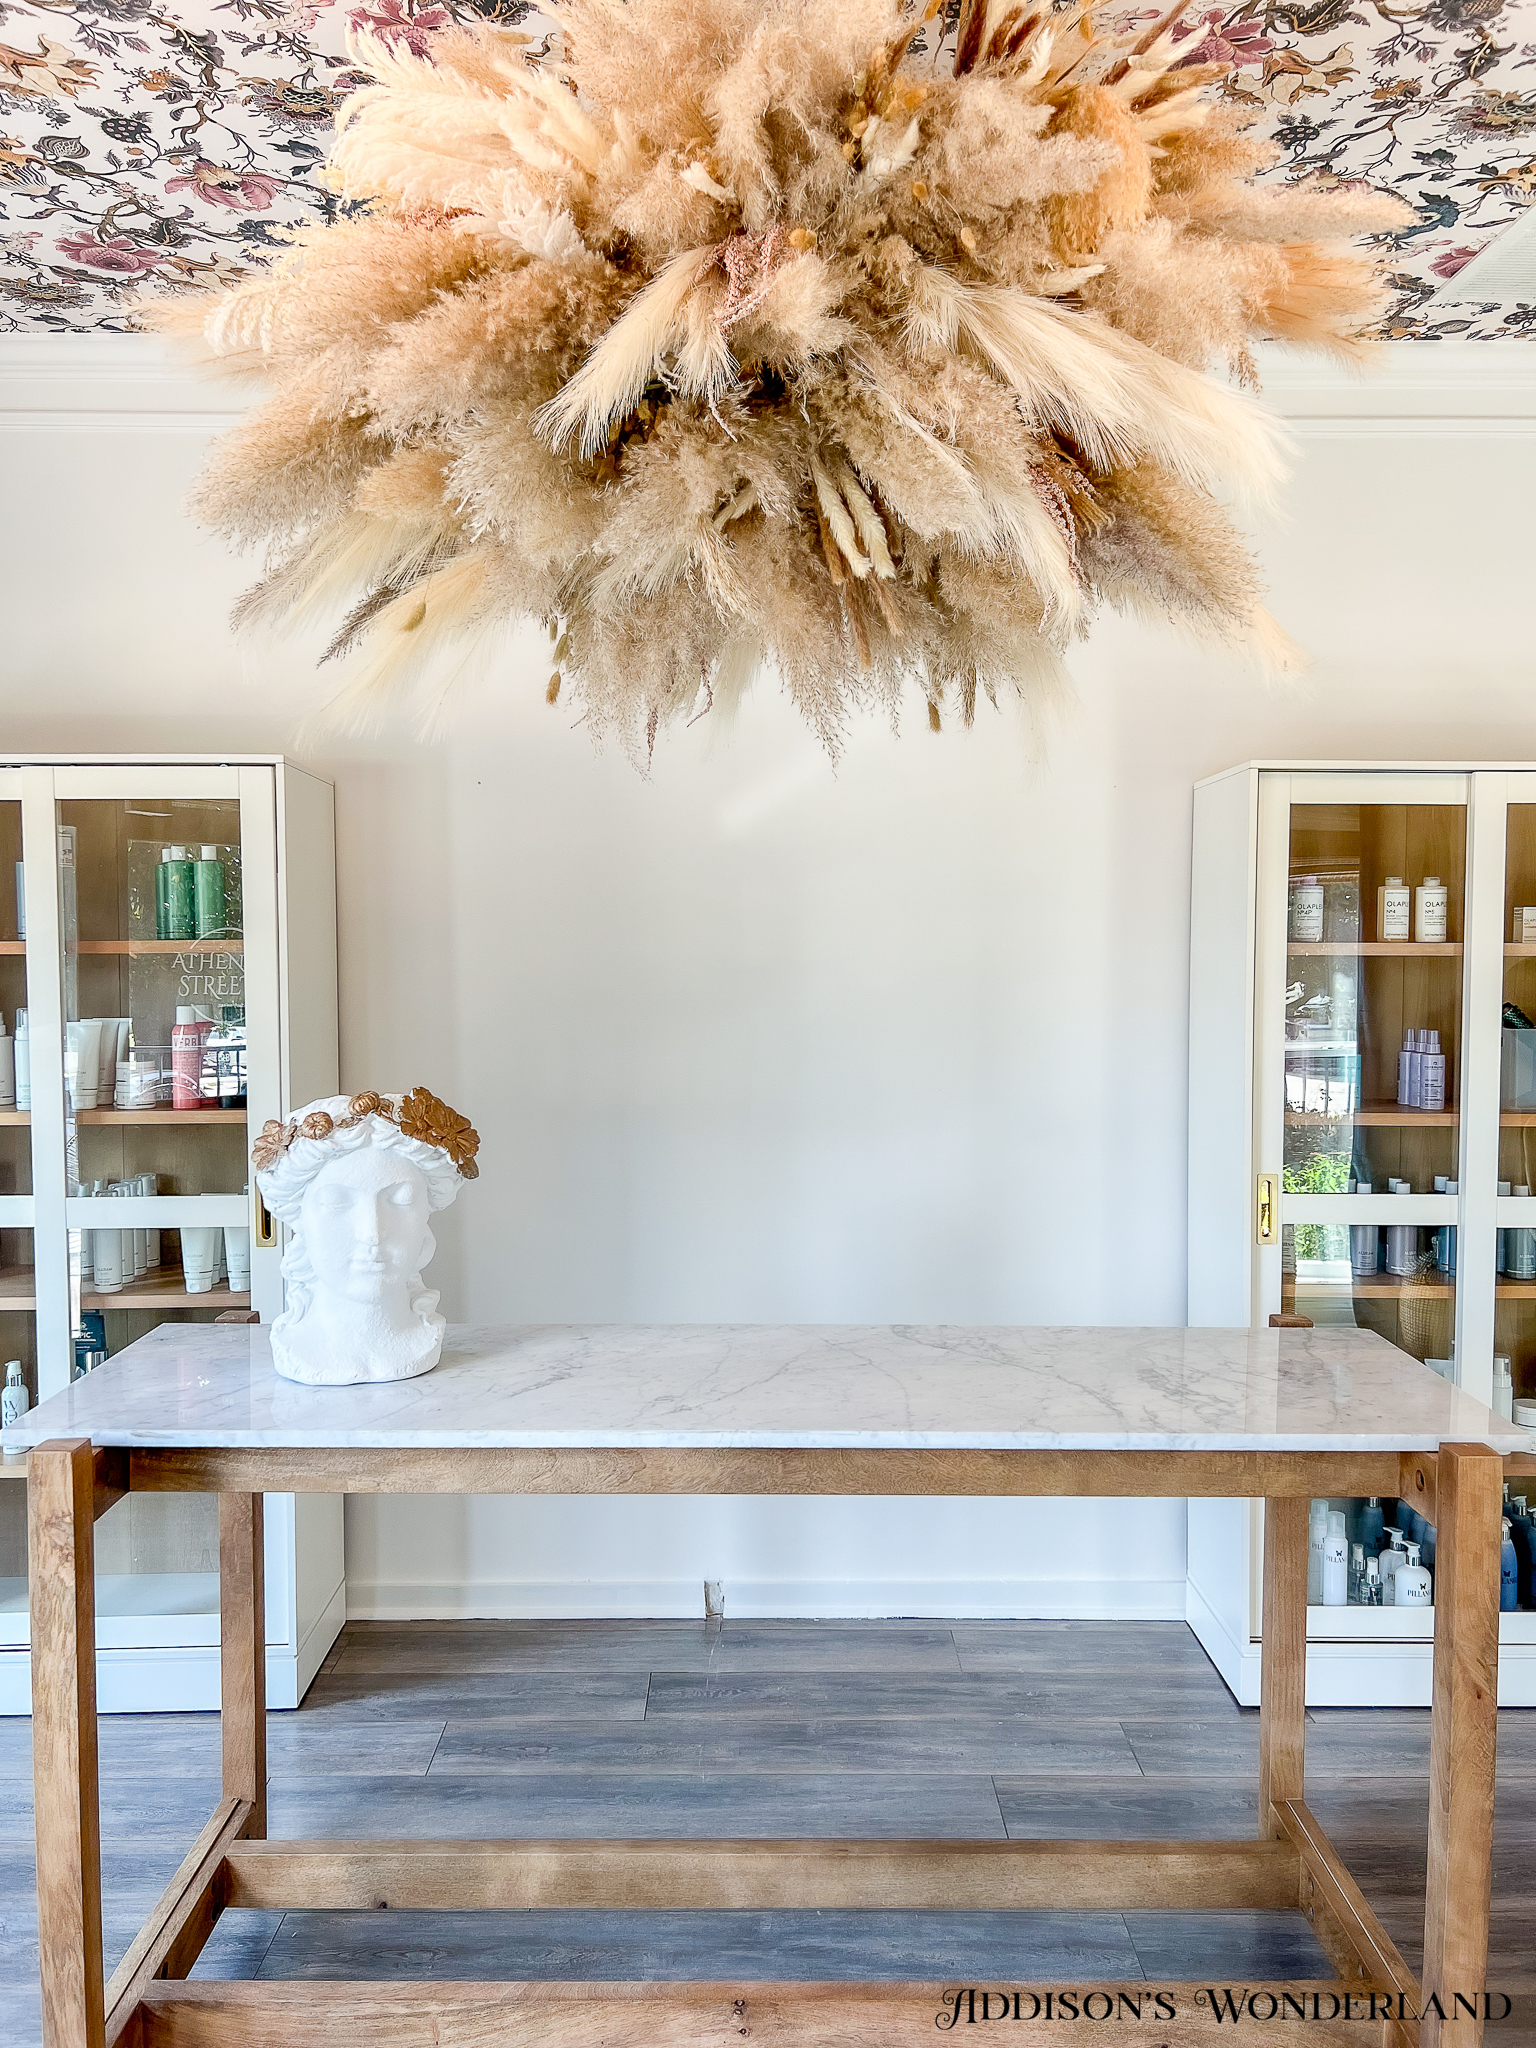
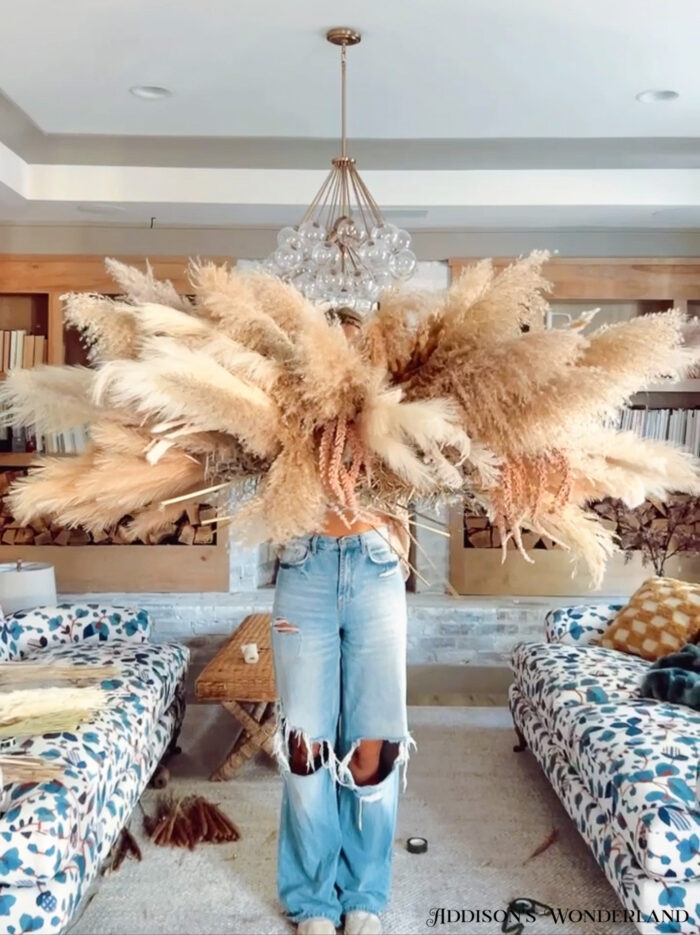
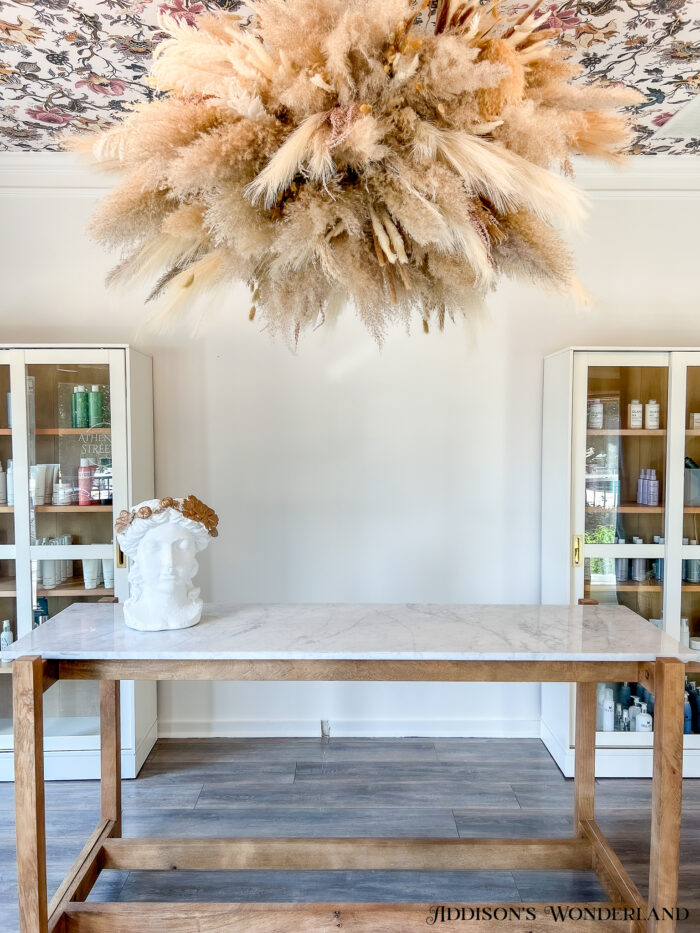
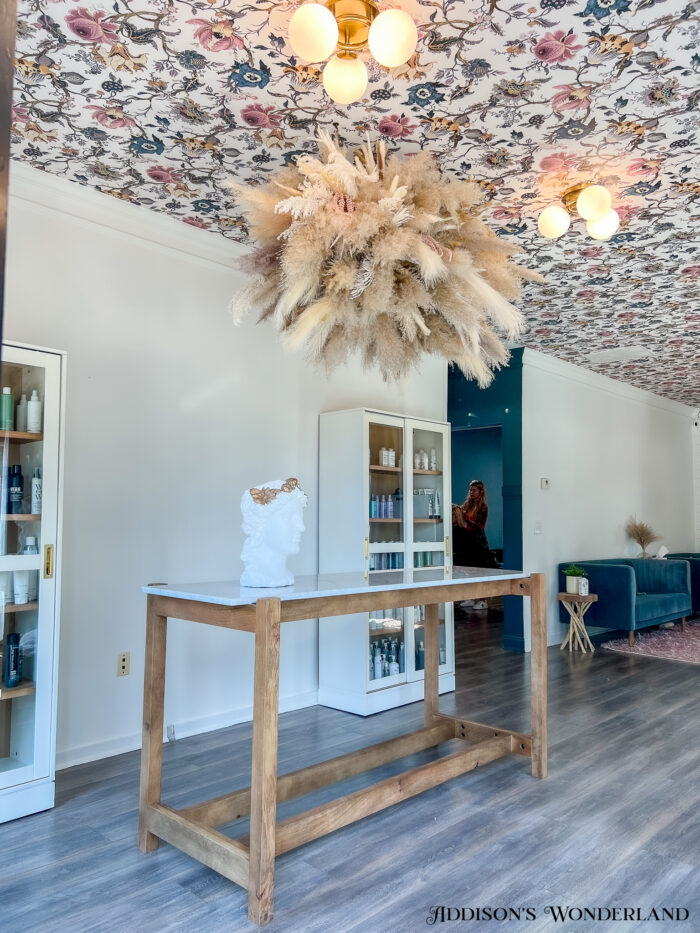
Hello there! Gosh it’s been a while since I’ve posted any tutorials! Get ready… this is a REALLY FUN ONE too! As I’ve been sharing over the last couple of months on Instagram stories, Ab and I have been designing and now installing a local salon makeover. The salon is called Haven in Winder, Georgia and it is coming along sooooo beautifully! This post will be solely focused on the pampas grass fixture but there will be lots more coming very soon detailing the entire makeover including the lobby, hallway, shampoo area and two bathrooms along with much better photography of the project. Today will be a whole lot of iPhone pictures of the not entirely finished space. But the fixture turned out so beautiful I had to share it first!
Every space I design has to have a little (or a lot) of color, a good dose of pattern and of course a touch of the whimsically unexpected. In this case, a huge pampas grass fixture! Ab and I quite honestly had absolutely no clue what we were doing when we decided to create this beauty but we learned a lot along the way that I will be sharing here and we also learned that this just might be a one and only AW pampas creation 😉
Haha no, it wasn’t that bad but it was a lot of work and a big ole’ mess! First, let’s chat supplies…
Supply List…
Chicken Wire
Zip Ties
Real Pampas Grass
Faux Pampas Grass
Decorative Florals
Twine
Two Decorative Swag Hooks

Chicken Wire
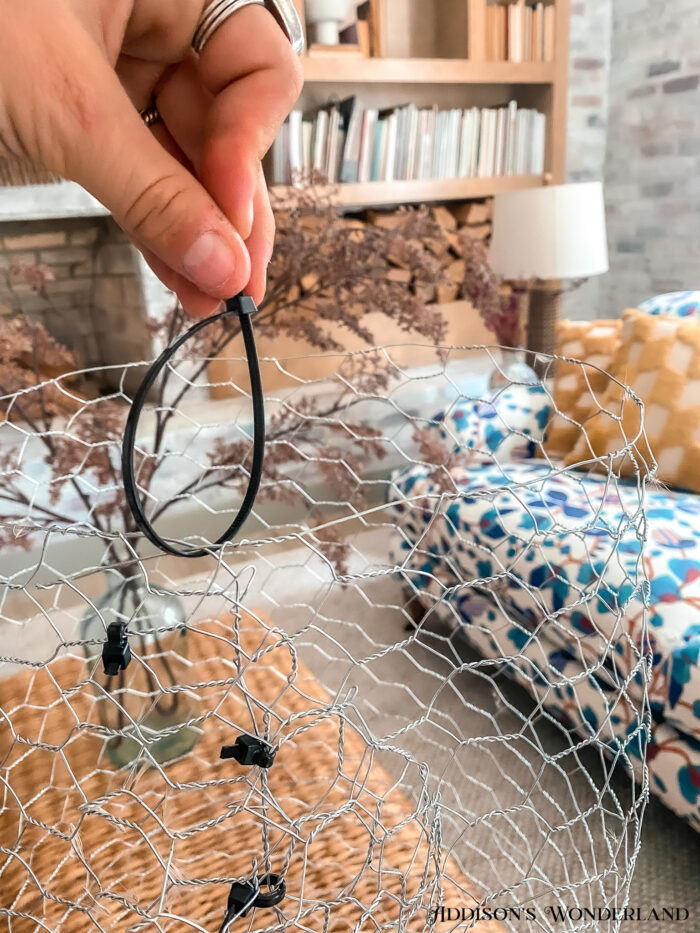
Zip Ties
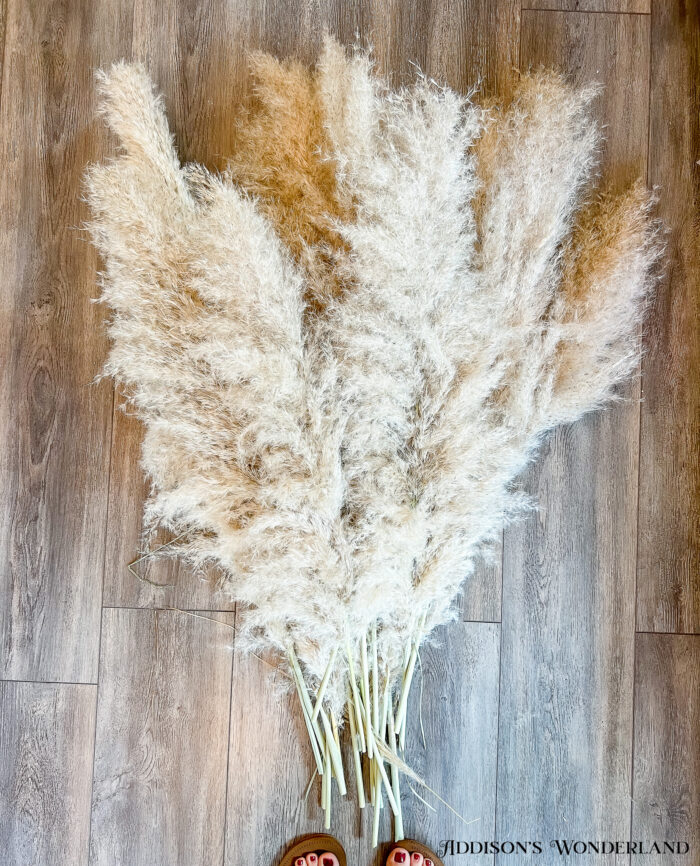
Real Pampas Grass
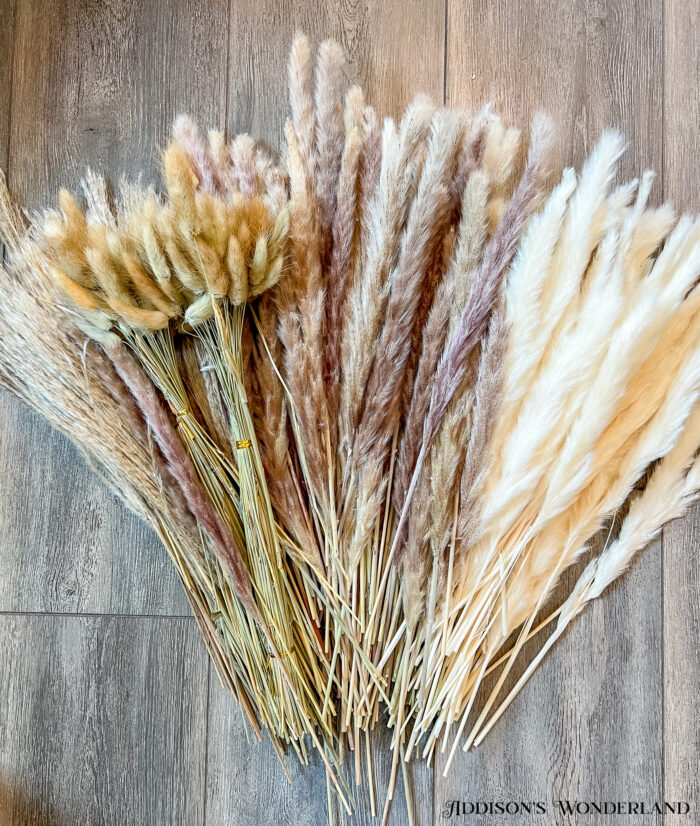
Faux Pampas Grass
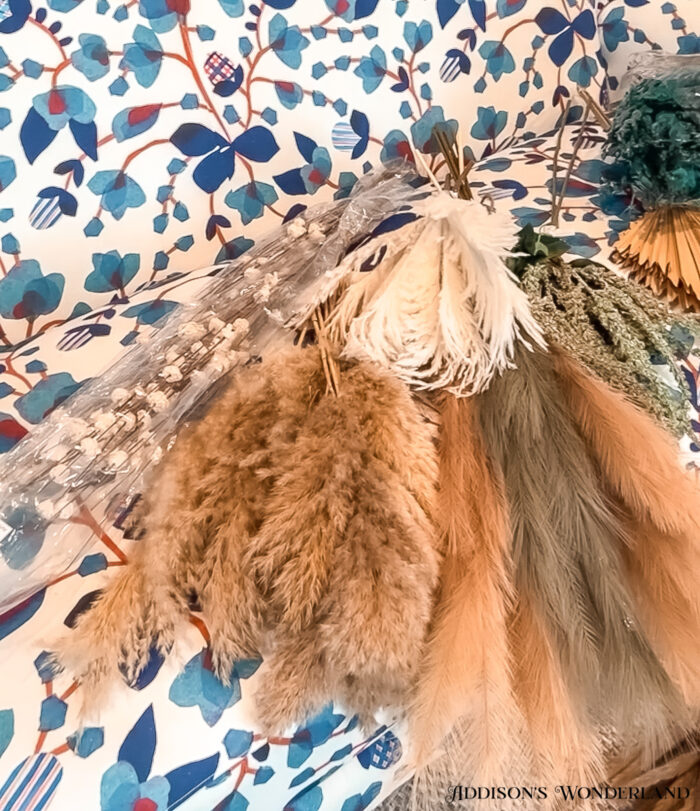
Decorative Florals

Swag Hooks
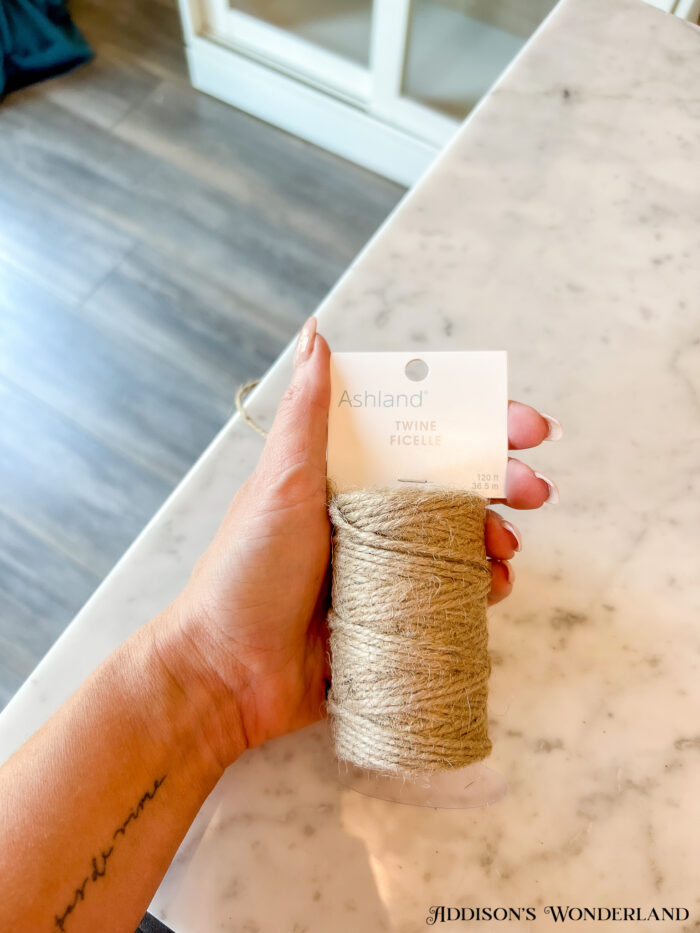
Twine
Step One…
Roll out and cut a section of chicken wire making an approximately 12-18″ cylinder. Zip tie it together with three or four ties along the 24″ side.

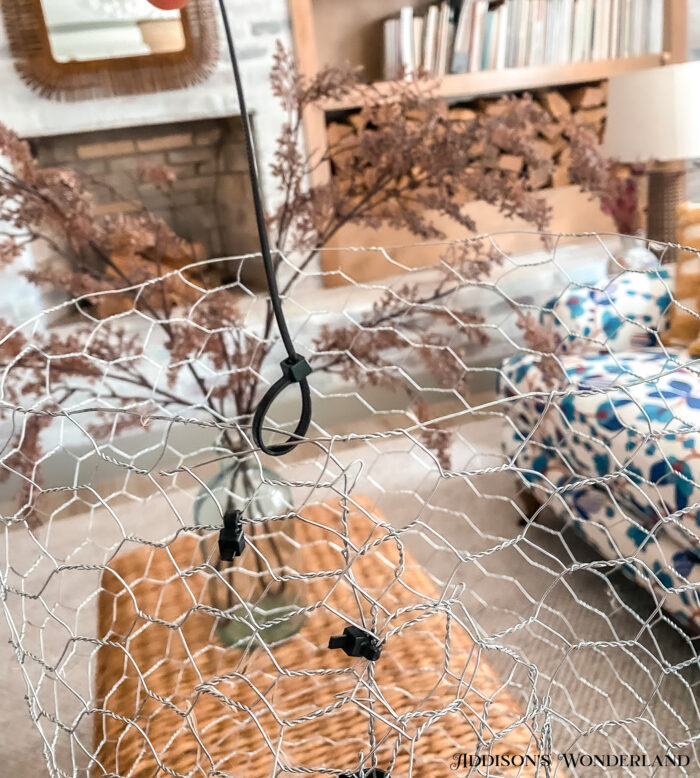
Step Two…
Starting with faux pampas grass and decorative florals, start shoving pieces equally throughout the rolled chicken wire leaving the bottom (part against the floor) free of grass and florals. This part will be on the top once hung and will be filled after hanging.
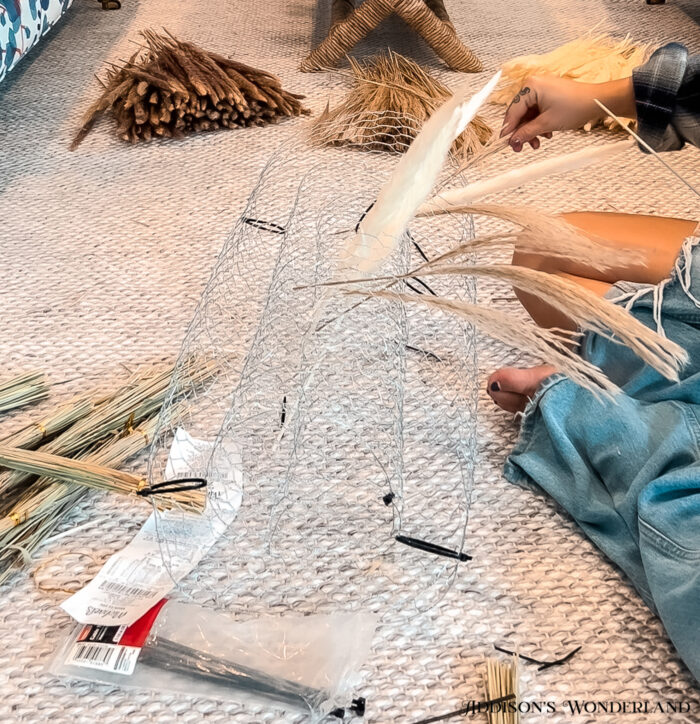
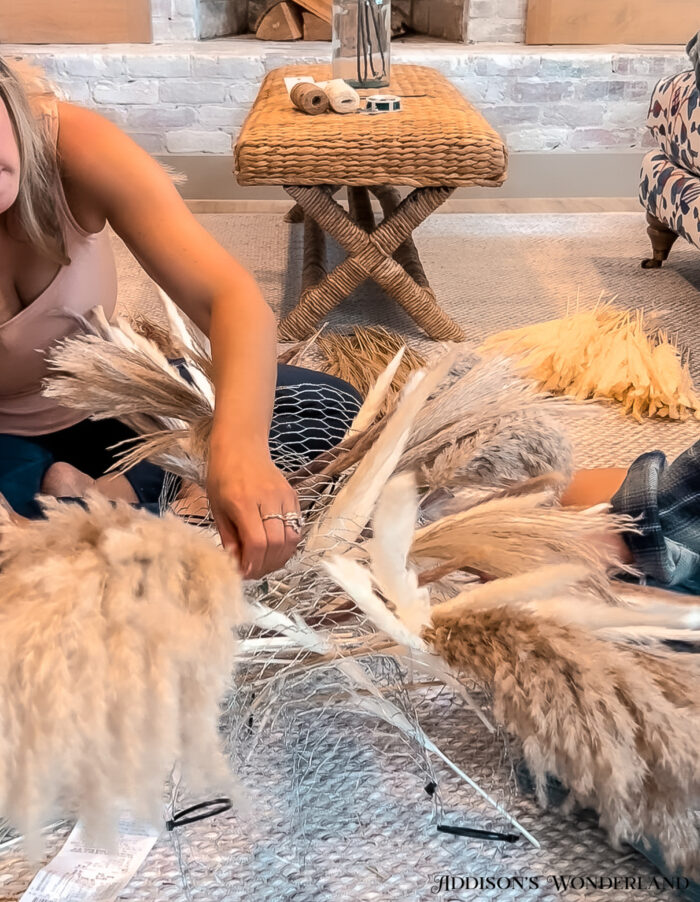
As more and more are inserted, begin intertwining them to secure into place. The more you insert, the more this will naturally just happen.
Step Three…
Add real pampas grass into open sections filling it out.
Step Four…
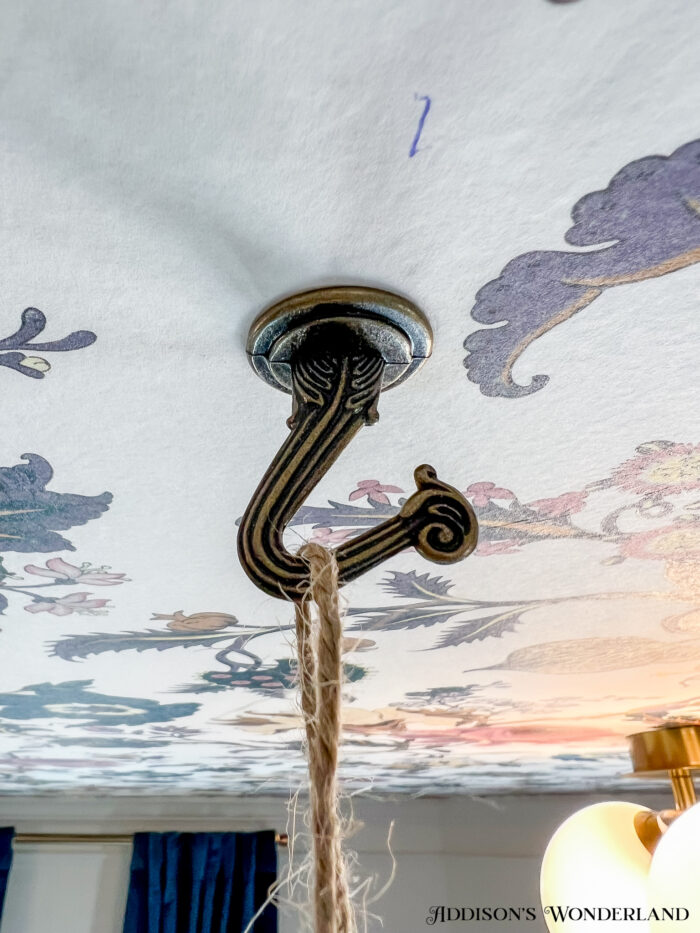
Attach swag hooks approximately 20″ apart into ceiling.
Step Five…
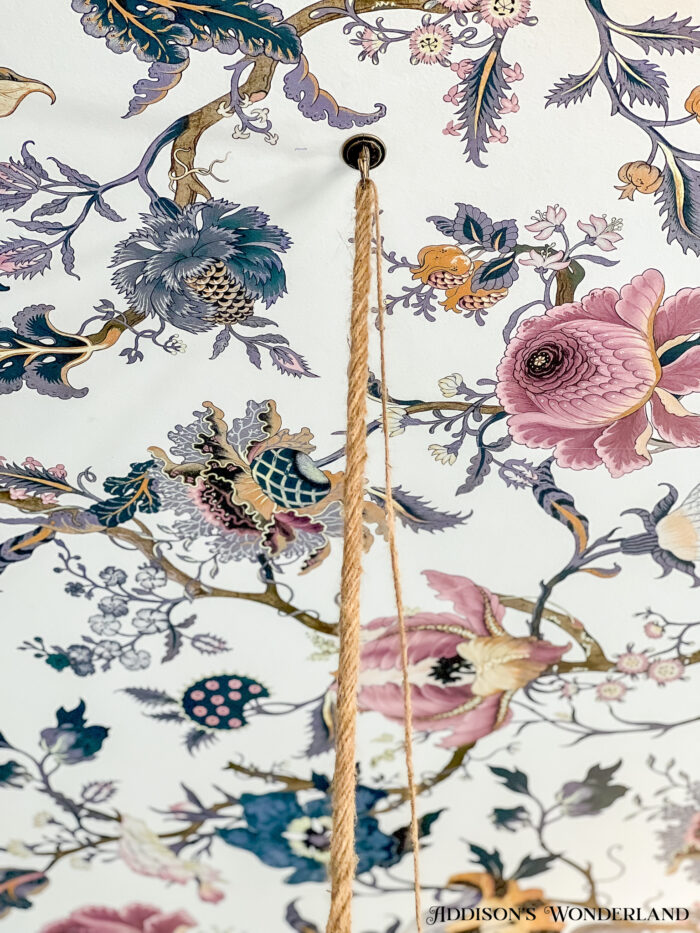
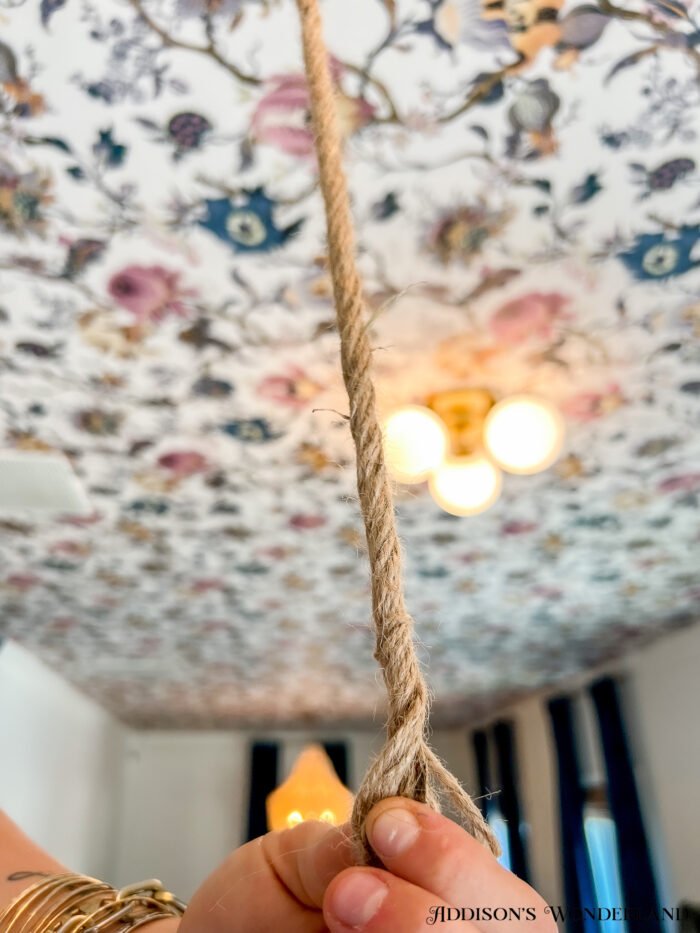
Twist quite a few strands of twine creating one thick twine rope.
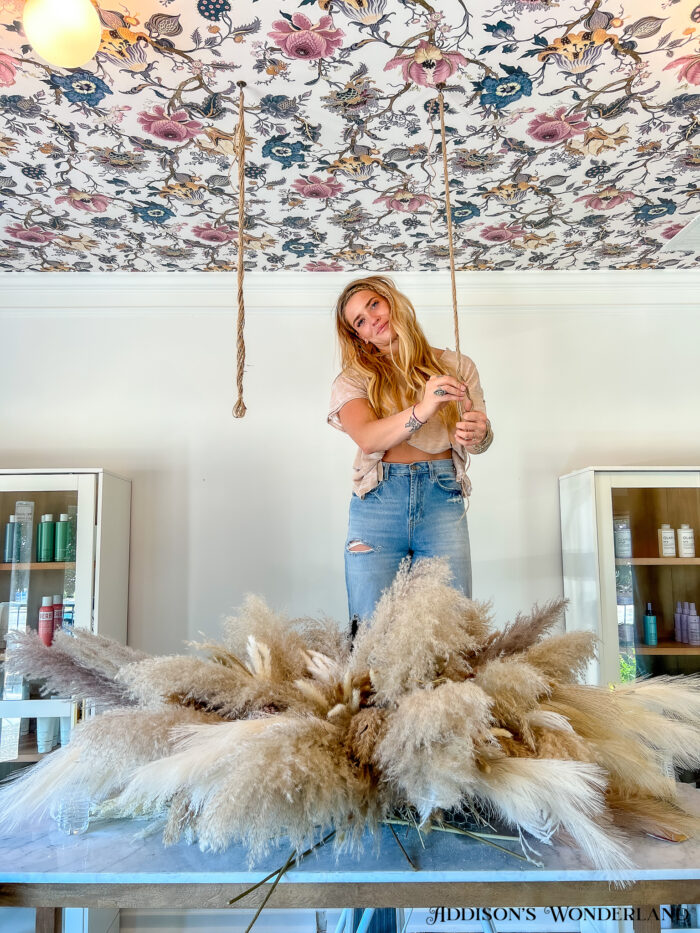
Step Six…
Tie the ends of the twine rope into the far sides of the chicken wire with the completed pampas section almost completely upside down.
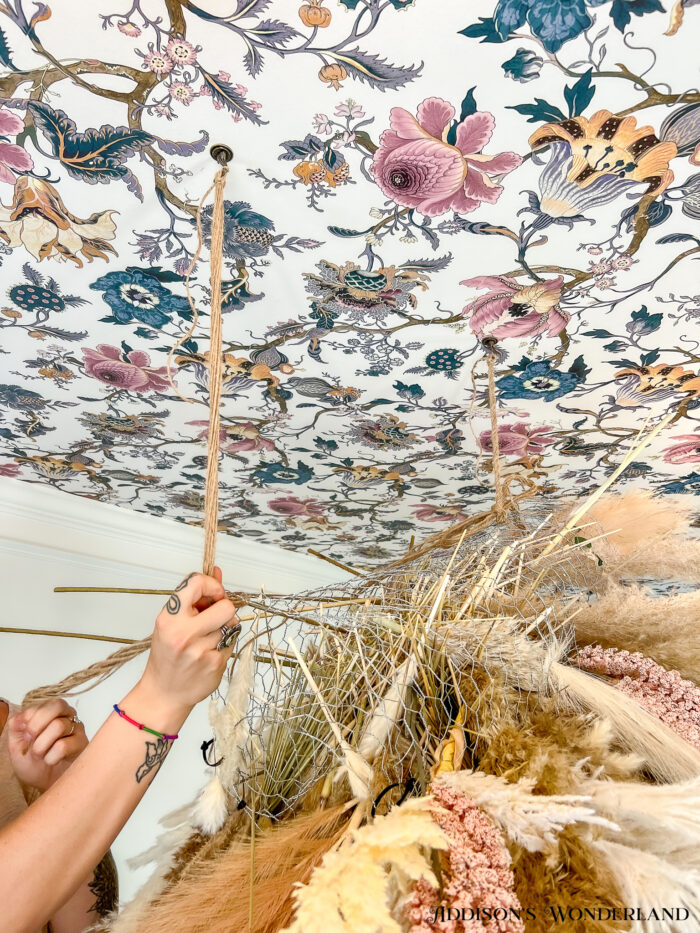
Step Seven…
Just as when you began, insert more faux pampas and then more real pampas into the top unfilled section until it is completely filled out.
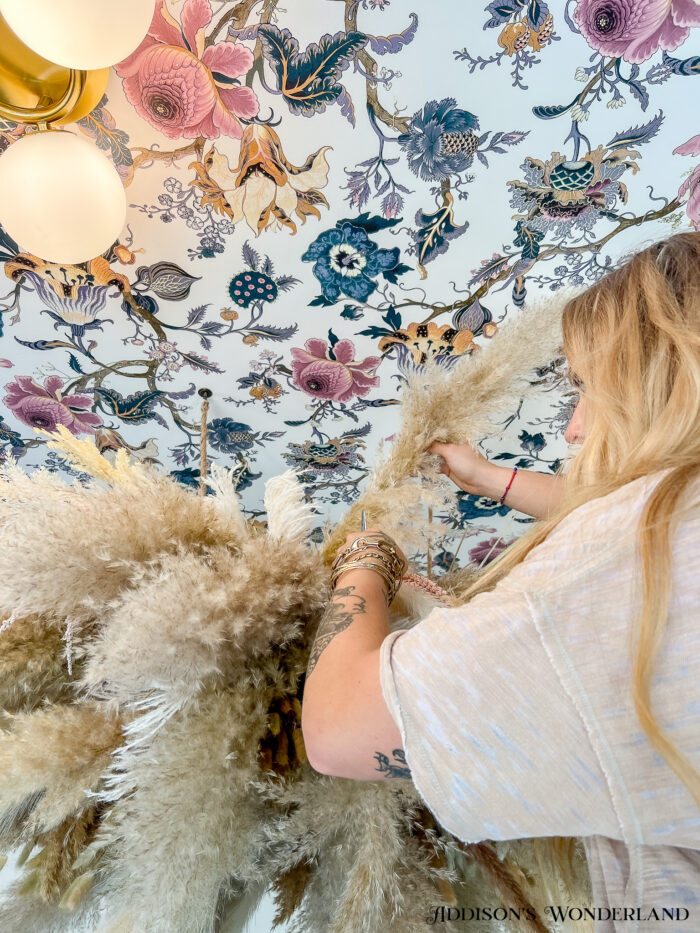
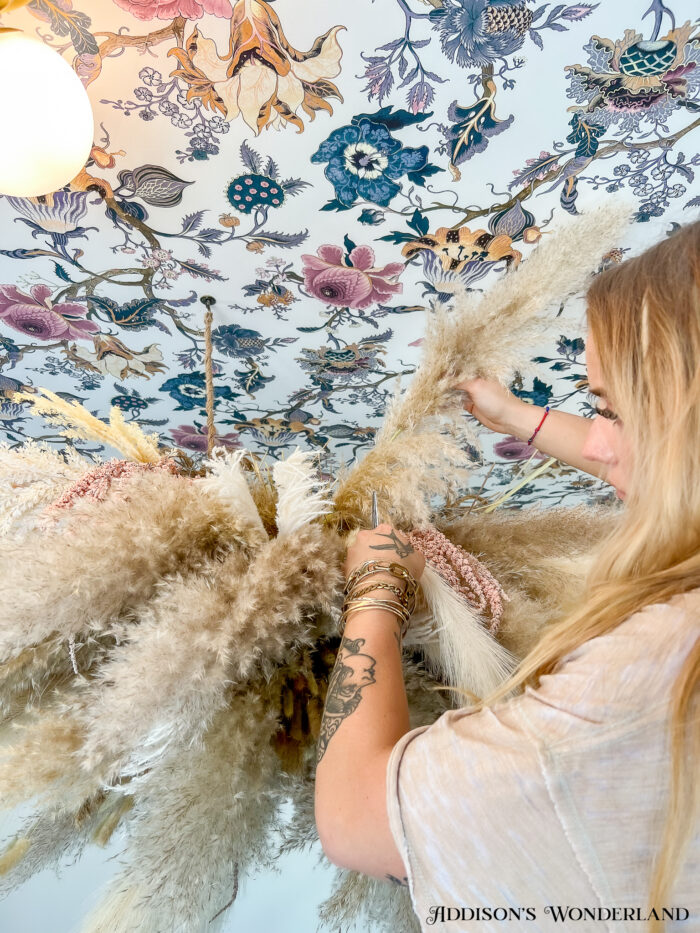
And once it’s complete, spray it down with hairspray and the shedding will cease!
TADA!!!
Curtains / Wallpaper / Lighting / Cabinets
Shop This Project…
Wallpaper
XOXO, Brittany Palazzo
+ view the comments

