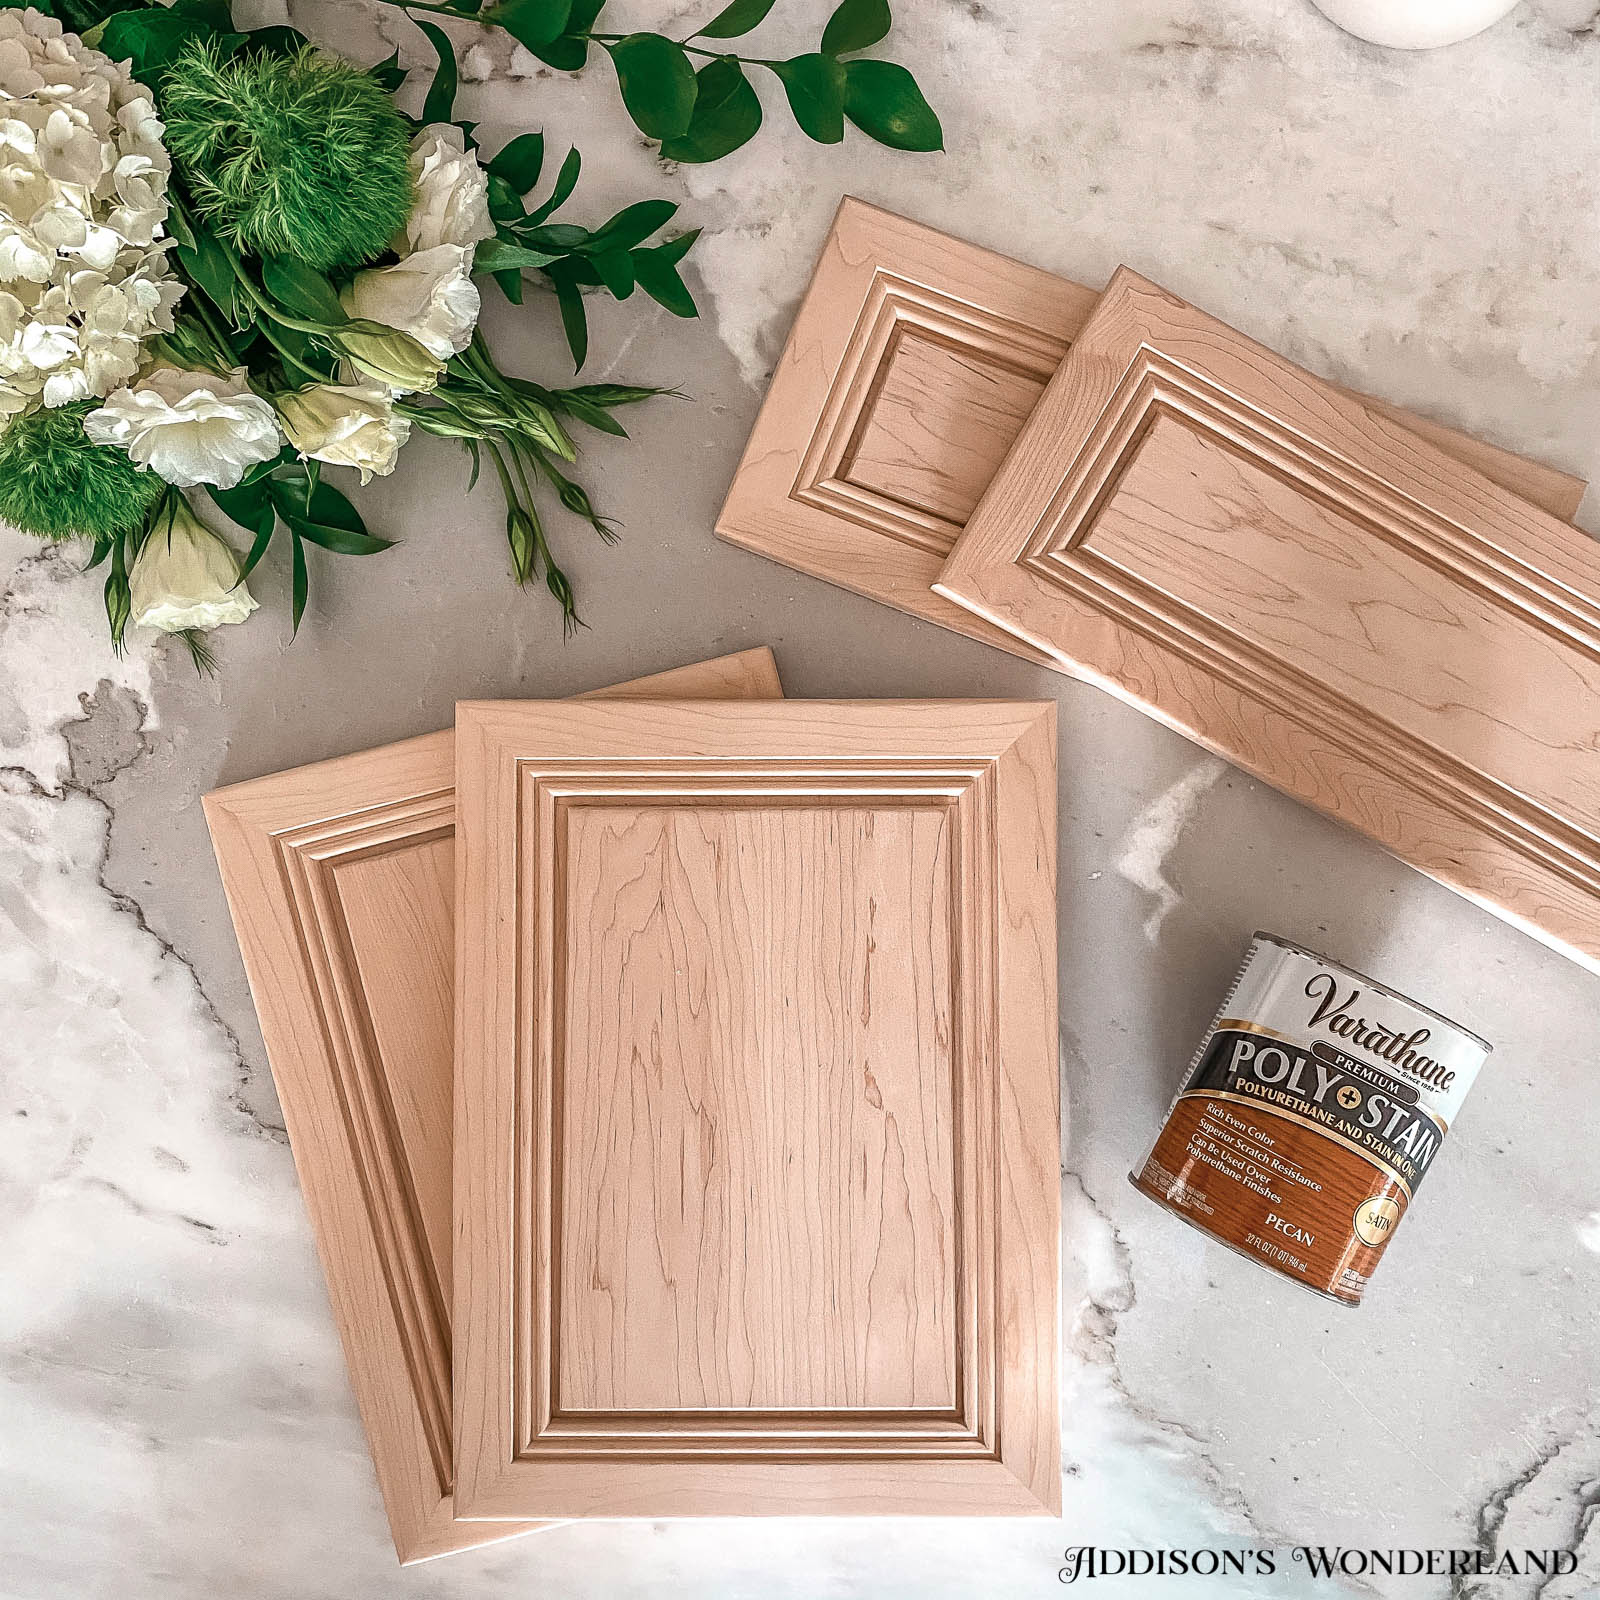
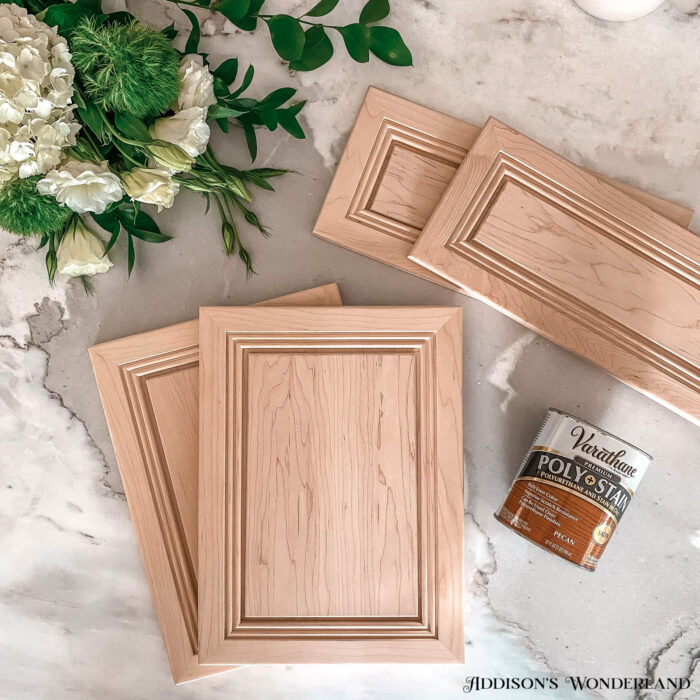
Hi friends!!! Good afternoon! Sorry this post has been a little while in the making. I kept wanting to stain the new cabinet door/drawer fronts for the main bathroom in the new cabin before I shared all of this juicy, money saving information and between the kiddos being home for Summer and trying to get ready for our wedding next week, the project kept getting pushed back and back and back. But today was finally the day! John and I got to staining and they are looking GORGEOUS so far…

I have lots to chat about and show you in this post but let’s start with the most likely reason you are here… SAVING MONEY! Yep, I started this vanity makeover process on our last cabin (TOUR THAT CABIN HERE) and I am HOOKED! I simply keep the vanity cabinet “box” and replace the door and drawer fronts using FastCabinetDoors.com. We simply re-paint or stain the existing box and new fronts and it ends up looking like a BRAND NEW VANITY! Oh and you can absolutely do this with kitchen cabinets too! I also did that with the kitchen in the cabin I am referring to. I am just showing all bathroom examples in this post so I keep saying “vanity”. It is not only much cheaper, but also way easier than replacing a vanity or an entire set of cabinets. First, let’s take a peek at a before/after from my previous cabin project…
And here’s one more picture of the “AFTER”…
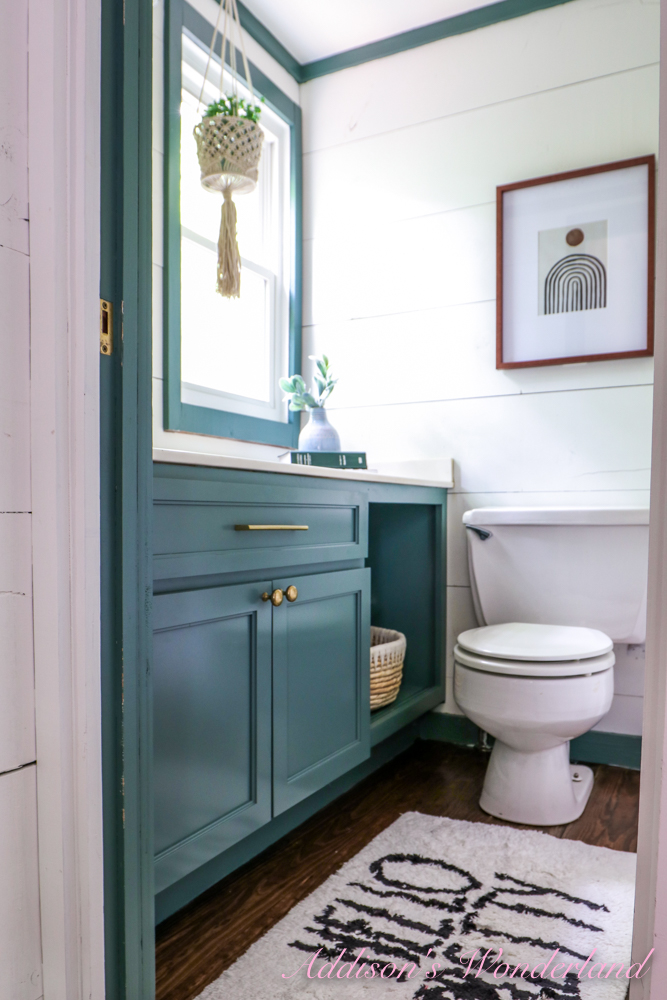
For more details about this bathroom, READ THIS BLOG POST!
For this bathroom, this is exactly what I ordered from FastCabinetDoors.com…
Campbell
Wood Type: Paint Grade
Hardwood with MDF
Boring and Hinge Options: Boring Only
Optional Non-Standard Stiles and Rails WidthsStandard
Here’s the How-To…
MEASURING… If you like the layout and placement of the current door and drawer fronts and as long as they are overlaying the frame, (before you remove them) measure the length and width of each panel. Typically there is an overlap over the frame of the cabinet of about 1/2″ all the way around each panel.
OR… remove your door and drawer fronts, measure 1/2″ around the opening and use this as the size door/drawer front you will order.
Note… drawer fronts are much the same in terms of measuring for overlay but with installation rather than using a hinge, you will simply screw the front onto the face of the drawer box.
ORDERING… In ordering our door and drawer fronts, we order with the “Boring and Hinge Options” set to BORING ONLY to fit a standard blum hinge. The blum hinge that we like to go with is a concealed, detachable hinge LINKED HERE. The standard overlay for this hinge is 3/8-5/8″ which allows you to adjust your door given that we have a 1/2″ overlay on the doors.
Now here’s a peek at the main bathroom in the cabin as it has been coming along. The existing vanity box will be painted white and the doors are stained as pictured above in PECAN STAIN for a two-toned cabinet look. Here’s my inspo…
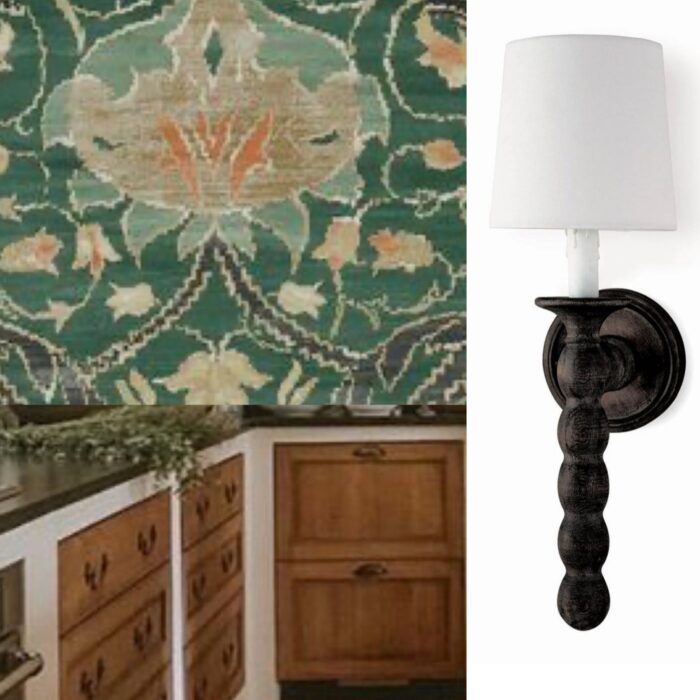
Two-Toned Cabinet Inspo from Lauren Liess
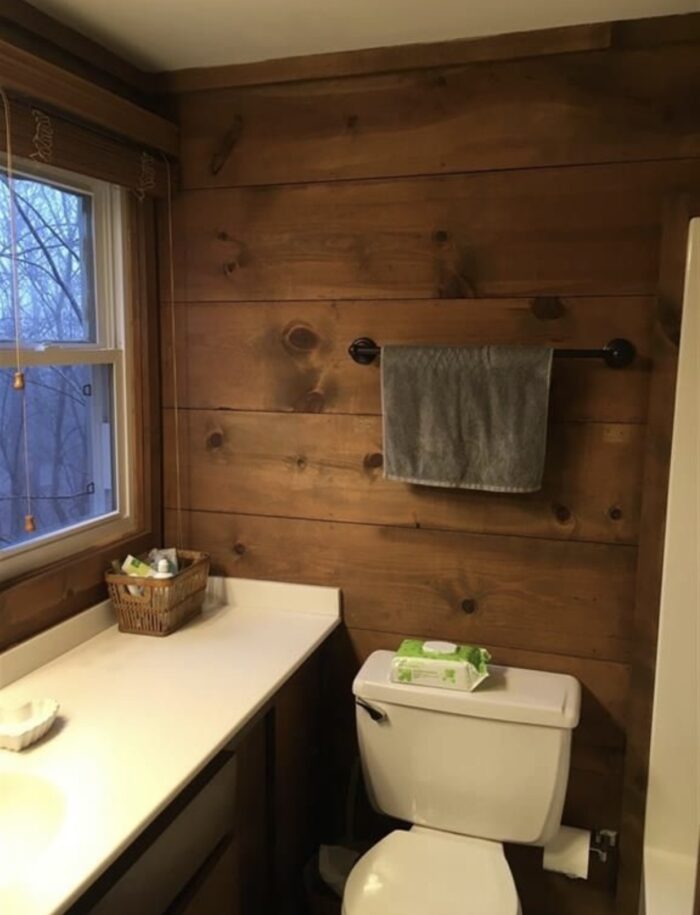
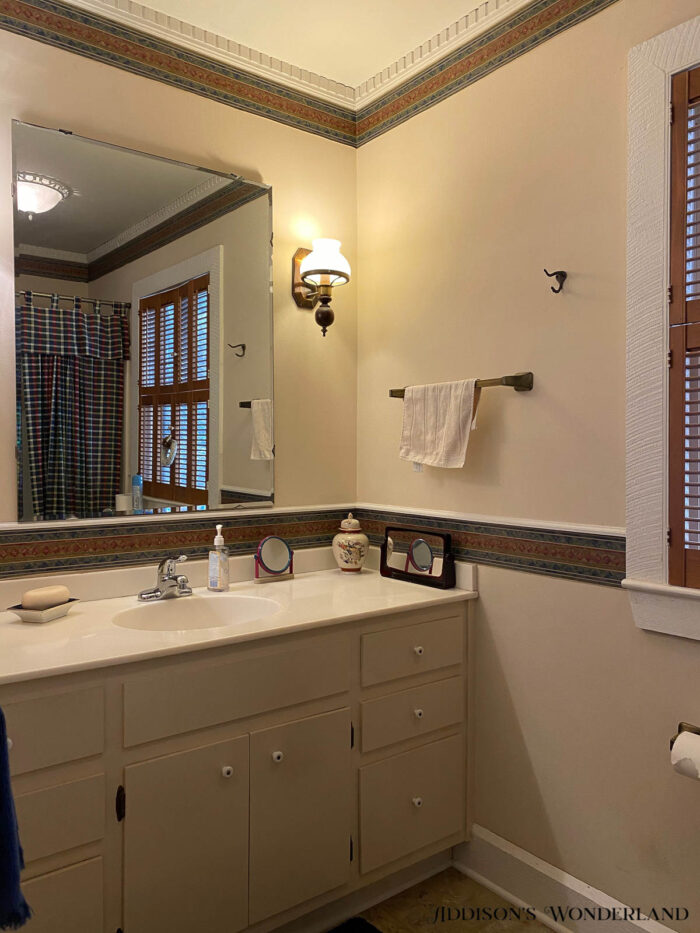
Now here’s the bathroom BEFORE…
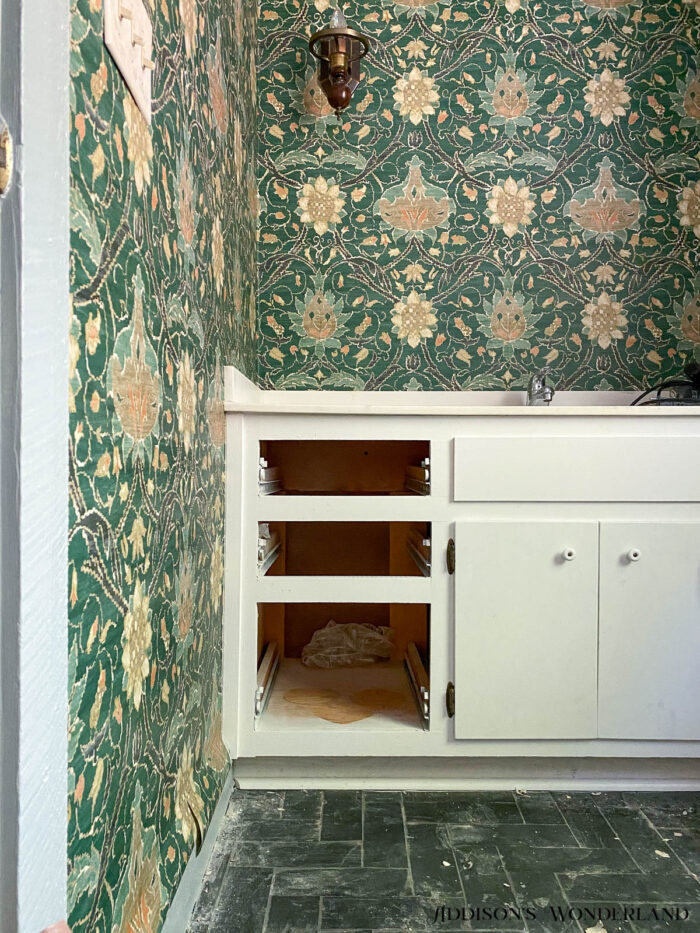
After New Wallpaper…
And Progress as of TODAY!
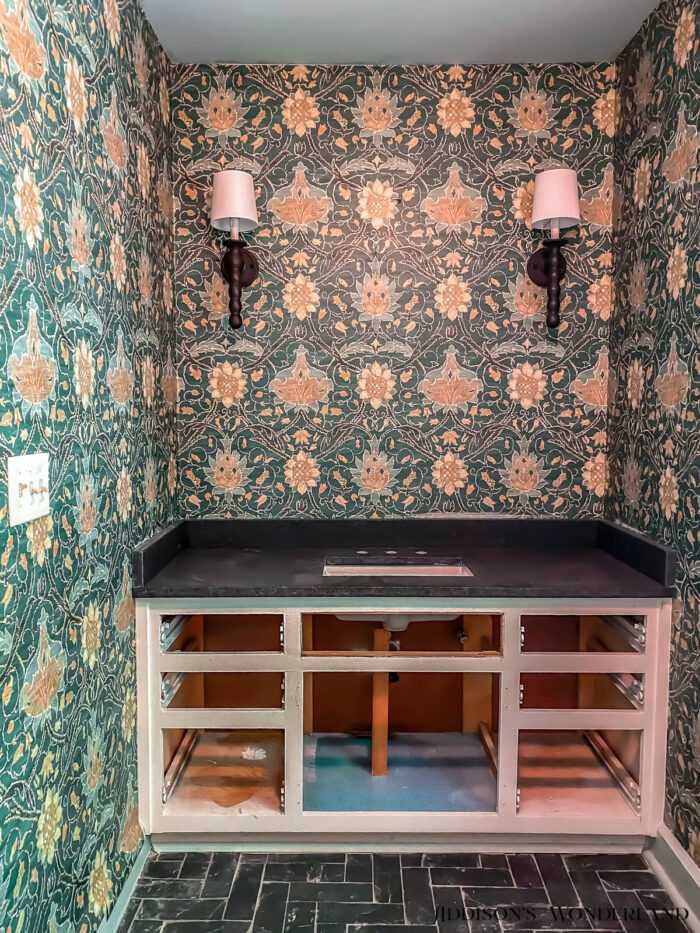
Wallpaper- LINKED HERE & LINKED HERE
Trim & Ceiling- Imperial Gray by Benjamin Moore
Flooring- 3 x 9 Black Natural Slate Tile
More Cabin Updates Here…
XOXO, The Future Mrs. Palazzo
+ view the comments

