Good Morning! John is back… starting below… with another DIY construction tutorial. And this one is AMAZINGGGGG!!! We are NYC bound today and I cannot WAIT! Except for the cold weather… not too crazy excited about that. Hope you’ll follow along on our travels over on stories! Thank you for BEING HERE!!!
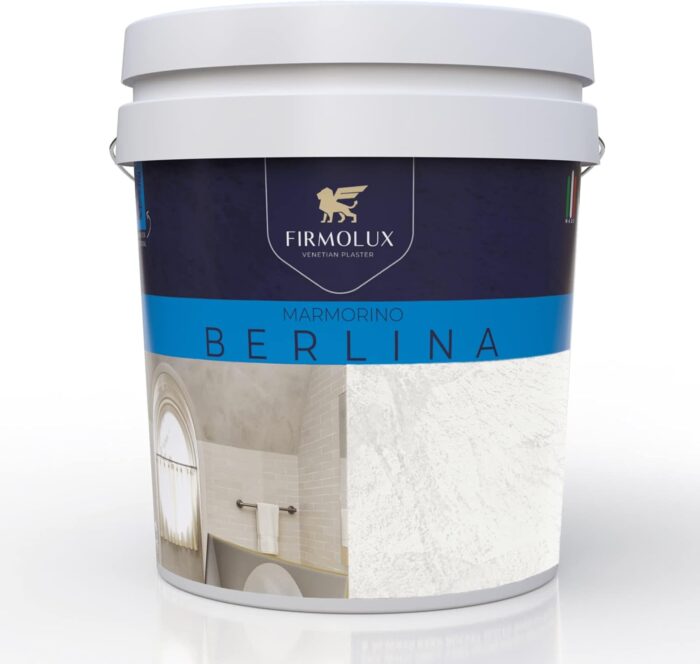
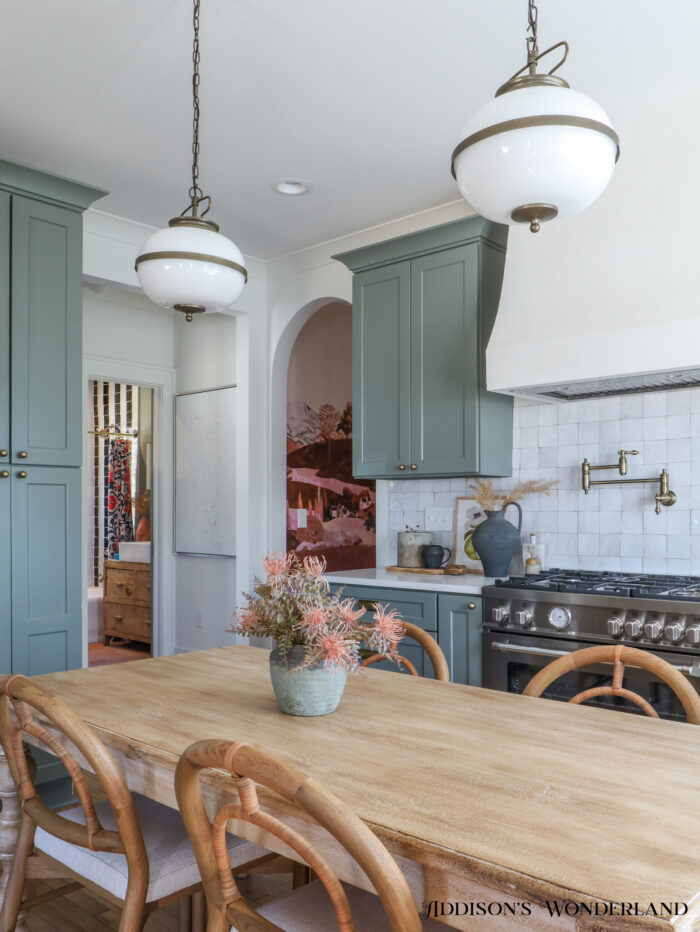
First, Our Most Asked Question… What Plaster Did You Use? THIS ONE!
When building a decorative vent hood, you will need to consider the following… SIZE, SHAPE, and FINISH. First, to determine the size of the vent hood you need to know the width of your oven cooktop. This will help you determine what size cook top vent inserts are available. Once you select the cooktop vent, read the manufacturer’s instructions to find the size of the rough opening. This will tell you what the inside opening at the bottom of your vent hood needs to be to insert the vent box. Lastly, what is the depth of the countertop. You do not want to have the vent hood to extend past the countertop.
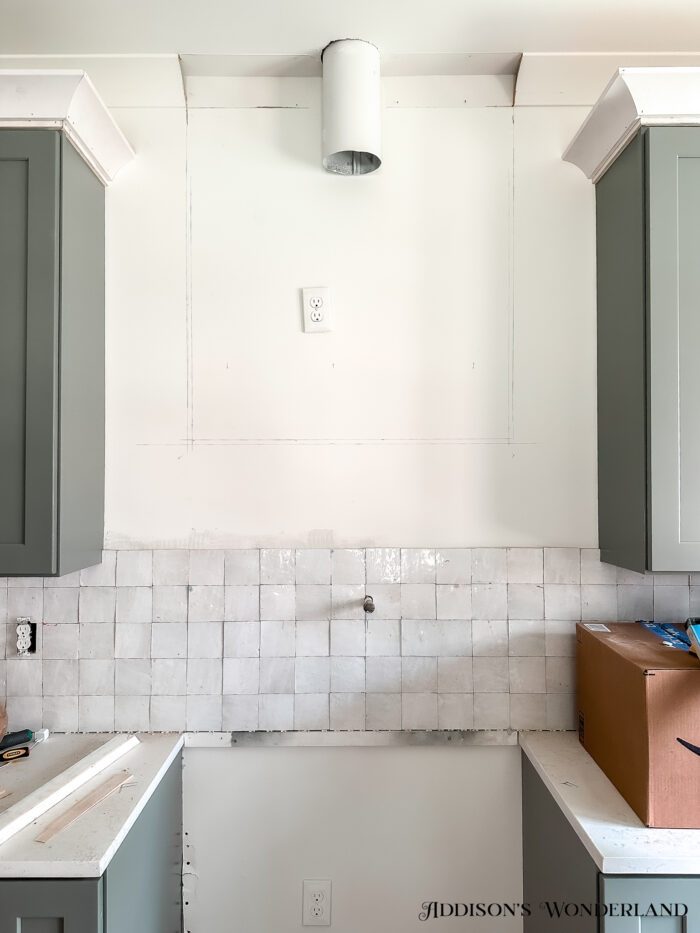
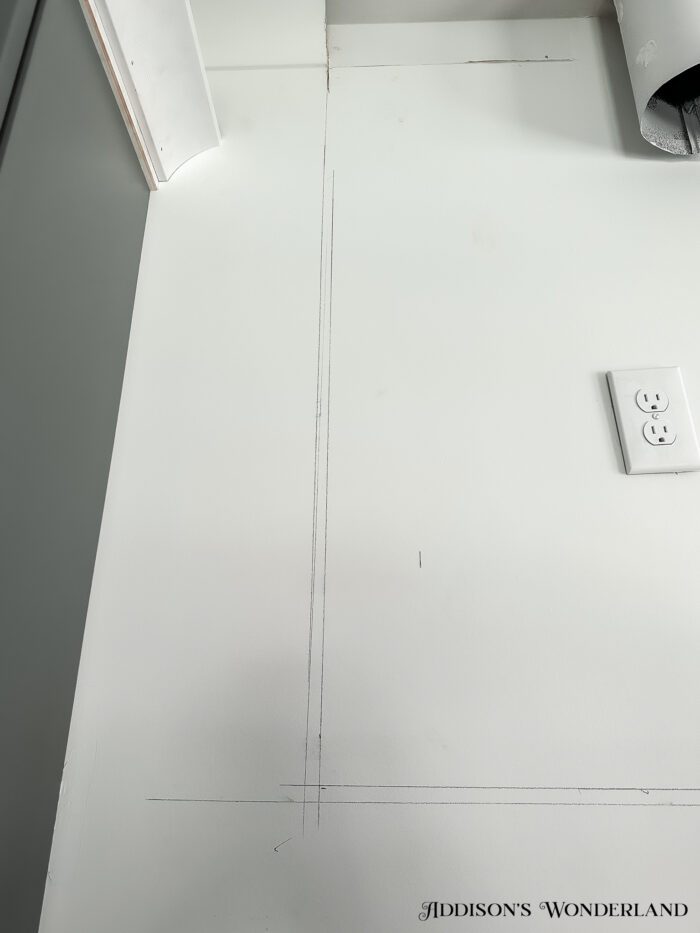
For this project, the outside dimensions of the vent hood will be 1″ wider than the 36″ cooktop… 1-1/2″ inside the edge of the countertop. First, mark the desired size of the vent hood on the wall. This will give you a preview of the proportions of the vent hood, as it appears in the space. This will also serve as your framing guidelines. In this case, our overall vent hood size will be 23-1/2″D x 37″W 41″H.
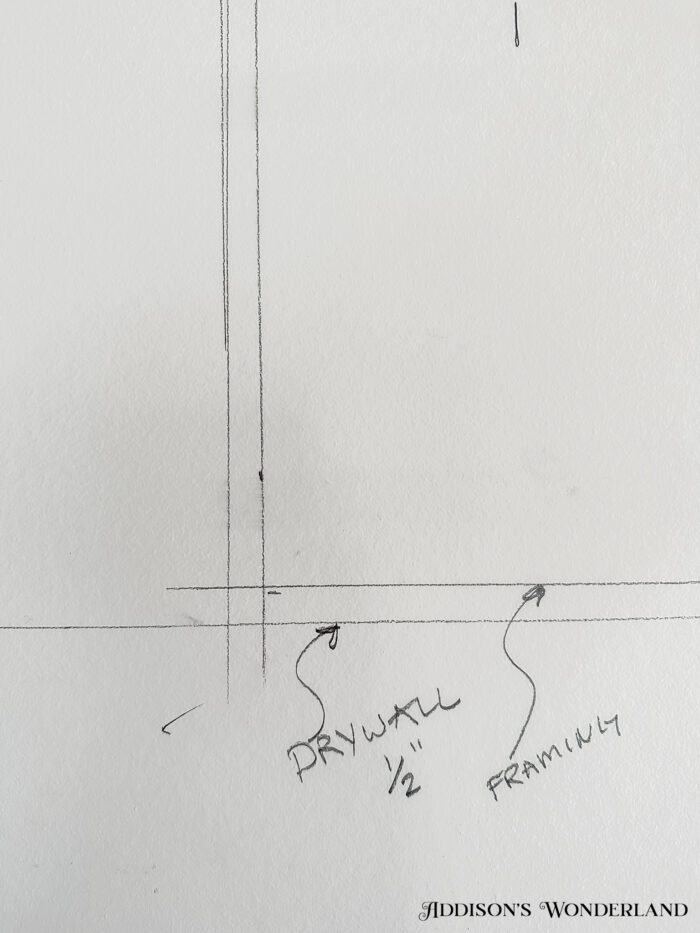
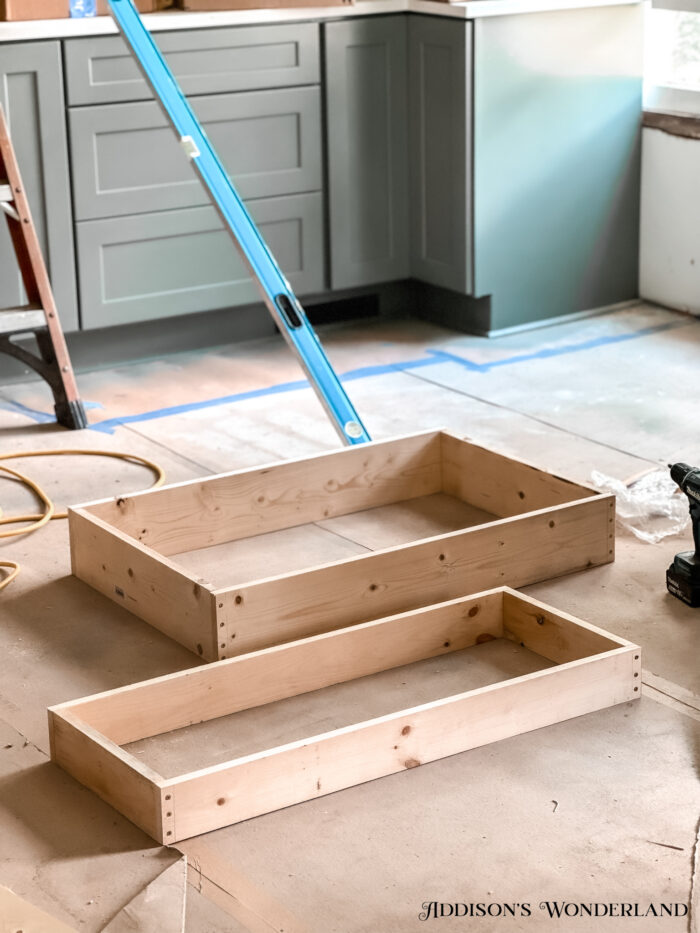
First, using 1-1/4″ construction screws, frame two boxes for the upper and lower portions of the vent hood. The upper box will be 11-1/2″D x 36″W made out of 1×4, and the lower box will be 22-1/2″D x 36″W. Remember, that we will be adding 1/2″ drywall to the frame to get to our desired dimension.
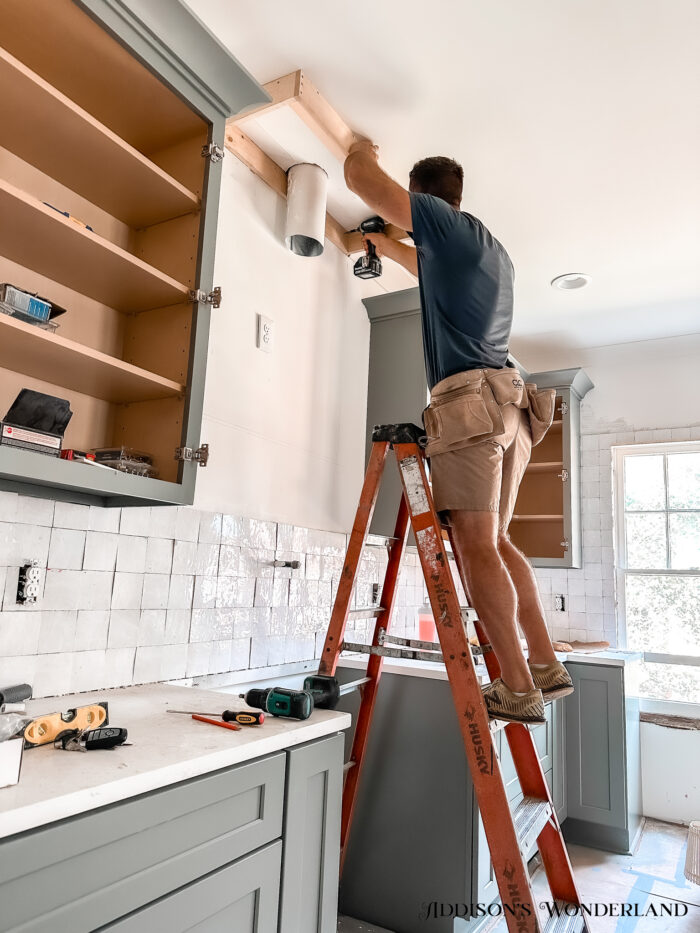
Mark the locations of the wall and ceiling framing inside the vent hood area. Then, using 2-1/2″ construction screws, mount the top box to the ceiling and wall in line with your marks. Next, attach the lower box.
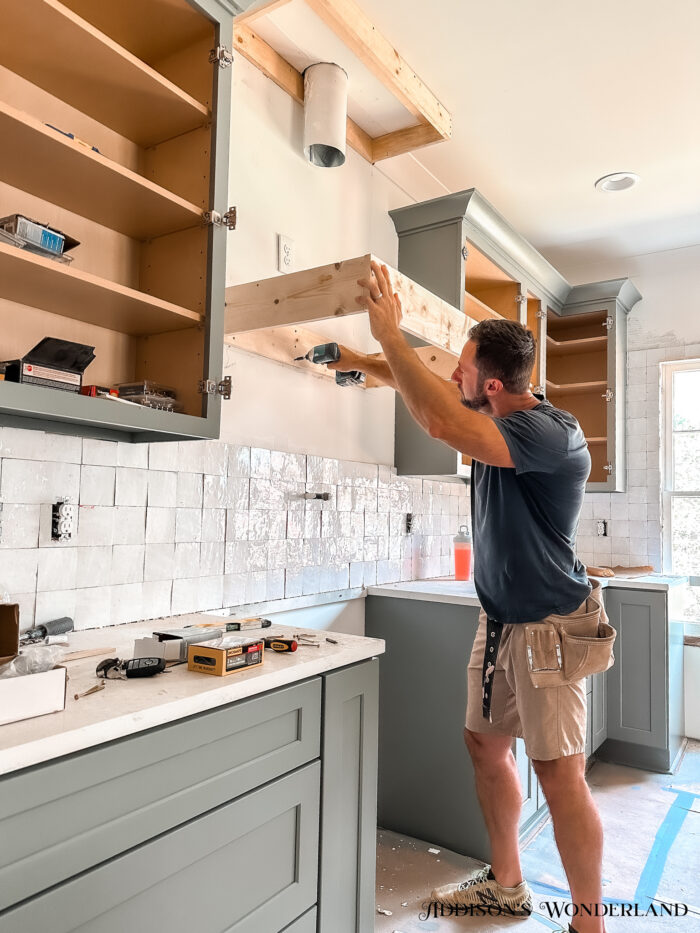
Using 1-1/4″ construction screws, attach 2 vertical pieces ( two per side) of 1x material on the inside corners of the upper box. Use a level to ensure the pieces run perfectly straight and attach to the lower box. This will serve as the main support for the lower box.
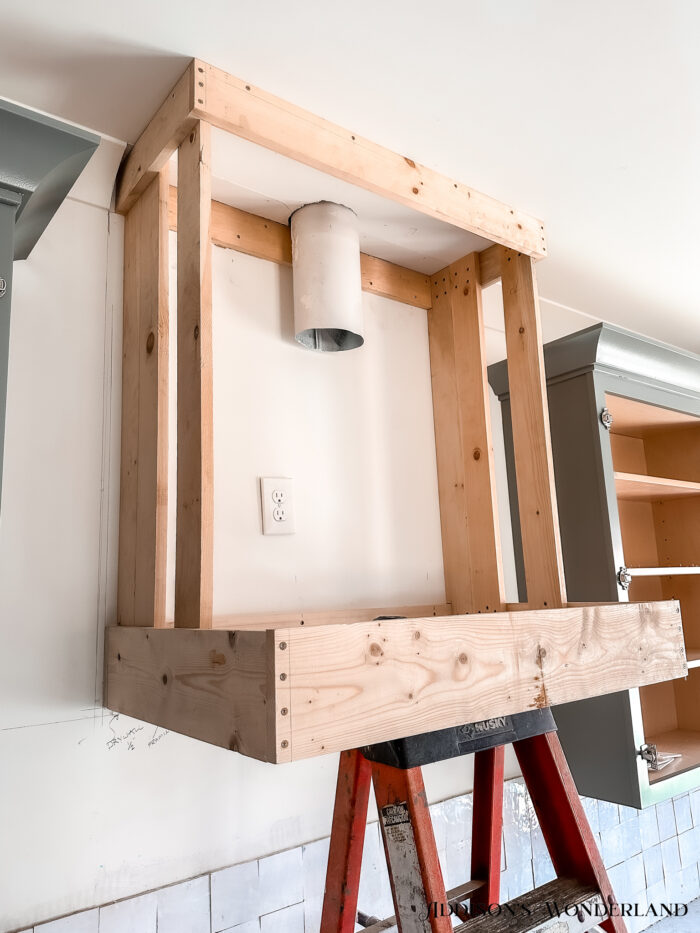
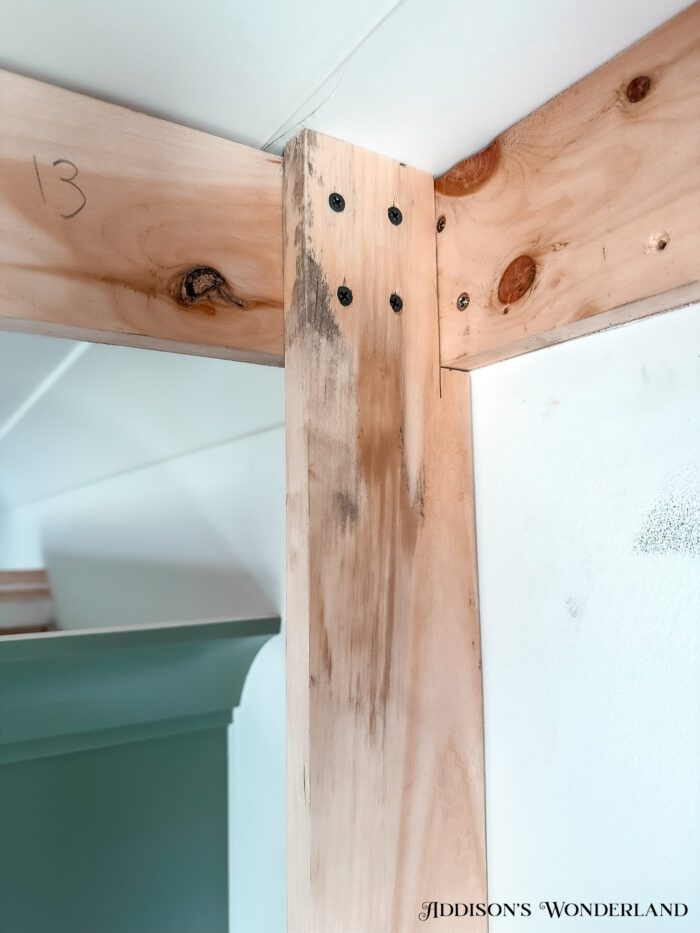
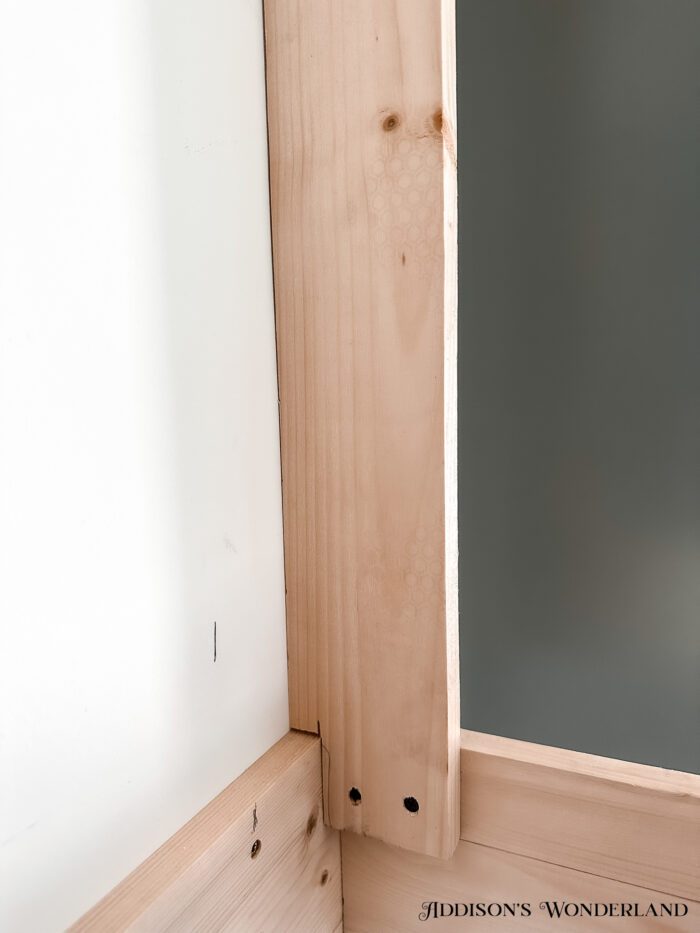
Mark a level line in the middle of the vertical boards and run a horizontal piece of 1×4 with an angled cut at the end. In this case, I chose a 22.5 degree angle. The placement and angle of this piece will define the curve of the vent hood.
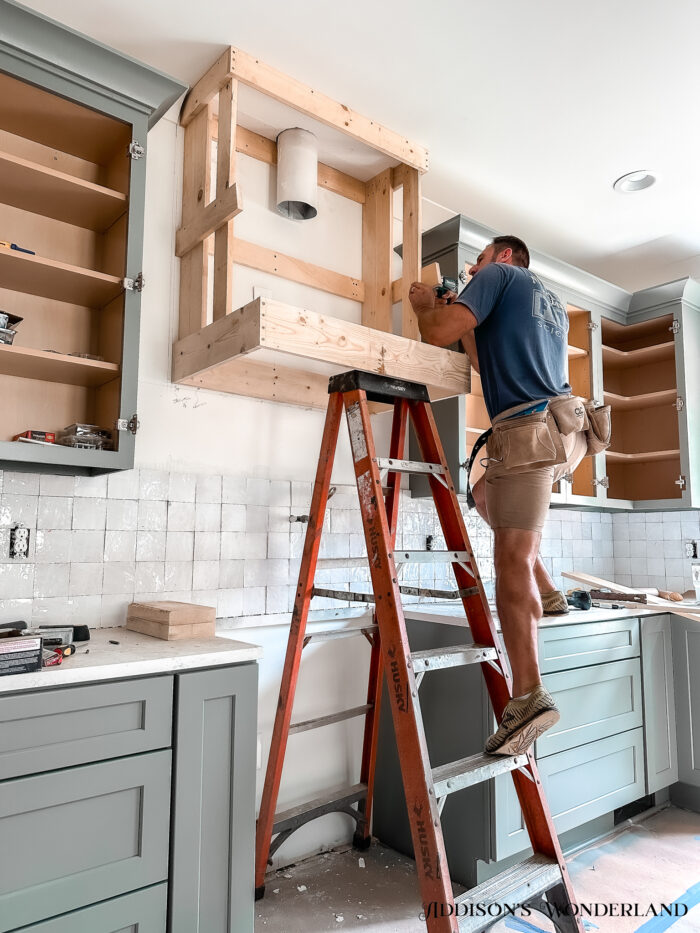
Cut to fit a 36″L horizontal piece and attach to the end of the angled cut.
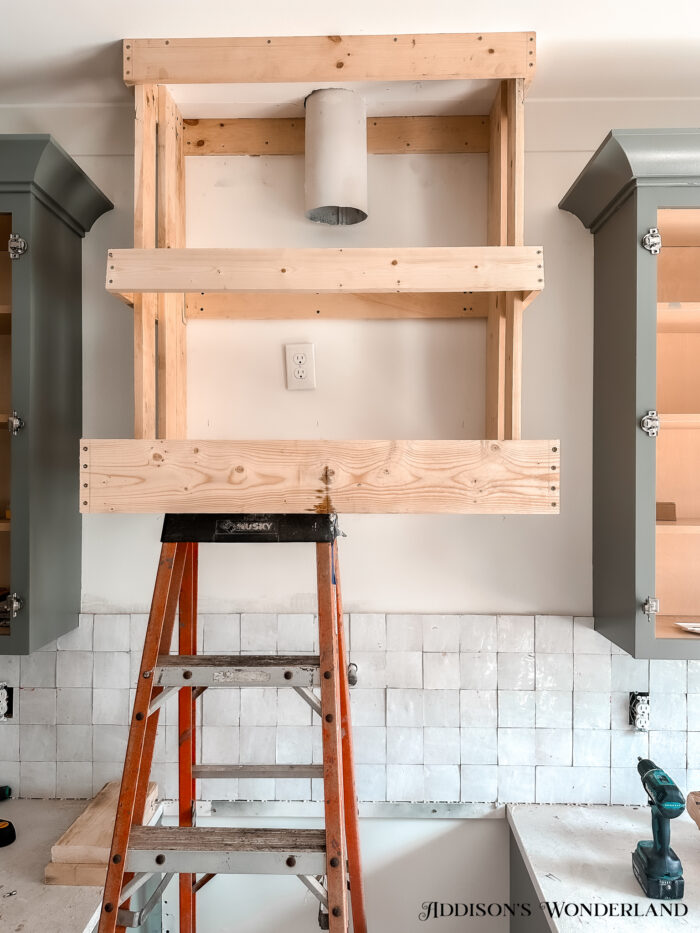
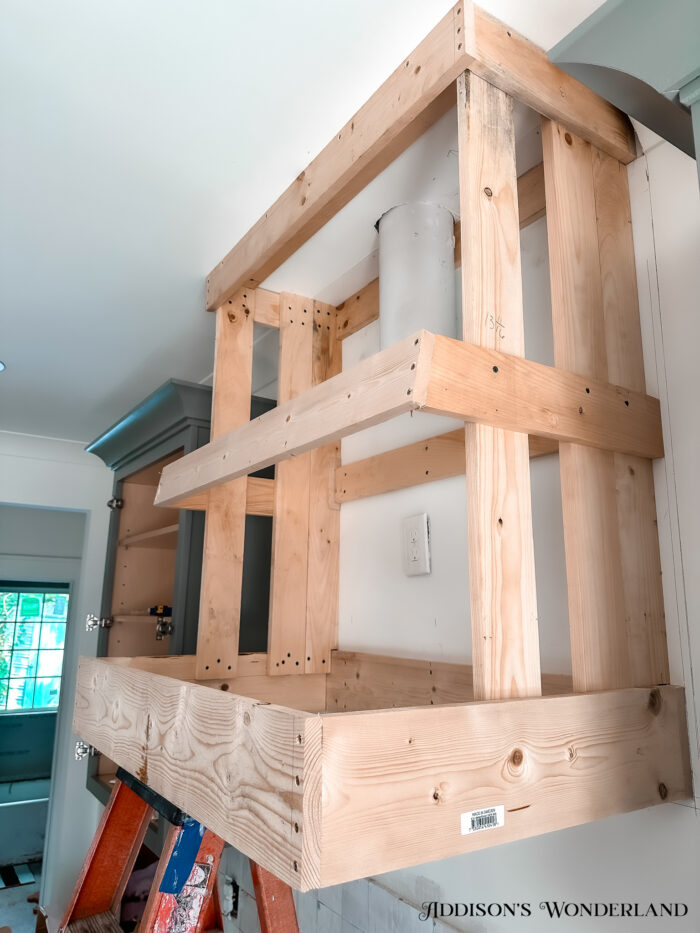
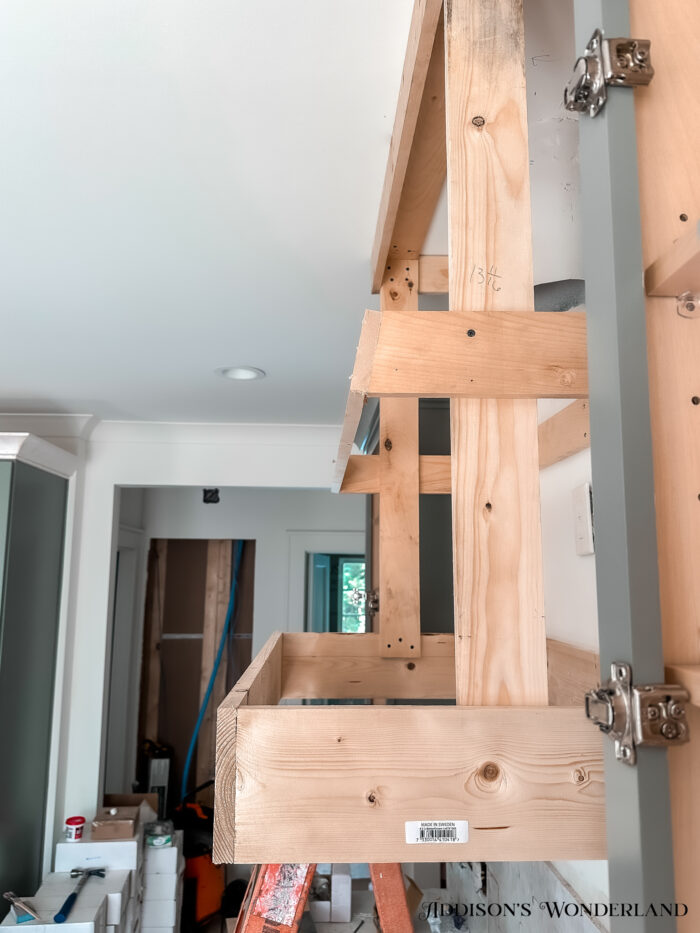
On the upper box, attach a filler strip (1×6) in between the sides and behind the front portion of the top box. Then add (4) 1/2″ plywood blocks flush with the ends and then equally in between. This will leave a 1/4″ gap to add plywood strips.
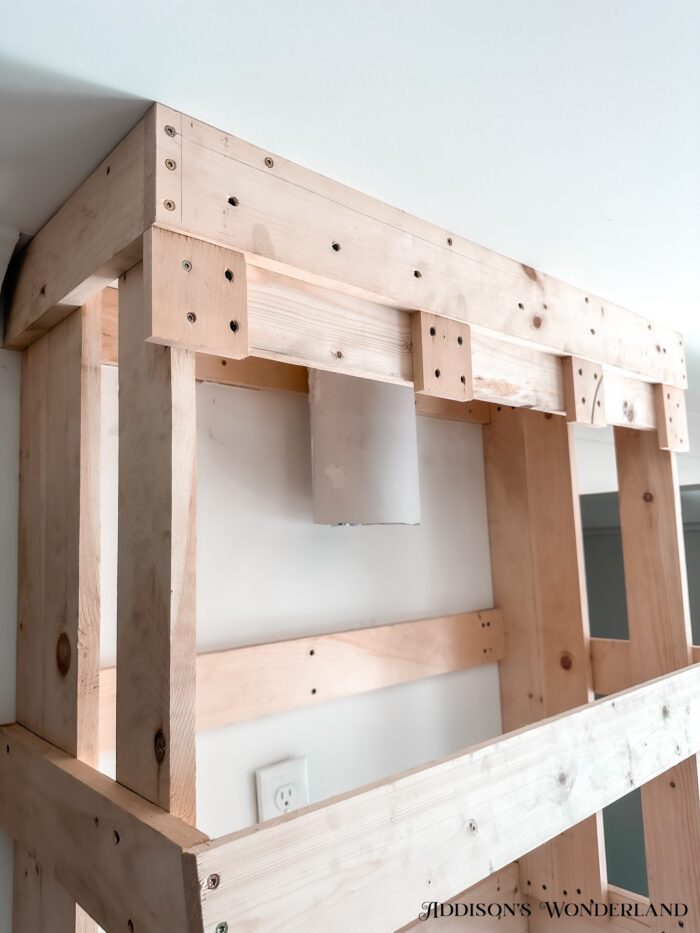
Note: Prior to the next steps, install your range vent to the framing. Then connect and tape vent pipe.
On the top… the front of the bottom box… add a flat 1×4 with a 45 degree bevel length-wise along the edge. Attach it 1/4″ away from the front edge of bottom box. This will serve as a nailer for your vertical strips. Now add pre-ripped 1/4″ plywood strips to the front of the vent hood. Attach at the top, middle, and bottom. This will create the curve of your vent hood.
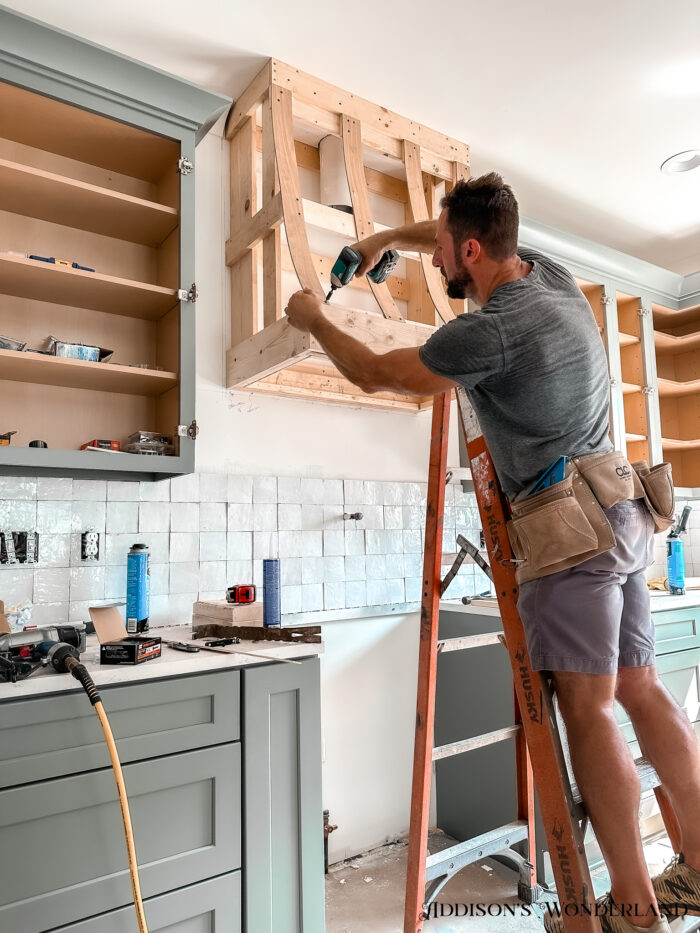
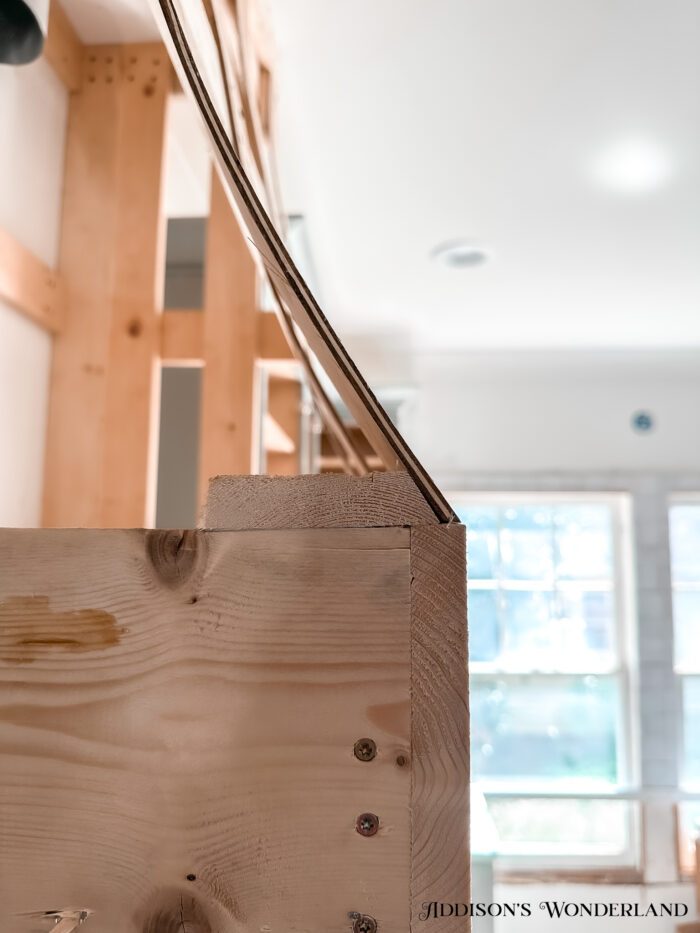
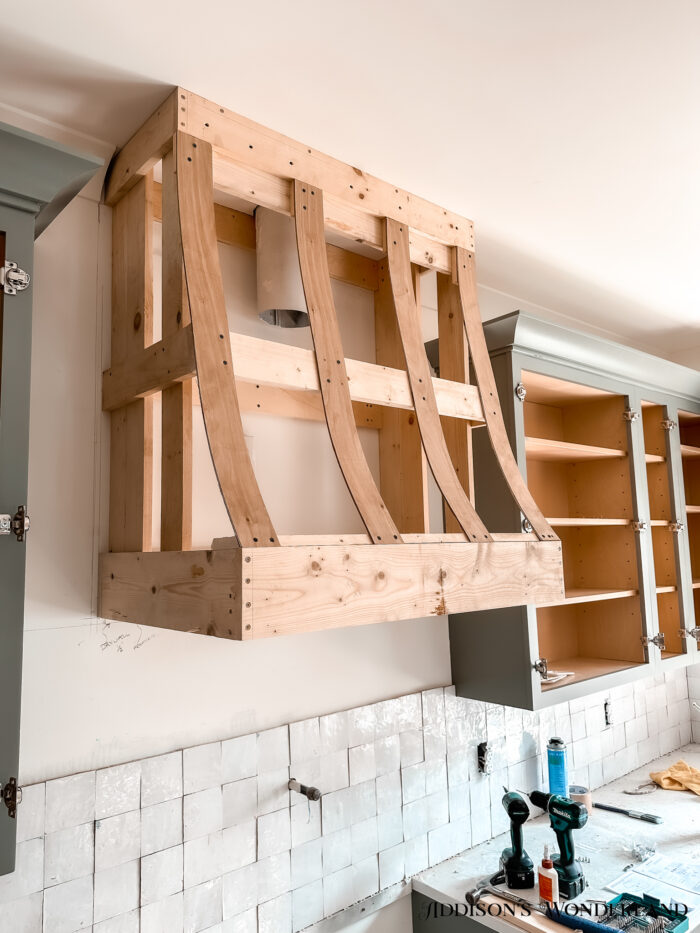
Now sheath the framing with 1/2″ drywall. When sheathing the front curve of the vent hood, score the back of the drywall in 1″ increments. Attach with liquid nail and 1″ drywall screws. Then spackle the joints, corners, nails, and edges. Then sand until smooth. Another option is to hire a drywall contractor for this part of the process.
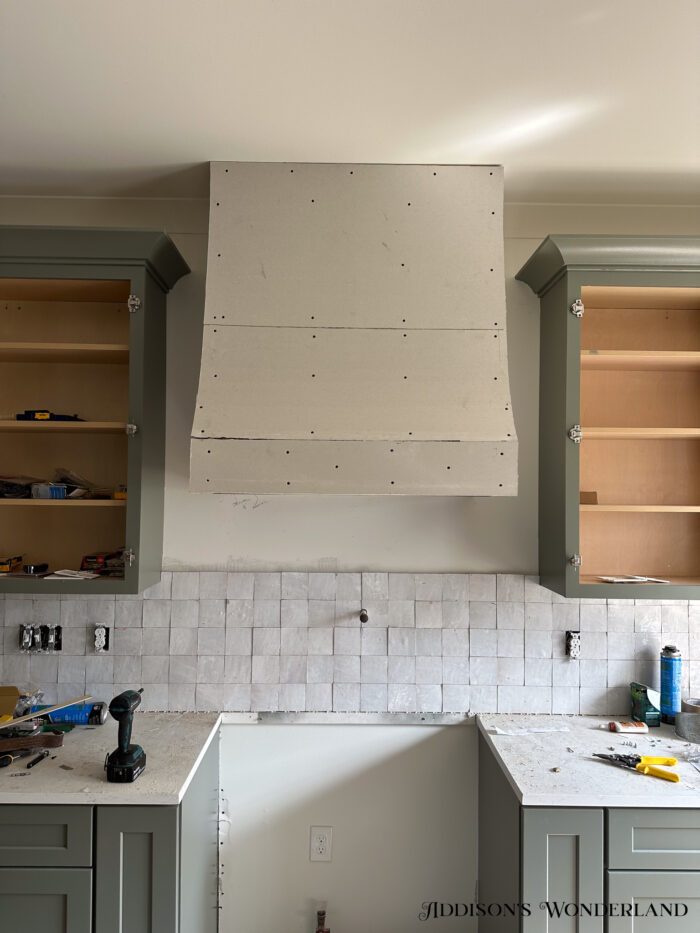
After the drywall has been sanded smooth, gently wipe clean any dust. Now roll on the tinted primer. This will give a rough texture for the plaster to grab onto. Let it dry for 24 hours.
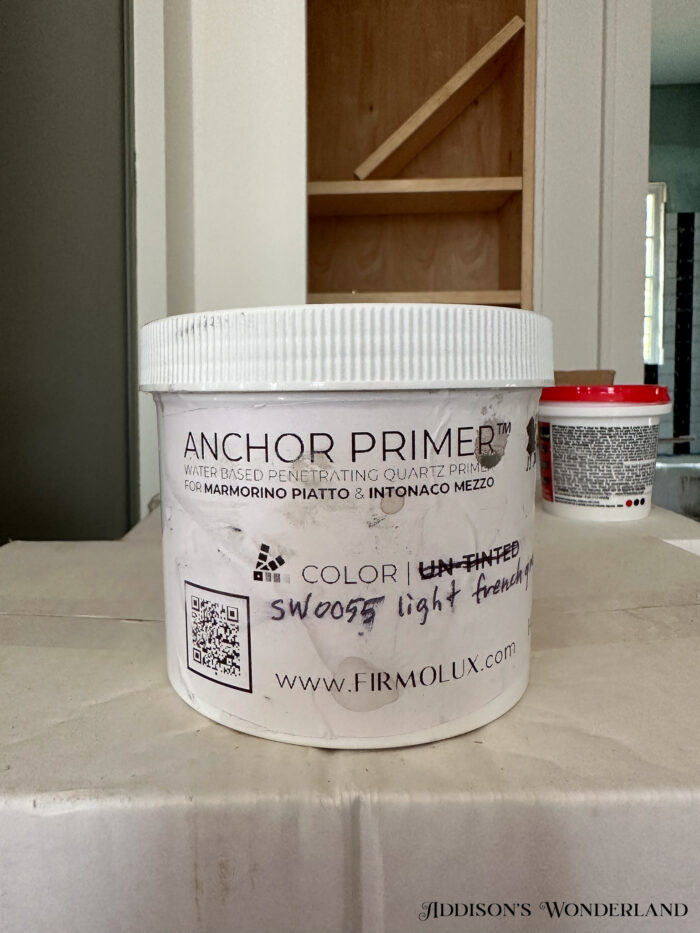

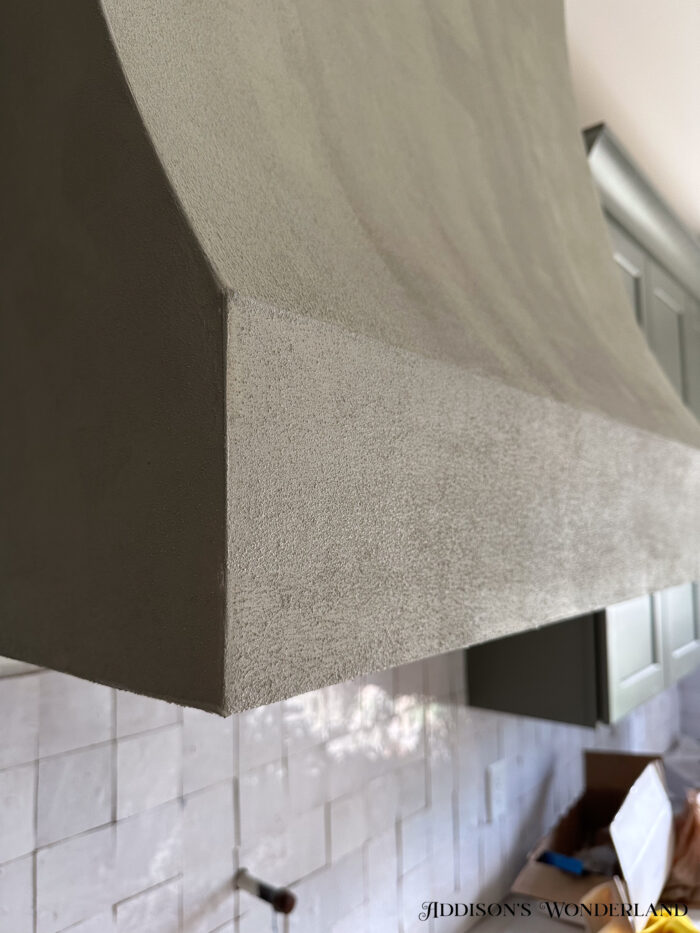
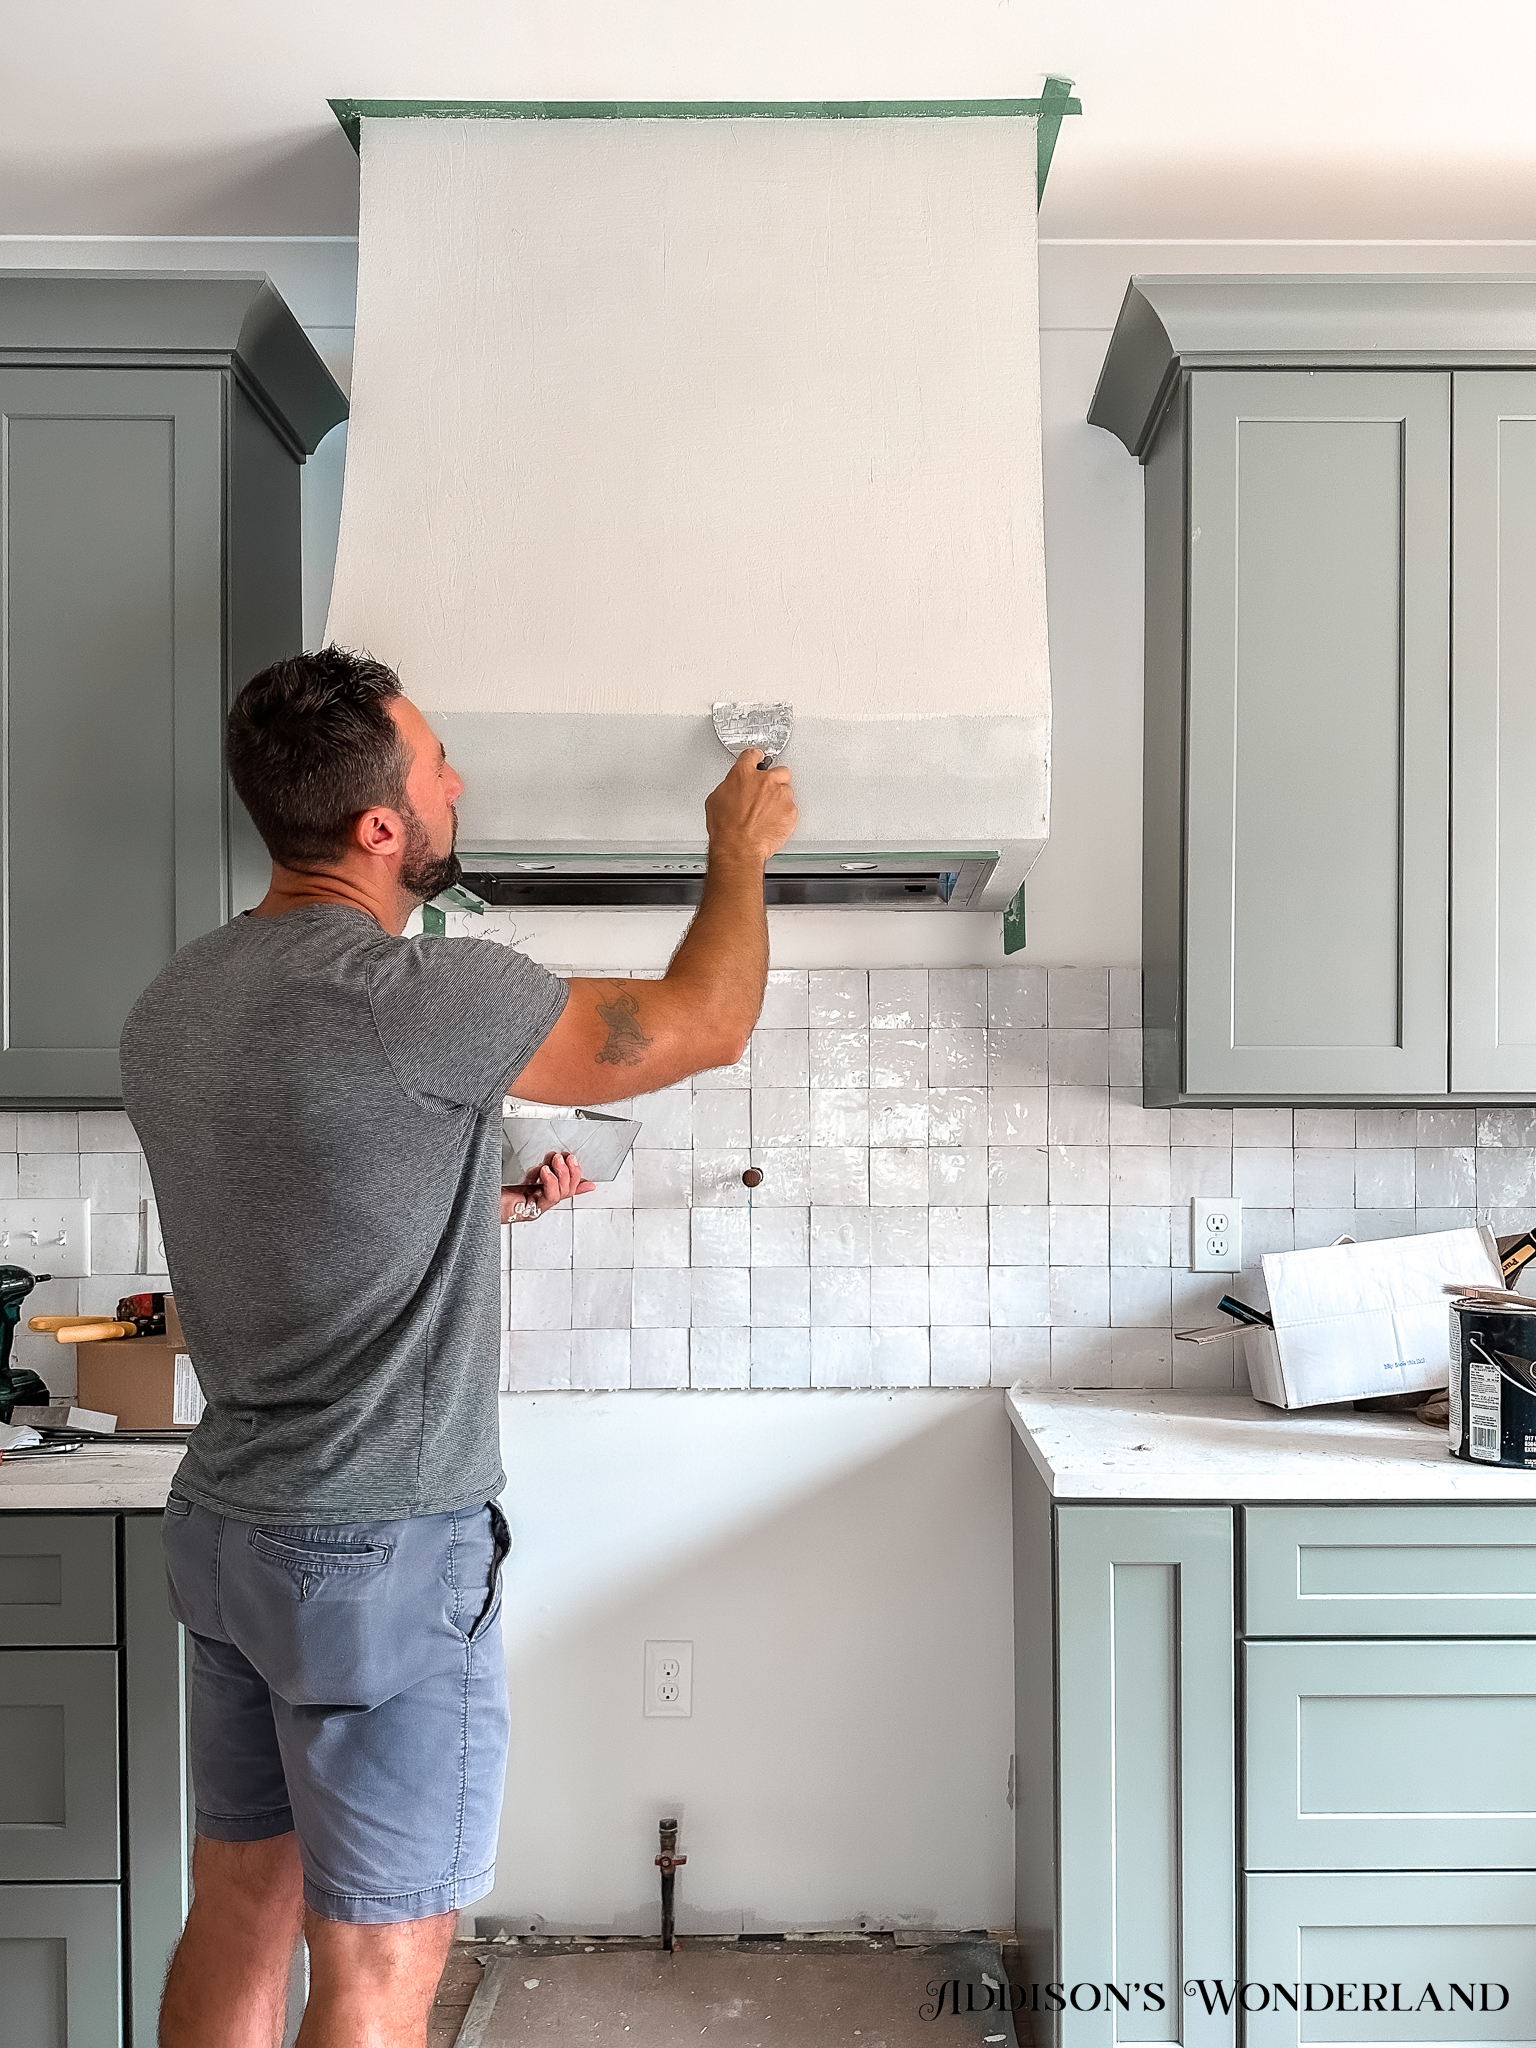
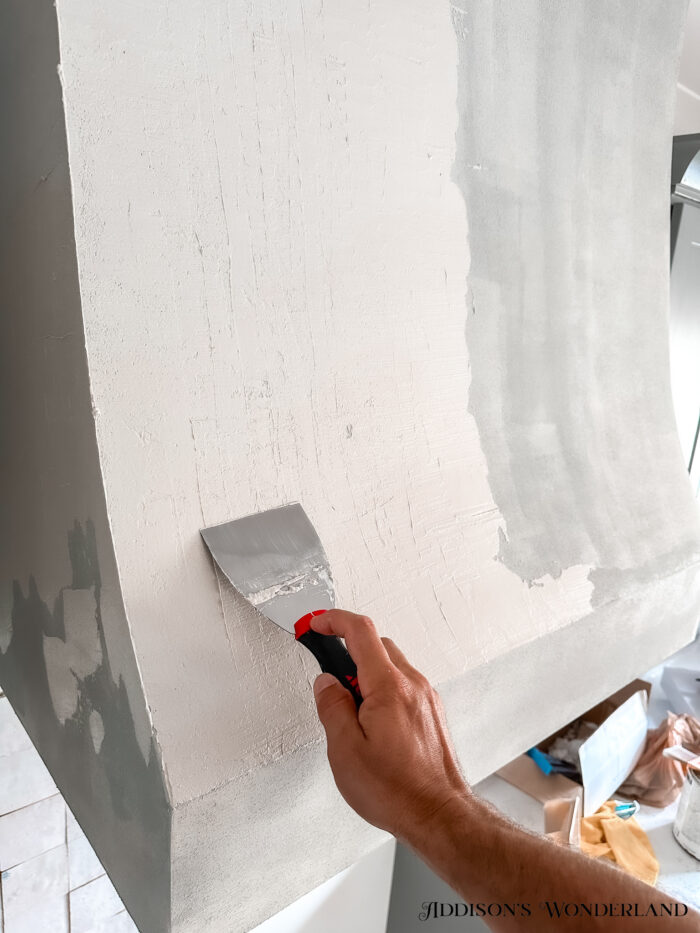
With a 3″ spackle knife, apply venation plaster with the knife at an angle. Make sure your edges are in line and sharp. Let it dry for 24hrs before the second coat.
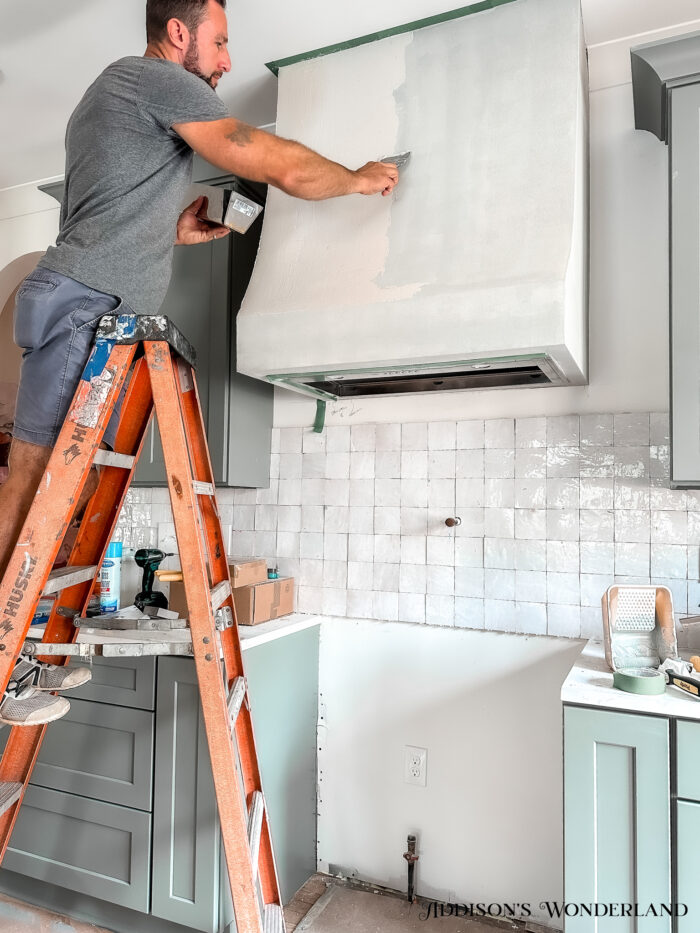
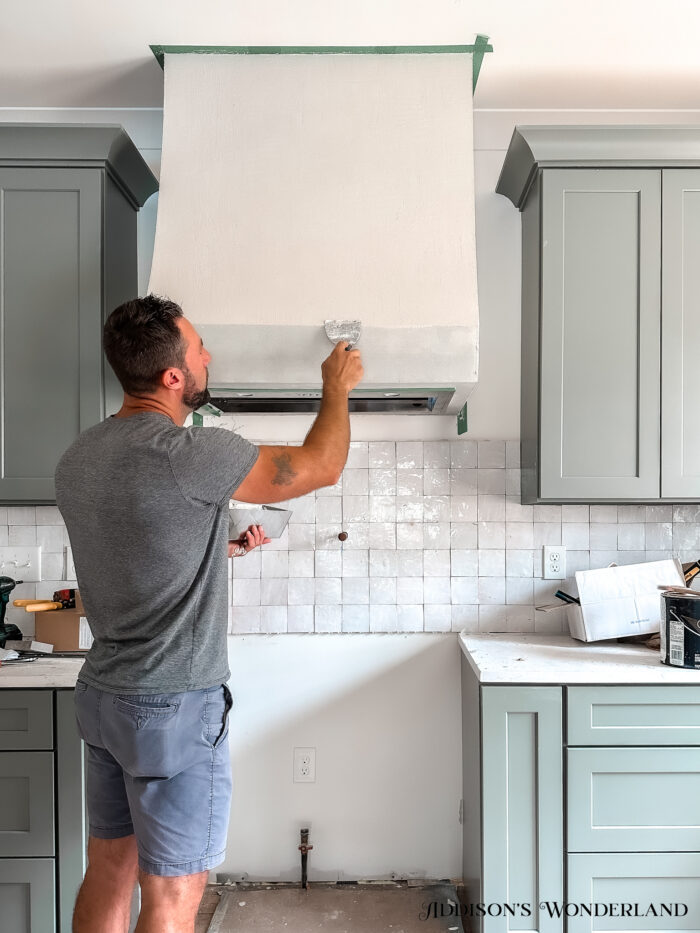
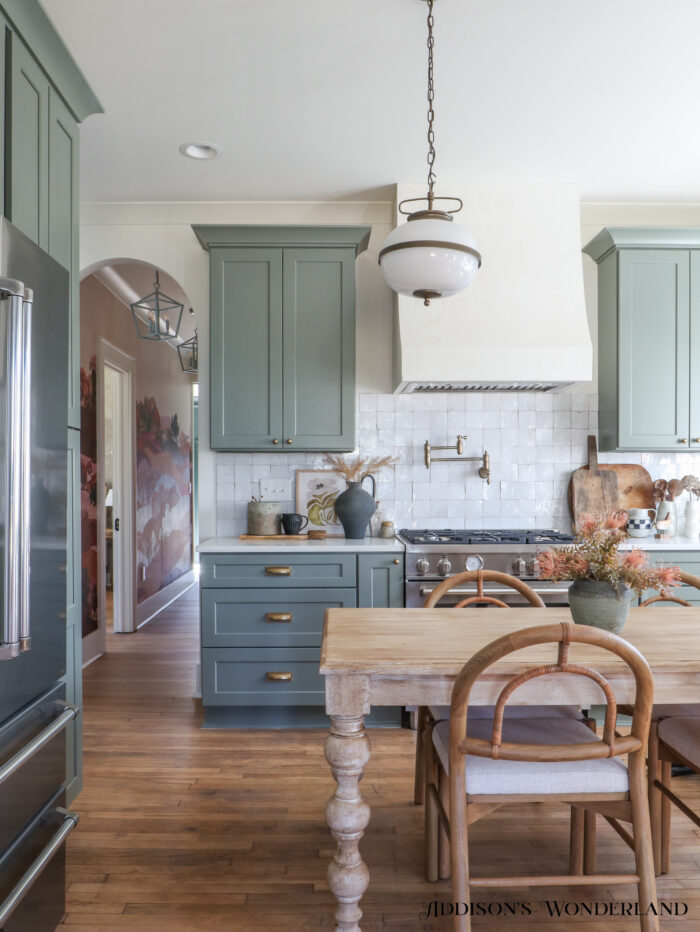
Once the plaster is dry, it will reveal the color that was ordered. In this project, we chose Dove Wing.
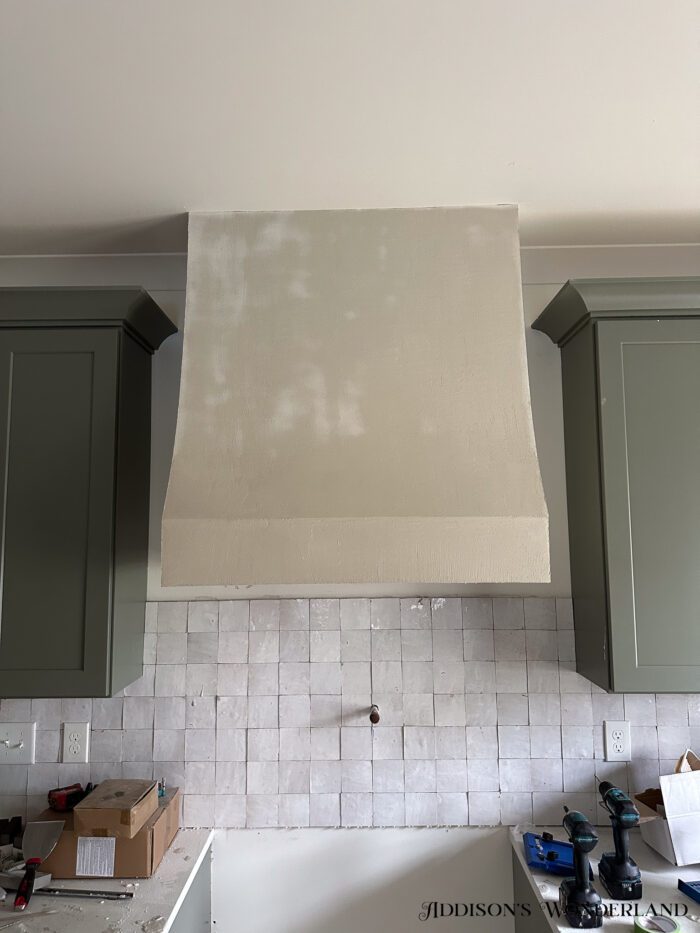
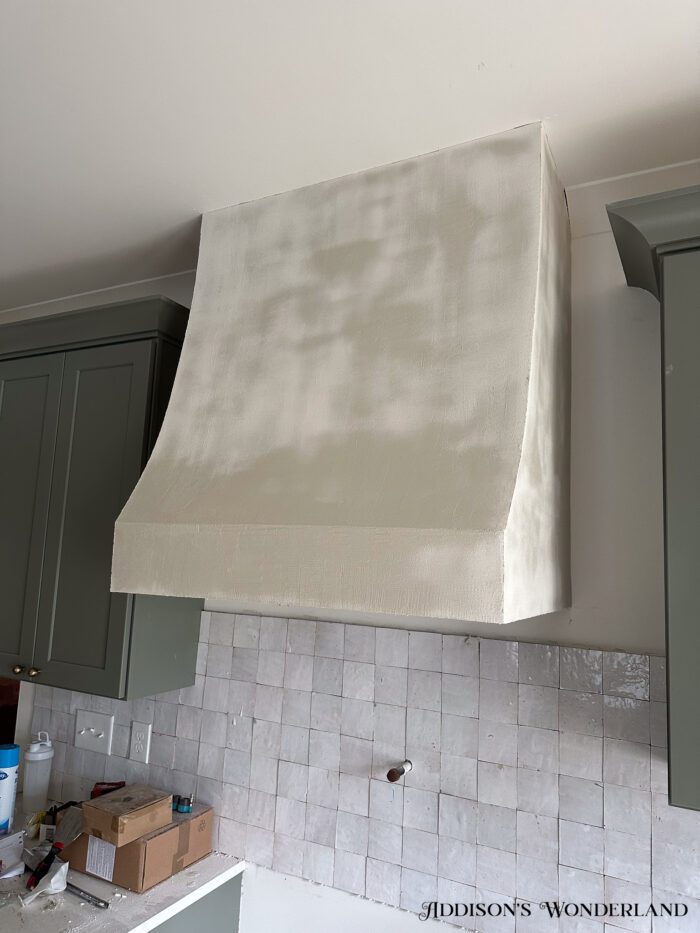
And VOILA!!!
XOXO, Brittany Palazzo
+ view the comments
