Hallway Lanterns / Mural / Cabinet Pulls / Accessories / Pendants
Hi! Happy Thursday! Which for me will lead into a not-so-happy Friday. Tomorrow morning I am having my sixth… yep, I said SIXTH… kidney surgery. Literally THE WORST!!! My body decided to start creating kidney boulders 😉 back in 2019 and it’s just been a hot mess ever since. I do THINK I am on the downhill (fingers crossed) with some things newly figured out. I will share more once I get these stones out and then make sure I am correct in saying the stone creating will be over ;-).
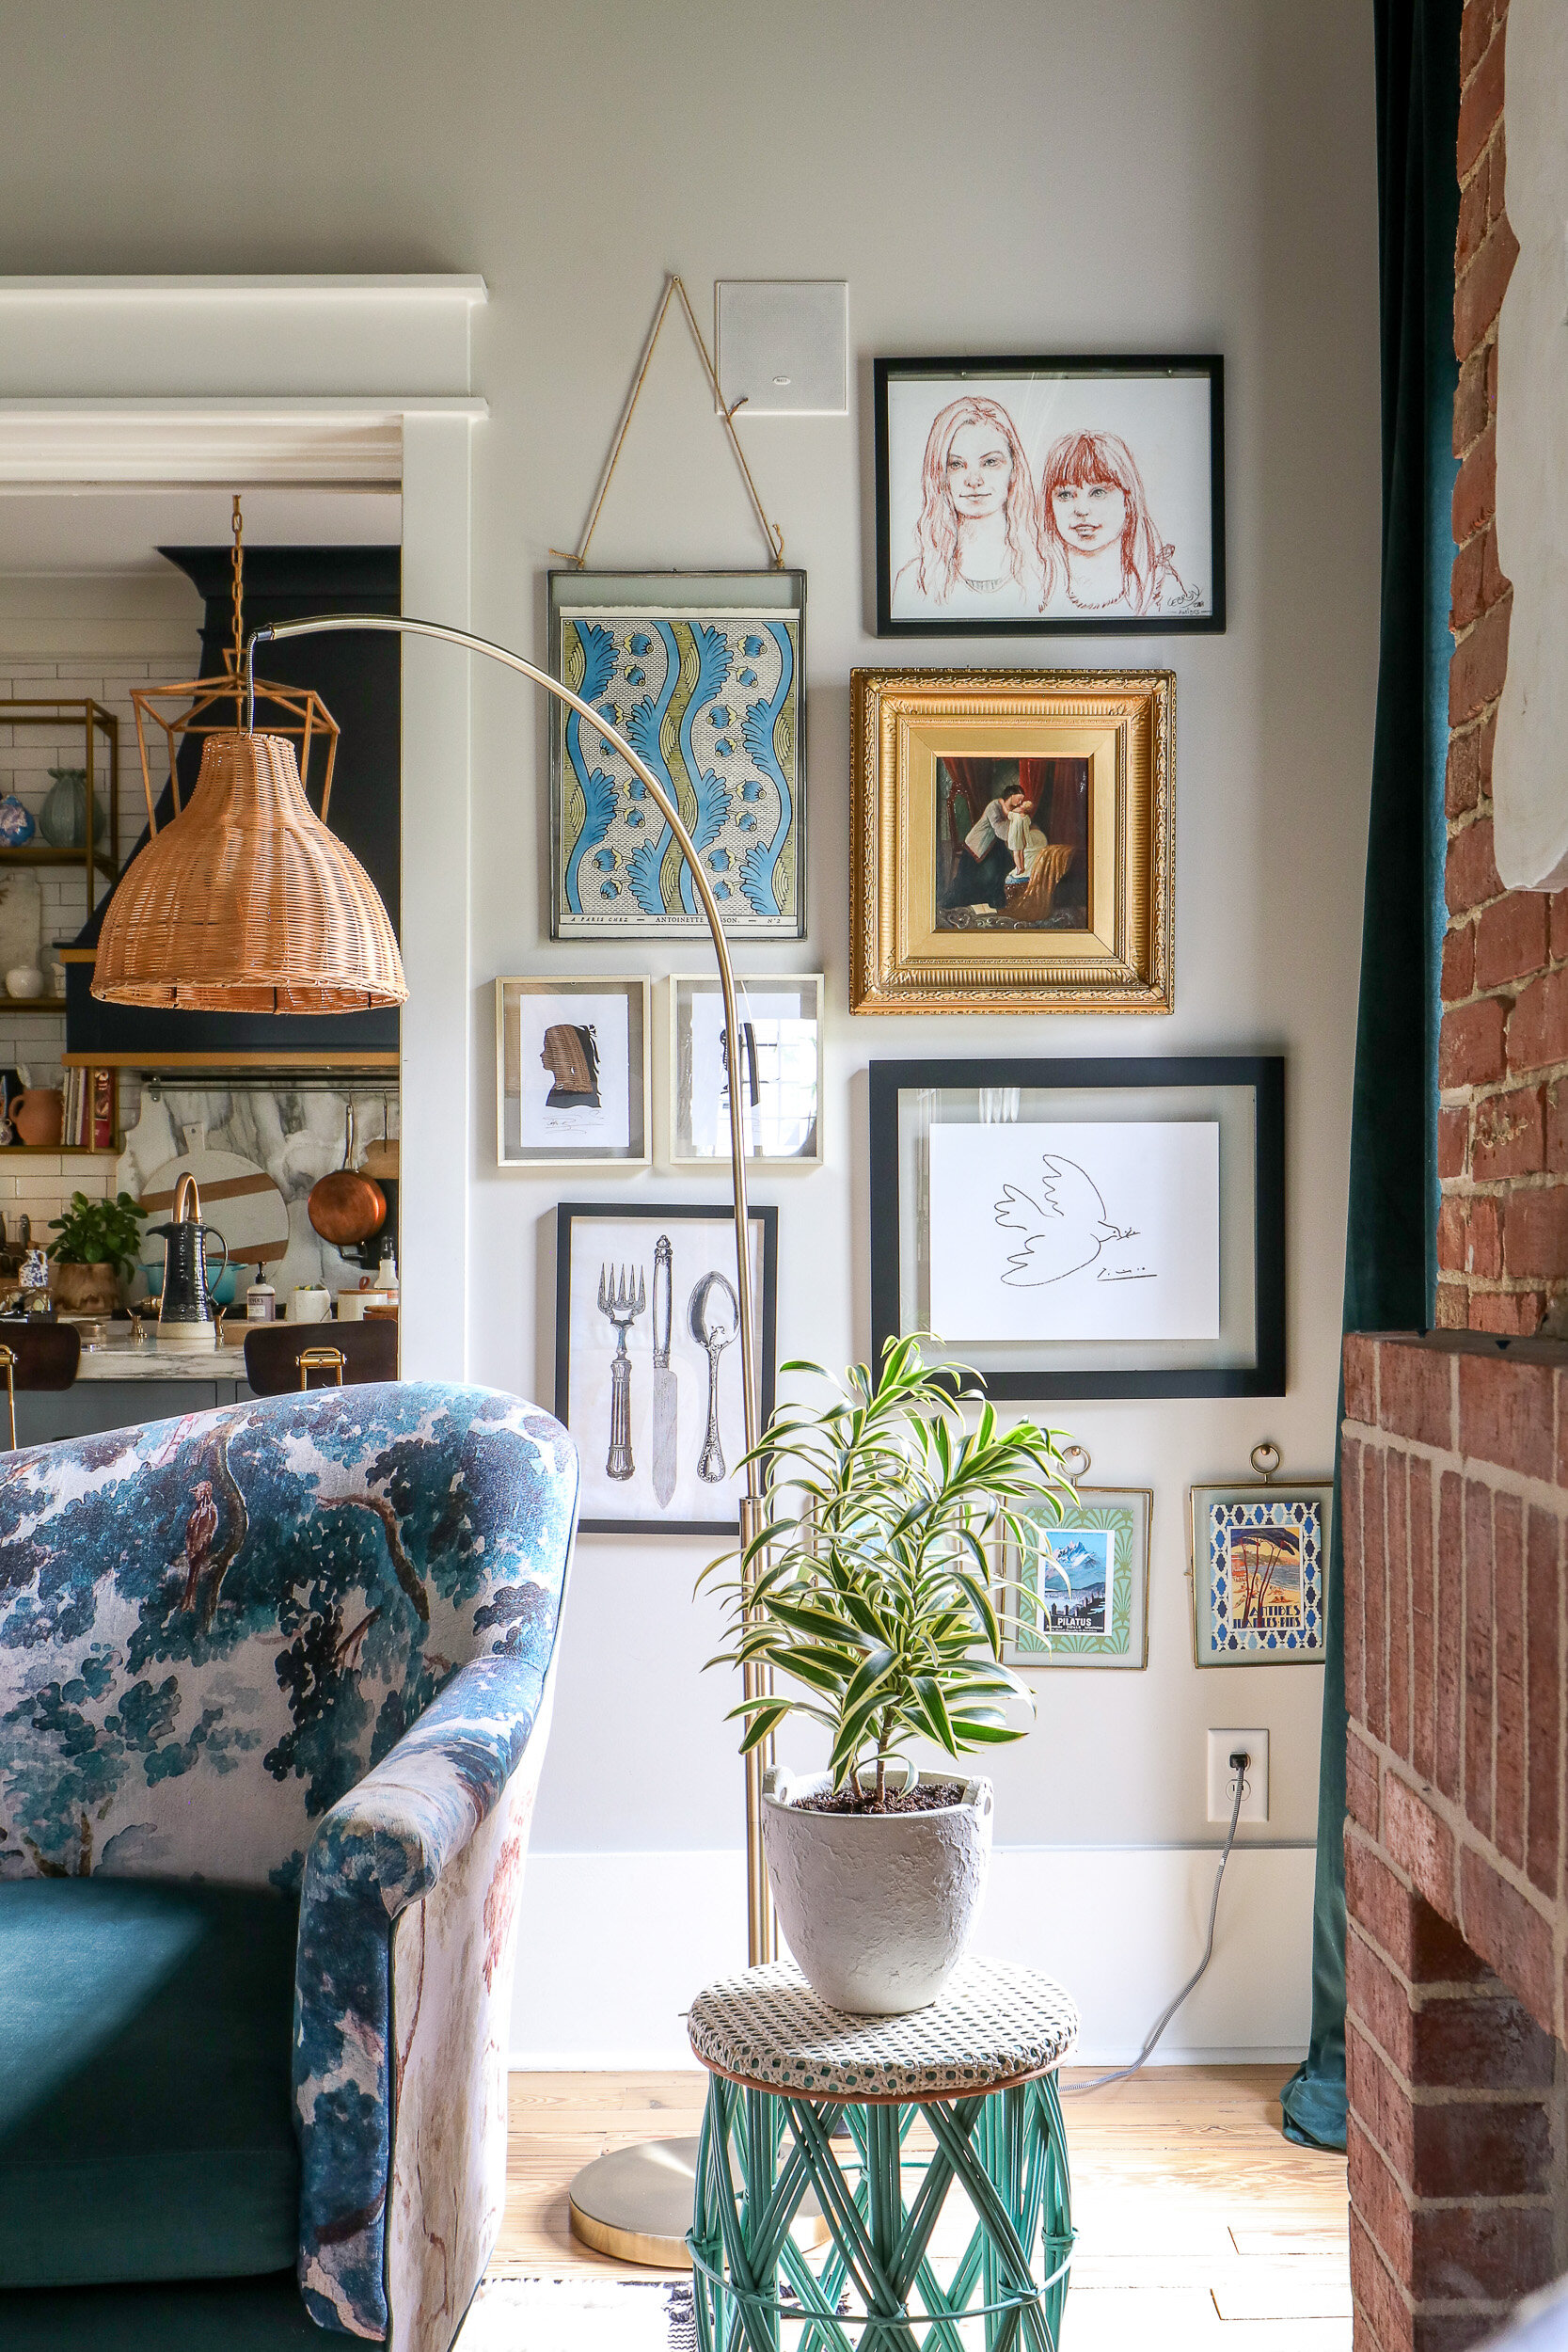
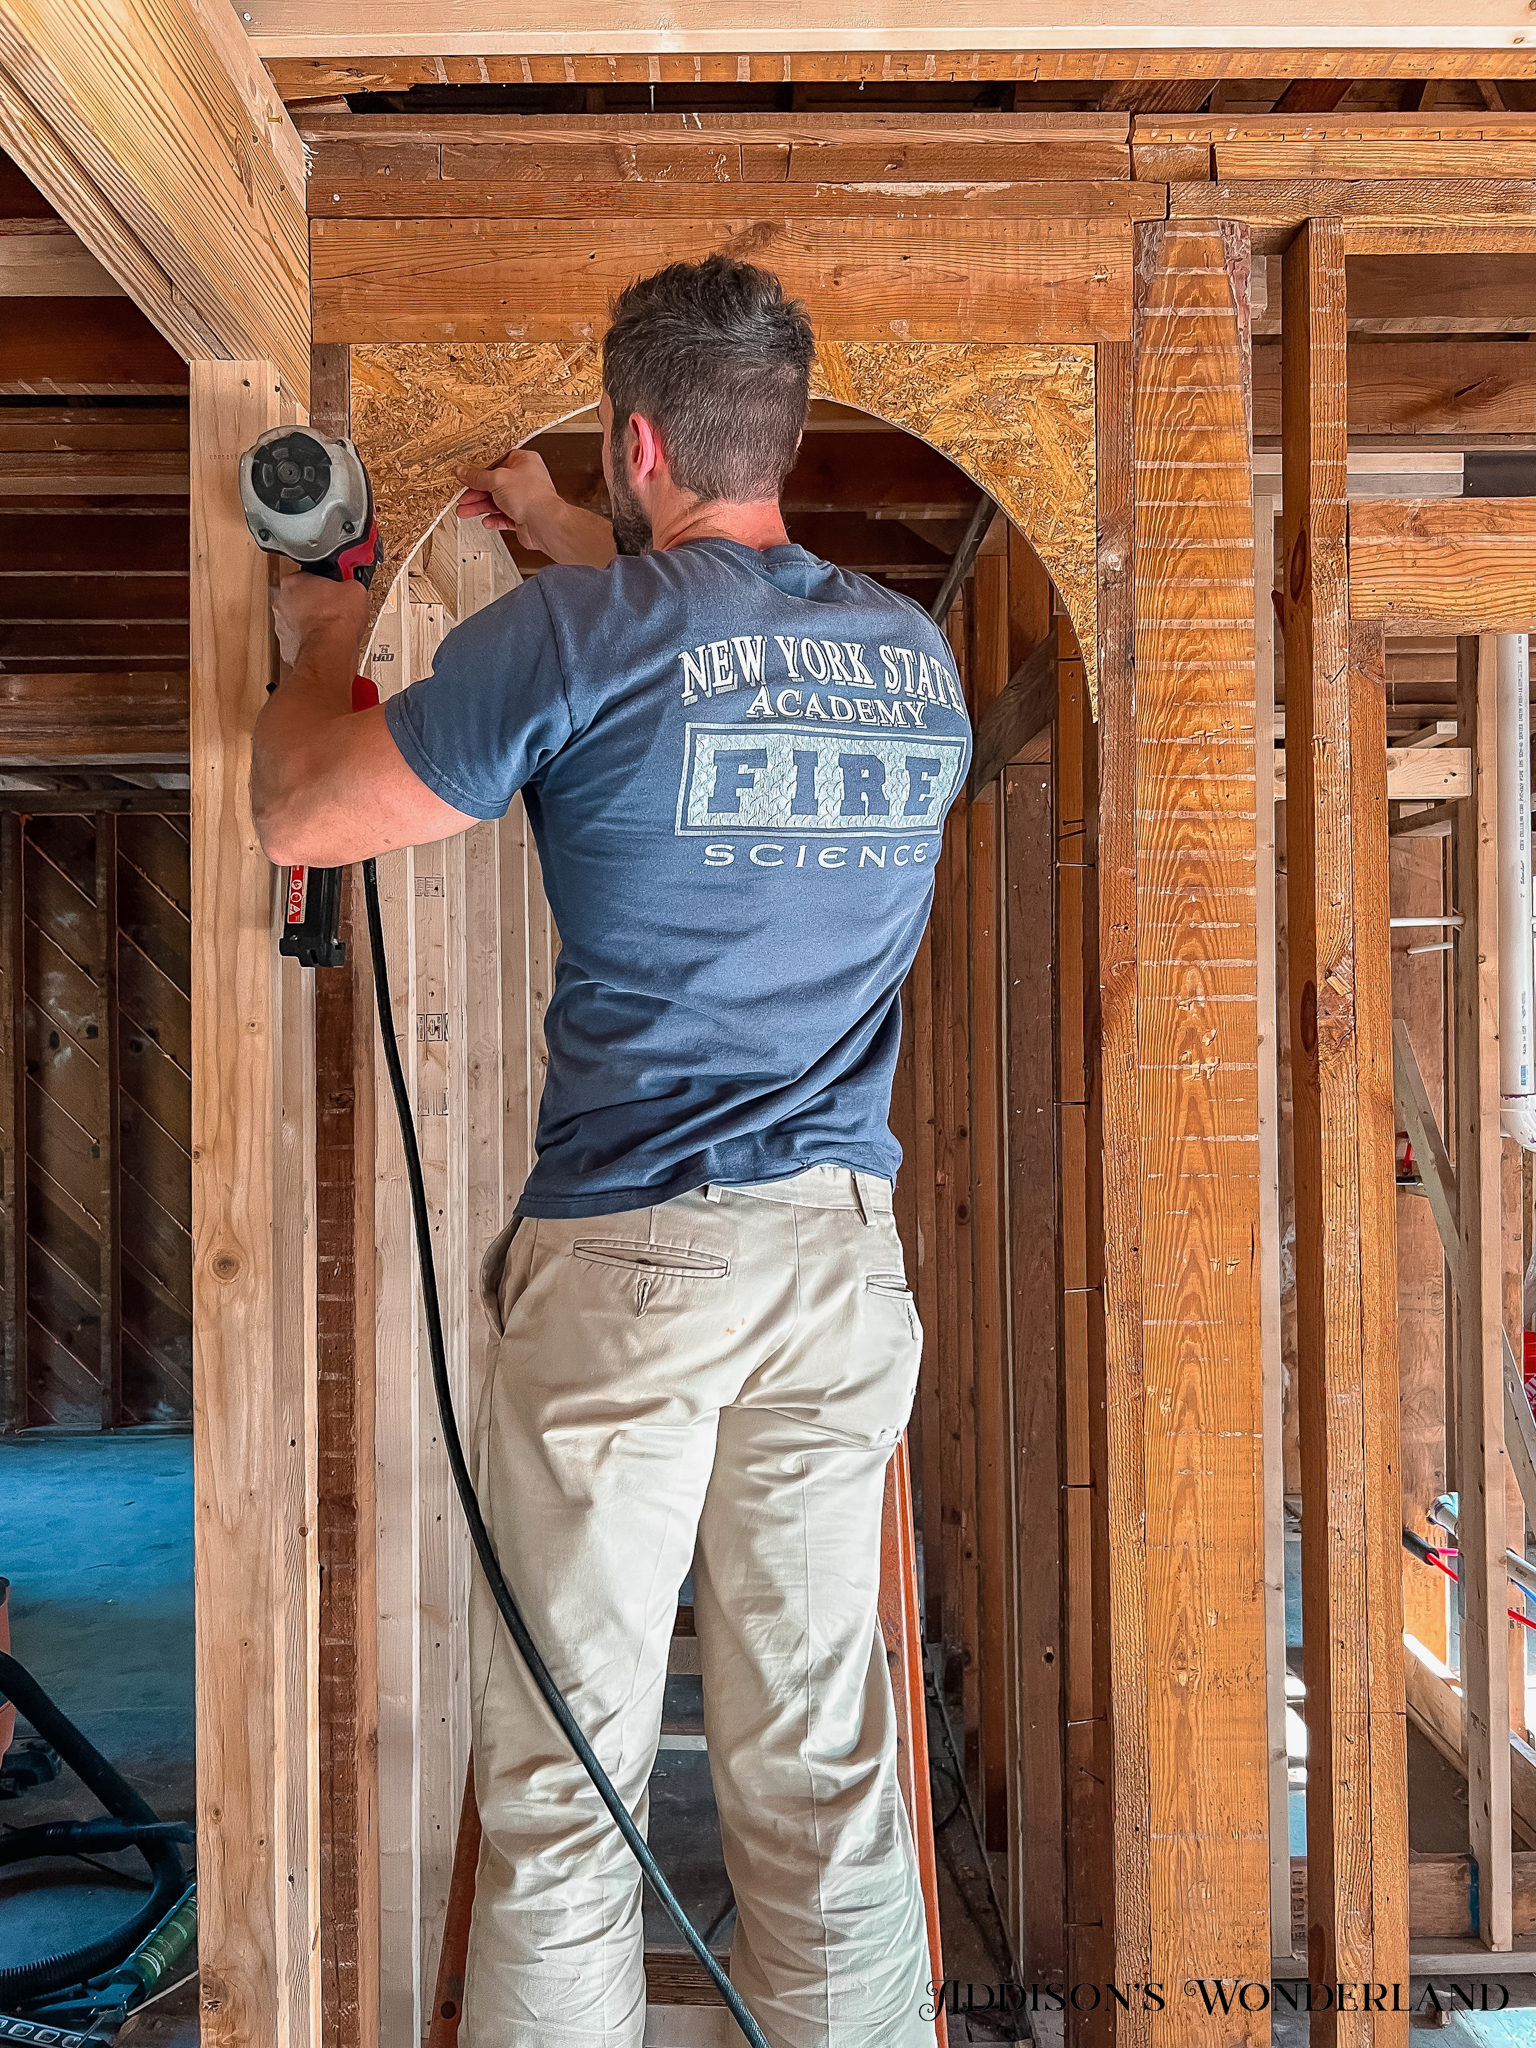
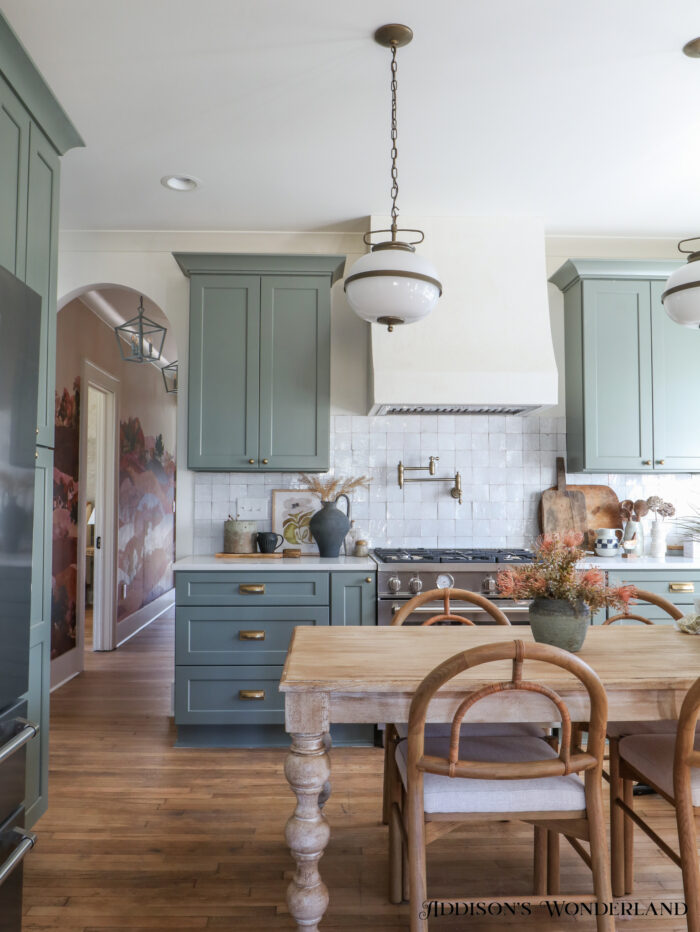
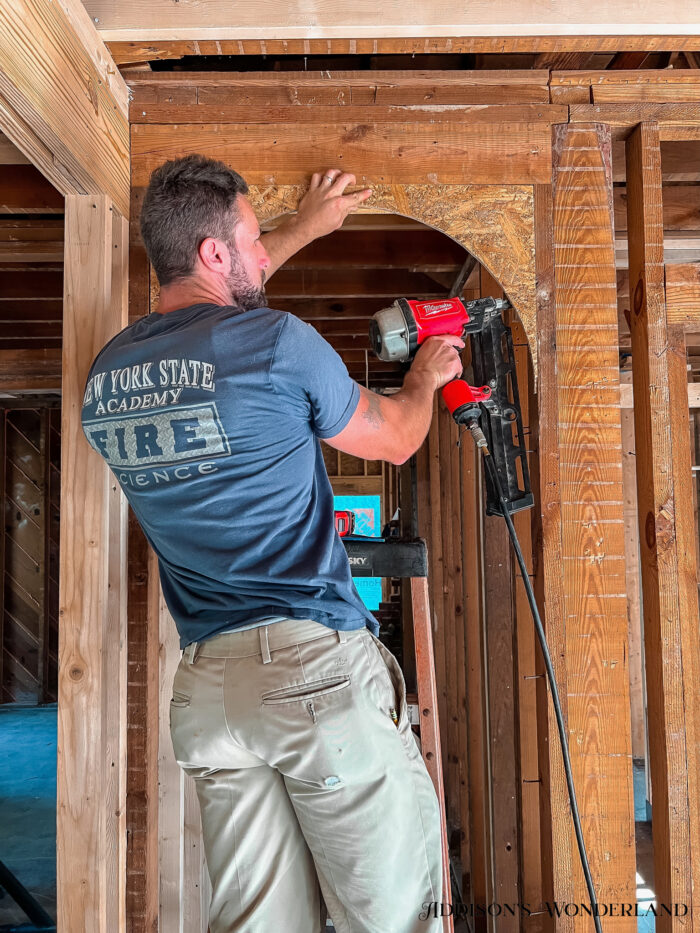
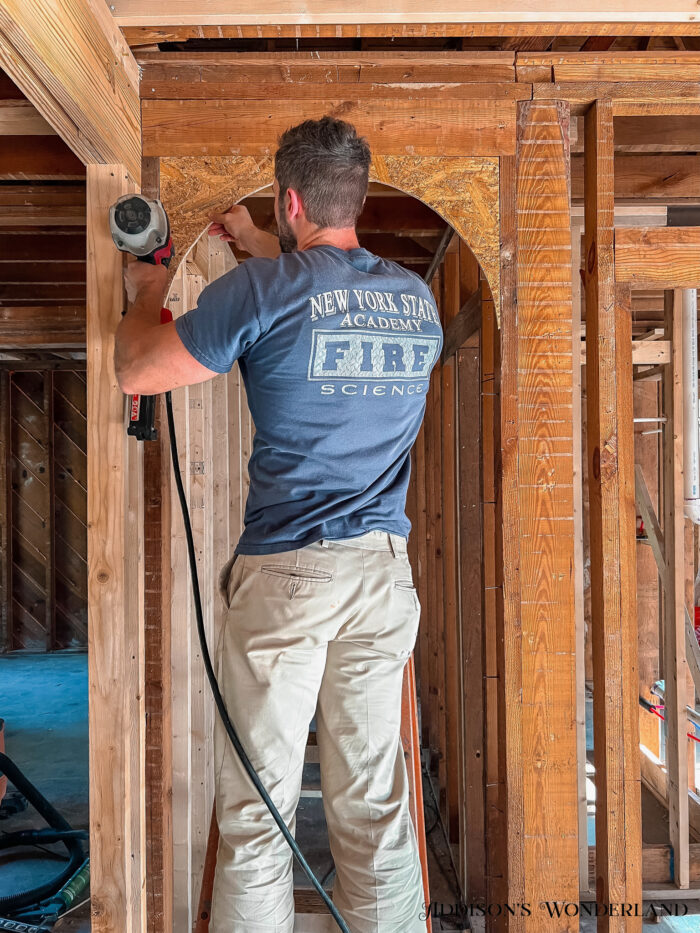
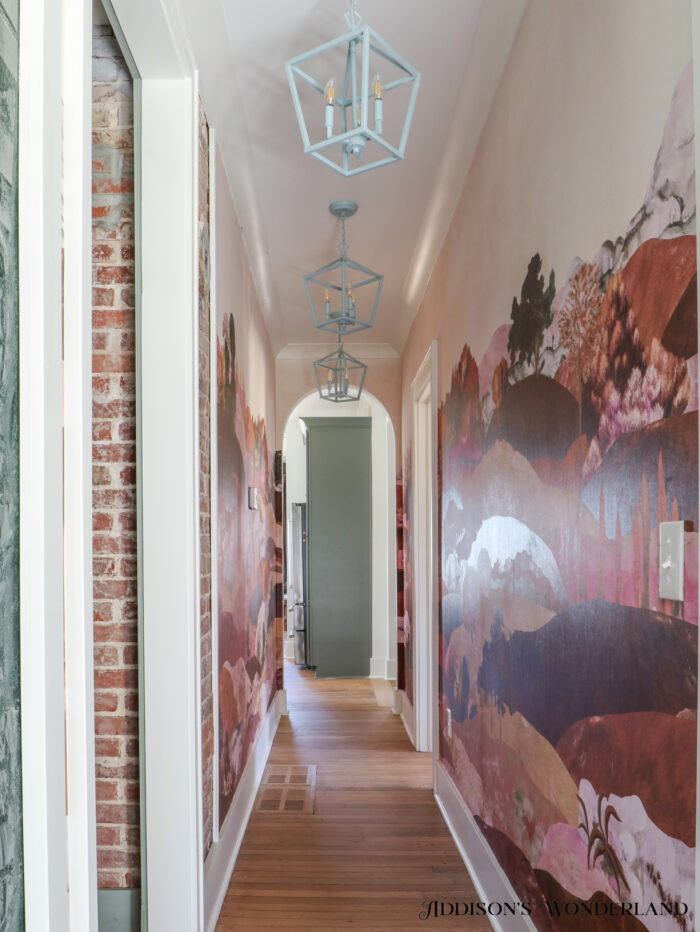
Today John is making a little “blog debut”… as far as his typing and wording… with his very first construction tutorial! Along the construction process of our recent historic renovation, he documented quite a few projects we will be sharing soon. Today it is this GORGEOUS arched opening pictured above and then next it’ll be this stunning plaster vent hood he built as well! So here we go!
Step One…
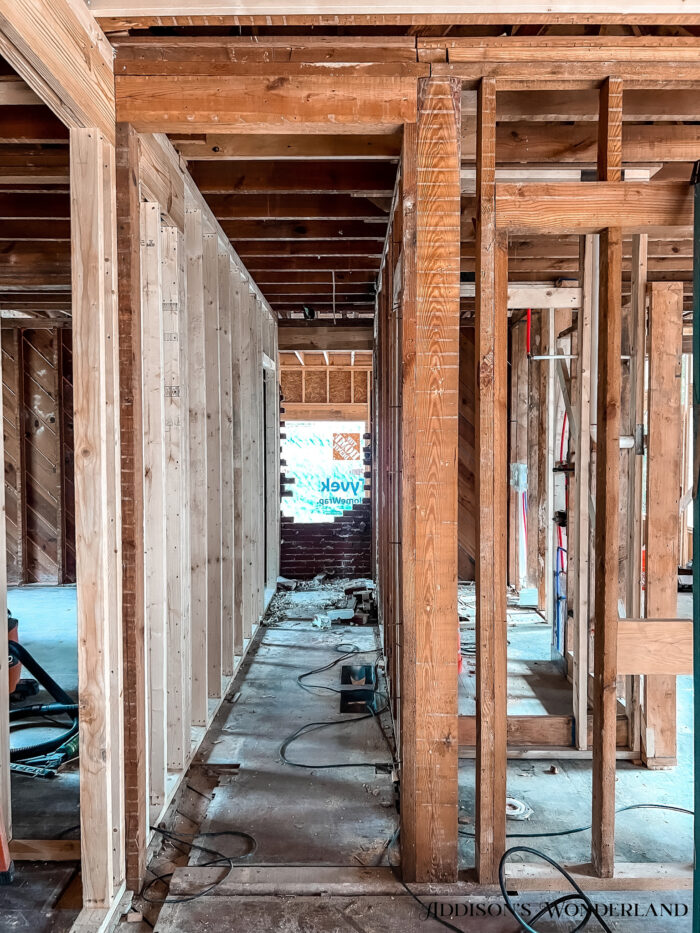
Which doorway are you going to choose? Arched doorways can make a huge statement and really transform a space. The arch will create such a focal point that I tend to choose based more on the room that’ll be the location of the arch and less on the room that you will be entering. For this home, I wanted a beautiful focal point to offset the fact that the kitchen cabinetry would all be off to the right side of this doorway therefore the left side of the space also needed a WOW statement!
Step Two…
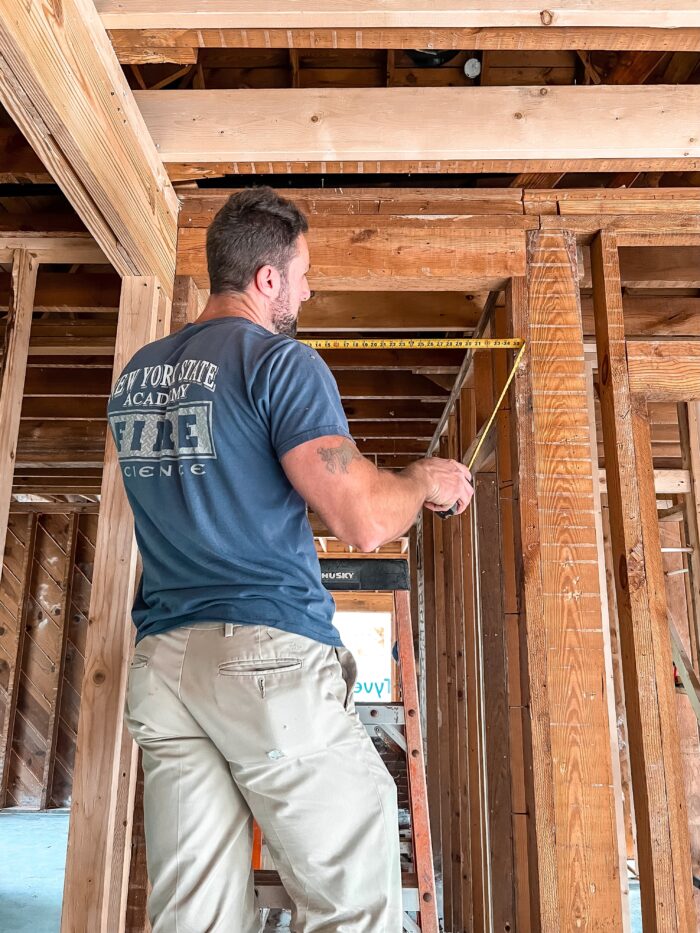
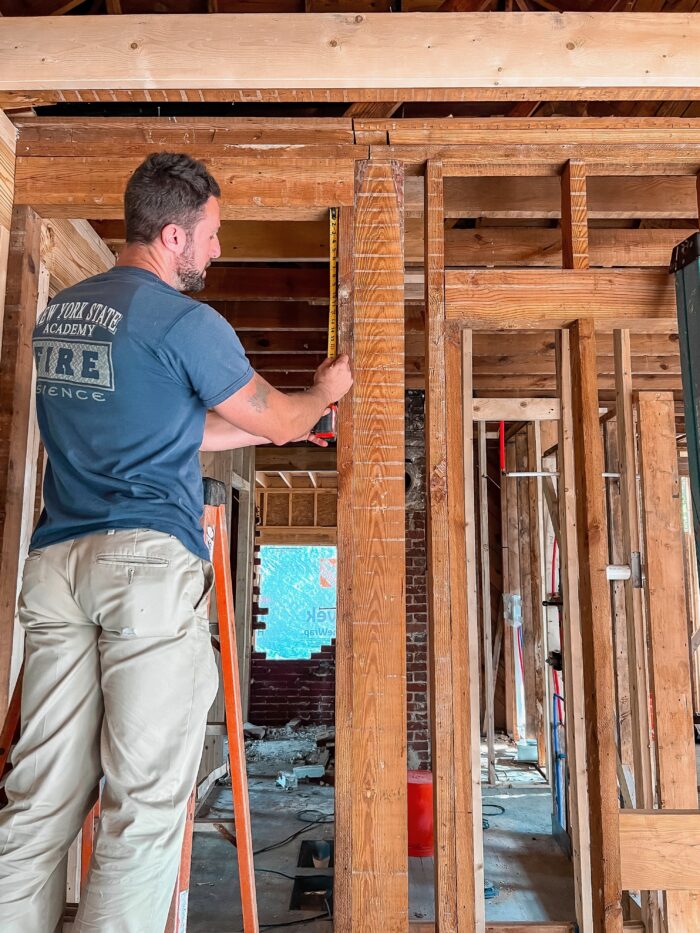
Measure the overall width of the framed opening you are wanting to transform. Next, decide how far down from the finished ceiling you’d like for the top of the arch. This will need to account for 2×4 blocking and any crown molding above. Since our renovation had 2×4 framing, we included at least a 1-1/2″ gap from the top of the template to the top of the actual arch line. Then, you will determine the height of the arch (height from where the curve begins on each side) you’ll create by a measurement of half the width of the opening. These measurements will determine the size of the plywood template you will be creating next.
Step Three…
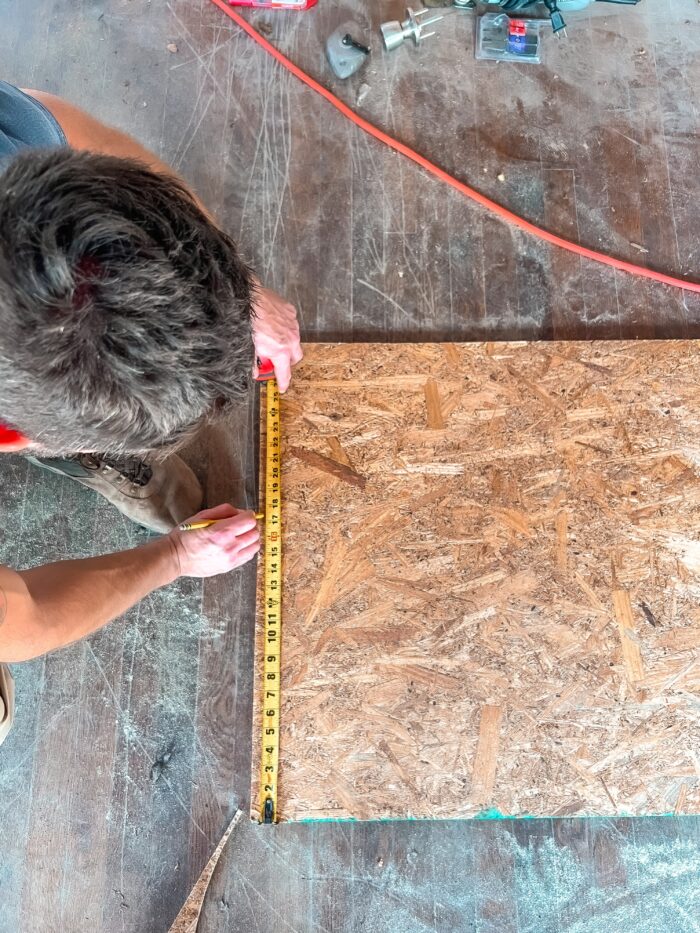
On an oversized 1/2″ piece of plywood, measure and mark the perimeter (the height and width you determined in the last step) to create your arch template. You will need two plywood templates for both the front and back of the arch.

Step Four…
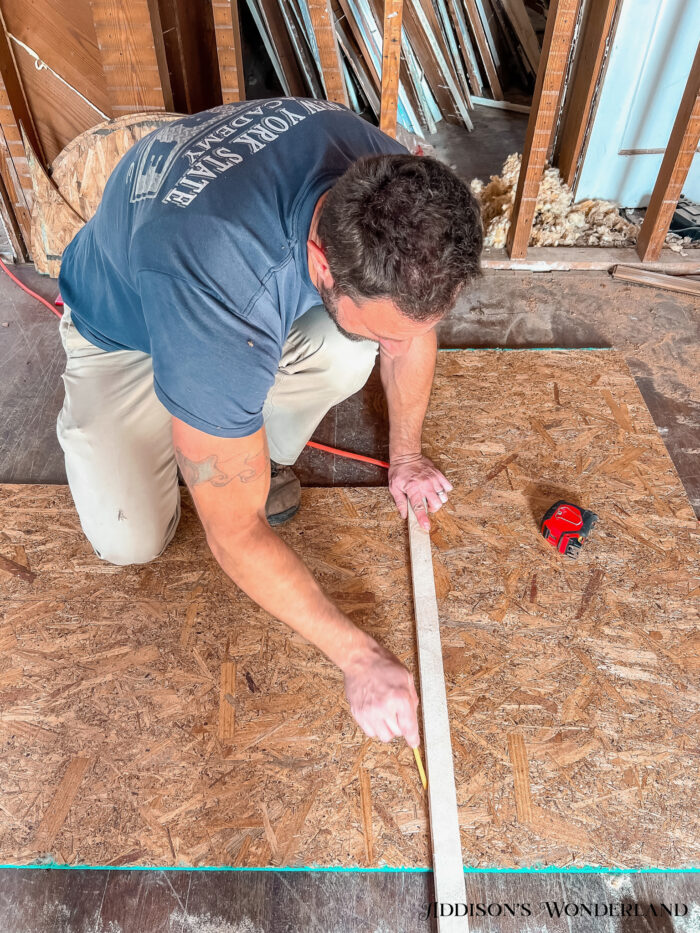
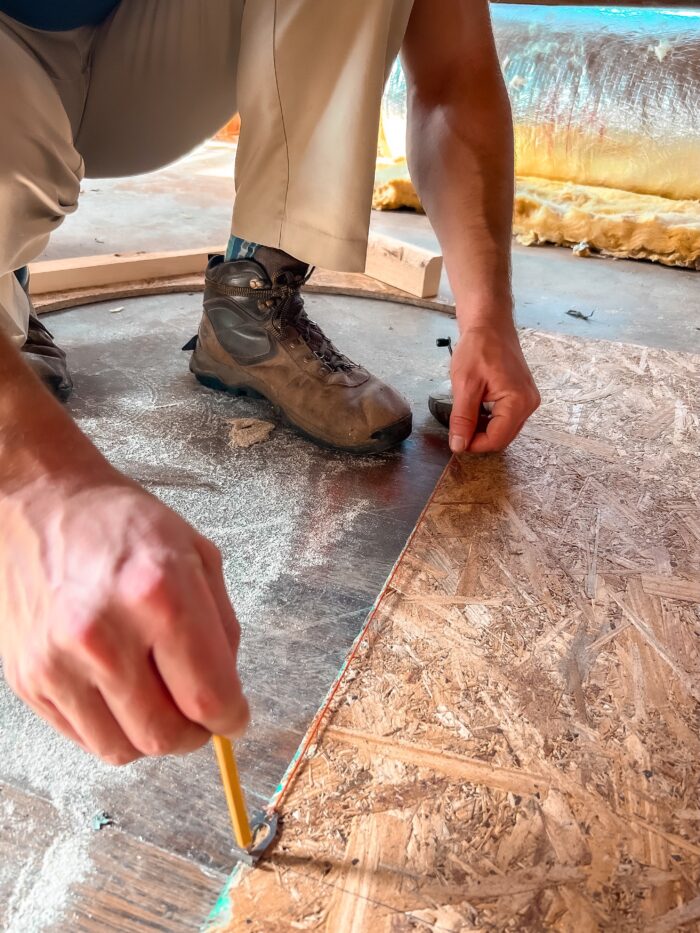
Mark the center point of your arch (half of the width) on the bottom of your template. With a string line and pencil, draw your arch.
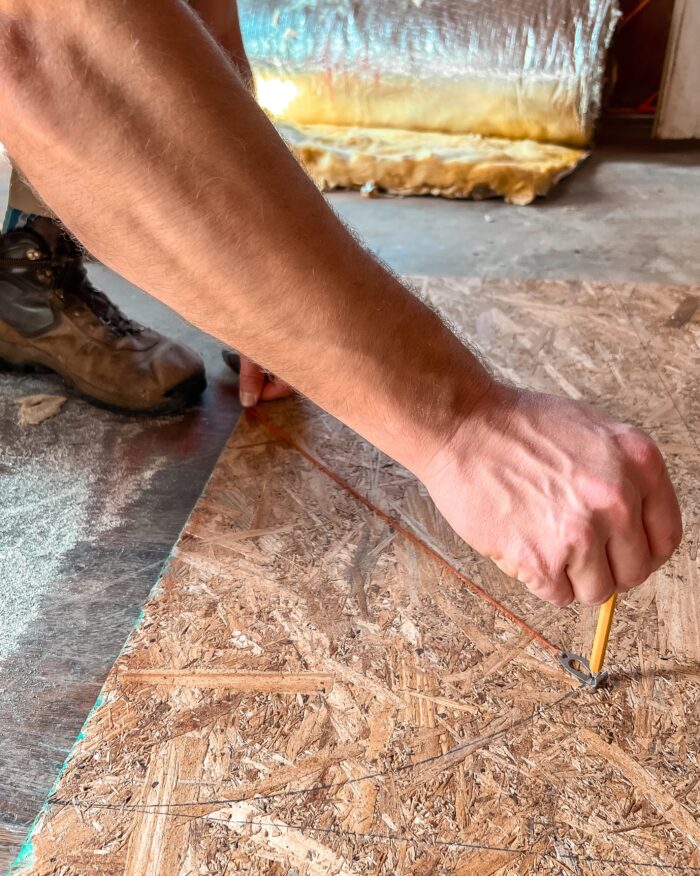
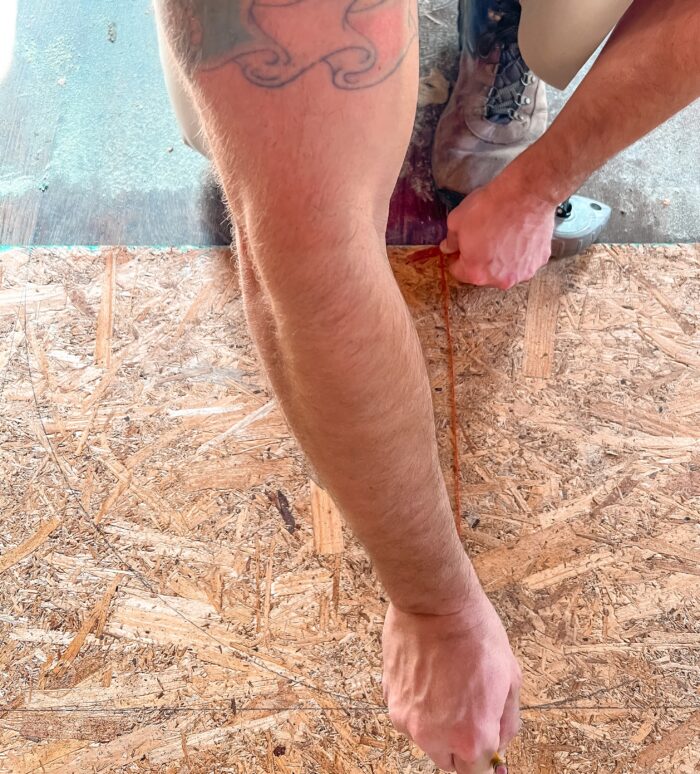
Step Five…
Using a jig saw, cut the curve of the arch first. Then cut the top and sides of the template.
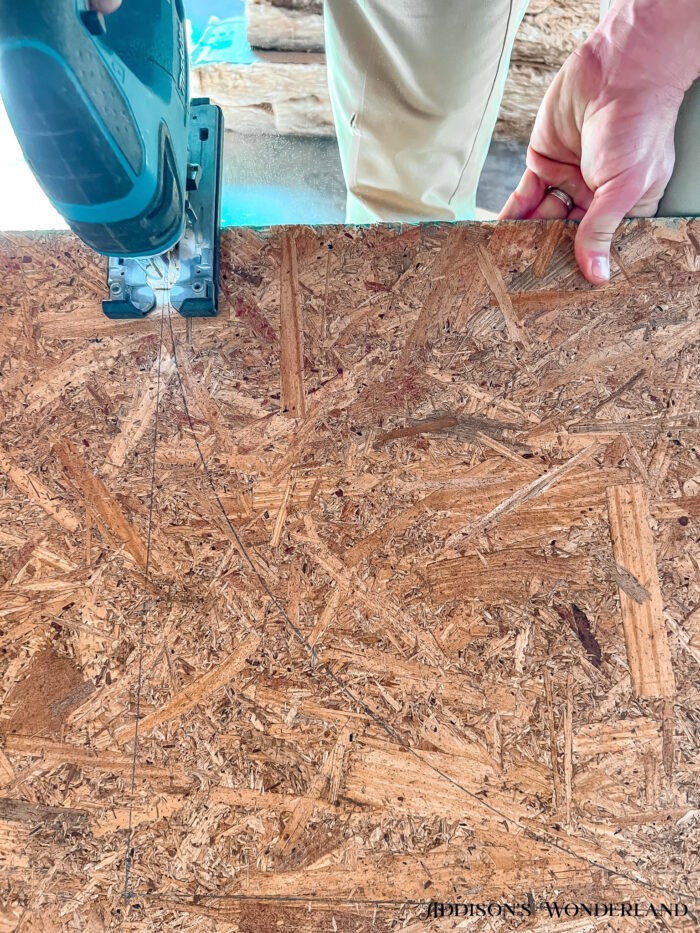
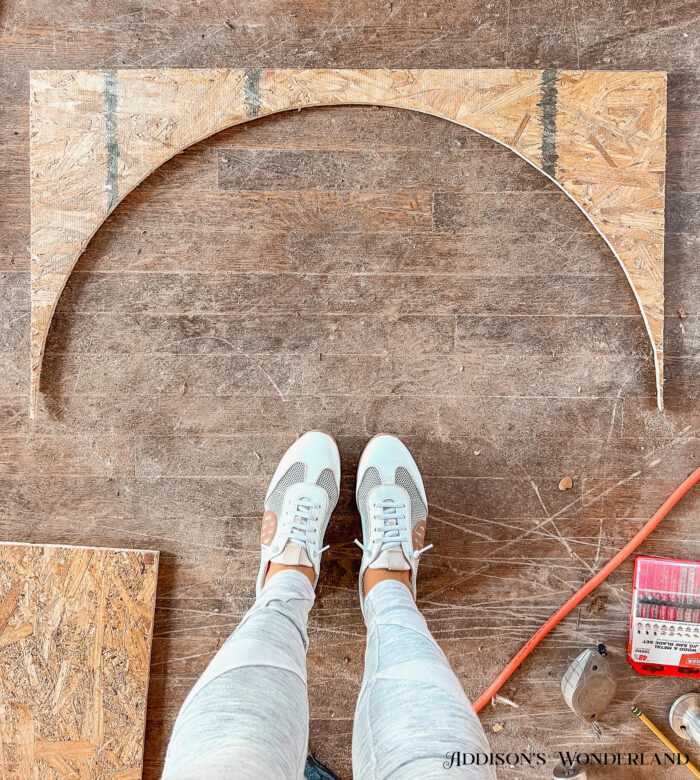
Step Six…
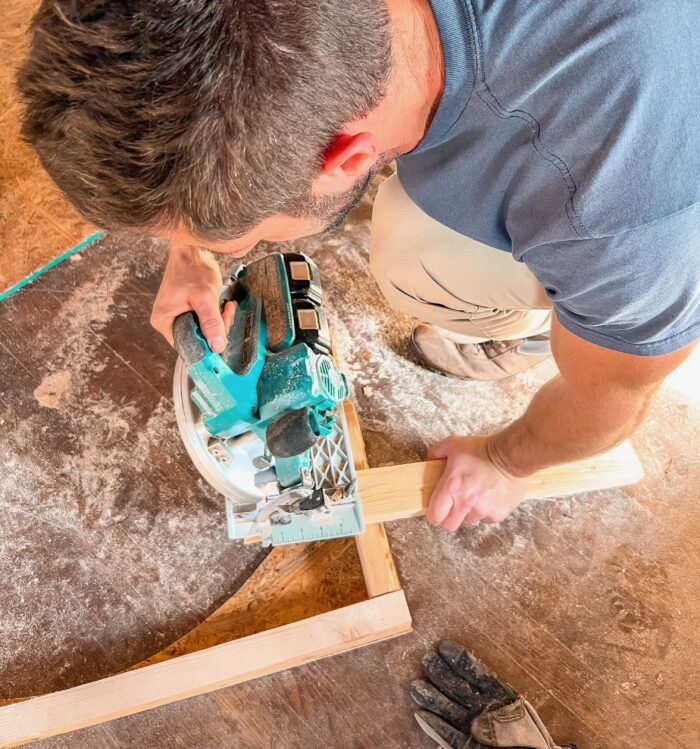
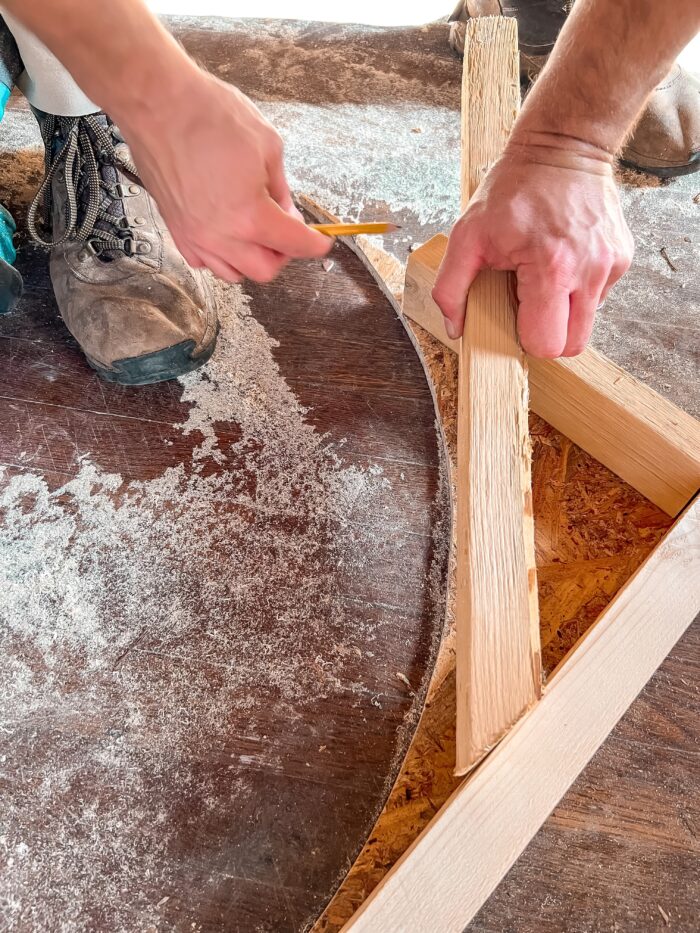
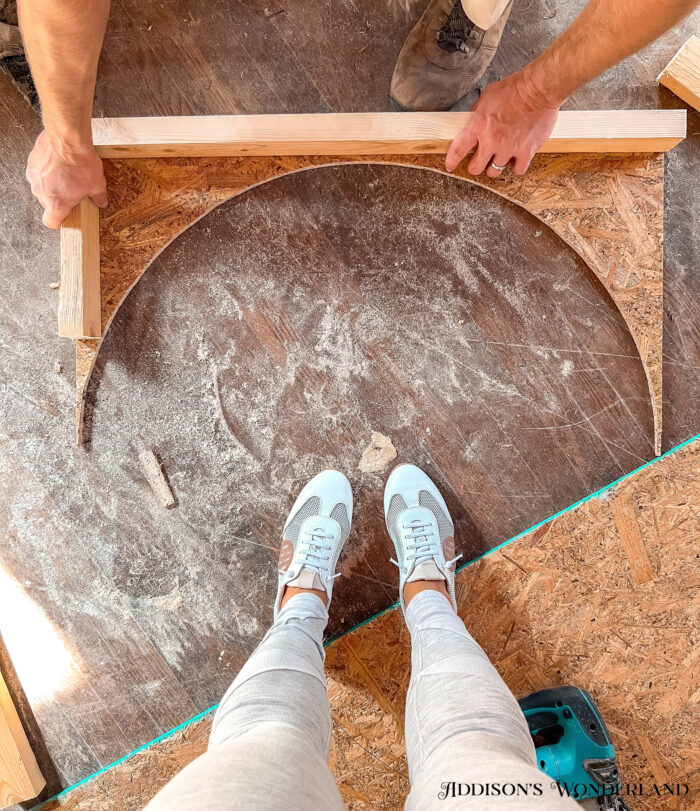
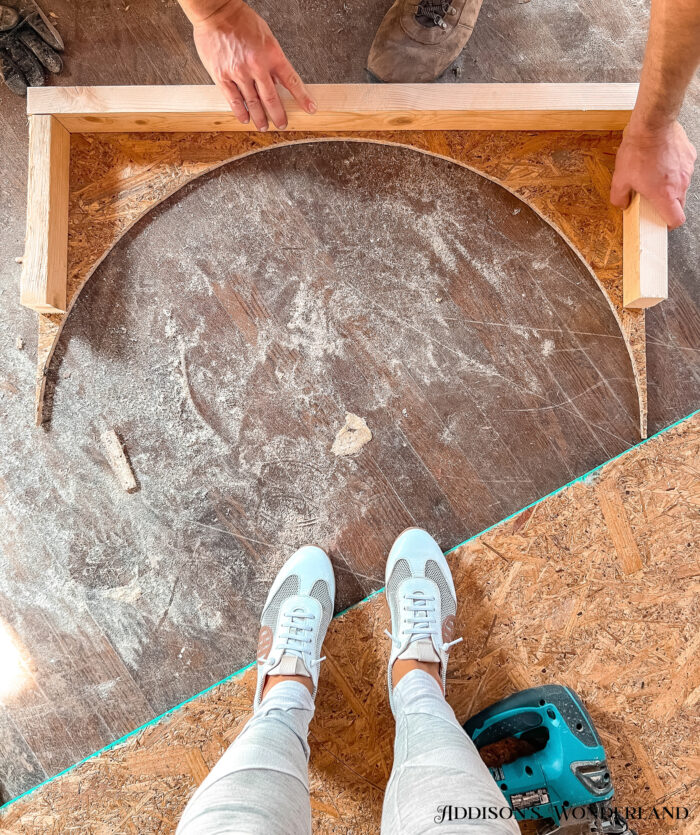
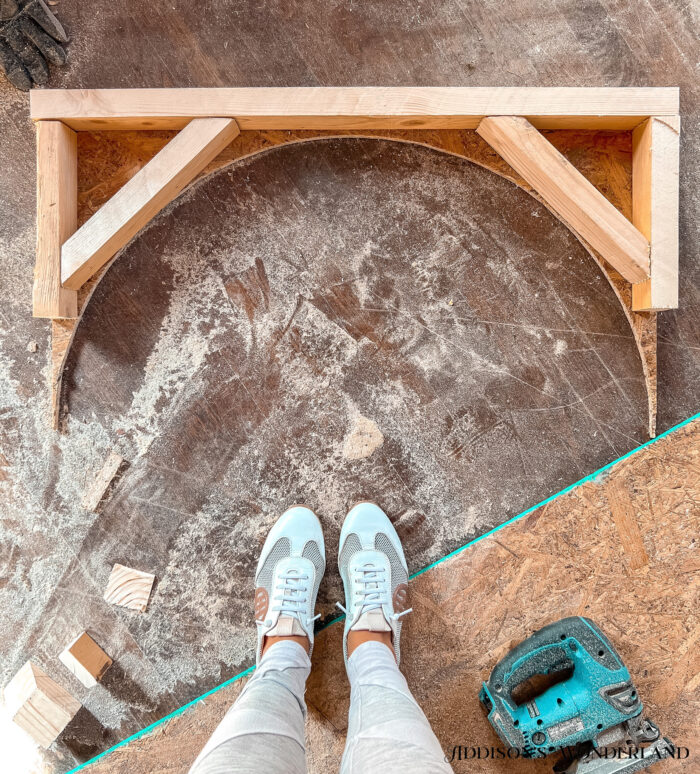
To create the interior framing for your arch, you will need a length of 2×4 (for this project, I used 1-8′ 2×4). To start, you will need to rip down pieces of 2×4 to 2-1/2″ wide to allow for the thickness of the 2 pieces of plywood. Meaning… including the 1/2″ of plywood (times two), the total width including plywood and ripped down 2×4’s should be 3-1/2″, which equals the thickness of standard framing. Then you will cut the ripped down 2×4 into lengths that fit the blocking around the arch. Start with the top at full width of the template. Then add the sides. Last, add the 45 degree angled pieces. These pieces are to be as close to the arch curve as possible without going over.
Step Seven…
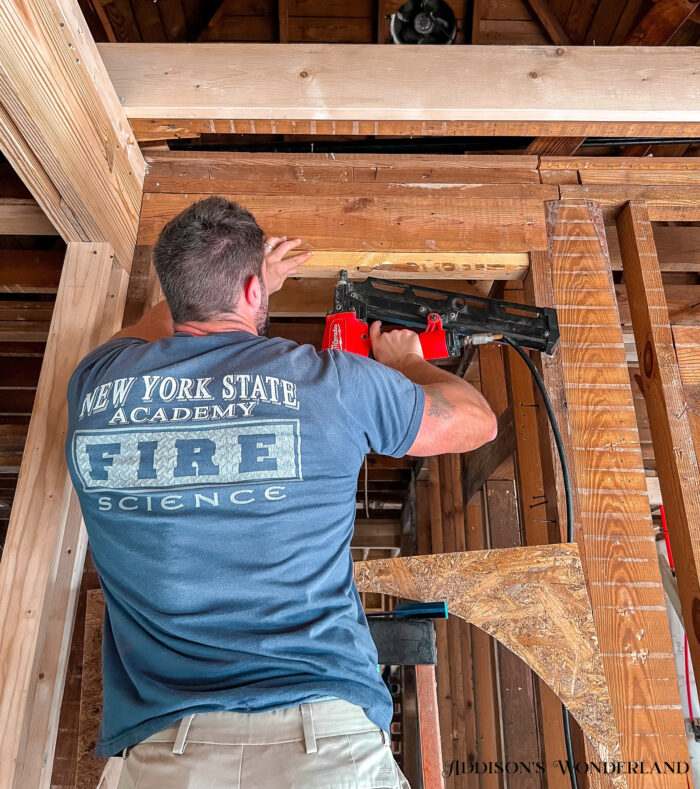
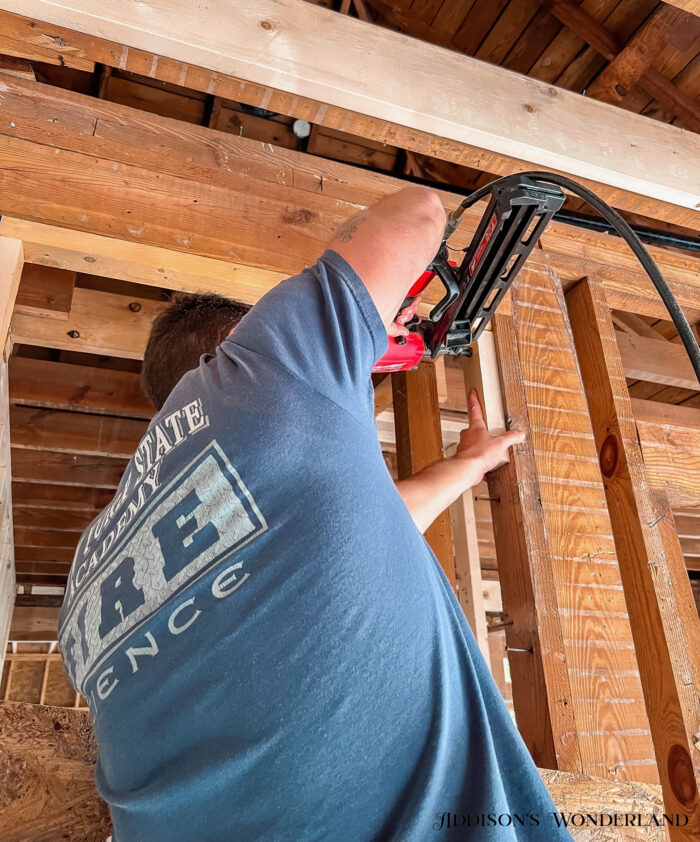
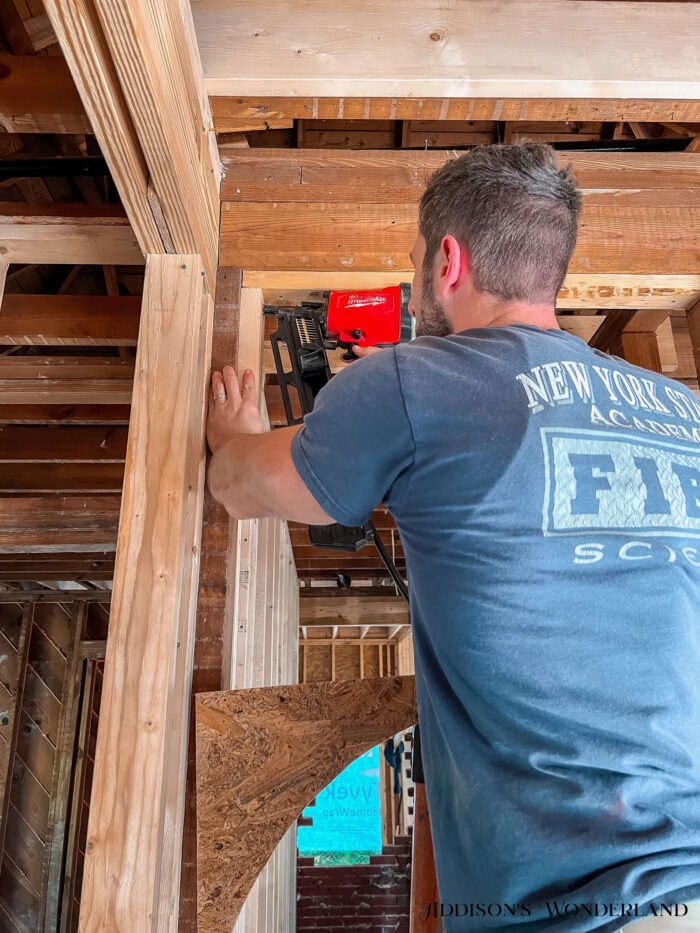
Along the inside perimeter of the framed opening, mark a 1/2″ line as a reference to place the blocking. This will allow for the plywood on both sides. Using 16D framing nails, nail the template blocking to the framed opening. Again, start with the top, then sides, followed by the 45 degree pieces.
Step Eight…
With 8d framing nails, nail both plywood templates to the blocking. It is now ready for drywall!
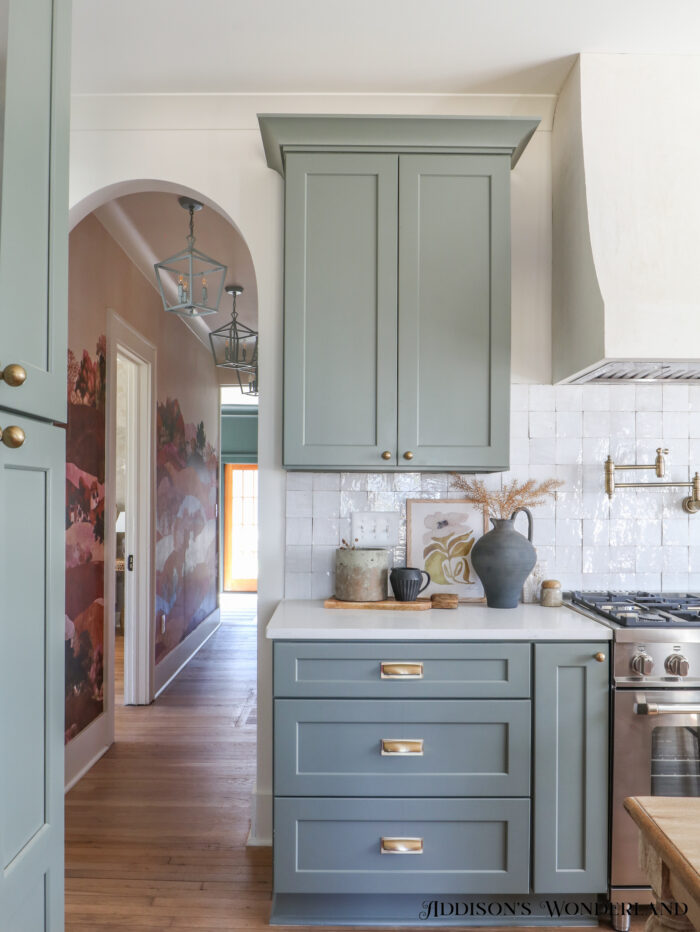
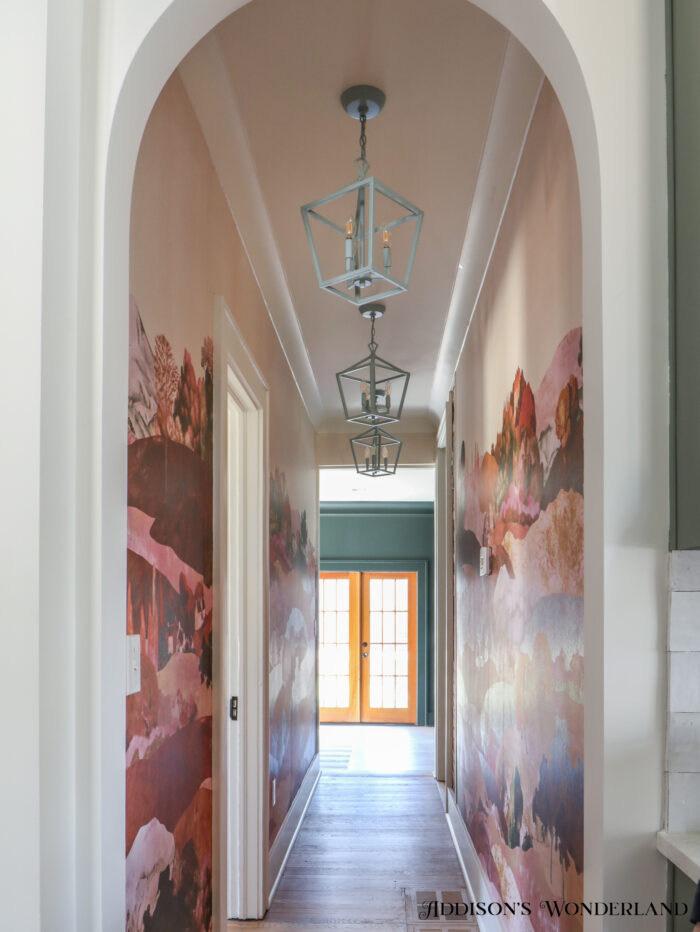
And here it is TODAY!
XOXO, Brittany Palazzo
+ view the comments
