Happy Hump Day! Coming to you from my home this week with an update on another home renovation we have going on, THE CABIN! Every other week now from Tuesday morning-ish to Thursday early afternoon, we will be up in the beautiful North Georgia mountains renovating the cabin and then sharing all of our progress right here on the blog the following Wednesday. In other news, I think we may offically have a name for this new cabin of mine… Johnny’s Hideaway. I know, I know. I need not name it after a “boy” but there’s lots more to the story that I will share soon. Several months ago now one of y’all mentioned it and I just haven’t been able to get it out of my head. So dang cute. A nod to my man of course and to one of my very favorite hole in the wall dance spots in Atlanta. My girl’s night getaway fave!
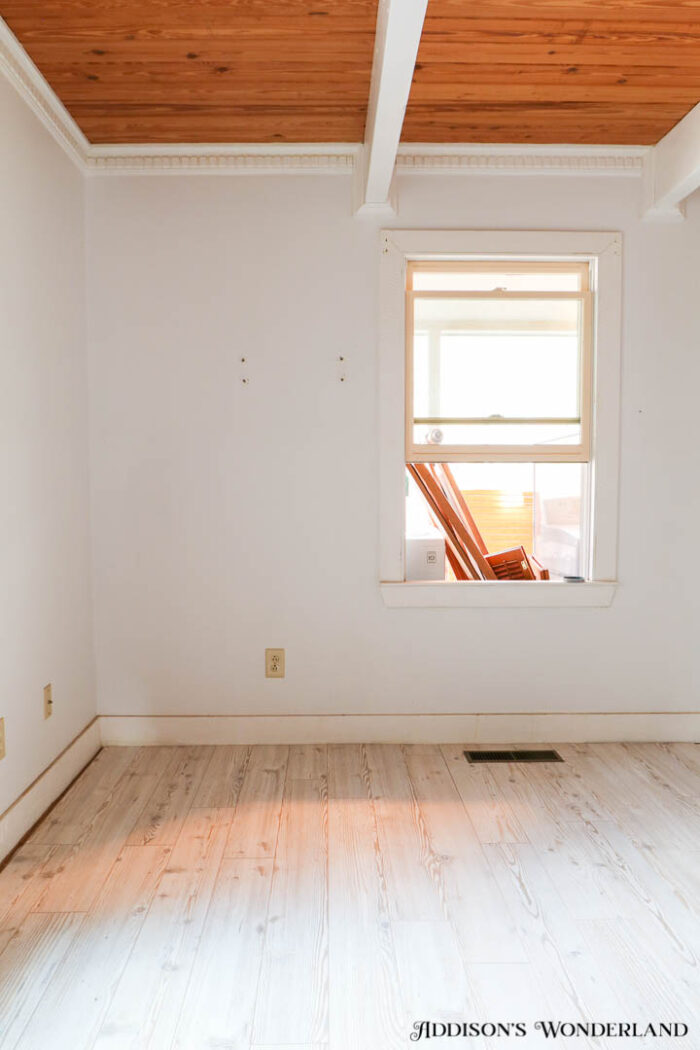
This last week in “Johnny’s Hideaway”, as you may have seen on IG stories, Ab and I busted out some new laminate wood flooring. Well, Ab busted it out and I tested out a million and one paint colors. We even filmed a very very casual little video tutorial I will post here as well!
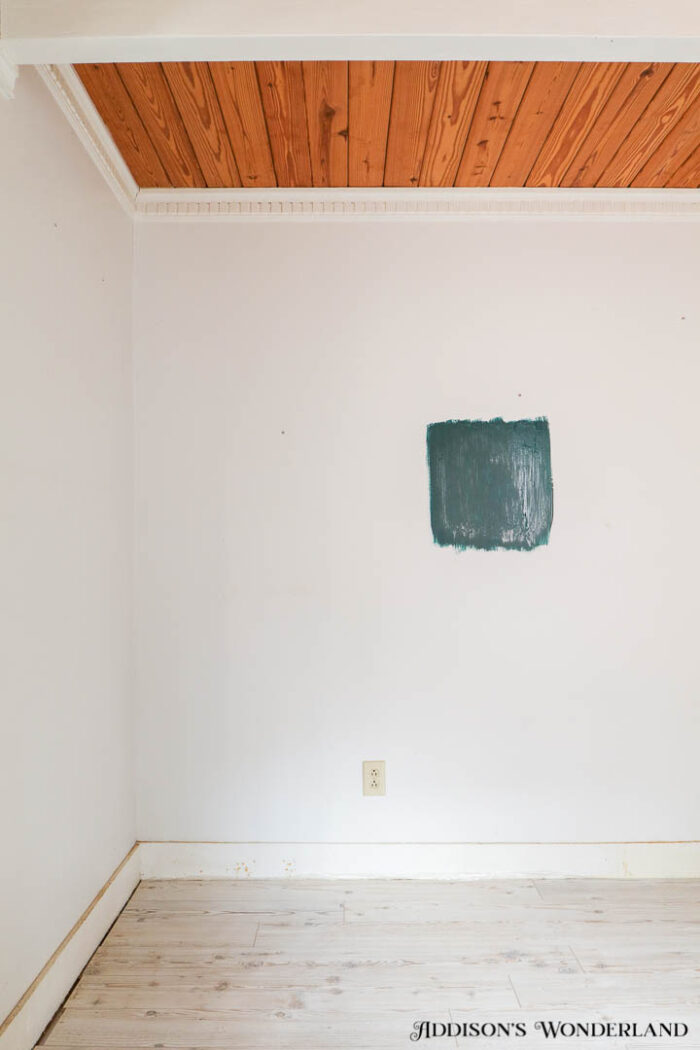
For the main bedroom in the cabin, I knew I wanted it to be really dark and dreamy. I found this wall color that I LOVE while speccing wall colors for a design client… Cascades by Sherwin Williams and decided it would also be the PERFECT choice for the walls AND ceiling of the main bedroom in the cabin. You can see the wall color I tested out in the pictures below.
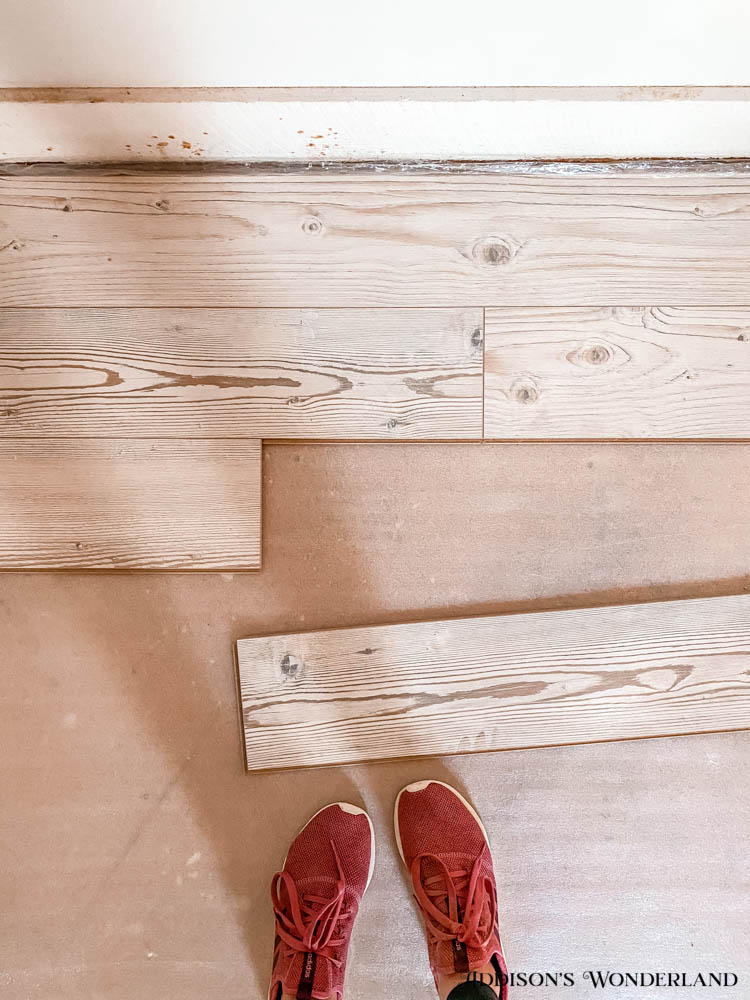
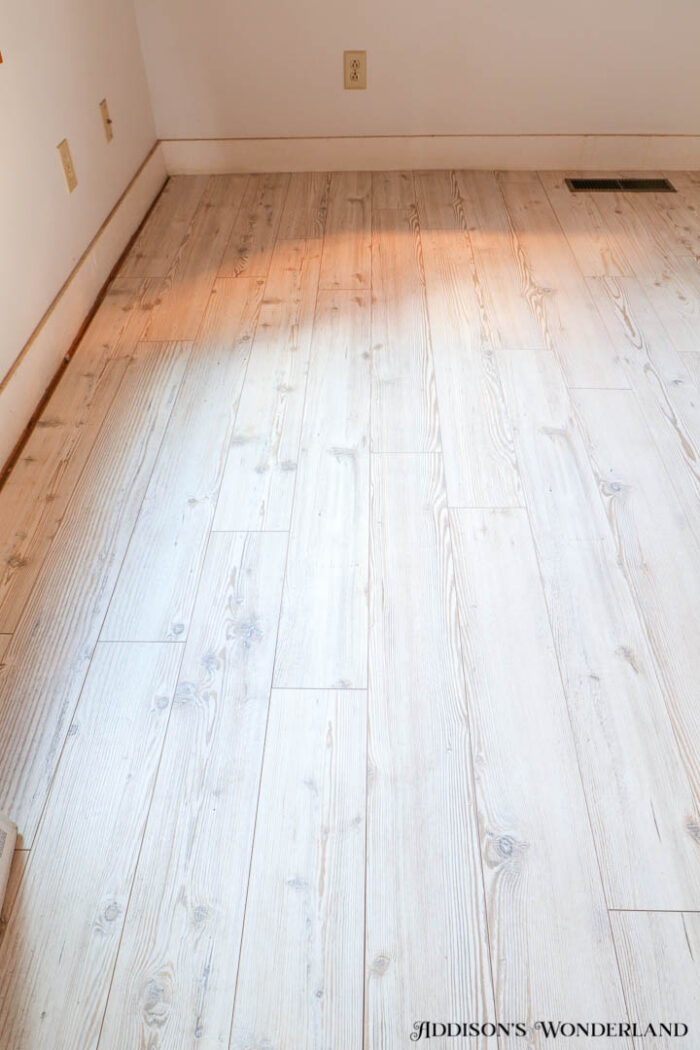
For the flooring, since the walls and ceiling would be so dark, I chose this super light WHITEWASHED LAMINATE WOOD FLOORING. I thought it would also be the perfect backdrop for a fun rug I have in mind. Now I will let Ab take over and share the details of this project and a peek at the “REVEAL”! I say “reveal” in quotations because the room still has a WAYS to go!
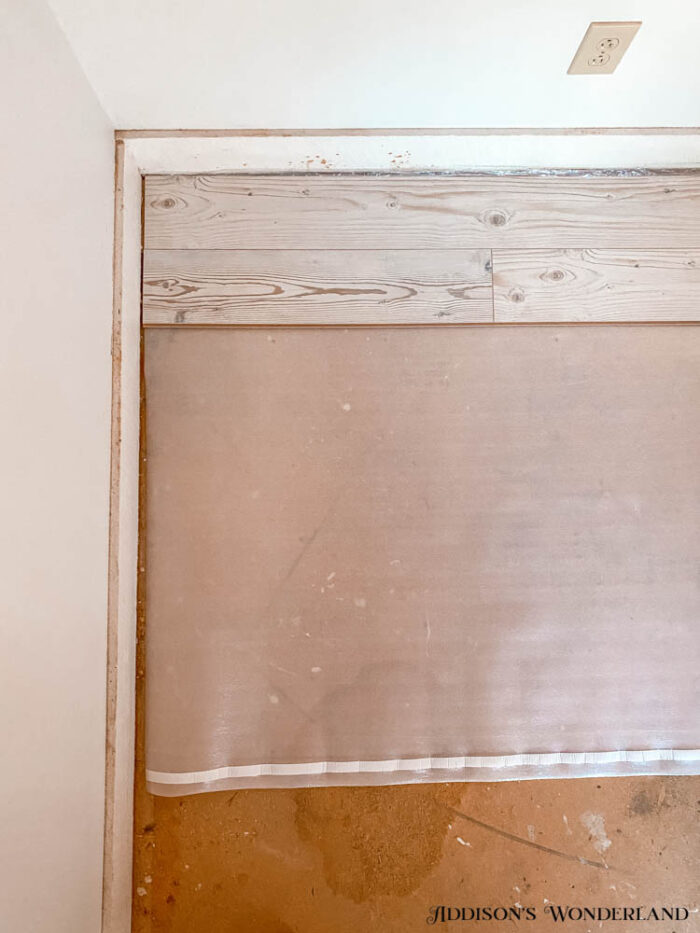
First and foremost, make sure that the subfloor you are laying on is swept really well. It is a pain to continuously have to clean as you go and it will not lay well if you have staples remaining (if you pulled up carpet beforehand, then you know the staple struggle). You will need a flooring underlayment… we used a simple foam but there are lots of different variations. There is an adhesive strip at the bottom of each section that you can use to layer the following underlayment segment.
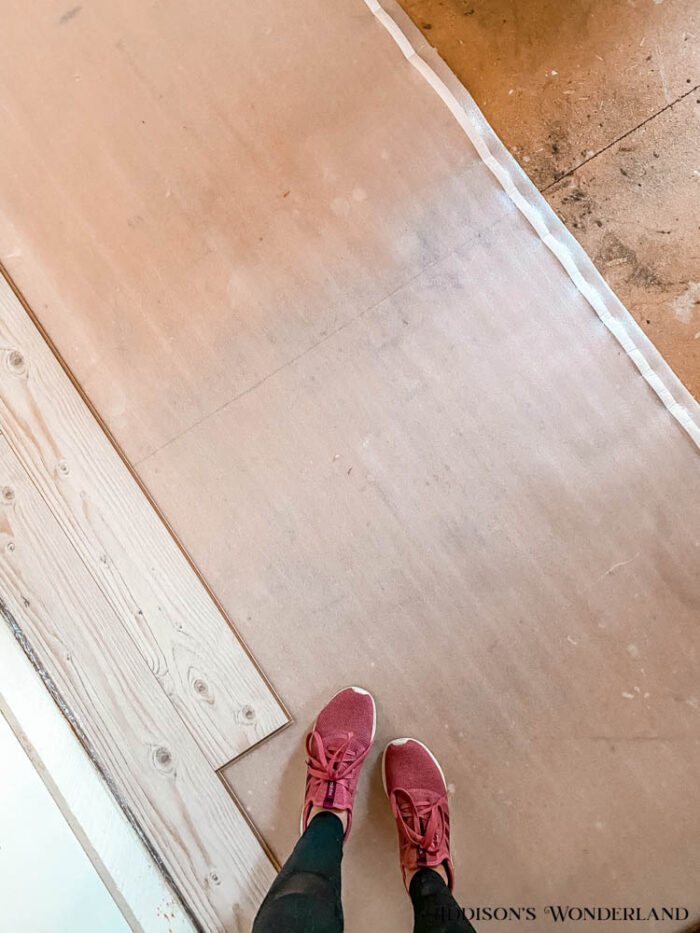
We used a tongue and grove flooring. There are so many different installation processes for laminate flooring depending on the type you buy. In the last cabin, we used a self stick vinyl plank. The self stick is a little bit easier but either one is super user friendly!
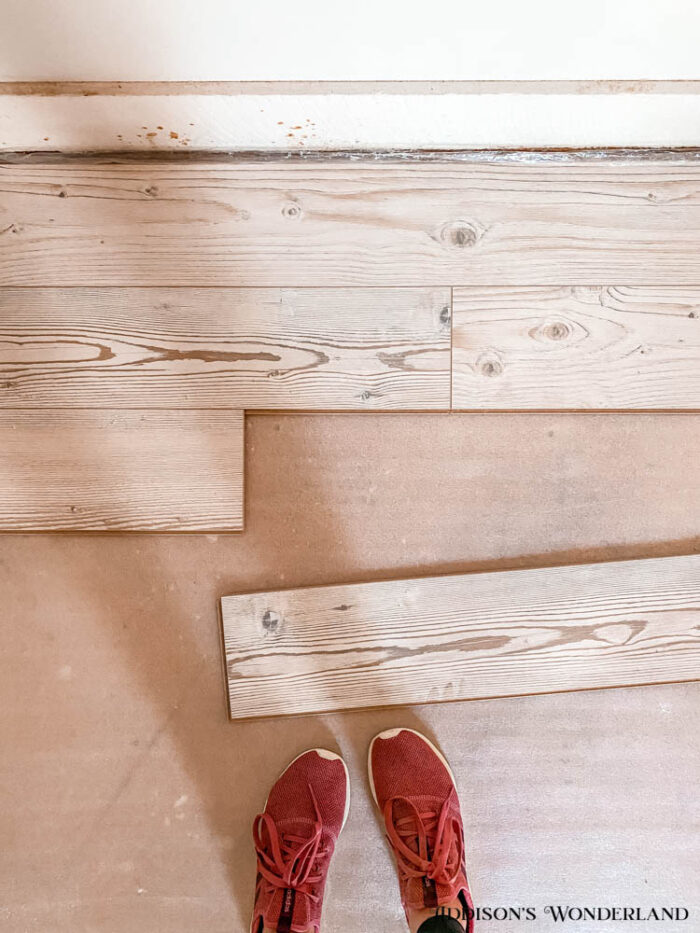
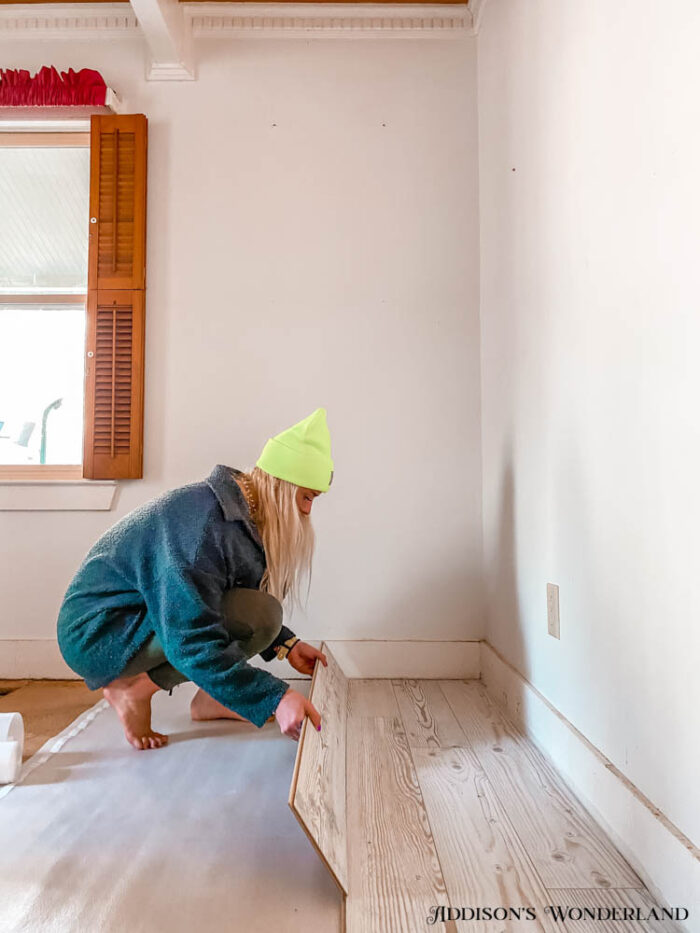
These pieces legitimately click together like puzzle pieces. The biggest thing to make sure of is that you have the entire board clicked in. If it’s not super tight and locked into place all the way across, you will end up with unleveled flooring. I found it easiest to lock into place at about a 45 degree angle (as pictured above) and then lower and slide slightly into place. You can use a rubber hammer to secure them or just put some muscle into it. Don’t worry too much about each of the first pieces lining up perfectly on the wall. Keep in mind that you will be following up with quarter round and it will clean everything up nicely. With that in mind, make sure that you aren’t starting too far from the wall and that a piece of quarter round will cover the gap you leave.
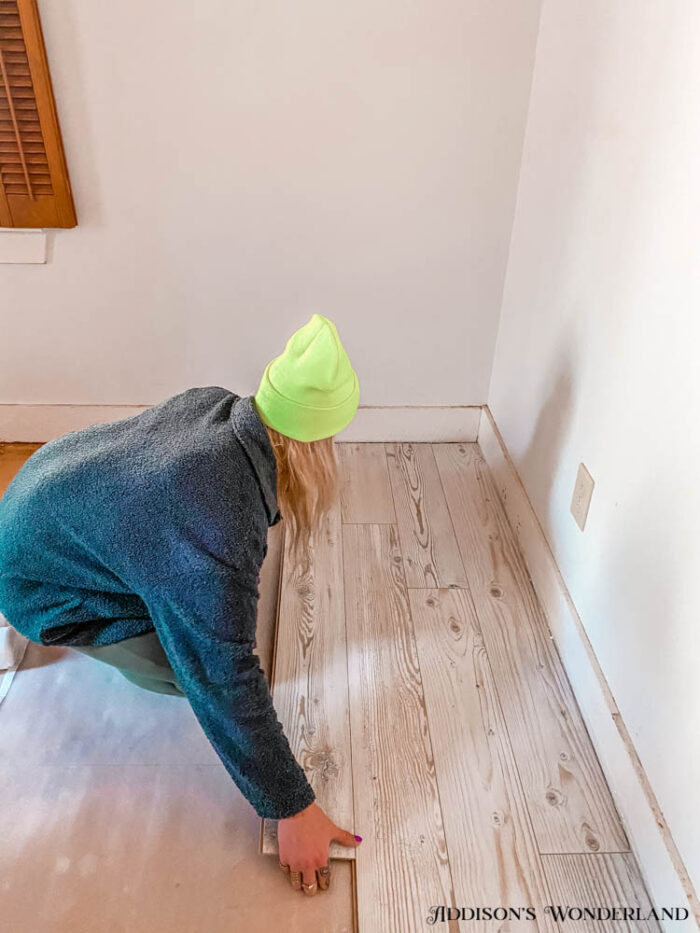
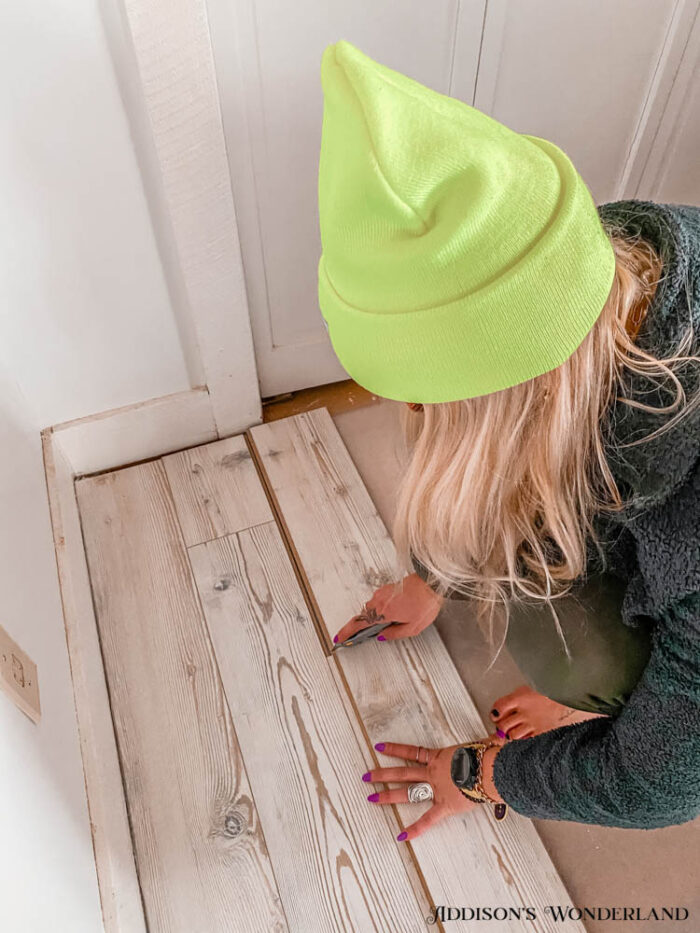
When you get to the end of a run, you will need to cut the last piece. Make sure to flip the piece 180 degrees before you mark it so that you use the correct side. The other part can be used at the first piece of the next run.
Watch AB’s Installation Tips HERE…
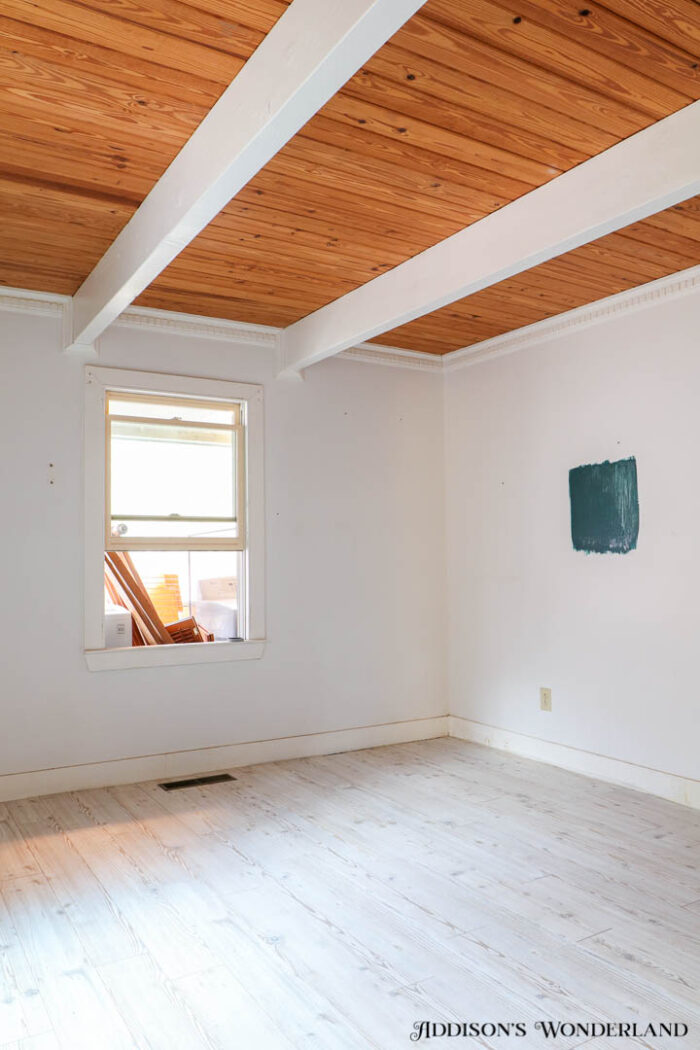

ROOM DETAILS
Wall Color (test spot)- Cascades by Sherwin Williams
XOXO, Brittany Hayes
+ view the comments
