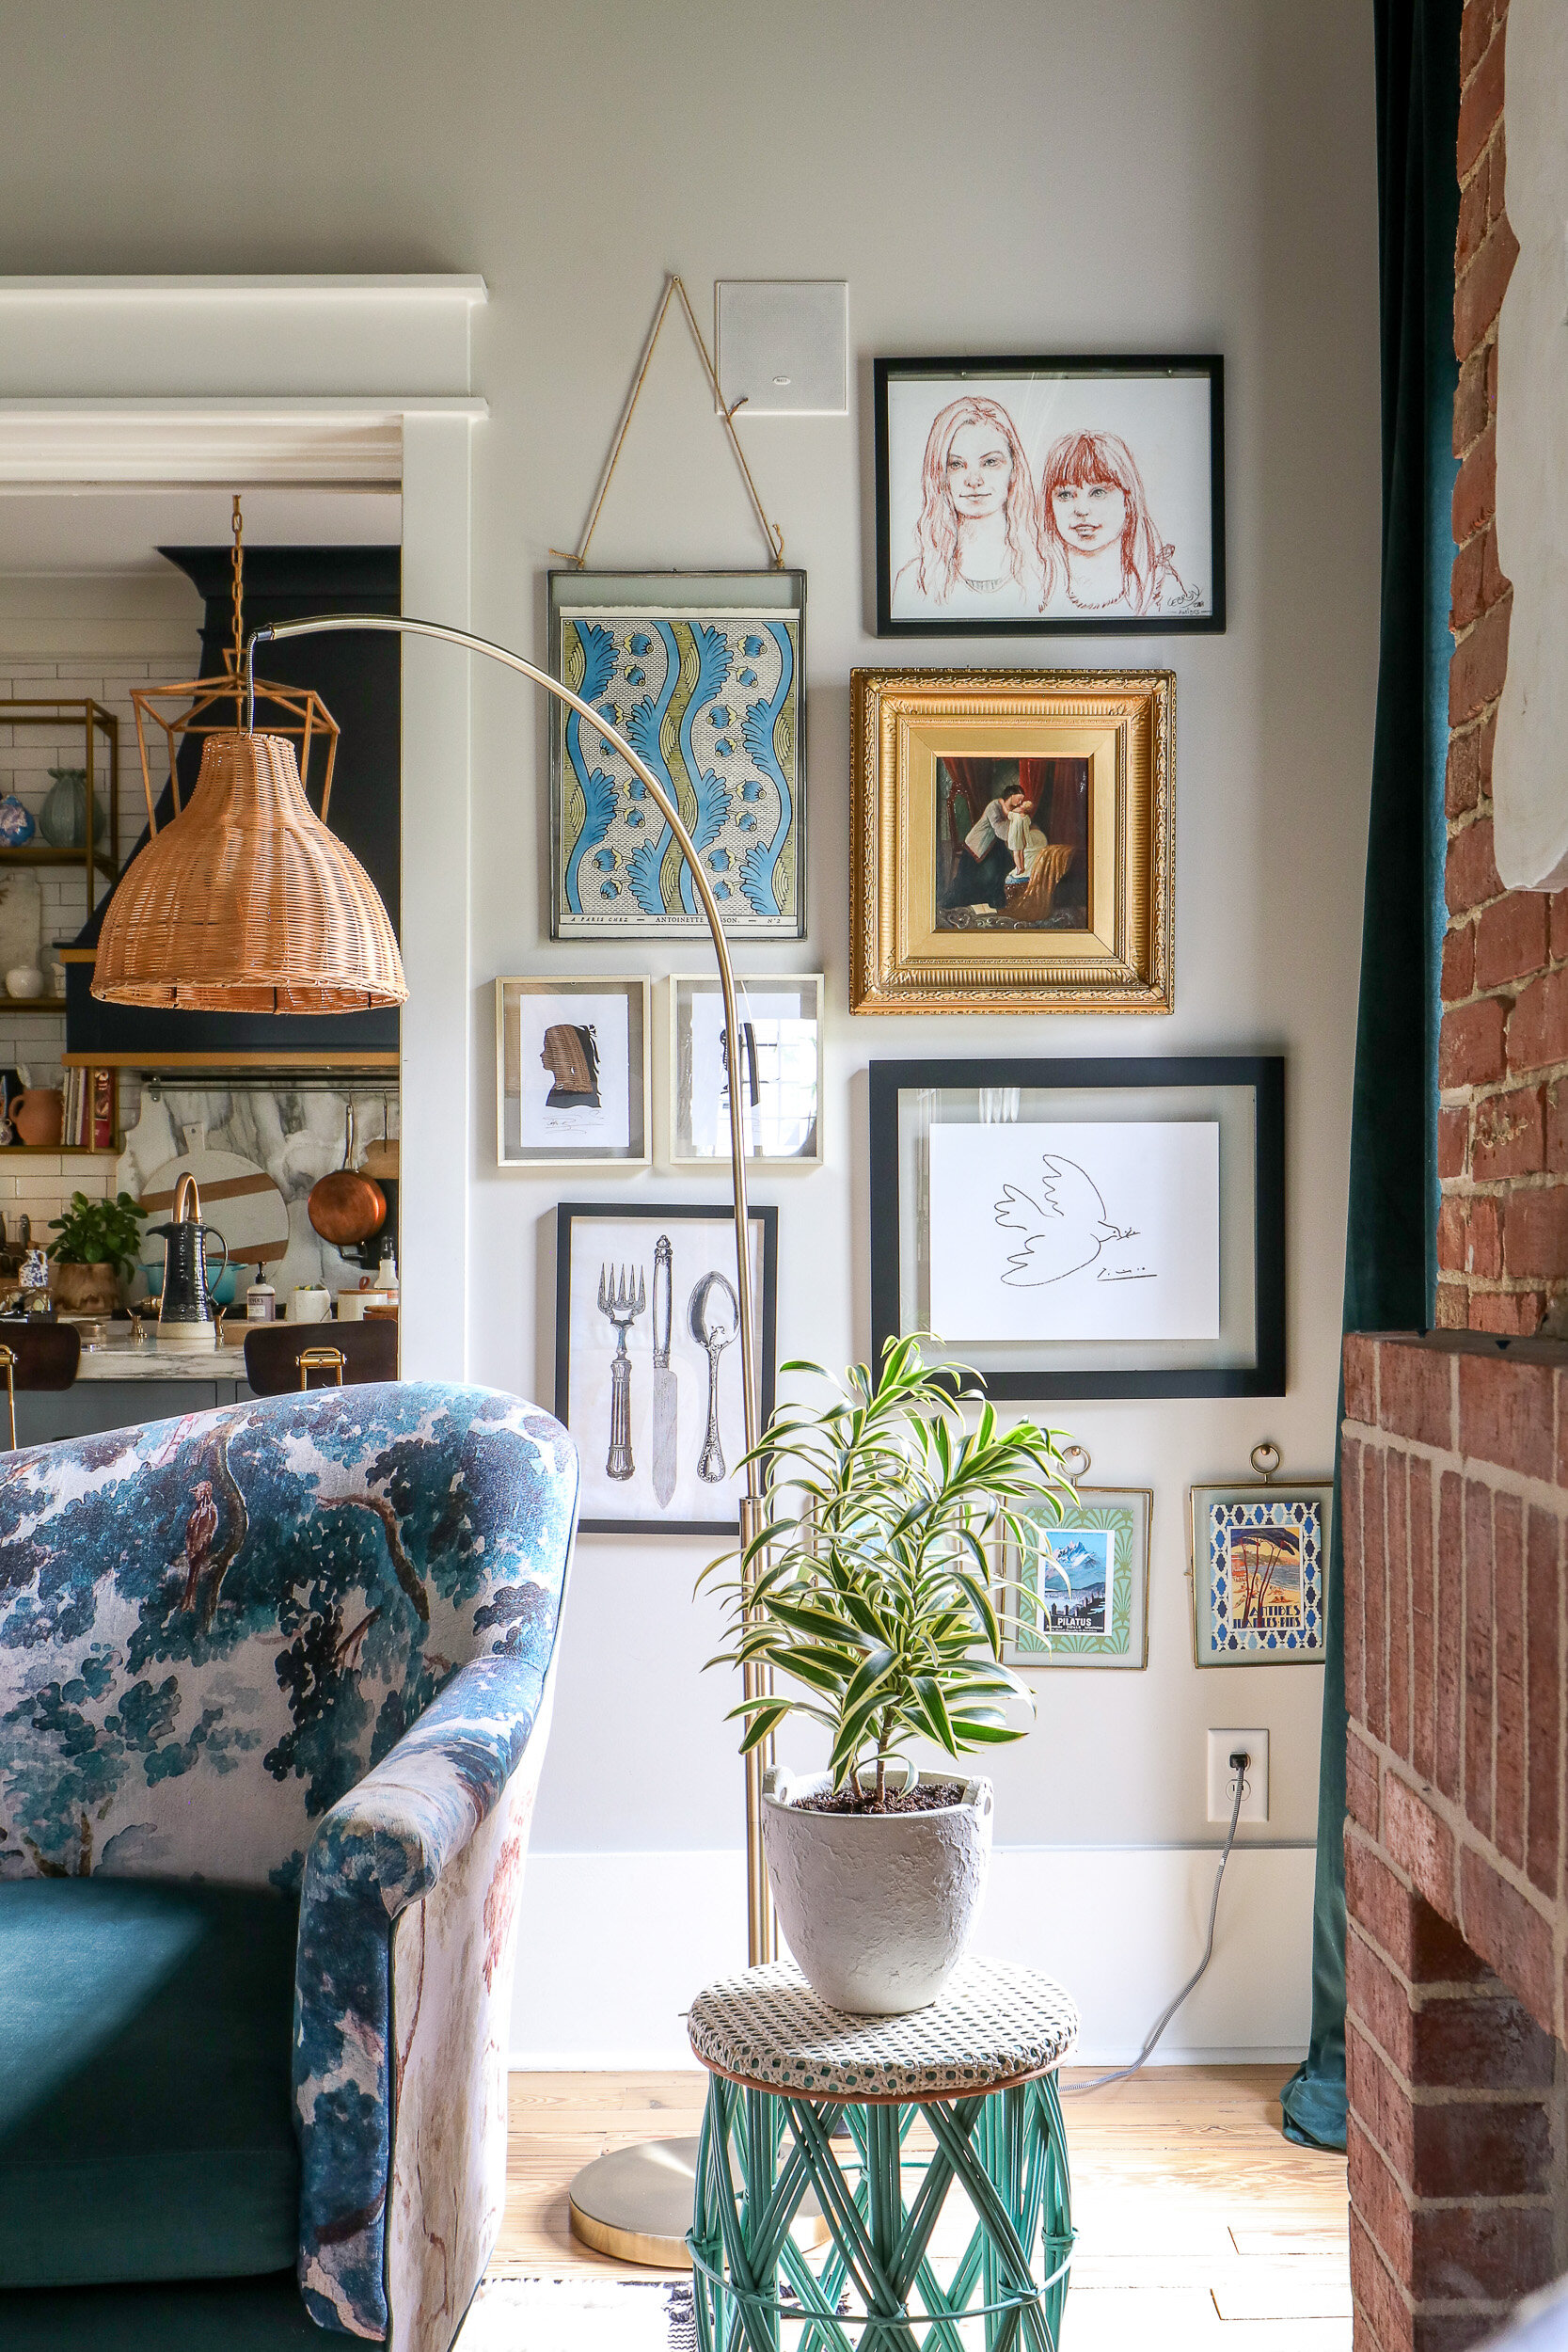
Hey friends! Happy Tuesday! If you follow along with us on Instagram then you might have caught a peek at my mom and dad’s adorable newly renovated Tudor. Oddly enough, they now live about 5 houses down from Britt… which also happens to be less than half a mile from the house I am restoring right now.
They bought this home a little over a year ago and it was completely gutted down to the studs. Slowly but surly they renovated it from top to bottom, added a second story, and moved in October 2020. I am SO proud of my mom for crushing all of the selections and my dad who is a work horse and got this little dreamy place finished.
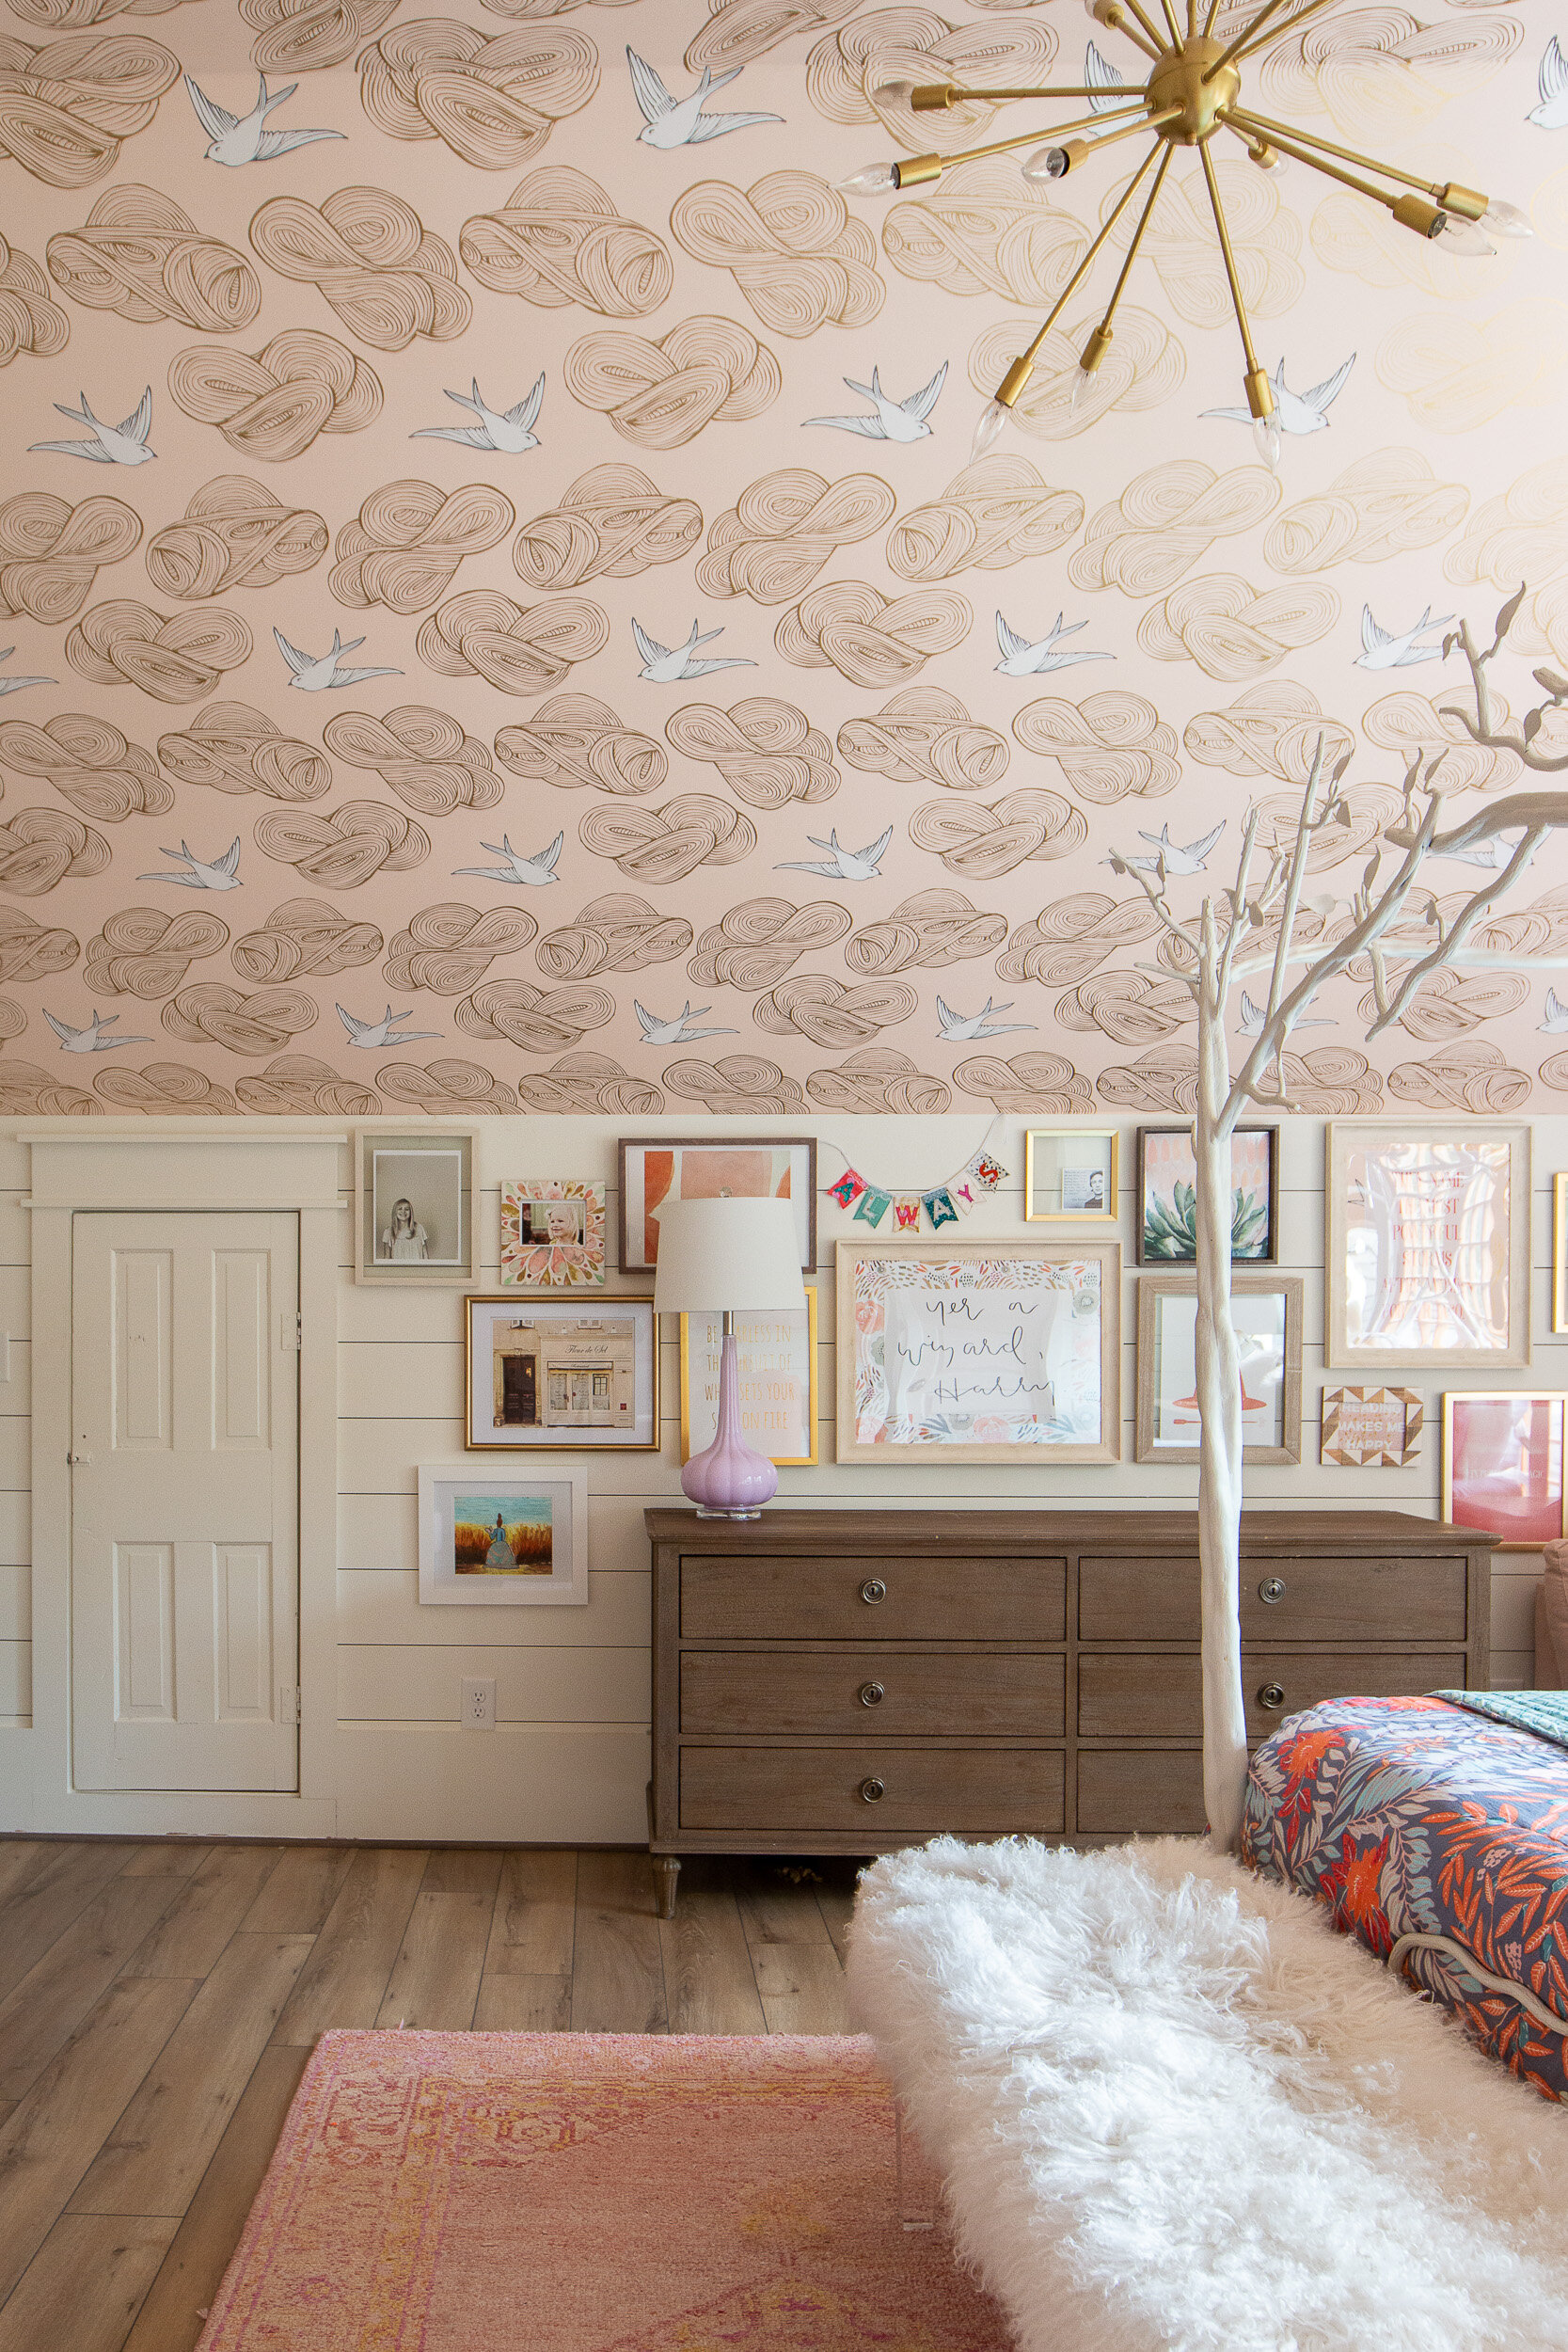
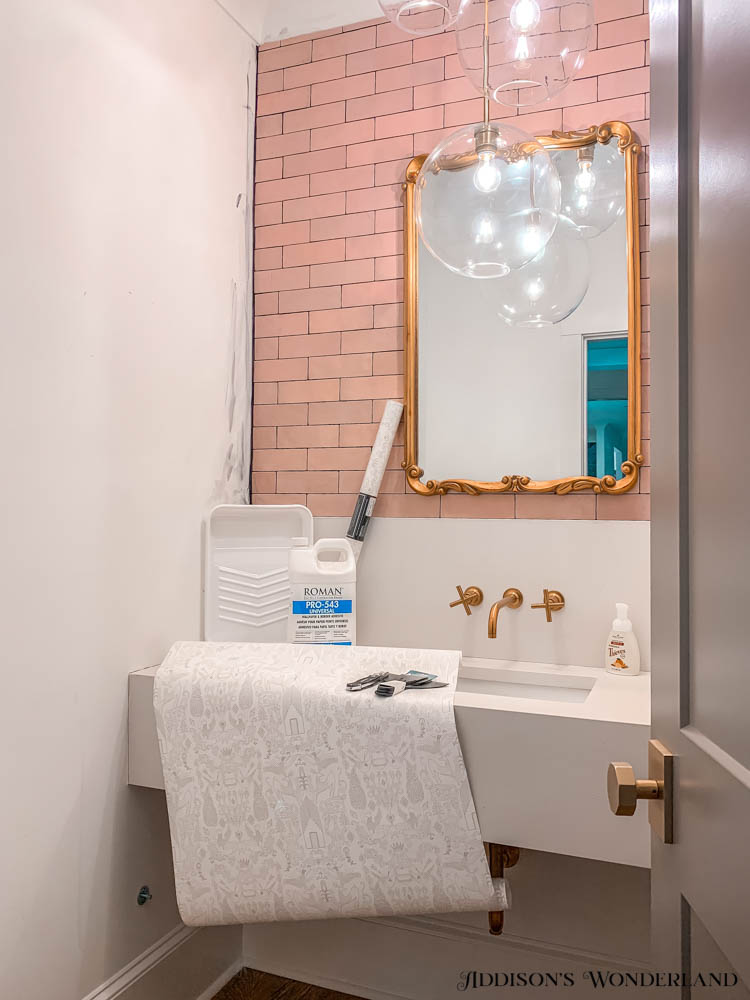
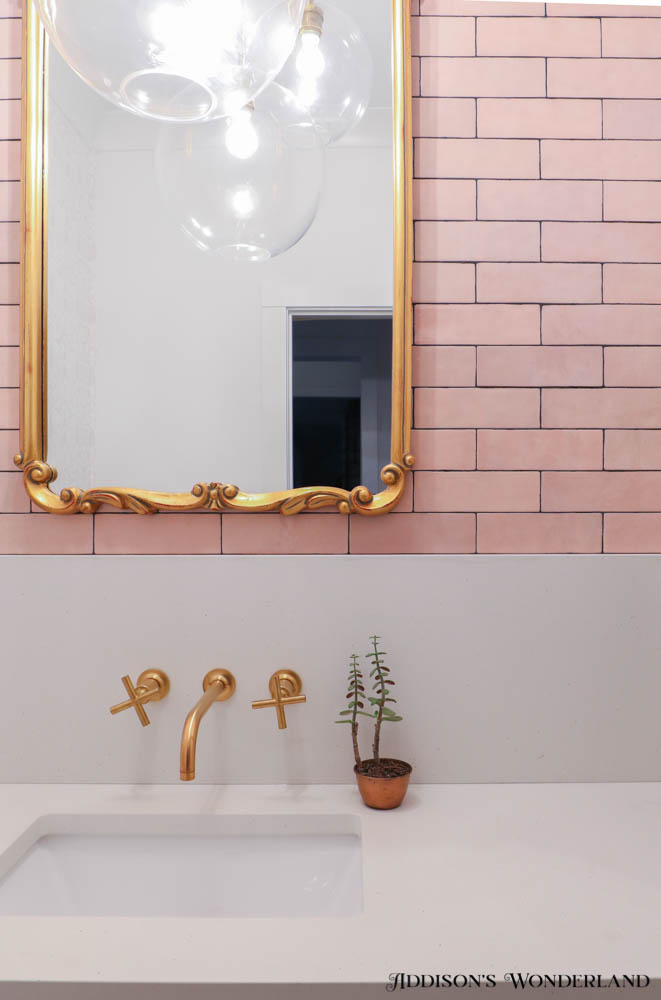
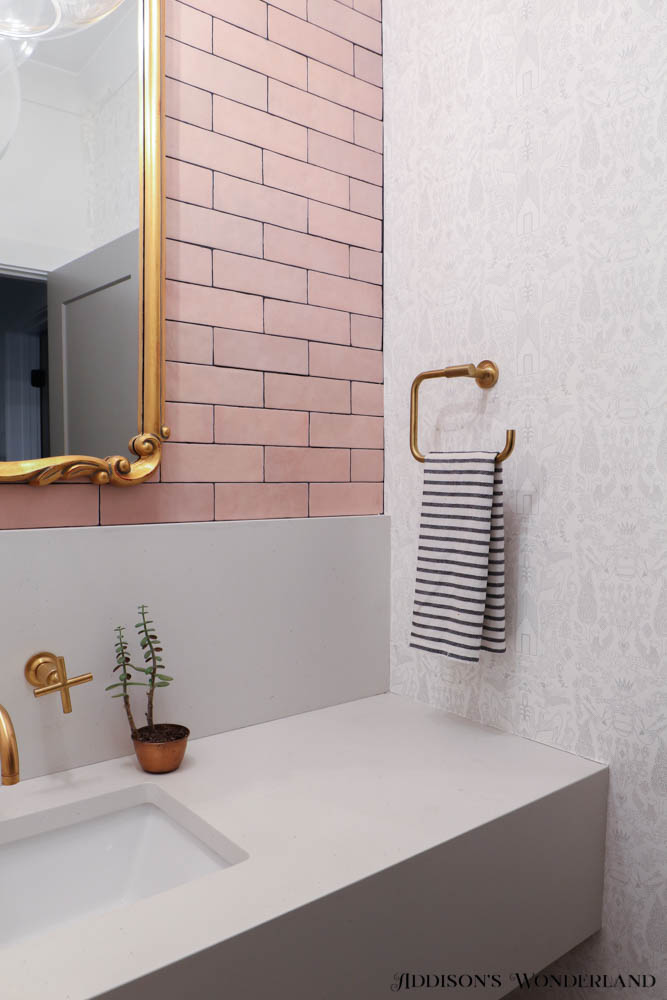
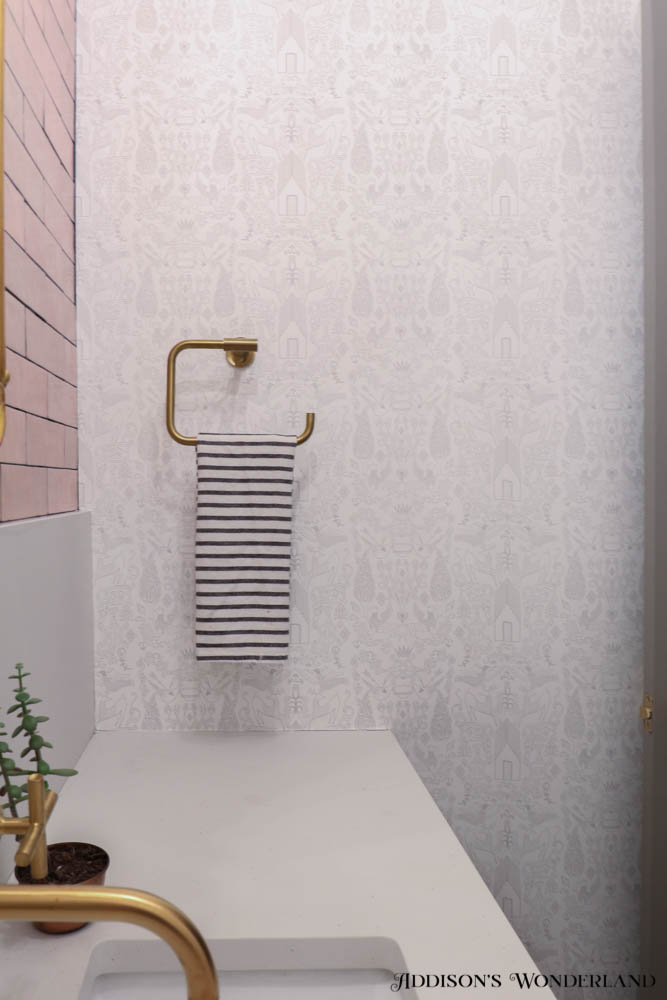
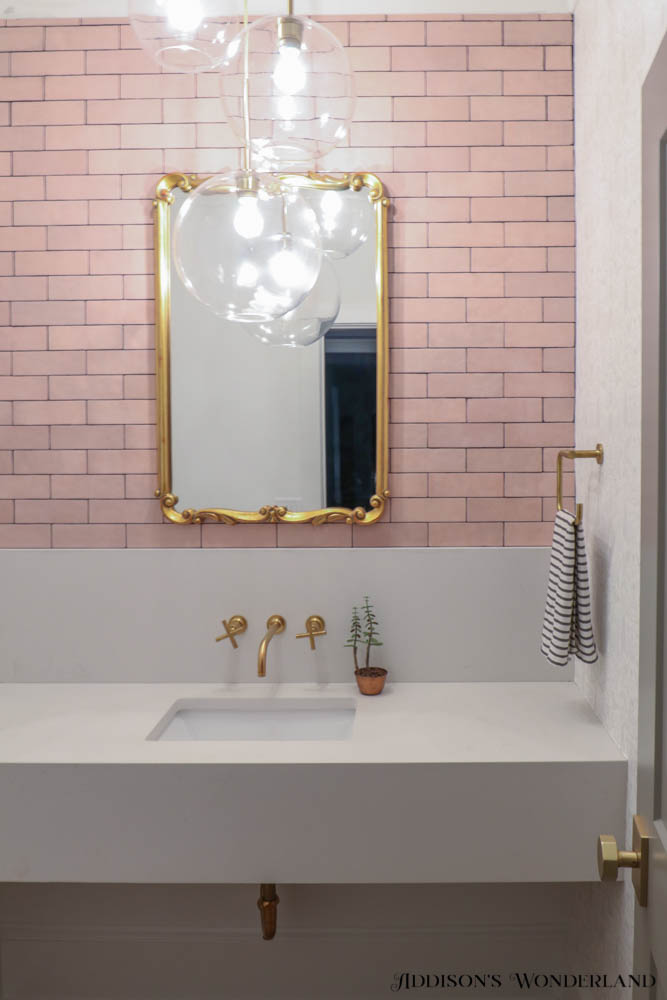
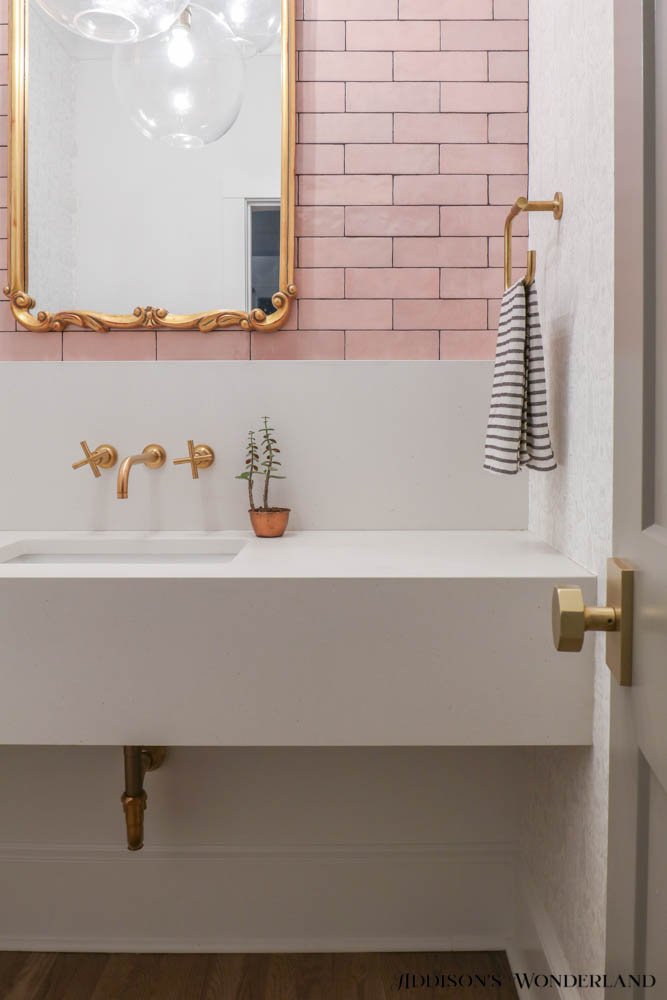
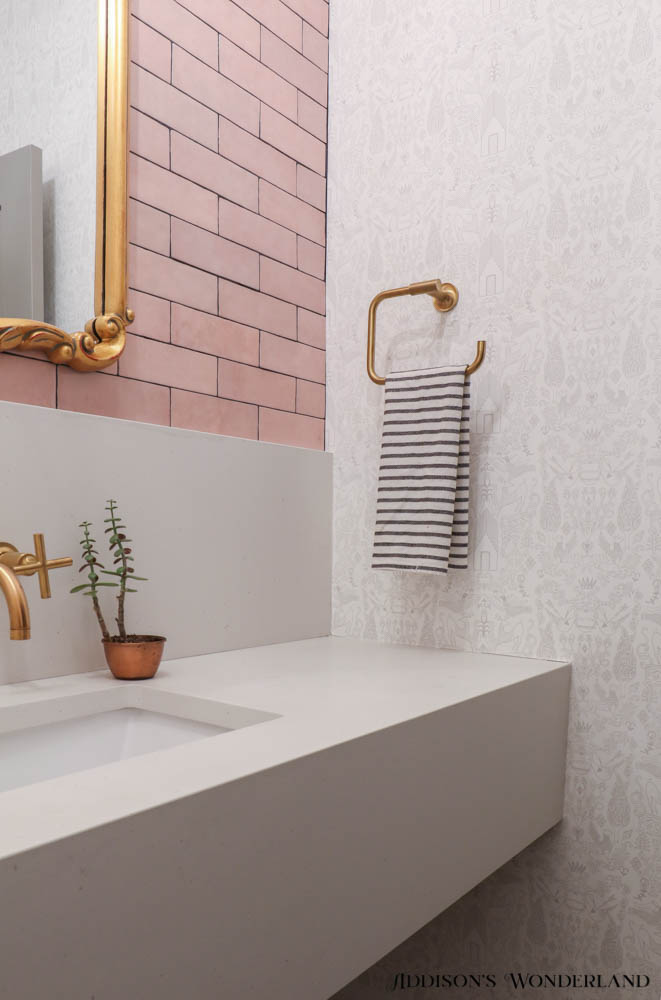
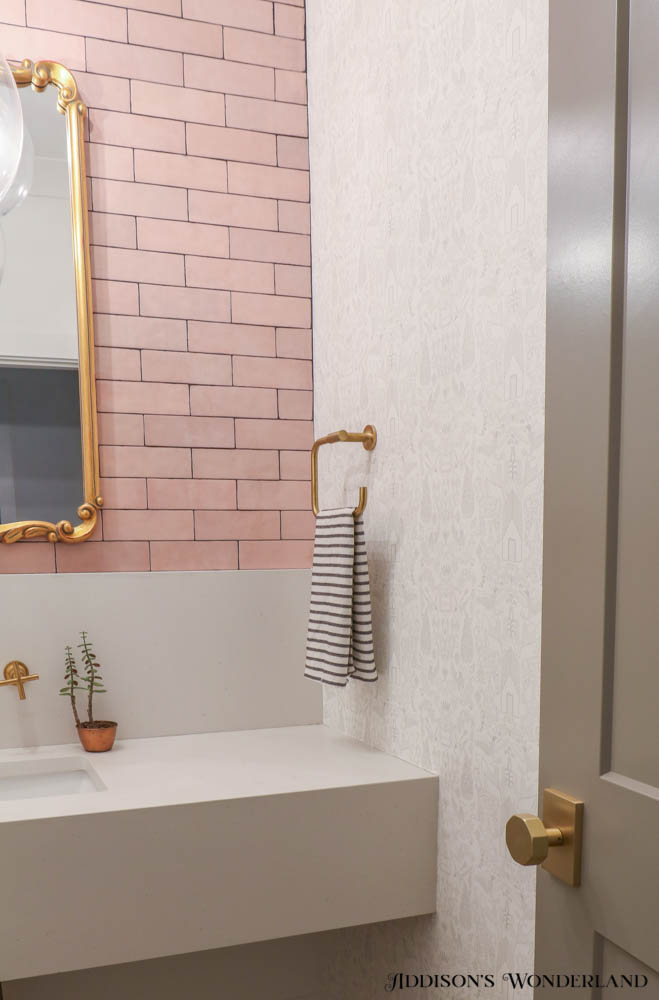
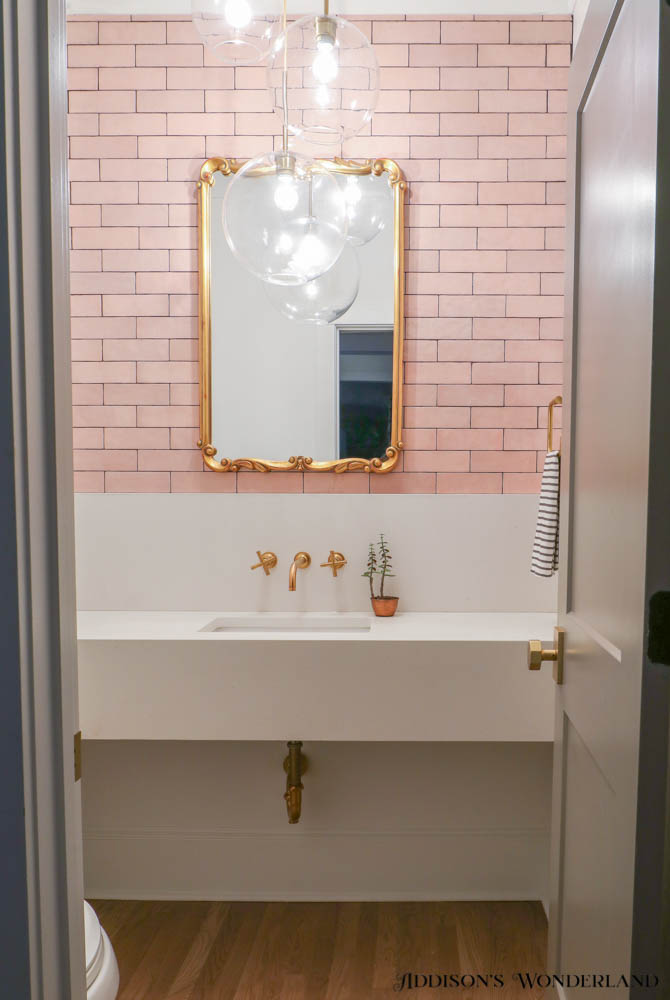
Any who, mom decided that she wanted to create the funkiest little half bathroom and after going back and forth between subway tiles she settled on a fun blush pink with a plan to add a whimsical wallpaper. Four months later I finally got around to installing it and it turned out SO good. I tried to document the process a little bit so hopefully this will be helpful for those of you that are planning to tackle a wallpaper project in your own home!
To shop the wallpaper click HERE and for some other fun patterns by Click HERE.
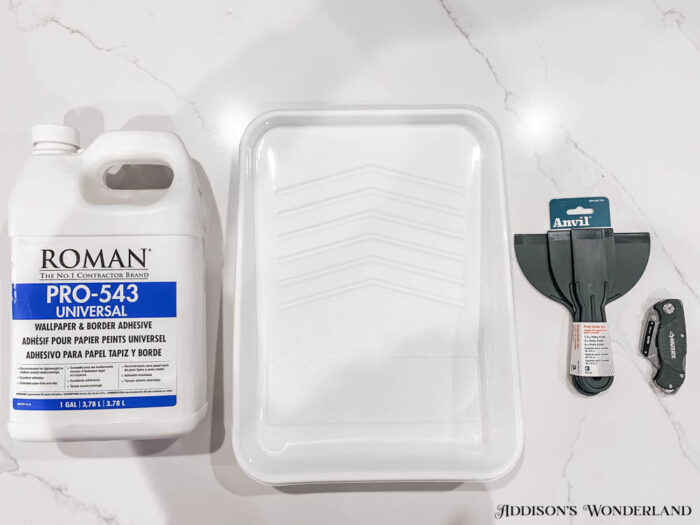
This wallpaper was not repasted, just your classic paste to the wall. We use Roman adhesive for all of our AW projects. It is super easy to work with and has a good set time.
SUPPLIES:
Level ( I used a framing laser but it’s not necessary)
Sharp Exactoknife
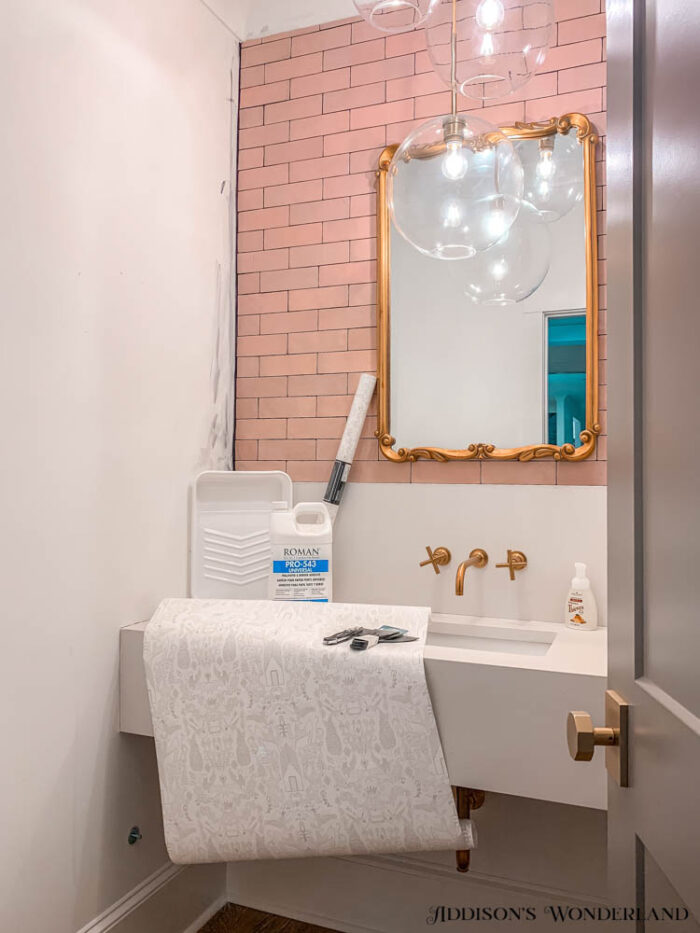
I. The first thing you will want to do is draw a level line on the wall where your first piece is going. I decided to start in the corner by the tile since it is the first thing you see when you walk into the bathroom. It is super important to keep the panels as level as you possibly can so that your pattern doesn’t end up crooked several pieces in.
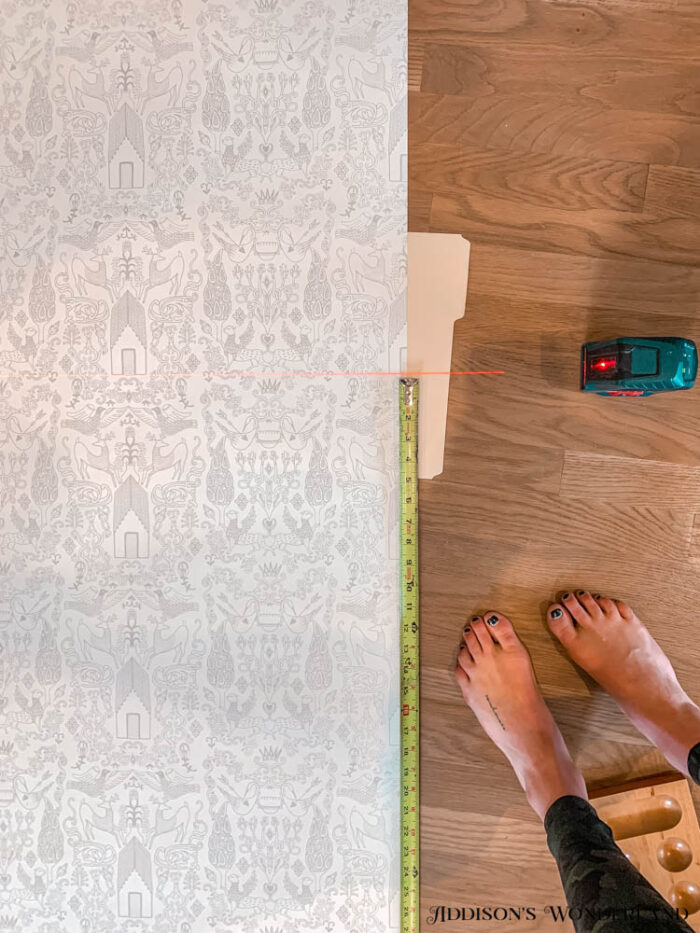
II. Next you will need to pull the measurement between trim. The exact measurement for this bathroom was 96 inches and since we had such a short repeat, I could afford to give myself a good bit of overage. I cut each piece at 102 inches for 6 inches of extra paper.
As far as the repeat goes, it’s easy to find the beginning and end of each repeat. If you are able to have overage on each segment, you can line up the paper and trim at the top and bottom of each piece depending on where the pattern lines up.
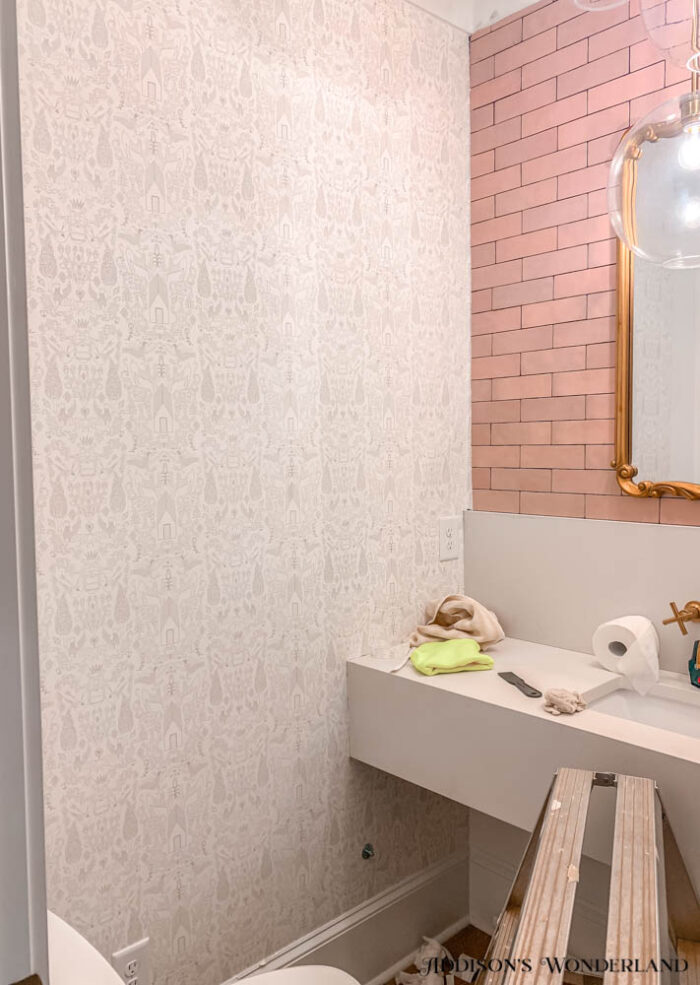
III. Some people recommend putting the paste directly onto the wallpaper but I have found that it’s easiest, especially if you are solo, to paste the wall. I start out rolling a couple of feet from the crown down. After I have gotten the wallpaper smoothed out and free of air bubbles with the puddy knife then I will roll out more glue. It you go nuts with the glue and roll out the entire wall it will undoubtedly dry before you can get to the bottom of the panel.
IV. Make sure that you are being super intentional about keeping the pasted paper air bubble-less. Just keep slowly working them out with the putty knife by scraping the paper and forcing the excess glue down or out of the sides.
V. Once you finish installing, give the glue some time to fully dry before you start trimming. When the paper is wet from glue it is likely to rip and then you’ll be scrambling to get torn seams lined up… and that’s when all of the profanity starts so just wait 😉 I get the instant gratification bug every time we wallpaper and it never turns out good soooo just wait.
And waallaah… the cutest, pinkest, most whimsical little powder room you ever did see…
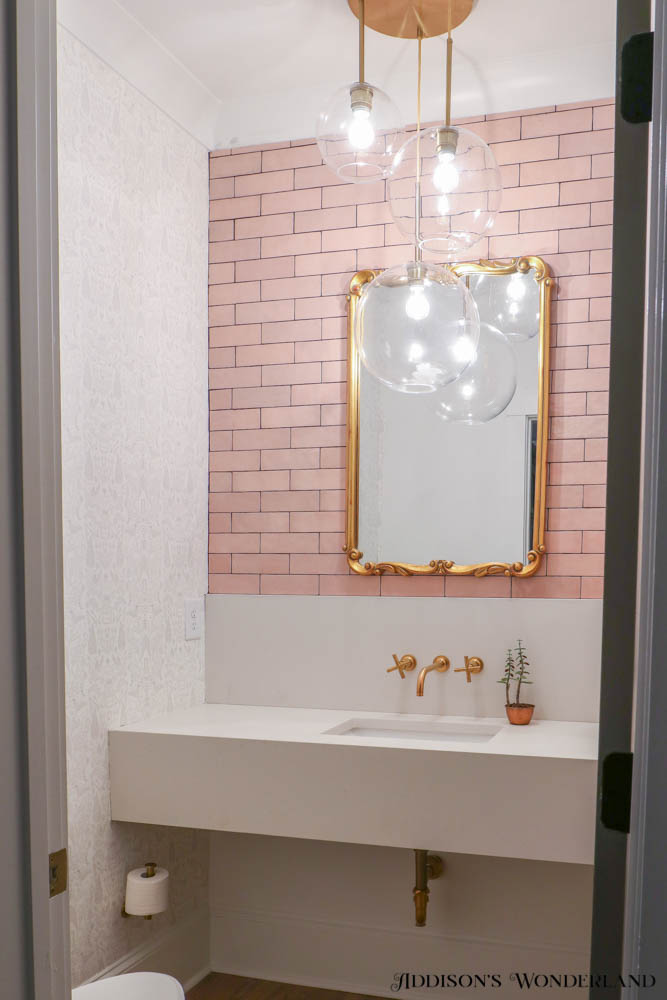
Tile / Light / Wallpaper / Mirror
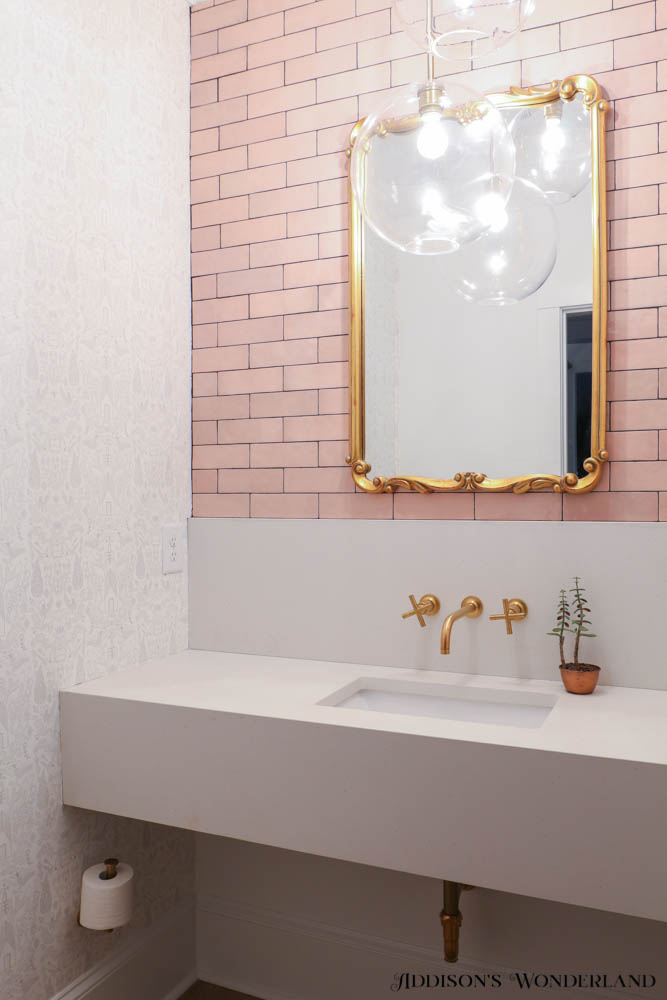
Handle / Faucet
Love, AB
+ view the comments

