Me and paint are not friends. I would rather sew for days, stage a room for weeks and design for years than paint for a single day. HOWEVER, from time to time I find a piece worth slaving over. Quite a few years ago, I found a treasure of a dresser and nightstand at a local garage sale for $200 TOTAL. What a steal!! It took me several months to get motivated enough and find the time to choose colors and get to paining.
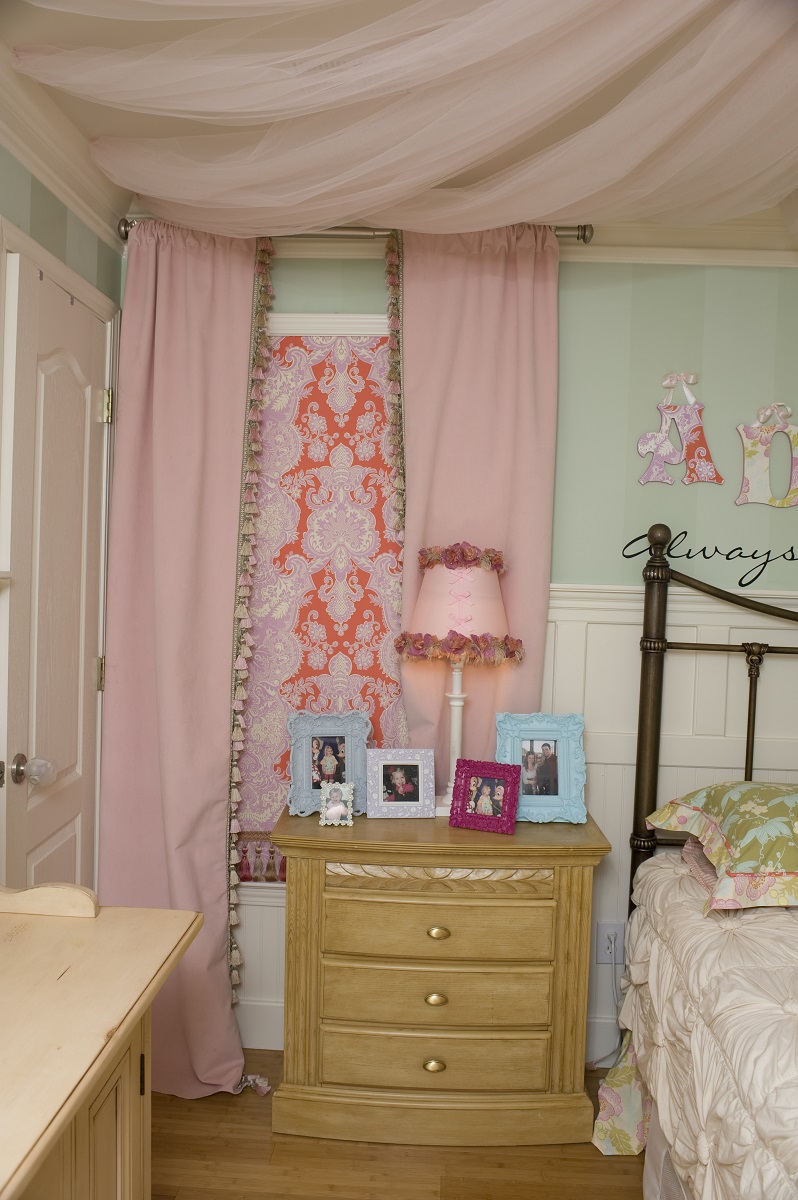
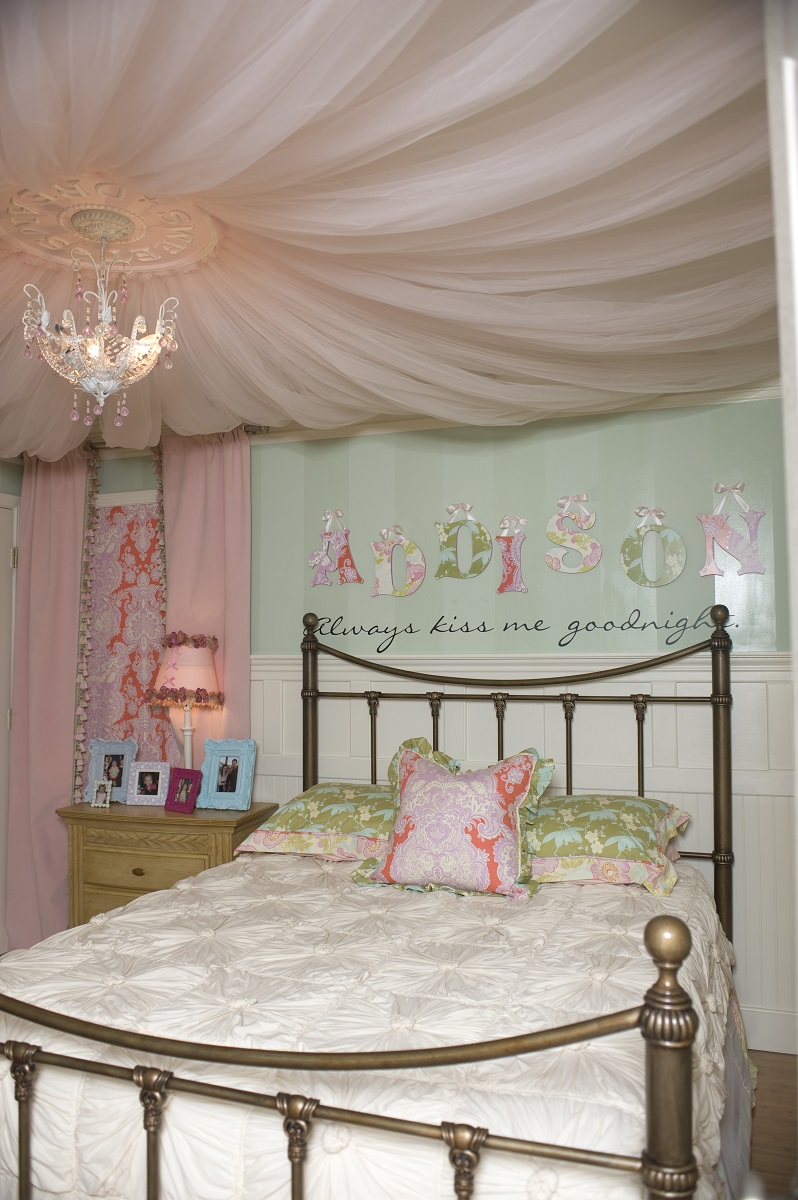
As many of you heard on my Shark Tank pitch, my sweet little Addison climbed out of her crib at 23 months old and I started on her big girl room. The rest of that story is the story behind Addison’s Wonderland but creating her wonderland sure did not happen overnight. Chasing after a busy two year old and sewing during her naps sure didn’t get the project done quickly. Here is her room when I first started on it and also a BEFORE picture of the nightstand.
BEFORE
STEP ONE
A good sanding. This piece was slightly glossy so it took a little more sanding than usual. Of course I removed the hardware first and then used a sanding block like this: 3M SandBlaster Sanding Pads or Standing Sponges 180 grit sanding sponge [PACK OF 4 ]. I didn’t completely sand the finish off, but just “roughed it up” enough to hold the new paint.
STEP TWO
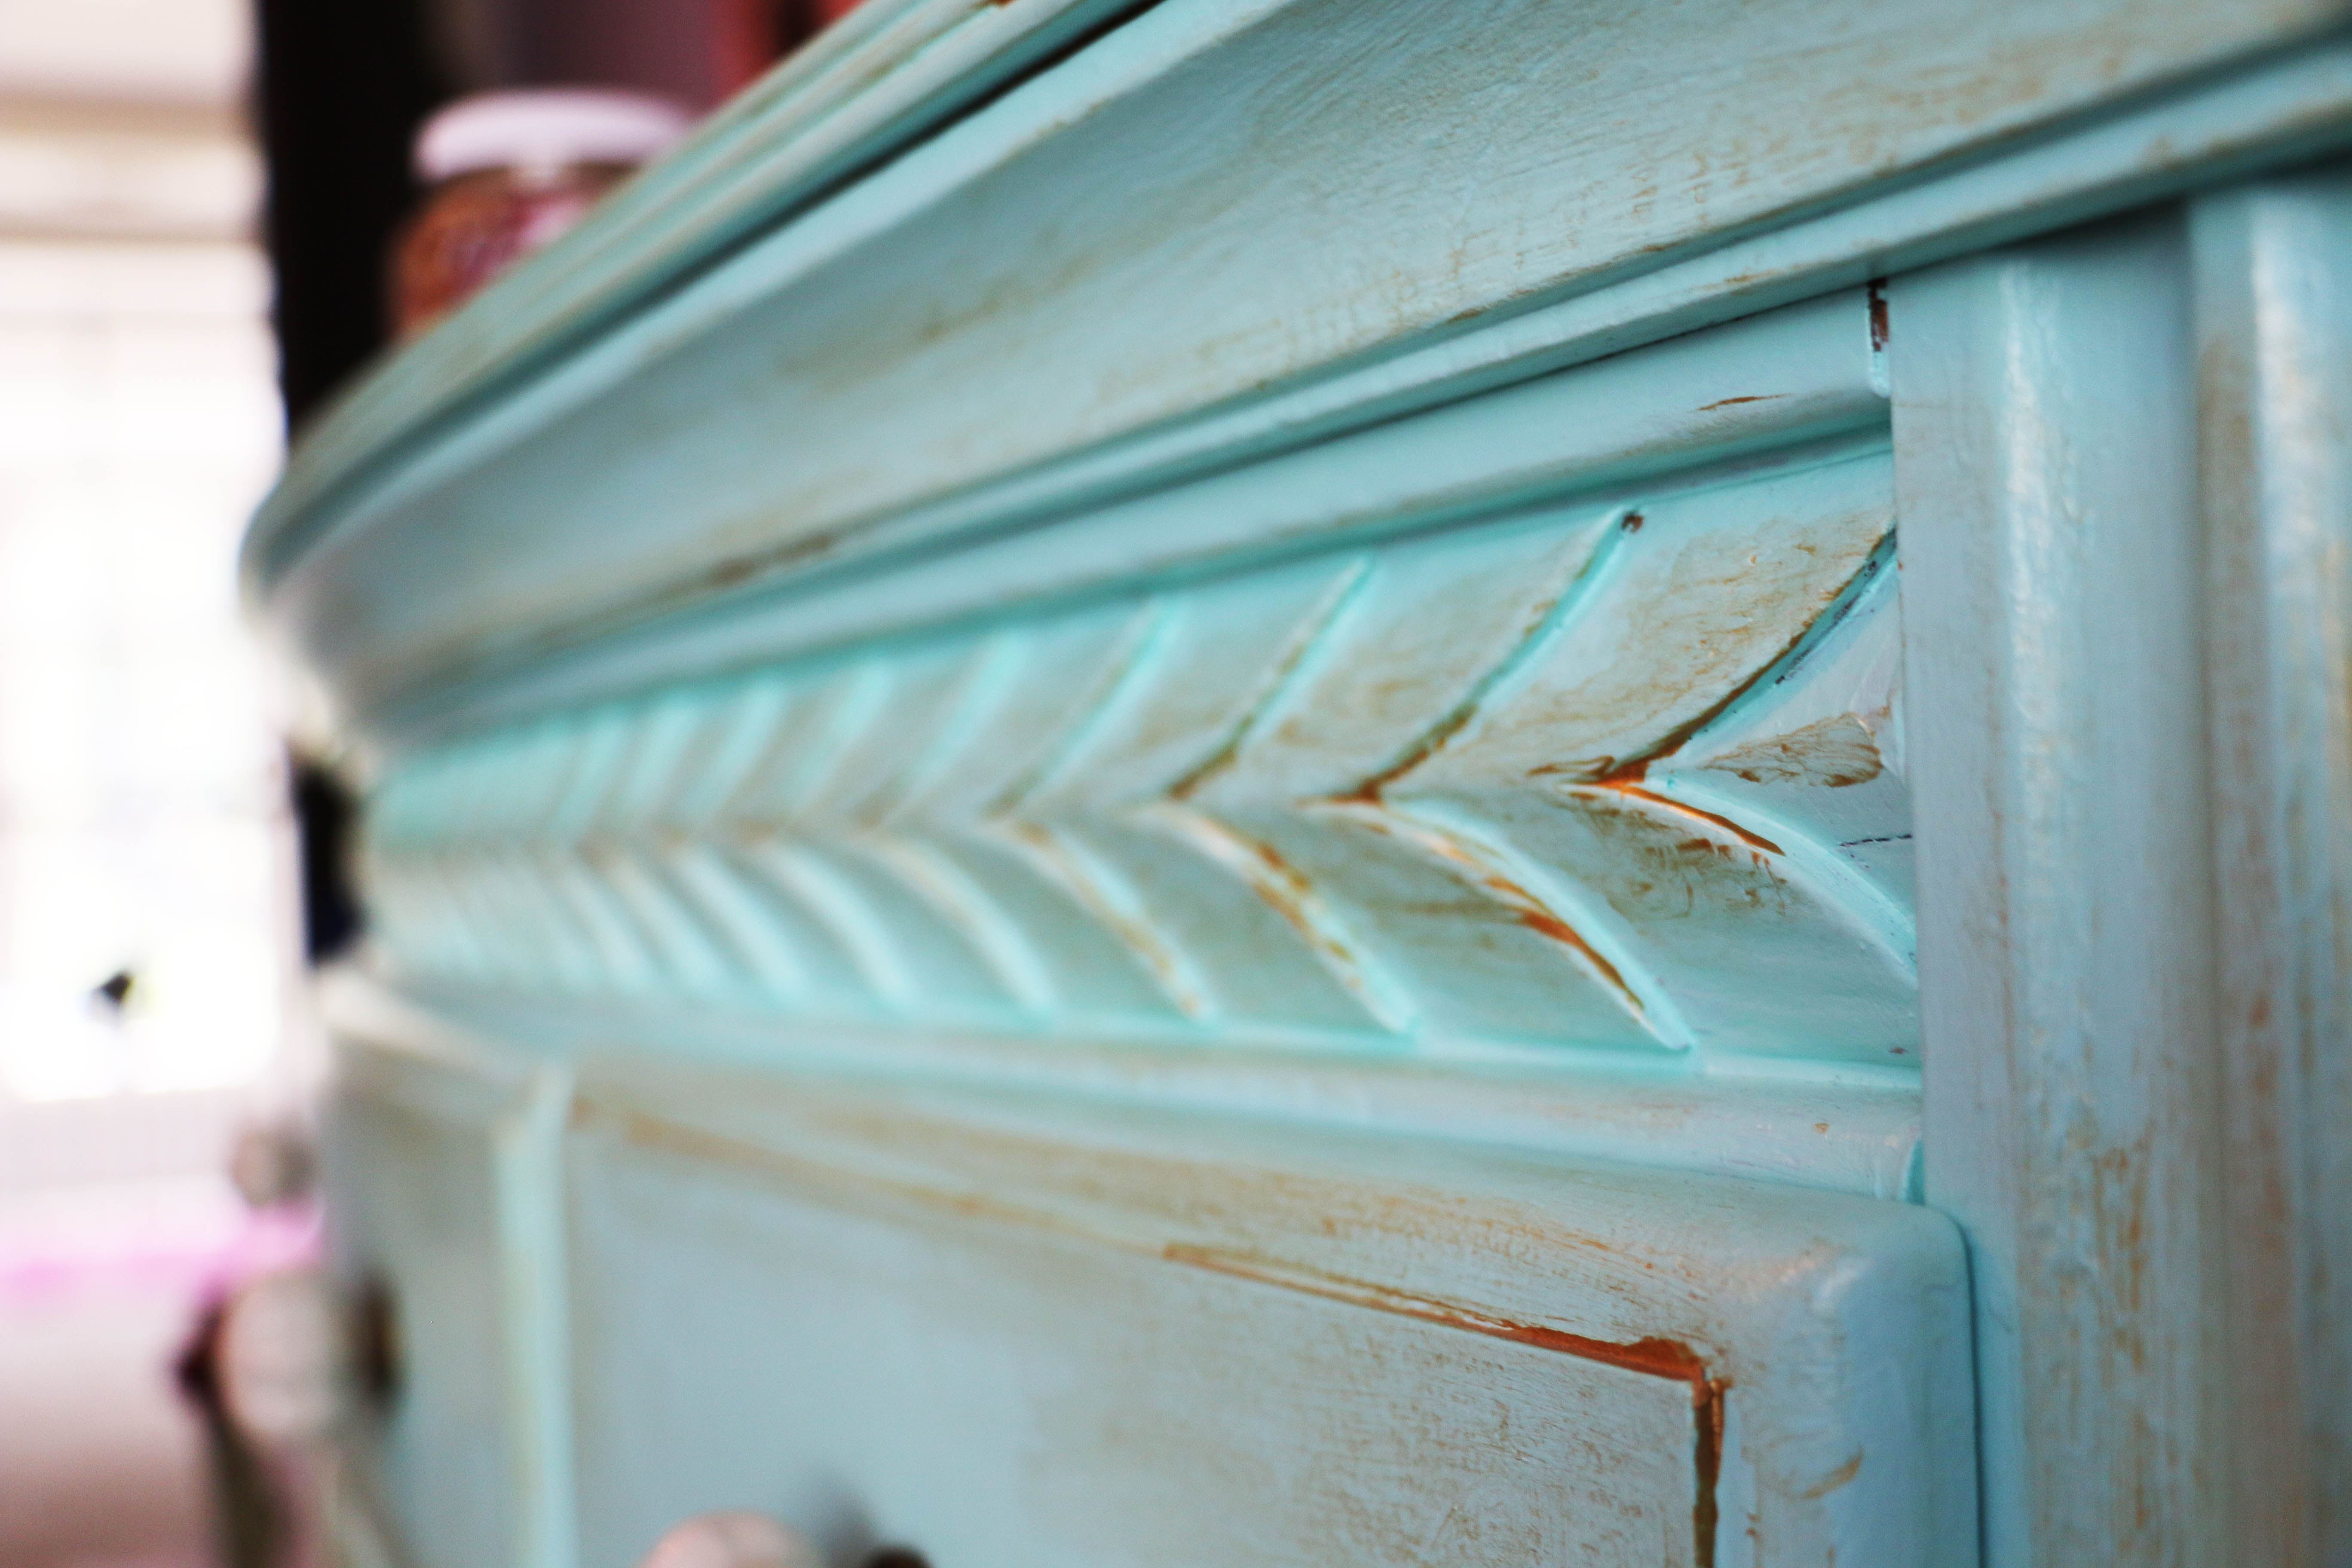
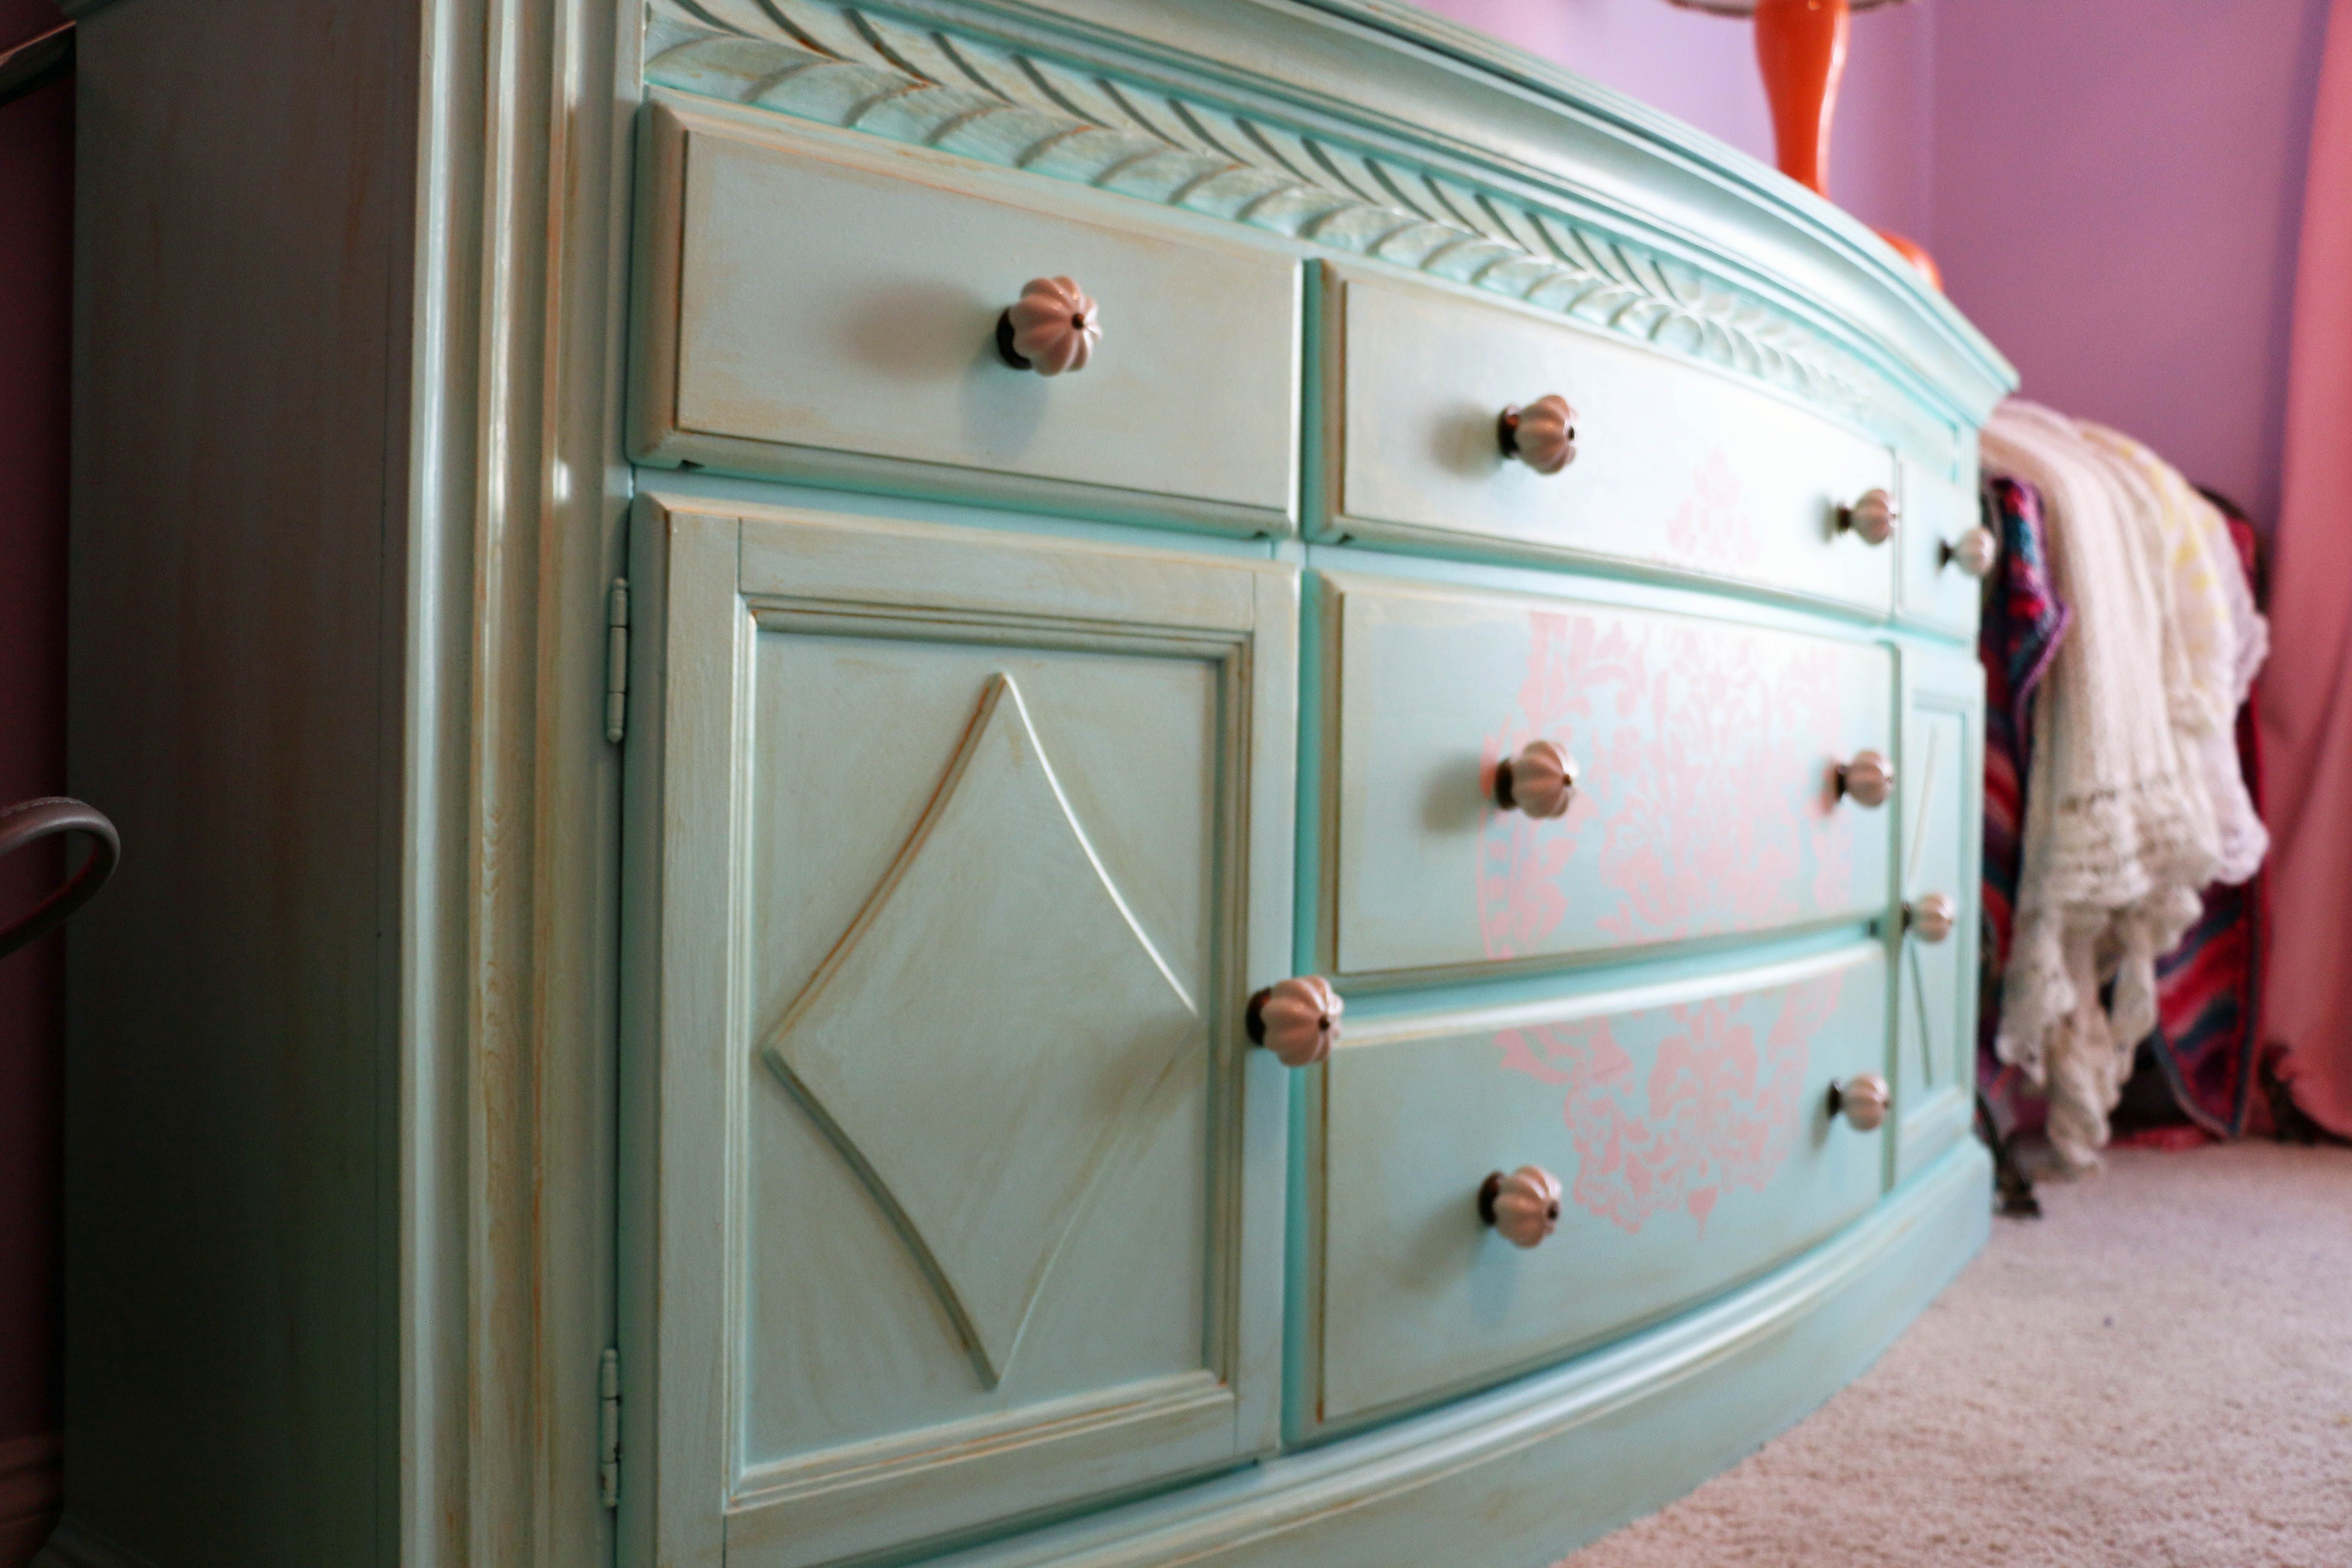
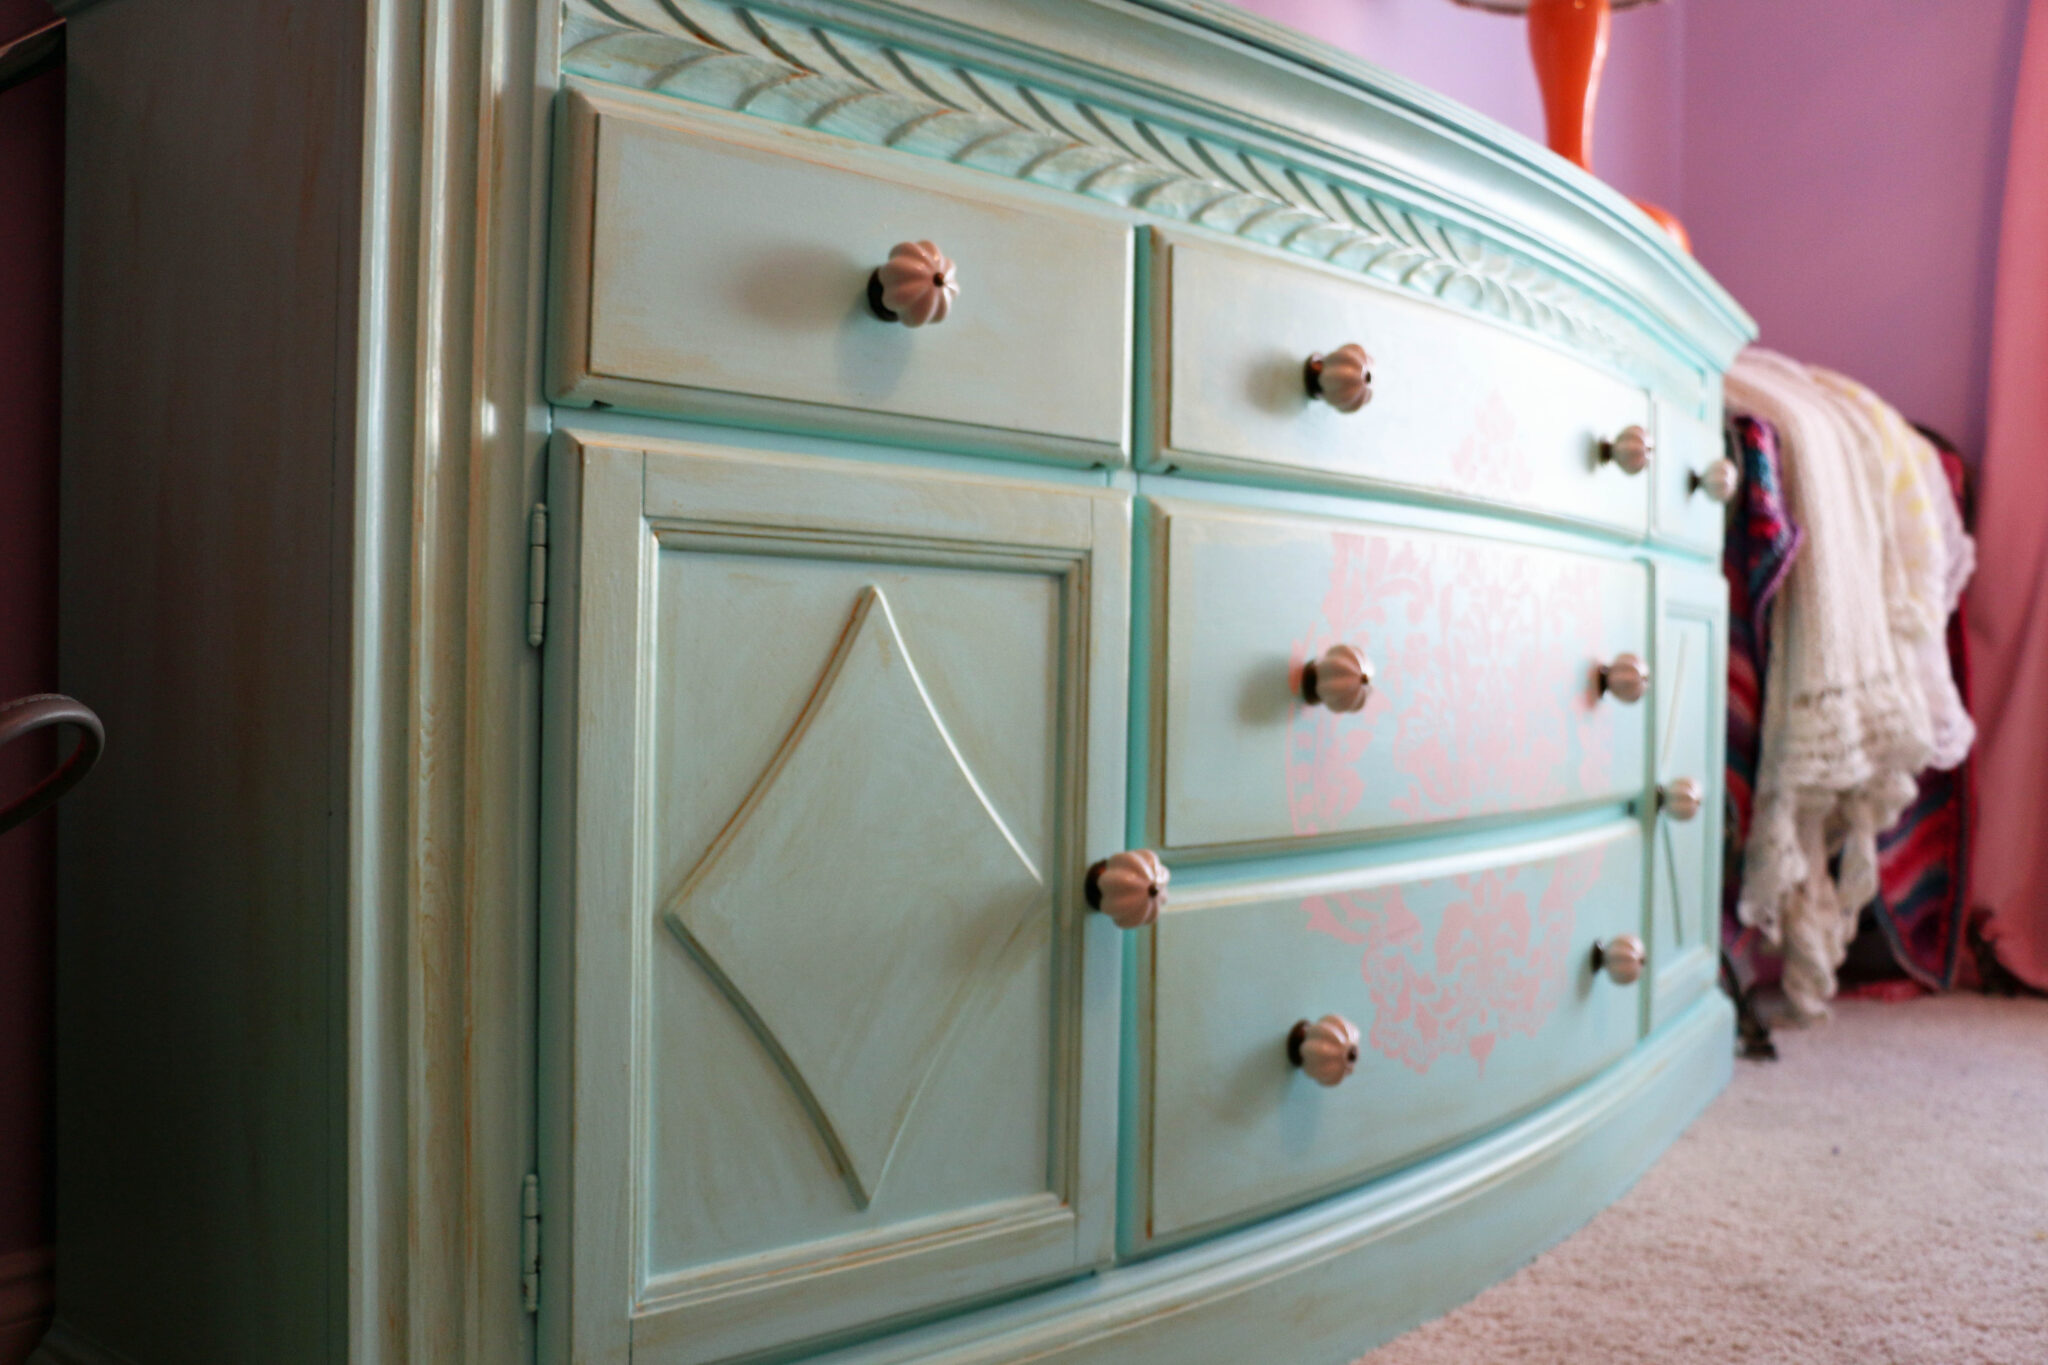
Paint. I fell in love with this beautiful turquoise color by Sherwin Williams called Refresh. It’s the perfect accent color for her green walls and colorful fabrics.
STEP THREE
Antique. I consider this step my “cheating at antiquing”. My idea of true antiquing would be to sand and stain or paint the raw wood underneath. OR to sand down to the original paint color underneath. What’s my cheat secret?
I buy this DecoArt DA202-51 Elegant Finish Metallics, 10-Ounce, Champagne Gold.
To get the antique look, simply use a dry rag, dip it into the paint and wipe along all the “high spots”. I usually slightly gob it on along all of the edges and detailed moldings and then wipe off the excess.
STEP FOUR
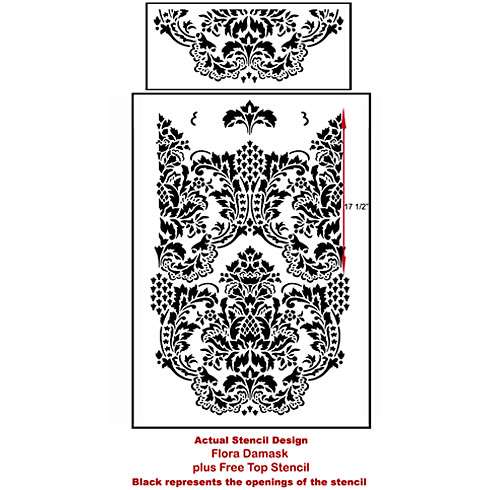
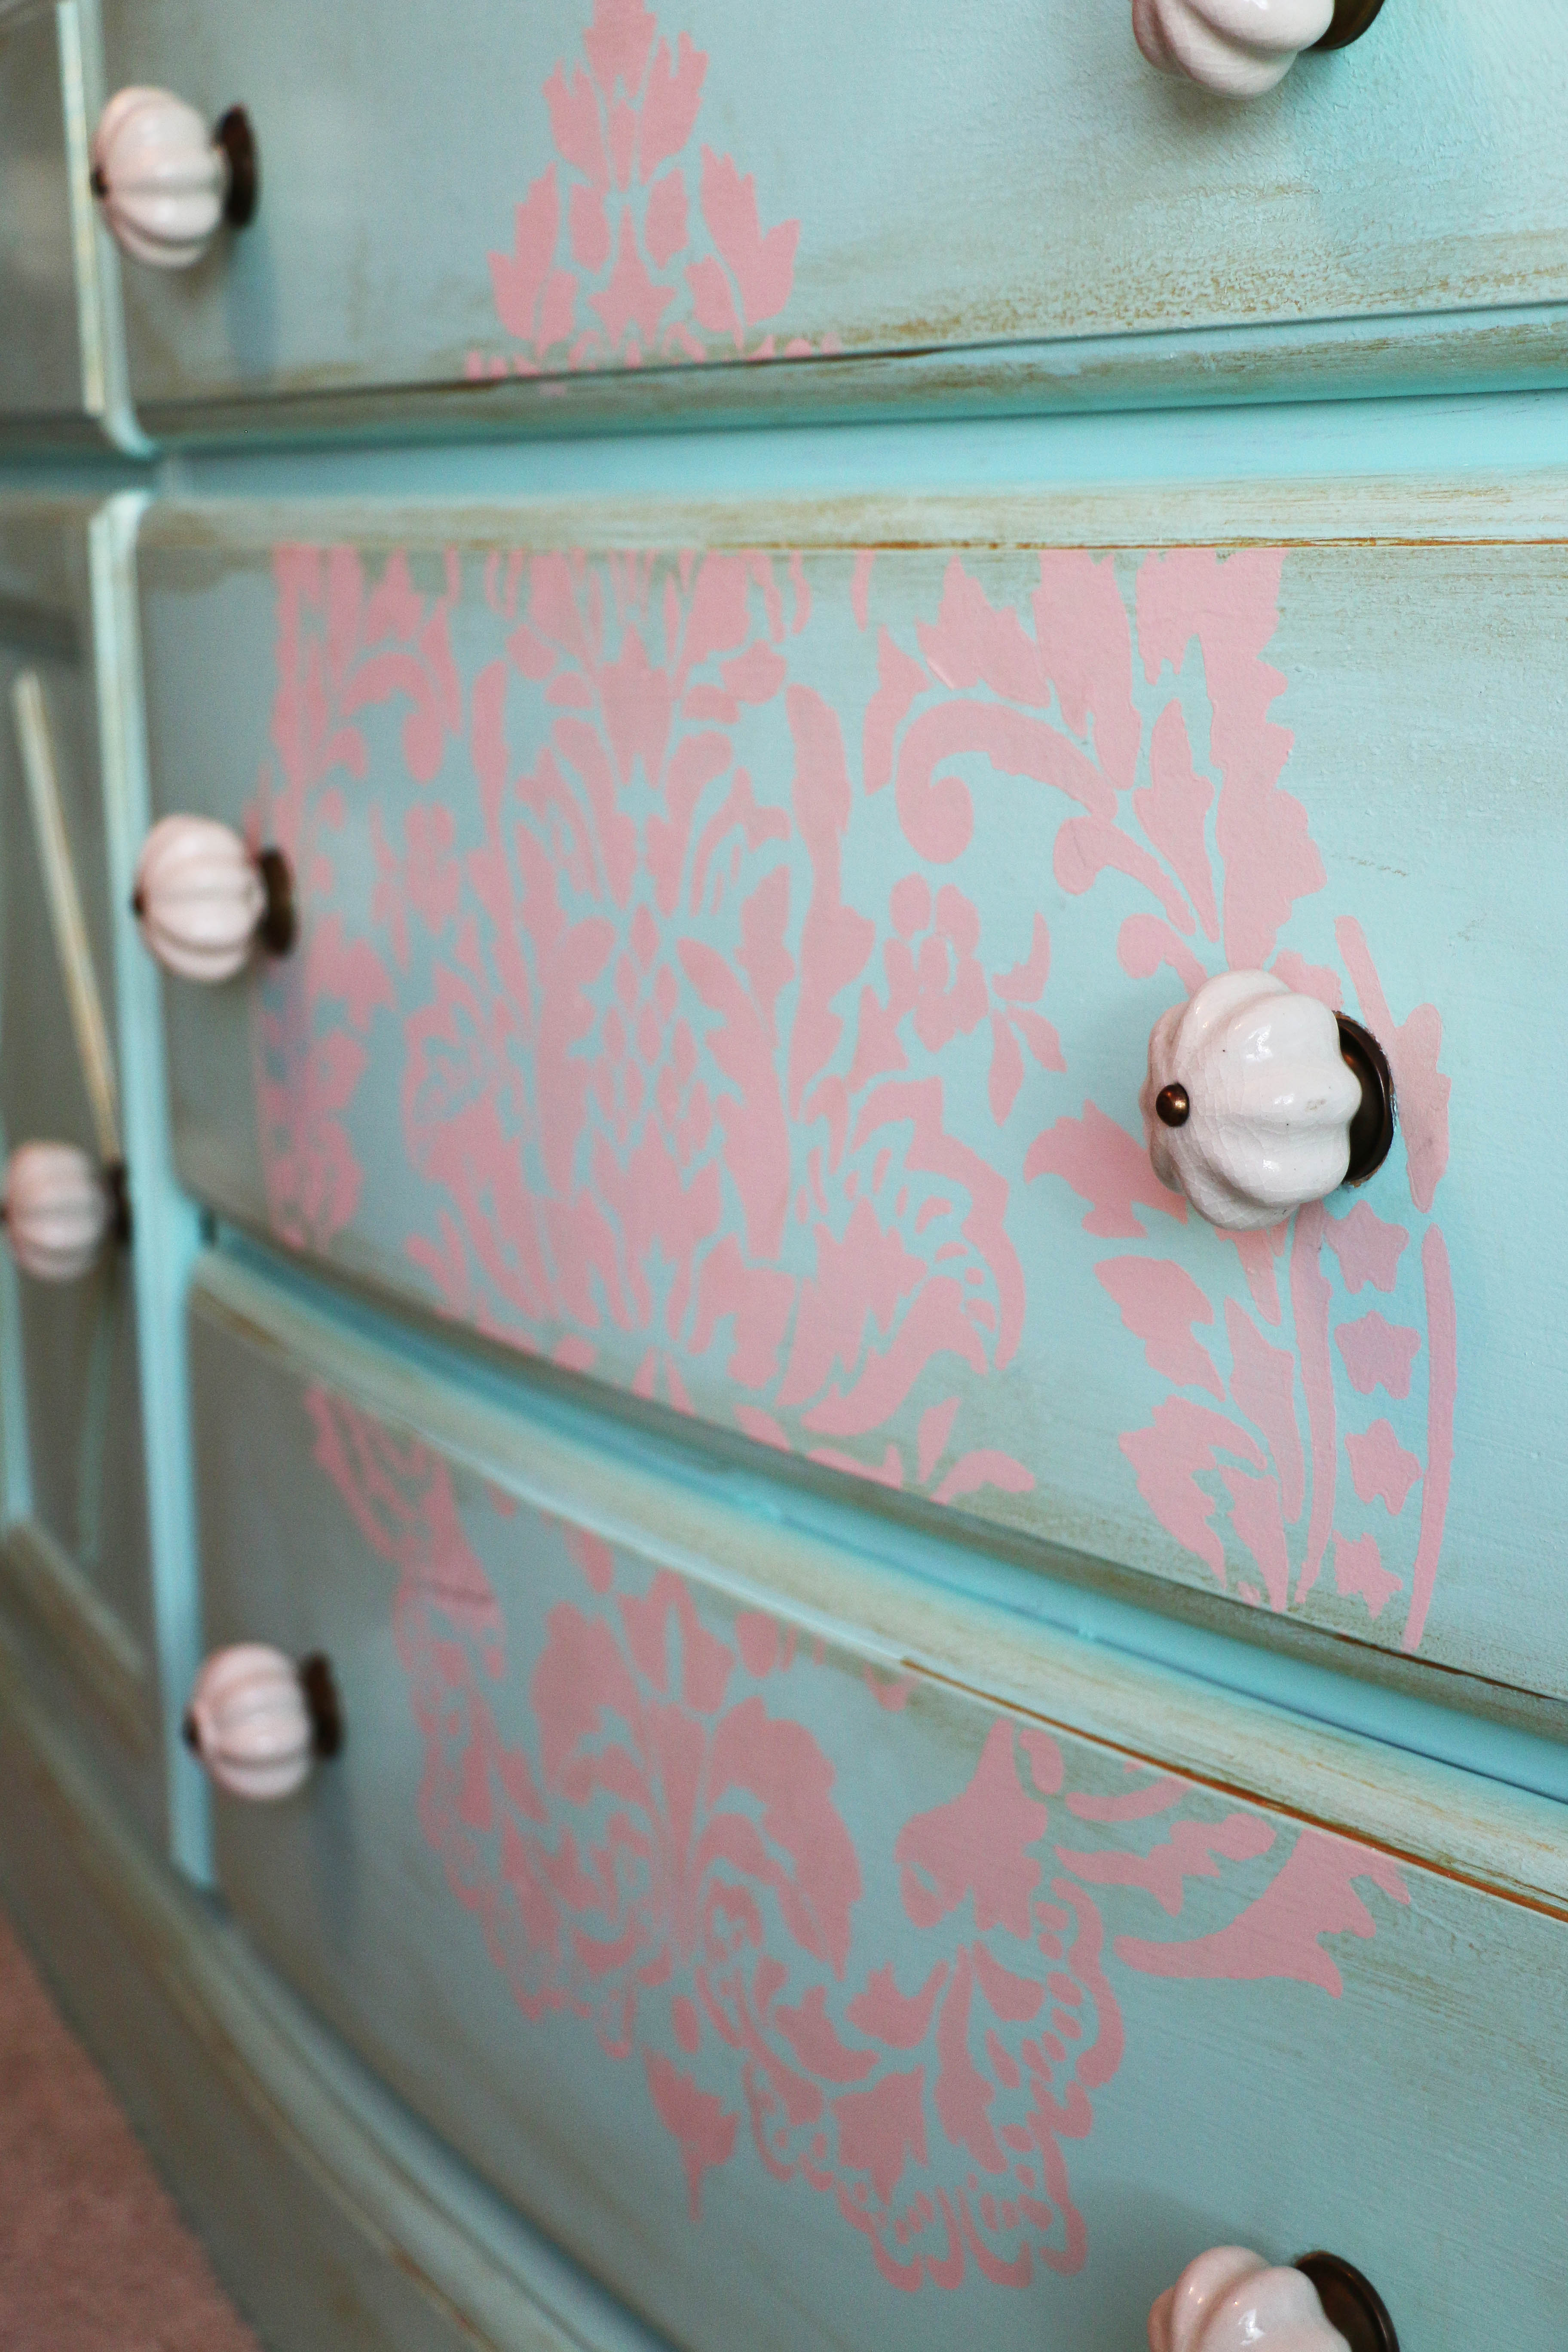
Stencil. You know me, I can’t keep things plain and simple. I always add a little pop! I found this Stencil by CUTTING EDGE STENCILS to add to the center of the dresser. A little Ballet Slipper by GLIDDEN, a foam roller, tape and I was all set!
STEP FIVE
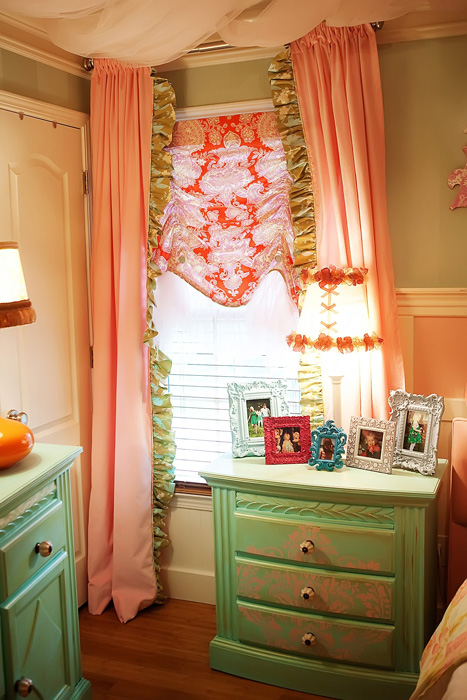
Hardware. Hobby Lobby is always good for some cute knobs! I found these ivory scalloped knobs at my local Hobby Lobby store. If you notice in some images, the knobs had an extra piece below the front screw. We recently removed this piece after it scratched Addie several times. And then I found all of these super cute frames at my local HomeGoods store! So that’s all folks! A little elbow grease helped me create the perfect custom pieces for my daughter’s big girl room. We still love these pieces over five years later! Over the years with Addison’s Wonderland bedding, I can’t even tell you how many e-mails and calls I had wanting to order these pieces. Enjoy!
SHOP THIS POST:
AFTER
SHOP THIS POST:
Frames & Lamp Base- HomeGoods
Knobs- Hobby Lobby
XOXO, Brittany Hayes
+ view the comments
