Royal Design Studio Vintage Frame DIY
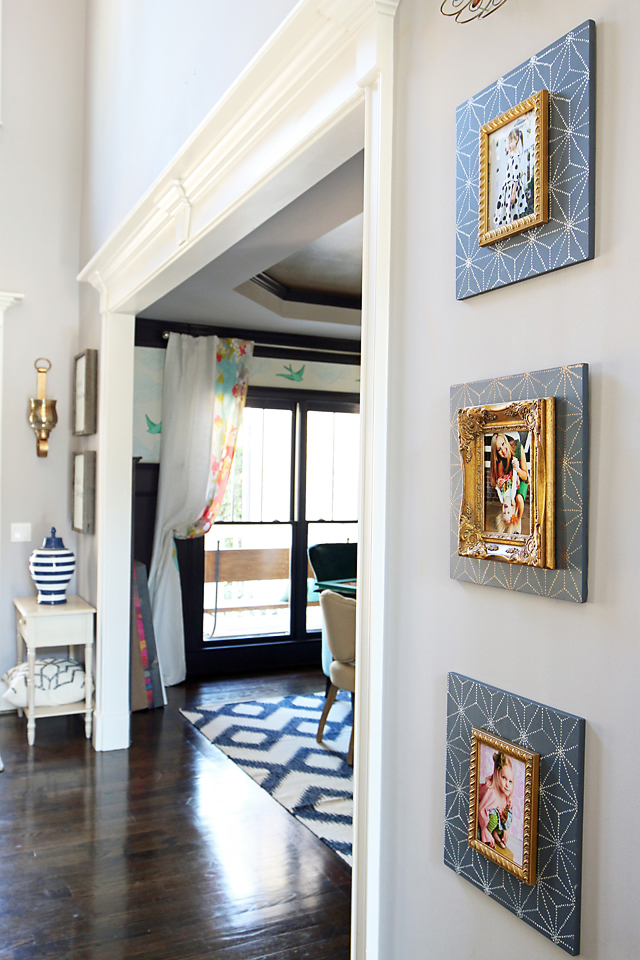
This was actually a tough decision; in the dining room, the color of the gold from the picture frames play off nicely with the ceiling, however from the foyer the gold ties everything together so exquisitely and the pics of the girls in the frames give it a homie feel, whereas in the dinning room they are missing that little something . . . So it’s the foyer for me. Rosharon, Texas
CONGRATULATIONS! E-mail me at [email protected]!
DISCLAIMER: THIS IS A SPONSORED BLOG POST. EVERYTHING I WRITE AND POST IS 100% MY OPINION. IF I DON’T LOVE IT, I DON’T POST IT. SIMPLE AS THAT!
I’ve quite possibly said this before, maybe once or twice or twenty times now, but this is officially my new favorite DIY project to date! As you may remember from some of my previous posts, I am rather obsessed with a good stencil project and Royal Design Studio has enough amazing designs to choose from to fill my project wish list for a lifetime! What I strongly dislike about painting in general but LOOOVE about stenciling, is that it doesn’t have to be perfect. In fact, the little imperfections are what makes a stencil project rather charming. Taping and making trim lines straight is enough to make me ca-razy and ready to hire a painter, but stenciling is all about the overall look and not the imperfections. Plus, there are a bazillion combinations in stencil designs, paint colors and creative project ideas. Believe me, once this post is over, your kiddos might not even be safe from being stenciled.
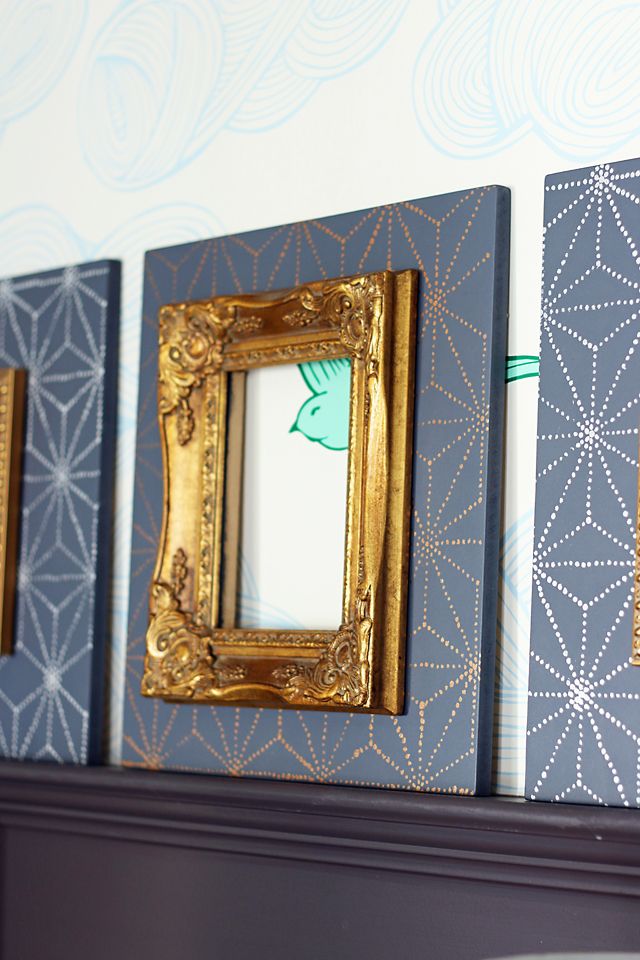
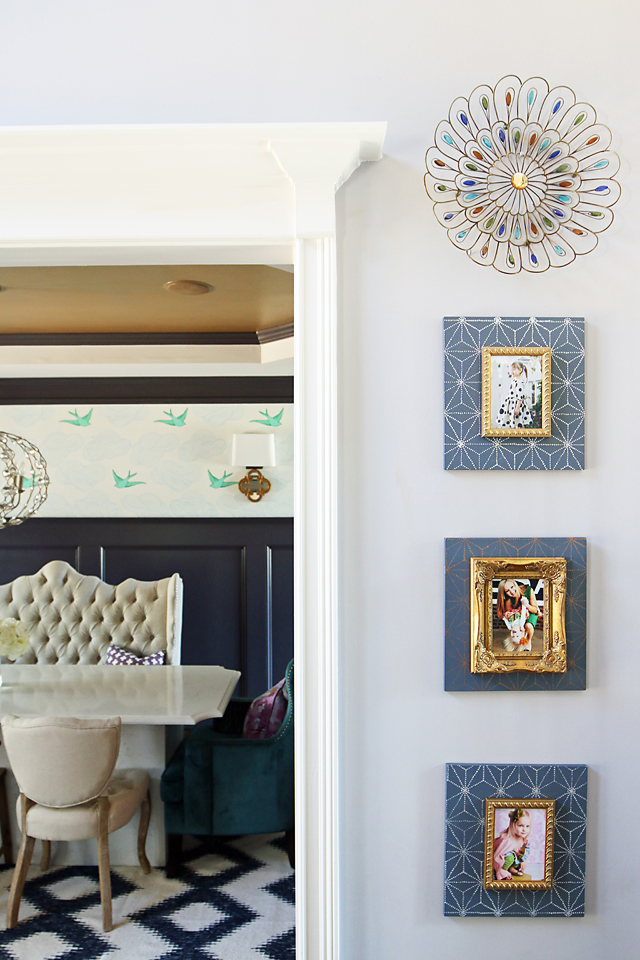
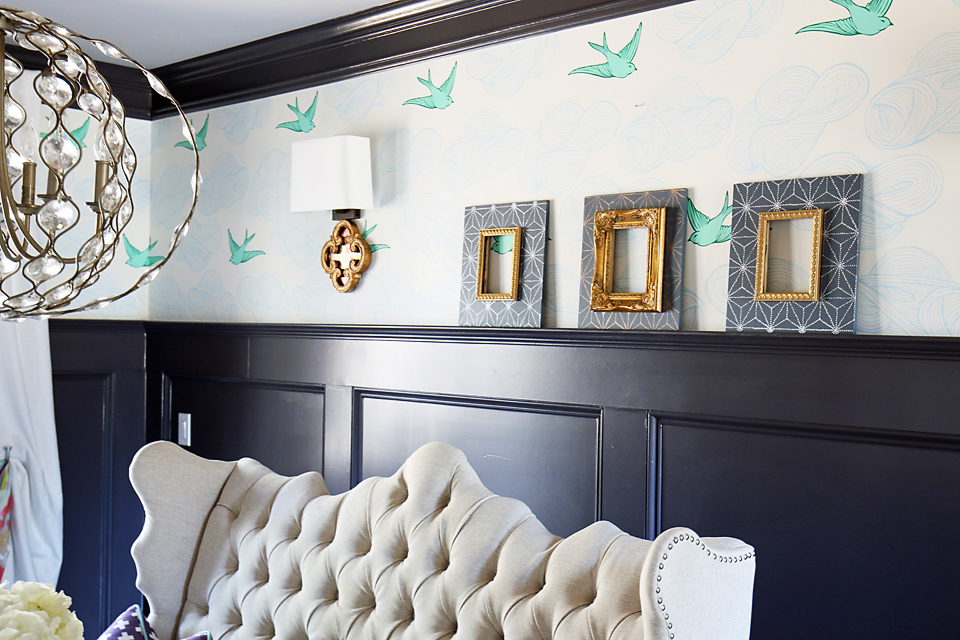
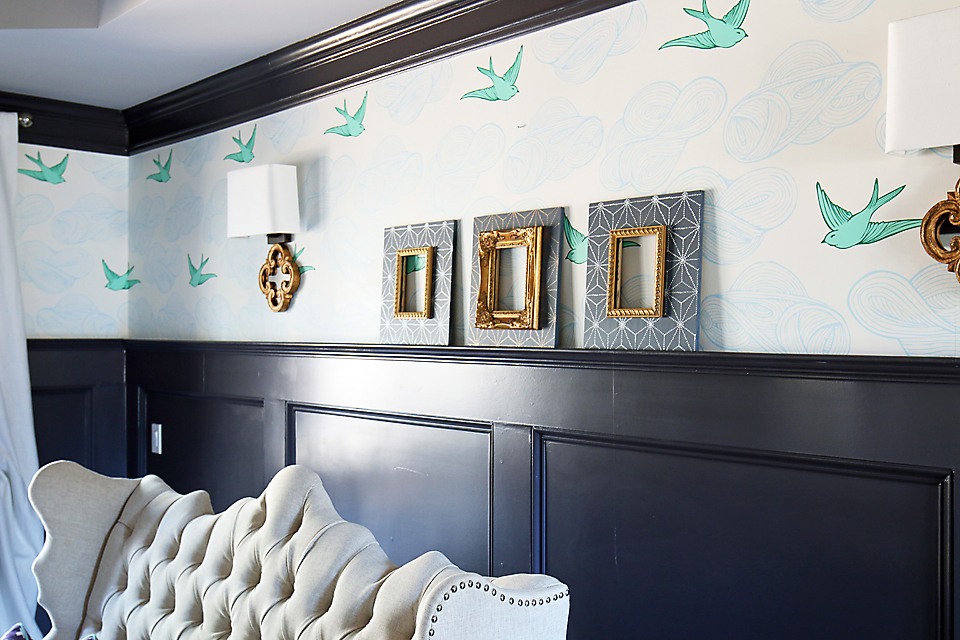
With our new home renovation, Our Historic Wonderland, coming along rather rapidly, I’ve decided to knock out some fun projects so they will all be ready and waiting when it’s time to decorate! Since I’ve always loved that “Anthro look”, I wanted to create some unique, vintage inspired frames. And since THREE is always the magic number for accessorizing, I made… drumroll please… three frames!
With so much wall space in our new home, there are sure to be a million and one places for these beauties. And I have a feeling that I may have a hard time deciding where they’ll go considering I’ve already found TWO favorite spots in our current home! More on that later…
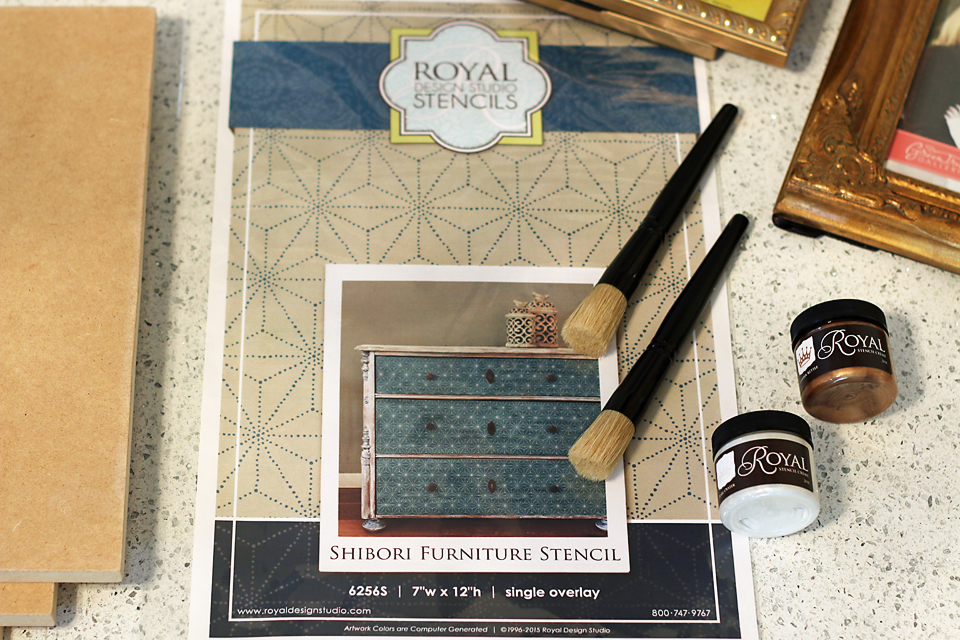
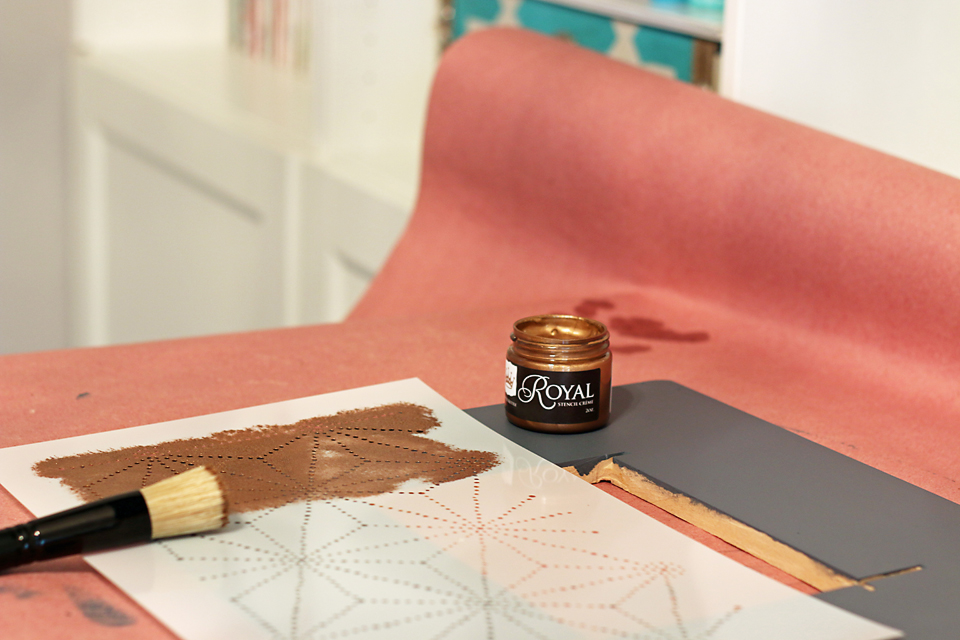
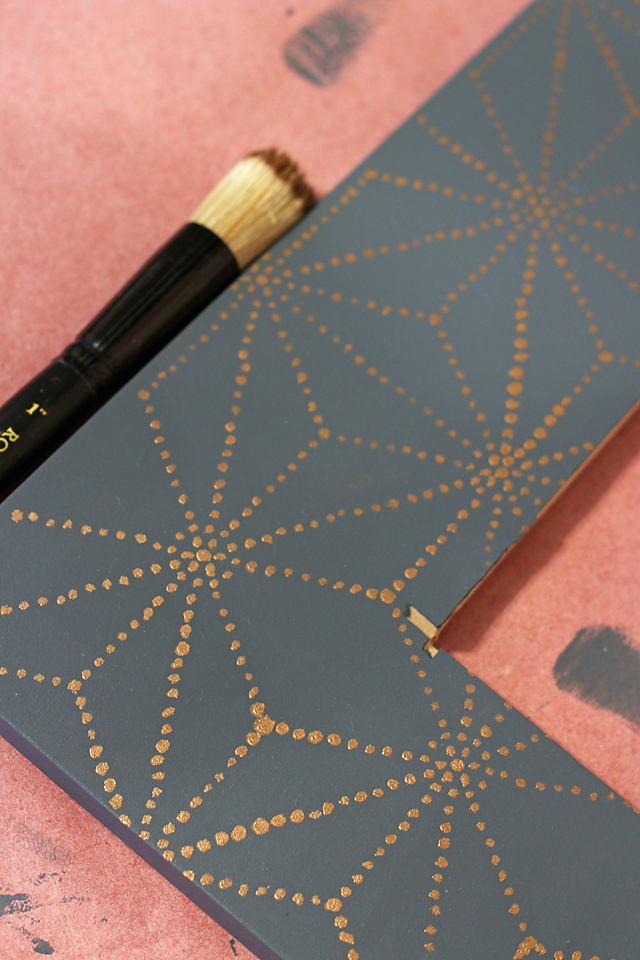
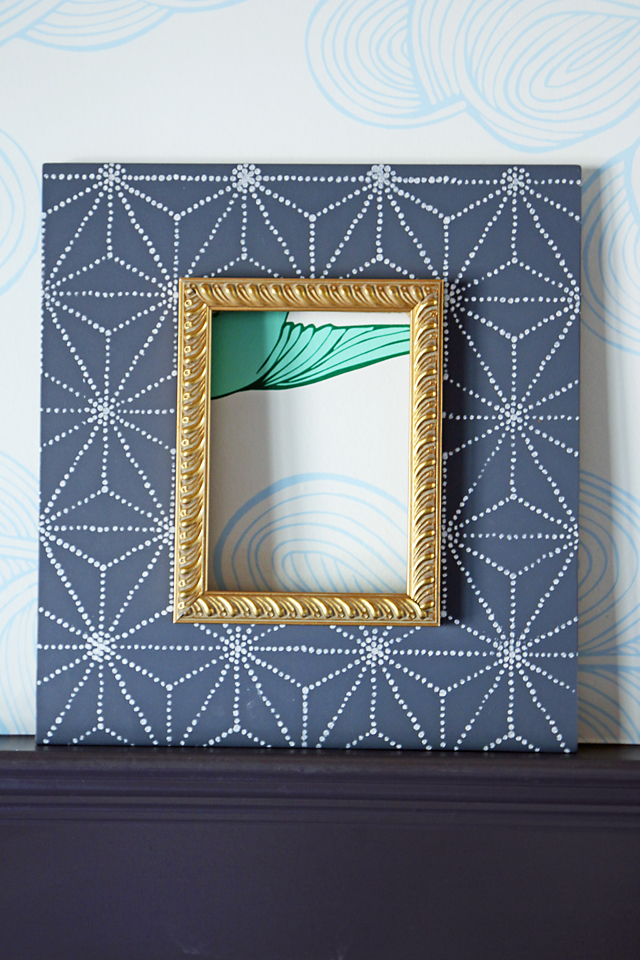
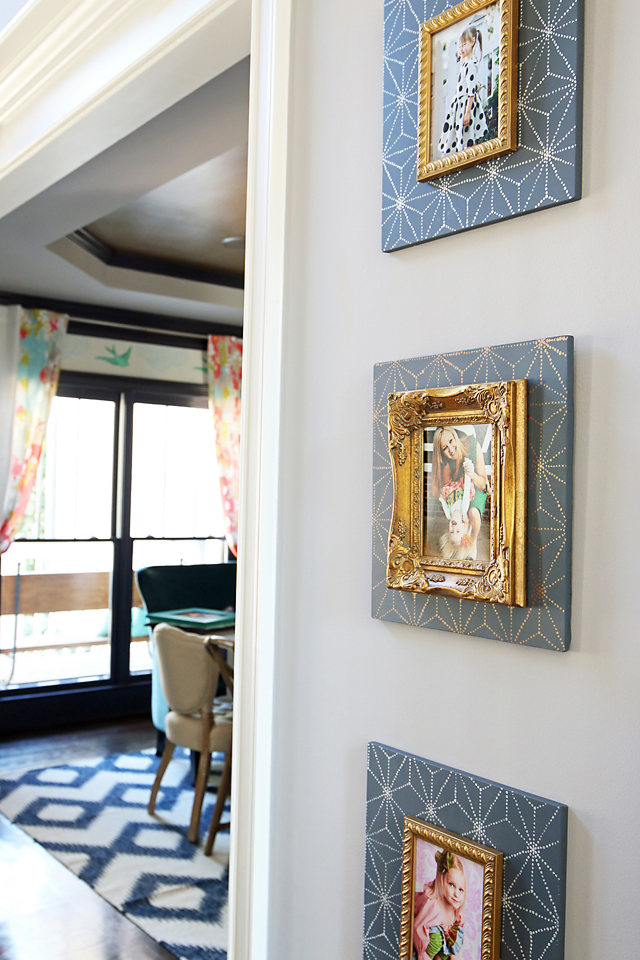
So first up, deciding on a stencil design and paint colors. I fell head over heels for Royal Design Studio’s Shibori Furniture Stencil. From there I chose two of their Stencil Cremes and two Stencil Brushes which are key to a fail-proof stencil project for beginners as well as seasoned stencilers! Their cremes are the perfect gel based formula to prevent run-unders while their brushes allow you to create a great blotting texture. The Oyster and Copper stencil cremes fit my vision for a shimmery metallic pop of color!
Next up, choosing a frame color…
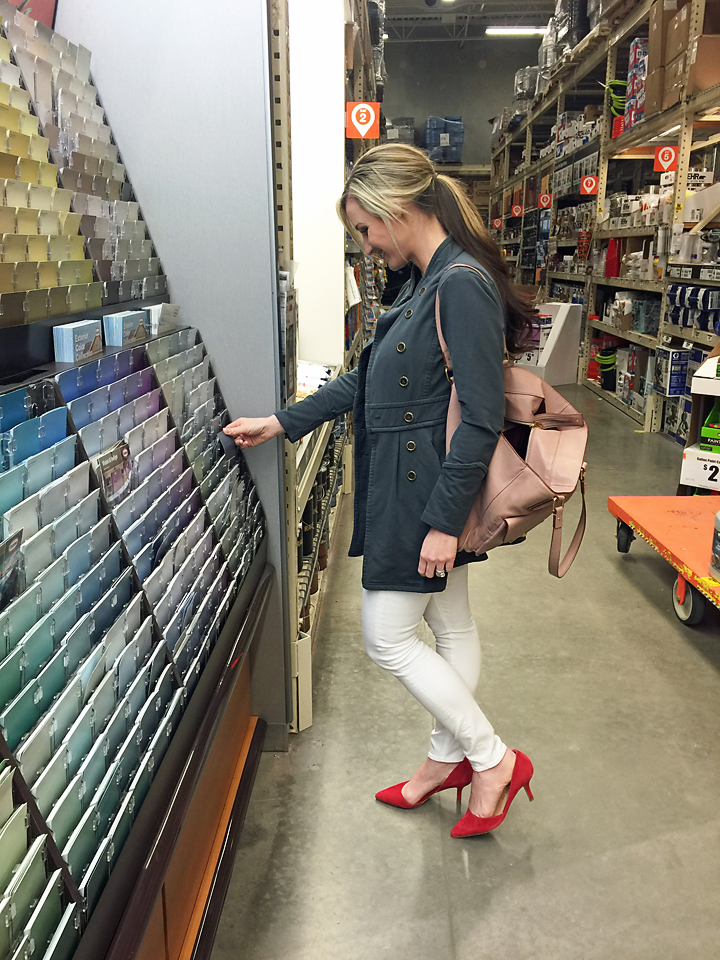
I chose Blue-Grey Slate by Glidden, 30BB 13/068 for the frame color because it’s a beautiful dark, cool gray that works perfectly with our decor. It will also pop against the warm gold vintage-y frames that I intend to glue on top of the gray stenciled frames.
Material List
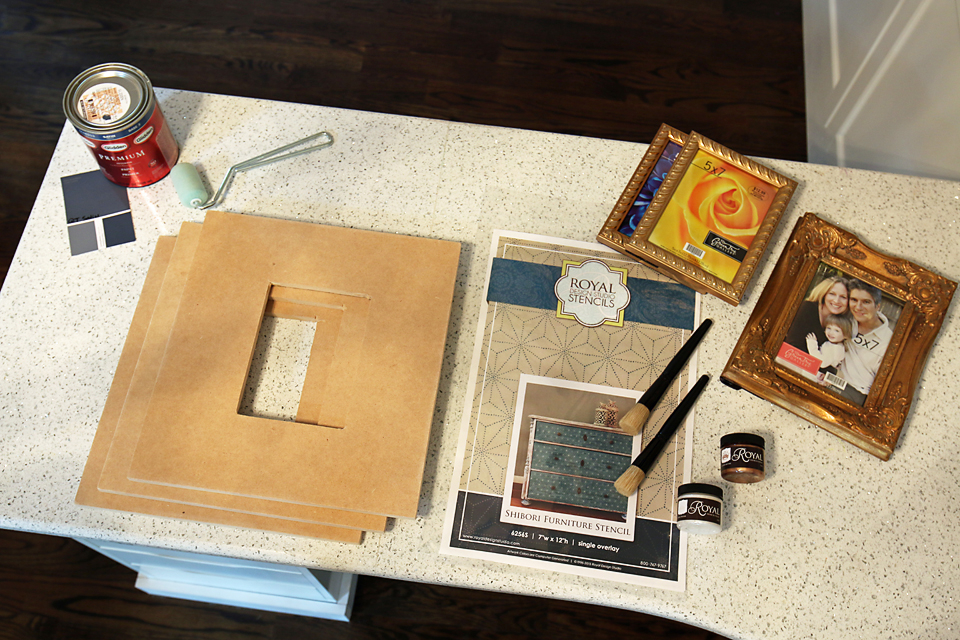
Here’s what you’ll need to complete this project…
1- Royal Design Studio’s Shibori Furniture Stencil
2- Royal Design Studio’s Stencil Cremes (Oyster & Copper)
2- Royal Design Studio’s Stencil Brushes
1 Quart Paint- Blue-Grey Slate by Glidden
Small Paint Roller
3- 5″ x 7″ Gold Vintage Style Frames (I found these three 50% off at Hobby Lobby)
3- 1″ MDF cut to 13″ x 14″ with a 5″ x 7″ center cut-out
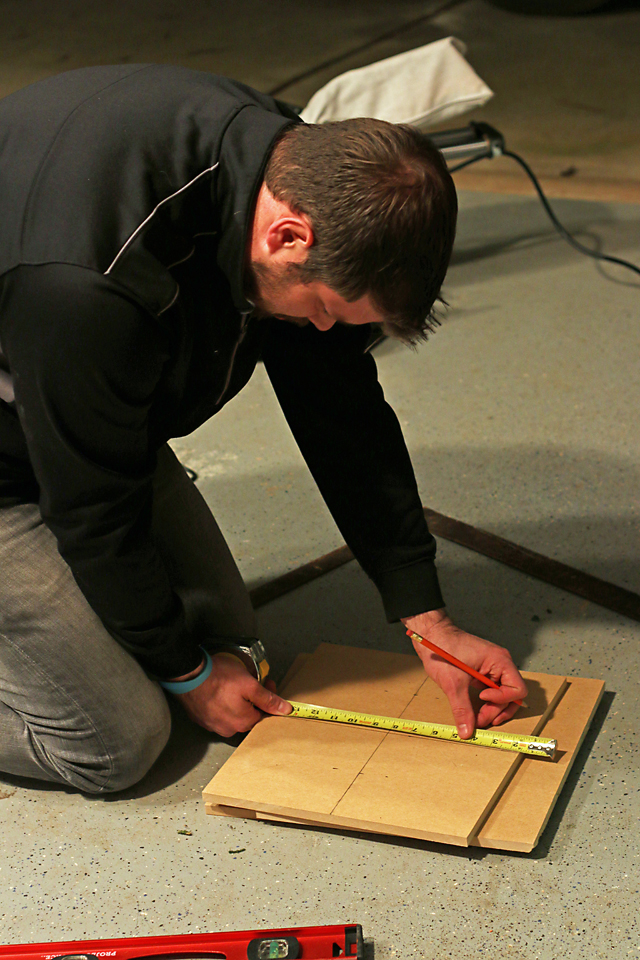
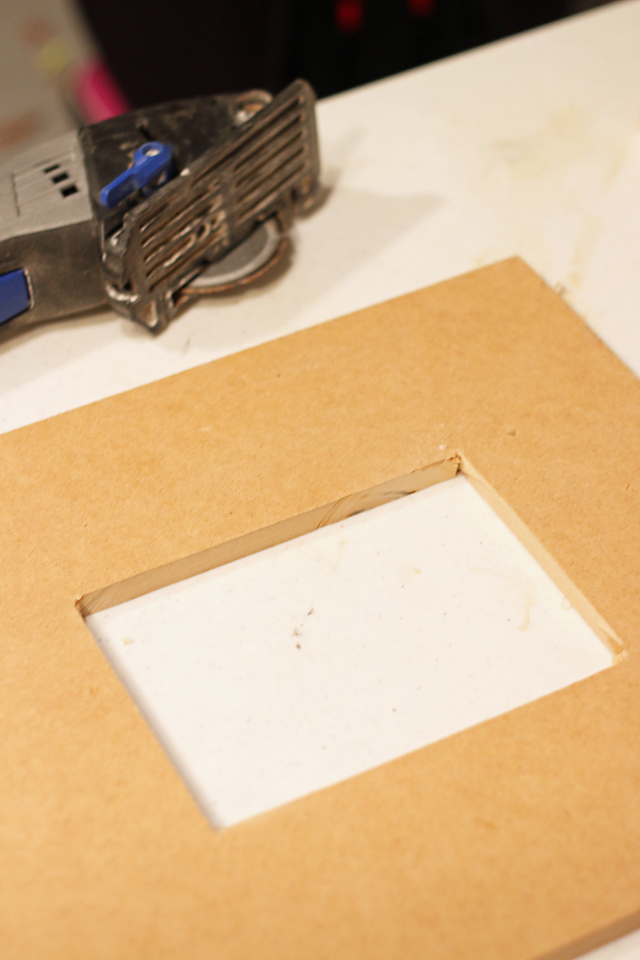
Step One
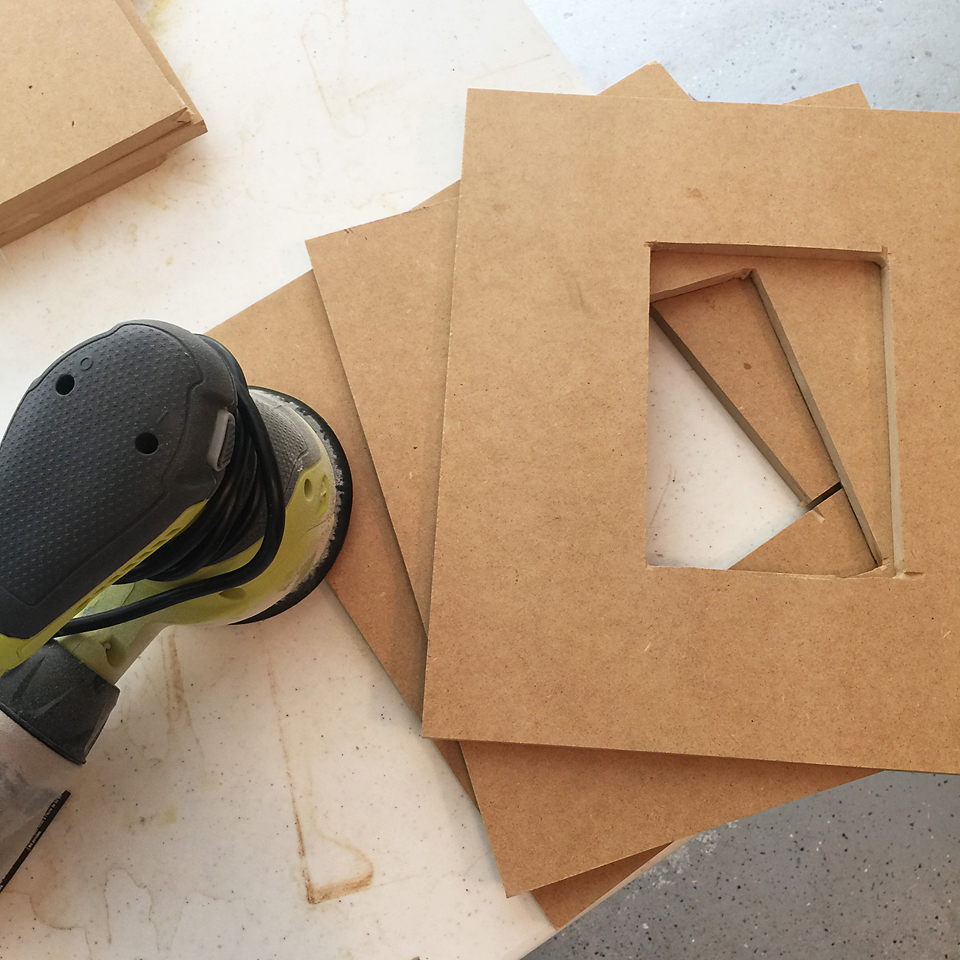
Cut three pieces of 1″ MDF into 13″ x 14″ rectangles with a center cut-out approximately 5″ x 7″.

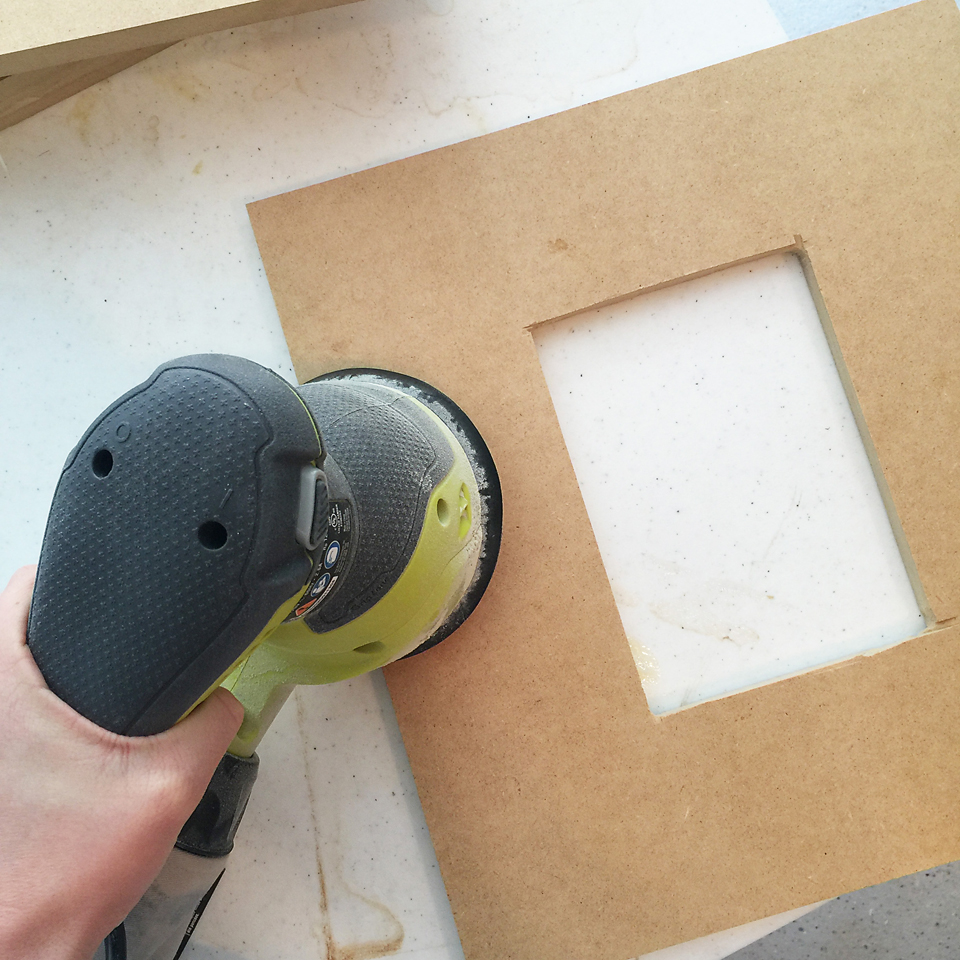
Step Two
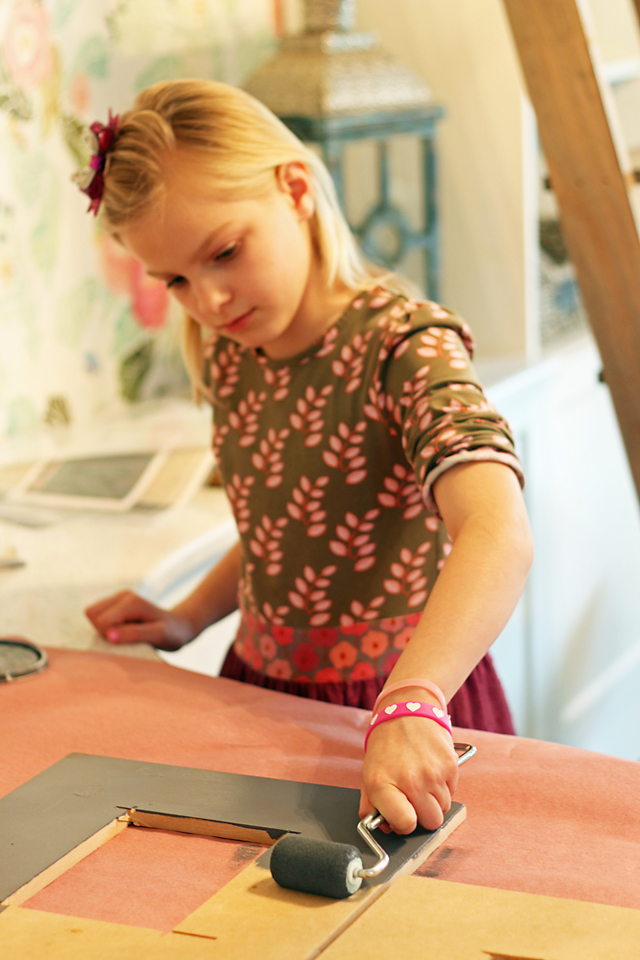
Lightly sand all sides and edges of the frames.
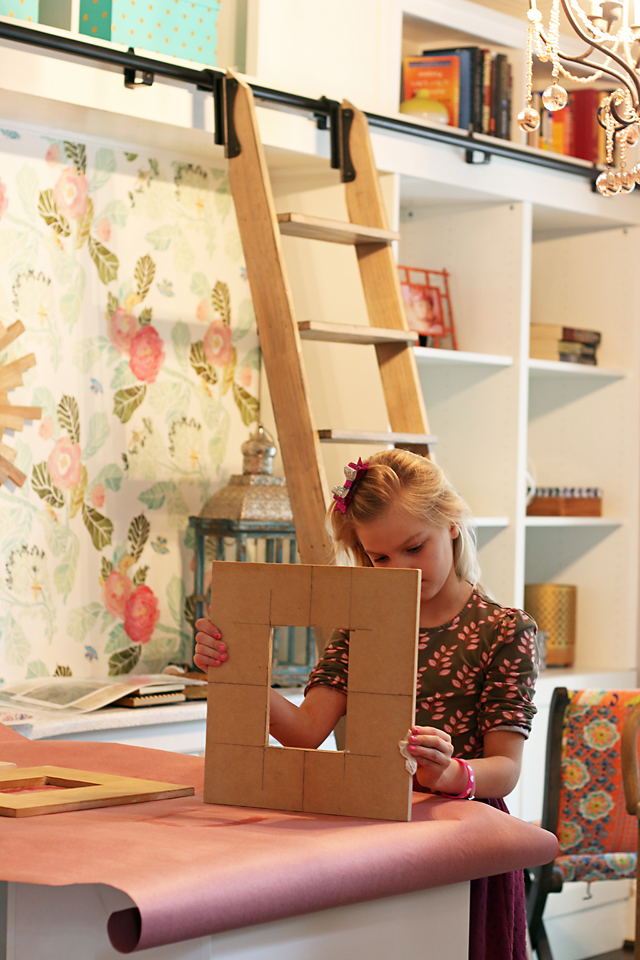
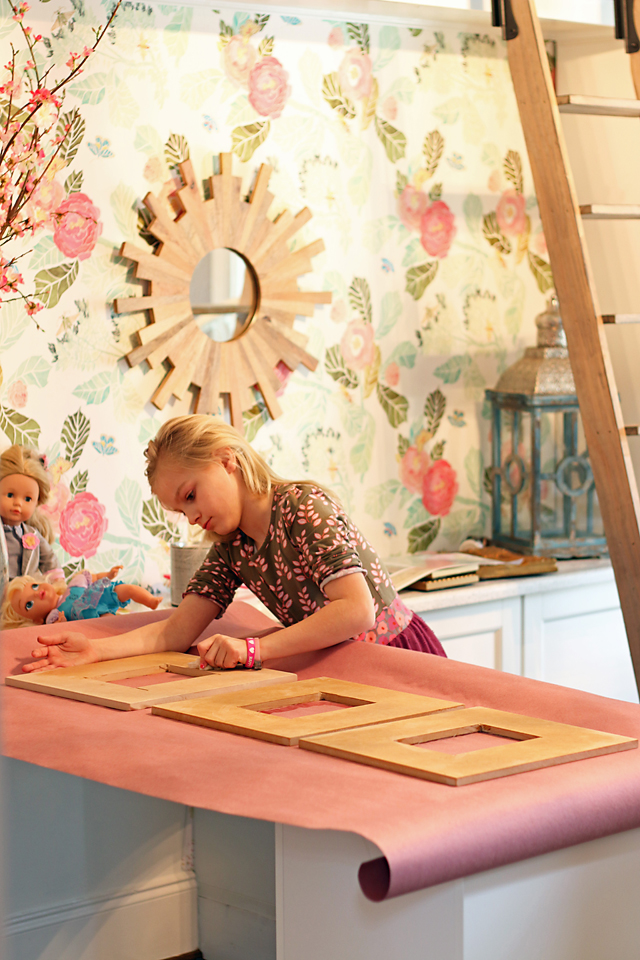
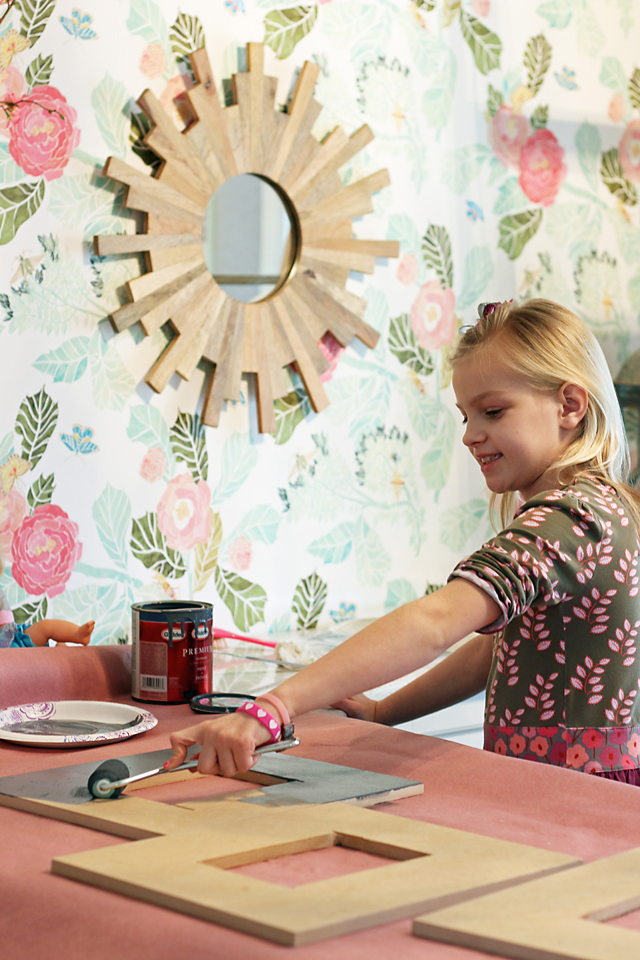
Paint the top and sides of the three frames. I had a cute little helper on my project day! Addie loves to help me so I let her clean off the dust and then paint the frames. I just did a final touch-up and they were ready for stenciling!
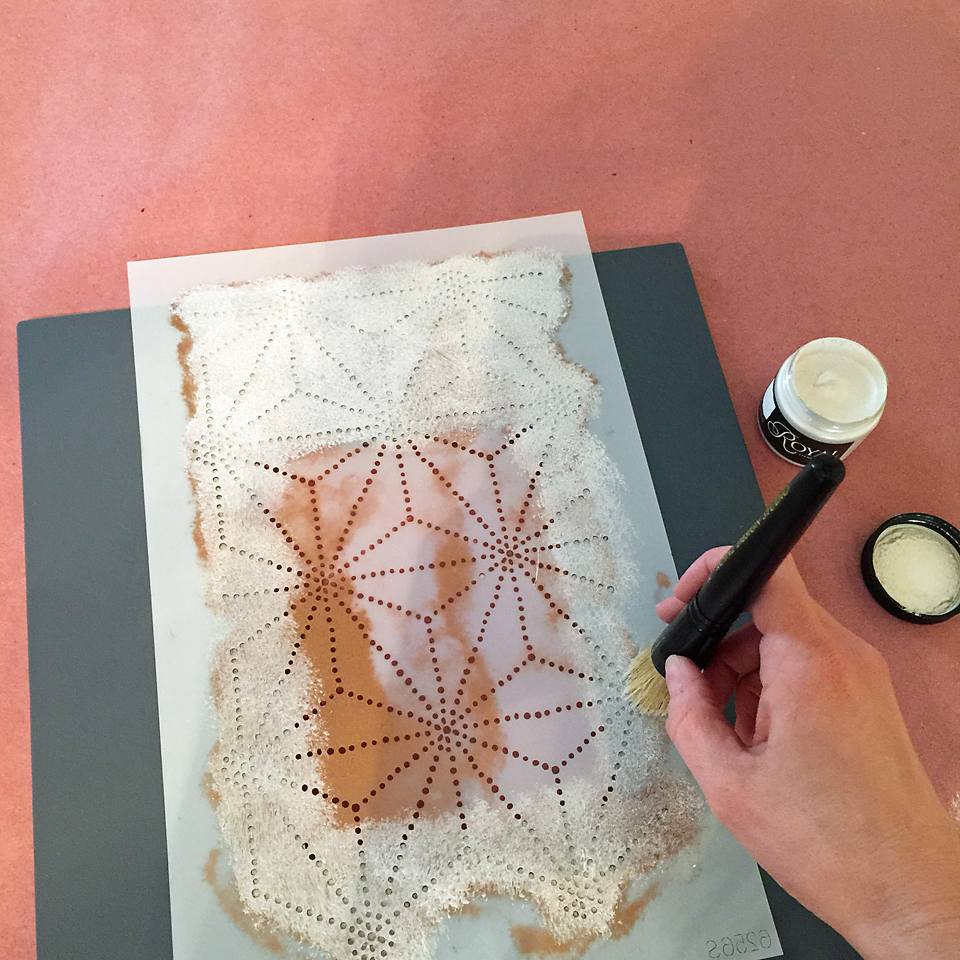
Time to stencil! Lay out the stencil on the frame very carefully making sure to line up the design with the lines of the frame. Either tape or firmly hold each section while you work your way across the stencil blotting on a small amount of stencil creme. Once you’ve completed the stencil, remove it carefully and allow the first section to dry. Next, line up the next section by placing some of the completed stencil underneath the new layout. Continue blotting on the stencil creme and continue this process until it is all complete!
Tada!
Step Five
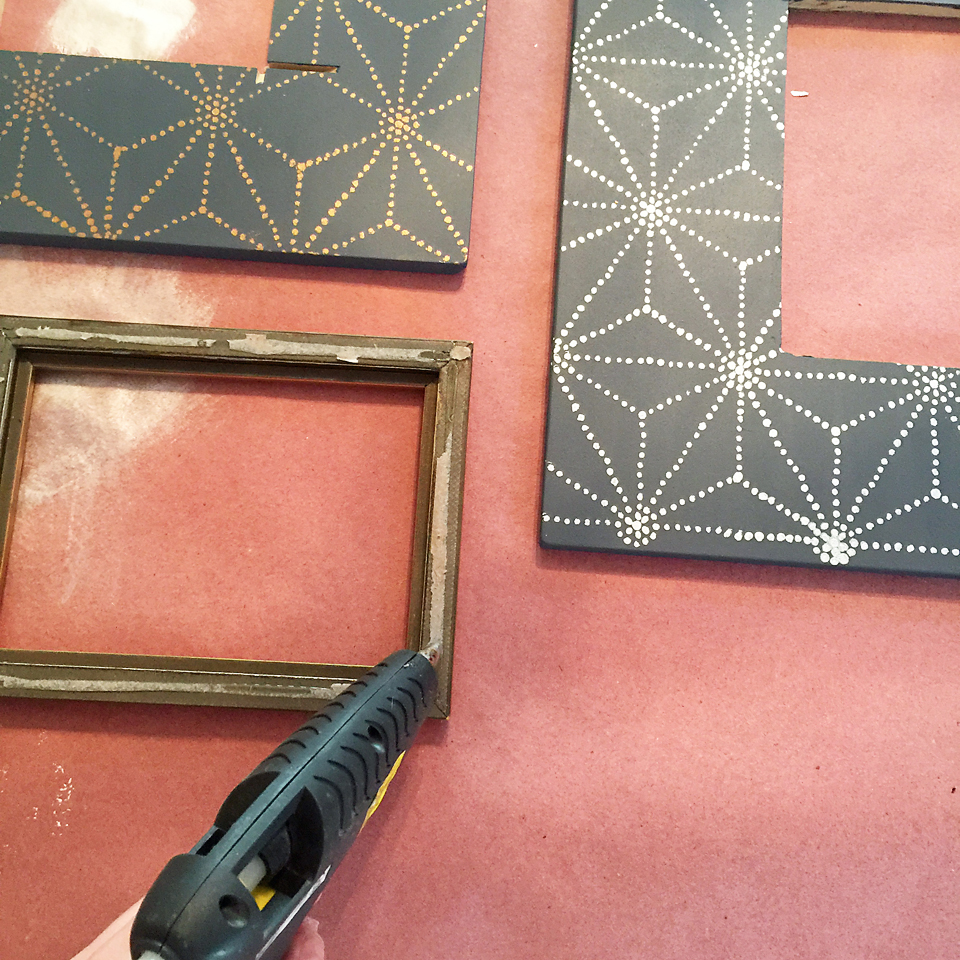
De-construct the purchased frames down to the base frame removing all of the backing.

Step Six
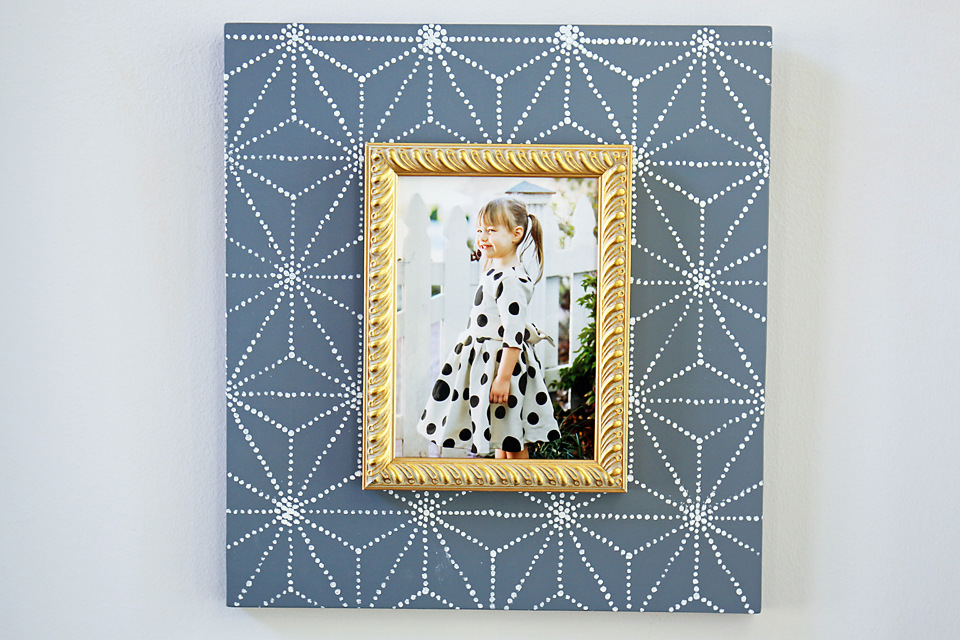
Glue the deconstructed frame on top of the stenciled frame base lining up base and top frame with hot glue.
Step Seven
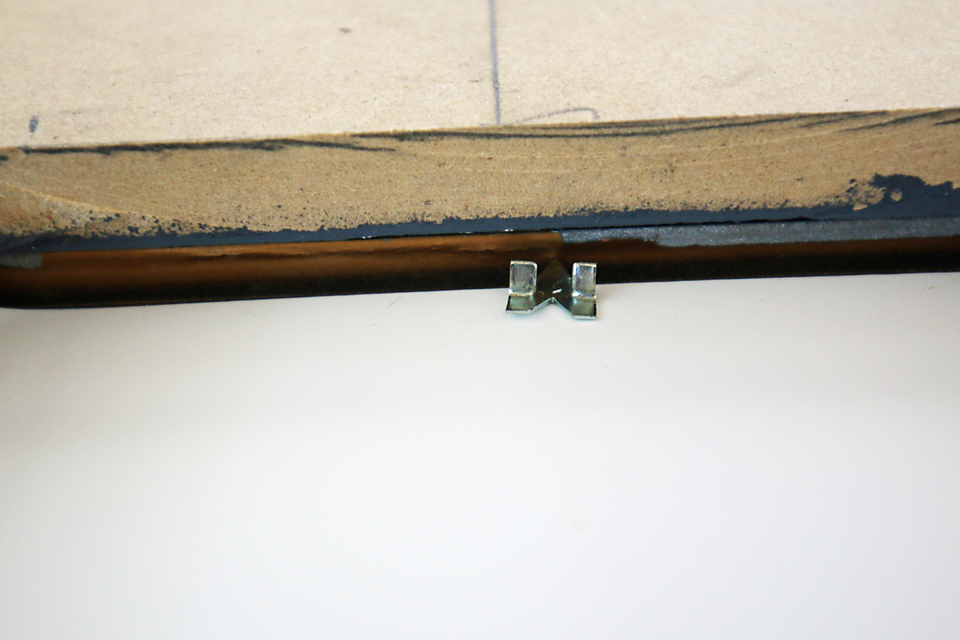
When ordering prints, I ALWAYS have them printed on single weight mat board and almost always get them done with a metallic finish. They turn out so beautiful and can be framed without glass which prevents that terrible glare. You can read more about ordering your prints here… “Ditch. The. Glass”. So, that’s exactly what I used for the frames. I then used small metal clips to hold the print into place…
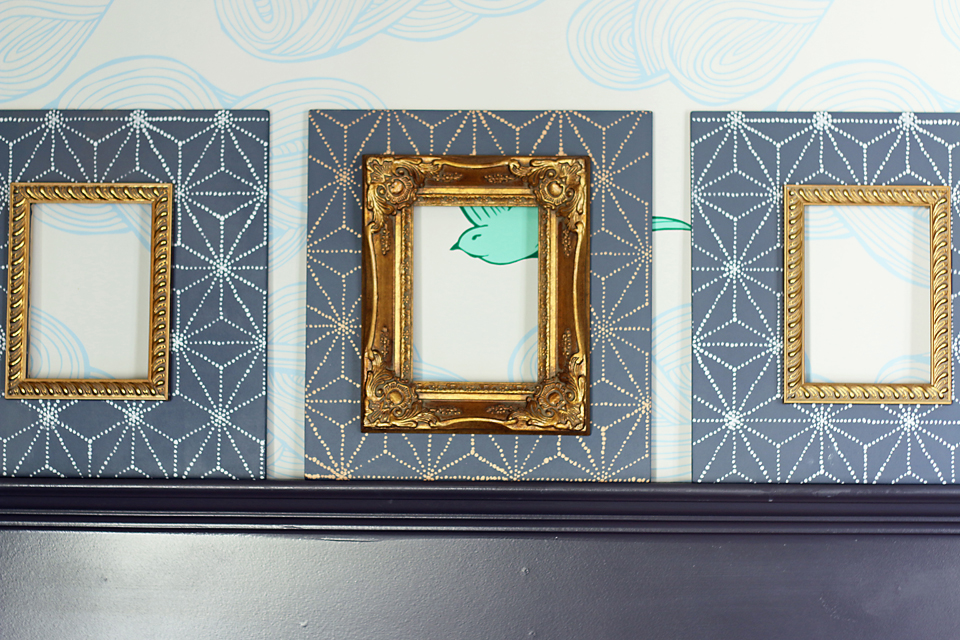
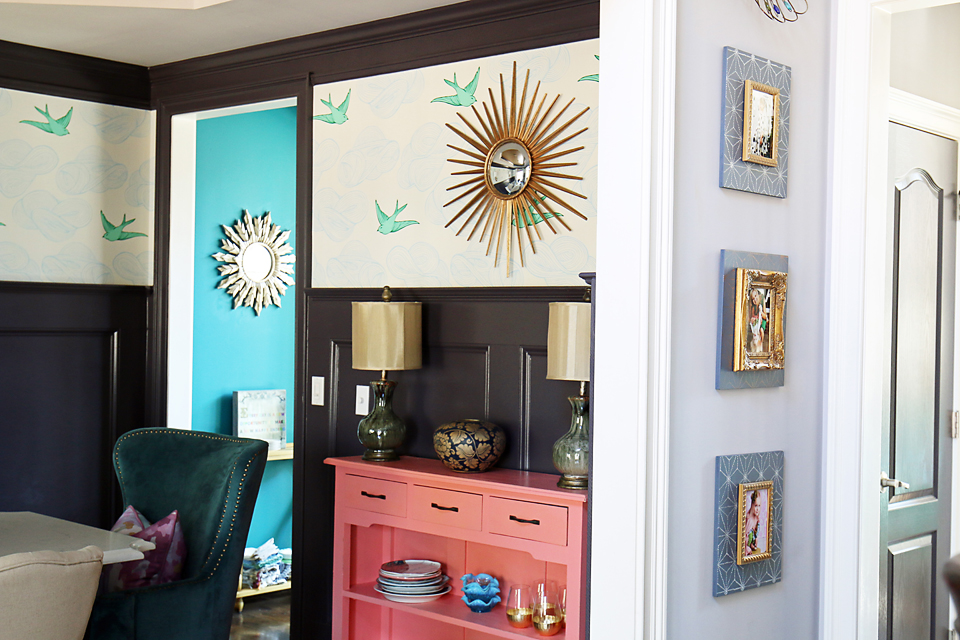
Yes, once again completely obsessed with stenciling. I initially placed them in our dining room for the photography and then decided to try them out in our foyer hallway. And now I can’t decide where I prefer them! So now I need YOUR HELP!

Today I have teamed up with Royal Design Studio to give one lucky reader the same amazing set that I used to complete this project! A new one of course ;-). Simply comment below with where YOU think I should keep the frames (dining room or hallway) and tell me where you’re reading from! Simple as that! I will post a winner THIS FRIDAY! Good Luck and thanks for reading!
Hallway

Dining Room

XOXO, Brittany Hayes


I vote the hallway. These are so cute!
I think they look absolutely darling in the hallway!
Hallway. I am reading from Dearborn, Michigan! Love your blog! Always great ideas!
I vote Hallway!!! Coming to you from down the road in Dallas, GA!!
I like the Hallway!! I am from New Braunfels, Texas!
I’m thinking hallway 🙂
Reading from Fort Collins, CO!
Hallway!!! I’m in Dora Alabama!!! I LOVE the frames, great job!!!
Definitely the hallway!! I’m from Sugar Hill, Ga (I think close to you?)
I love them in the Hallway. I am in Hampton, GA.
I’m in Moore, SC & I like them in the hallway.
Gorgeous in both rooms but love the hallway! Love your home.
I like them in the hallway! I would do even bigger ones in the dining room! Such a cute idea! I am reading this from Lancaster, Pa!
Can’t wait to try this! I vote hallway.
Reading from Danville, VA
I vote for hallway! They look awesome there!
Voting from Richmond Virginia – love the hallway best!
I think hallway. I’m wanting to move most of my photos to my hallway. Reading from Florida!
I like the hallway. 🙂 beautifully done just like the rest of your home! I’m reading from Summit, MS.
Hallway – Loganville
I like them in the Dining room the best! And I am commenting from Lafayette Louisiana!!
Love these! You have given me all sorts of ideas for my own projects! I like both locations, but would probably go with the dining room.
Reading all the way from Baker City, OR!
Hallway! Enjoying your blog from Harpers Ferry, WV
Love them In your foyer hallway!
Happy Leap Day from Monclova, OH.
Brittany! I think they look the best in your hallway. Love the finished outcome! From Marysville, WA – Molly G
Ooh I need a stencil so badly! Love the hallway.
Oops missed the part about where you’re from!
I say hallway, they look undersized for the dining area. I’m from Mission Viejo, CA!
I think the hallway. But was a hard choice.
I am reading from New Zealand!
Love them for the hallway! I’m reading from Peachtree City, Ga.
Loving them in the hallway and reading from Rock Hill, SC!
Hallway! Love them! Loganville, Georgia 🙂
DEFINITELY FOYER!!! The colors play so nicely with your dining room accessories in the background. Also, those frames deserve their own space for now.
I’m in Las Vegas.
I love them in the dining room! The gold on the sconces stand out. Also love the blue of the frames with the color of the birds. I am reading from Provo, UT!
Love them in the hallway. They are just perfect there! Reading from Spanaway, WA. I was just moving decor around tonight, saying I need different frames and to re-do pictures:) And then I saw your blog
Love these frames! I vote the hallway! I’m reading from Crestwood, KY.
Love them in the hallway! I’m reading from the Jersey shore!
Hallway! I’m reading from Saint John, Indiana.
LOVE the frames! They look great in both places, but my first choice would be the hallway. Love the little extra detail it adds to that space. I’m in Mooresville, North Carolina 🙂
I would leave them in the hallway 🙂 and I am currently reading from my bed in Sylva, NC listening to the rain as I feed my youngest
I like them placed in your hallway ~ They look perfect there. Love the gold touches. Stenciling looks fun/ hard 😉 (I’ve never tried it.) I’m a brand- new reader from Braselton, Georgia. How close is that from you?? We relocated from Southern California.
Awe thank you! We are about 45min from Braselton 🙂 Welcome to GA!
I vote hallway. So fun! I’m currently working in good ol’ PA (well technically I’m not working, I’m reading your blog) 😉
I would put them in my hallway. From South Carolina
Love them in the dining room!!
All my love from Riverton, Utah!
I vote the hallway! I’m reading from Ontario Canada!
Hallway!! Reading from Frederick MD:)
I would keep them outside the dining room, they look so cute there!!! I’m from Calgary, Alberta, Canada 🙂
I absolutely love them in the hallway! It just flows so well! I am reading your blog from Olney Maryland! Love your blog and love your work!! -Stefanee
Definitely the hallway. They are so lovely and complement the wire bowl decor perfectly! Your taste is impeccable though and mine not so much so second thought…do just the opposite of what I said. LOL
Oops forget to say I’m from Pittsburgh PA
I love love the hallway. Personal pictures give it a beautiful touch! I’m writing from Rhode Island. Obsessed with your blog!
I love them in the dining room. They really complement your beautiful light fixture!
And I’m in Frisco, TX!
This was actually a tough decision; in the dining room, the color of the gold from the picture frames play off nicely with the ceiling, however from the foyer the gold ties everything together so exquisitely and the pics of the girls in the frames give it a homie feel, whereas in the dinning room they are missing that little something . . . So it’s the foyer for me. Rosharon, Texas
I like them in the dining room
I just found your blog via the Home Tour and so happy I did! I’m a new follower. I vote HALLWAY! They turned out beautifully. You seem to have a lot of patience! 🙂 Would just love to try this!
I’m from the DFW area in Texas ~ midway between Ft. Worth and Dallas.
Pat