Happy Friday friends! It has been a crazy busy week for AW. Angie (our FABULOUS store manager and styling extraordinaire) and I have been doing some major shifting and changing over at the warehouse this week… more on that soon… I have been chasing clients projects, working on some new fun stuff at the store, and peeking in on our historic flip house all week! One of those Fridays when you turn around and wonder where all of the time went! Anybody else relate??? 😅😅
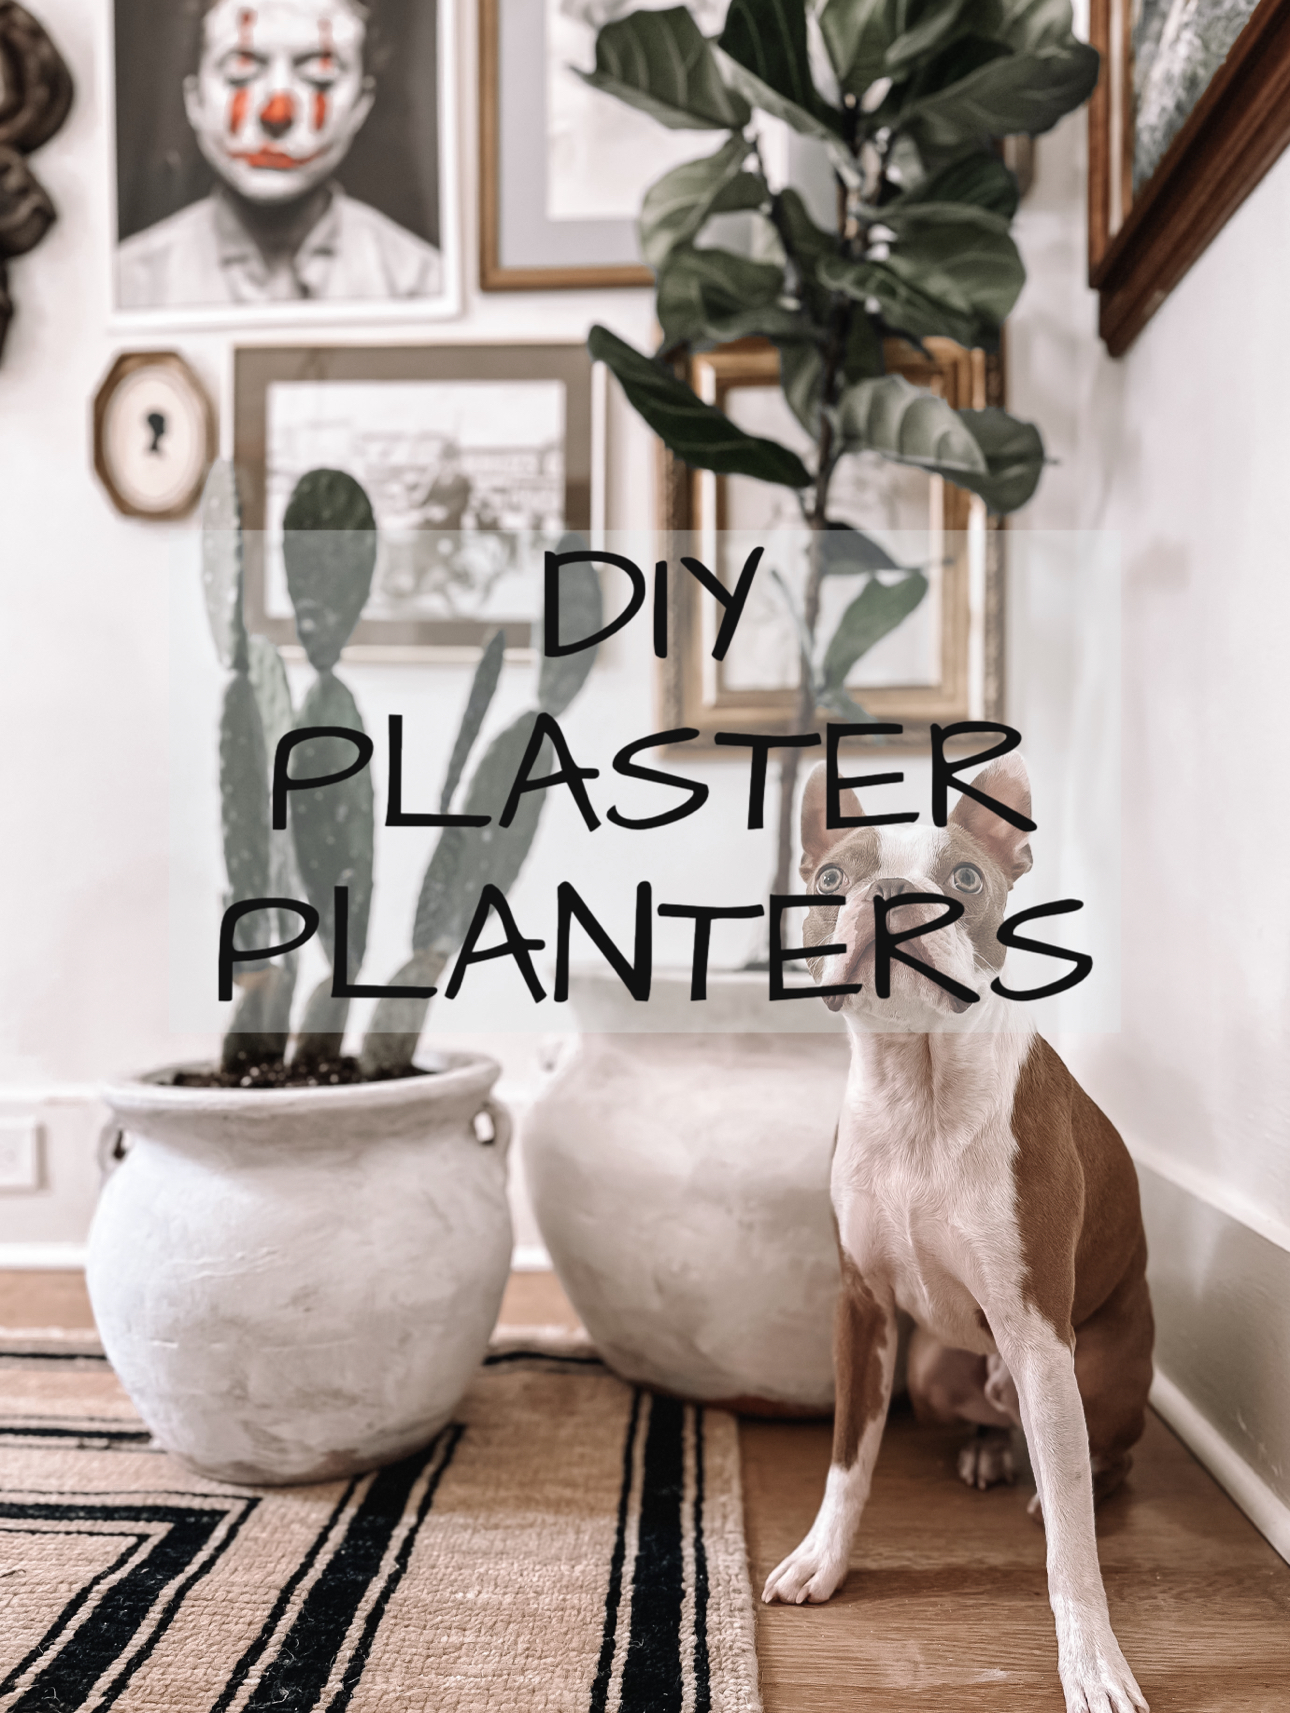
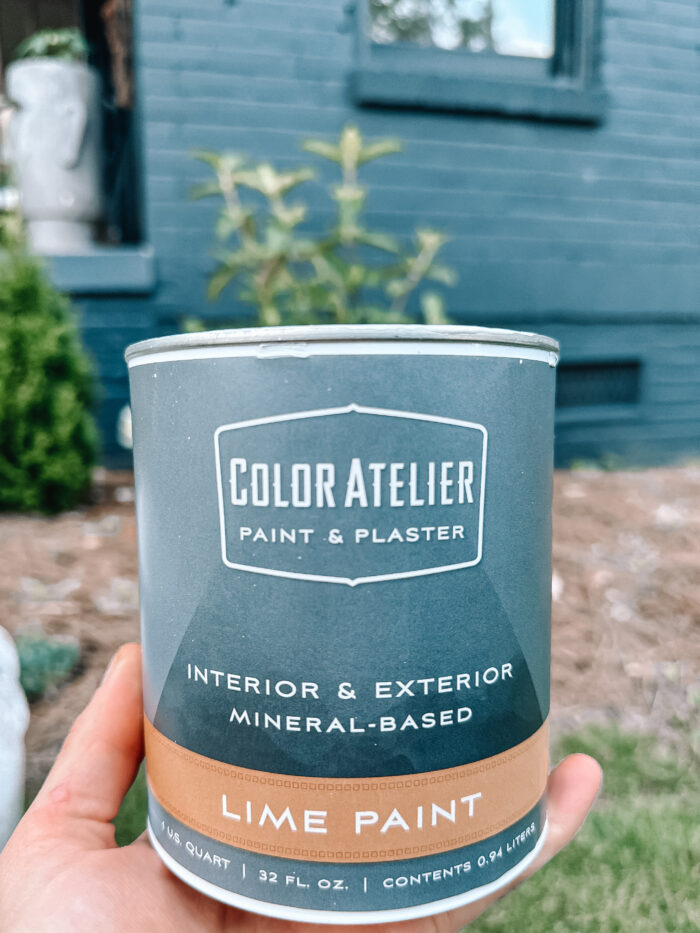
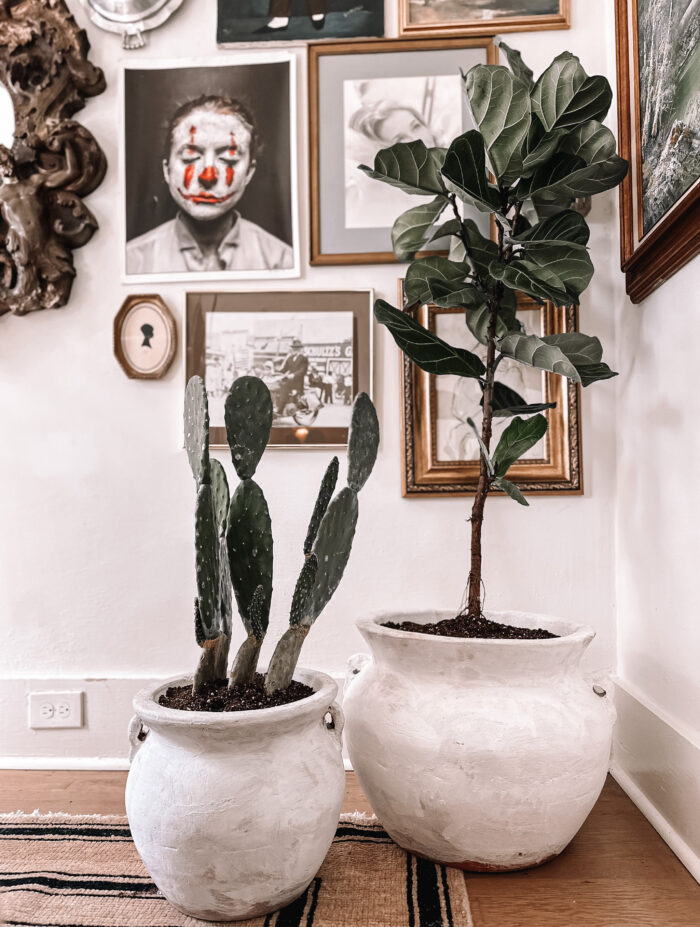
Today on the blog I put together a suuuuper simple DIY that I have been wanting to share for a little while. I used lime paint a few months back for a client project and absolutely LOVED the way it turned out. We wanted a “concrete” finish on a check out desk, and DIY-ed our way through it with lime paint to cut some cost! It turned out great and really looks like concrete! SO, I decided to try it out on a few of my planters for the house. I have been wanting some antique planters for this space that had a “plastered” look and the end result did not disappoint! This product works wonders, is buildable, comes in SO many colors, and so so so easy to use!
The Lime Paint I Used… Color “Old White”
Planters I Purchased… UNDER $50!!!
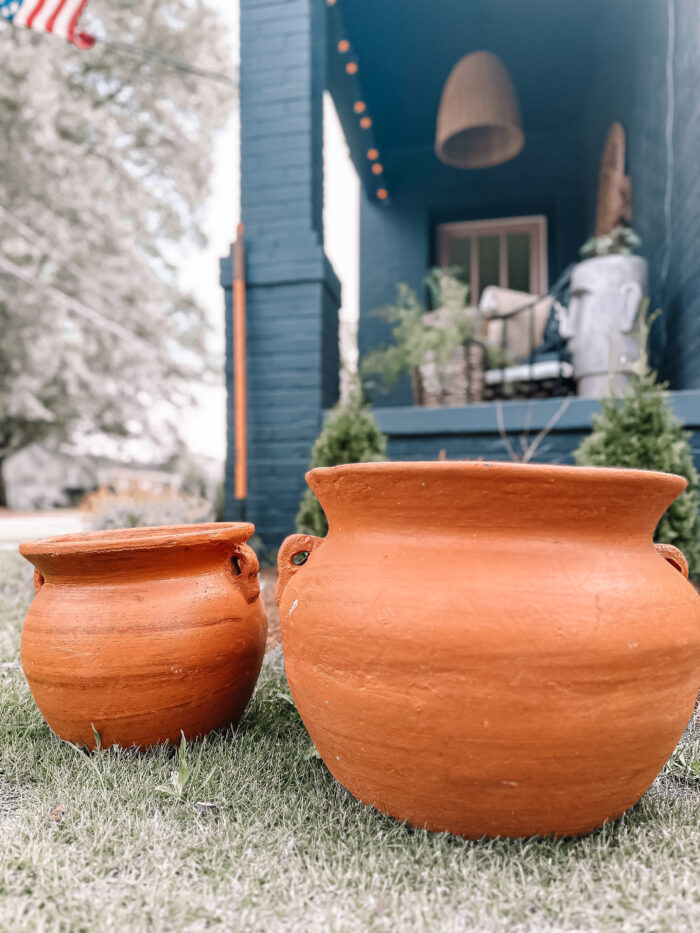
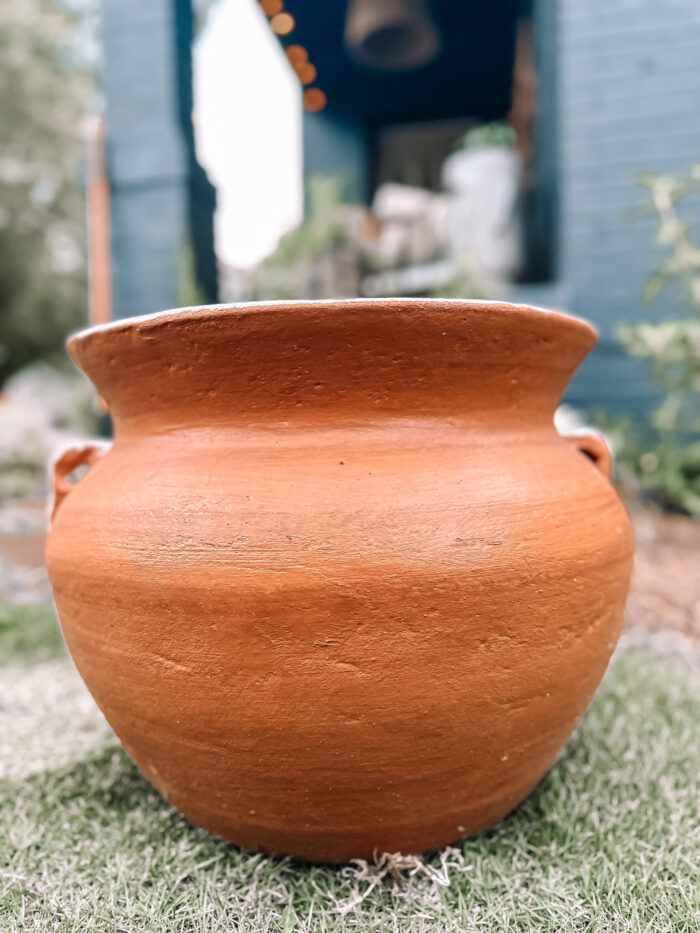
Planters
Step One… Really the Only “Step”… Paint Like a Toddler
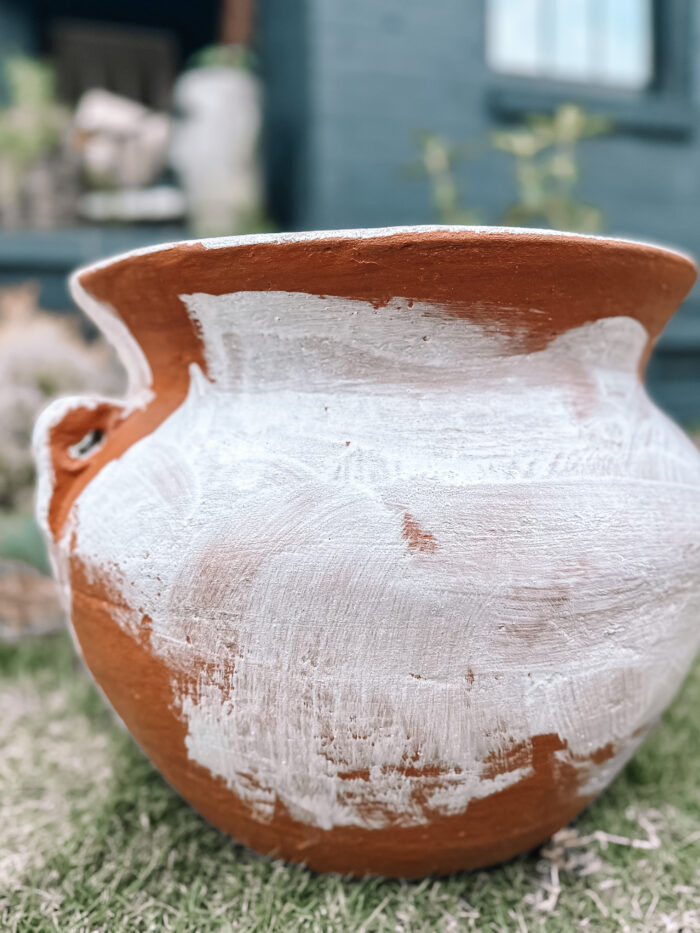
When I say to paint like a toddler, I mean it! This paint is meant to be layered, so the different directions of your paint strokes makes for a really cool final product!
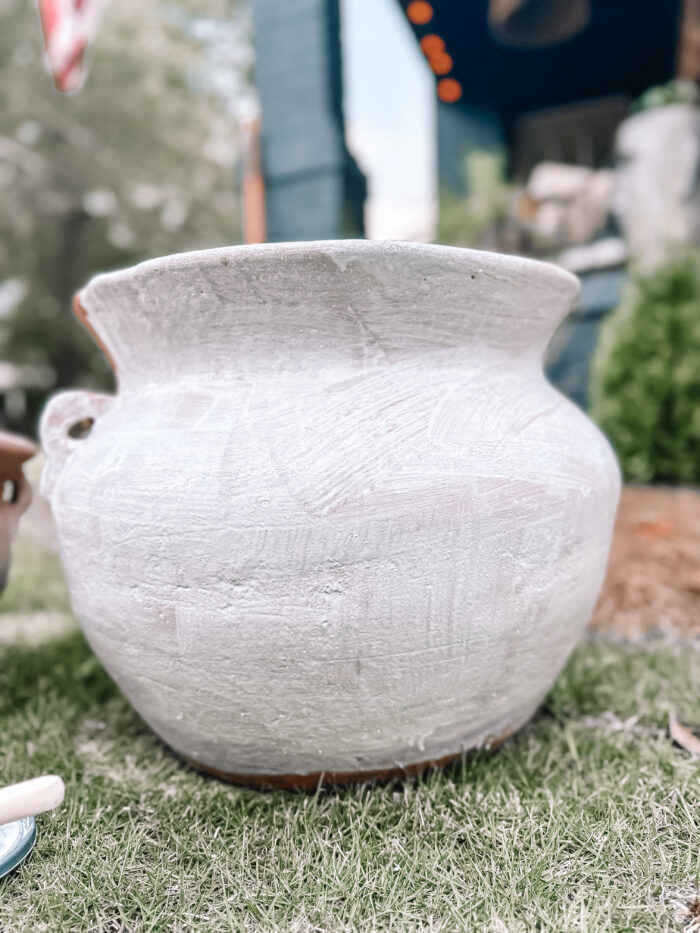
Once you finish your first coat, let it dry, and then continue to add layers until you have the look you are going for! This stuff dries so beautifully and gives the subject a completely different look!
The Finished Product…
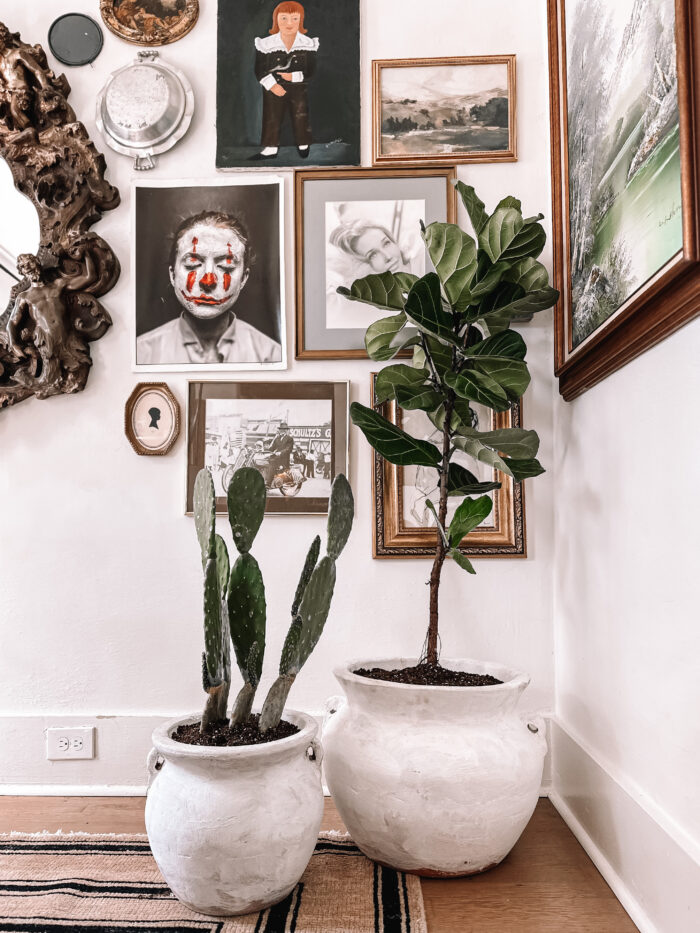
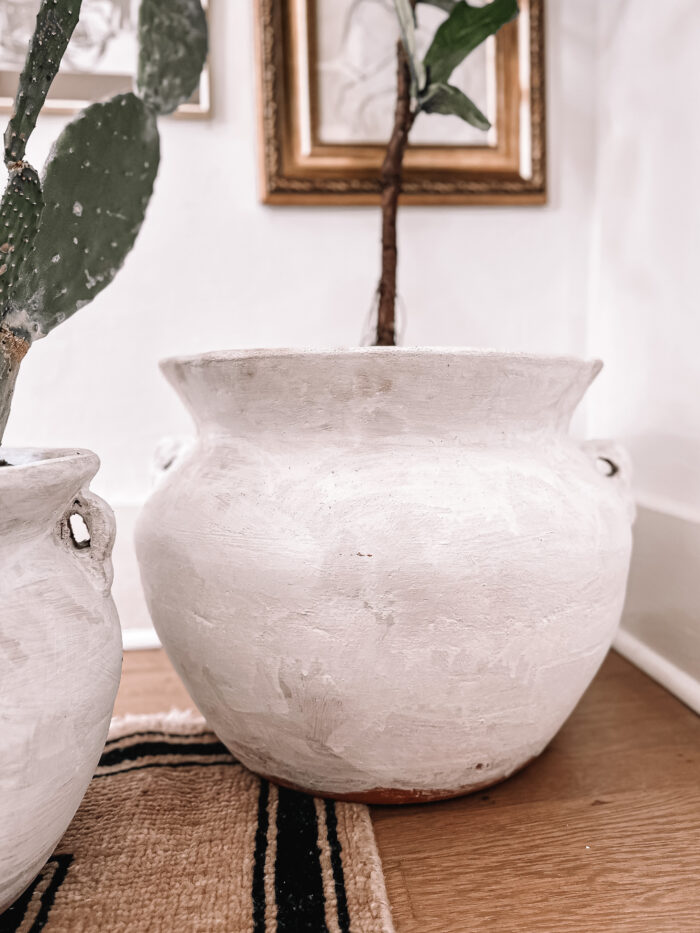
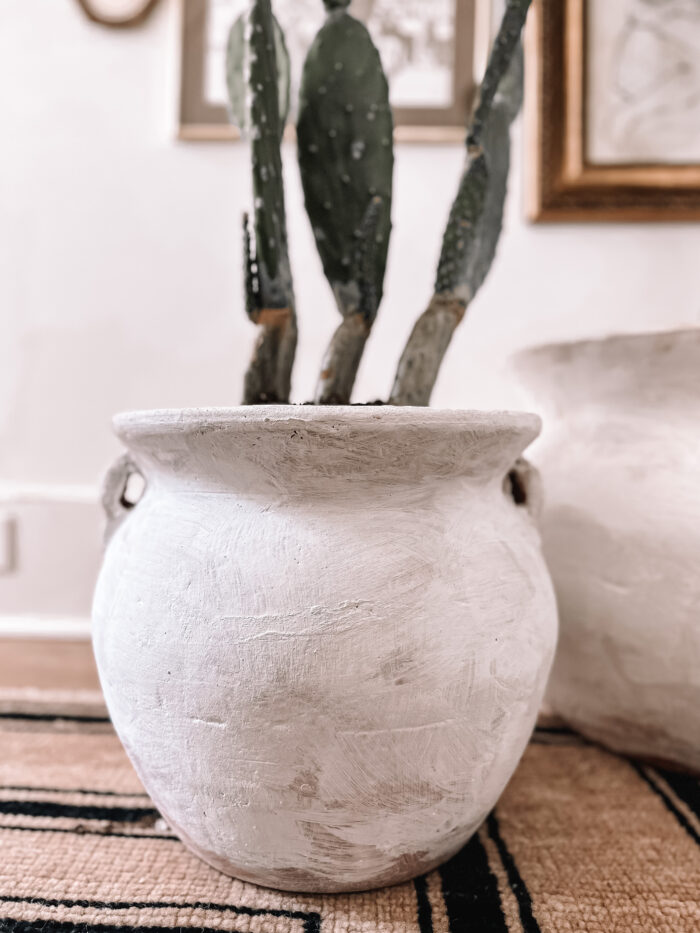
They have so much color variation and ended up exactly how I was hoping! The perfect “European” finish!
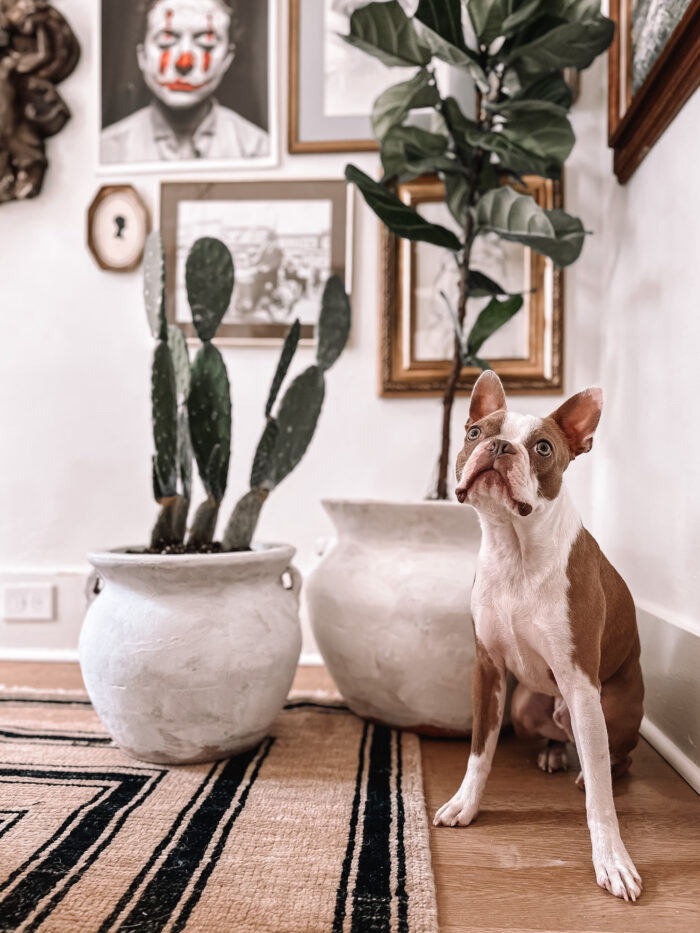
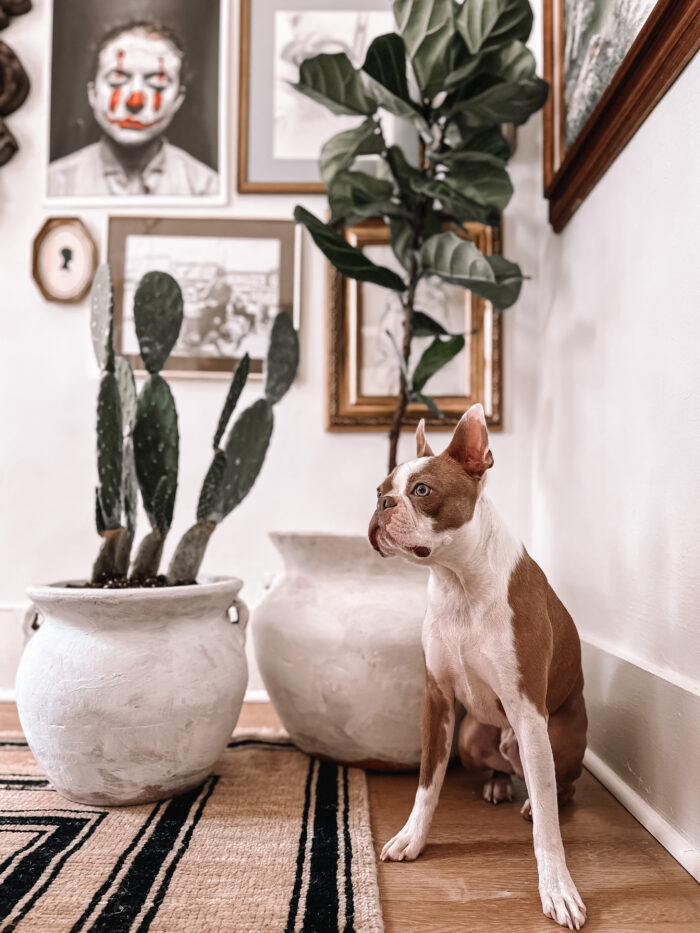
Demo even approves 🤪
Happy Weekend!!!
XO,
Ab
+ view the comments
