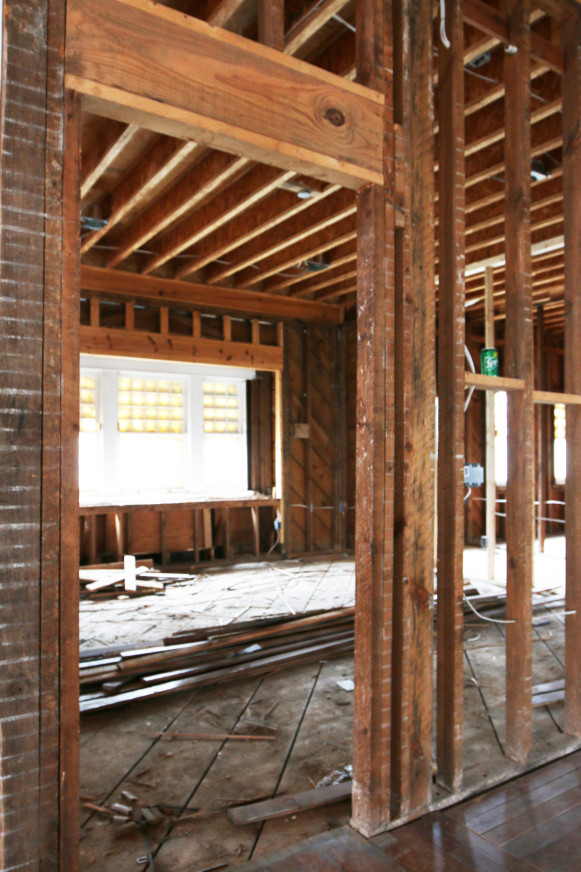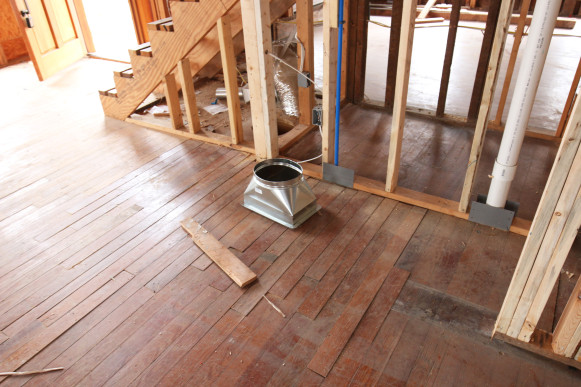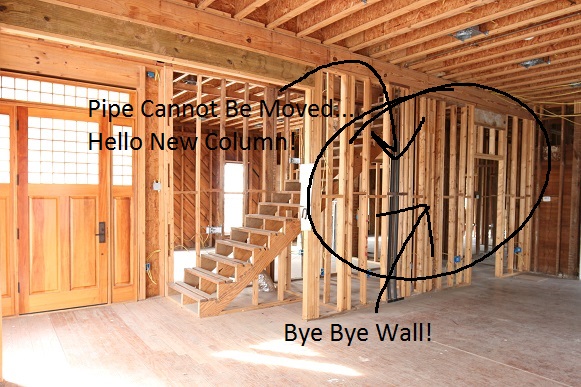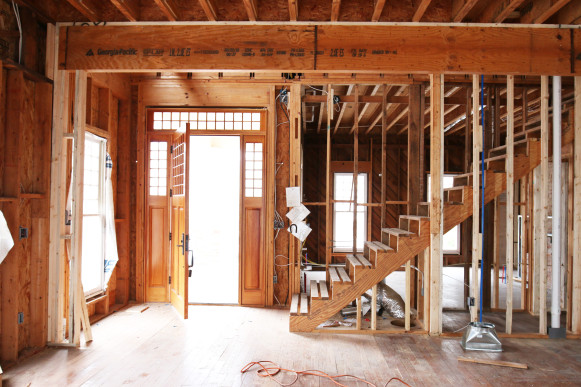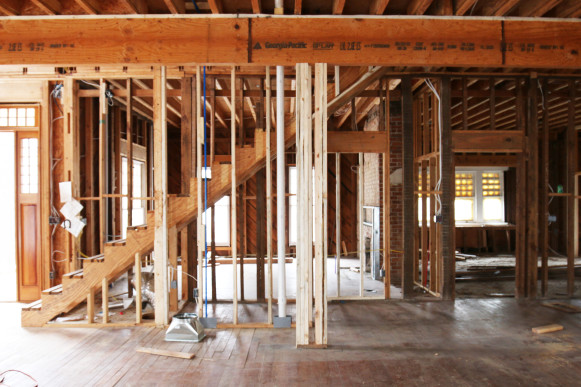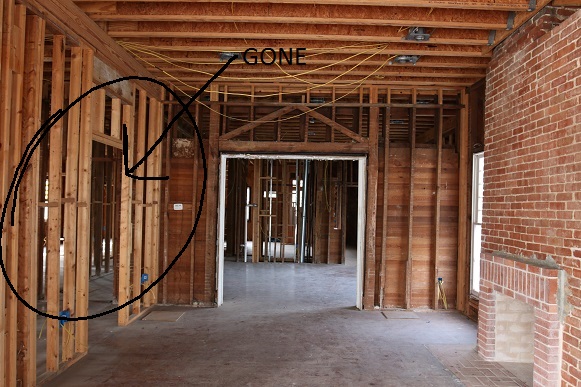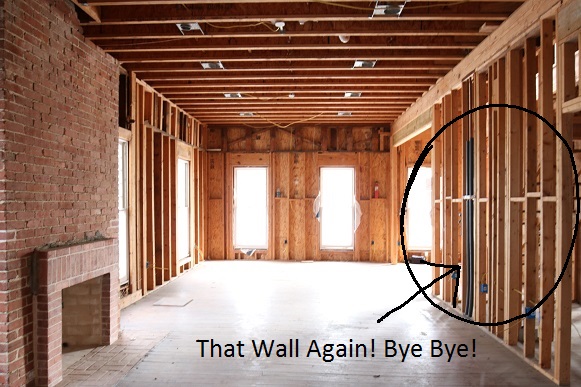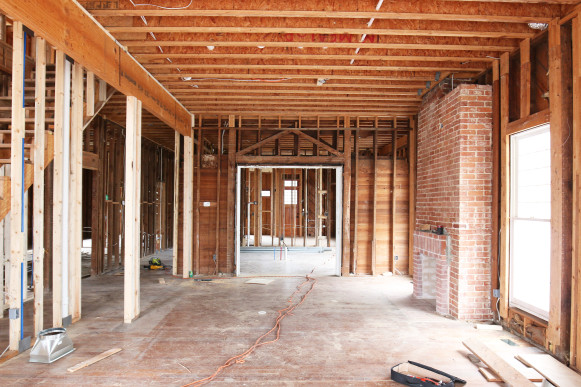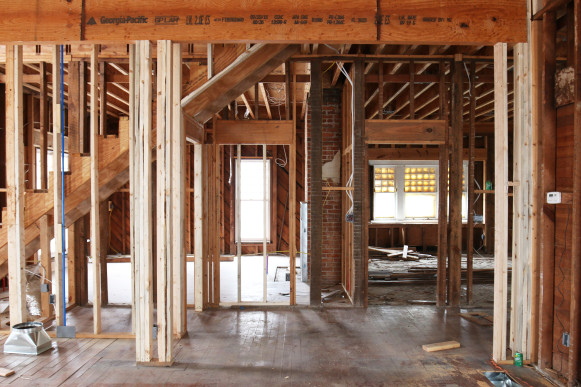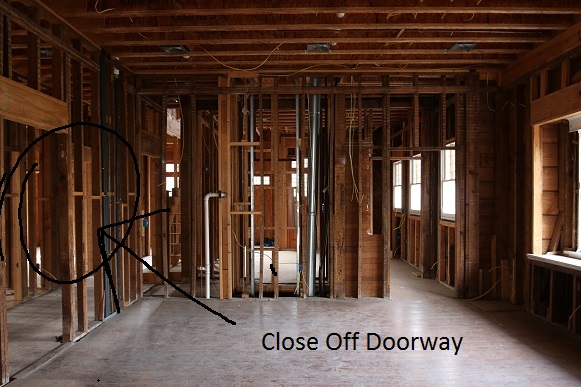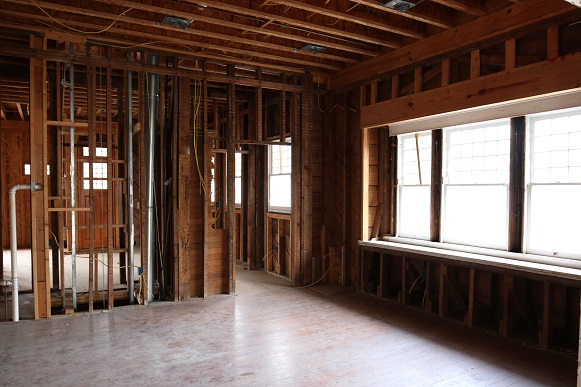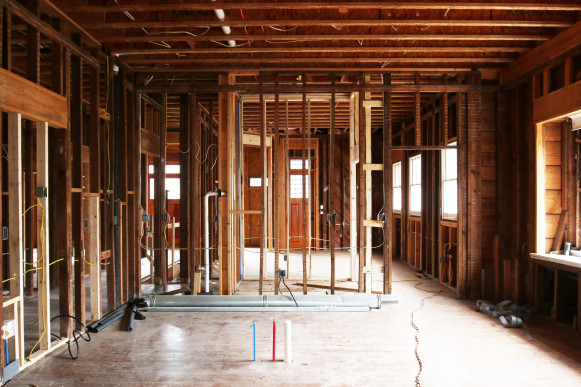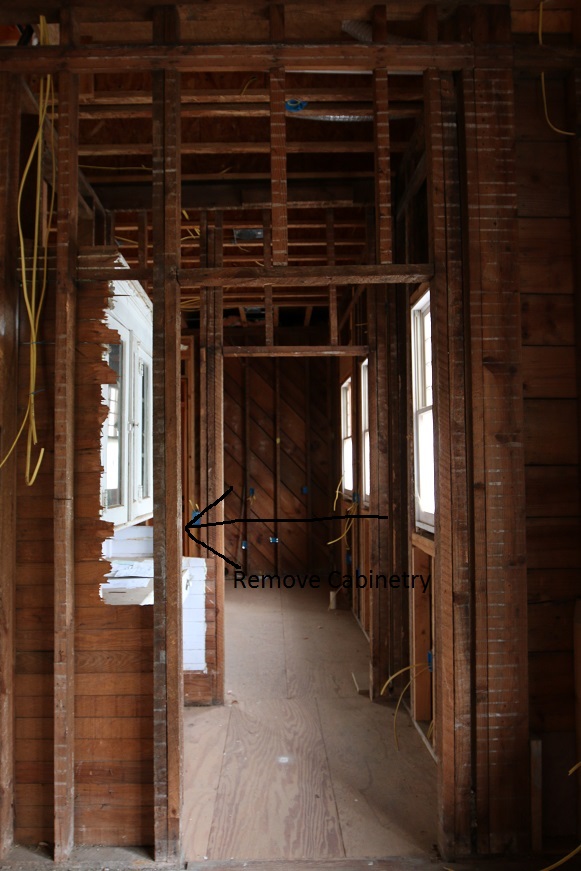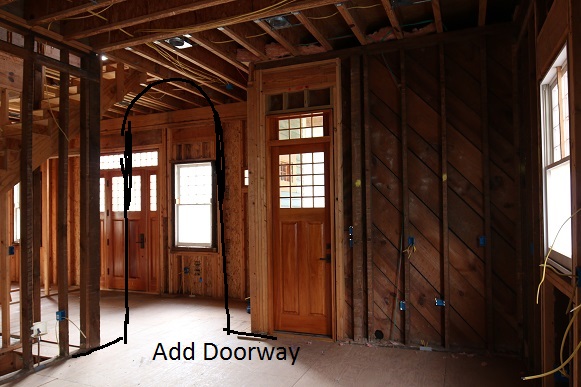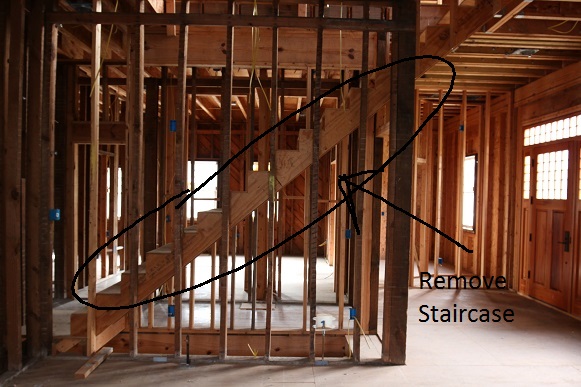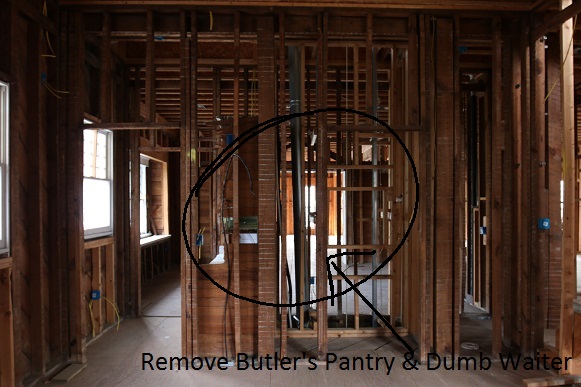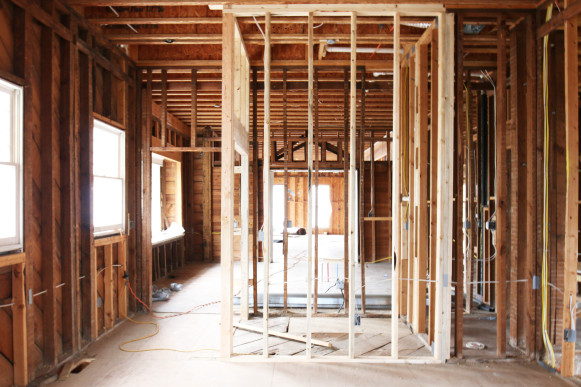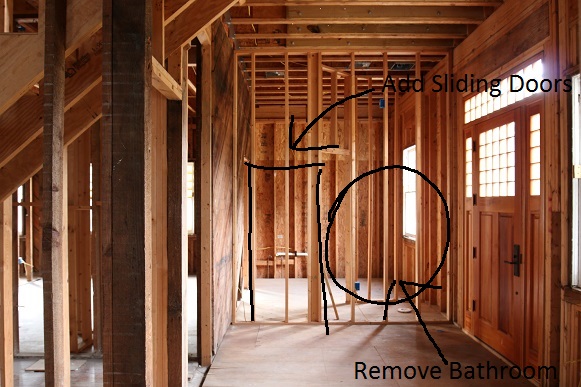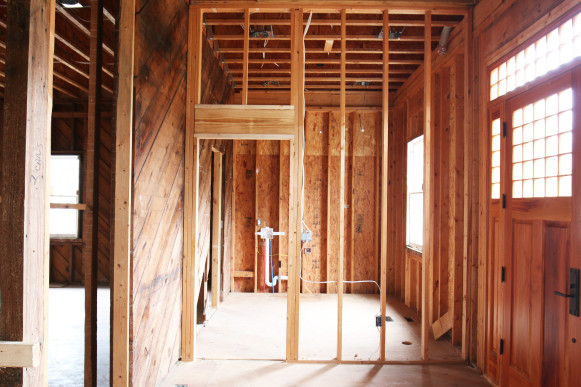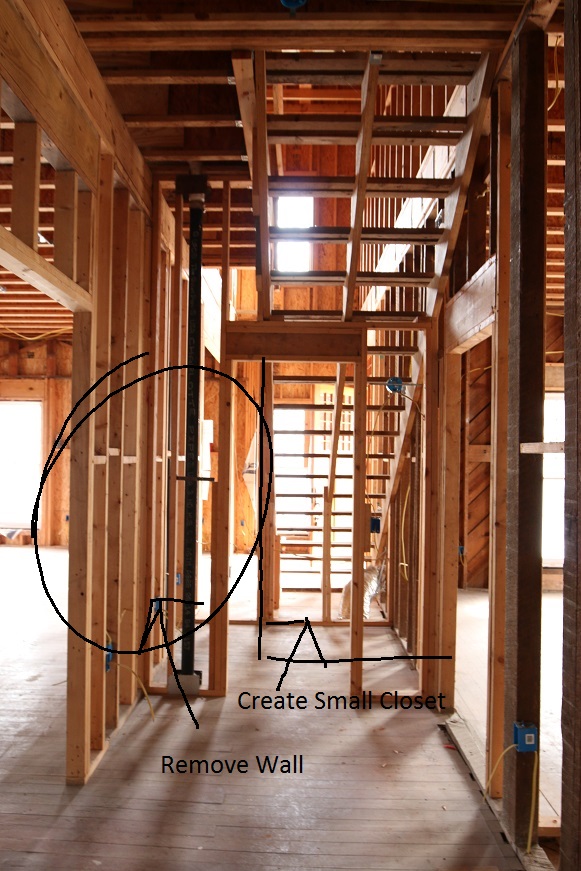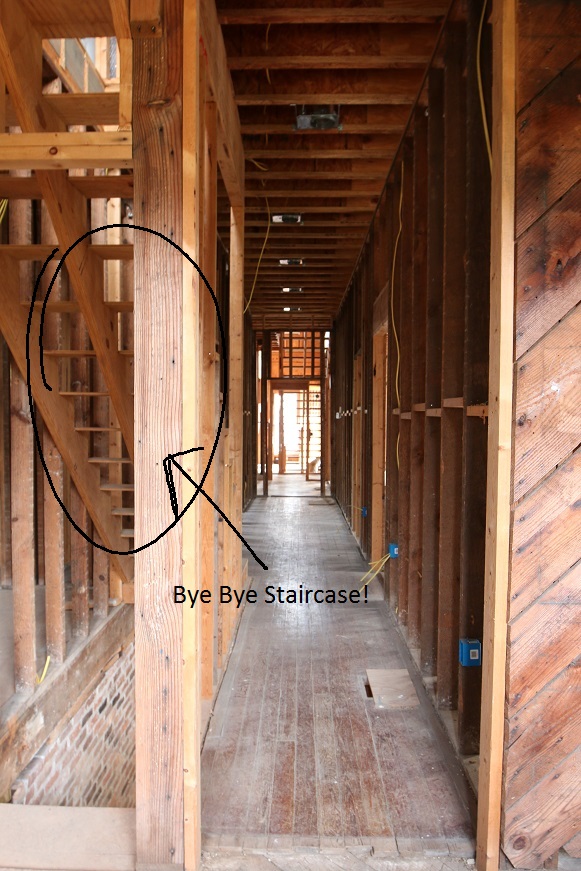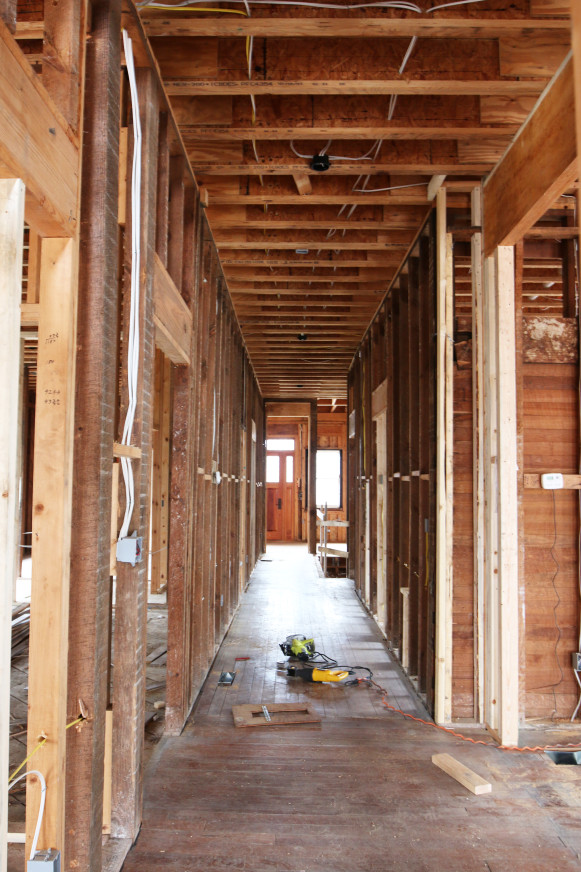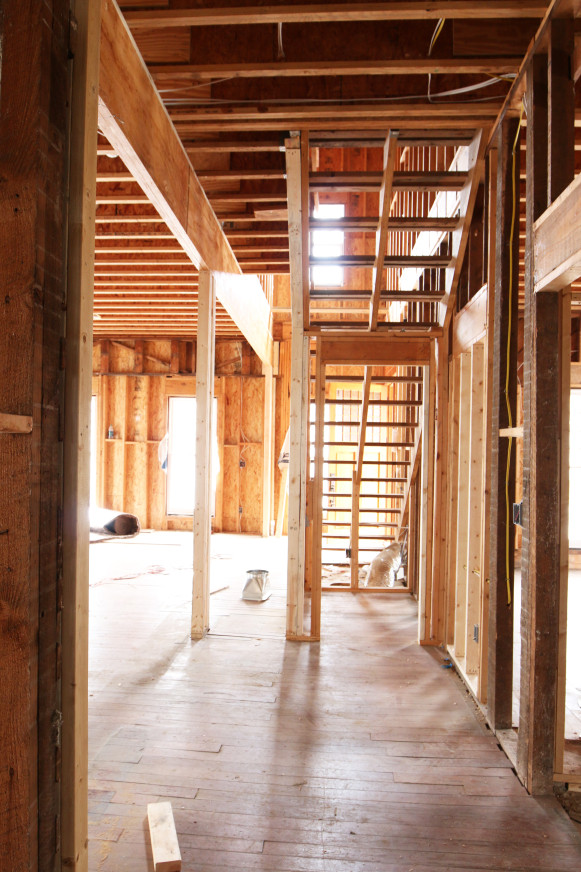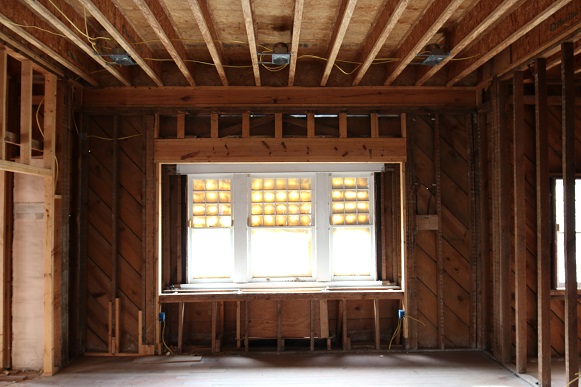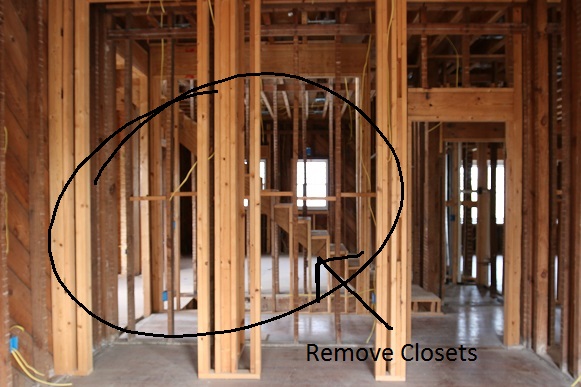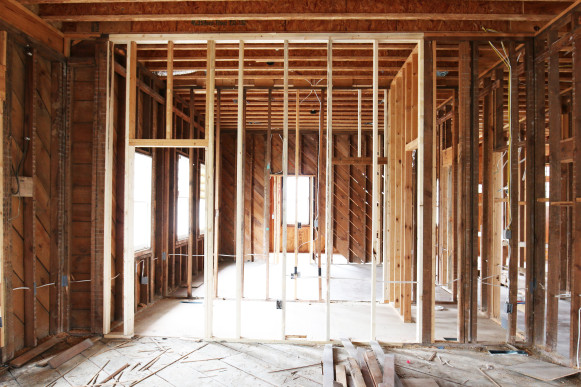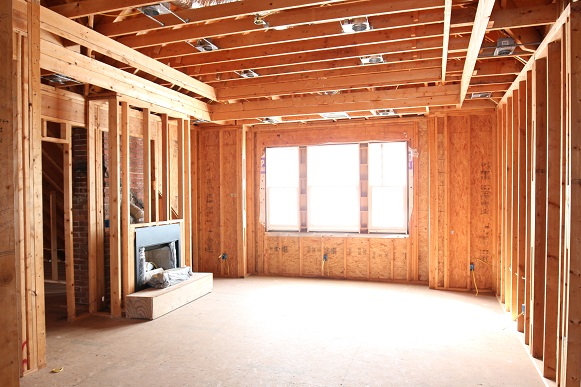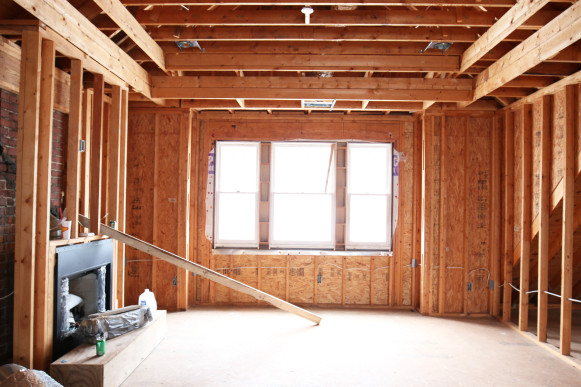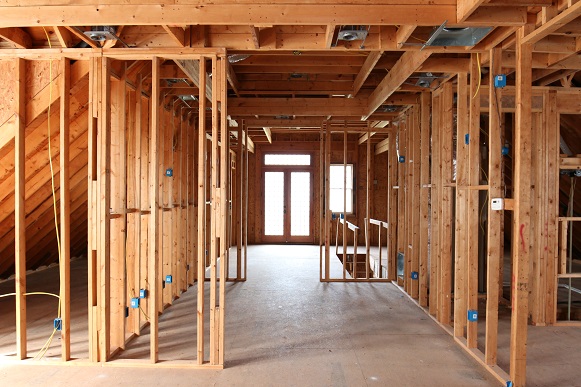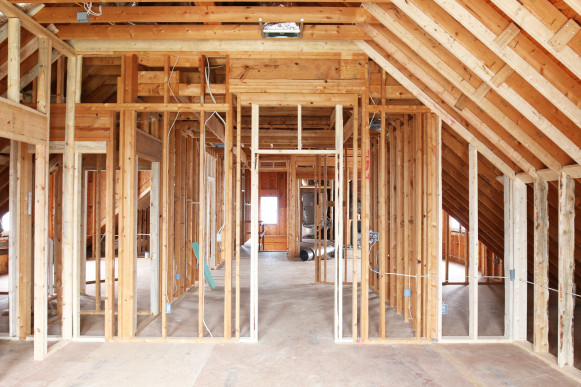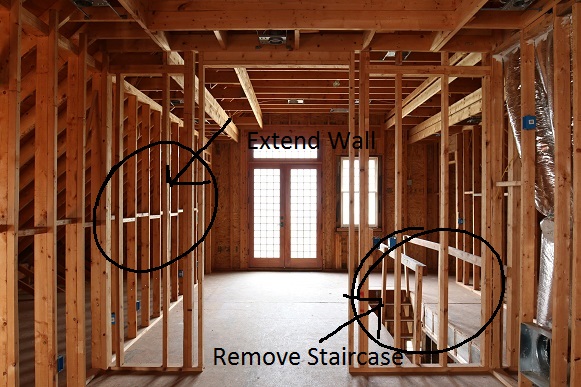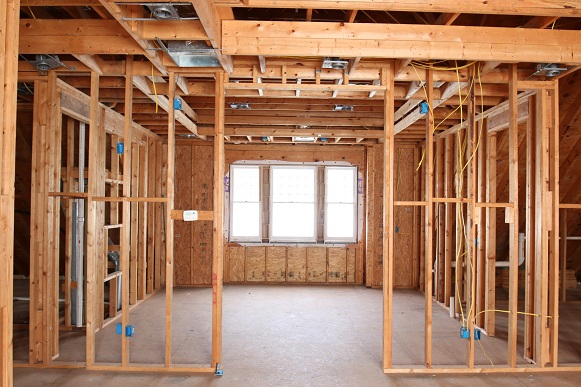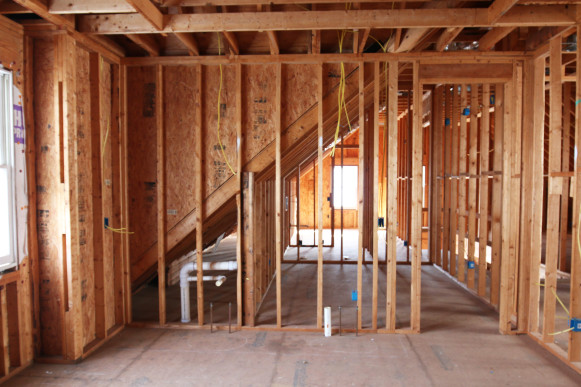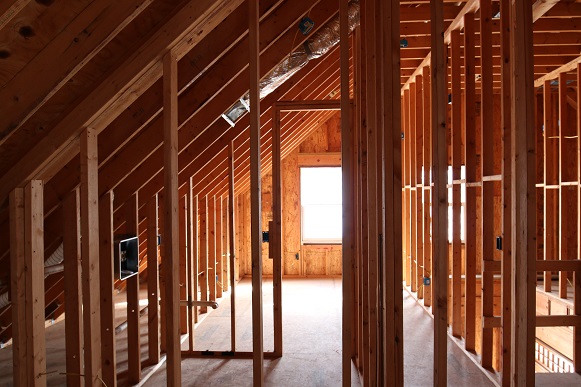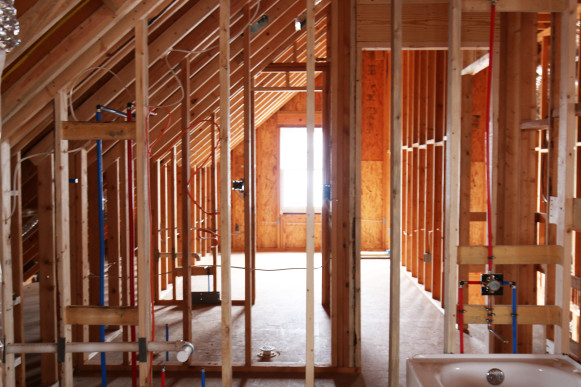
I’ve decided I want to invite you all over to take a tour of our renovation in person. Anyone up for a trip to Georgia? We will supply the wine. And some board games. We are always up for a night of that! I have just decided that pictures do not do this historic gem justice whatsoever. Oh I try and I try to capture it all in images but you can’t fully grasp the flow, the unique little touches and the grandeur of this historic home. With 11.5′ ceilings EVERYWHERE, four fireplaces and the most beautiful lot, it is our renovation dream come true. I’ve promised and promised to take you along on the entire journey so I am making good on my promise and showing you the not-so-glamorous restoration details. Although I looove choosing paint colors, lighting fixtures and wallpaper, the stages that we have been completing in recent weeks are the steps that truly make our dream home come to life. The floorplan, the lighting plan, plumbing plans and framing changes are the basis for updating this historic wonderland.
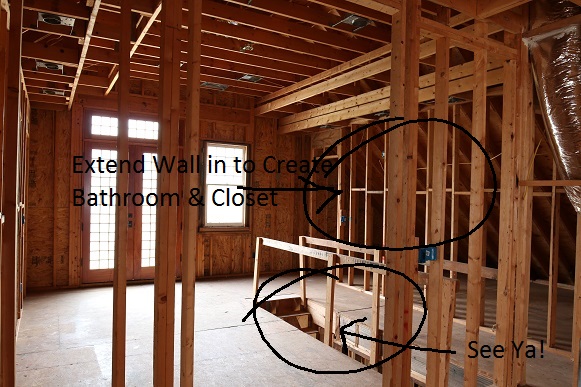
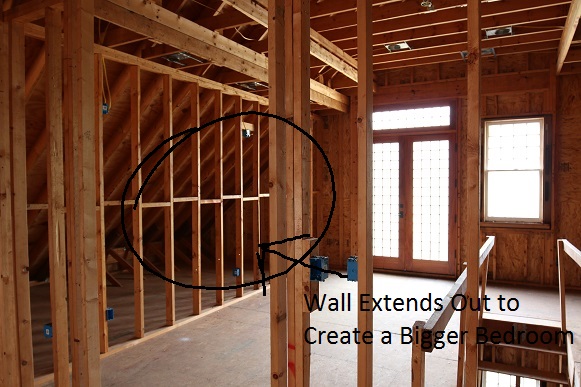
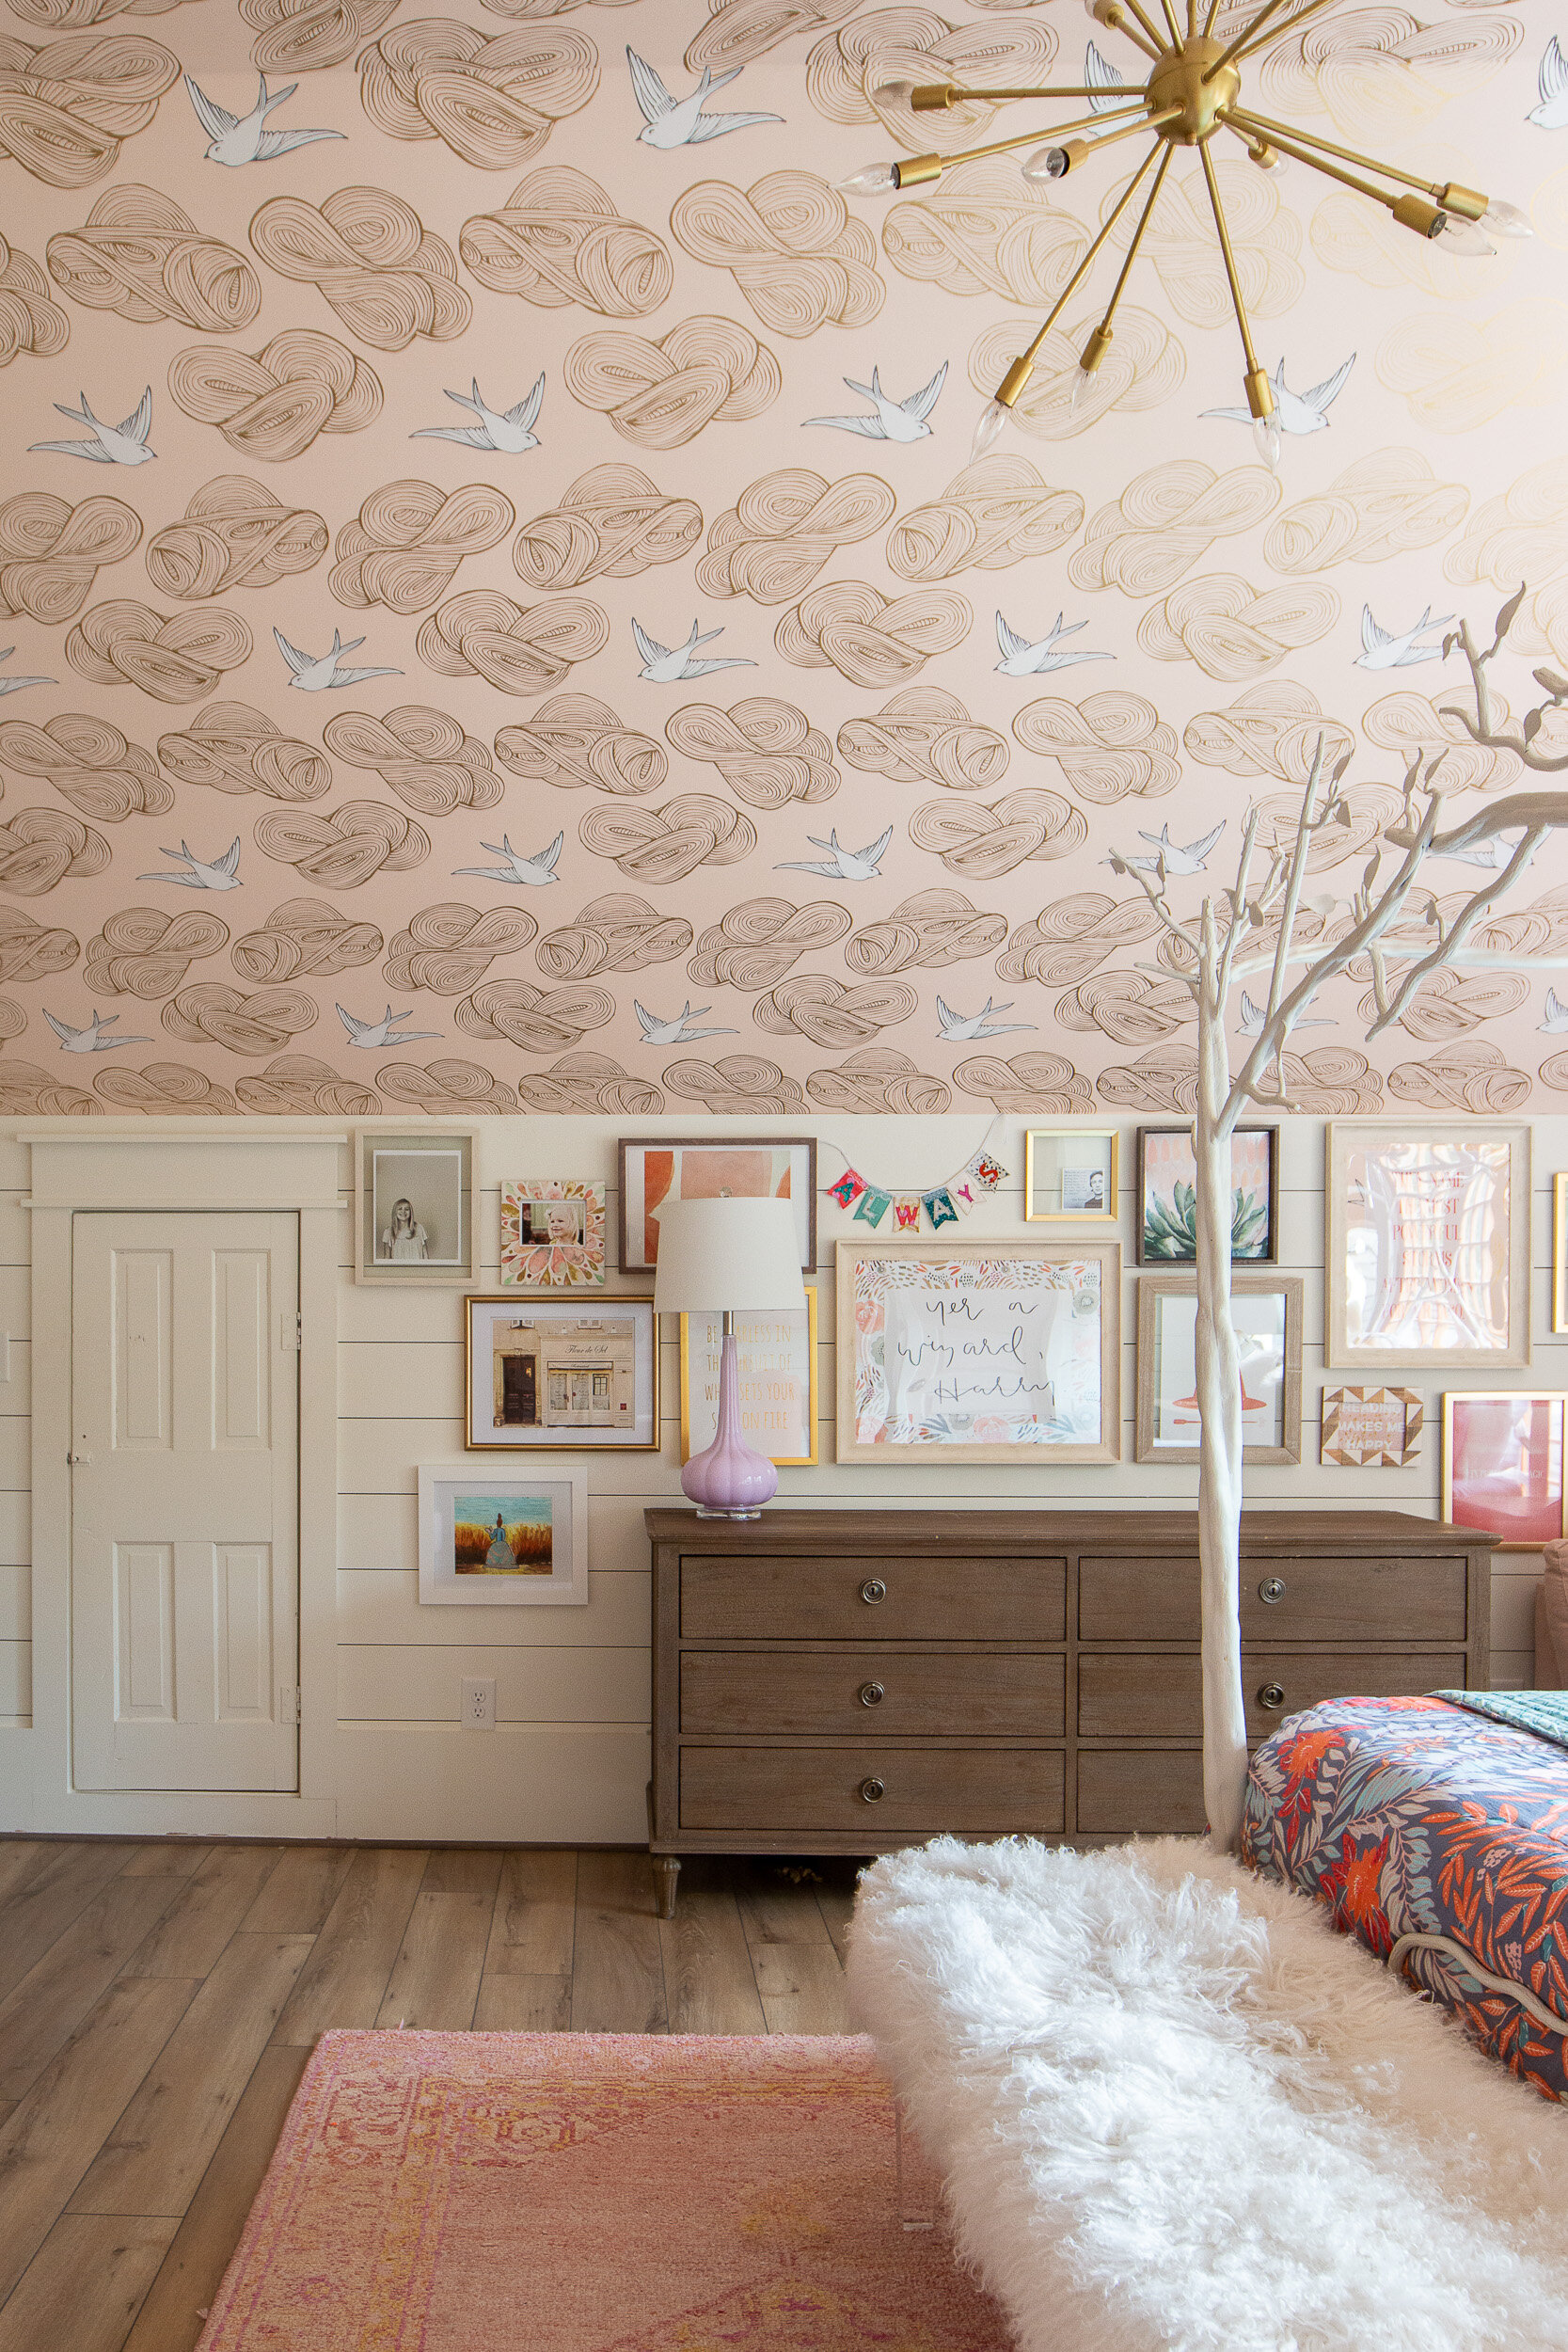
Here’ Addie’s bedroom… See what I mean?!?
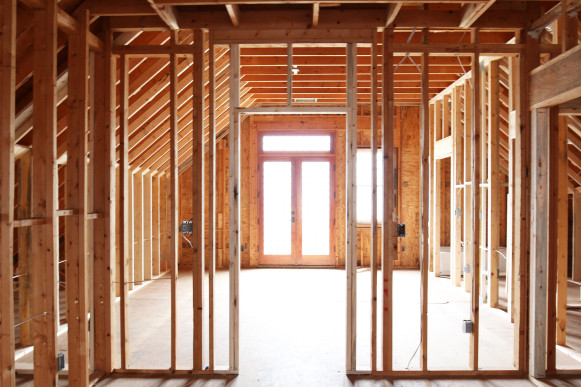
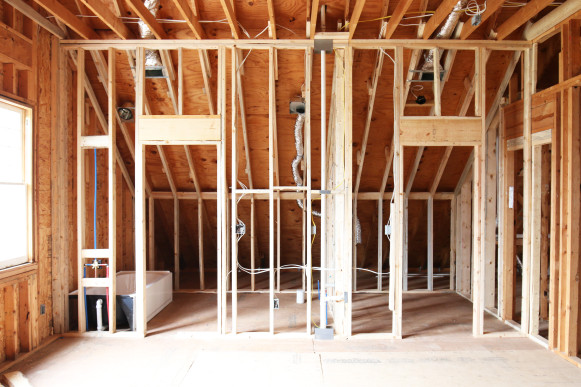
As I chatted about earlier this week, we have completed the framing, completed the electrical pre-wiring, stubbed for plumbing, run HVAC and determined vent placement and completed some hardwood flooring restoration/patching. I want to retain as much of the original hardwoods as possible so in order to fill all of the gaps and holes from removing walls in various places, we had to choose one room to remove the flooring for use as patchwork. I went round and round between the master bathroom and master bedroom but eventually chose the master bedroom. I love the look of old hardwoods with a vintage clawfoot tub so that sealed the deal! Plus, I have an idea for painting the hardwoods in the master bedroom. You know me and my crazy colorful ideas!!!
Patchwork…
So here’s the updated grand tour and a look at our crazy cool basement! Oh and I’ve determined a blog reader ranking based on this blog post…
If you skim this post, you are a fabulously awesome blog reader
If you read this post in it’s entirety and skim the images, you are an avid blog follower and I adore you
If you read this post, study the images and attempt to understand the renovation, you will be crowned “Mrs/Mr. Wonderland”
If you read this post, study the images and actually understand the entire renovation, you are hired. For real.
Foyer
Before!
NOW!
Living Room
Before!
NOW!
Kitchen (Formerly the Dining Room)
Before!
NOW!
Family Room (Formerly the Butler’s Pantry/Kitchen)
Before!
NOW!
We decided to frame out the section where we removed the butler’s pantry and dumbwaiter to create a walk-in pantry!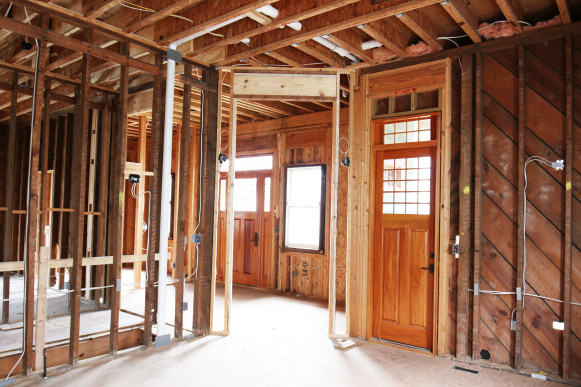
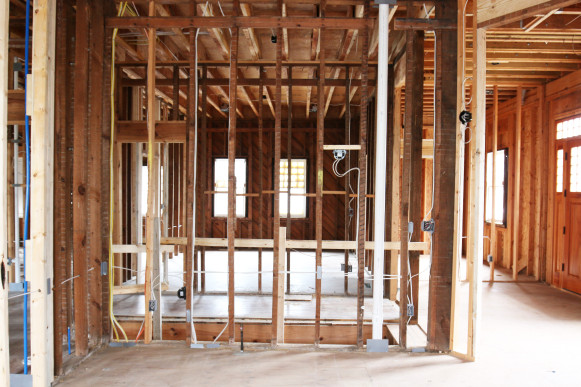
Mud Room (front) / Laundry Room (back)
(Formerly the Breakfast Room (front) and Guest Bathroom (back)
Before!
NOW!
Main Hallway
Before!
NOW!
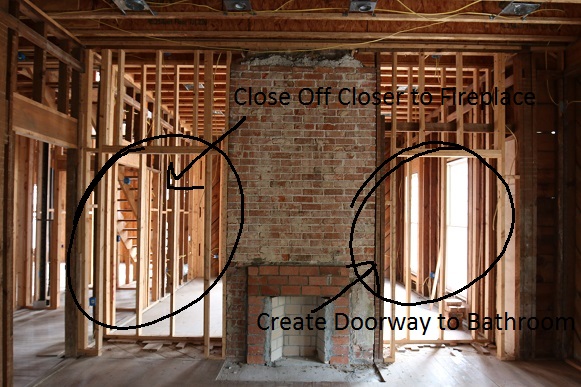
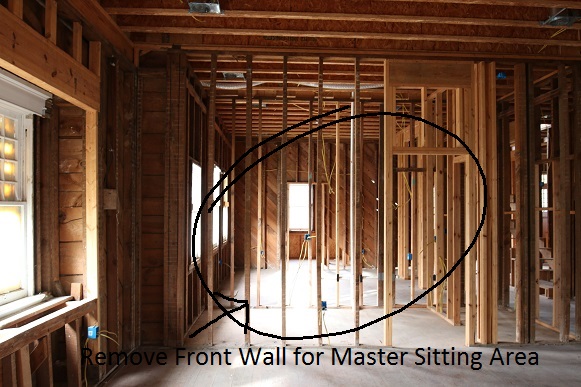
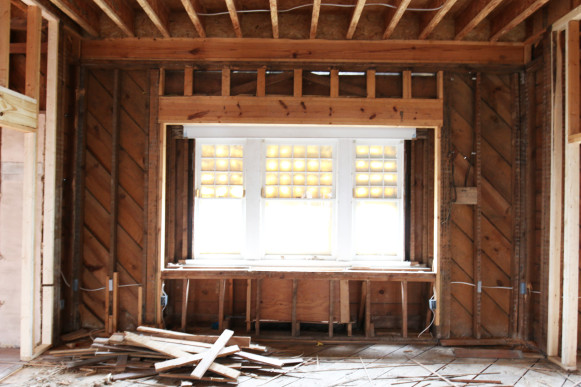
Master Bedroom (Formerly Secondary Bedroom)
Before!
NOW!
Master Closet (Formerly Another Secondary Bedroom)
Before!
This image again because the closet is the room in the back behind the sitting area…
NOW!
Yea, I changed my mind after the wall came down and decided for them to re-build it and place the door on the lefthand side. Oops!
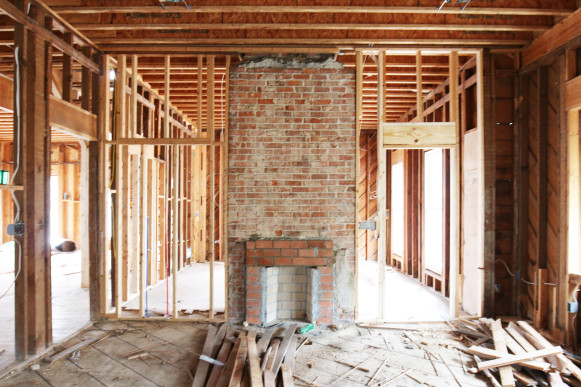
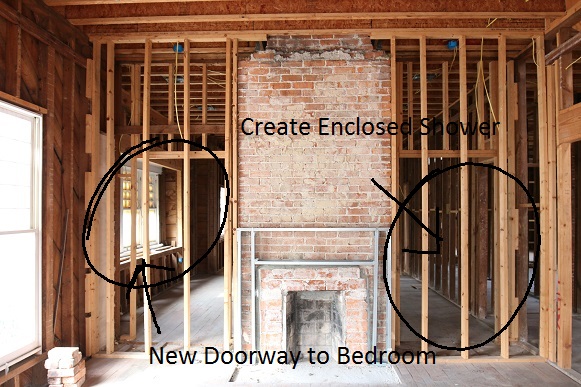
Master Bathroom (Formerly Office/Library)
Before!
NOW!
 We decided to swap the new door frame-out to the other side to create a shower enclosure on the righthand side.
SECOND STORY
Playroom/Kid’s Media Room (Formerly the Master Bedroom)
Before!
NOW!
Kid’s Desk Area/Craft Area (Formerly the Master Sitting Room)
Before!
NOW!
From the other side…
Addison’s Bedroom (Formerly the Master “Gym”)
Before!
NOW!
Winter’s Bedroom (Formerly the Master Bathroom)
Before!
NOW!
I only took an “after” image of the bathroom build-out since the other window view hasn’t changed other than vents and electrical wiring.
Guest Bedroom/Bathroom
Before!
NOW!
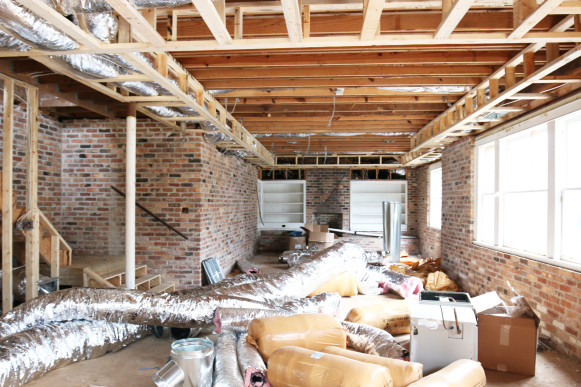
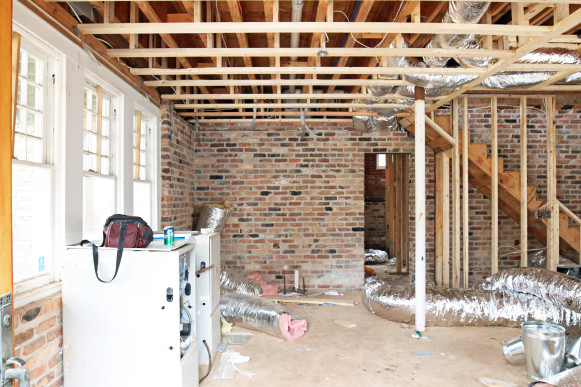
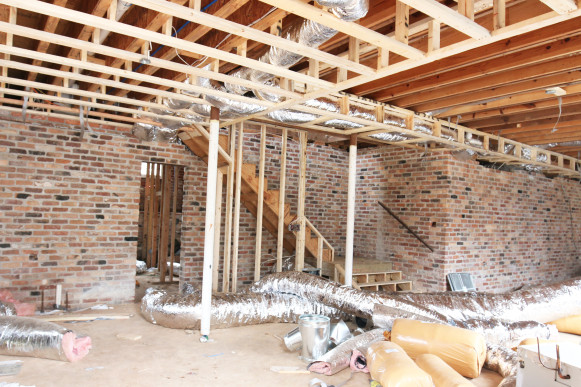
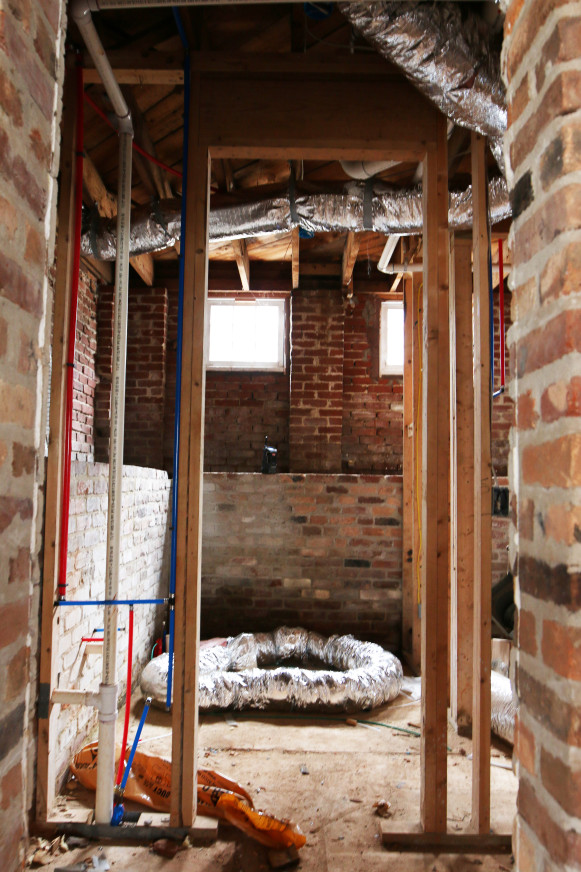
And the BASEMENT! (Never Before Posted!)
A full exterior tour coming to the blog next week!
XOXO, Brittany Hayes
+ view the comments
