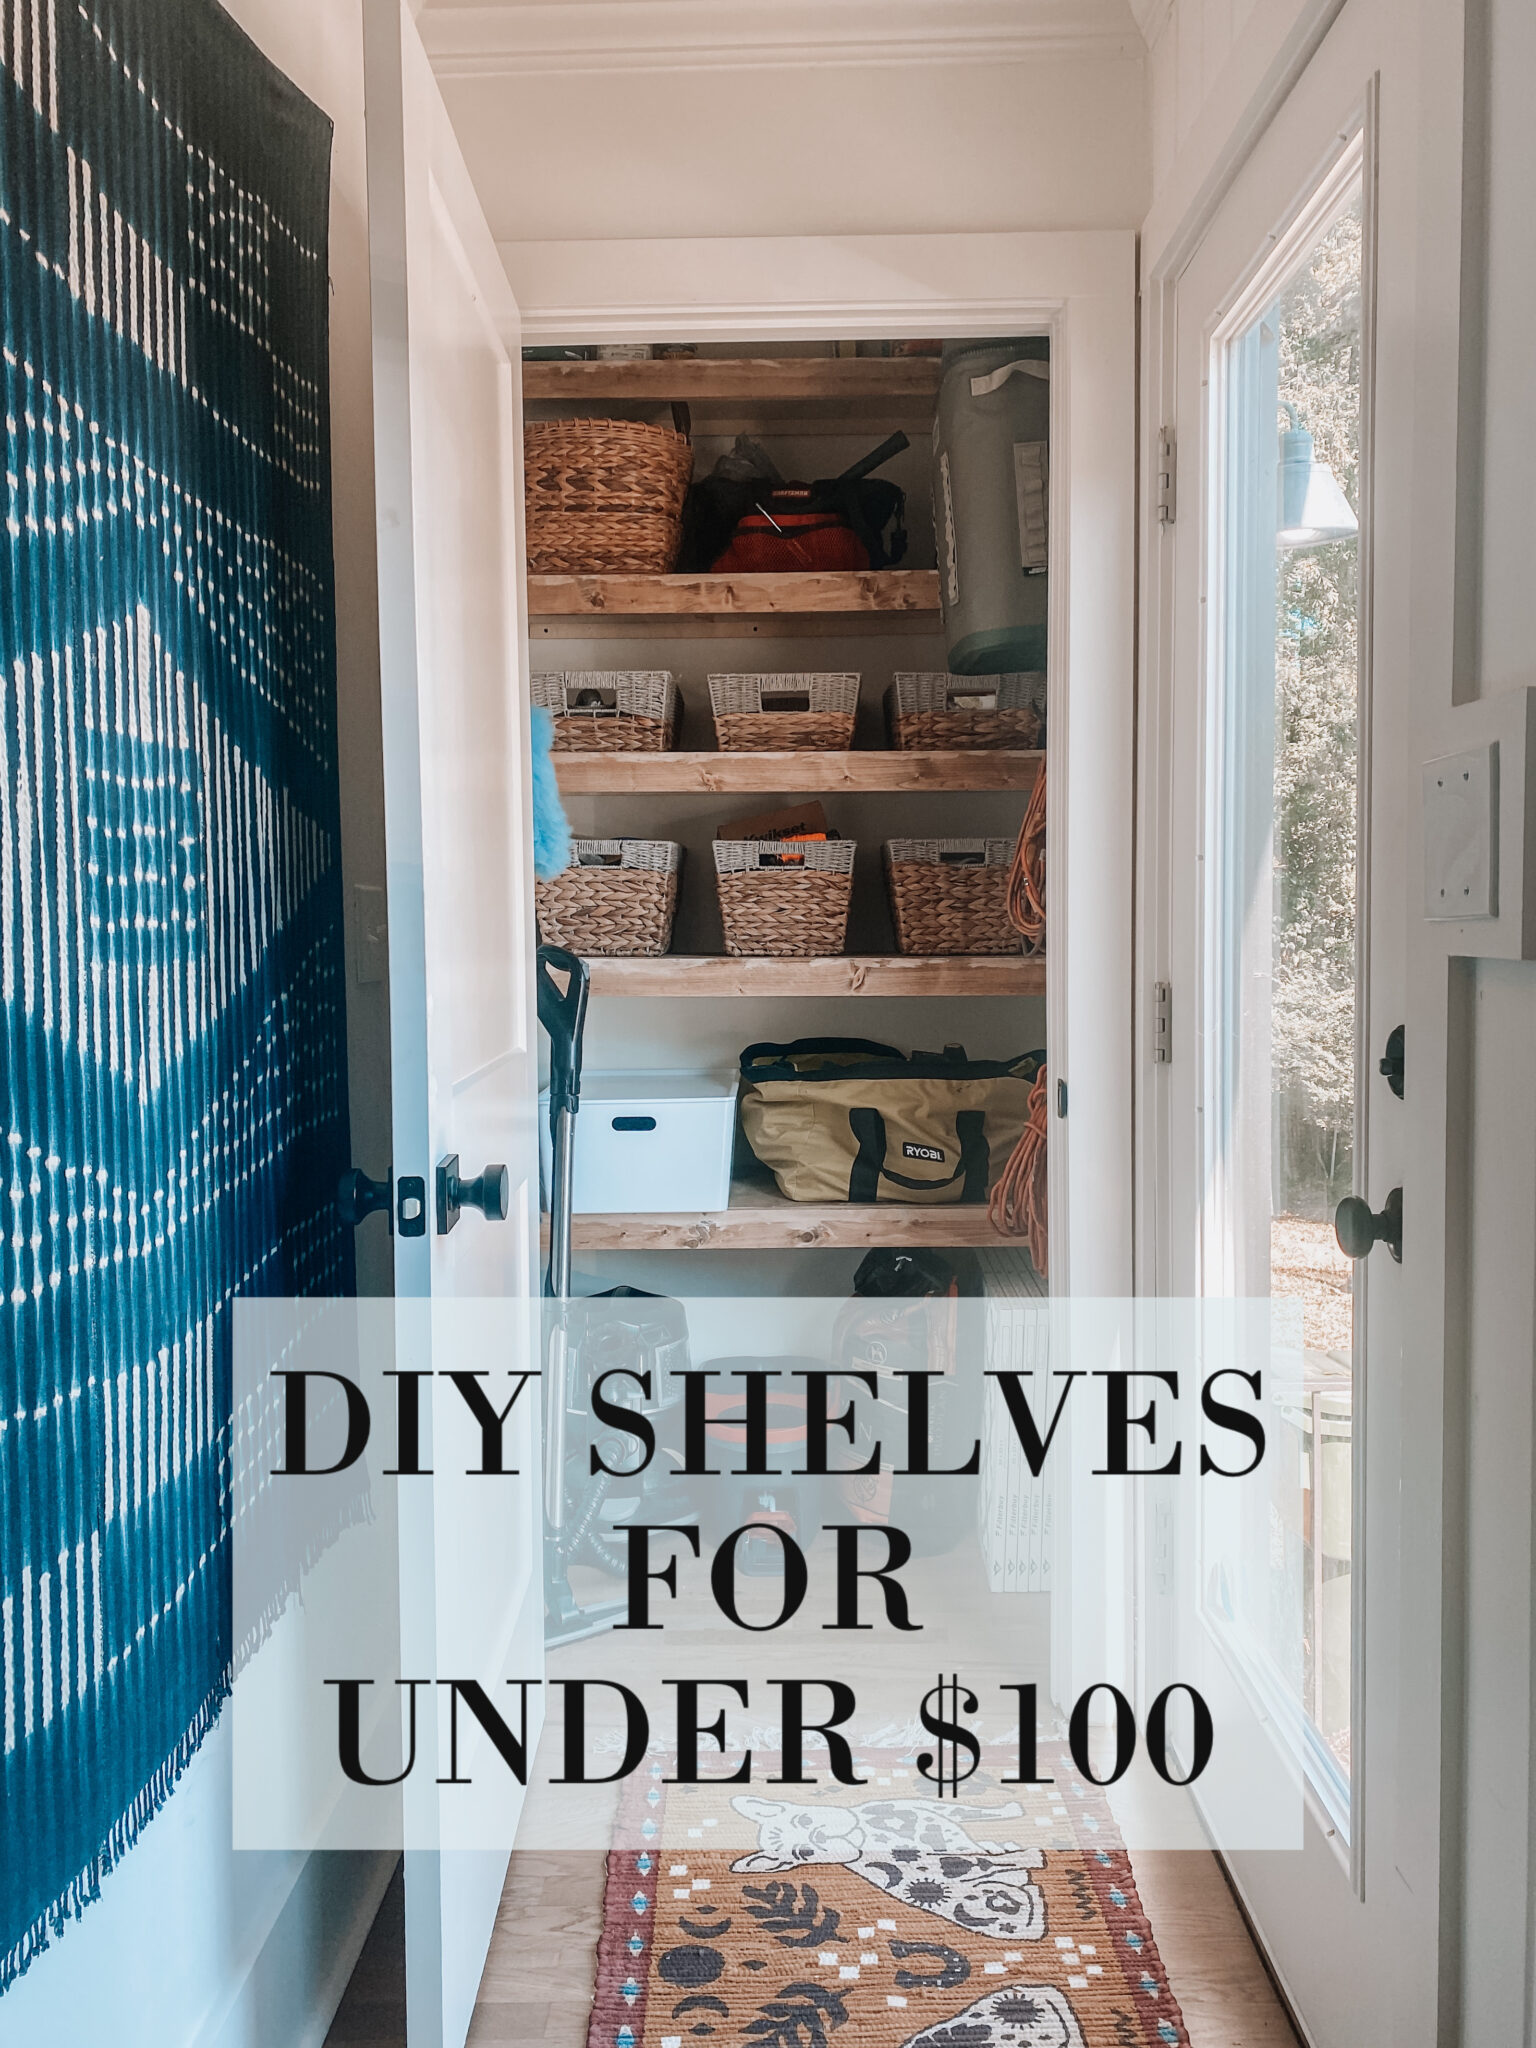
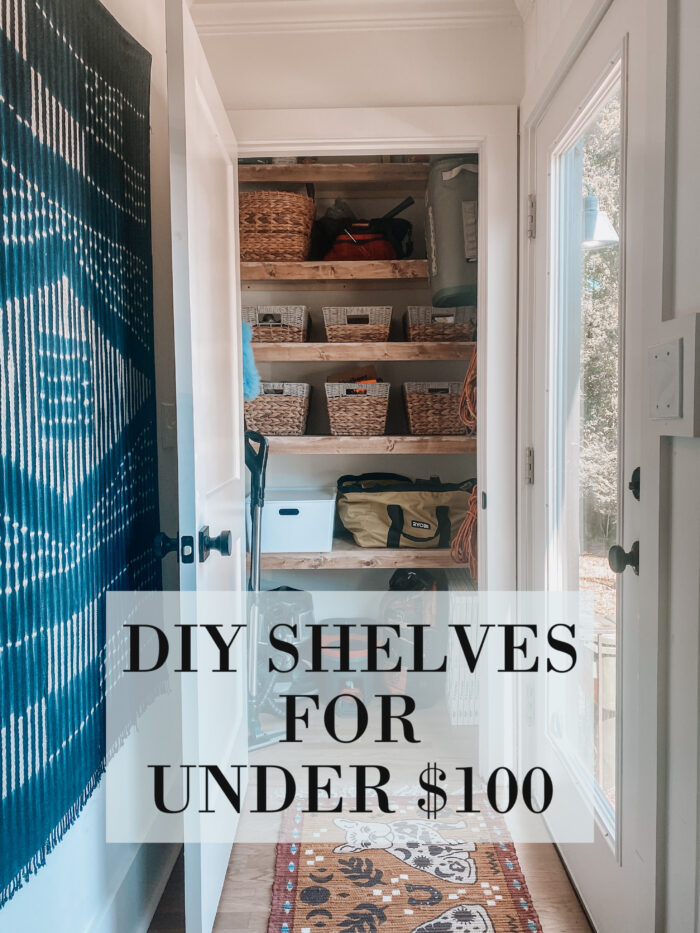
Today on the blog we do not have the “sexiest” before and after BUT by the end of this post I promise you will have the ability to confidently build your own shelves for those pesky utility closets. I have been putting this project off for quite a while because I was dreading it taking me an entire weekend. For some reason, the simplest projects sometimes feel the most daunting. HOWEVER, these shelves ended up taking me around 2 hours to build and they were SO inexpensive. This is just a simple utility closet so I was not super interested in making a huge statement with it but the same concept for these shelves could be used in an assortment of different closets with a different finish depending on the look you are wanting to achieve!
Material Needed
One Sheet of Sanded Plywood
Two 10 Foot 1X3s
Wood Screws
Trim Nails
A Nail Gun (click HERE for the one I use… It’s battery powered!!!!)
A Drill (click HERE for the one I use)
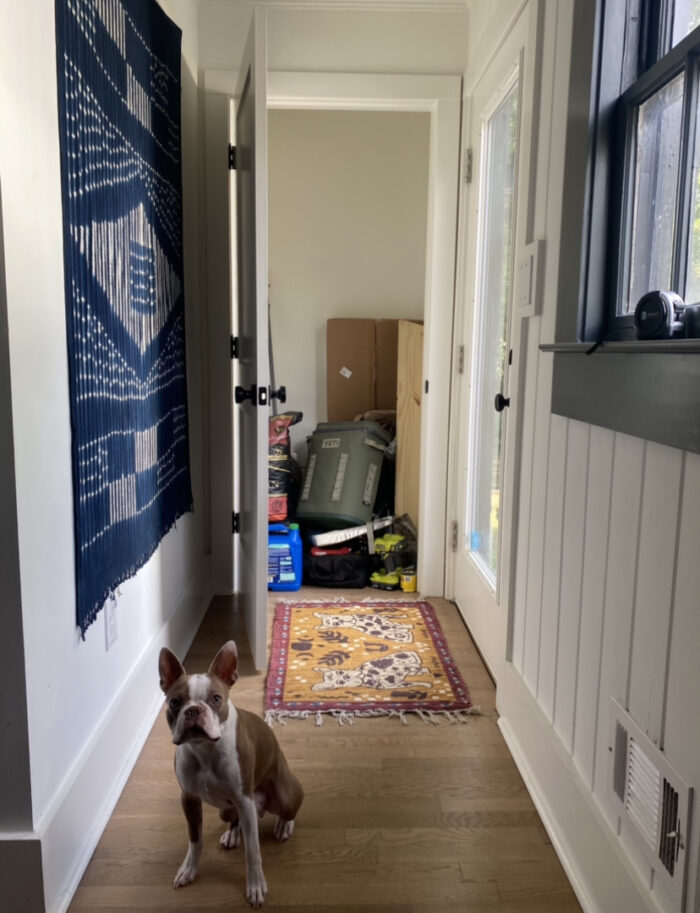
How It Started…
Planning
First step is to lay out your shelf depth. For my layout, I did one 12 inch shelf, one 16 inch shelf, and three 18 inch shelves. That left me with a 14 inch segment left over to strip down for bracing. The plywood comes in 4X8 sheets so I was able to have the guy at our local Home Depot cut my board down into these widths. I highly recommend this because it is much easier to work with small segments of the plywood board.
Essentially each piece that he cut (from the single piece of plywood) measured like this:
12″ X 48″
14″ X 48″
16″ X 48″
and three at 18″ X 48″
Building the Braces
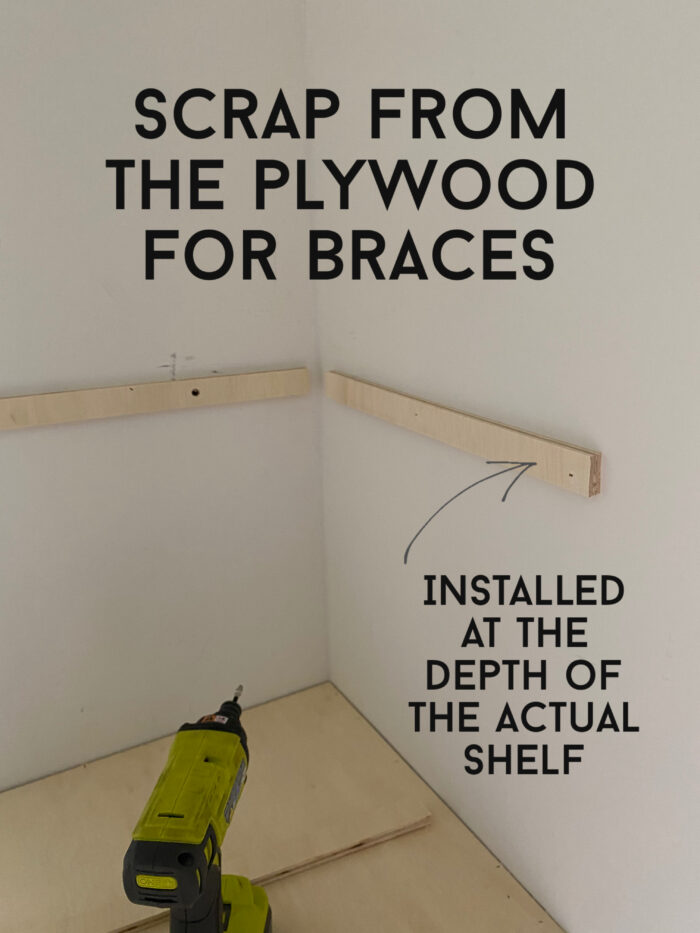
With the “scrap” piece of plywood (the 14″X48″ piece I had left over) I built the braces for each shelf. I cut it down into 1 & 1/4″ strips and trimmed them down to the depth/width of the shelf I was bracing. MAKE SURE YOU HIT A STUD WHEN YOU ARE SECURING THESE BRACES. There are plenty of cheap stud finders that are super helpful for this. Once I sunk a screw into a stud in the wall, I tacked the remainder of the brace with trim nails to keep it secure. Also, side note that seems obvious but I want to make sure I say it, USE A LEVEL.
Set the Shelf
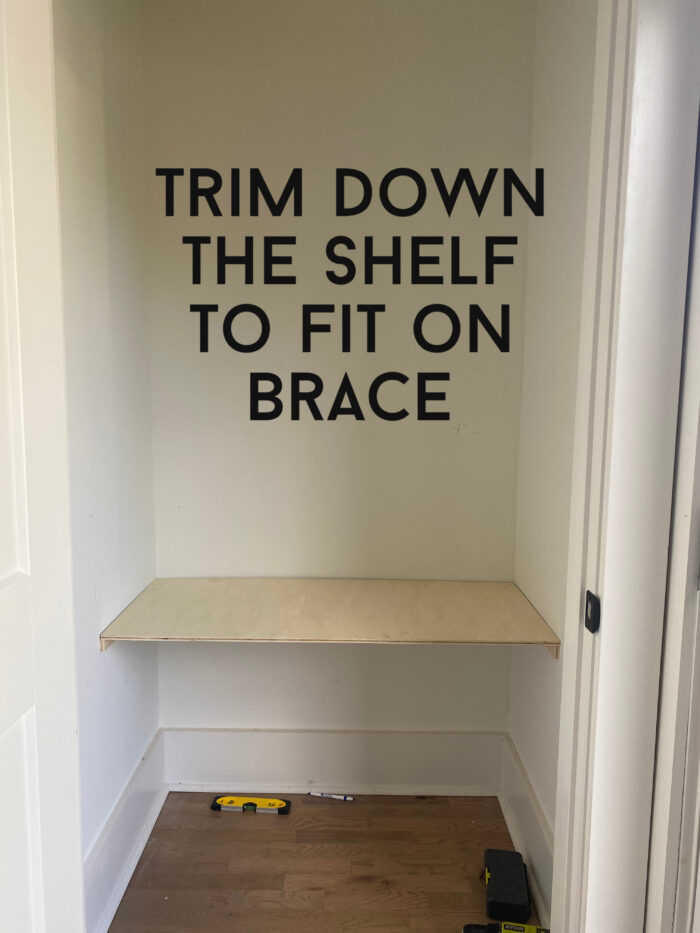
Next, take the coordinating piece of plywood and trim the width down to the width of your closet. My closet is 34 inches wide so, for the shelf pictured above, I trimmed one of the 18 inch boards down to 18″X34″. Once you do that, set the plywood on top of your brace and tack it down to the brace with the nail gun.
Add a Face to Your Shelf
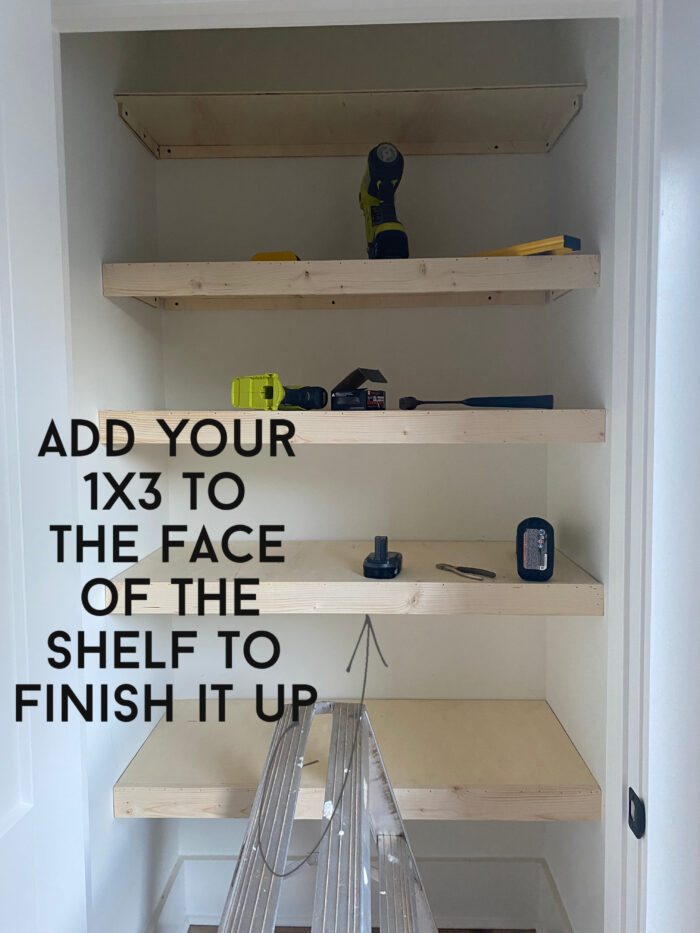
Once you finish building the braces and setting the shelves, it is time to pull out your 1X3s! Cut them down to the width of your closet and nail them to the front of your shelf. This will not only make the shelves look 10 times better, it will also help to make them more stable!
Finishing Touches
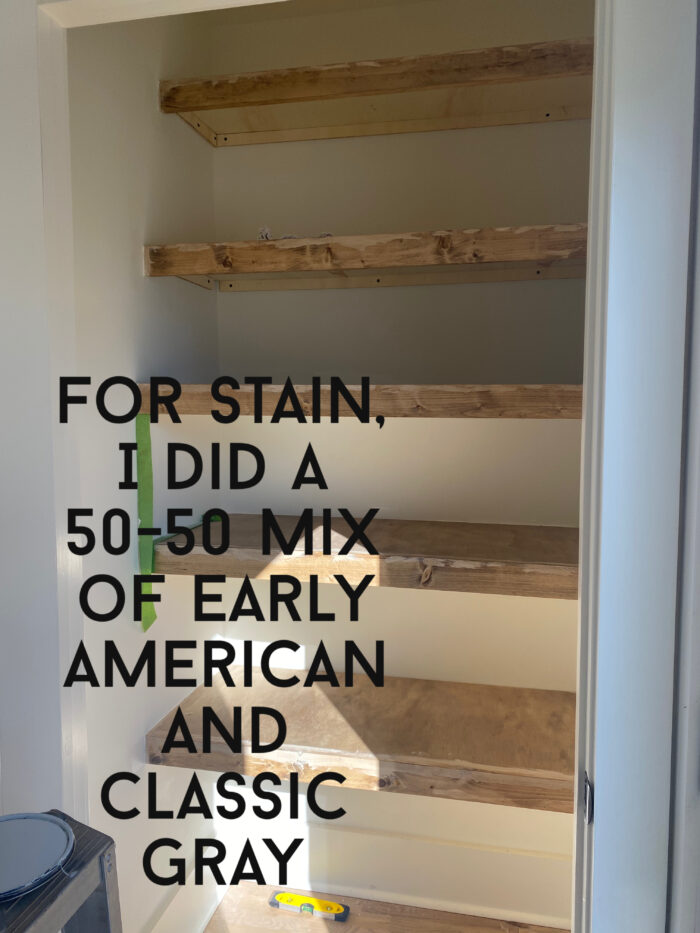
I wanted a rustic finish on my shelves BUT if you want them to be finished off clean, make sure to caulk the cracks and sand everything down before you paint. For stain, I use Minwax and I like the way that a 50/50 mix between Early American and Classic Gray looks.
And its as simple as that… Truly the easiest project that anyone is capable of! After I finished building, I installed some hooks for storage and added a few baskets to organize my tools. I have linked all of those items below!
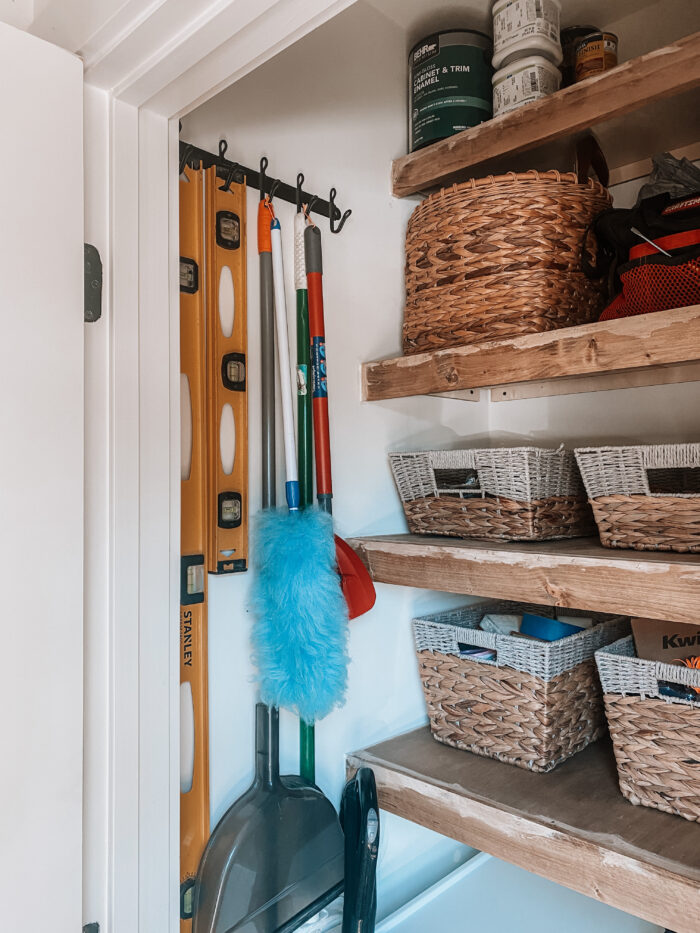
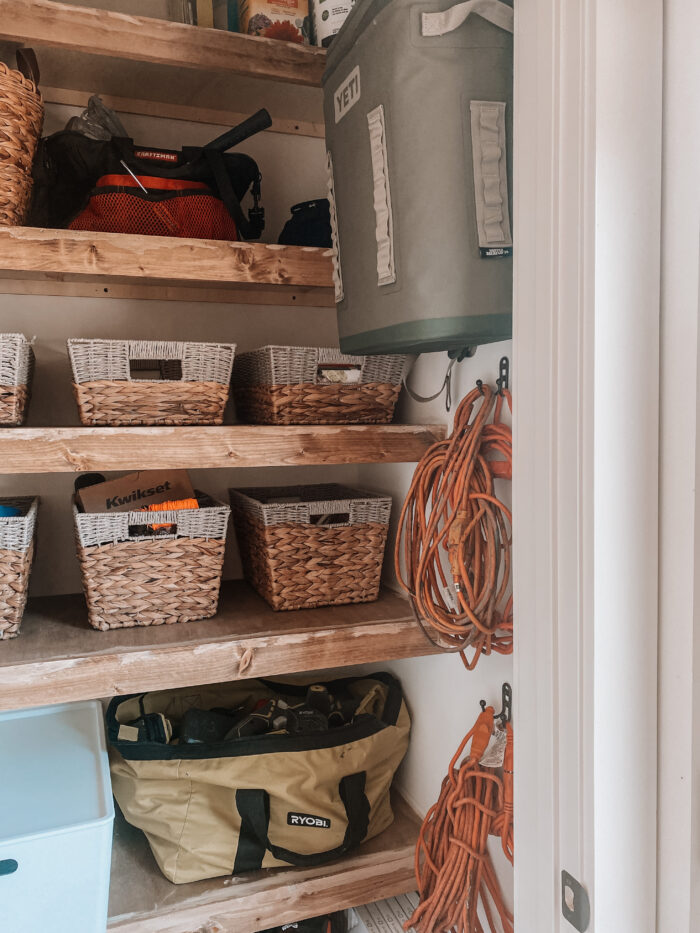
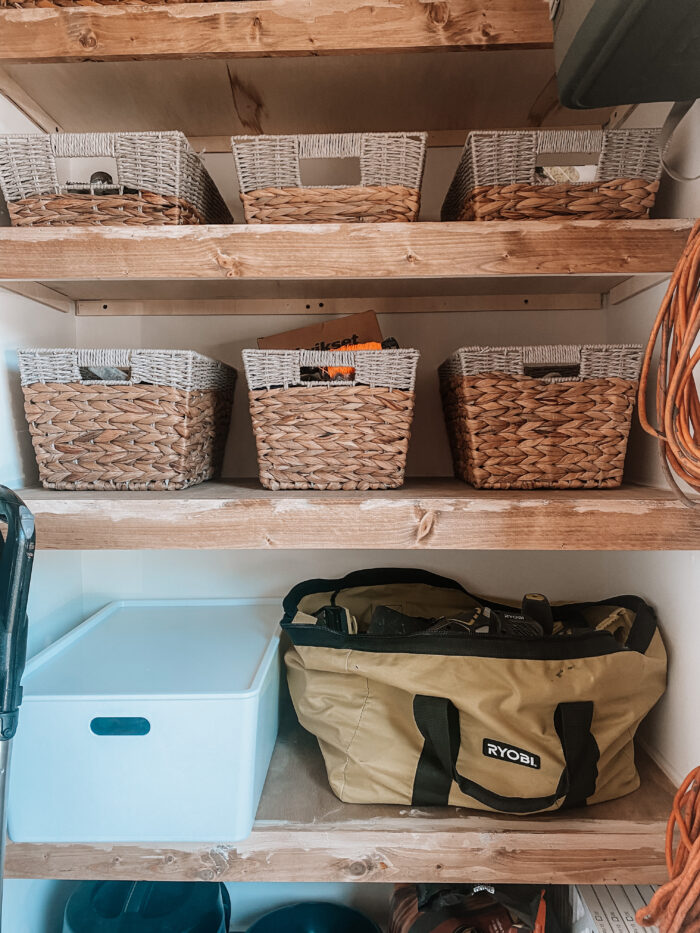
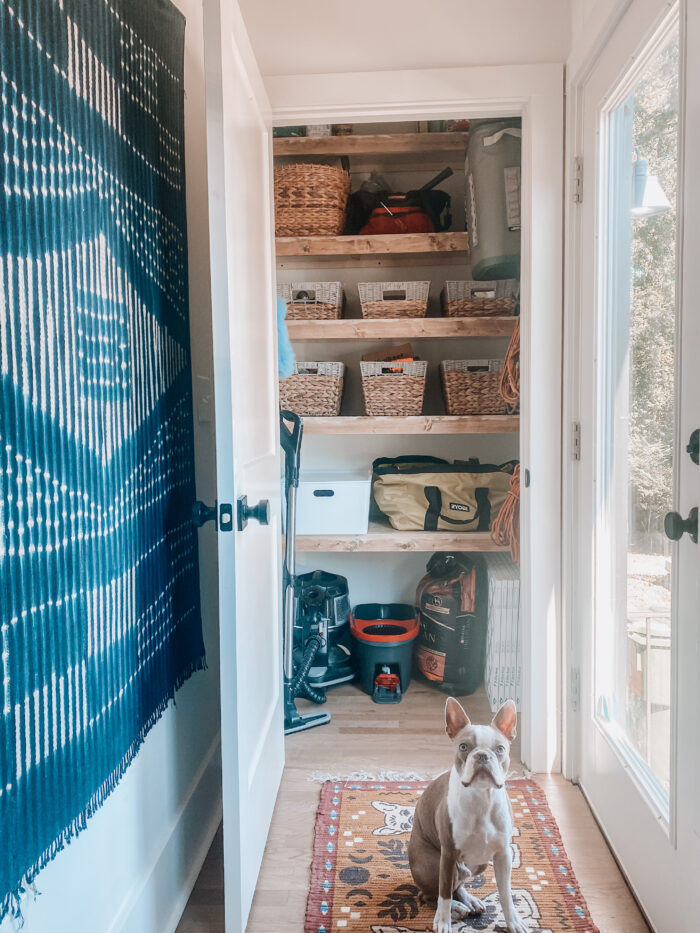
Hook Rack / Individual Hooks / Baskets
Let me know if you have any questions!! I am always happy to help!!
Carpe Diem,
AB
+ view the comments
