Addison's Wonderland

  • Blog
  • Shop
    • Fashion
    • Home Decor
    • Gift Boxes
    • Brick and Mortar
  • Stay
  • Design
  • About
    • Our Story
    • Contact
    • Press
  • Tour

October 19, 2015

Dream Porch Makeover- Part One

A little hint at what my porch dreams are made of…Vintage Porch Swing 6

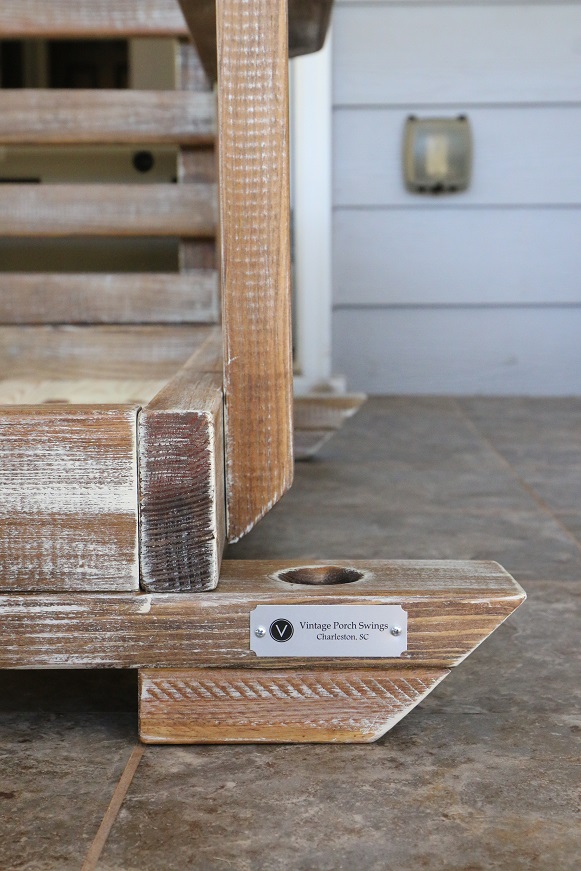
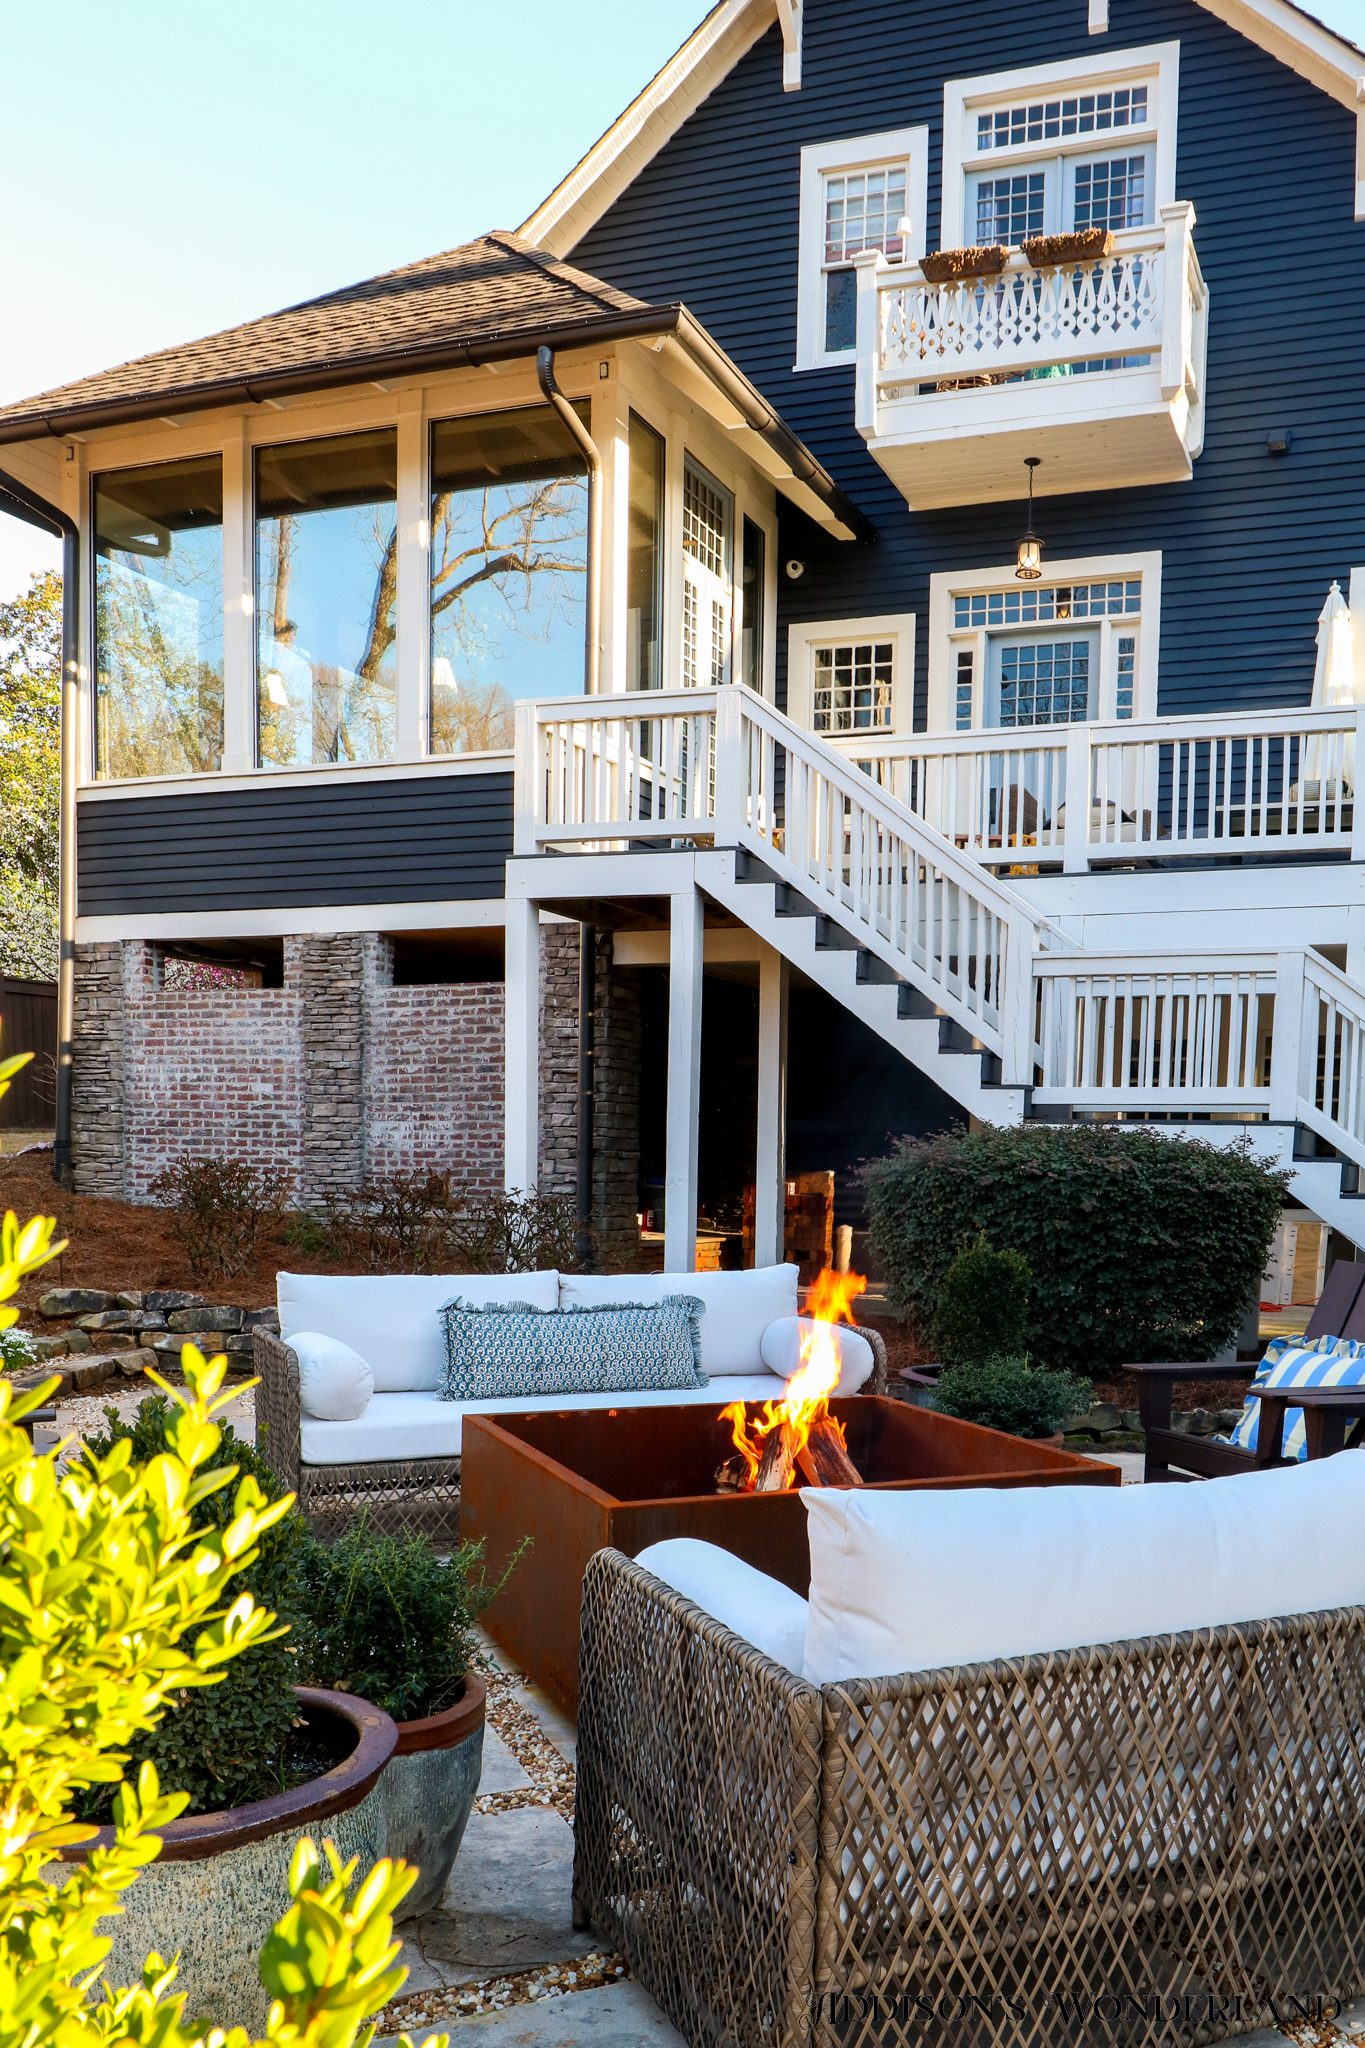
Our current back porch…

Back Porch 4L Back Porch 3L

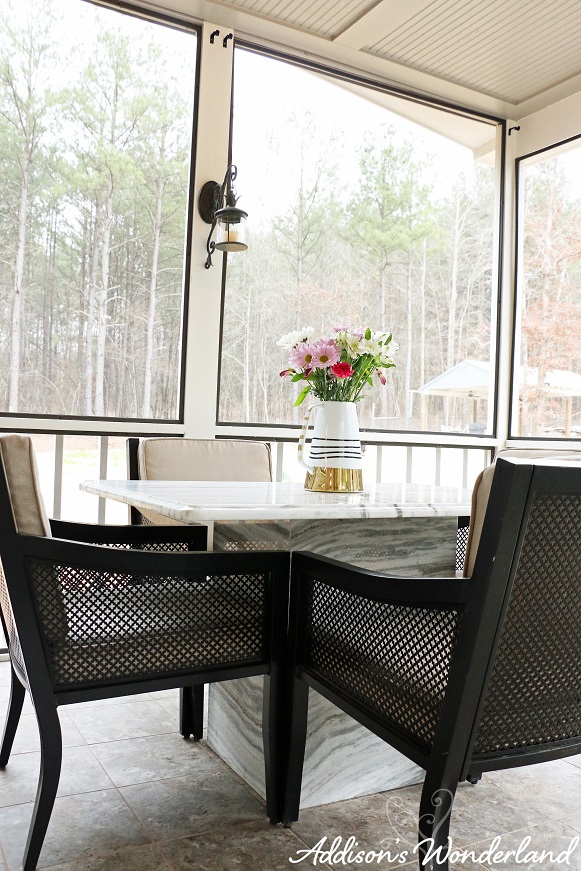
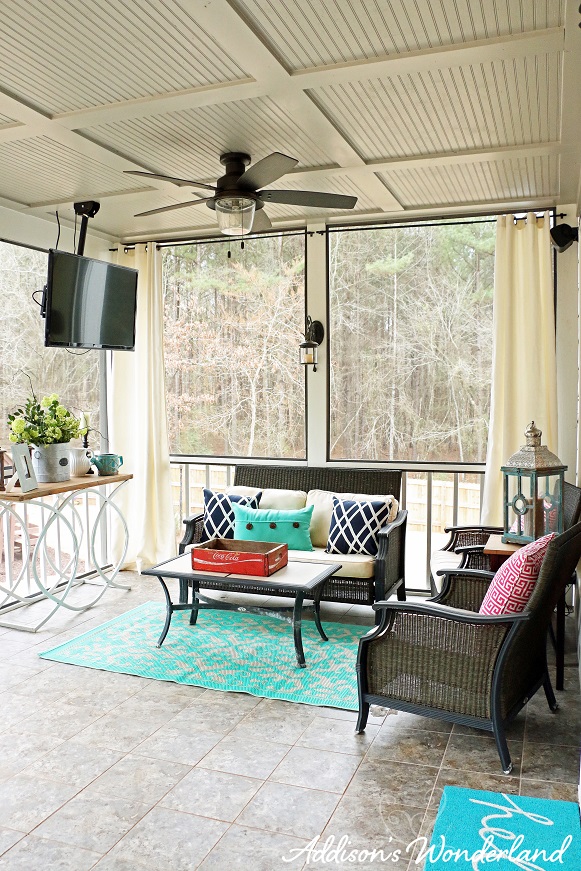
For more on our back porch seen above, Read “Back Porch Overhaul 4.0“

Okay, don’t get me wrong.  I love it.  I do.  But I have to admit that it’s more of a “make do with what you’ve got” space than a space that’s true to me and my style.  It was kind of a last minute “throw everything from our previous porch and pool area onto the porch and make it all work” moment.  And we made it pretty beautiful and have enjoyed it for almost two years now.

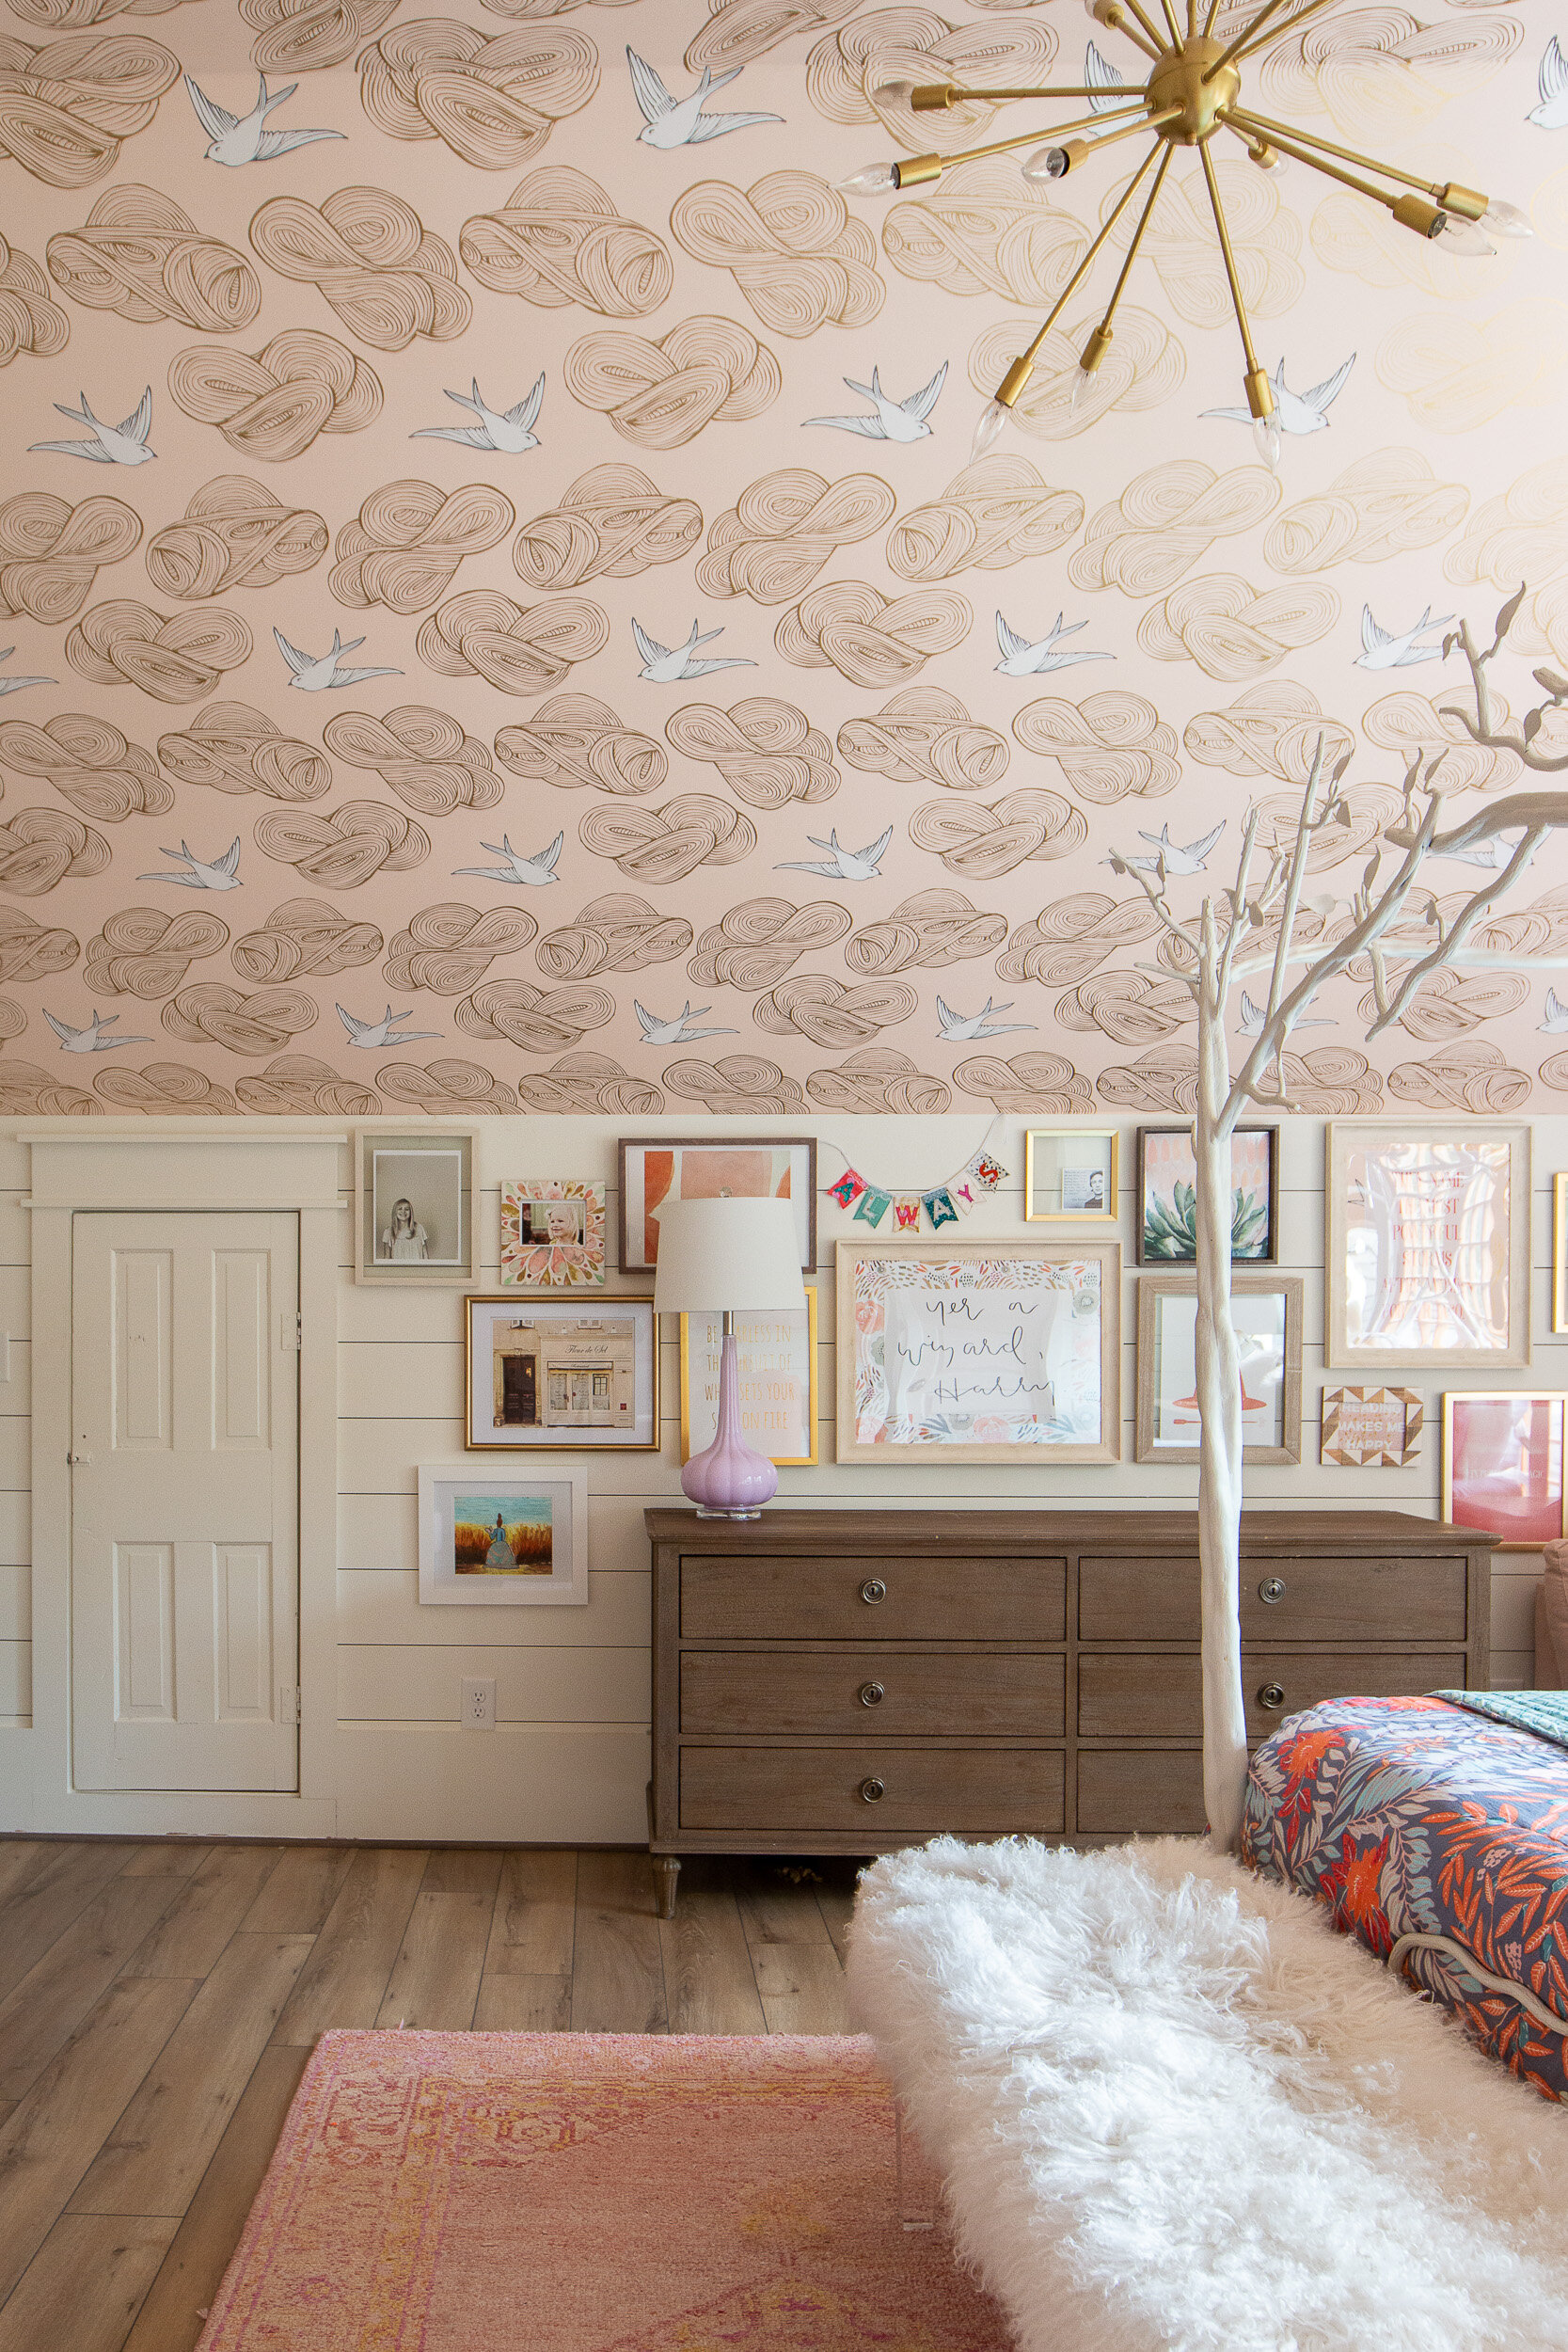
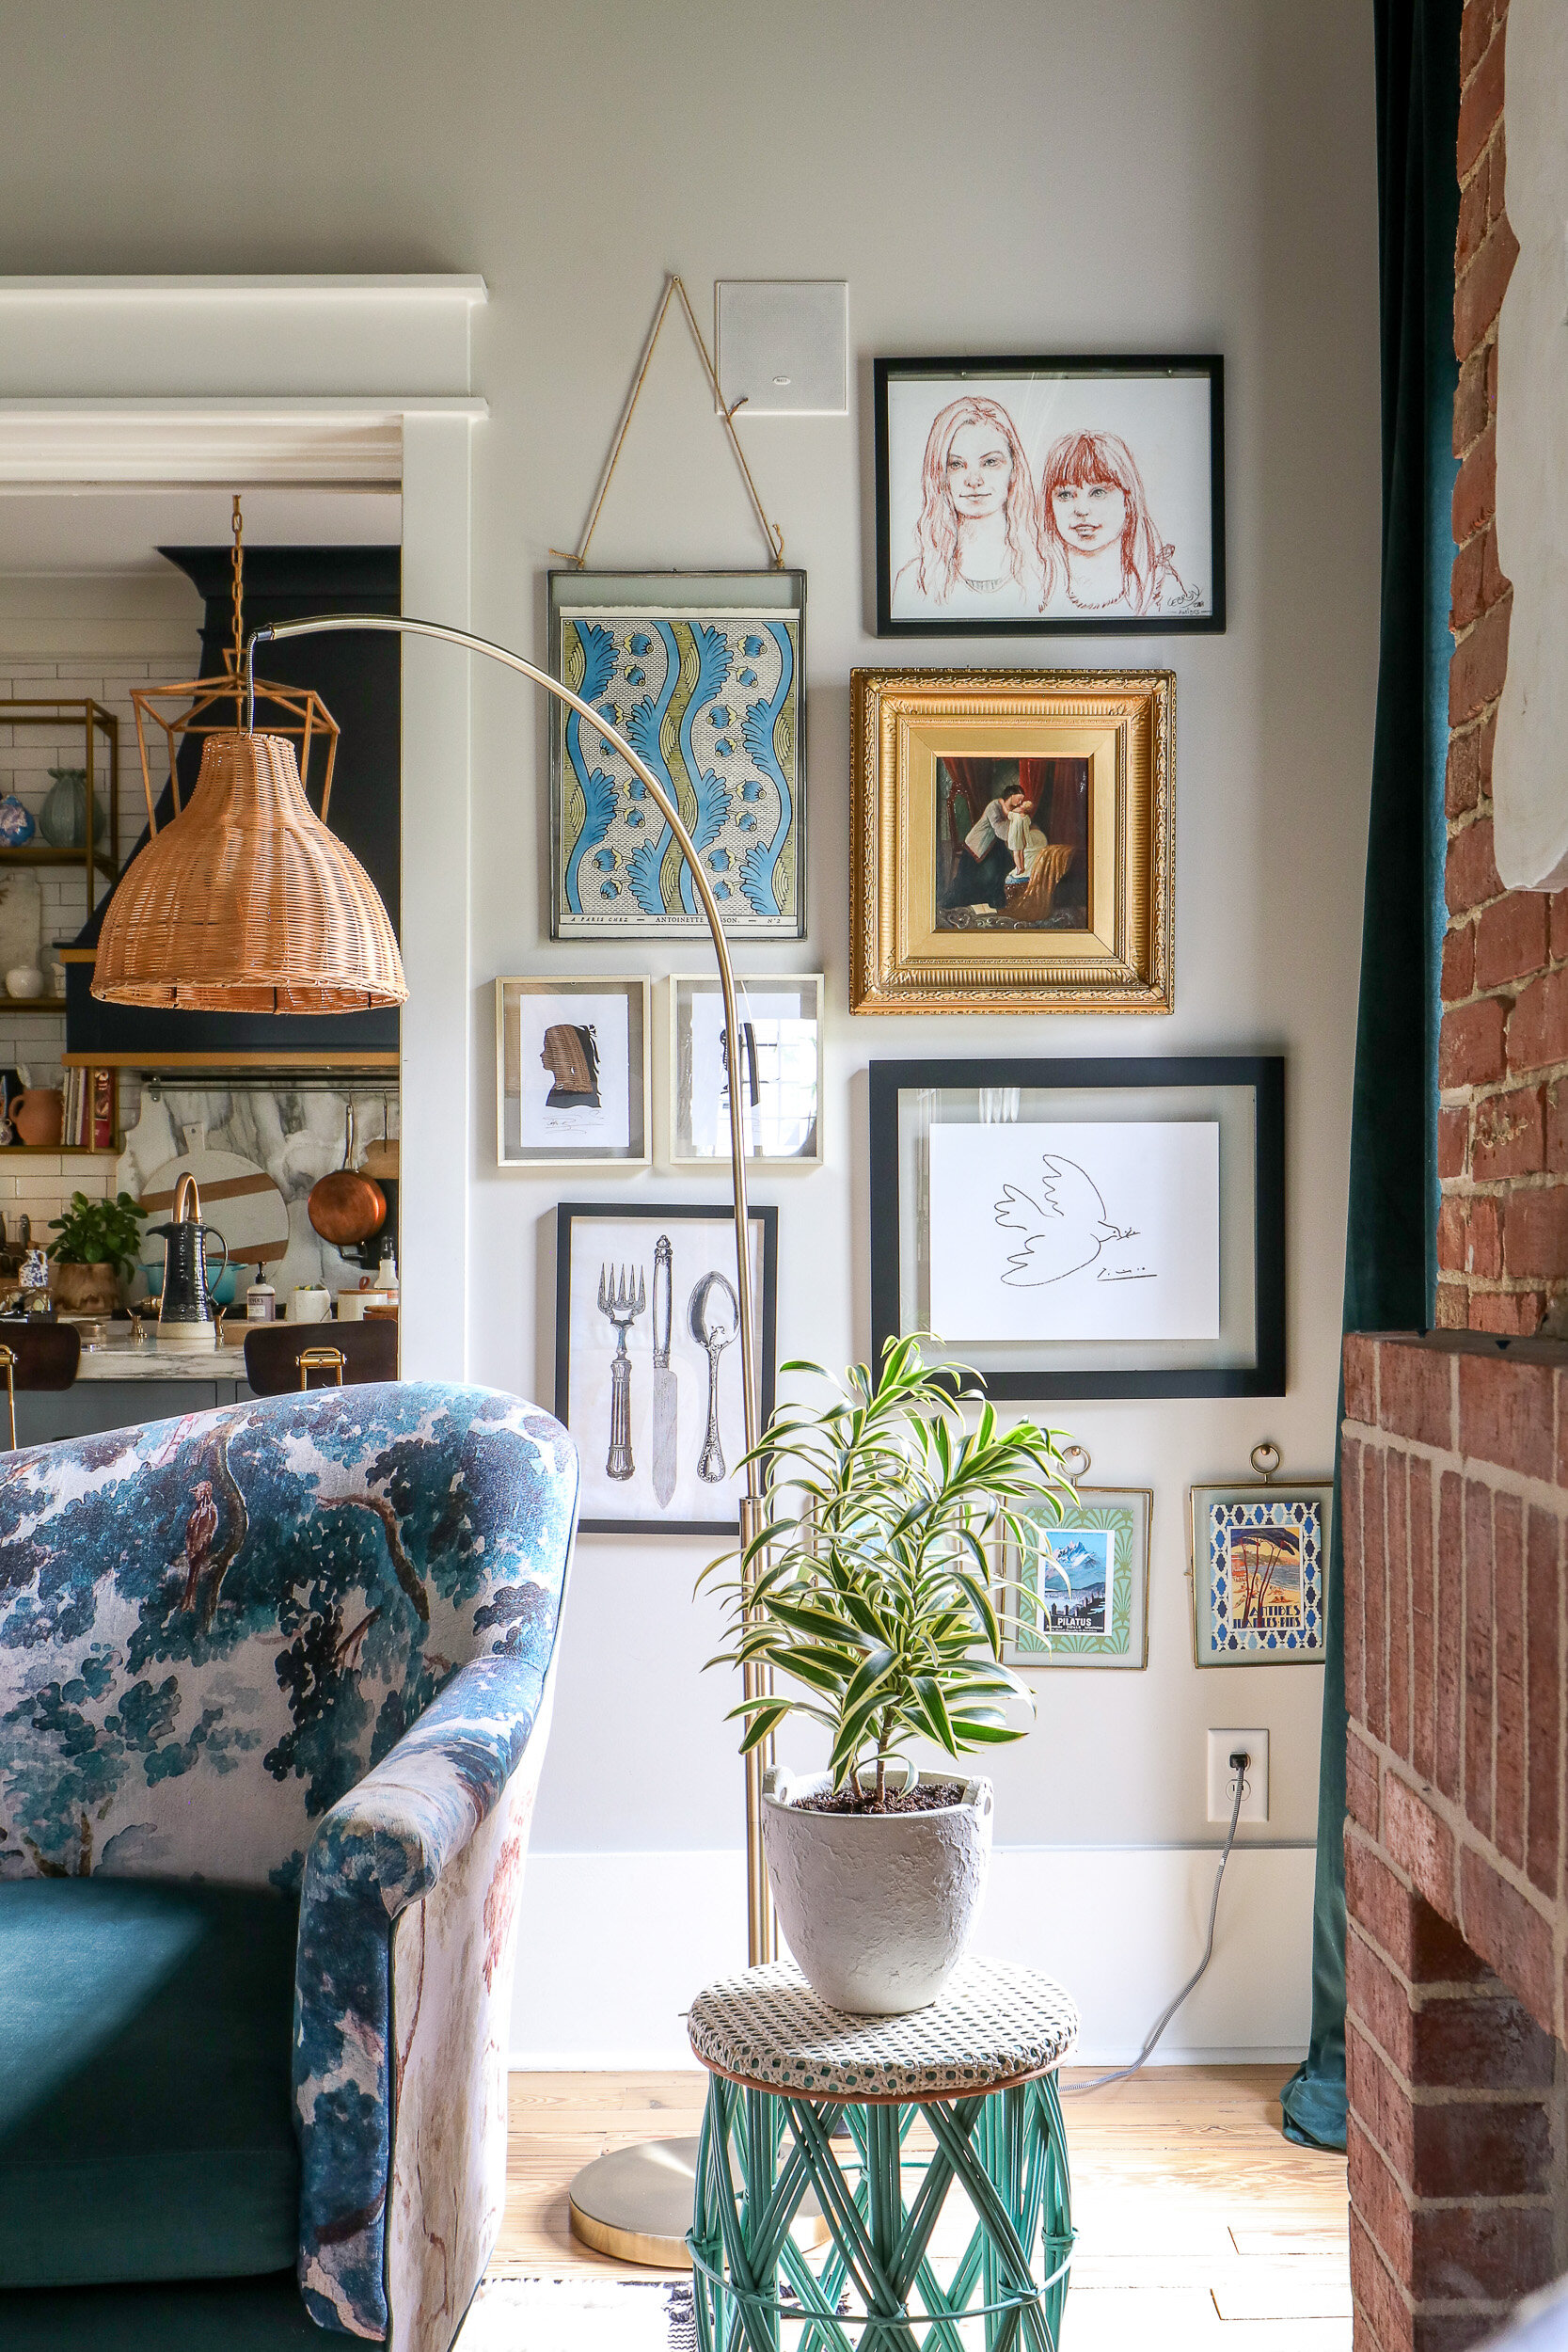
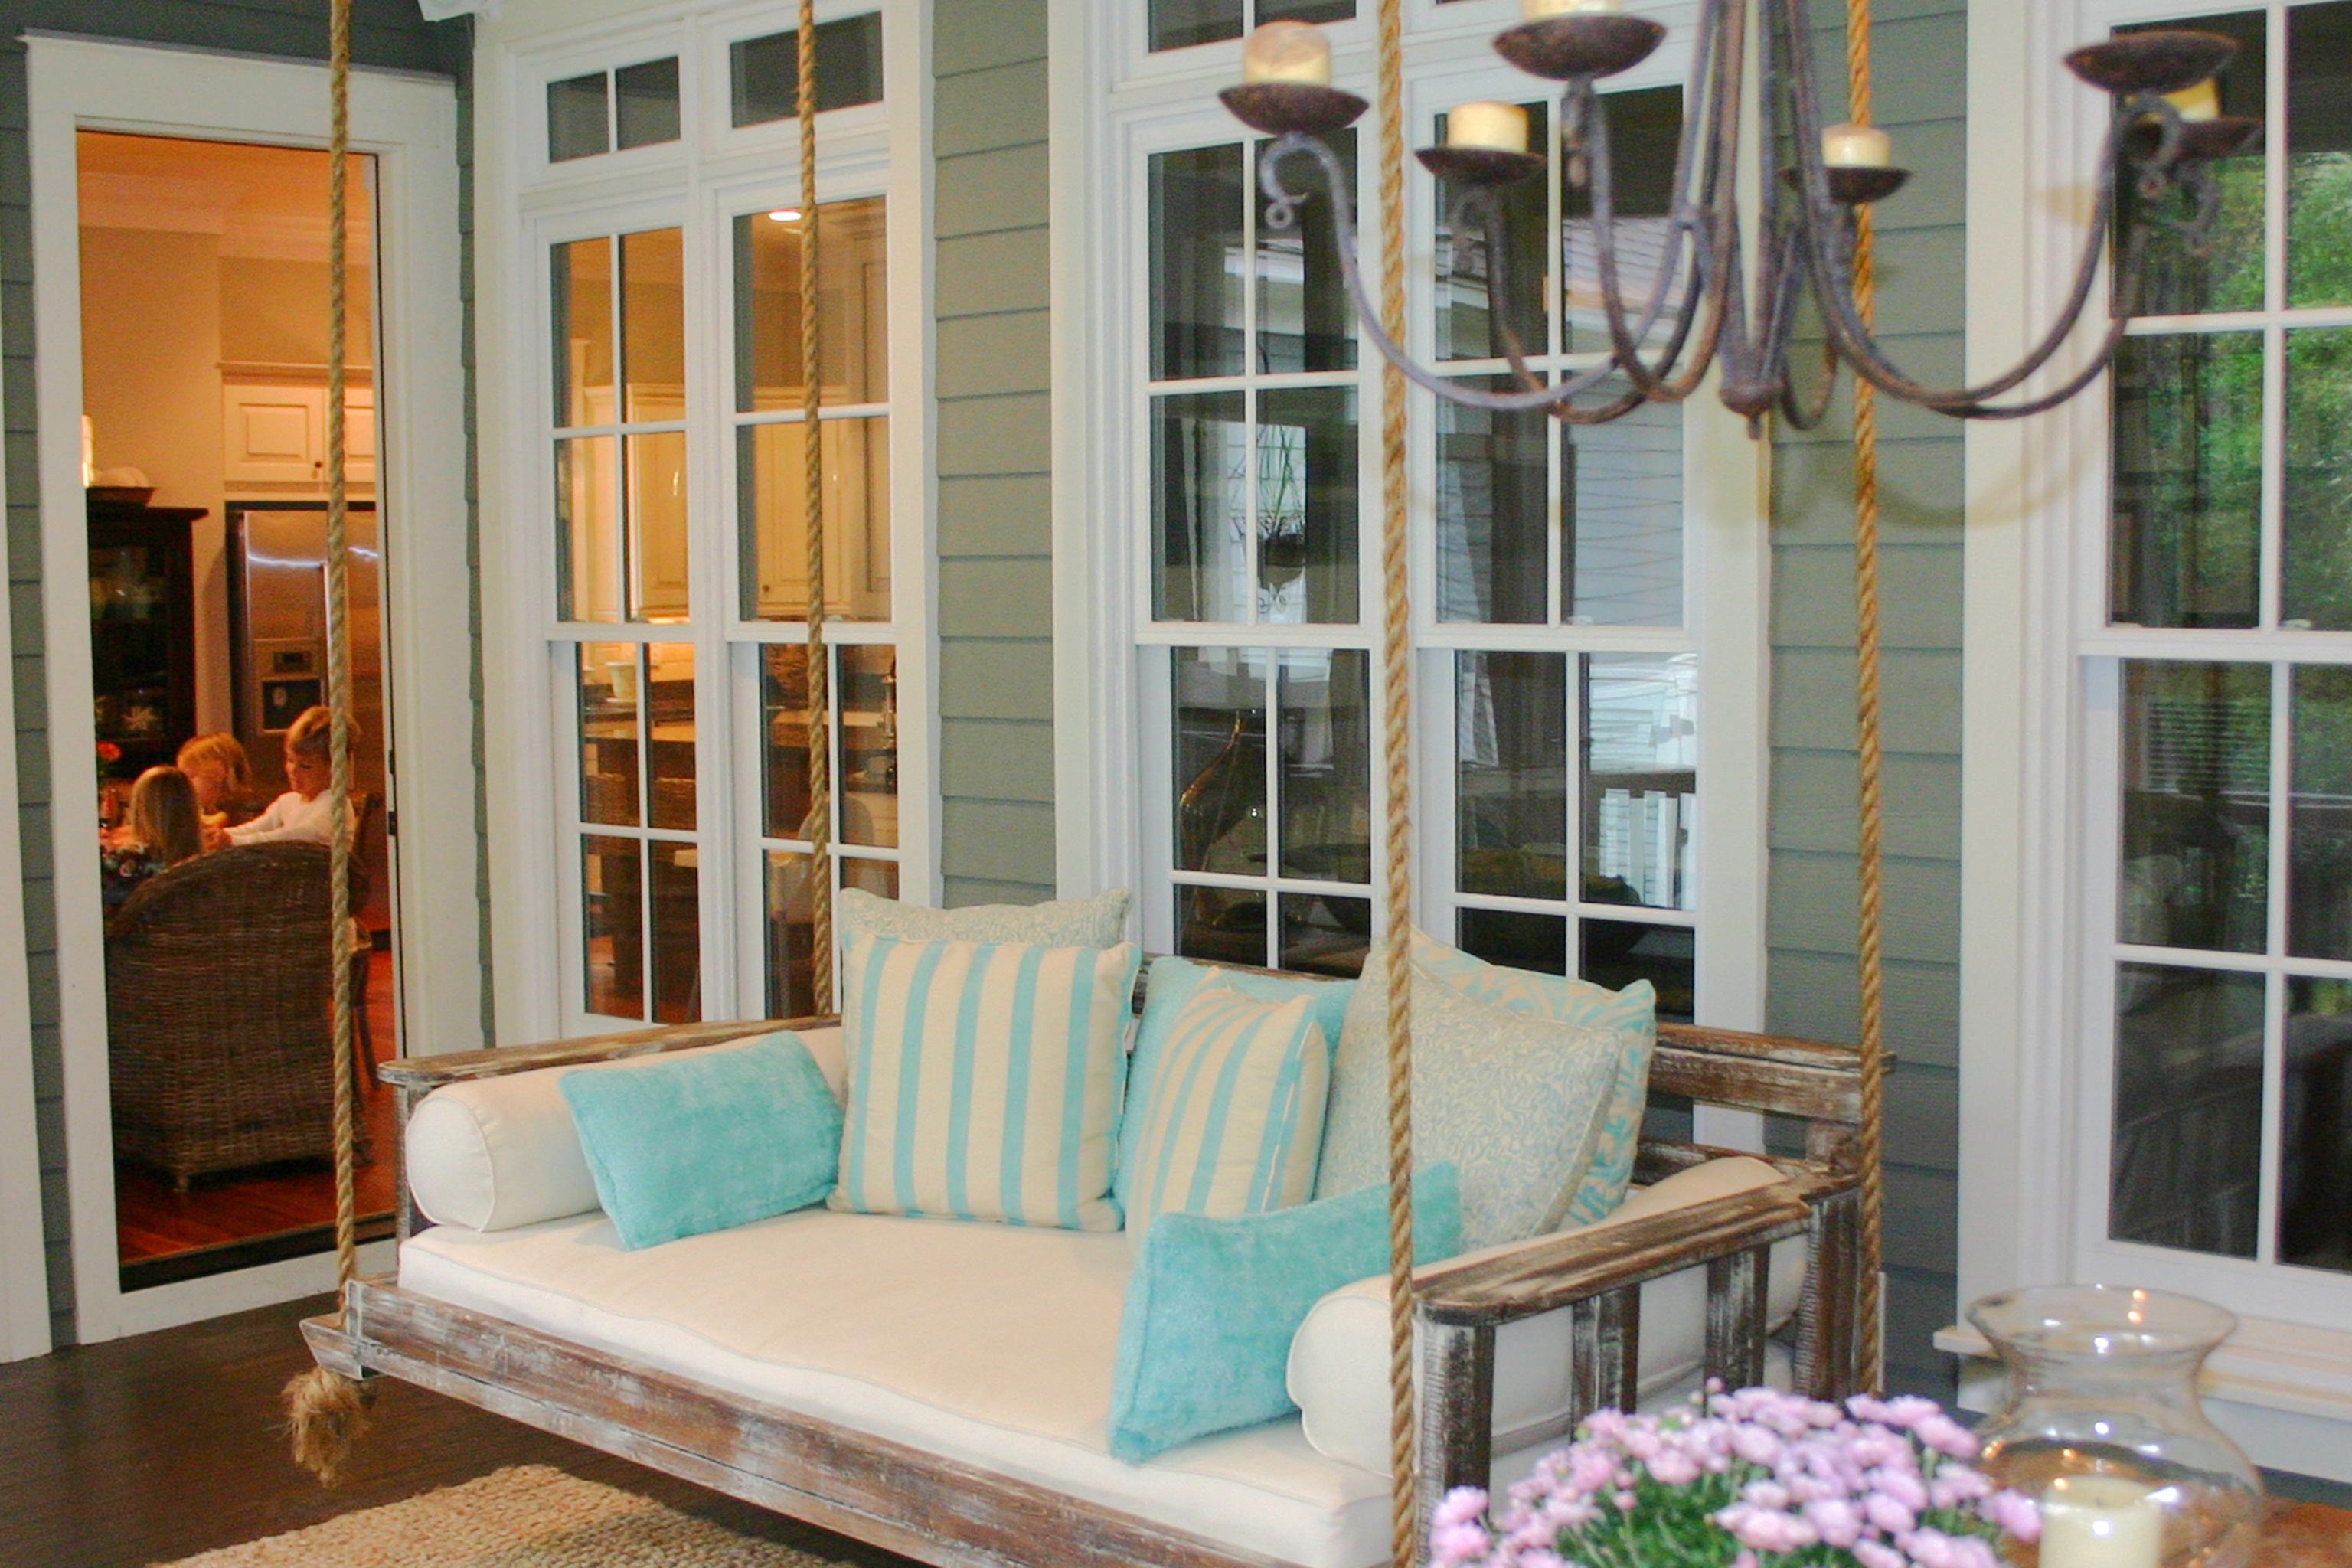
The time has finally come though for a big ol’ Addison’s Wonderland refresh with the help of my friends at Vintage Porch Swings in Charleston, South Carolina.  When you think of beautiful Southern porches, Charleston is one of the first areas that comes to mind.  My husband and I absolutely adore Historic Charleston and have always dreamed of moving there one day.  The long, tall colorful homes with huge welcoming front porches are just beaming with Southern charm.  Seeing as though we live in the country AND are in the South, I wanted to bring this same dreamy “Southern Living” style to our home as well.  I can see it now…  Mark and I enjoying a glass of wine on the swing while our girls run through the wide open field giggling with sundresses on and long flowing hair…  Okay just admit it, you saw it too and now you are imaging where you’d put one!  Here are some examples of their amazing porch swings so you can get an idea of my vision…

Vintage Porch Swings

Hayden in her glory

Hayden Porch Swing

7-

Emerson Porch Swing

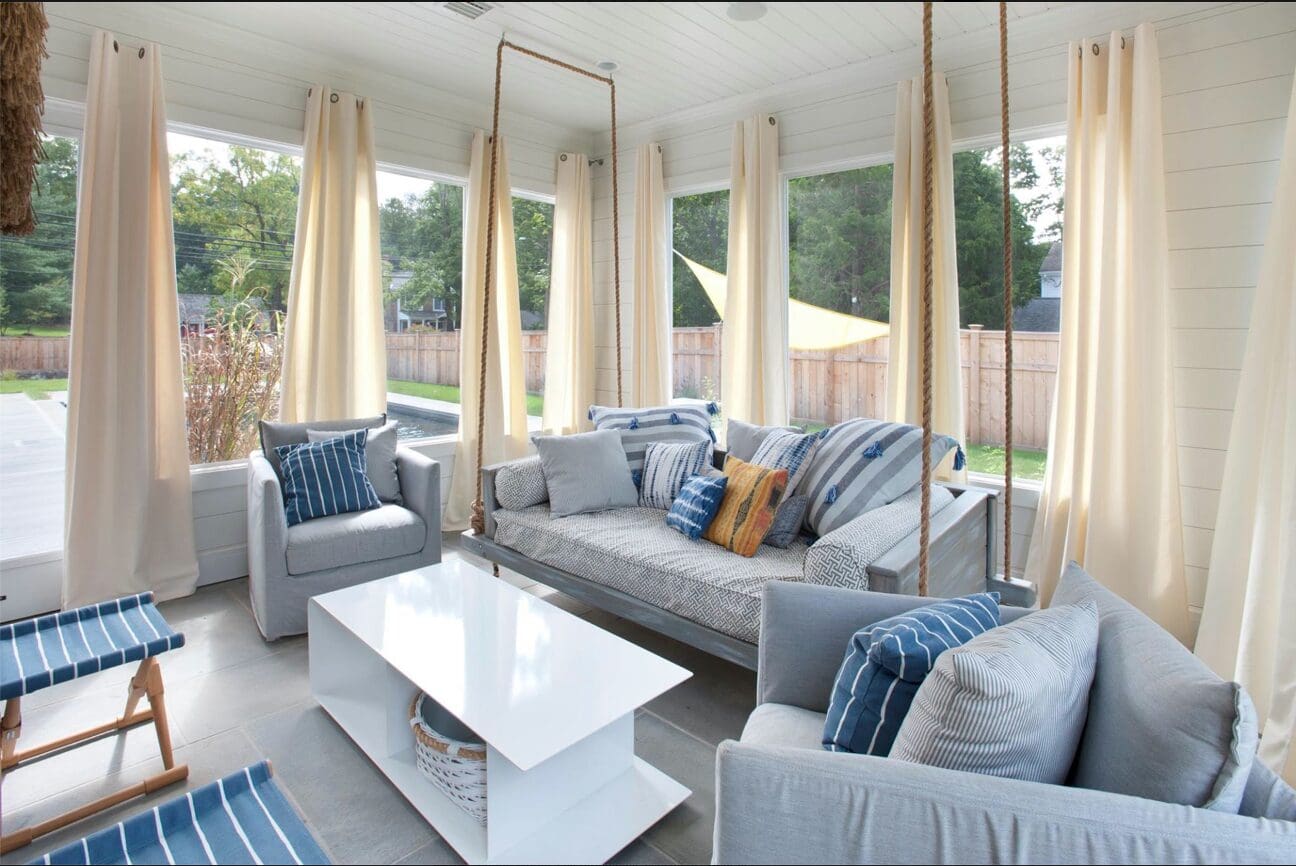
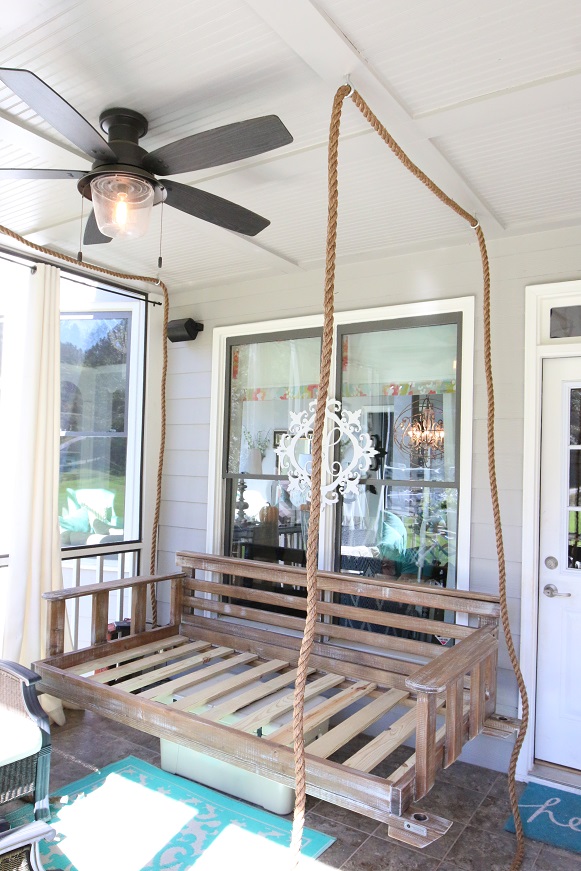
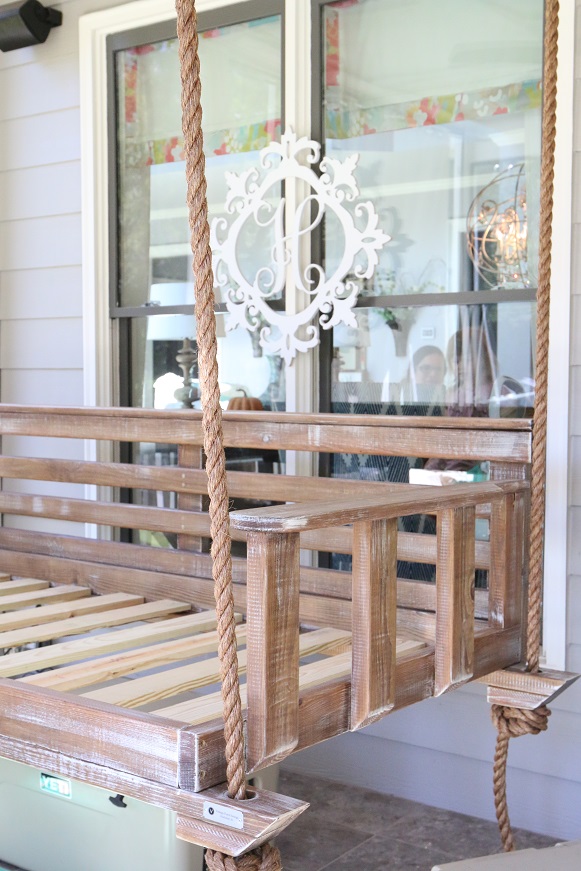
Wowzers, right?!?  I took one look at some of these images and my heart was set on having one in our home.  And I knew just the place!  So after pondering over all of the beautiful styles, I chose this one…

NewNoah_0008_2014-10-13 Noah Weathered Wood 2

Noah Porch Swing

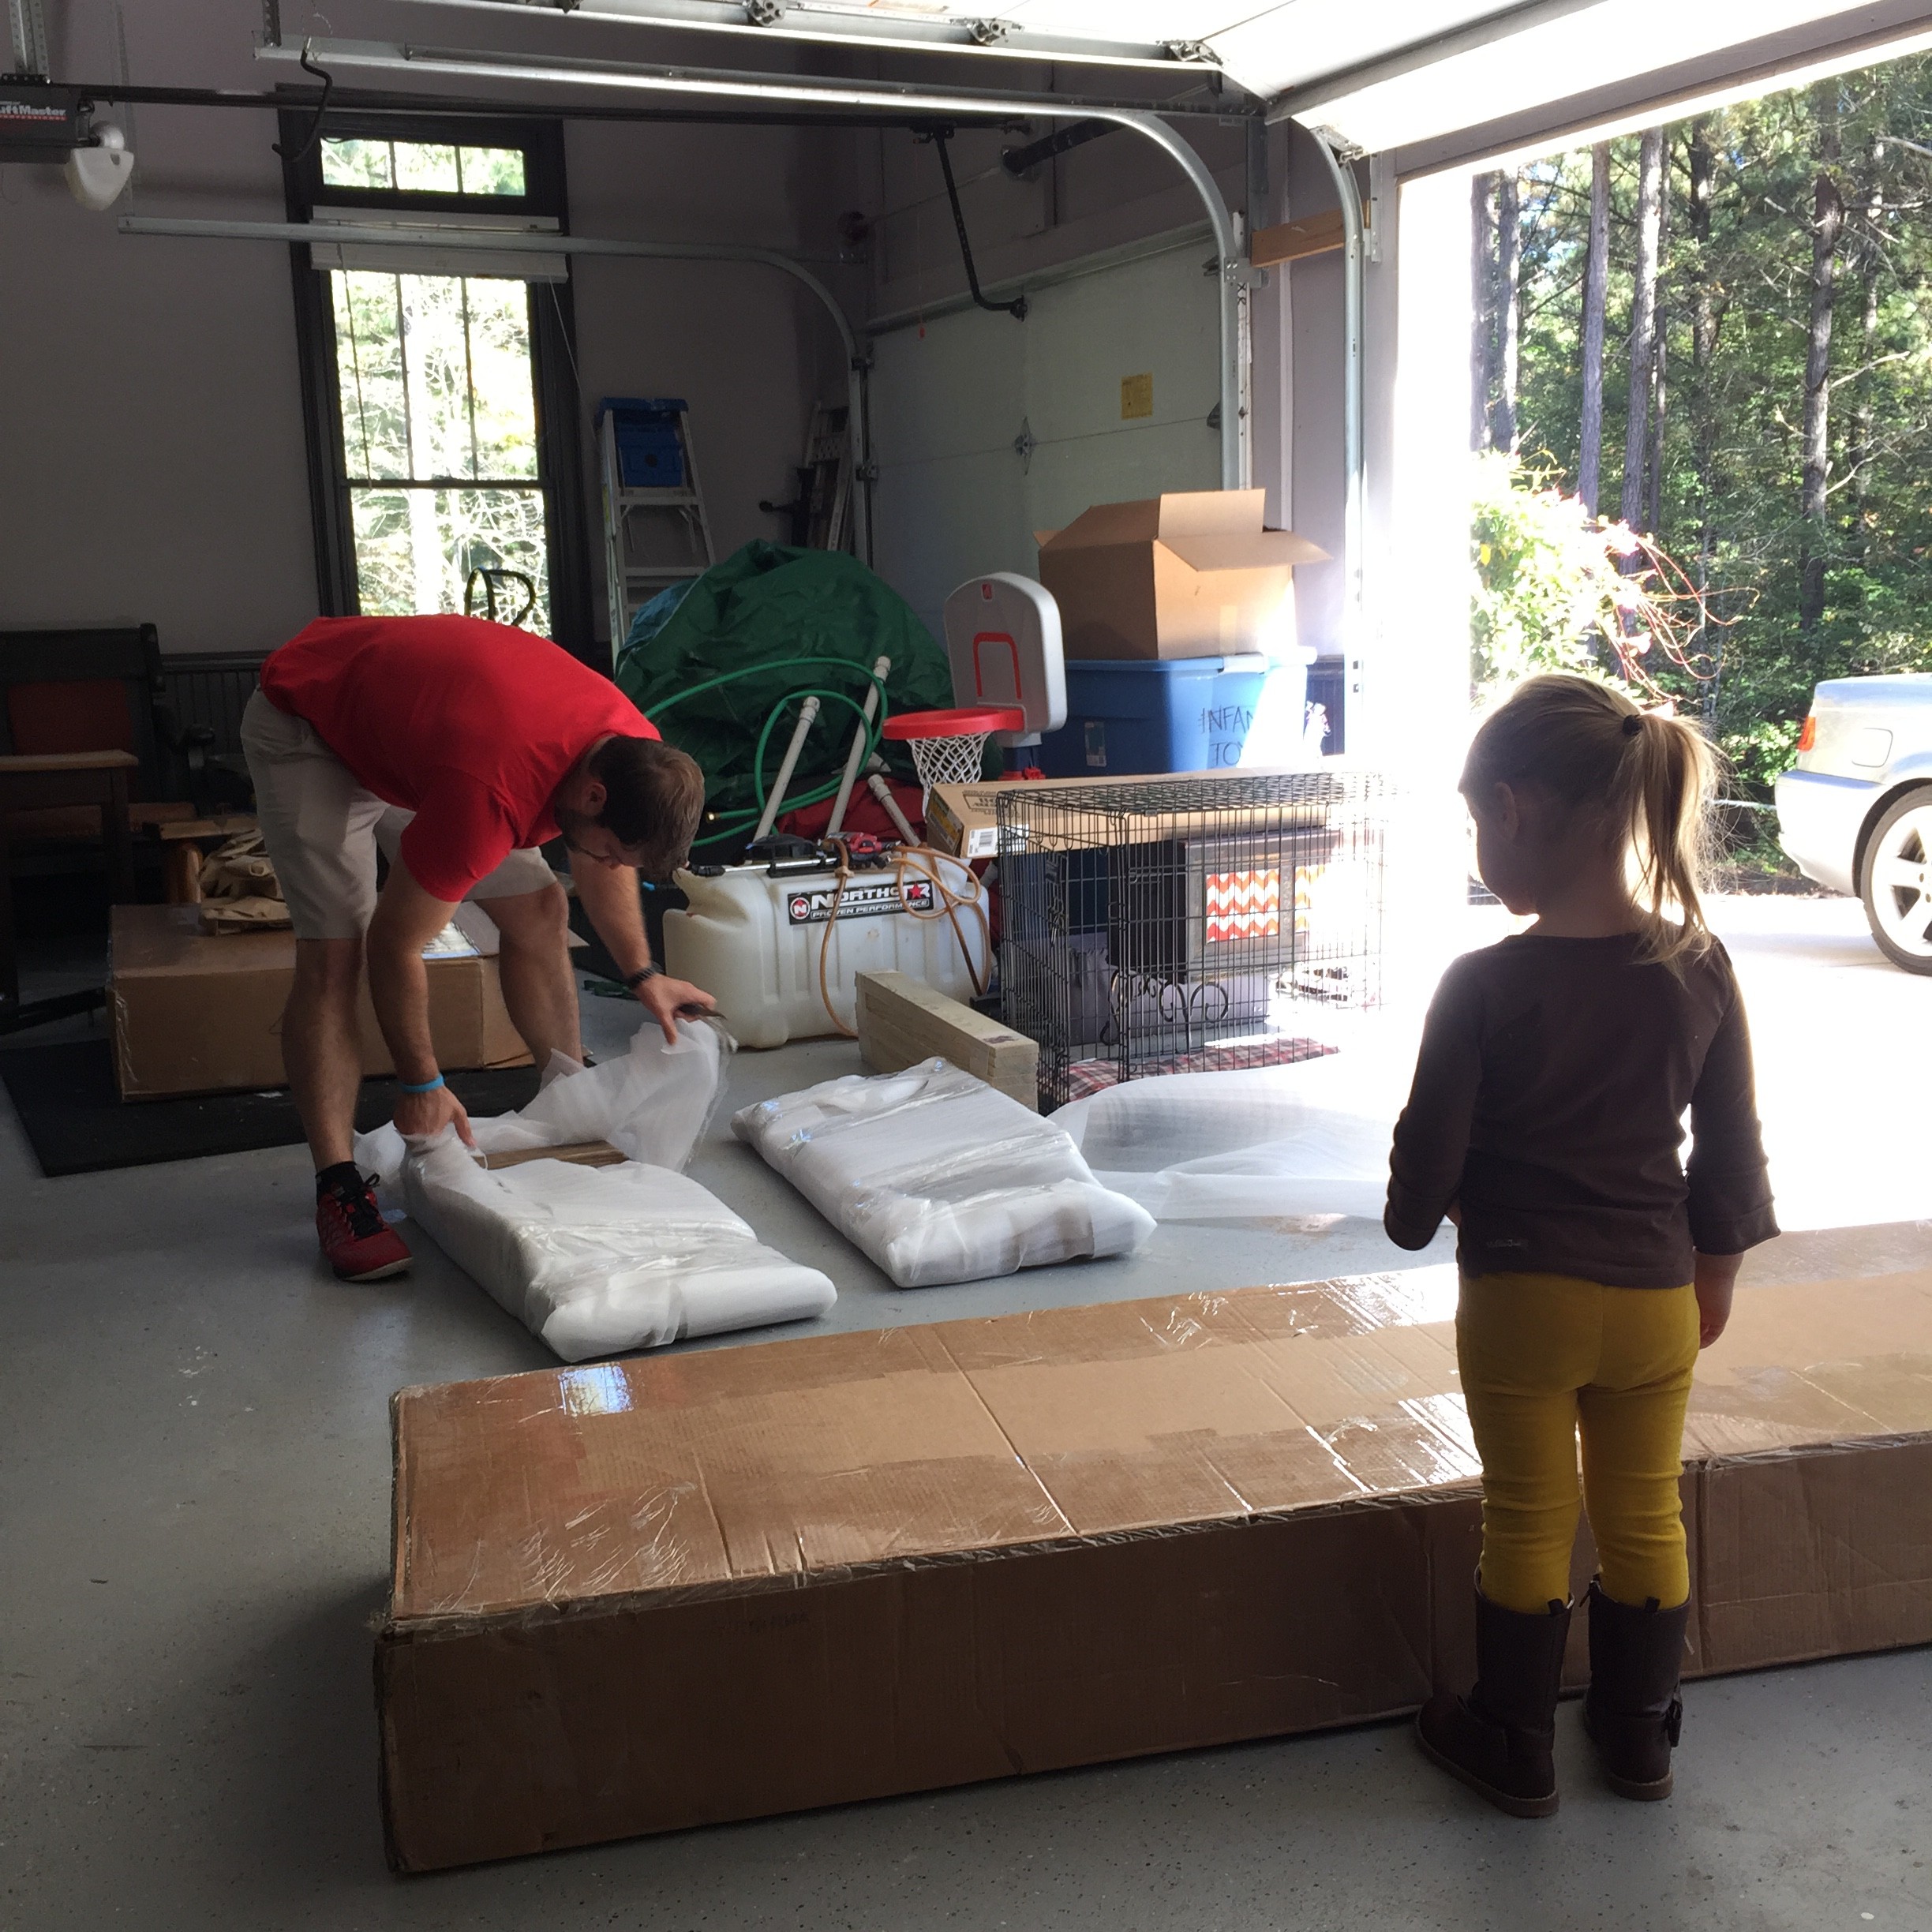
It arrived at our home a couple of weeks ago and this past weekend we decided it was time for Project Back Porch to begin!  The swing was packaged with perfection and included pretty much everything needed for the installation.  Mark was super impressed because he was assuming he’d need a visit to our local Home Depot but all he needed was a drill and a wrench.
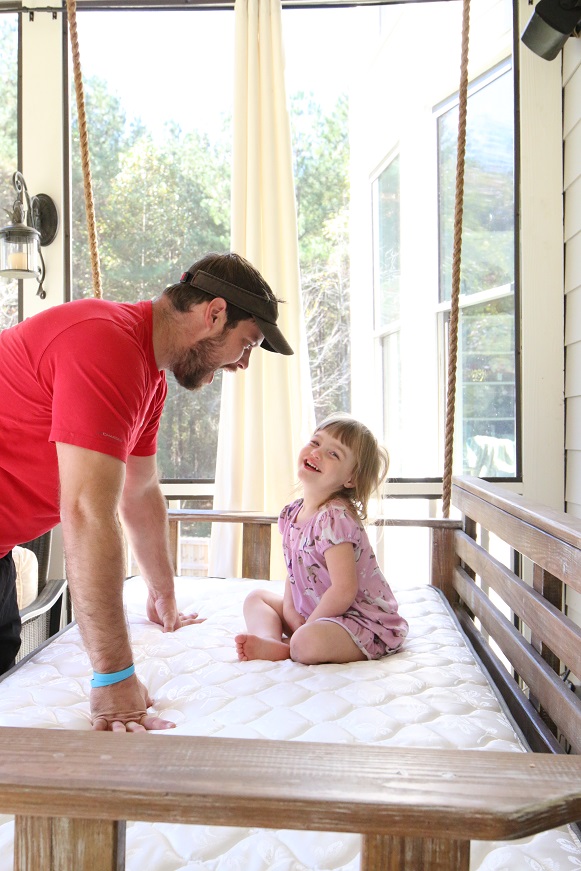
Step One

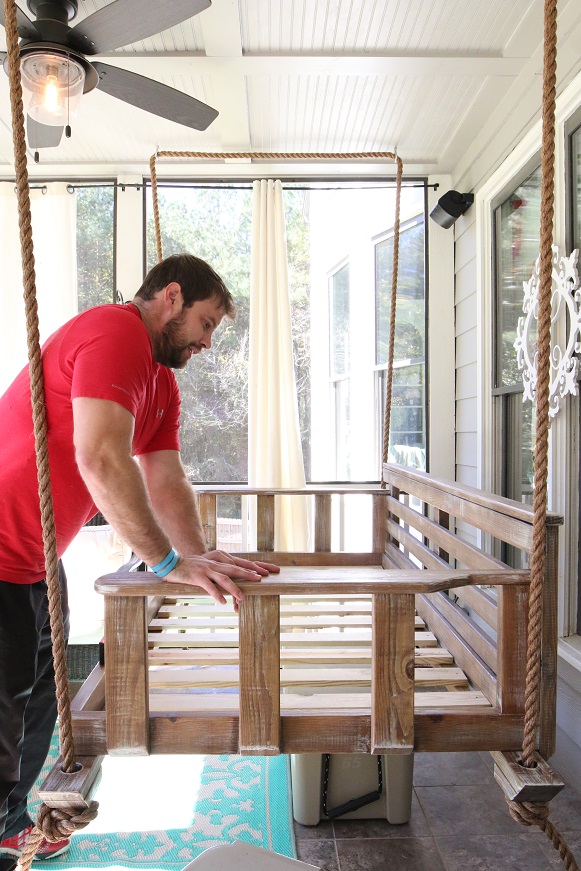
So first up, unpackage the swing.  With a little help from a cute little three year old…
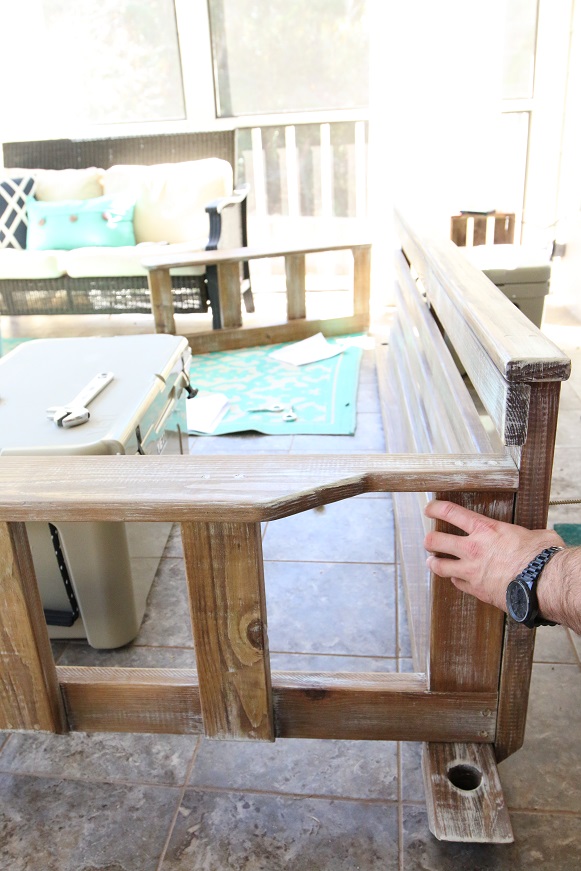
IMG_6312

Step Two

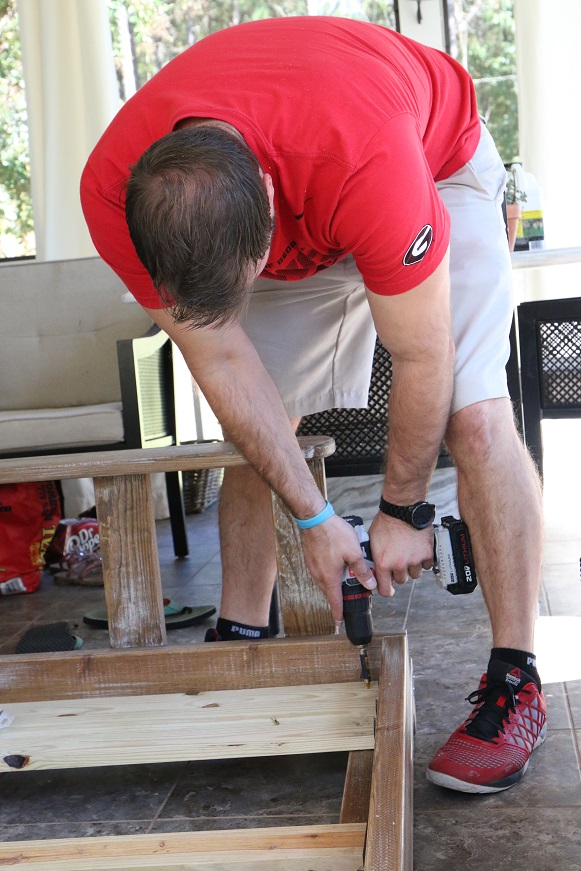
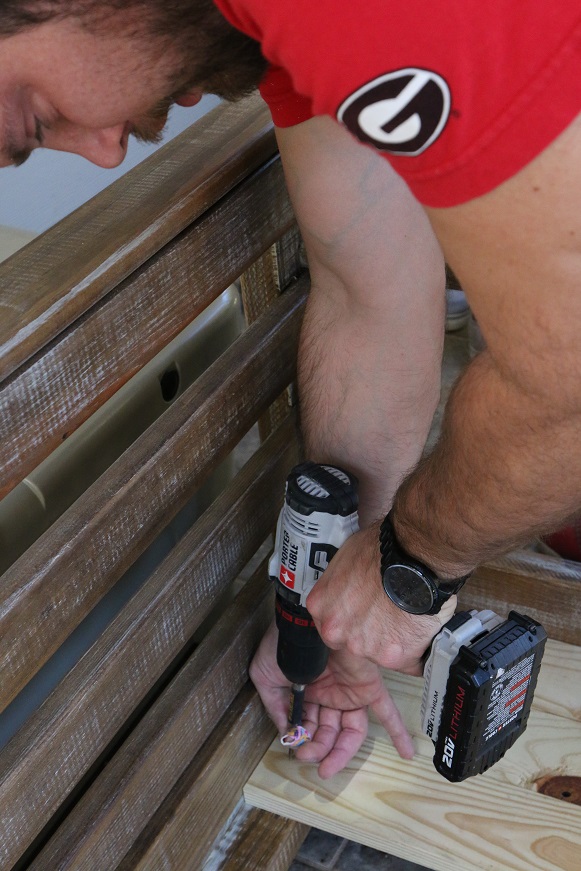
Attach the sides and base using included screws…

Vintage Porch Swing 1Vintage Porch Swing 2Vintage Porch Swing 3Vintage Porch Swing 4
Step Three

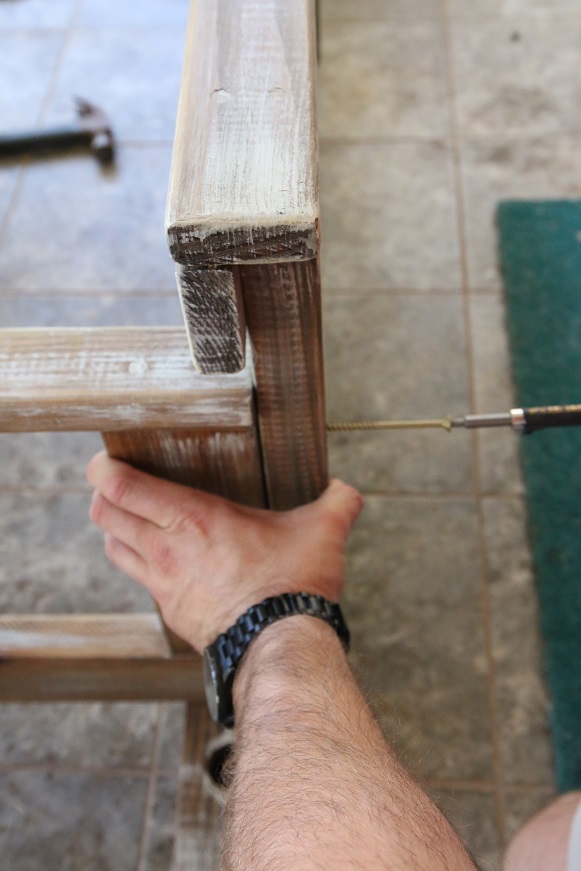
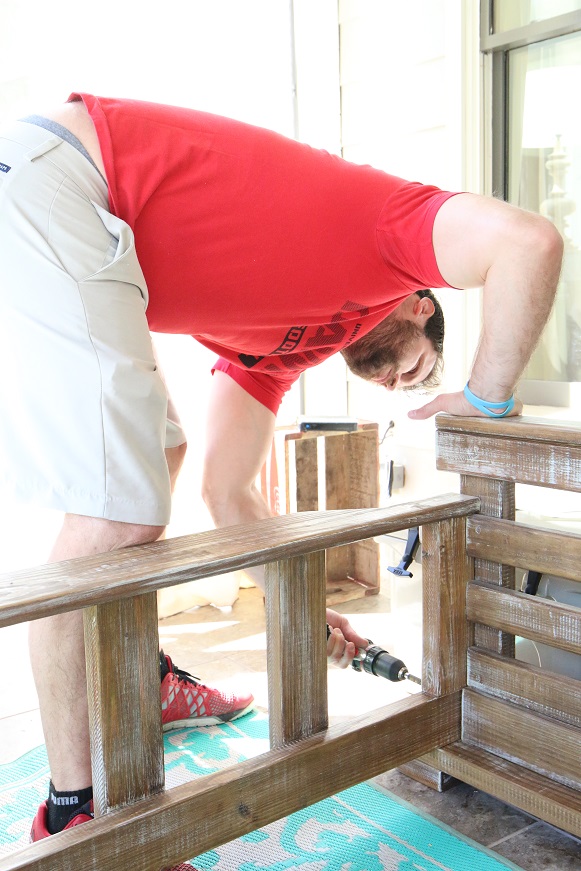
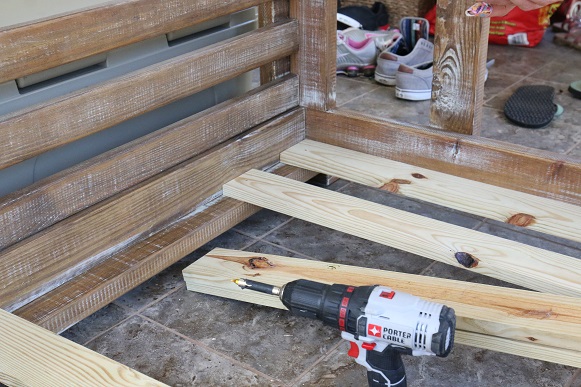
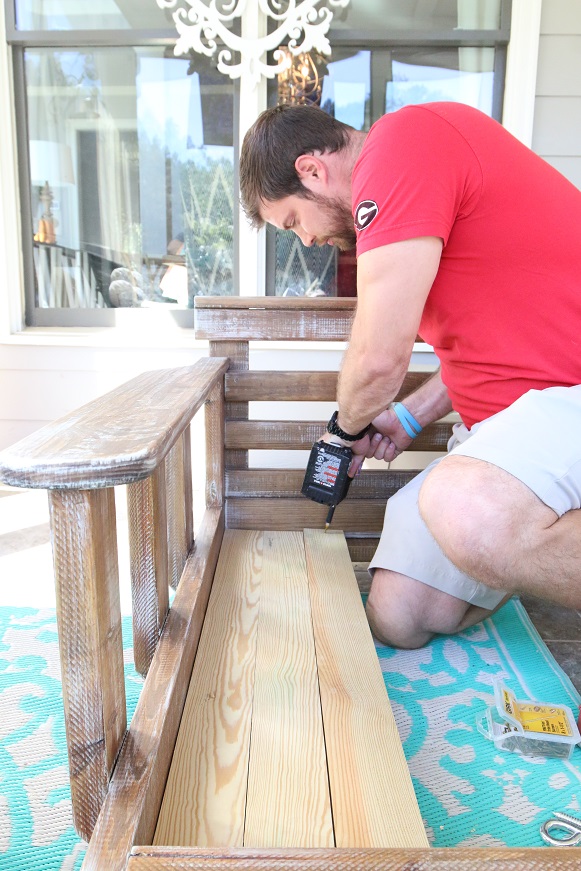
Attach the mattress base using included pre-cut 1 x 4’s.  Mark used one 1 x 4 as a spacer between each one removing it as he went…
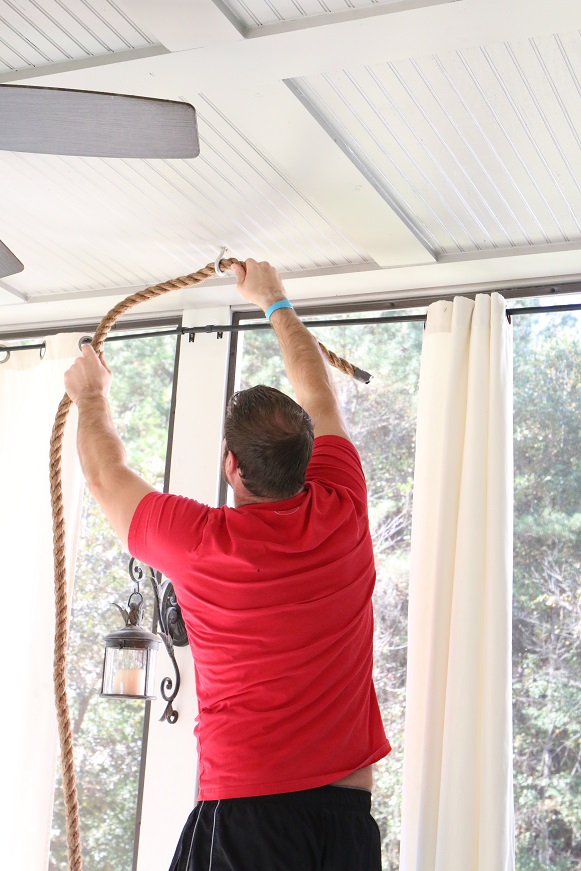
Vintage Porch Swing 8 Vintage Porch Swing 9 Vintage Porch Swing 10 Vintage Porch Swing 11 Vintage Porch Swing 12Vintage Porch Swing 7

Step Four

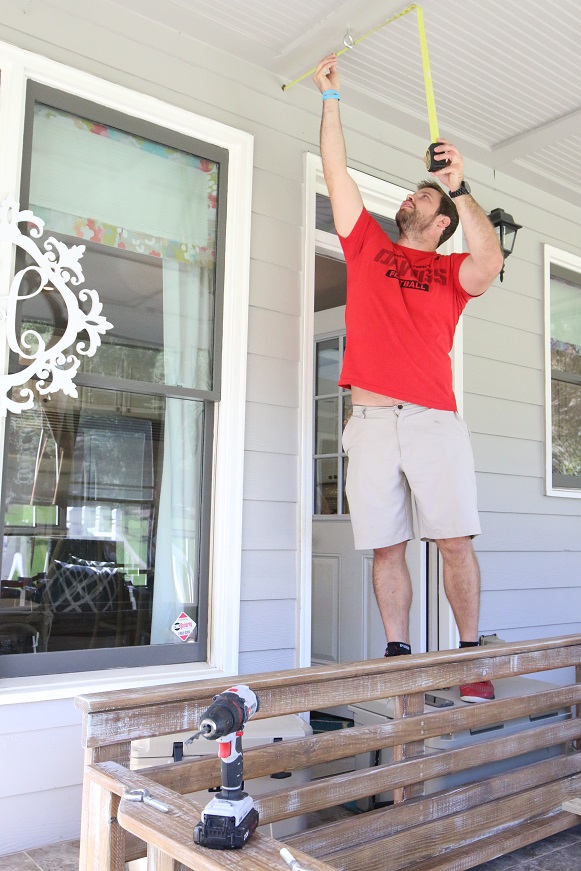
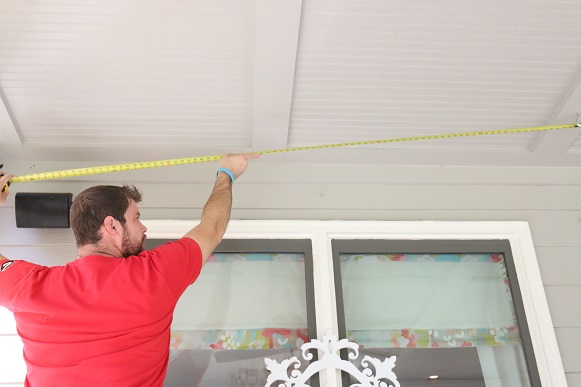
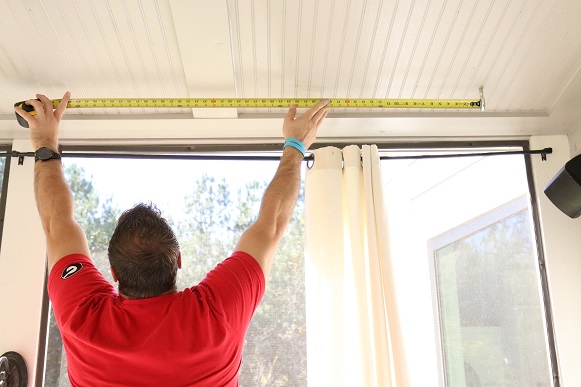
Secure included eye-hooks into studs in the ceiling with spacing specified for the swing in the instruction kit.  Our spacing was 8′ wide and 4′ deep…

Vintage Porch Swing 13Vintage Porch Swing 14Vintage Porch Swing 15

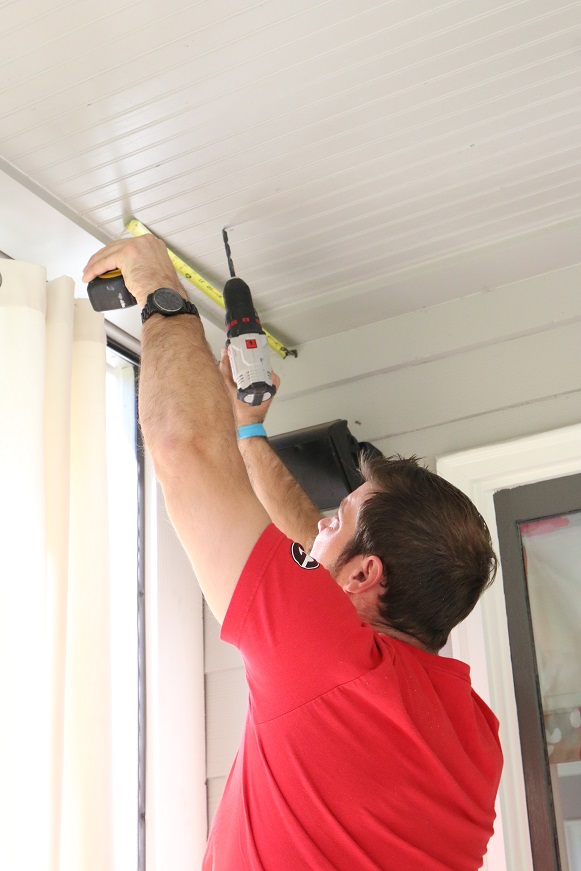
Mark pre-drilled the holes into the studs before securing the eye-hooks…

Vintage Porch Swing 16Vintage Porch Swing 18

He then used a wrench to tighten the hooks…Vintage Porch Swing 17

And unfortunately this is where our project progress abruptly halted for the day…  If you follow me on social media you may have seen that we had a wee bit of a mis-hap over the weekend.  A wee-bit might be a tad of an understatement…

IMG_6325

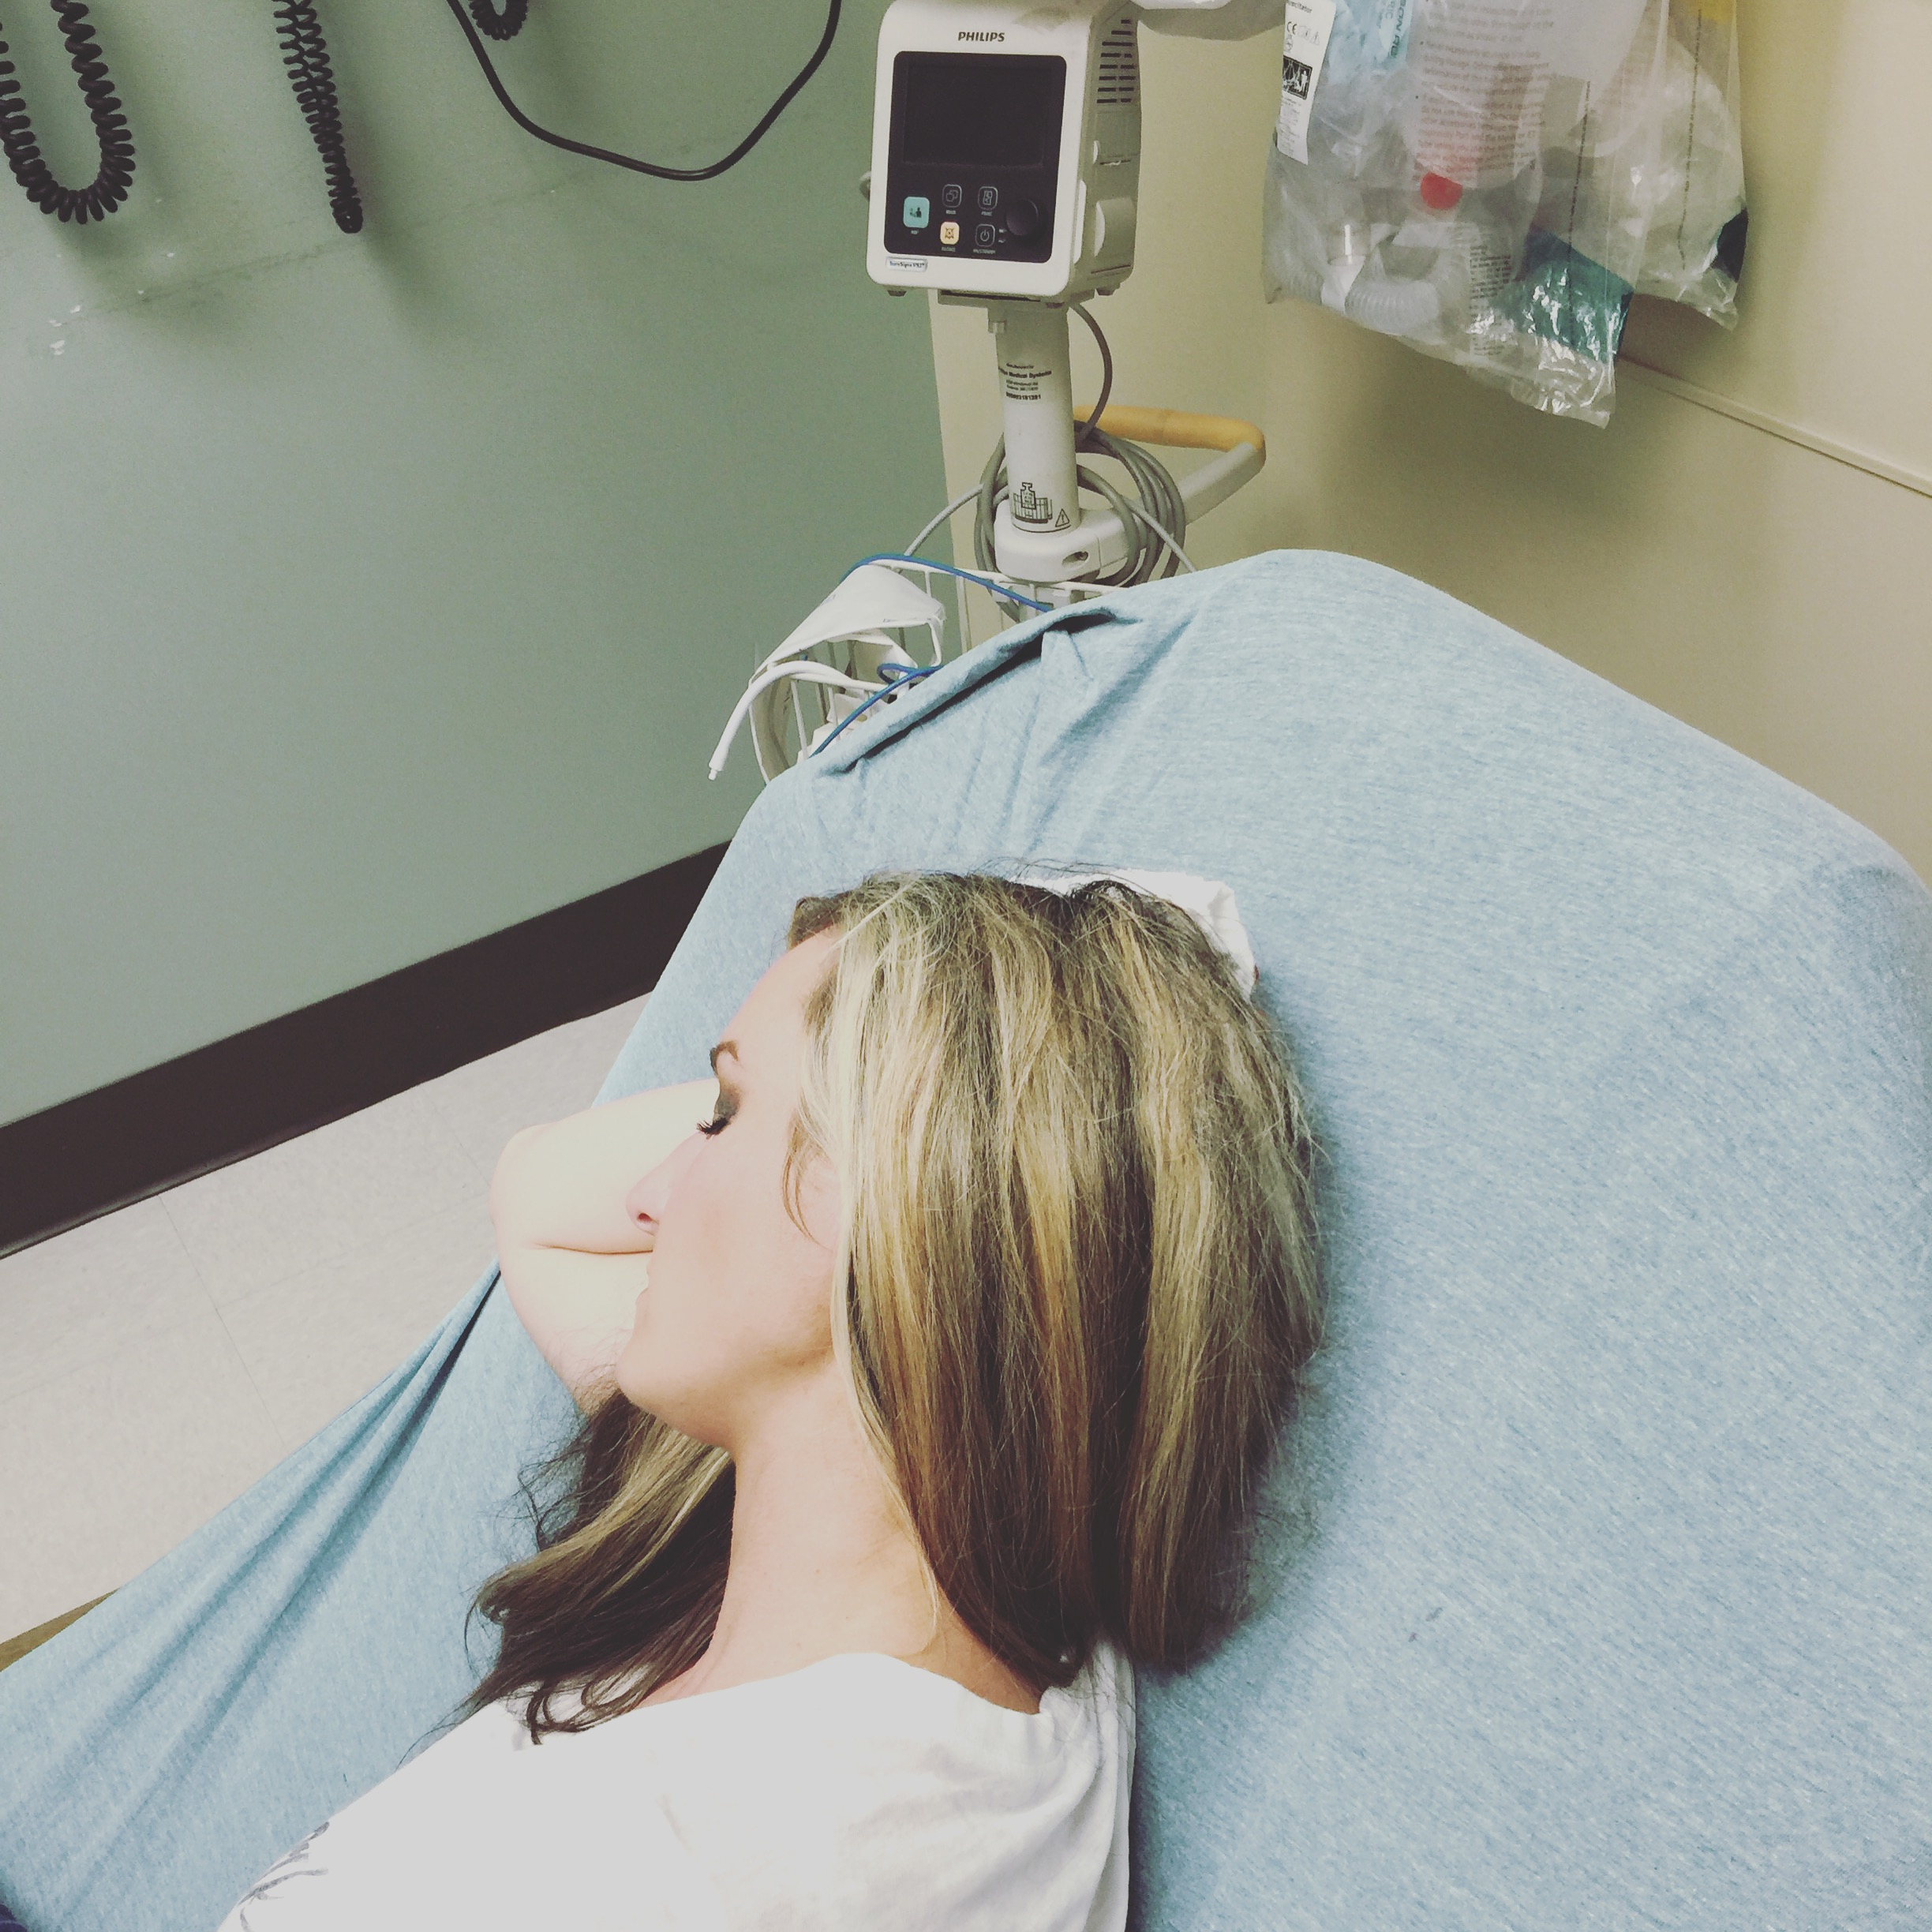
First and foremost, I absolutely DO NOT want to take away from the amazingness of the porch swing.  This could have happened anywhere, at any time and on ANY home project.  I always try and maintain a little “reality” in a world of social media perfection and this is just that.  Proof that even after fourteen years and six homes of house projects, we are not professionals and DIY safety is hugely important!

So what happened?  Well, Mark was on Step Four of the process and was securing the eye-hooks with a rather large and heavy wrench.  He was applying a large amount of pressure because it was the last turn and he was making sure it was nice and tight.  I was standing a little too close taking pictures and THANK GOODNESS was looking down at the moment.  I honestly don’t remember it slipping from his hand, I don’t remember it hitting my head and the crazy part is that I didn’t even feel it.  The next thing I remember is (okay, if you are squeamish scroll down to Step Five) putting my hand on my head and my two fingers literally went inside of my head and I realized that I was bleeding profusely and I said “Oh my God, there’s a hole in my head”.  Thank heavens my sister-in-law was there to stay with our little ones and after going back and forth about calling 9-1-1, Mark rushed me to his truck and drove about 90 to the ER.  Once there, they rushed me back and long story short… gave me three shots of Novocaine (ouch!) in the top of my head and three staples to secure my head back together (big ouch!).  I’m not going to lie  It hurt pretty bad and the now day three headache hurts even worse.  I am on the mend though and I am SO incredibly thankful and blessed that it was not any worse, that it wasn’t one of my little ones and that God was watching over me in that moment.  Let’s just sum it up and say we are now much more cautious and careful with tools and projects from this point forward.  Lesson learned!

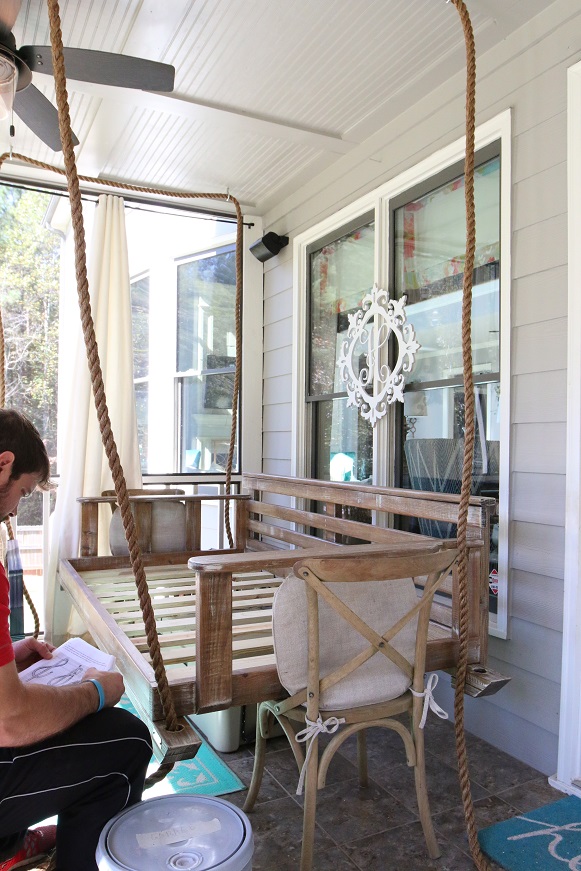
Okay, so day two and Mark was determined to get this project finished up!
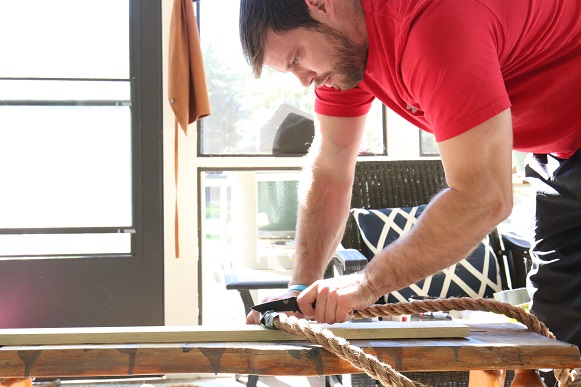
Step Five

Cut the included rope in half, one for each side…
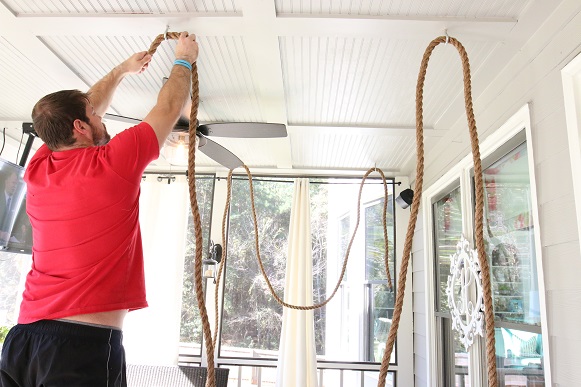
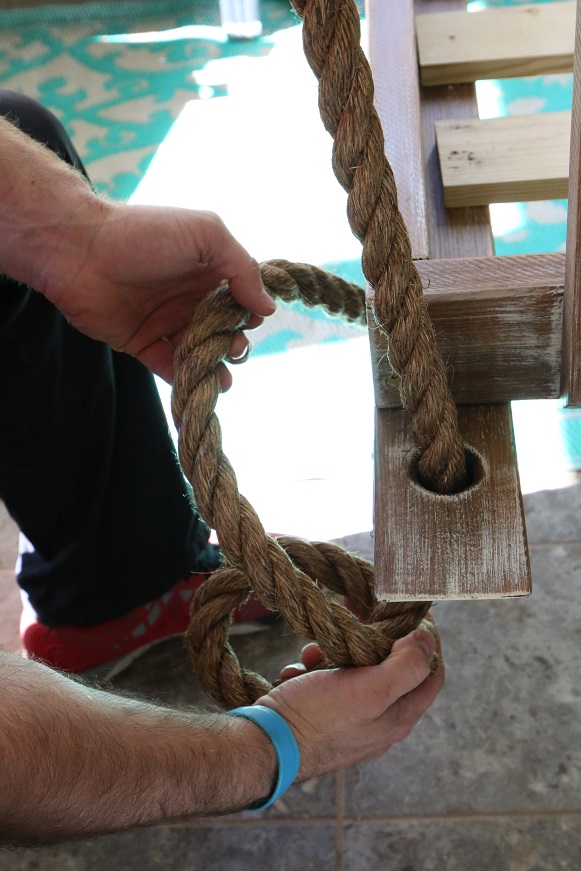
Vintage Porch Swing 1

Step Six

Thread the rope through each eye-hook on both of the short sides making sure it is even at both hanging ends…

Vintage Porch Swing 2Vintage Porch Swing 3

Daddy’s little helper… dressed in PJ’s and covered in paint from our pumpkin painting project!
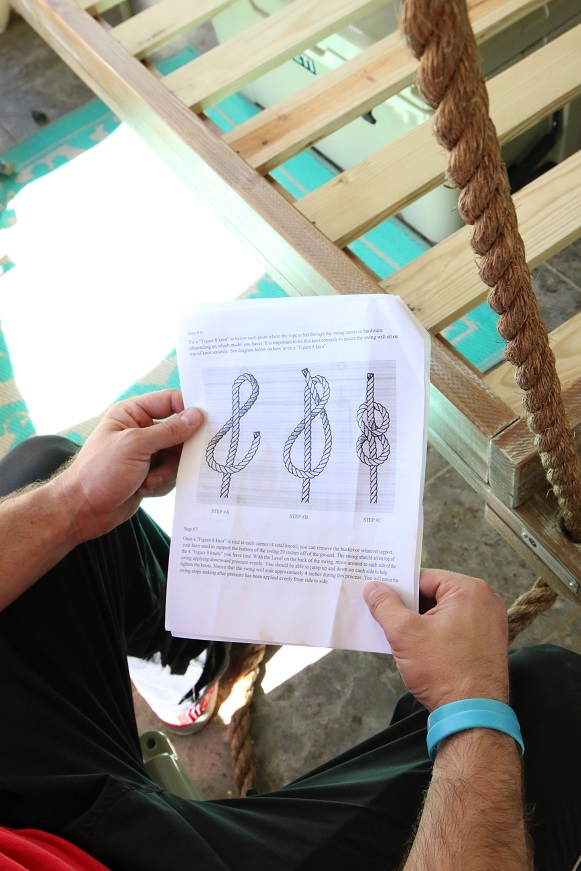
Vintage Porch Swing 4Vintage Porch Swing 5Vintage Porch Swing 6

Step Seven

Form a Figure-8 knot at the bottom of each rope end once it’s threaded through the hole in the swing base…

Vintage Porch Swing 7Vintage Porch Swing 8Vintage Porch Swing 10Vintage Porch Swing 11

Step Eight

Apply pressure evenly to each side to tighten the knot and level the swing…

Vintage Porch Swing 12

Mark was so proud of his mad leveling skills that he insisted I take a picture…
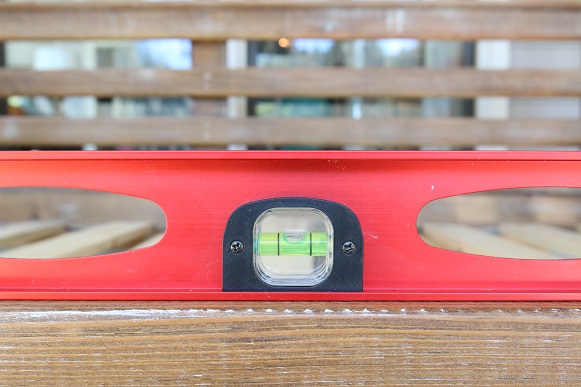
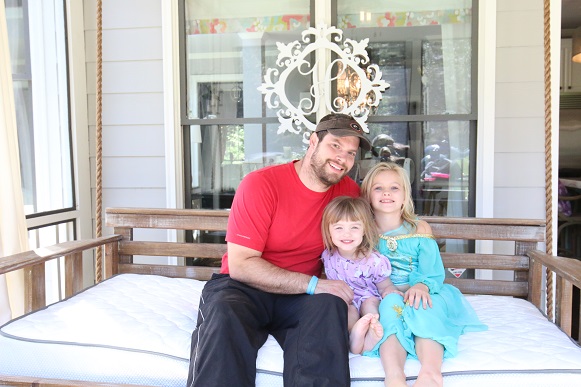
Vintage Porch Swing 13

Step Nine

Enjoy!

And I have to be 100% honest and say that injury and all, we absolutely LOOOOVE our new swing!  I ended up hanging out on it most of the afternoon on Sunday and the slight swinging motion is literally hypnotic.  Mark even said “I have to admit, this is pretty awesome!”

Vintage Porch Swing 14Vintage Porch Swing 15

My porch project is far from complete and I can’t WAIT to finish up the swing with upholstery, bolsters and more.  I am actually headed to Anthropologie tomorrow to pick up these A-MAZING chairs for our dining area too…

Sari Rattan Chairs (I am getting the Holly color)

To Be Continued… (On Monday, 11/02!)

XOXO, Brittany Hayes

4 Comments - Leave Yours

« Our Master Bedroom Flooring Reveal
My Dream Living Room »

Comments

  1. Debbie says

    October 19, 2015 at 6:28 pm

    What keeps the swing from hitting the back window wall?

    Reply
  2. Shauna says

    October 19, 2015 at 7:39 pm

    oh sweet friend, I’m so glad you’re okay! You’re so right, it could have been worse! I guess I need to get you a styling hard hat! LOL! That swing is amazing too! Can’t wait to see it all dolled up!!
    xoxo,
    Shauna

    Reply
  3. Brandi says

    October 19, 2015 at 8:10 pm

    Oh my goodness, so sorry to read about your head injury. Thankfully you are on the mend! Looking forward to seeing your porch reveal. The new chairs will be a great addition.

    Reply
  4. Amanda Riddell says

    November 6, 2015 at 11:42 am

    When you said you hit your head and ended up in the ER, which I’m so glad you are okay. But you made me feel a little better about our house renovations going on for a year now and long story short. I’m ready for the nightmare to be over with. What doesn’t kill us makes us stronger, right!!!! I kept telling my husband and mom you made renovations look so easy. Little did I know you could have been really bad hurt!
    Blood, sweat and tears we hope to be in the house before Christmas. Prayers Amanda Riddell

    Reply

Leave a Reply Cancel reply

Your email address will not be published. Required fields are marked *

It may have taken seven years to get around to tac It may have taken seven years to get around to tackling our yard but now that John’s been working so hard on it and it’s finally coming together… it’s time to light it all up 🤩 We just added @hoselinkusa solar lights to our front landscape bed and we love them so much that now I want them EVERYWHERE! P.S. Linked them in my bio! P.S.S. They’re having a SALE right now too! #hoselink #hoselinkusa
#SturPartner Love these so much they’re getting #SturPartner Love these so much they’re getting a permanent spot on my feed 🫶🏻 They’ve become our little sparkling soda addiction. So much so that we’re on our second set of 12! And that’s saying a lot considering you only use two drops 😉 P.S. Got y’all a better discount code too! Click my link in bio and use my code Addison25 to get 25% off your Stur order!
You Do You 💗 P.S. My pants are from shopaddison You Do You 💗
P.S. My pants are from shopaddisonswonderland.com and yes, we ship! 🫶🏻
As I always say, the only journeys and experiences As I always say, the only journeys and experiences I can… and do… share are that of my own. And today it’s last week’s journey of my explant, lift and recovery. As someone who was “born” with big boobs, had implants to fill what I’d lost to weight loss and nursing to now having explanted to a much smaller size, I’ve been happy with every step along the way. It’s all been what I had or felt I needed or wanted at each stage of life and I’m not one to ever look back and have regrets. It’s just that at this stage of life, I decided the next step for me was to shed some chest. And kind of a lot of it. From a size 32G to a yet to be fully determined 32B-C! To be super honest, the pondering and deciding was by the far the longest and hardest part. With no direct reason for doing so (thankfully)… rather a combination of them from possible health issues 🤞🏻 associated with my implants to the usual back/shoulder pain to just a growing desire to get them out, I’ve felt a bit indecisive and very nervous. But last week I finally did it and I’m so happy I did! Women have so many worries and pressures and insecurities so if this has been on your pondering list as well, I’m just here to tell you that it wasn’t that bad. Any body change takes some getting used to but not gonna lie, shedding that top heavy feeling has been rather fabulous. And the cute little tops and bras I can now wear feel like icing on the cake! So from your always raw and honest IG bestie, thank y’all so much for following along and for all of the love and well wishes on stories. Means the WORLD 🫶🏻
Forget drenching your hands with straight acetone… and the hour and a half SNS process… try this and you’ll never go back! Yep, it’s the “old school” tips method but with your own nails. Takes so much less time and although still not exactly CLEAN, it’s way better than an acetone hand bath every two weeks. Plus, they’re actually much smoother too!
Happy 11th to my Winnie 💗 The happiest, most fr Happy 11th to my Winnie 💗 The happiest, most free spirited, kind hearted, fun loving, never stops twirling little girl. I pray you never lose your spirit! Love you Winter Hailyn 🥰  Follow my shop @addisonswonderland on the @shop.LTK app to shop this post and get my exclusive app-only content!  #liketkit #LTKhome #LTKkids #LTKfamily
@shop.ltk
https://liketk.it/4hI9c
*Comment LINK* and I’ll send you quick access to *Comment LINK* and I’ll send you quick access to all the links directly to your inbox! FALL-ing into Fall with FIVE looks from @walmartfashion ♥️ Come on ladies, tell me I’m not the only one! 😉 Sharing these five outfits and more of my faves RIGHT HERE… #WalmartFashion #WalmartPartner
Follow my shop @addisonswonderland on the @shop.LTK app to shop this post and get my exclusive app-only content!  #liketkit #LTKunder100 #LTKSeasonal #LTKunder50
@shop.ltk
https://liketk.it/4hrkU
Where did you find the drapery hardware in your ba Where did you find the drapery hardware in your bathroom?... what about your bedroom?... living room? It’s all @kirsch and it’s all STUNNING! Scale is everything in design and sometimes the biggest “misses” are in the details. With a huge assortment of difficult to find, thick rods, substantial finials and beautiful rings, as you can see something as “simple” as drapery hardware can absolutely MAKE a space. Linking to Kirsch in my bio!

Visit Addison’s Wonderland

Copyright © 2023 · Addison's Wonderland · Design By Alpine Lane · Privacy Policy