Addison's Wonderland

  • Blog
  • Shop
    • Fashion
    • Home Decor
    • Gift Boxes
    • Brick and Mortar
  • Stay
  • Design
  • About
    • Our Story
    • Contact
    • Press
  • Tour

November 7, 2015

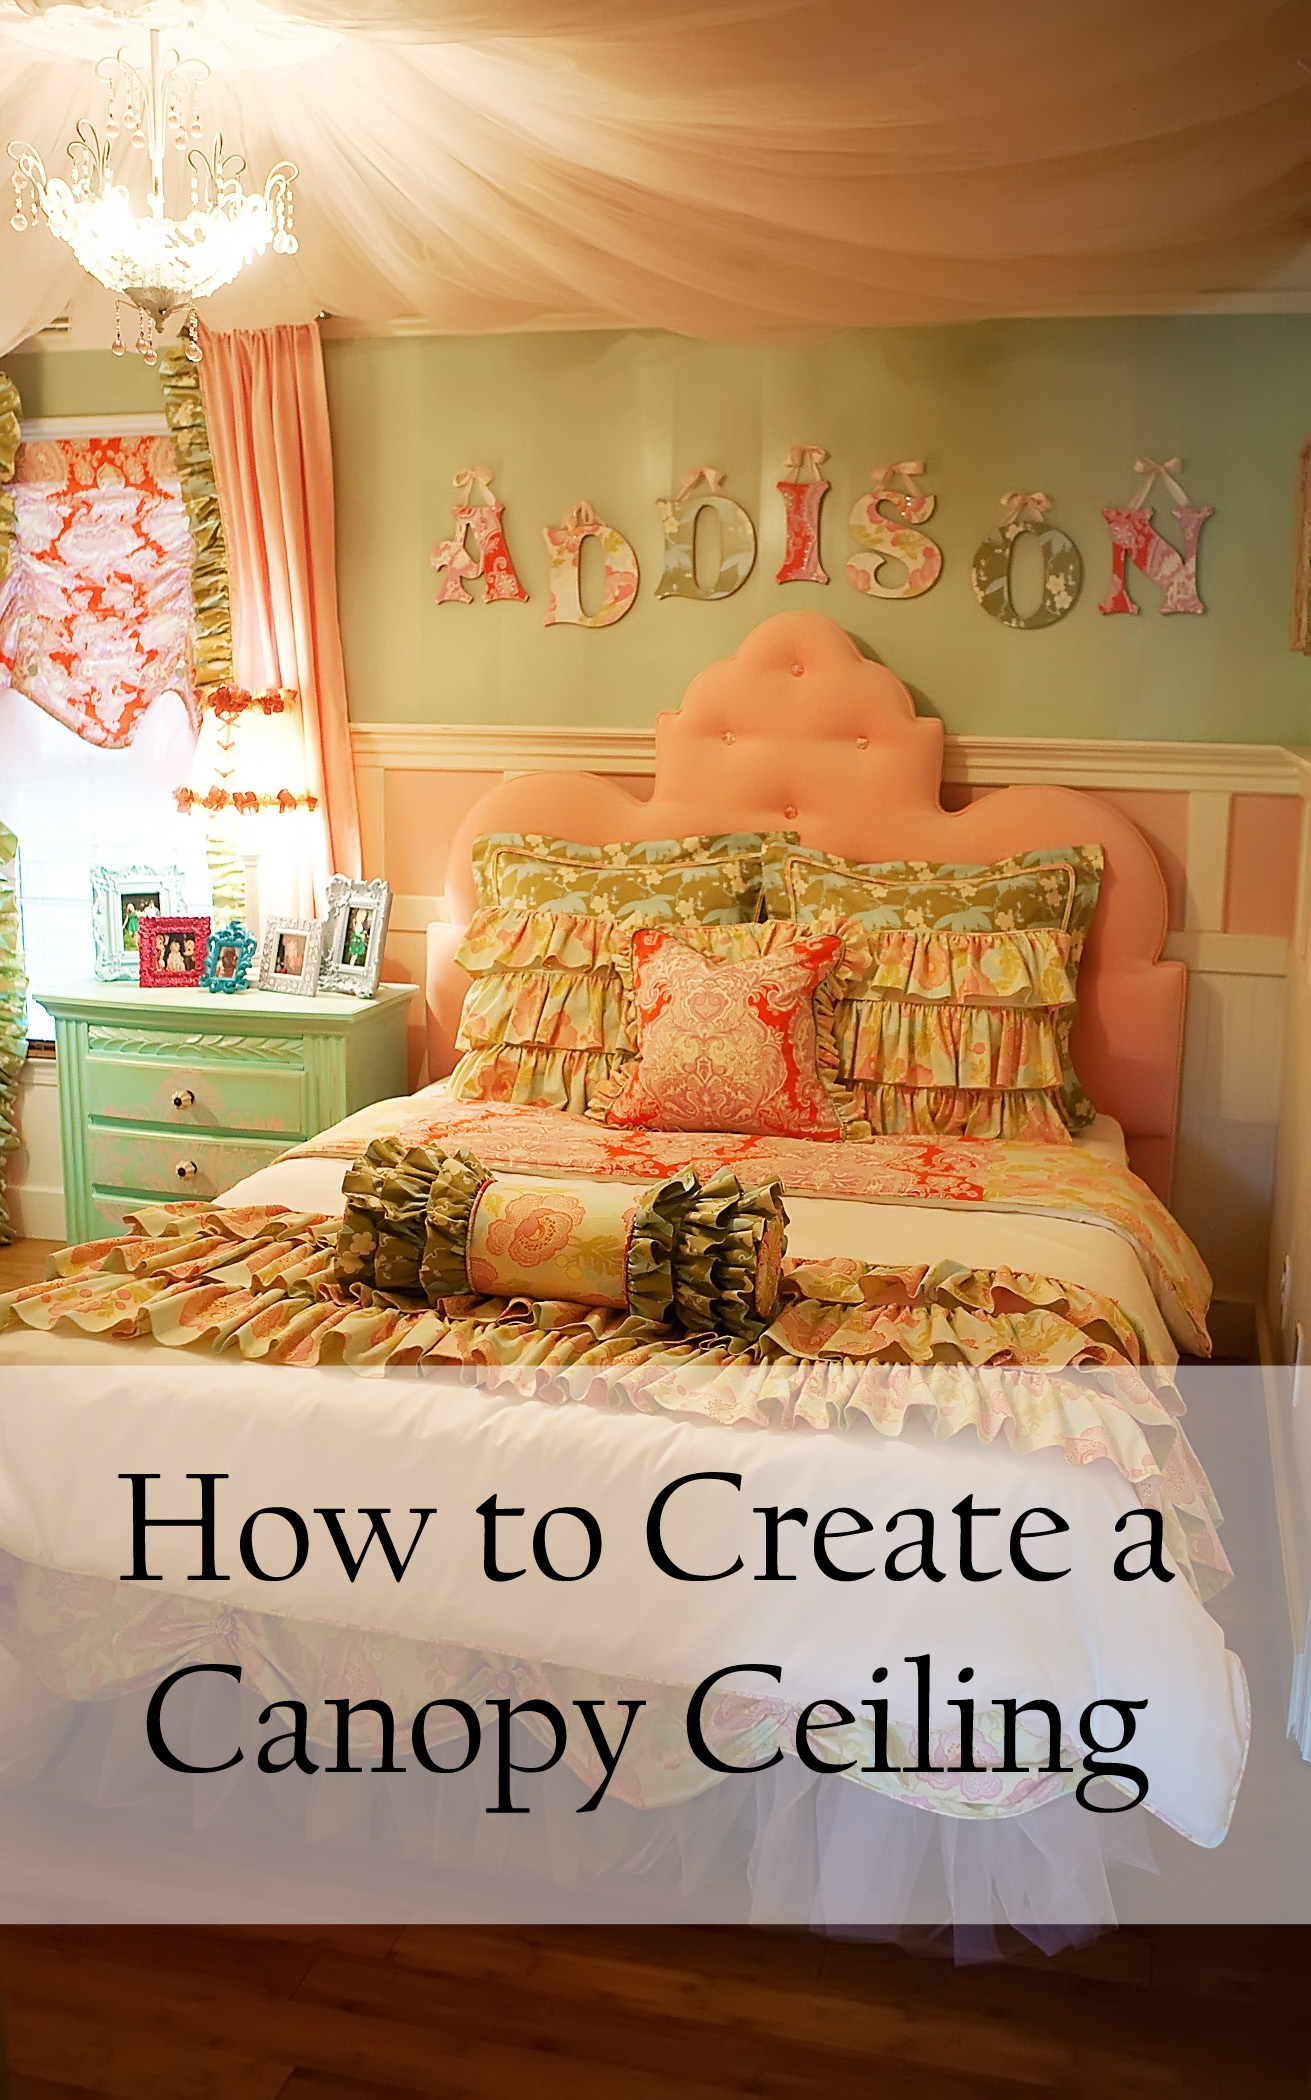
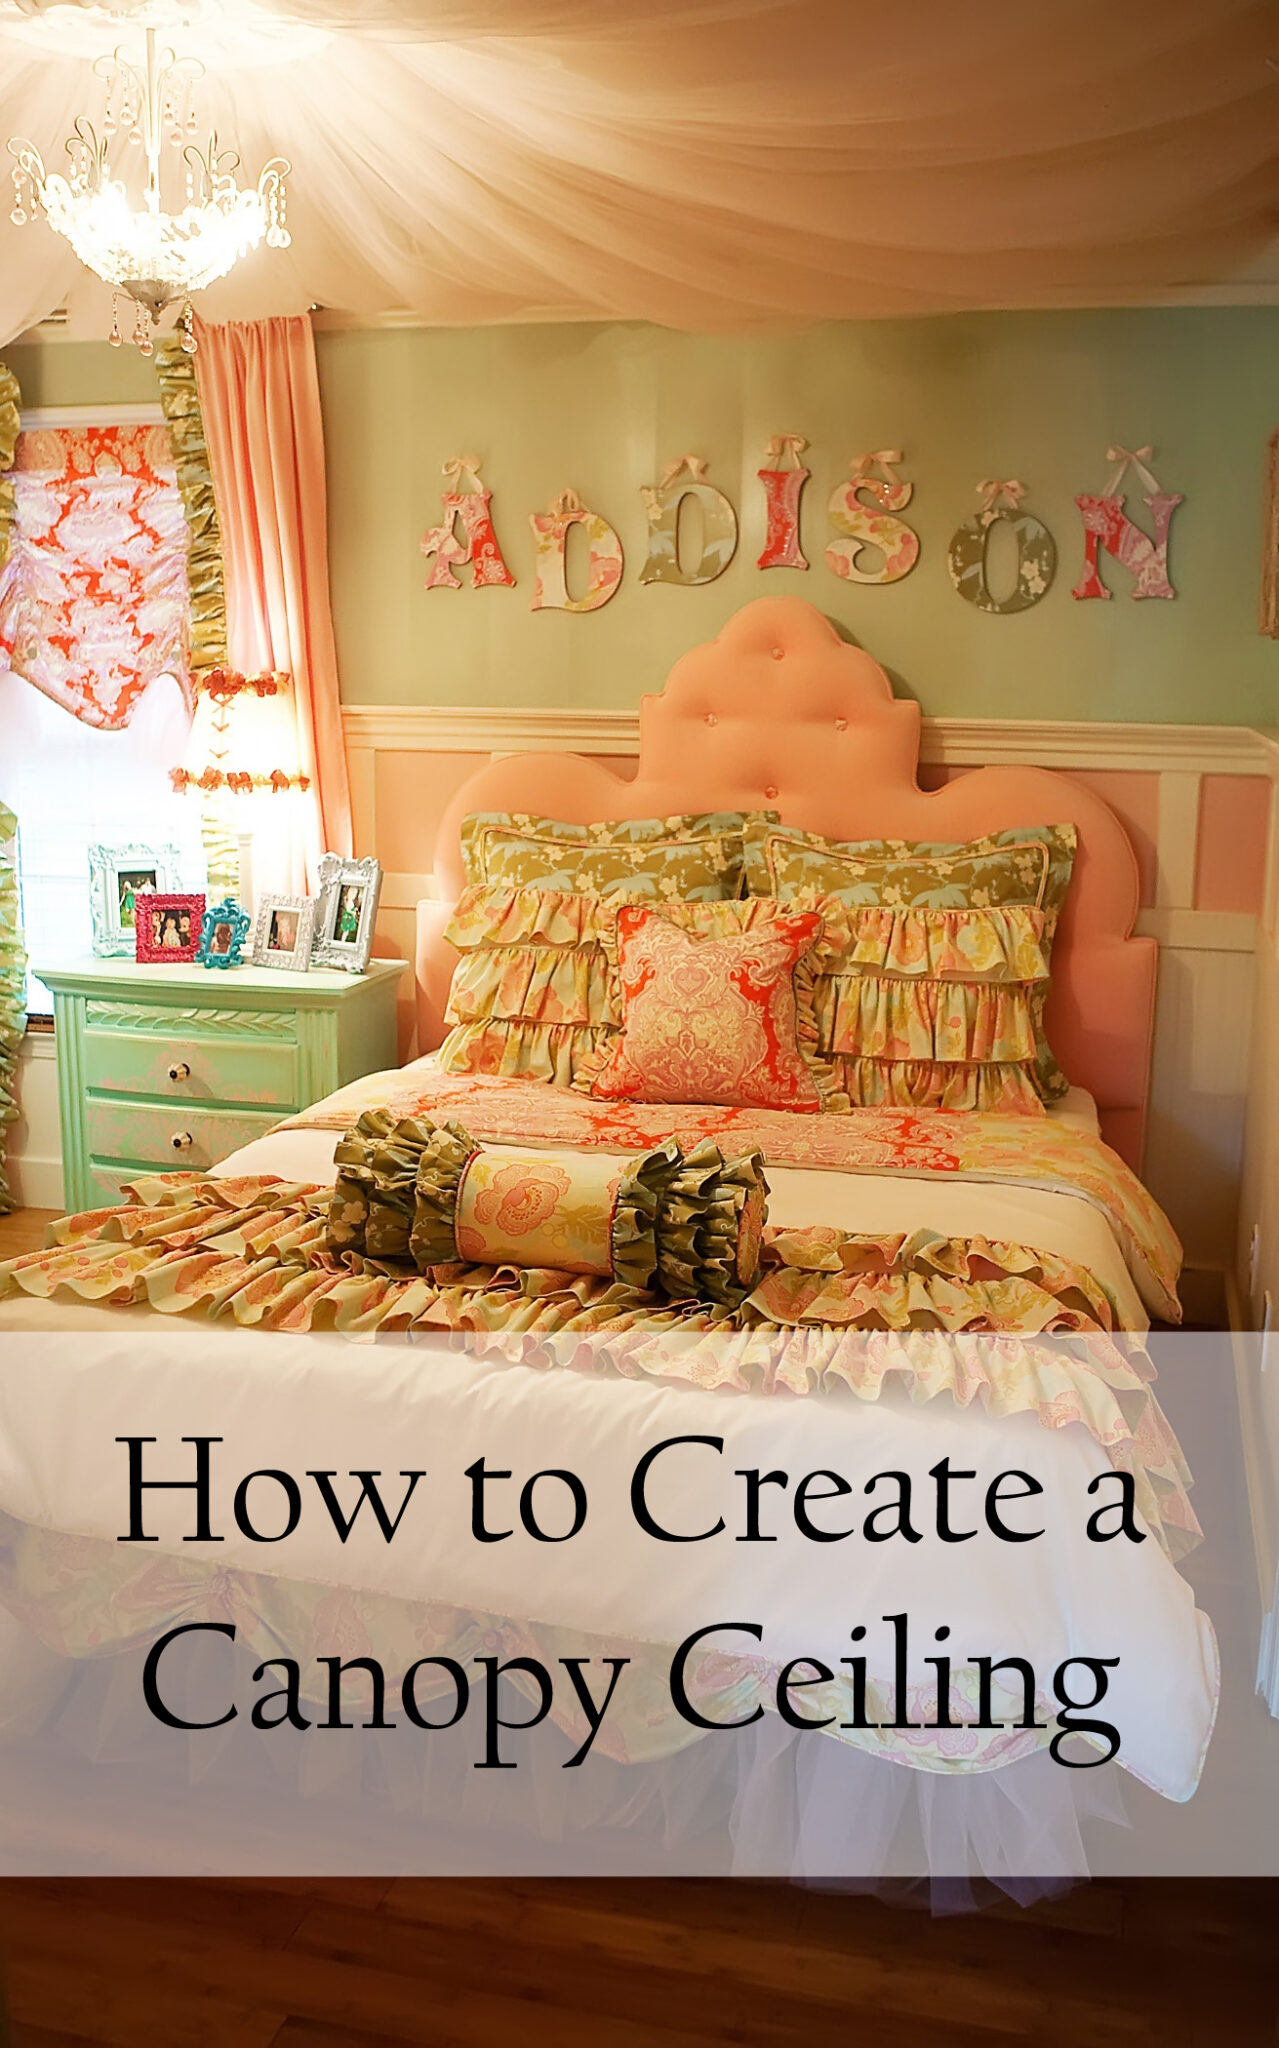
How to Create a Canopy Ceiling

The day has finally come.  I have been e-mailed, Facebook messaged and Instagram stalked about this beautiful ceiling project for the last three years so today I am going to share the detailed “how-to” on this stunning ceiling canopy.  First things first…  I have been hounded with the same two questions every single time I post a picture of my daughter’s room so let’s get those Q & A out of the way.

  1. How do you dust the ceiling?  I have absolutely no idea and if you figure it out, do share 🙂
  2. Is it a fire hazard?  I use 100% nylon tulle which I will link to below and nylon is inherently non-flammable.

When I started Addison’s Wonderland, my daughter Addison’s room was my inspiration, my canvas and my design playground.  Her room is probably my all-time favorite room design I’ve ever done.  Maybe I’m a little biased since she was my first little Princess or maybe because her room launched my design business but nonetheless, this one will forever have my heart…

Canopy Ceiling Tutorial

The main reason I have delayed this tutorial is because I would like to re-create this in my daughter Winter’s room at our new home and I feel that a video tutorial would be best.  However, that may be a little while so for now, here is a step-by-step picture tutorial…

Supply List

 Supplies1[1]

40-Yd Bolts of Tulle- Available HERE (I used 4 bolts for a 12′ x 12′ room)

Scissors

Staple Gun

T-Square or Yard Stick

Chandelier Medallion

I absolutely LOVE the “Sweet Dreams” chandelier medallion I used in her room.  Although this part of the project is completely optional, I think that using a medallion like this creates a more beautiful canopy effect and gives it some space from the lighting fixture.

Sweet Dreams Chandelier Medallion– Click to View/Purchase

   IMG_1531[1]

Step One

Step One[1]

Determine Spacing…  My daughter’s room was approximately 12′ x 12′ so I decided to space the sections 18″ apart along each wall.  This created 9 sections on the first wall.  One on each corner plus 7 “middle” sections.  I would suggest lightly marking every 18″ along the ceiling.

Section- I use this term to refer to the gathered and stapled portion of tulle against each wall spaced apart approximately 18″.

Middle- I use this term to refer to the sections along each wall NOT in the corners.

Step Two

Step Two[1]

Unravel the tulle from the bolt and gather the end as tightly as possible.  It looks best if you gather from one end to the other creating a “fan”.  (Note: you are gathering the 54″ width of the tulle)

Step Three

Step Three[1]

Place the gathered section against the ceiling in the first corner and staple it underneath the tulle.  Essentially you want the tulle to wrap up over the staple to hide it.

Step Four

Step Four[1]

Pull the tulle section you just stapled over to the chandelier medallion or lighting fixture letting it droop about 10-11″ from the ceiling.  This creates the canopy effect.

Step Five

Step Six[1]

Once you’ve positioned the tulle, create the same “fan” effect and staple against the ceiling medallion or lighting fixture.  It is important to keep the “fan” consistent along the length of the section so that it doesn’t get twisted.

Step Six

Step Five[1]

Once you’ve stapled the other end of the section, cut the tulle leaving about 1-2″ hanging down.  Leaving extra not only hides the staples, it also creates a beautiful “rose” effect along the medallion.

Step Seven

Step Seven[1]

Repeat Steps 2-6 along every pre-marked place on the ceiling.  I found it best to work from the wall to the center and then the center to the wall so that I did not have to move my step stool as often.  When you are working this way, simply staple the next section right against the previously stapled section on the medallion.

Step Eight

Step Eight[1]

Once you’ve completed every section, take a step back and note any sections that seem to be hanging too low or too high.  Some sections may need to be re-done to create a consistent look.  Also, you’ll want to “fluff” all of the sections for more fullness.

Now, Enjoy!

IMG_1476

XOXO, Brittany Hayes

18 Comments - Leave Yours

« Winnie’s Little Girl Room Design Reveal!
We’re Just A Little Weird… »

Comments

  1. Kimberly says

    October 12, 2015 at 7:32 am

    Gorgeous room! I am hoping to create this canopy for my daughter’s room. How many inches is each section?

    Reply
  2. Brittany Hayes says

    November 7, 2015 at 10:50 am

    Each section varies in length based on how far over it is to the medallion. I wait and cut each section after I have held it up and measured the distance down the the bottom of the drape. Hope that makes sense!

    Reply
  3. Jessie says

    February 10, 2016 at 1:04 pm

    Did you use 4- 54″ x 40yd rolls of tulle?
    Or out of 40 yrs bolts, you only used 4?
    Ps. I have no idea what a bolt is. Lol

    Reply
    • Brittany Hayes says

      February 10, 2016 at 1:06 pm

      Yes, 160 total yards of tulle. Crazy huh?!?

      Reply
  4. Jolie says

    August 21, 2016 at 6:30 pm

    I’d love to know the dimensions of the headboard in Addison’s room (pink velvet princess headboard). Can you share these with me?
    I’m working on a project for my daughter’s room.
    Thx!!!

    Reply
  5. Amy says

    January 4, 2017 at 1:36 am

    What did you do about the air vents on the ceiling?
    Thanks
    Love this look!!!!!

    Reply
    • kate says

      September 2, 2017 at 5:53 pm

      Also wondering about the vents!!

      Reply
  6. vanessa says

    September 11, 2017 at 5:55 pm

    tuille is very light weight i have used a leaf blower to dust tuille projects

    Reply
  7. colleen kelley says

    May 27, 2018 at 7:08 pm

    Magical room!

    For my chick cave, I’m stringing light lights, then doing the ceiling drapes beneath.
    Am I safe to use staples in a plaster ceiling?

    Did you make the chandelier medallion?
    Can you buy them ready-made?
    I’ve got a 14″ diameter LED ceiling light (from costco) that I need to dress up or hide.

    Reply
  8. Tracy says

    August 6, 2022 at 4:35 am

    How could I create a canopy ceiling with a ceiling fan. Not able to change out but ceiling is also Half cathedral?

    Reply
  9. Ellen says

    October 7, 2022 at 8:22 am

    Can you give me detail how you stapled the tulle?

    Reply

Leave a Reply Cancel reply

Your email address will not be published. Required fields are marked *

When perusing antique malls for an old wood table When perusing antique malls for an old wood table becomes an album cover shopping trip turned gallery wall 💿 Ab and I spotted these fun, colorful covers while out one day and thought it just might be the perfect finishing touch in our historic fixer upper family room! With rose gold frames from @frameiteasy and a rather impromptu hanging method, this wall turned out to be the easiest, most colorful and fun project yet in our little brick cottage. P.S. Speaking of impromptu, John’s final addition looks rather staged but for Ab and I, we literally had NO CLUE it was coming and once Ab zoomed into the videos, we were dying 🤣🤣🤣 Oh John and his plants!
Ab here🖤… dropping in with a little update!! Ab here🖤… dropping in with a little update!! Watching old videos reminds me just how far this little house has come. My sweet dad helping me lay sub floor in the middle of summer after a long work day (which is just the TIP of the iceberg when it comes to the hours he put in on this house), the dance parties to keep from crying, and the bitter sweat memories of that year 💛 I have been DREAMING about this tub for quite some time, and @signaturehw brought all of those dreams to life.  I’m just so stinking thankful. It is seriously the most beautiful tub I’ve ever seen... So much so that we have another gorgeous copper tub, from Signature, going in this week at a clients house! Where are my girls, who love a moody space, at???🙋🏼‍♀️🙋🏼‍♀️🖤
Let's chat hardwood flooring... beautiful, durable Let's chat hardwood flooring... beautiful, durable, pet friendly, kid approved, scratch-and-dent resistant, germ resistant, worry free and practically indestructible… hardwoods by @bruceflooring that have no added chemicals, are engineered for high traffic and have a commercial strength warranty. Yep, that option actually exists, and yes, it is made in the USA with 100% real hardwoods.  For all of the reasons listed above, I chose #Dogwood Engineered Hardwoods by #BruceFlooring in Sattler White Oak for our historic renovation and they turned out STUNNING! *TAP TO SEE THE FAMILY ROOM RENOVATION PROGRESSION* After once joking that I needed a hardwood flooring color that matched Cheerios crumbs, I've kind of stuck with that color-selection motto ever since, and they never disappoint! Lighter hardwoods (like this Dogwood by Bruce in Sattler White Oak) hide all the crumbs while keeping spaces light, bright and airy, (even with dark wall colors). Today on the blog, I’m sharing many more images and even more details! #sponsored
Who else loves pizelles??? I’ll be honest, these Who else loves pizelles??? I’ll be honest, these are a more recent discovery since marrying into an Italian family but they were an instant hit! They’re a traditional Italian waffle cookie that’s super easy to make with a CucinaPro Piccolo Pizzelle Baker and they can also be made into so much more… from ice cream sandwiches to cannolis! John’s favorite dessert is cannolis and this makes them super easy to make while Winnie loves a good ice cream sandwich and Addie and I usually go for the chocolate dipped with powdered sugar 😋 They’re incredibly simple and look way more impressive than the actual skill level which is perfect for me! 😉 Mix it up, press them cooked in 50 seconds and BOOM! Sharing the recipe and a few of our favorites ways to prepare them. P.S. the @Cucina.Pro pizelle baker is available on Amazon and I’ve linked it in my bio!
#italianpizzelles inspiredcooking #cookingathome
Simple White Hallway… BROUGHT TO LIFE ♥️ Wha Simple White Hallway… BROUGHT TO LIFE ♥️ What if quite possibly one of the most forgotten spaces in your home could become pure magic?!? After quite literally carving out this hallway amongst bedrooms for the new floor plan we gave our historic fixer-upper, I knew I wanted to make the new archer hallway a STAR! It’s the center of the entire home and can be viewed from pretty much every single room. First was the installation of this incredibly beautiful mural by @belartestudio last week and then today the three pendants I spray painted over the weekend. Who knew a hallway could be my favorite space in a home! 🥰 Linking the mural and the pendants on stories tonight!
When you fall in love with a mural and it inspires When you fall in love with a mural and it inspires an entire home 😍… Yep, one look at this @belartestudio landscape mural and the color story for our historic fixer upper came to life! Add in the fact that wallpapering together is mine and Ab’s friendship love language and it’s the project of our design dreams ♥️ Seriously though, you have GOT to see all of the @belartestudio beauties. We’ve already used several of their papers in design projects (sneak peeks at one will be on stories tomorrow!) and I keep trying to invent a use for one in our home too. They’re all STUNNING!!! P.S. Ab and her sound effects were ON POINT for this one! 🙌🏻🤣🥰
If our kiddos formed a band and needed an album co If our kiddos formed a band and needed an album cover 😉 Back in 2021, Ab @abigailbradl3y “took our kiddos to dinner” but instead snuck in the most incredible surprise photo shoot as a wedding gift. The images by @brianingramphoto were beyond STUNNING and we finally got around to framing and hanging one of my very favorites. Two years later 🤦🏻‍♀️ A true work of art that I will absolutely cherish forever and ever! Especially considering three of our four are off to college in what feels like no time 😭 P.S. All of the vases and florals are from @addisonswonderlandboutique and I’ve detailed and linked everything on the blog! Happy Weekend 💗💗💗
Already making a jot list of all the things that’ll get your kiddos off their devices and out the front door this Summer? I packed four Gel Blasters for Spring Break and they were a HIT! Kinda sorta almost more than the beach 🤦🏻‍♀️ Not even kidding when I say I think they went through more than 30,000 Gellets. In seven days. We loved them so much I got y’all a link (linked in my bio) and a discount code (BRITTANY10)! P.S. The Gellets are non-toxic and start to dehydrate after contact. Believe me… I wouldn’t have chanced messing up the backyard of our Spring Break Airbnb if they didn’t disappear quickly! #gelblaster #goplay #GelBlasterPartner

Visit Addison’s Wonderland

Please call Abigail with any questions! 678-206-7272

Copyright © 2023 · Addison's Wonderland · Design By Alpine Lane · Privacy Policy