Good Morning! Sitting here this Tuesday evening listening to Winnie read us the Harry Potter play she wrote for her and her friends to act out on the playground while John is sitting next to me folding towels. Oh and 90 Day Fiance The Other Way is on pause on the TV. Wild Tuesday night over here ;-)! Loving the simple things more and more along with being able to sit in bed and finish up my workday. Today I am sharing a little reveal and a tutorial!
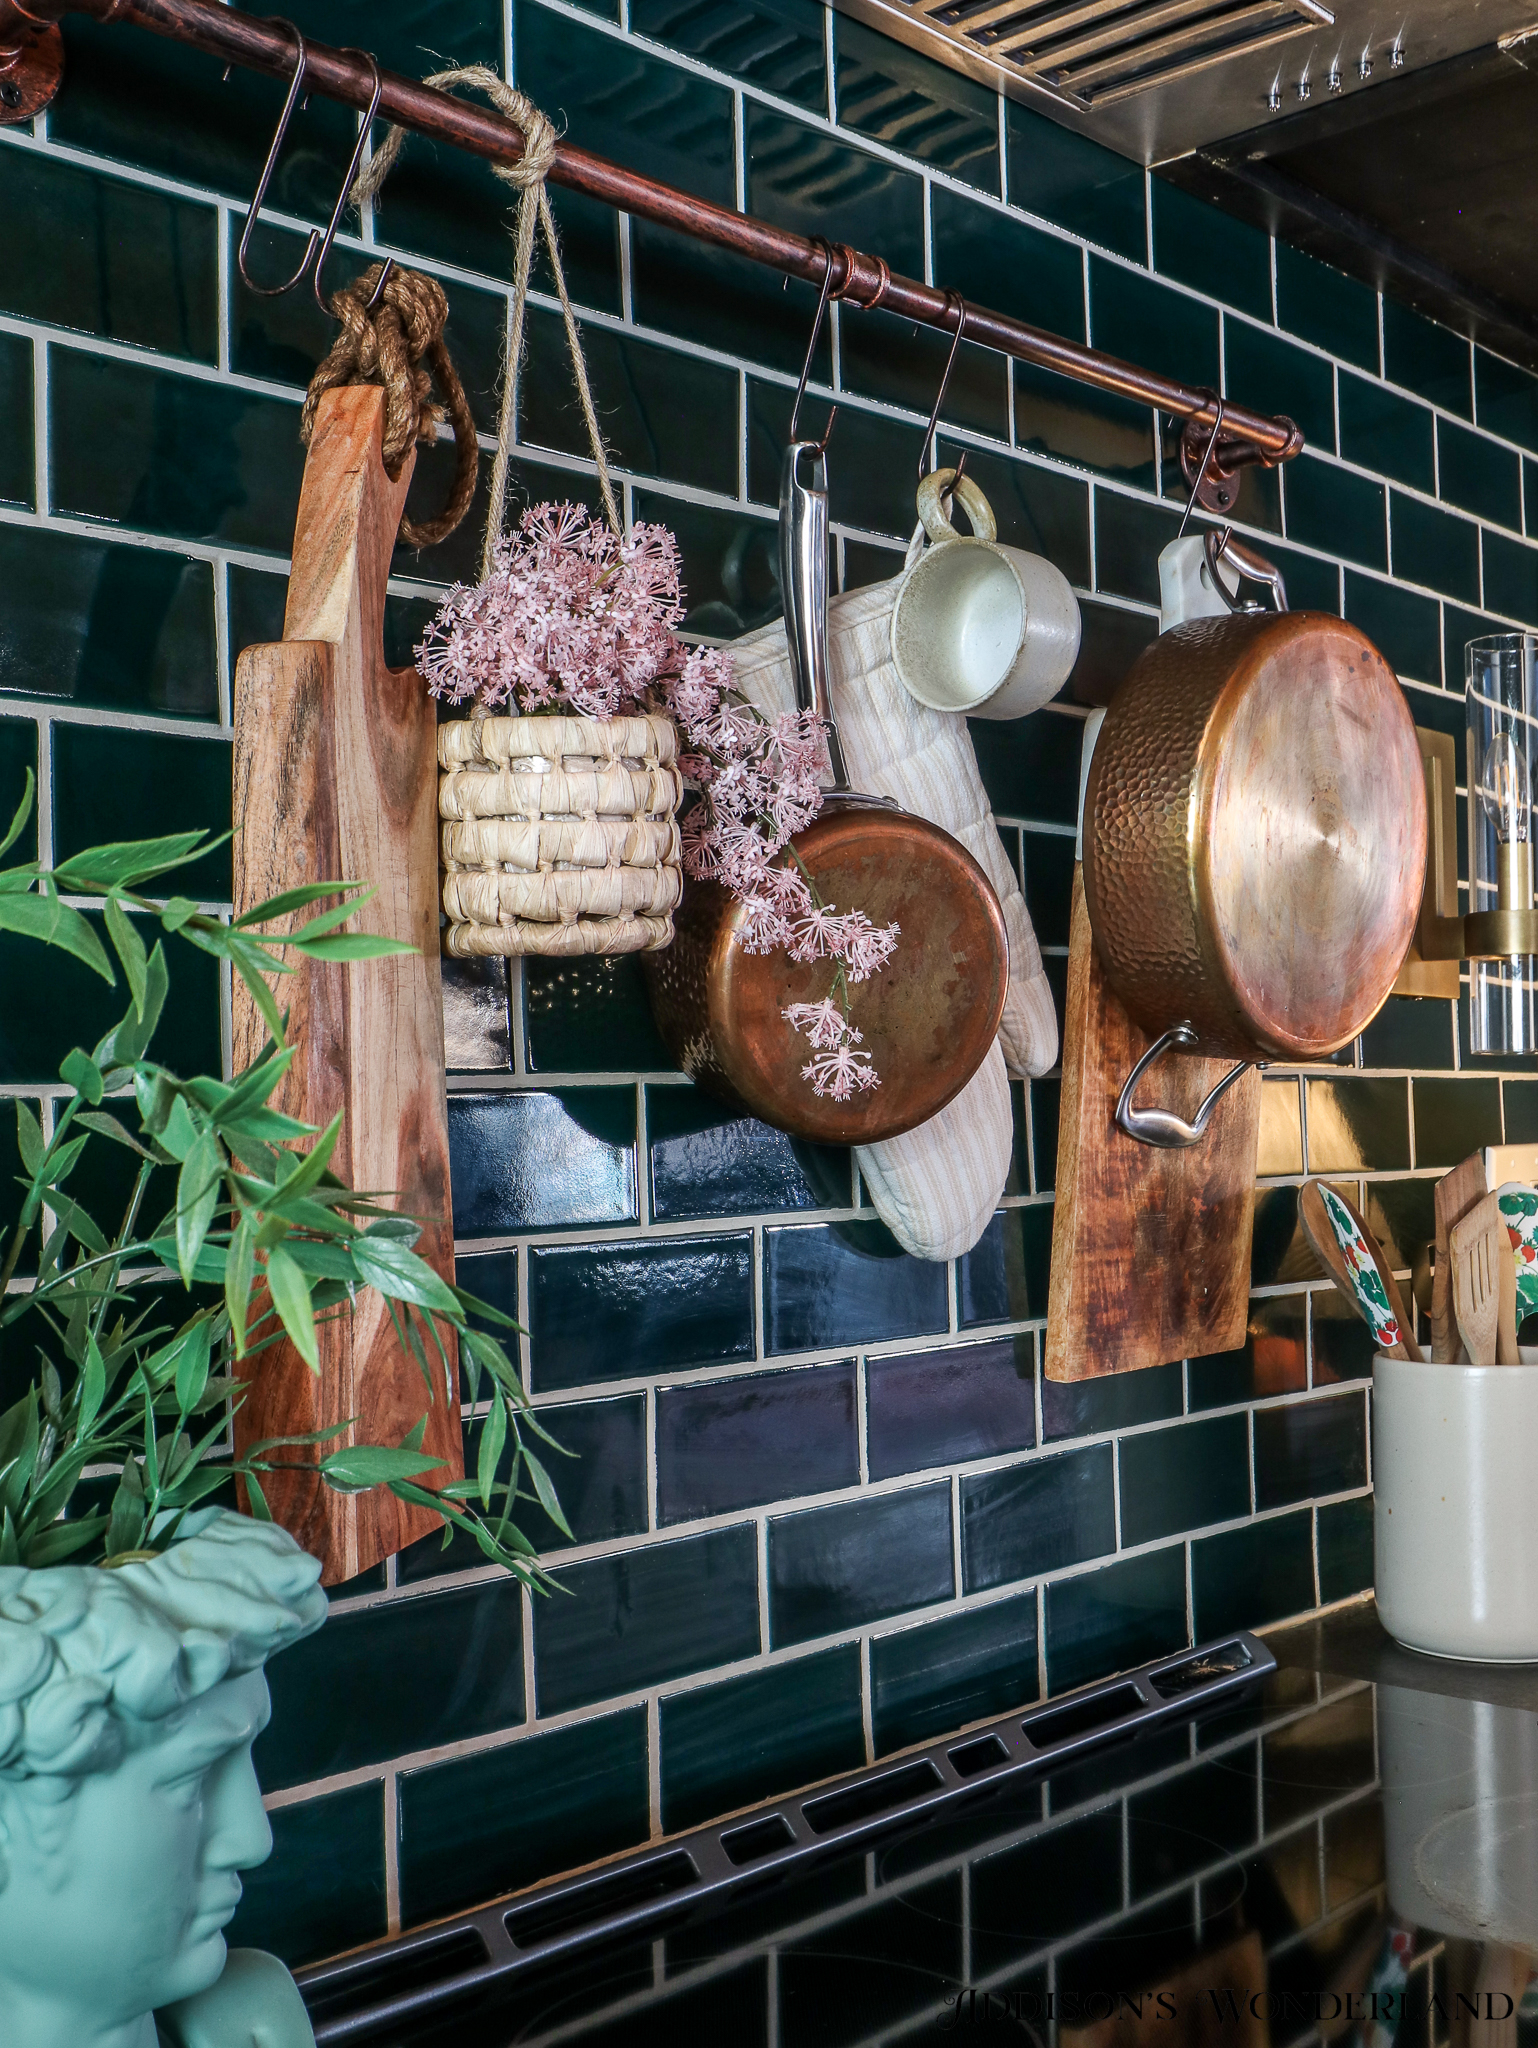
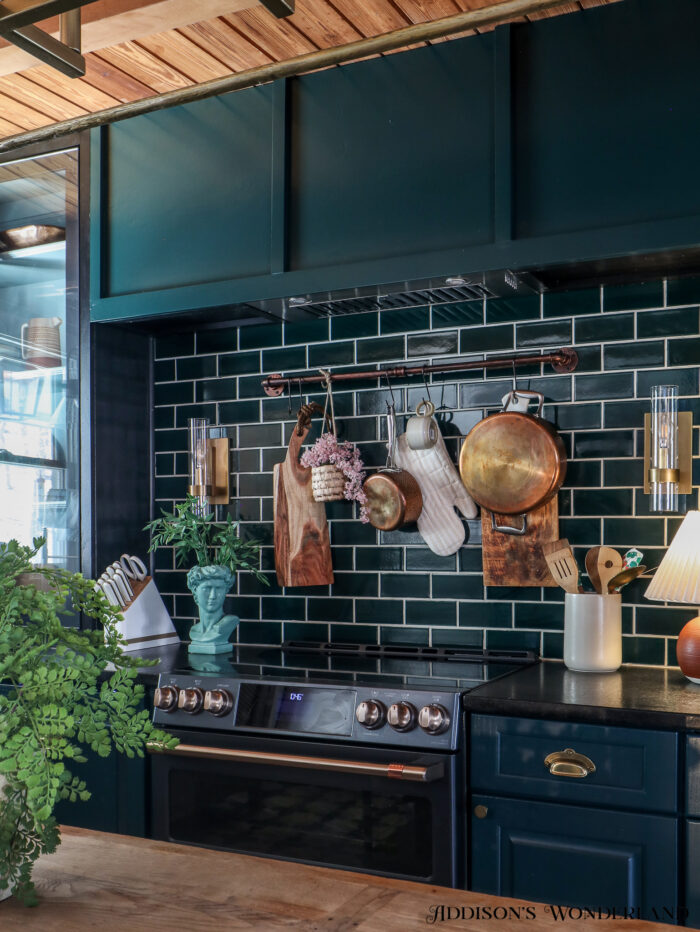
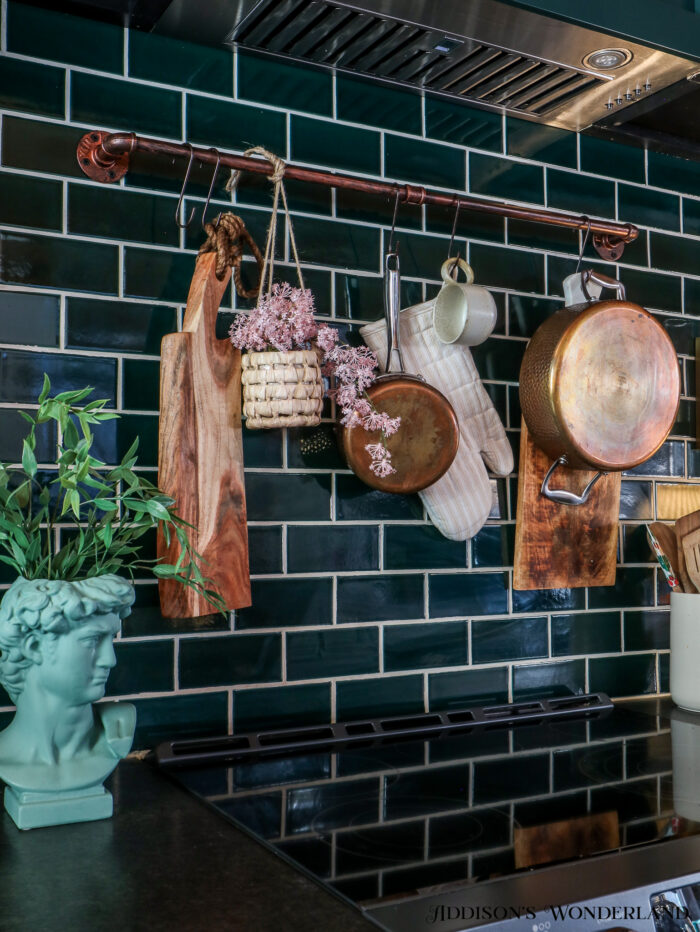
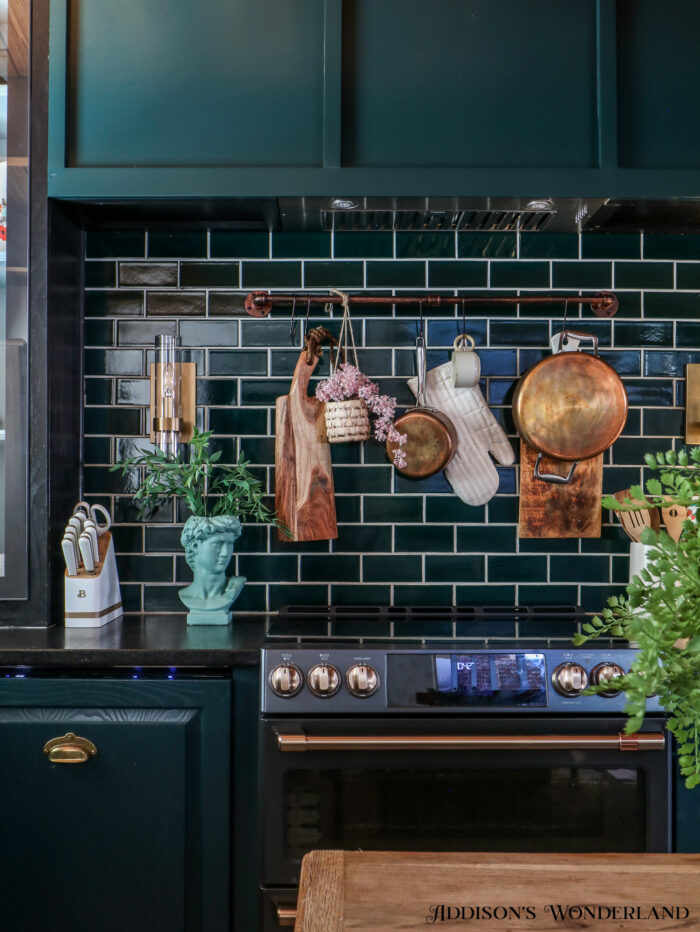
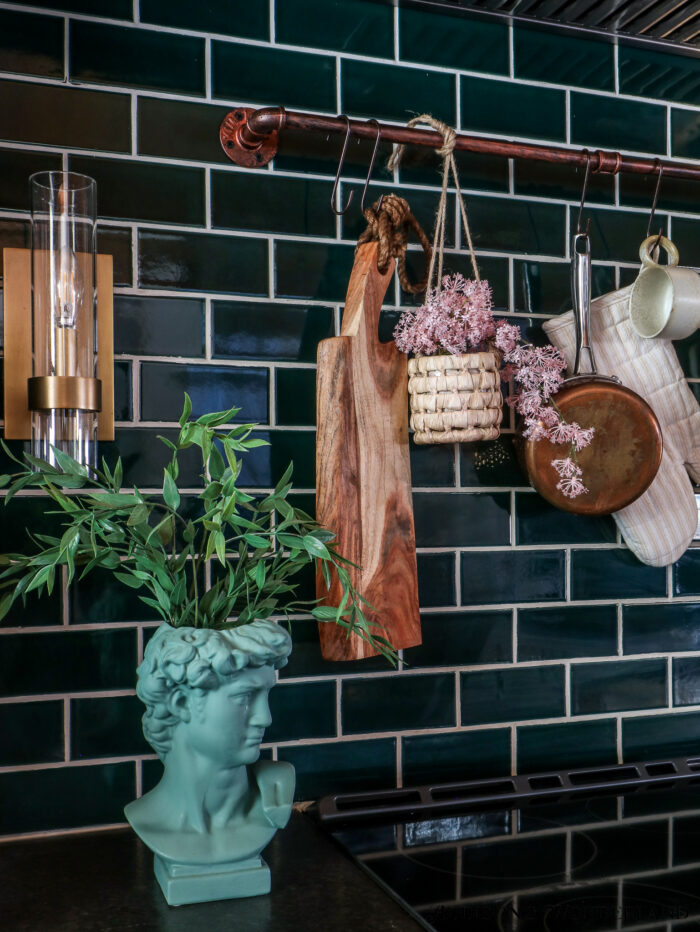
This past weekend John and I spent the weekend at our cabin and also did a few fun little updates/refreshes. One of those projects was styling up the cooktop rail he installed late last year. So… the first part of the images are quite a few months old and the styling part are just a few days old. My brain is always geared more toward decor but I have gotten so many messages about how to install these into tile that I thought I’d share that too!
So first, here’s the copper pot rack I chose for our cabin kitchen…
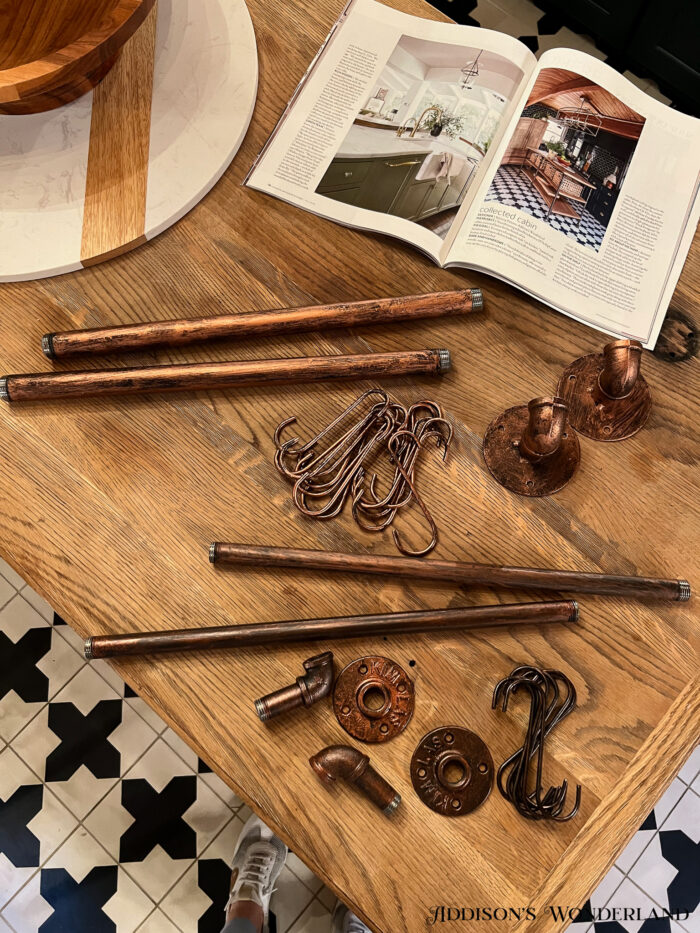
Pot Rack Rail
Step One…
Level the rail and mark the holes in each end cap.
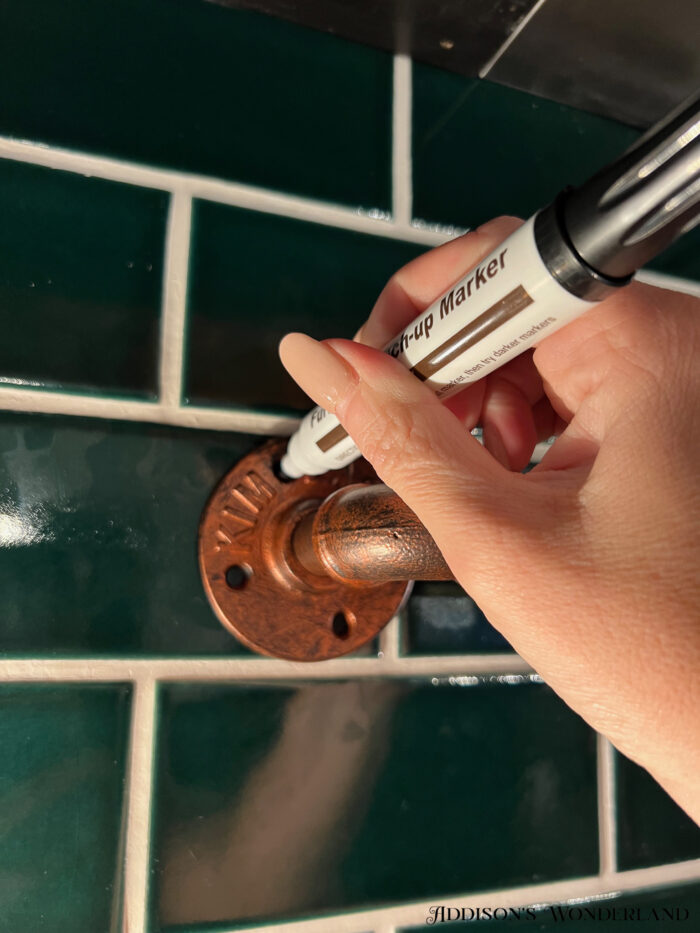
Step Two…
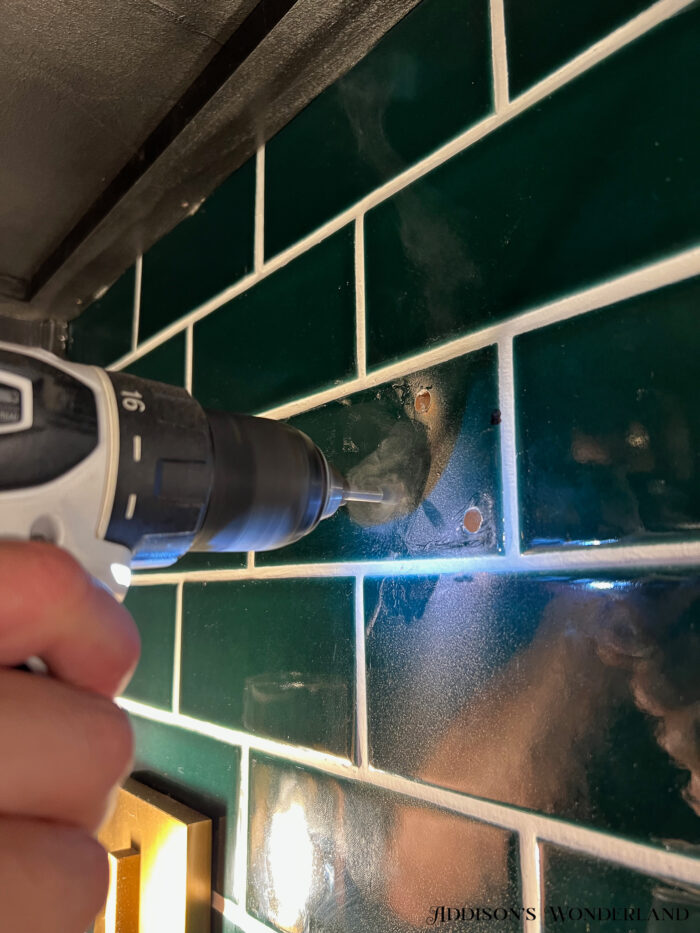
Using a carbide bit like THIS below, pre-drill a pilot hole into each marked spot on the tile.
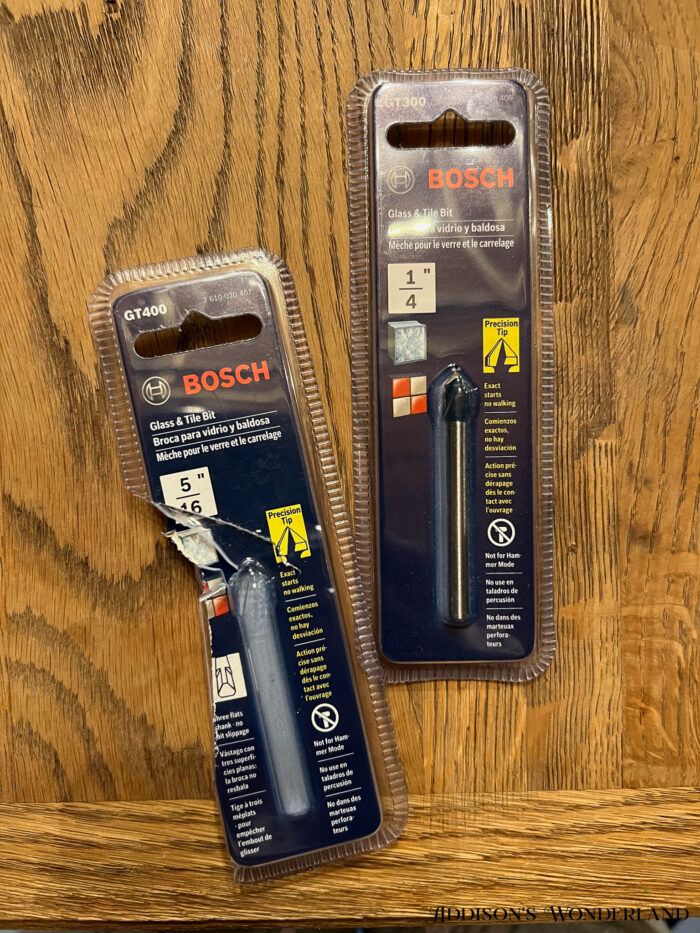
Glass/Tile Bit
Step Three…
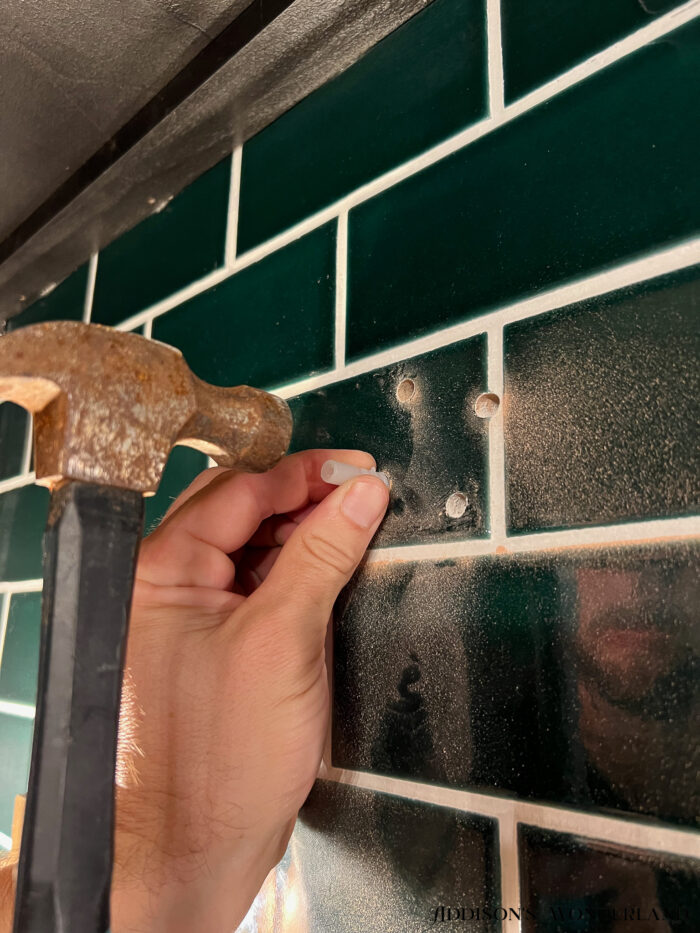
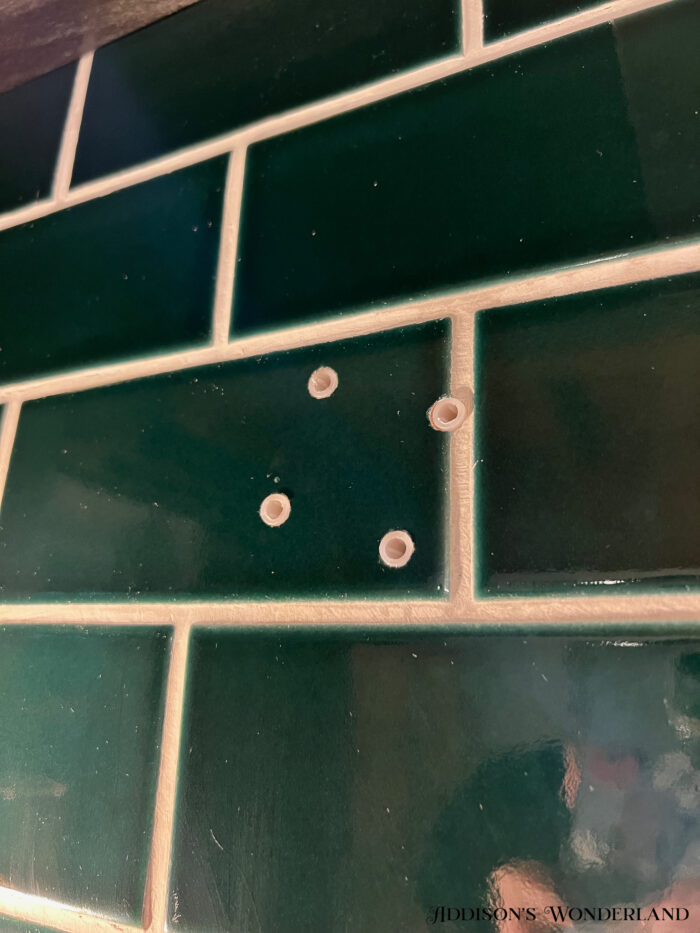
Lightly tap the plastic anchors into the newly drilled holes flush with the tile.
Step Four…
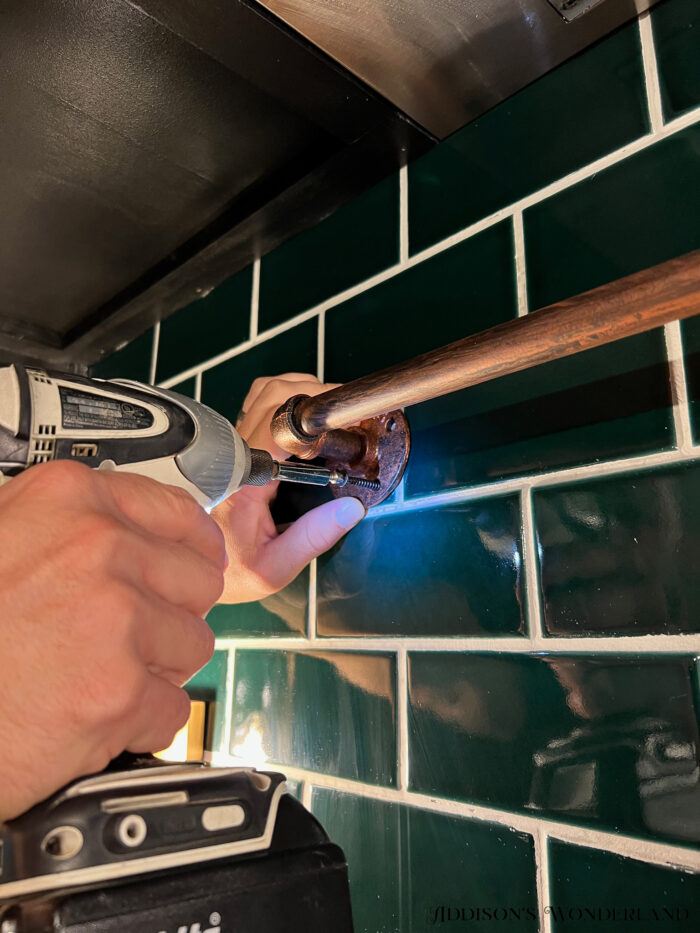
Hold the rail in place with the end caps lined up with the anchors and secure with screws.
All Styled Up!
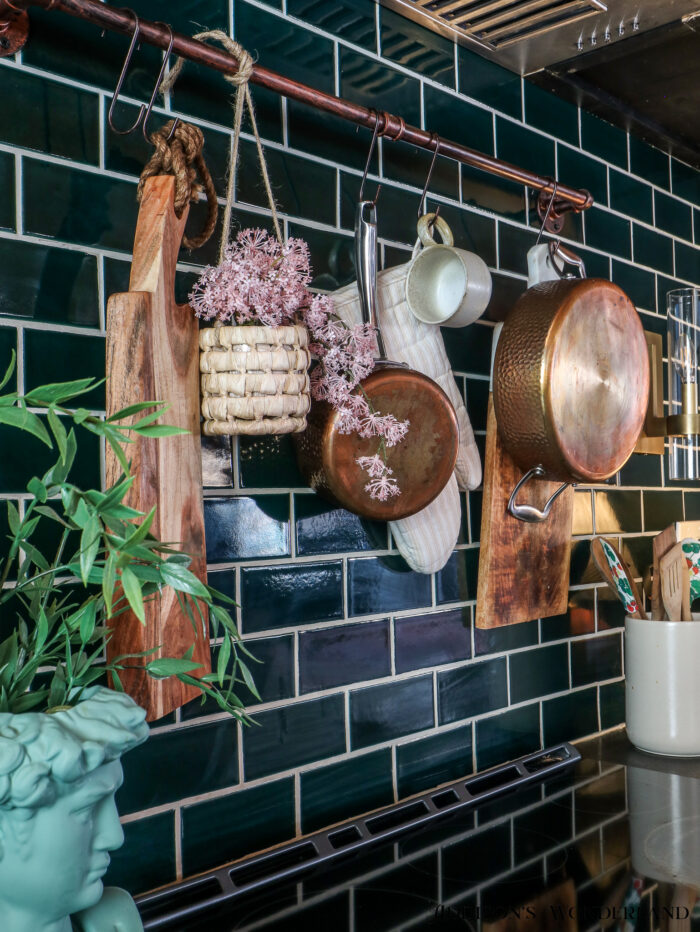
Oven Mitt / Floral Basket / Hammered Copper Pots
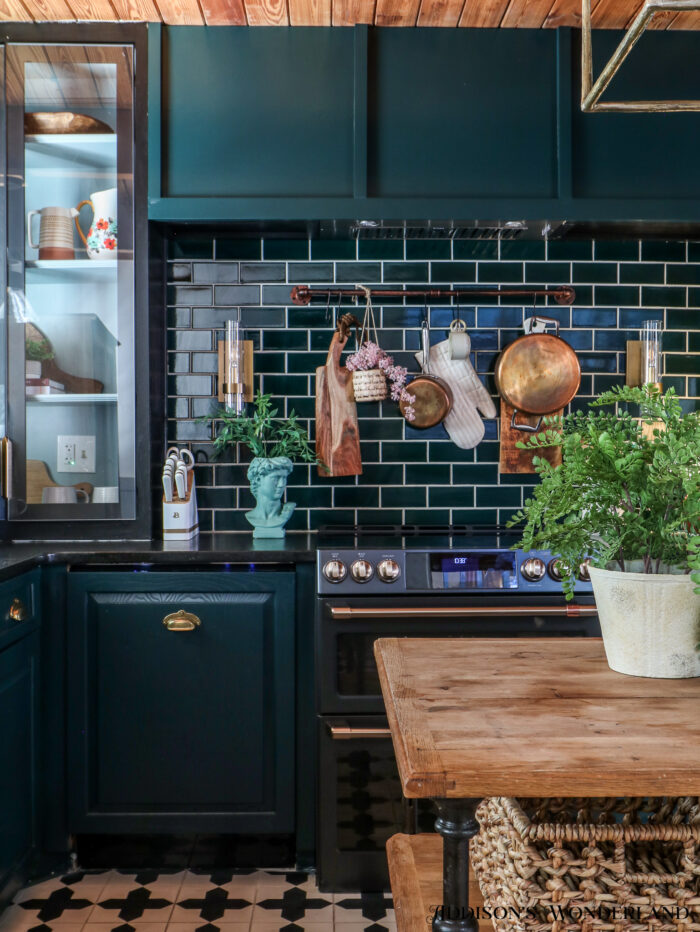
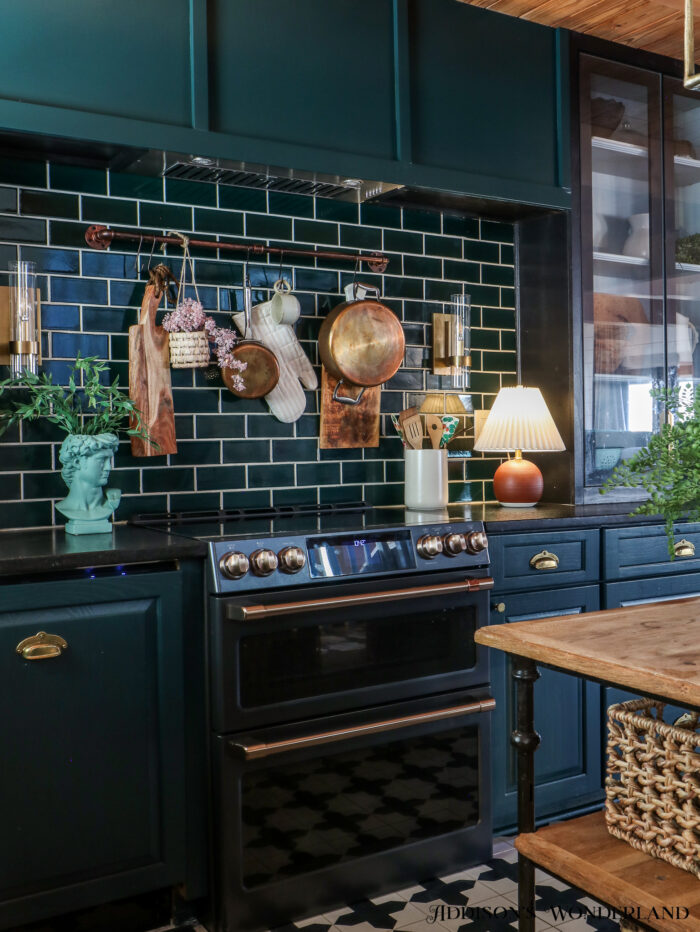

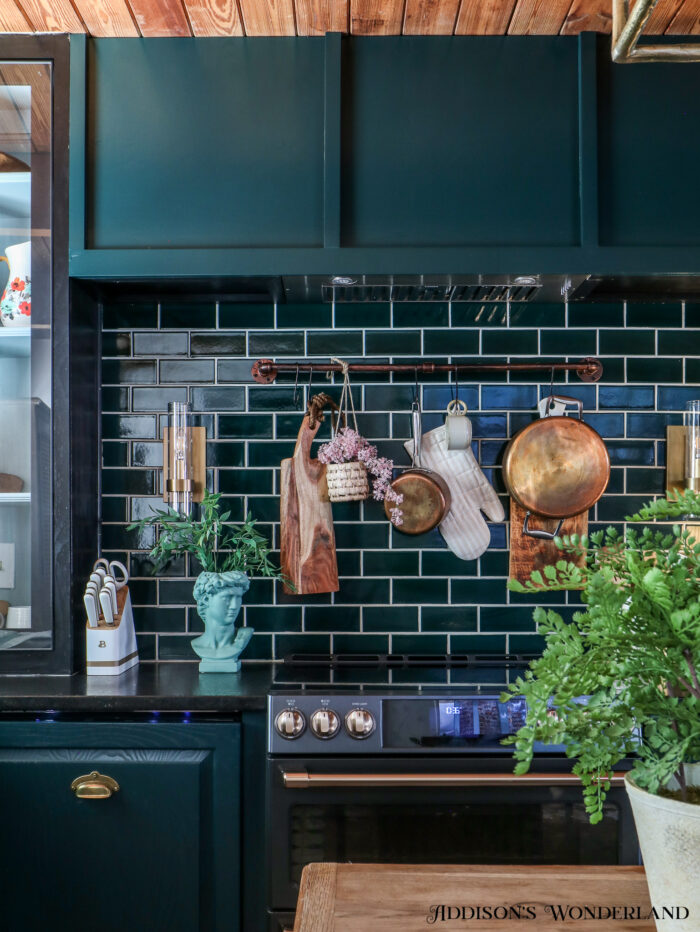
Shop the Pot Rail Styling…
Shop Our Cabin Kitchen…
Cabinet Color: Black Evergreen by Behr
Glass Cabinet Doors
Floor Tile
Wall Tile
Cup Pulls & Knobs
Island- Anthropologie Outlet
XOXO, Brittany Palazzo
+ view the comments

