I’ve taken on quite a few (thousand) stencil projects in my 33 years. I think I lost count after about number 12. I’ve always, or maybe the last five years or so, LOVED wallpaper. However, we couldn’t always afford it and seeing that I love a good house project once every few hours or so, stenciling seemed to be the perfect fit. The problem though is that I absolutely detest painting. Maybe because I am such a perfectionist or maybe because it takes five times longer to tape off the room than to actually paint, whatever the reason I usually dread stenciling. HOWEVER, that lasts about five minutes and once I get everything prepped, taped and ready to go I honestly love the little creative getaway. You can see some of my previous stencil endeavors HERE.
For this project, my very first stencil project in our new home might I add, I teamed up with Cutting Edge Stencils to bring you a fresh take on stencils! Forget the ivy kitchen borders and red apples of your past, there are so many amazing options and the pattern/color combinations are endless. Of course I had to get a bit colorful, but I LOVE the finished product and I challenge you to try this at home and share it with me! (addisonswonderland@yahoo.com)
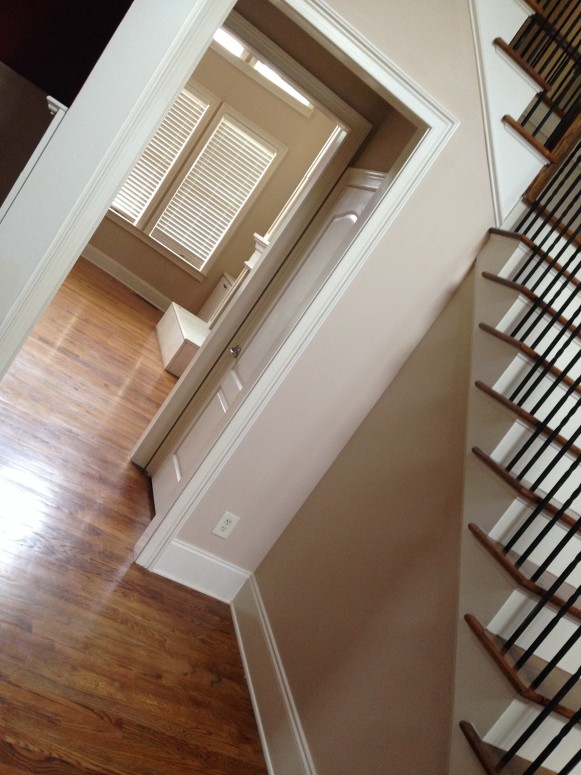
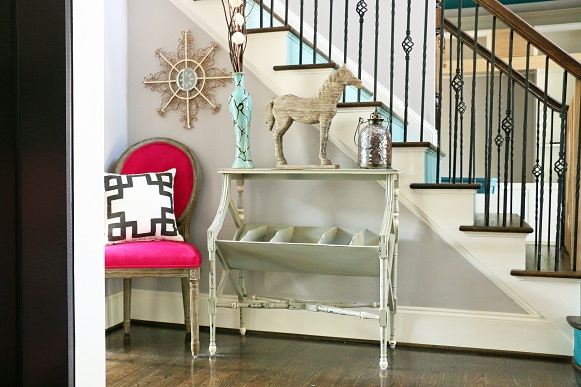
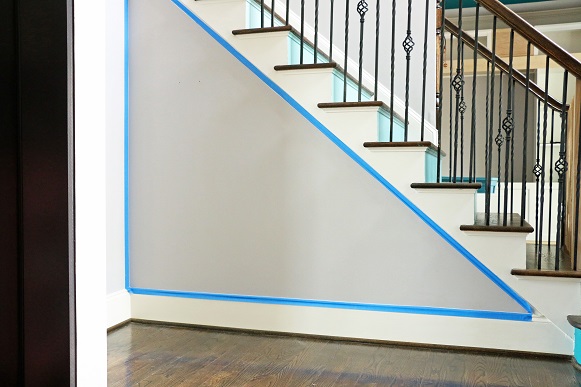
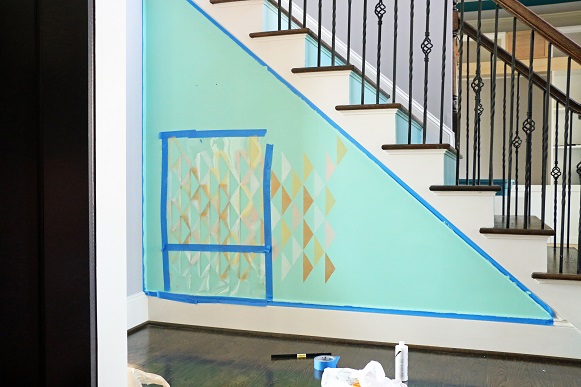
Before
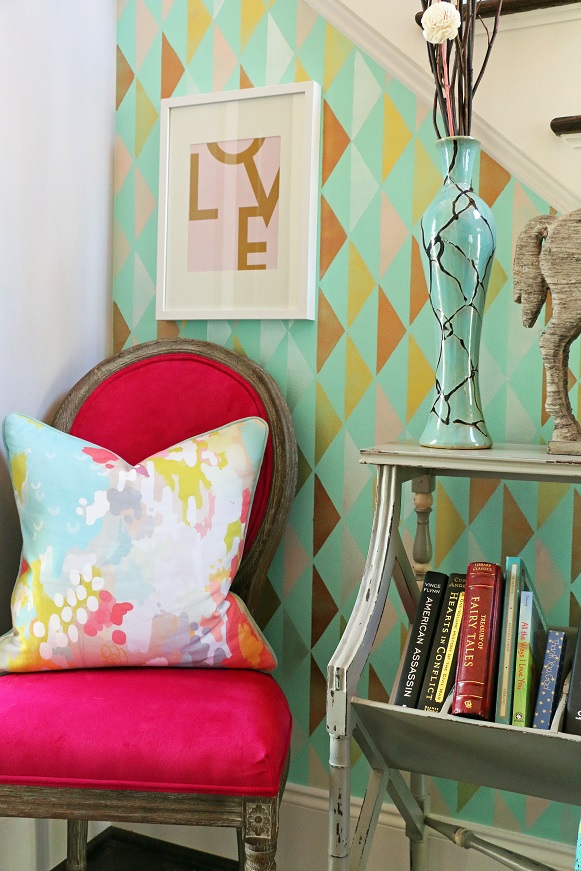
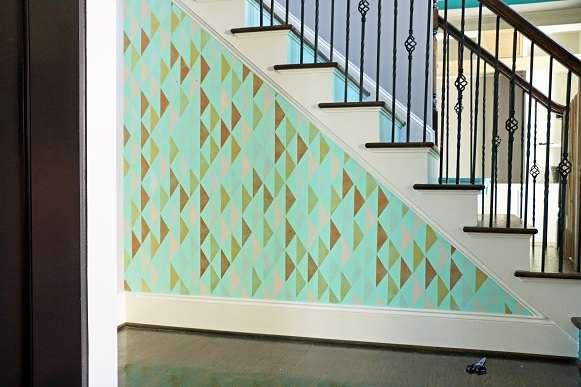
Formerly Known As “After”
Material List
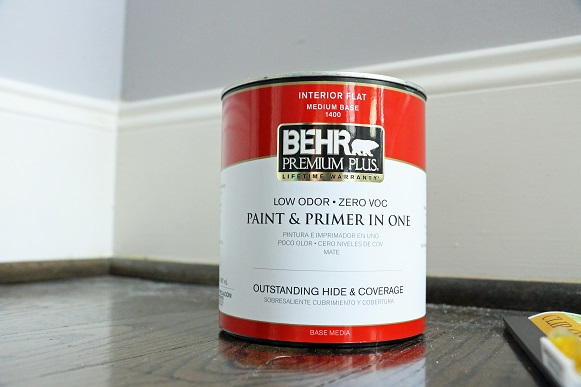
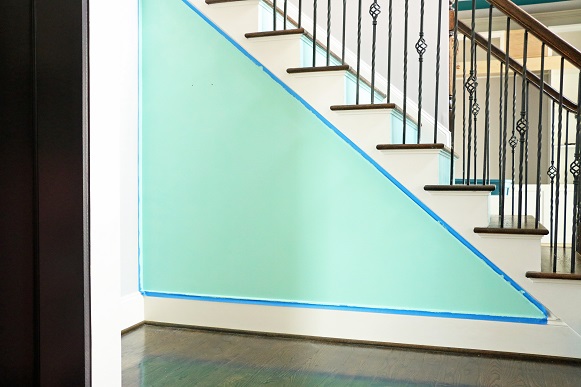
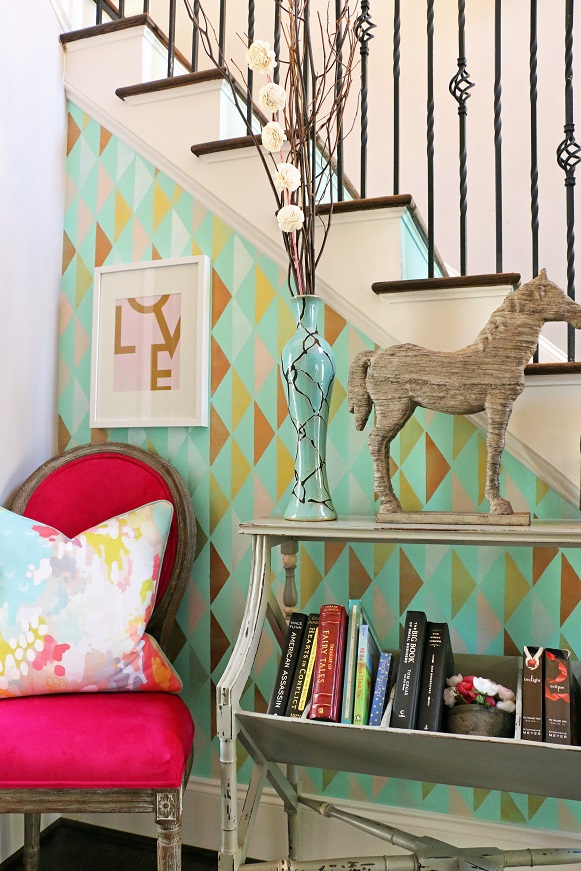
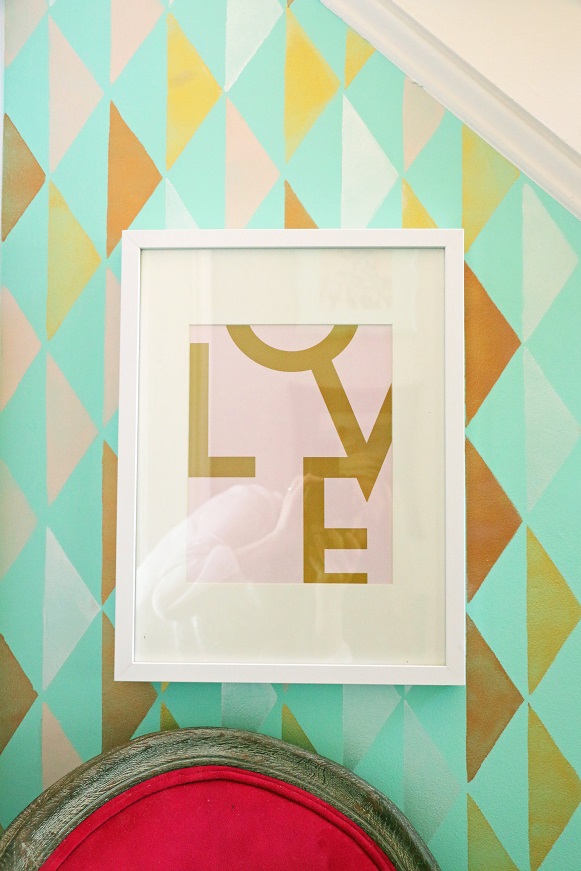
Wall Color: Pageant Green by Behr
Supplies:
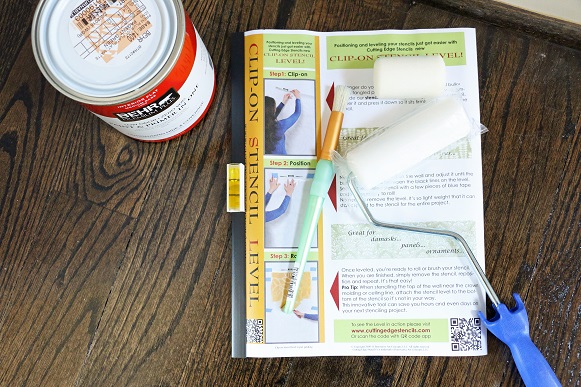
(I HIGHLY recommend Cutting Edge Stencil’s “Stencil Essentials Kit” Pictured Above)
4″ Dense Foam Roller w/ Handle
Extra 2-4″ Foam Rollers (I used one per color)
Clip on Stencil Level
Stencil Brush (for touch-ups)

Paint:
Anita’s Metallic Craft Paint- Classic Gold
Anita’s Metallic Craft Paint- Bronze
Anita’s Metallic Craft Paint-White
FolkArt Acrylic Paint- Spun Sugar
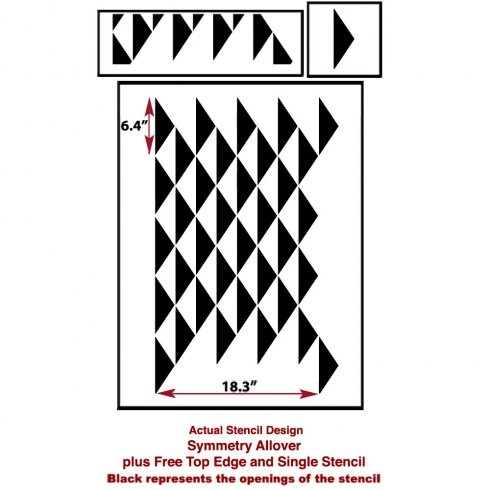
Cutting Edge Stencil’s Symmetry Allover Stencil
The “How To”
Here’s a fun little video tutorial…
*CLICK THE BOX IN THE LOWER RIGHT HAND CORNER TO MAKE THE VIDEO FULL SCREEN*
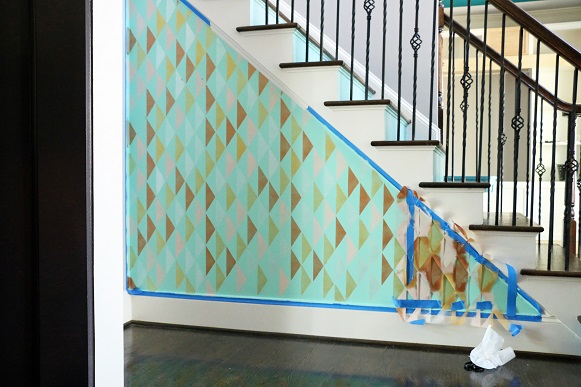
In hopes that pictures speak louder than words, and seeing as though I took A LOT, I will let you see most of the process for yourself. Here’s my tips for the perfect stencil project…
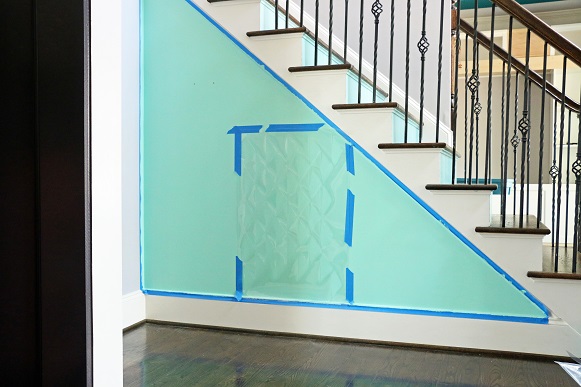
1. Lay out the stencil AS SOON as you receive it to make the stencil as flat as possible.
2. Using stencil tape or painter’s tape and a level, tape the stencil to the wall or desired area.
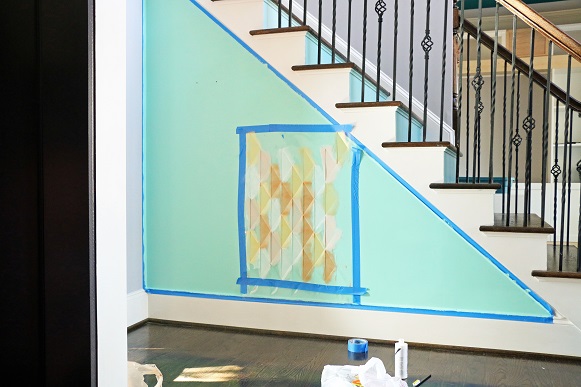
3. For large stencils, I suggest taping across the stencil as well and moving it as you move along. This keeps the stencil even flatter against the wall.
4. Use even less paint than you’d think. More paint on the roller tends to pool up and drip behind the stencil.
5. I usually suggest starting in the center of the room or desired stencil area.
6. Once I complete the large full stencil areas, I cut down the stencil to fit the remaining narrow and small areas.
7. Once all stenciling is complete, simply touch up any drips or smears with wall paint.
8. Pat yourself on the back and e-mail me pictures of your project!
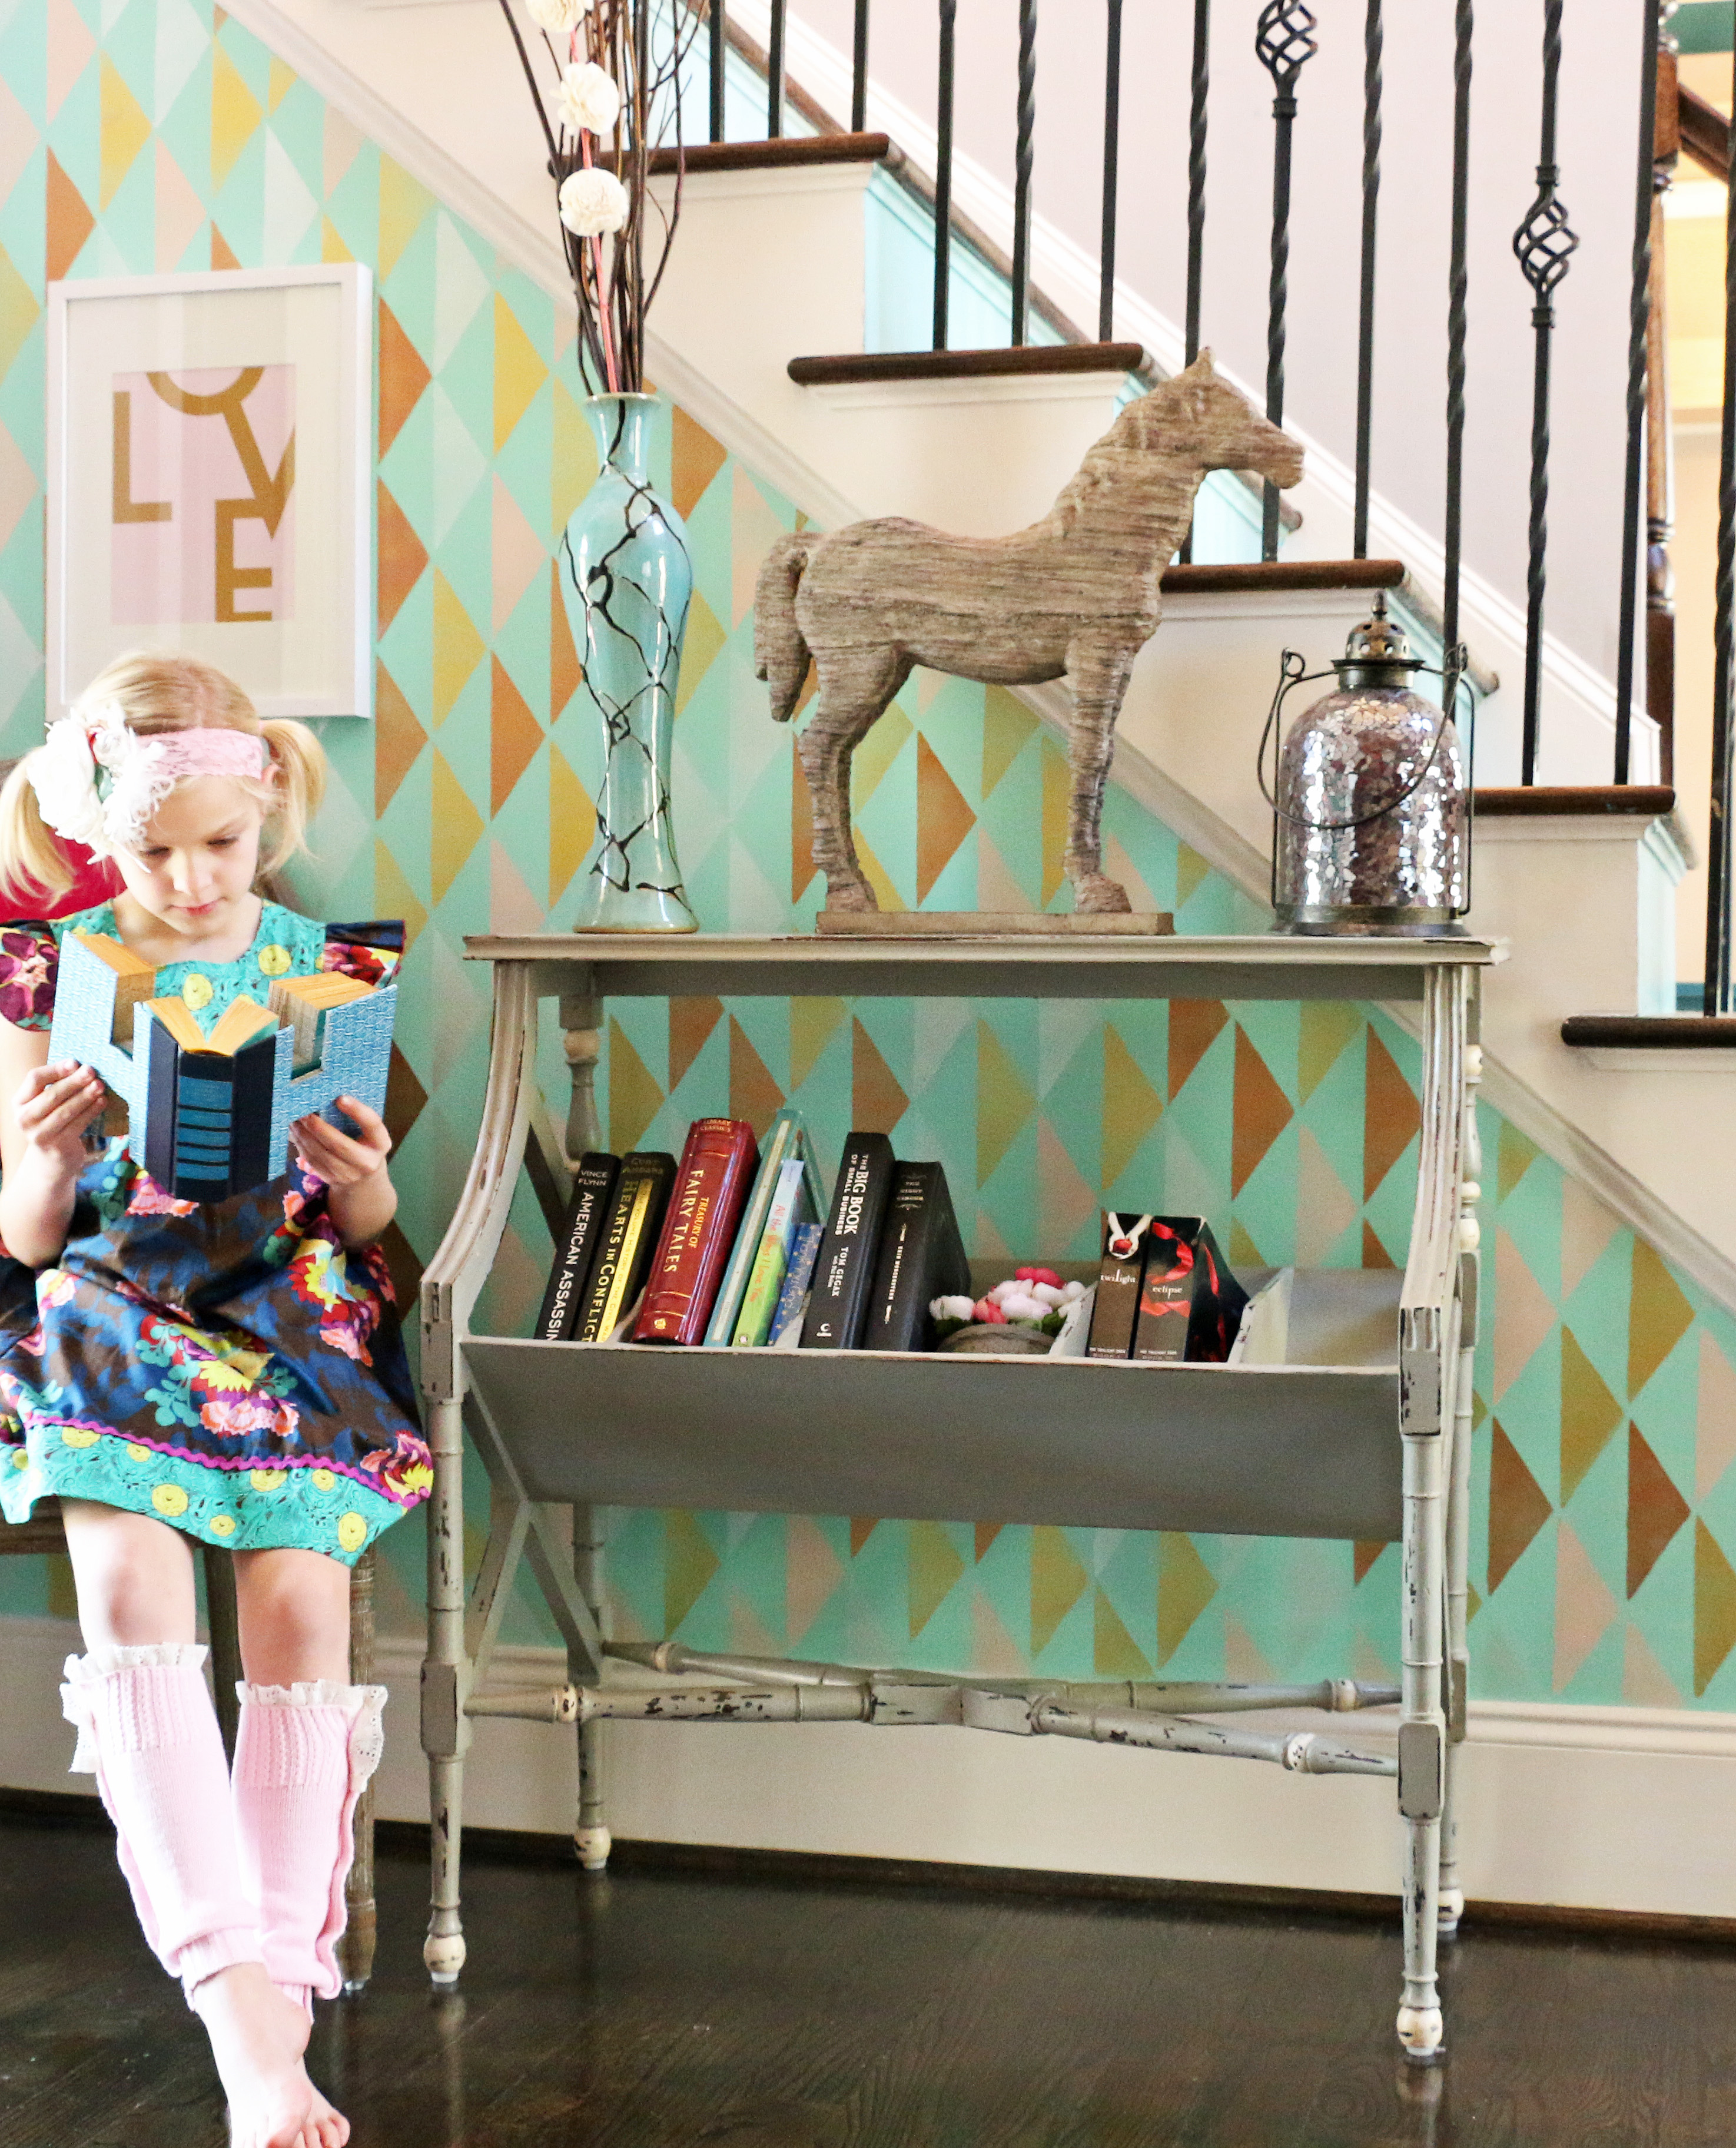
Addison’s Dress: Swanky Baby Vintage
Pink Leg Warmers: Grace & Lace
Flower Headband: London Raquel
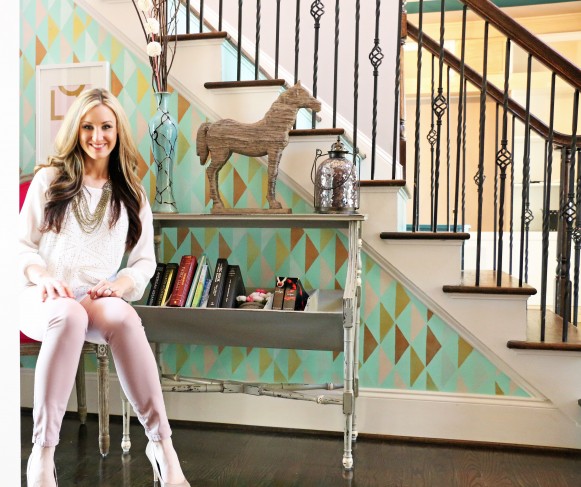
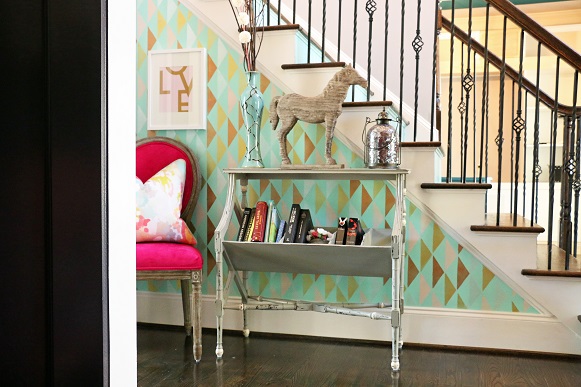
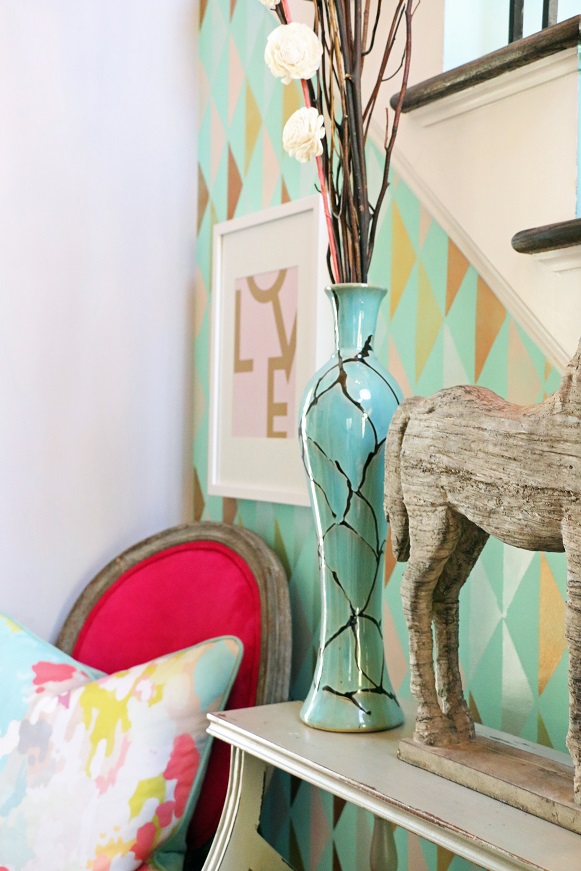
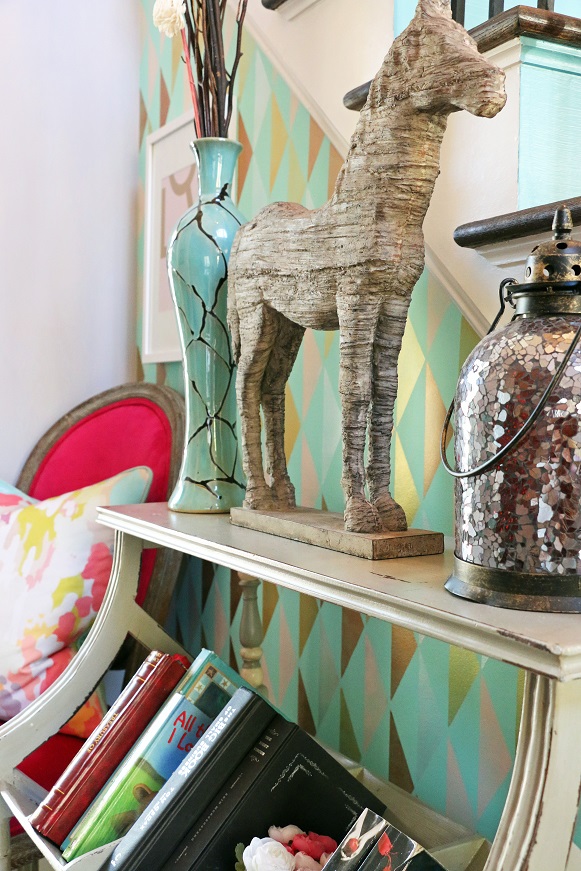
After
SHOP OUR FOYER:

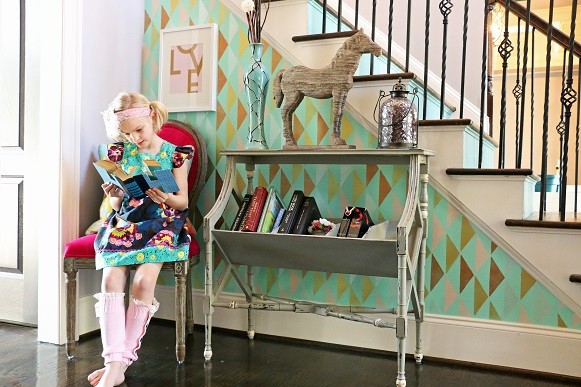
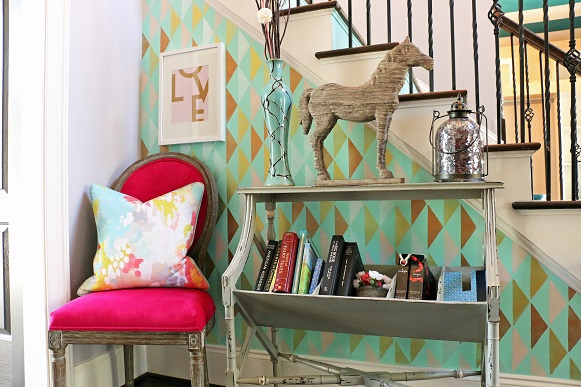

SHOP OUR FOYER:
XOXO, Brittany Hayes
+ view the comments


")
")