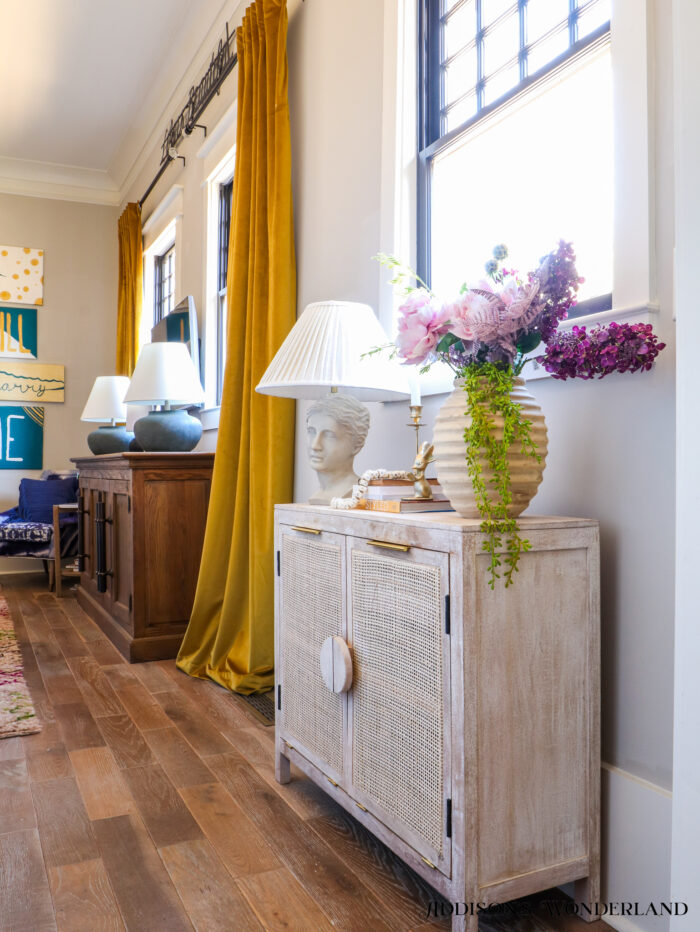
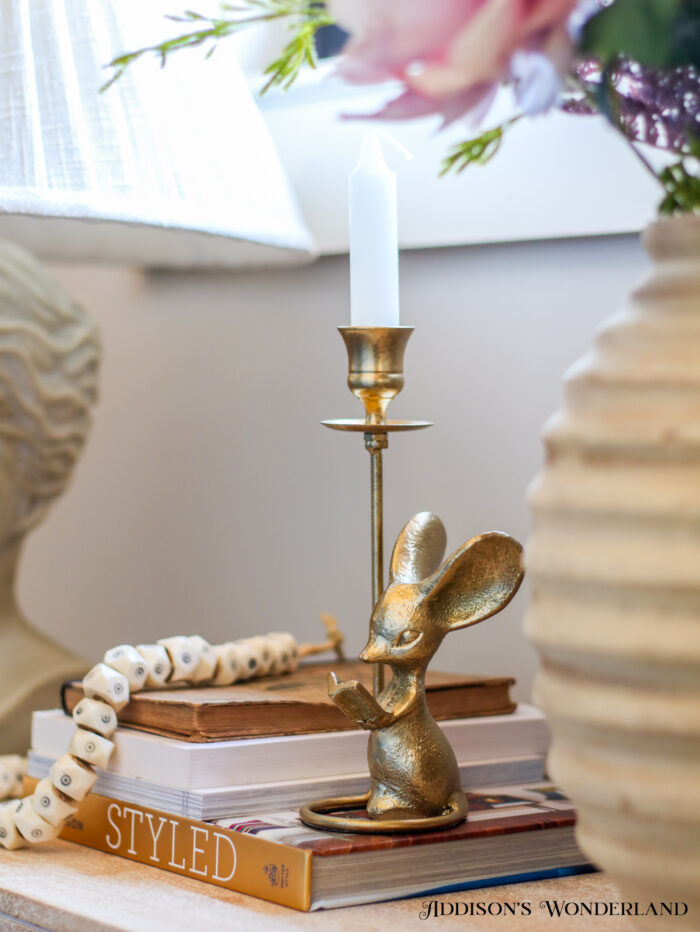
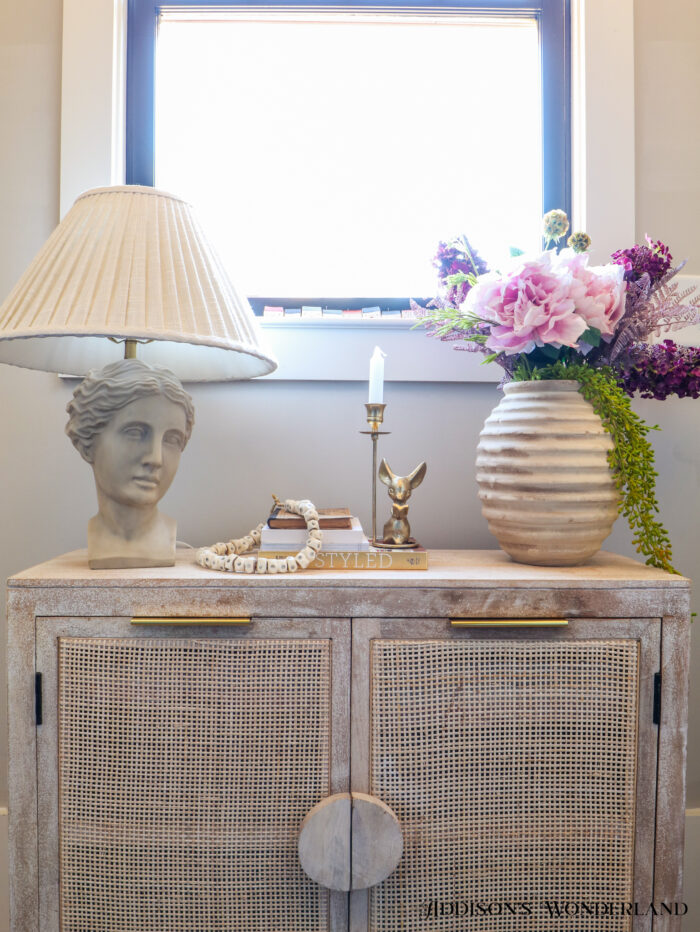
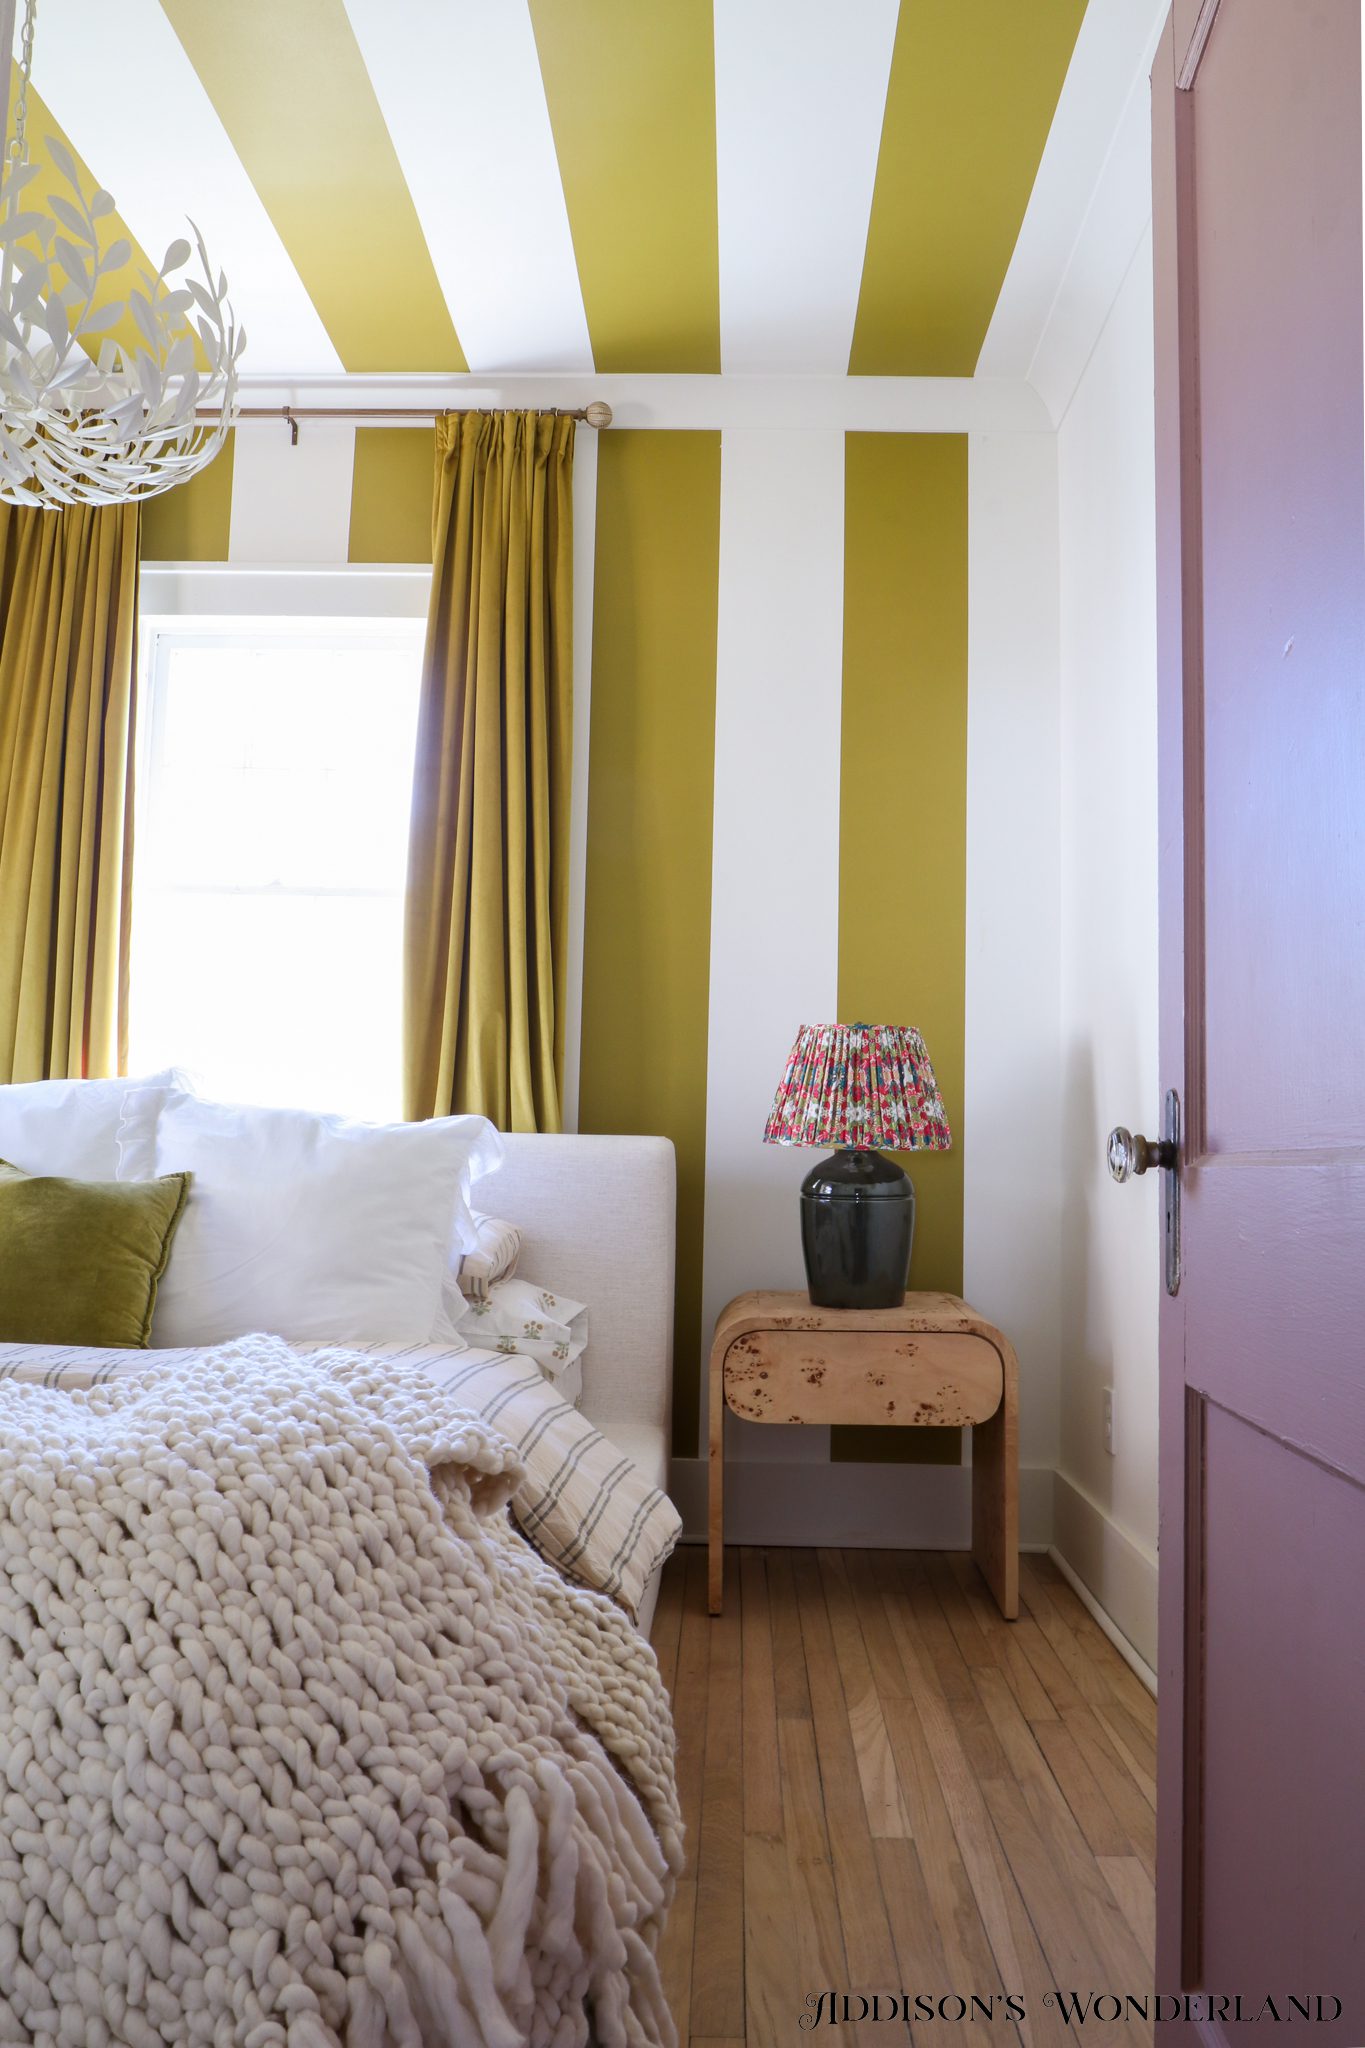
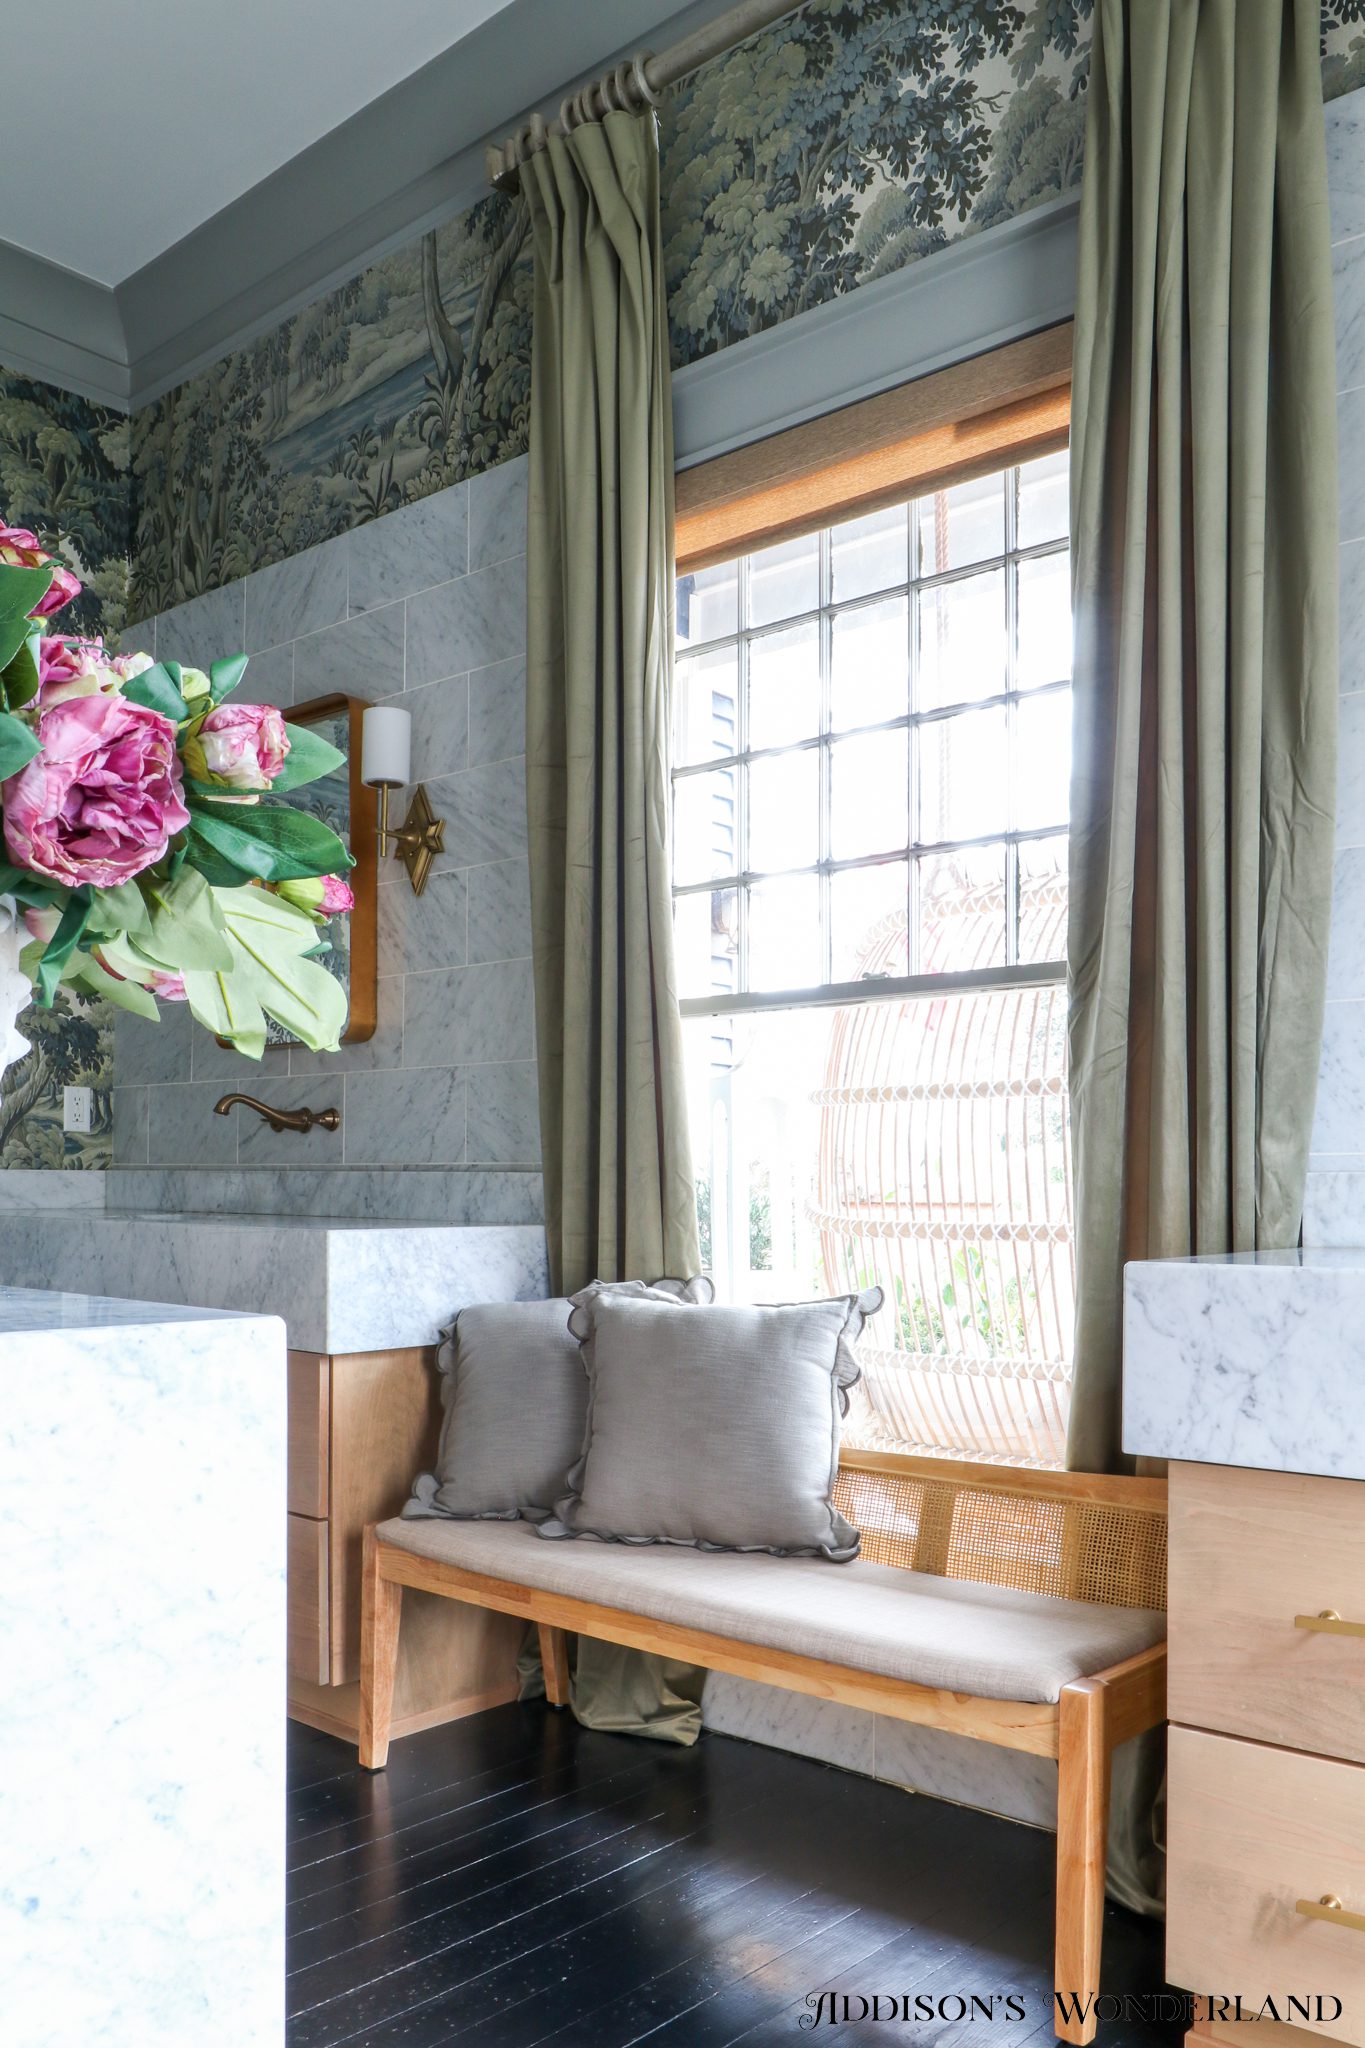
Curtains / Head Lamp / Mouse Candle Holder
I’ve never ever done this before but I am duplicating and re-writing a blog post! Yep, since it’s been a bit now since I first posted this AND I wasn’t as active blogging then as I am now AND because I have lots of new readers now… here it is AGAIN! My very very favorite DIY we’ve ever ever done. Partly because it turned out even better than I thought and because it really is the most used and most asked about (from our guests) DIY in our home. It was worth every DIY’ing second! Speaking for John of course 😉
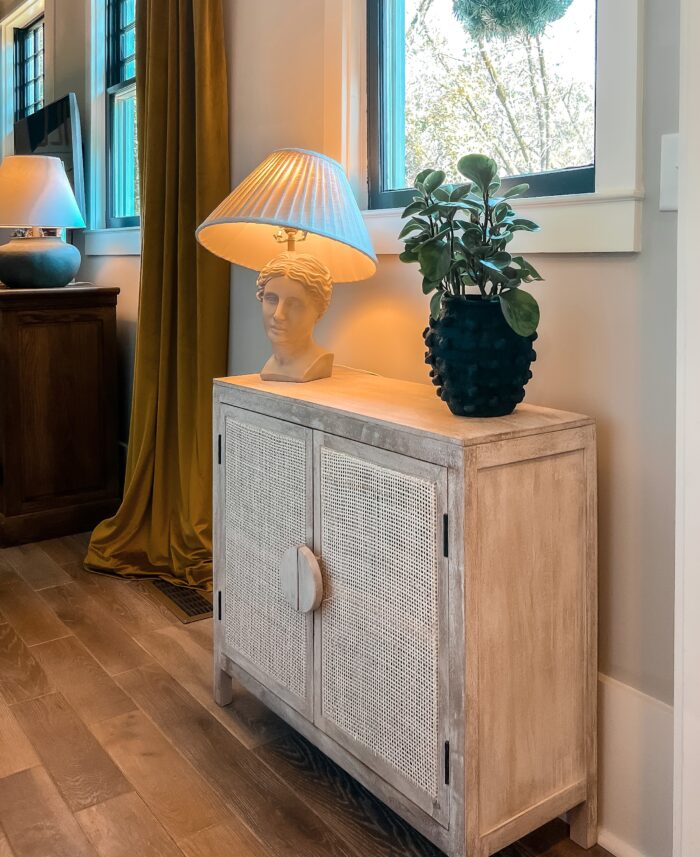
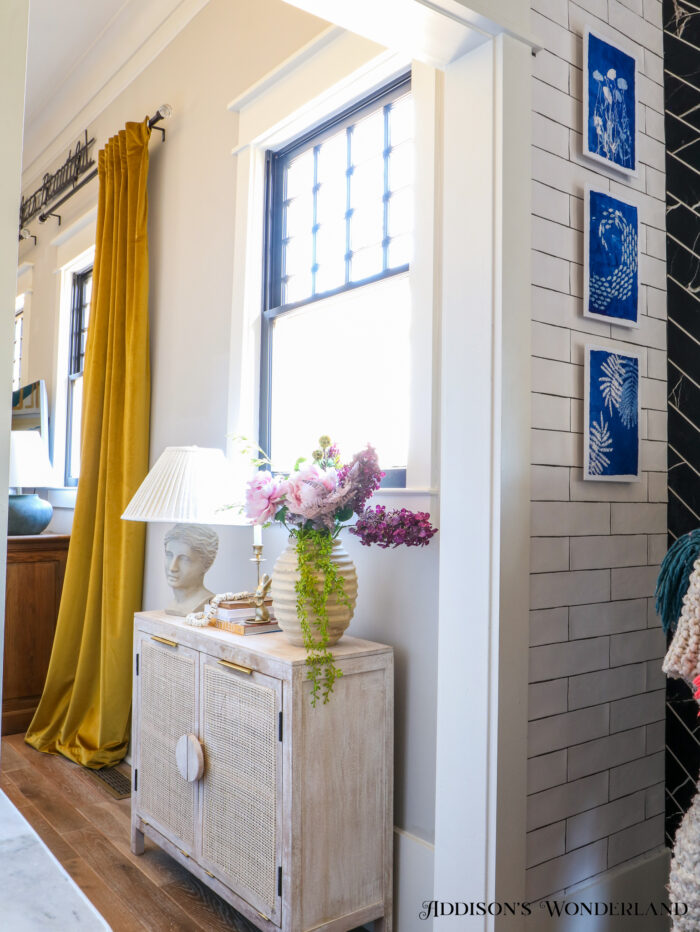
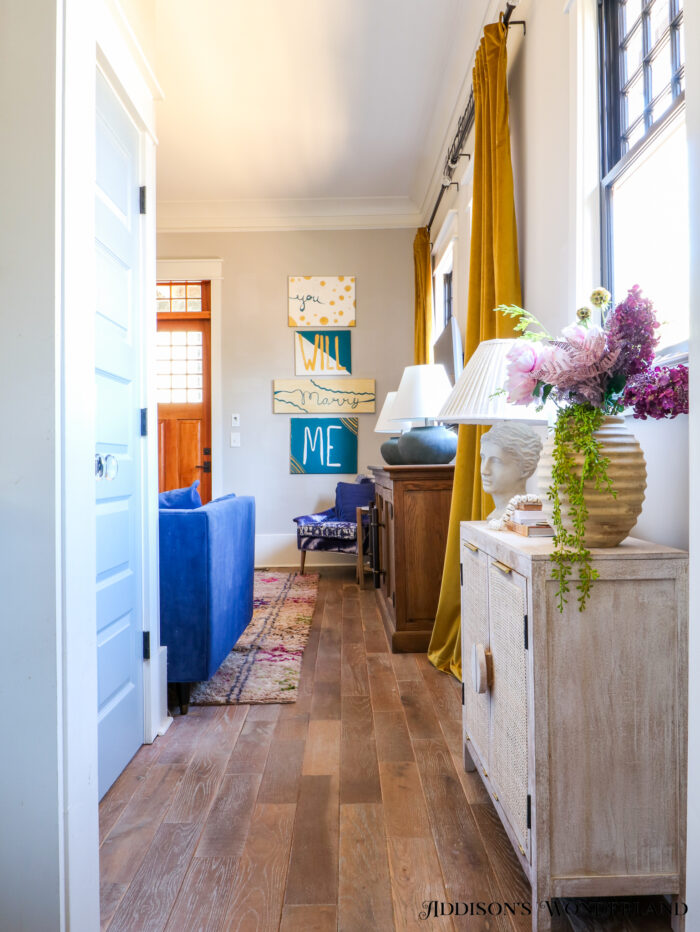
About a year and a half ago now, I had this crazy idea to purchase this beautiful rattan cabinet at HomeGoods and have John attempt to make it into a trash can. In our kitchen there’s never been a convenient place for a trash can. We once had one behind our breakfast room chairs but then I recently got a longer table and that just didn’t work out anymore. Then we tried having one in the pantry and that ended up being a pain to have to open up the double pantry doors to to throw anything away. So… we gave it a go and it WORKED!
Also, important… I got this cabinet at HomeGoods which coincidentally, and thankfully, ended up being the perfect size to fit two plastic cans into. Once I got online to find similar cabinets to link for y’all, I realized that most are too narrow SO we hunted high and low and found these that WILL WORK!
Cabinets Wide Enough…

Cabinet BEFORE…
Yep, John thought I was crazy too. I won’t lie… it took us a minute to nail down exactly how we would tackle this transformation. We first thought we’d do slide out tracks for the trash cans but then John decided chained pull-downs might be the easier method. We also went back and forth about how exactly you’d go about opening each door given that there was already beautiful wooden pulls on each door. Here’s how we finally made it happen!
What You’ll Need…
A Cute Cabinet!
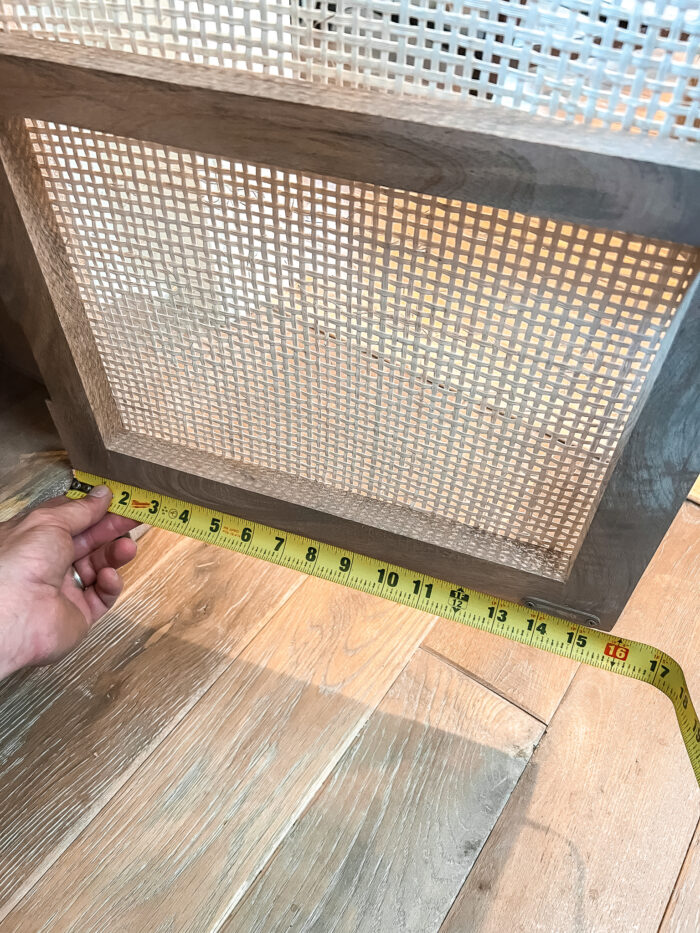
Measuring Tape
Pencil
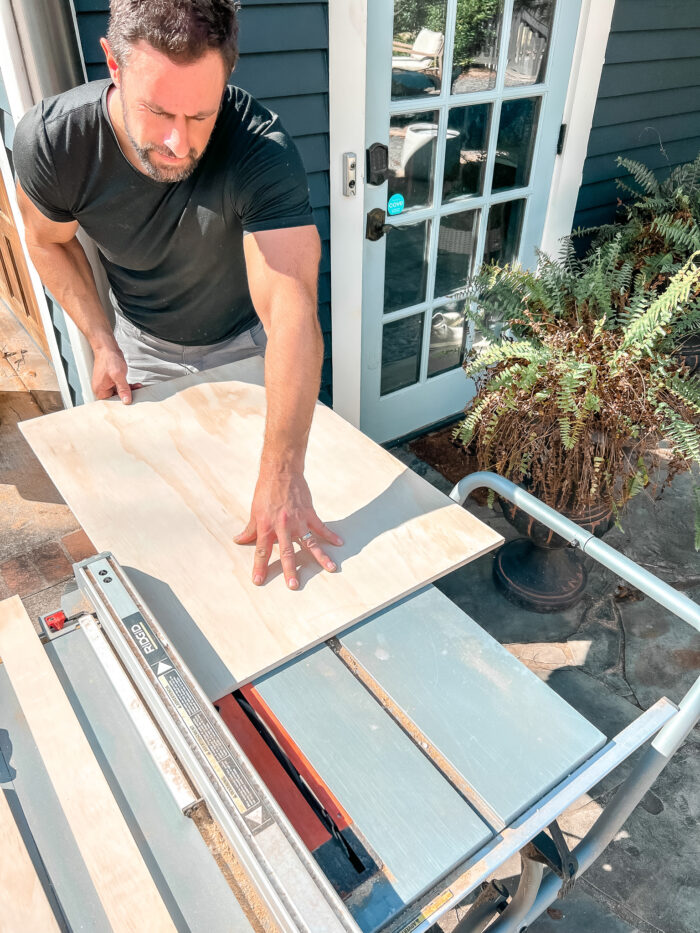
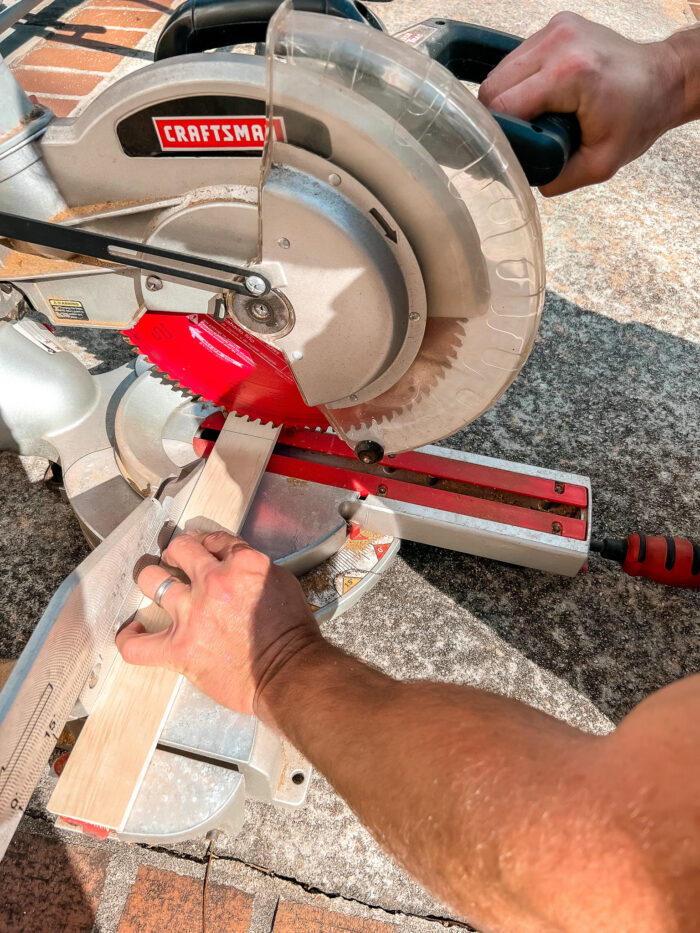
Table Saw or Circular Saw & Miter Saw
One Sheet of 1/2″ Plywood
Screw Gun & Drill
Wood Glue
Finishing Nails & Construction Screws
and…
Step One…
First, choose a cabinet that you love! I found this one at HomeGoods a few months back. Just make sure the interior of the cabinet can fit-ish your average kitchen trash can. Linked ones that work once again right here…
Step Two…
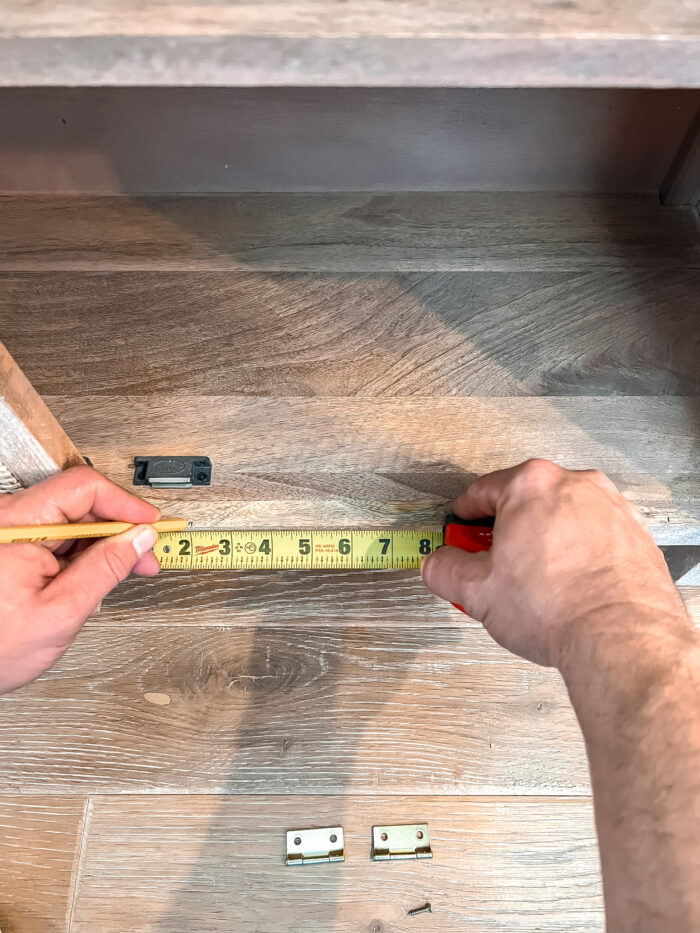
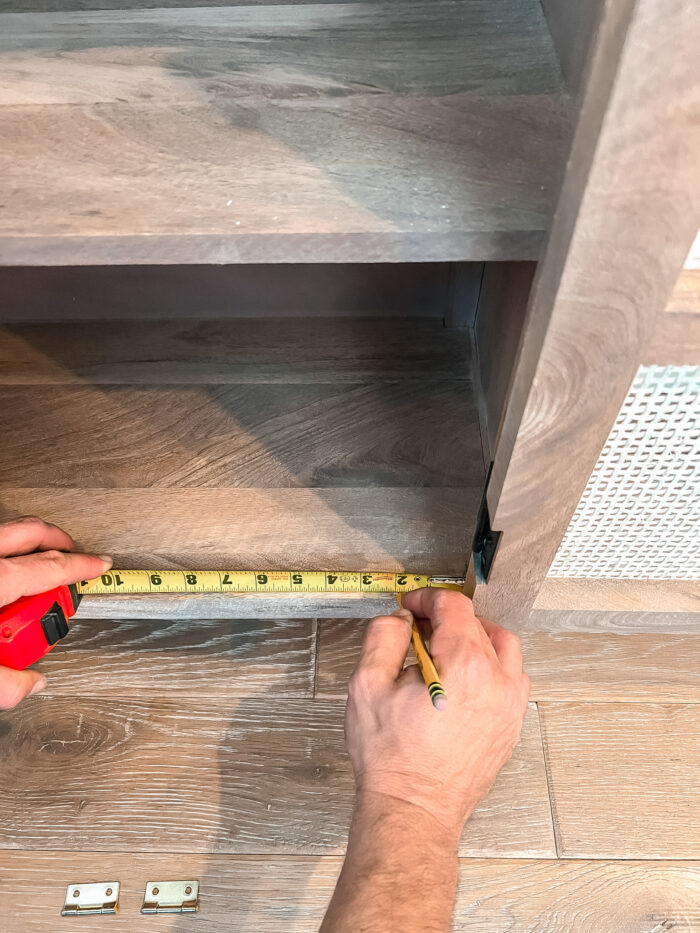
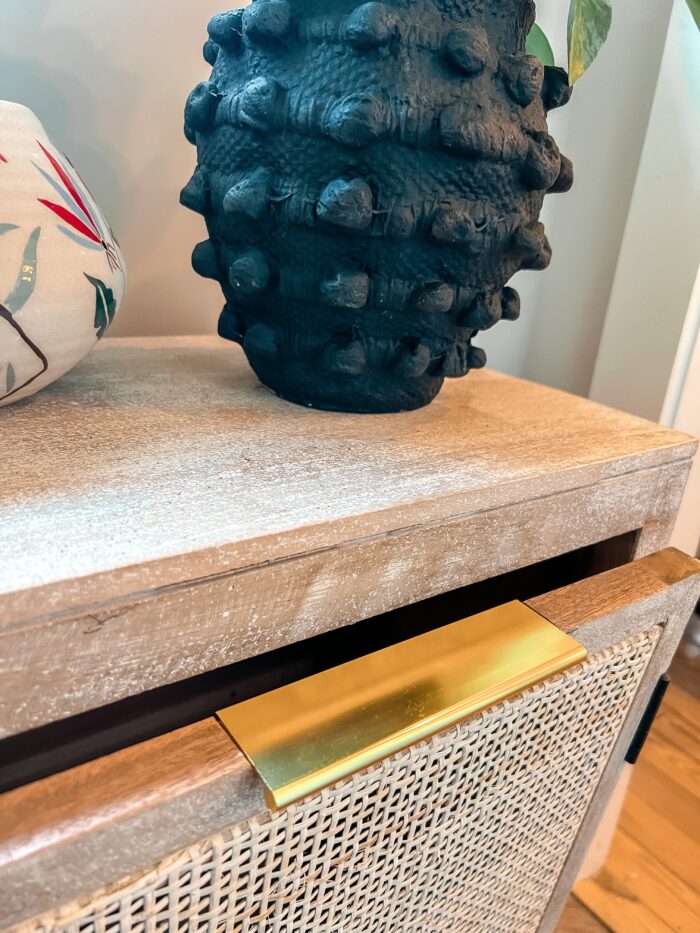
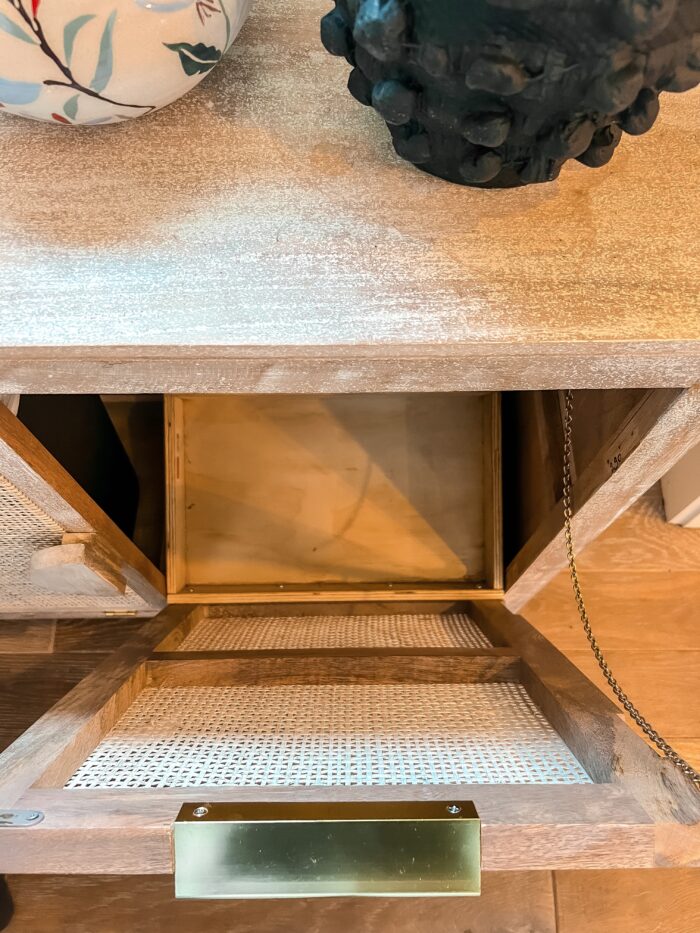
Measure the interior of your cabinet to determine the size of your platform that the trash can will rest on. Measure the width of the cabinet door and the depth of the cabinet to the inside of cabinet door when closed leaving a minimum of 1/4″ space from the back of the cabinet. For this project our dimensions were 16″W x 10-1/4″D.

Step Three…
Cut out and assemble your platform box. Using a table saw and 1/2″ finished plywood, we cut out a 16″x 10-1/4″ rectangle. Next rip 2″ wide plywood strips, and cut them to size to fit around the perimeter of your (our… 16″x 10-1/4″) rectangle. Your rails will rest on top of your plywood rectangle. Use wood glue, trim nails and small construction screws to assemble it all together.
Step Four…
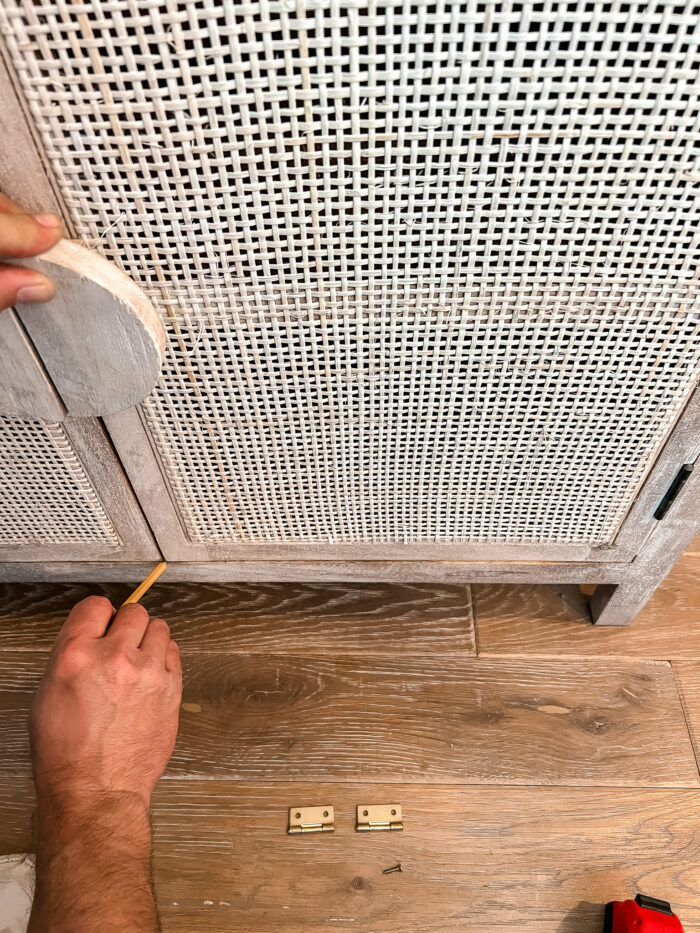
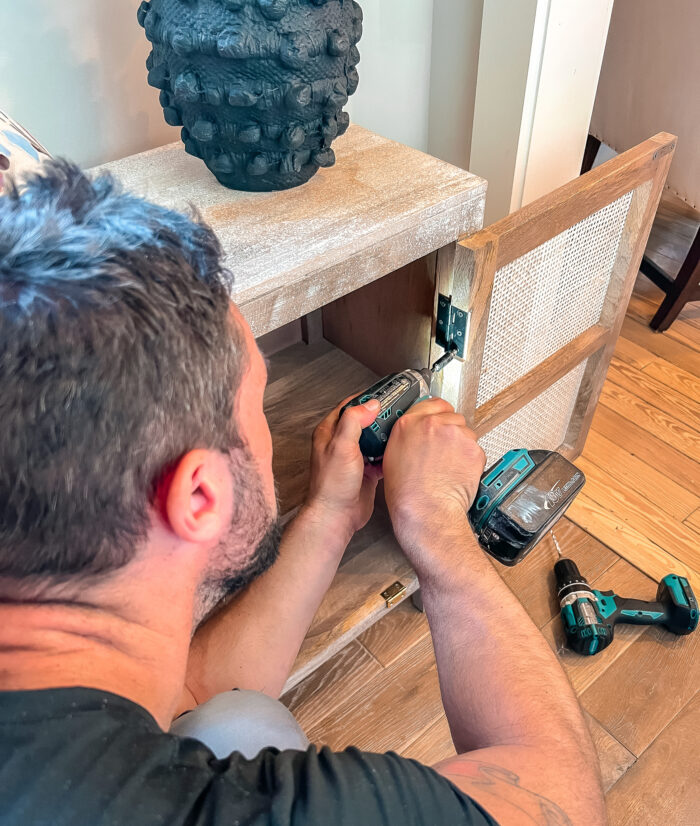
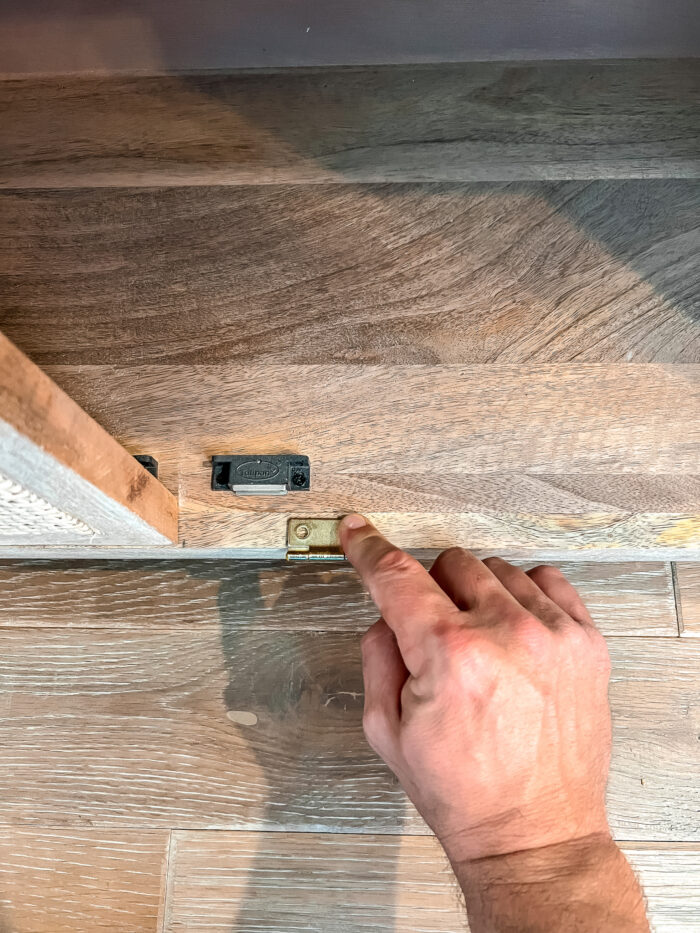
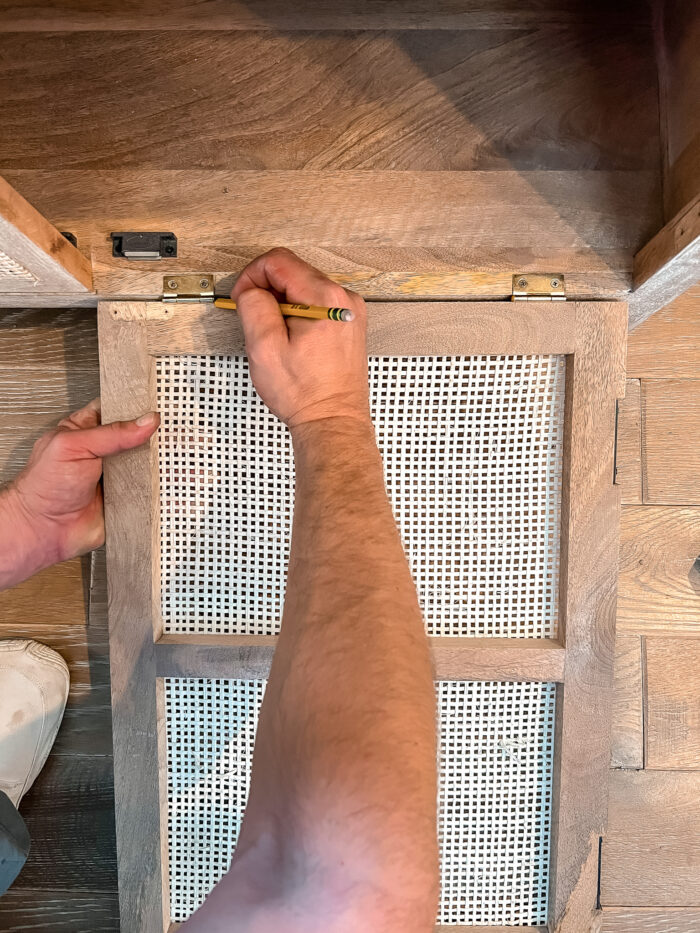
While the original cabinet door is still in place, mark each edge of the door. This will be used for reference when centering the new door to install. Detach the door by removing the original hinges. Once door is removed, mark the location and screw in the new hinges to the bottom of your cabinet. Make sure they are equal distance from the edge of your door marks for symmetry. Next, line up the bottom of the door with your edge marks against the hinges; mark and screw the hinges into the door.
Step Five…
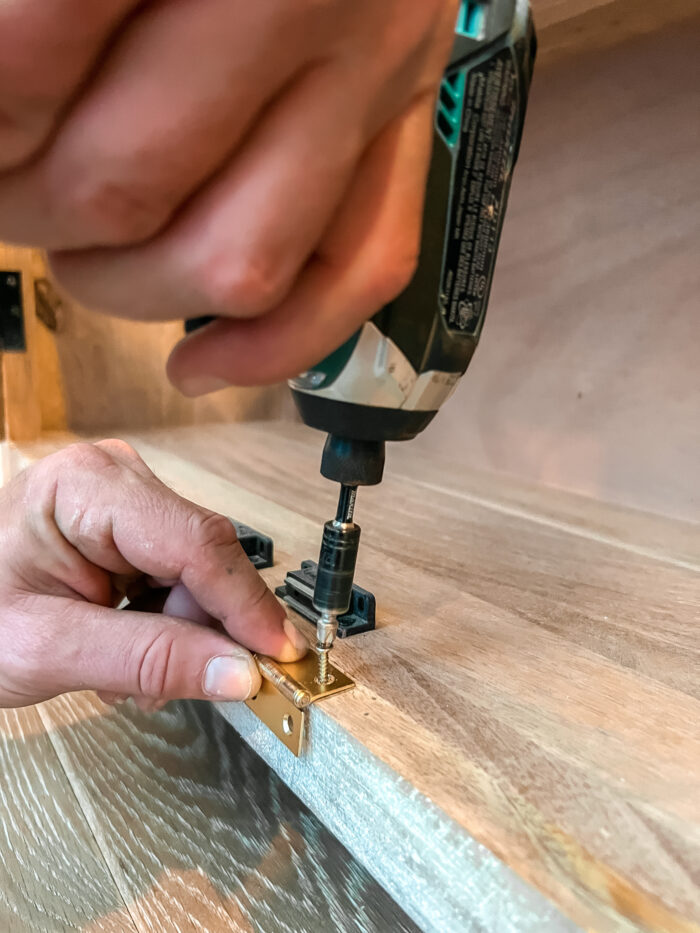
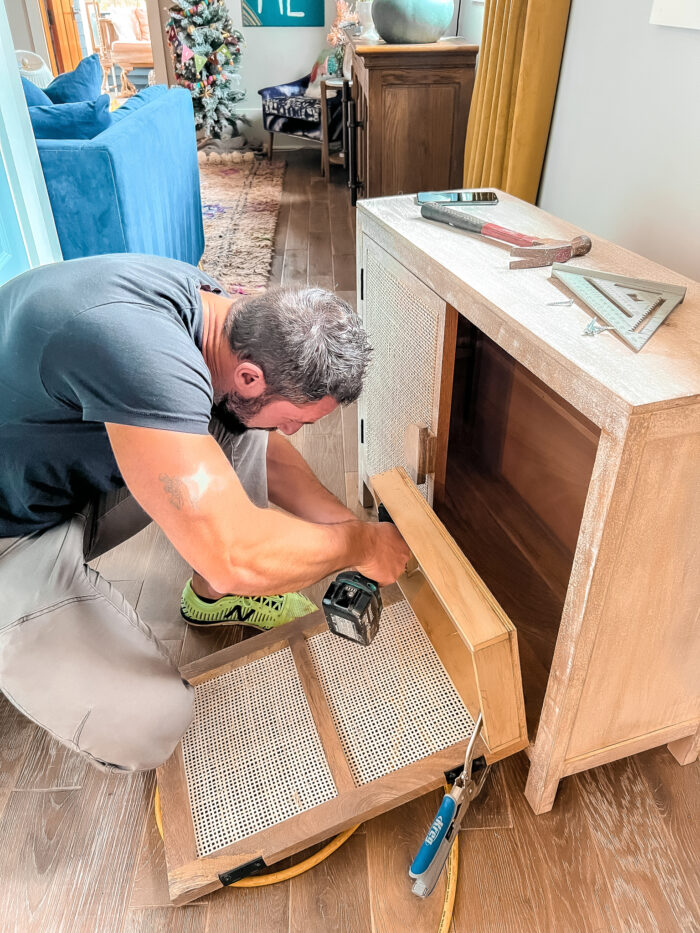
Assemble your new trash can tilt out door. Attach the platform box to the door. Line up the bottom and sides of the box with the door and clamp into place. Then screw the plywood rail into the door frame.
Step Six…
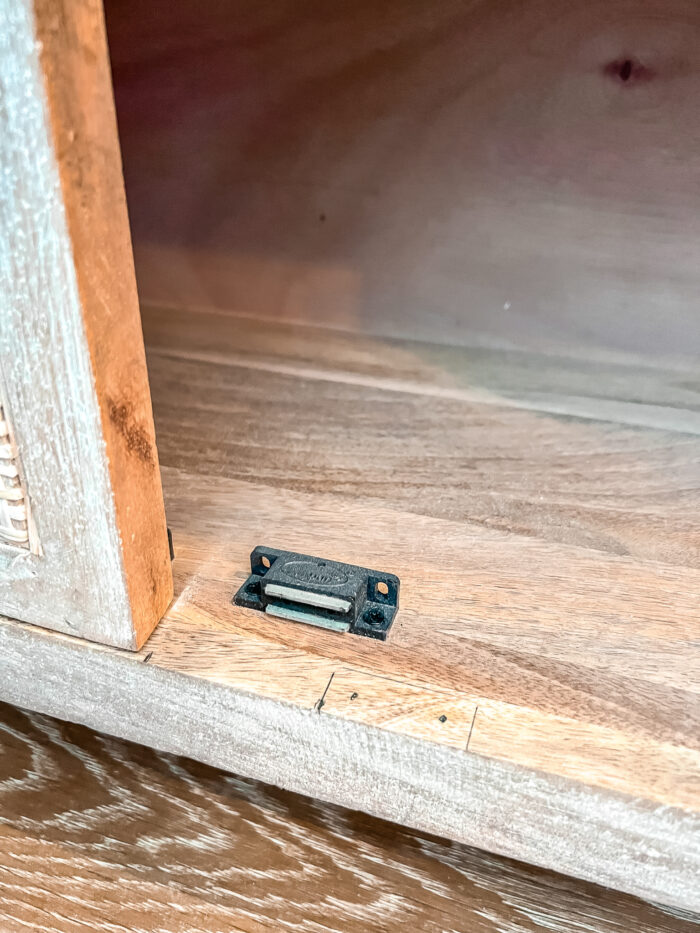
Now that your door is assembled. Open and close it multiple times, to check for proper clearance and smooth operation.
Step Seven…
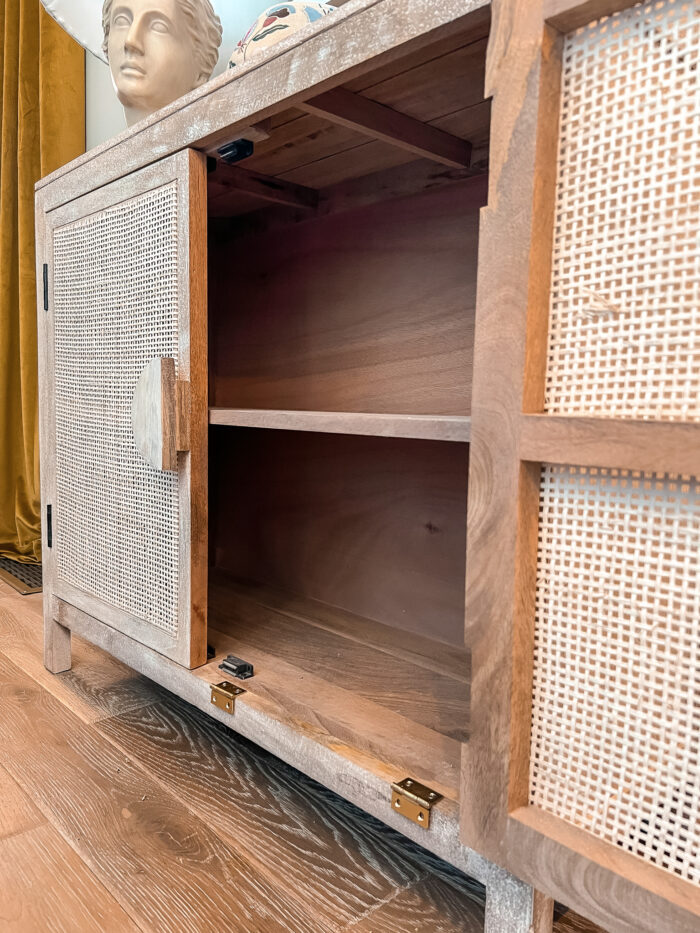
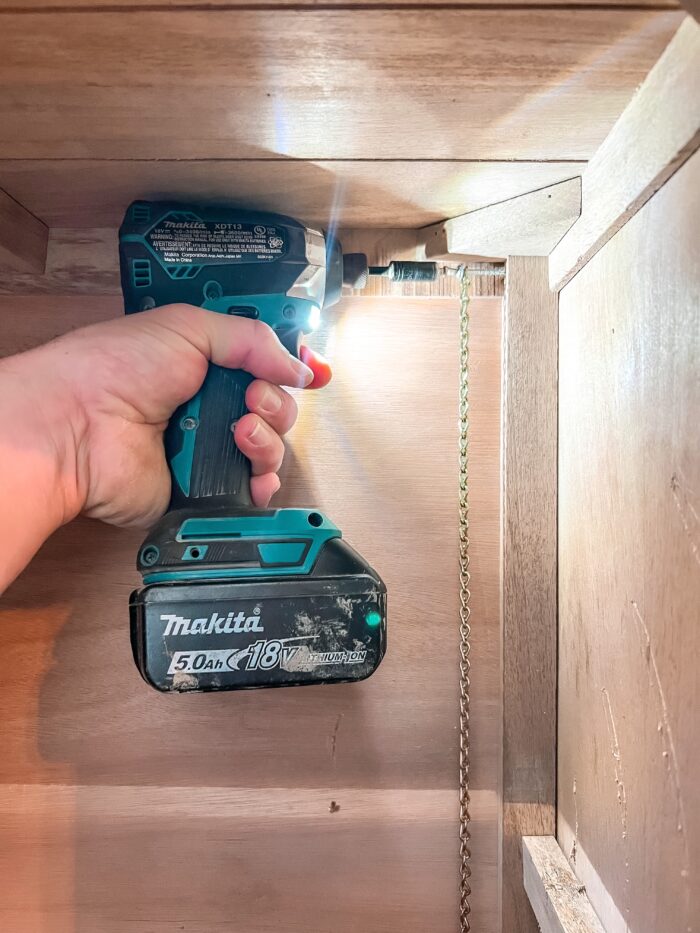
Choose the range limit that you would like door to tilt out. For this project, we choose about 45 degrees. This allowed ample clearance to throw away trash and pull out the trash can when needed. Add a decorative support chain to the back of the cabinet and to the inside of the door. Finally, choose a decorative cabinet pull.
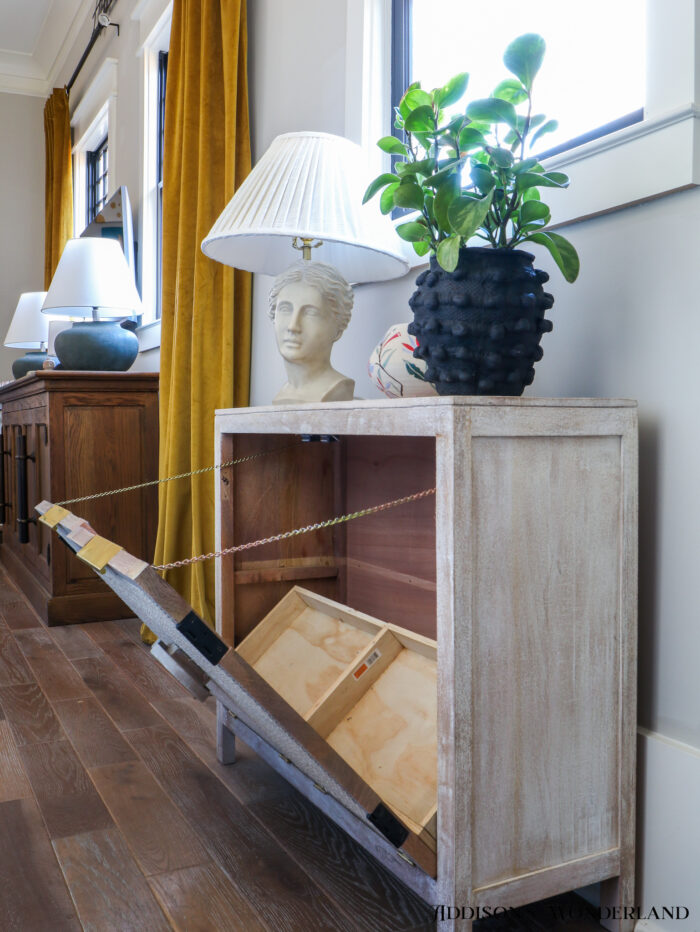
AND VOILA!
Head Lamp

Curtains

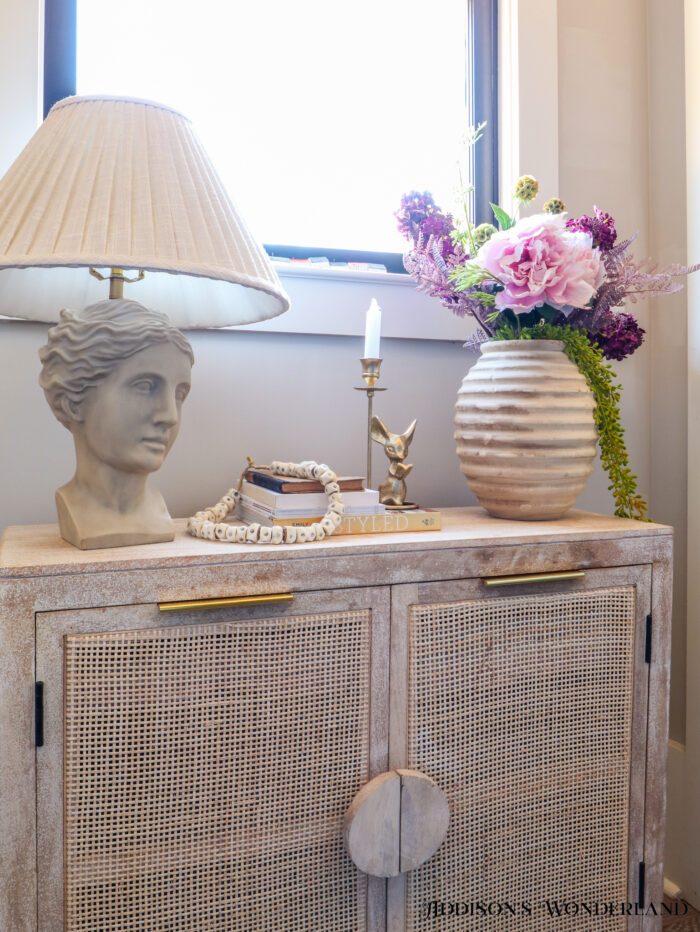
Mouse Candle Holder / Florals / Head Lamp
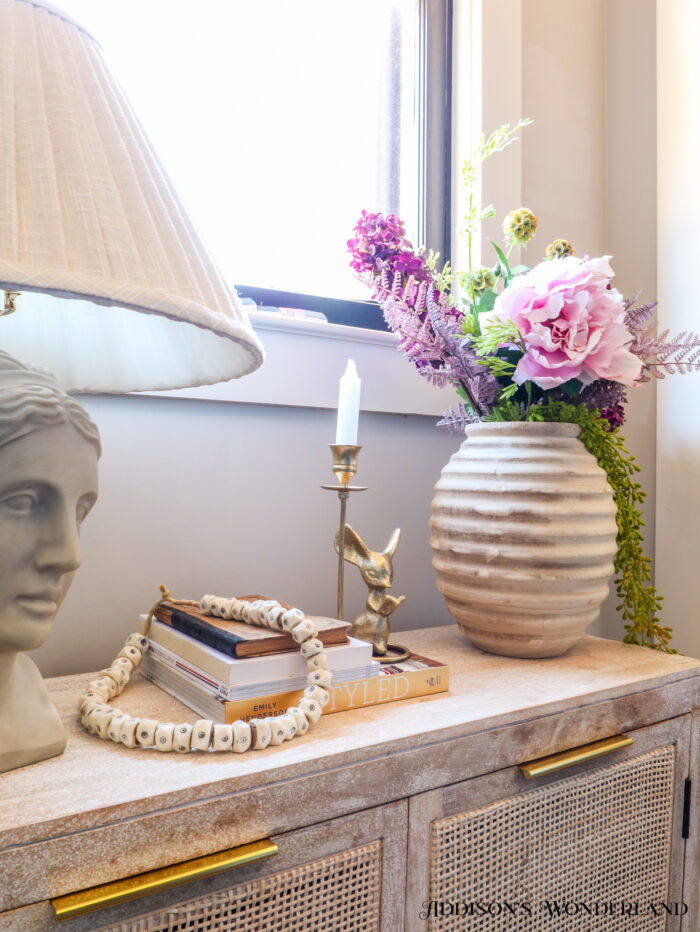
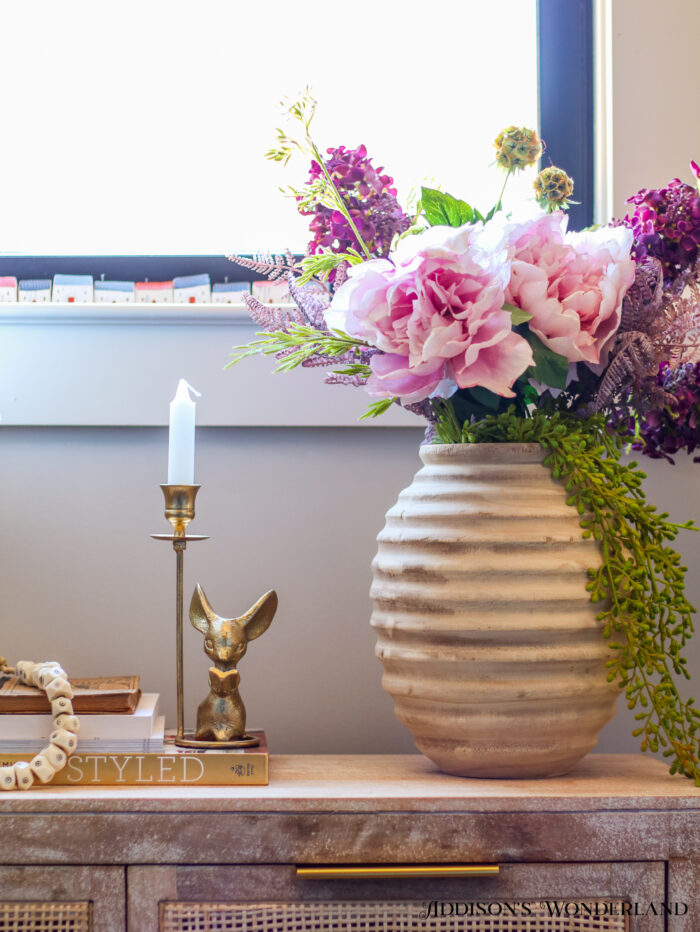
Mouse Candle Holder
XOXO, Brittany Palazzo
+ view the comments


")
")