Good evening!!! Hoping on super quick to give you guys a quick DIY for one of my FAVORITE Anthropologie cabinets of all time!
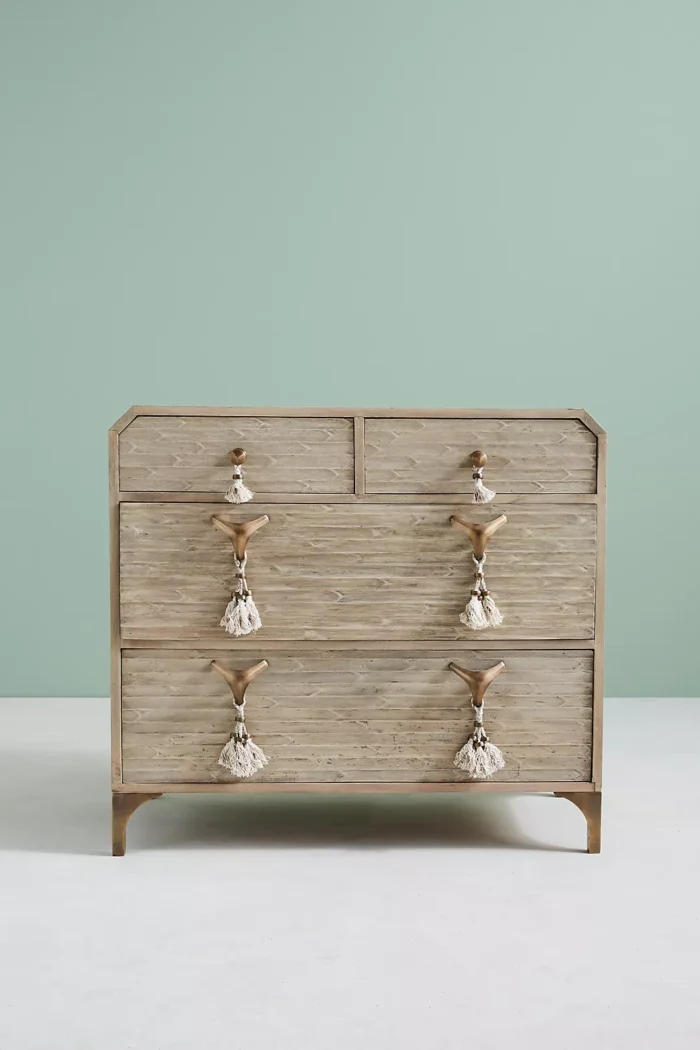
The Inspo
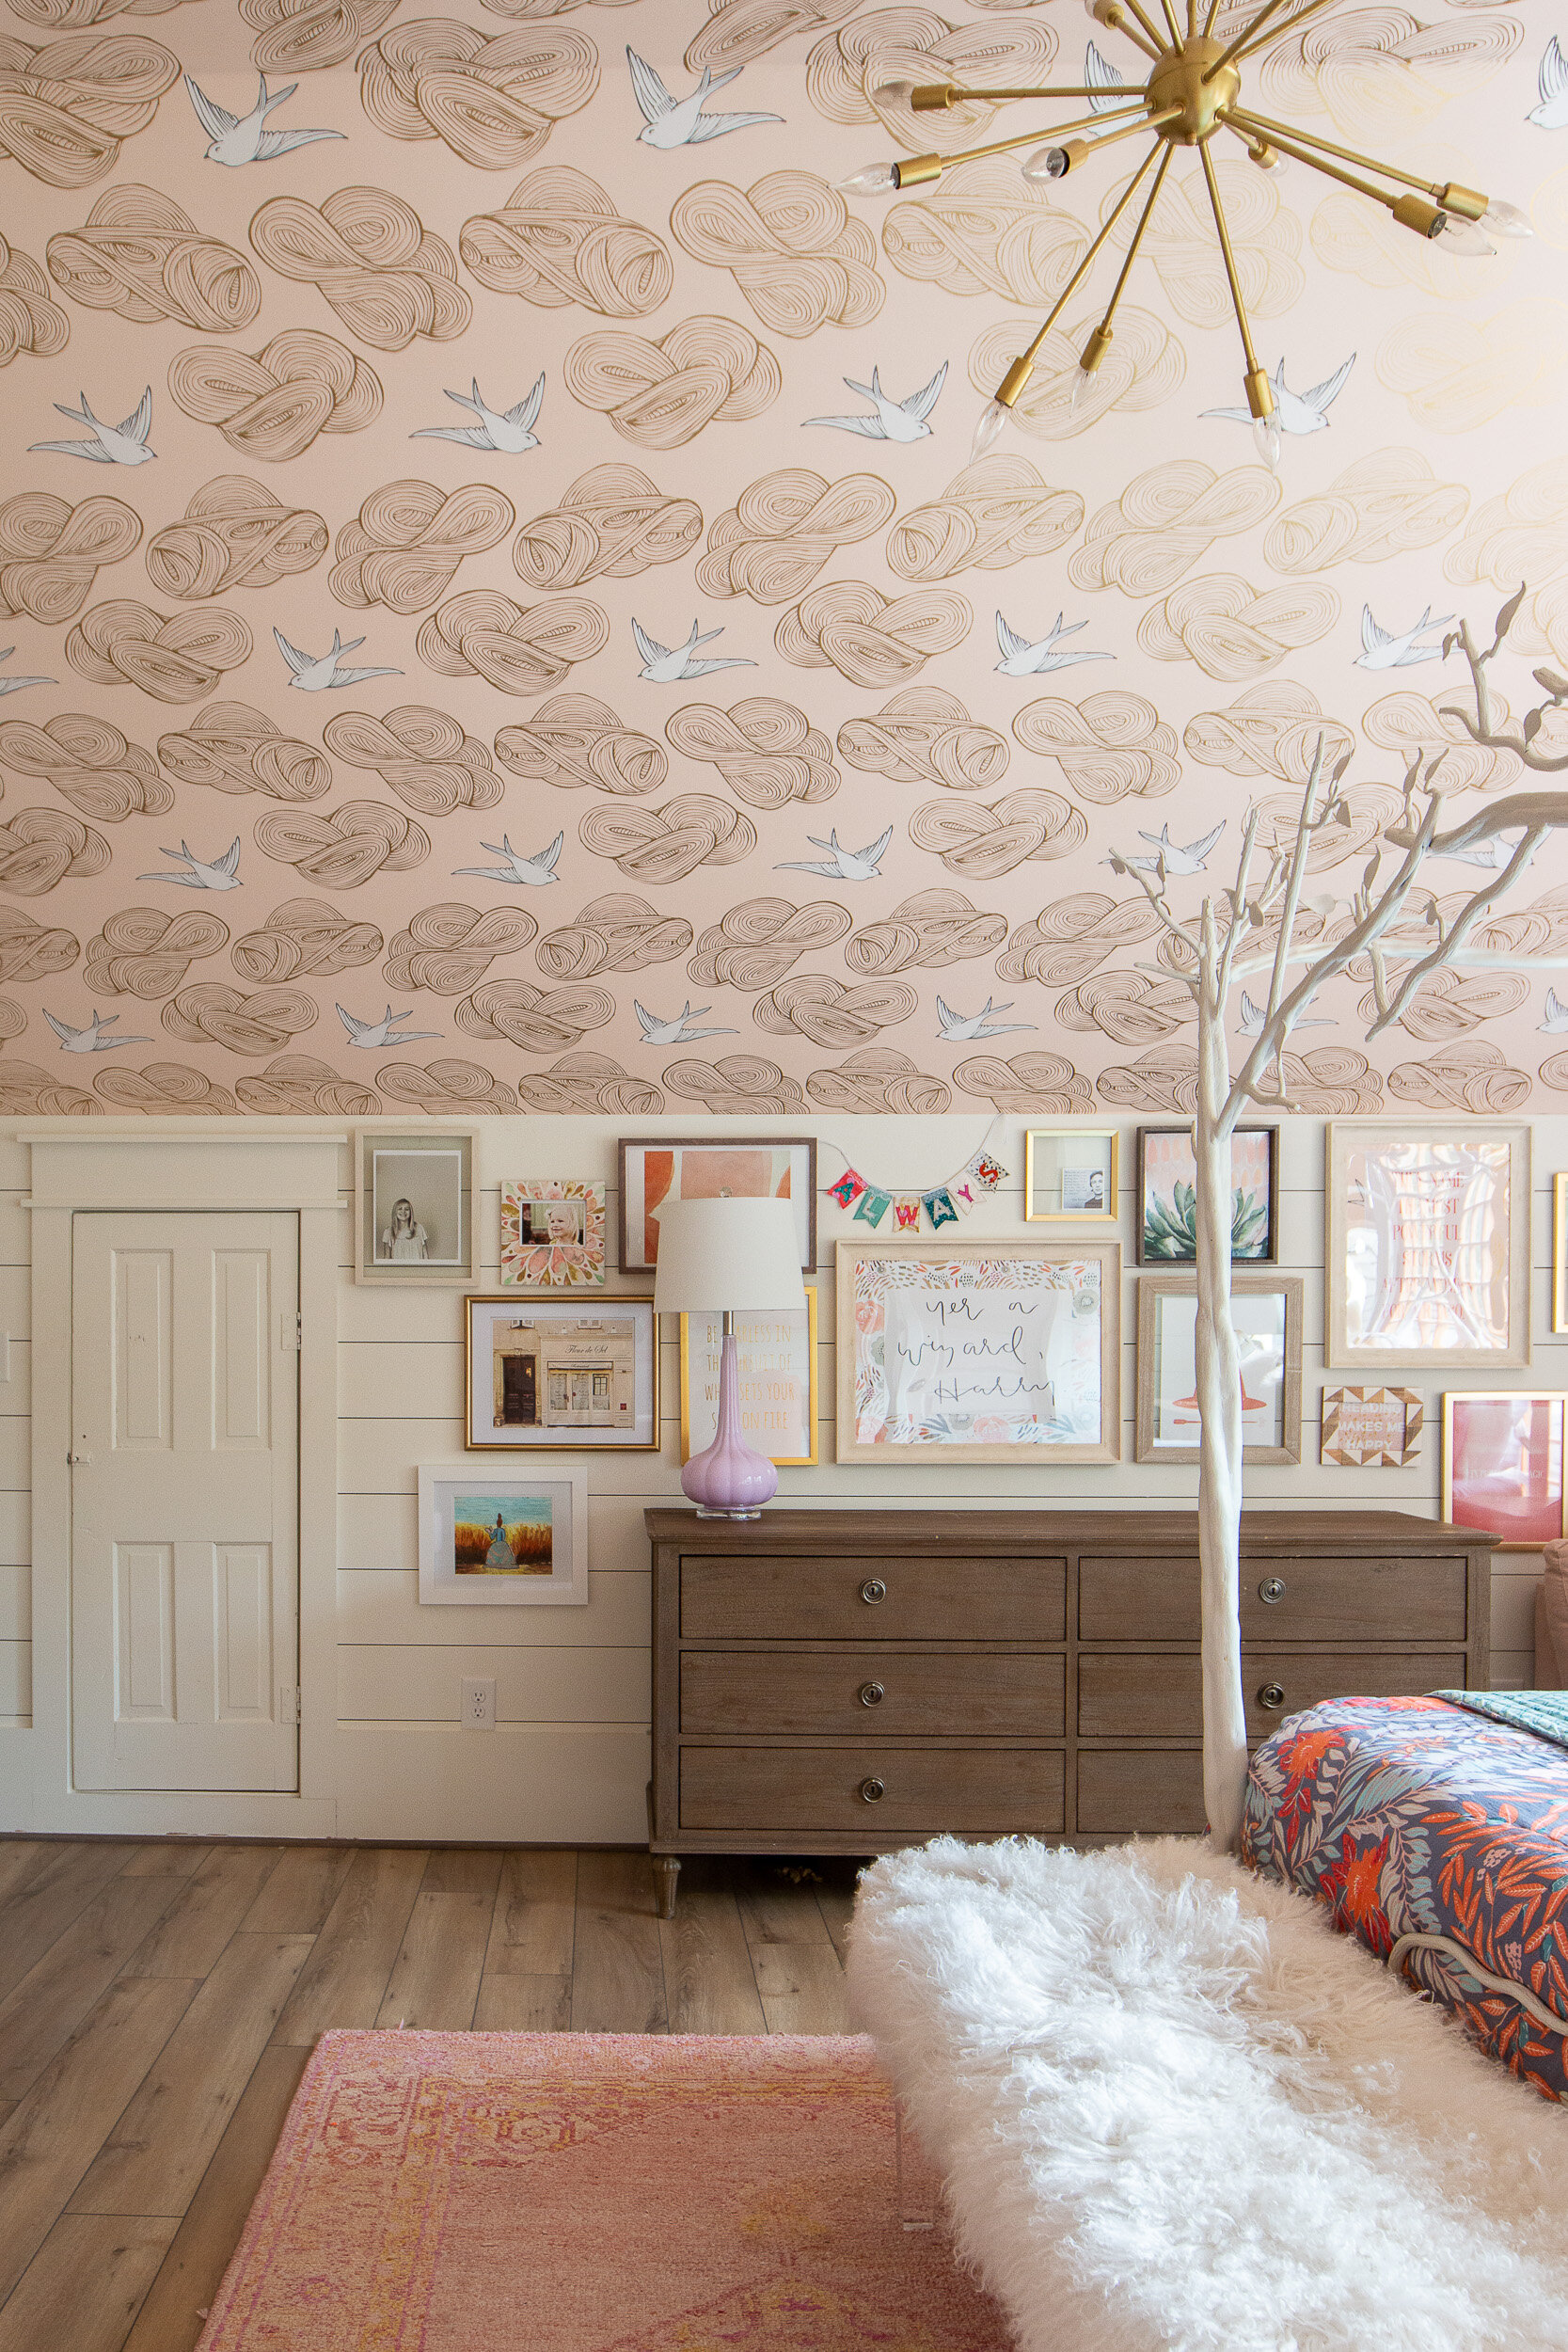
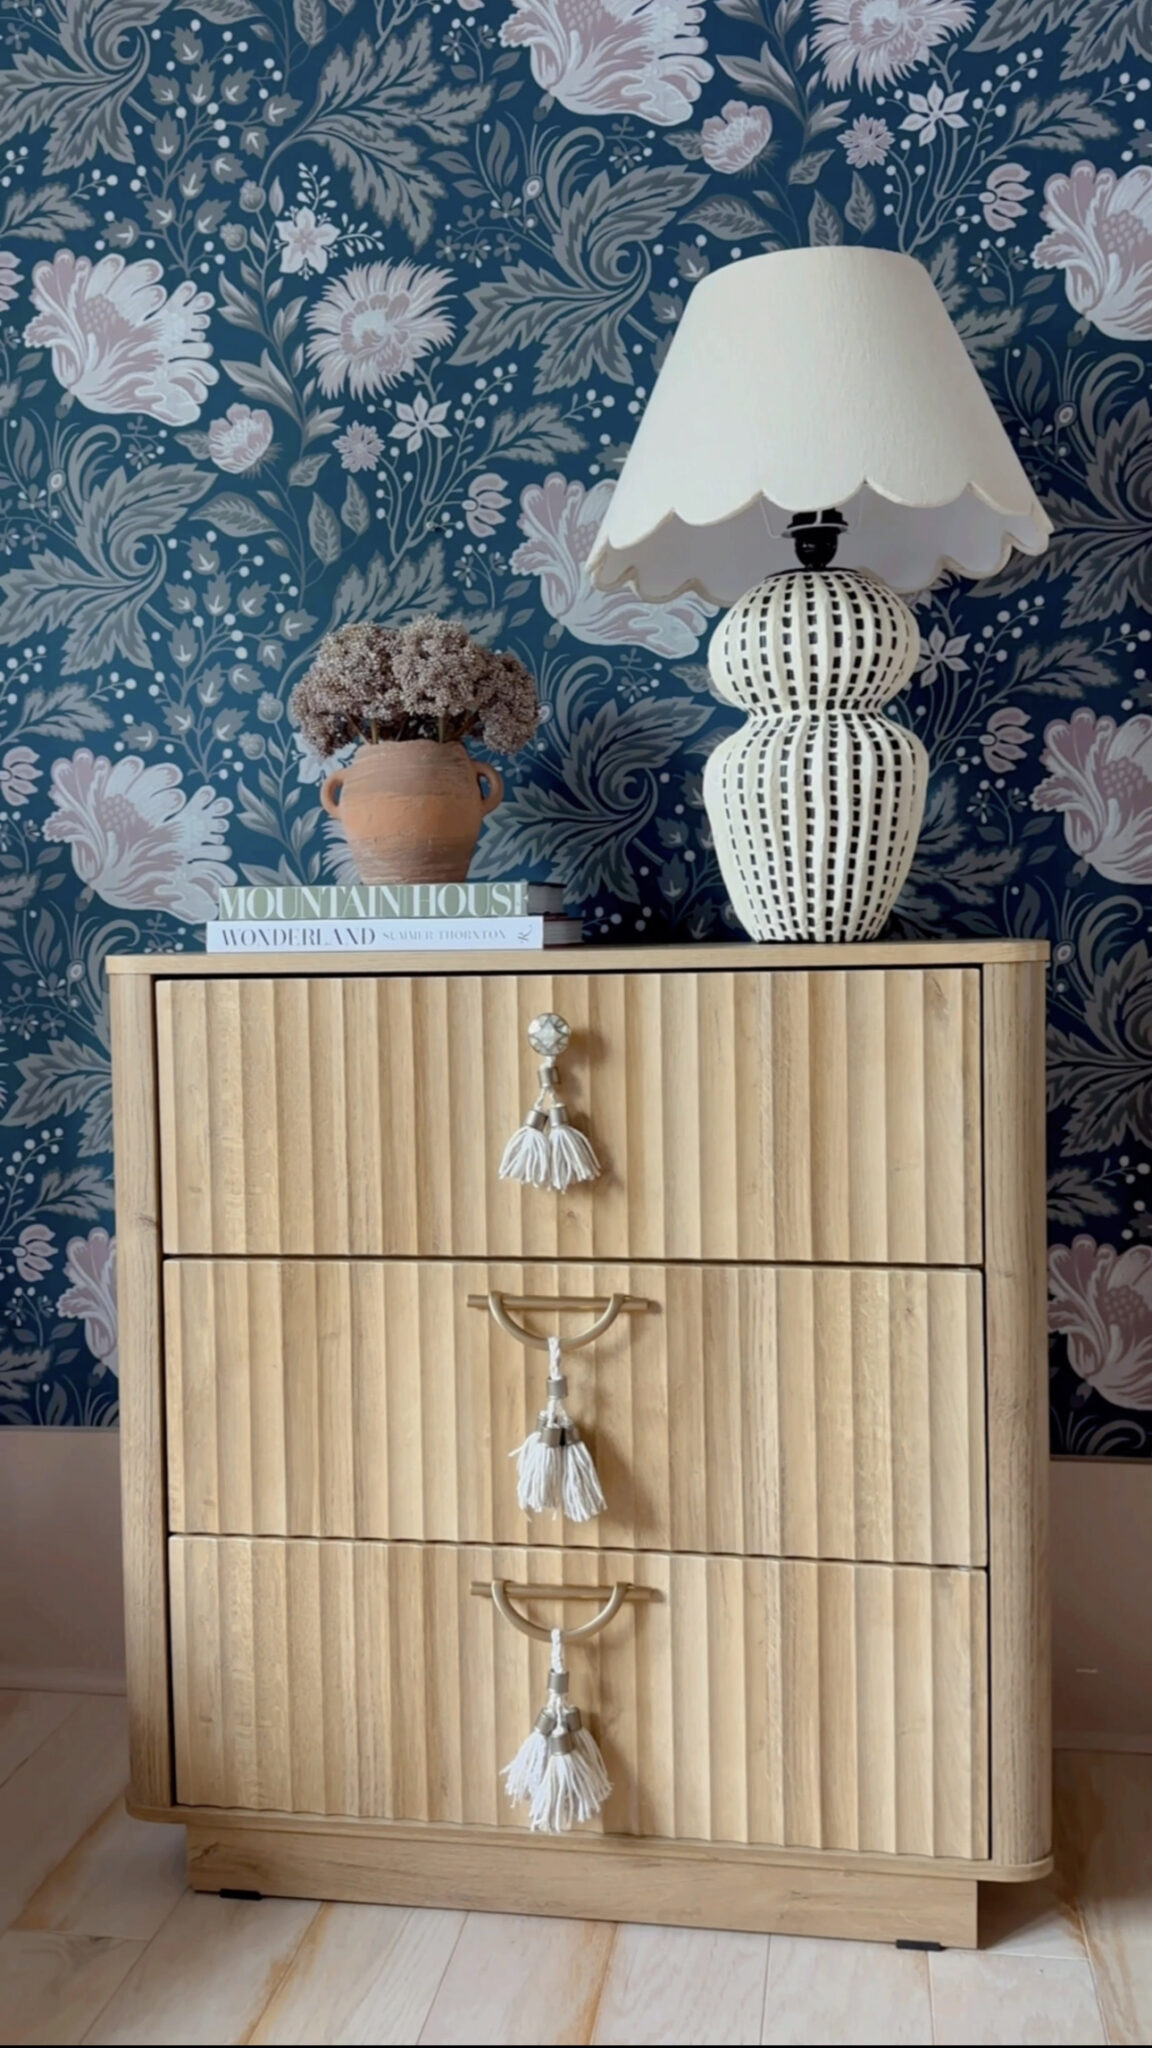
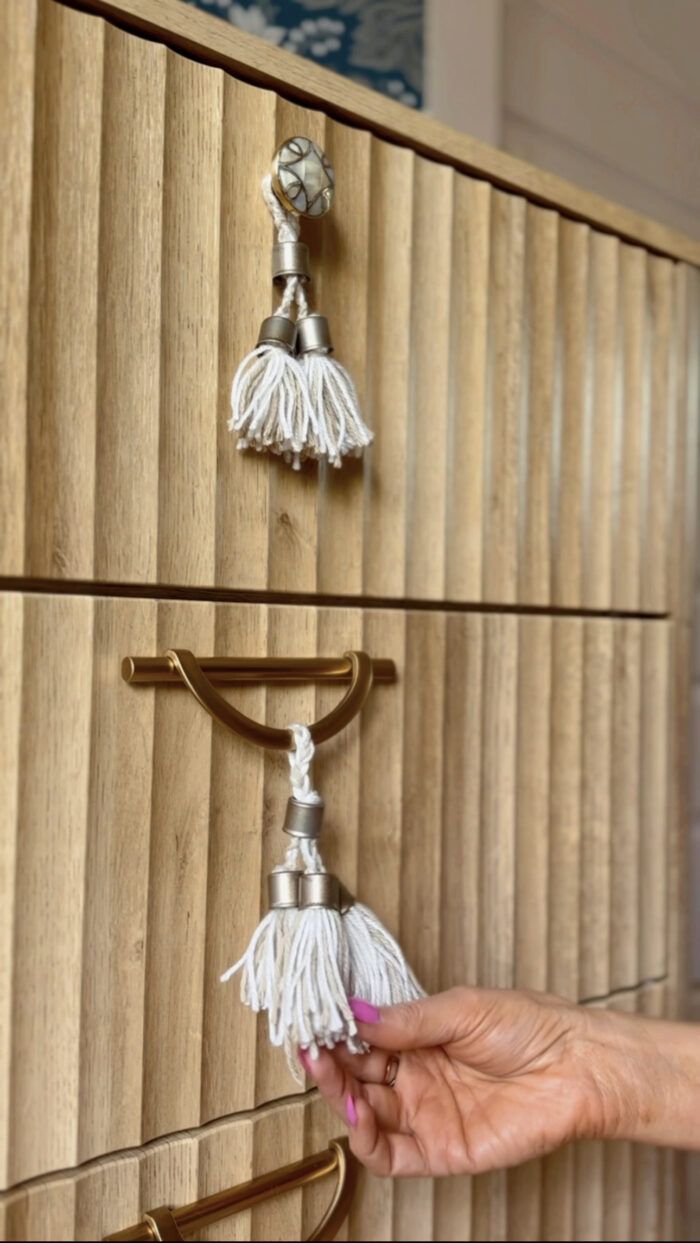
Our Finished Product…

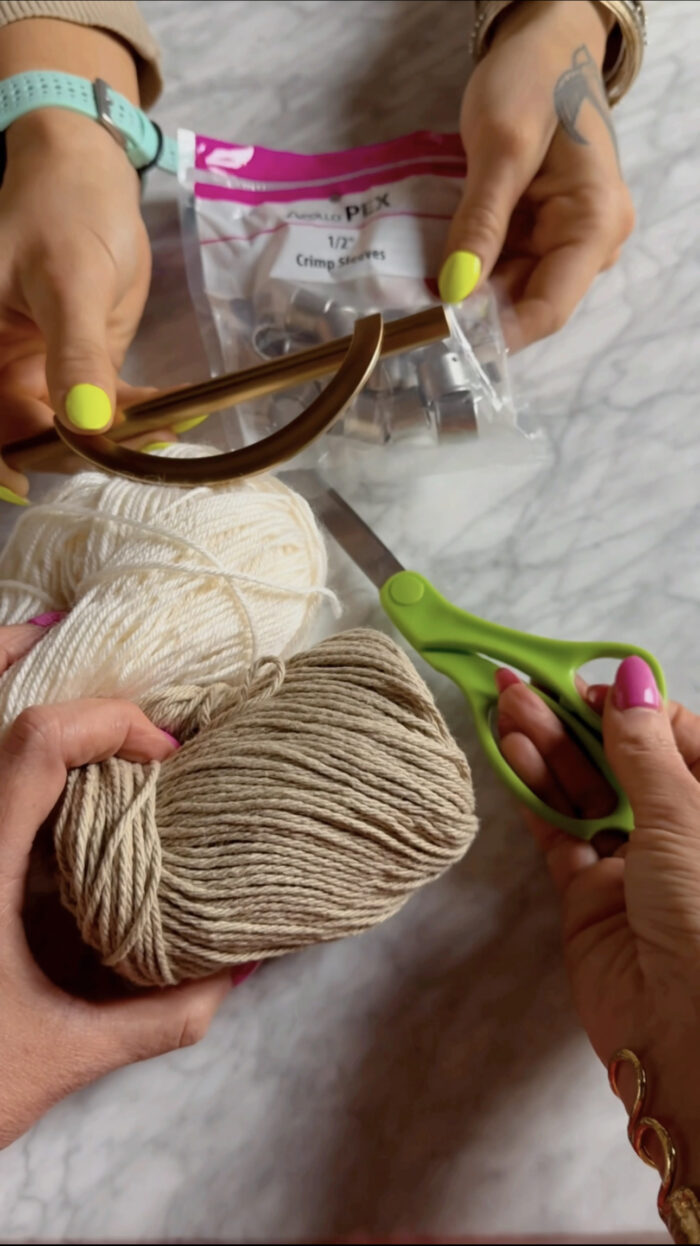
Supplies you will need…
Cabinet
Cream Yarn
Taupe Yarn
Knobs
Handles
“Beads”
Spray Paint
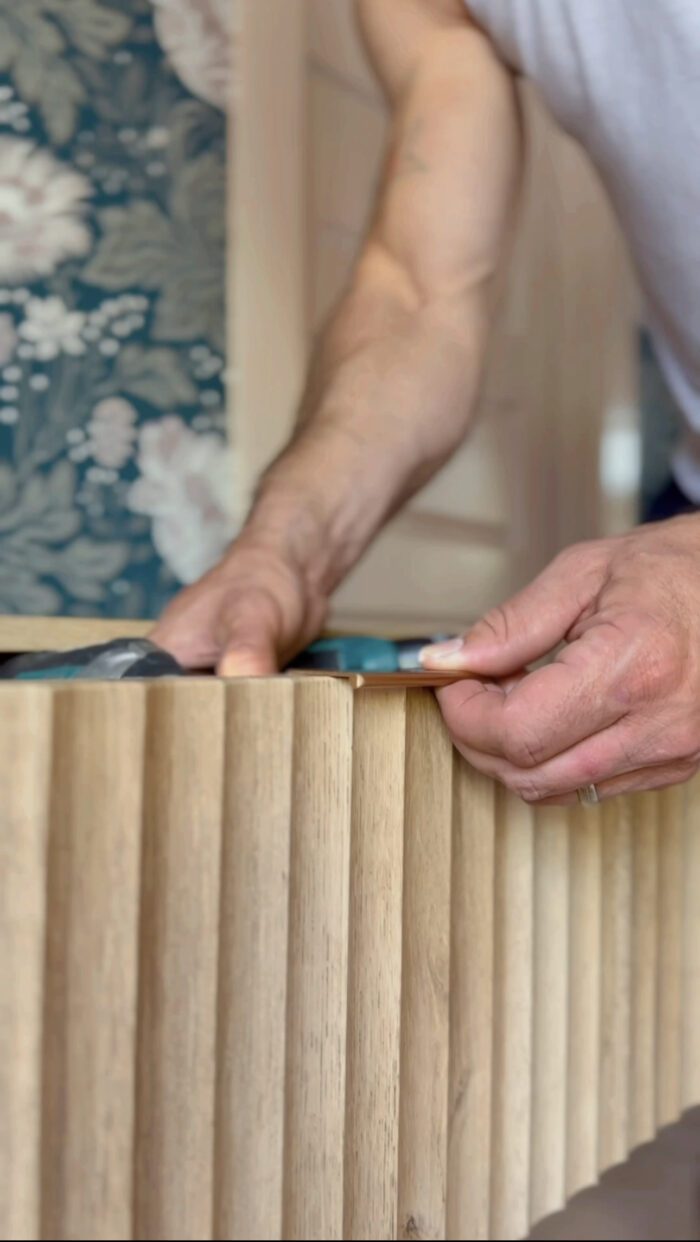
Step One: Remove Hardware
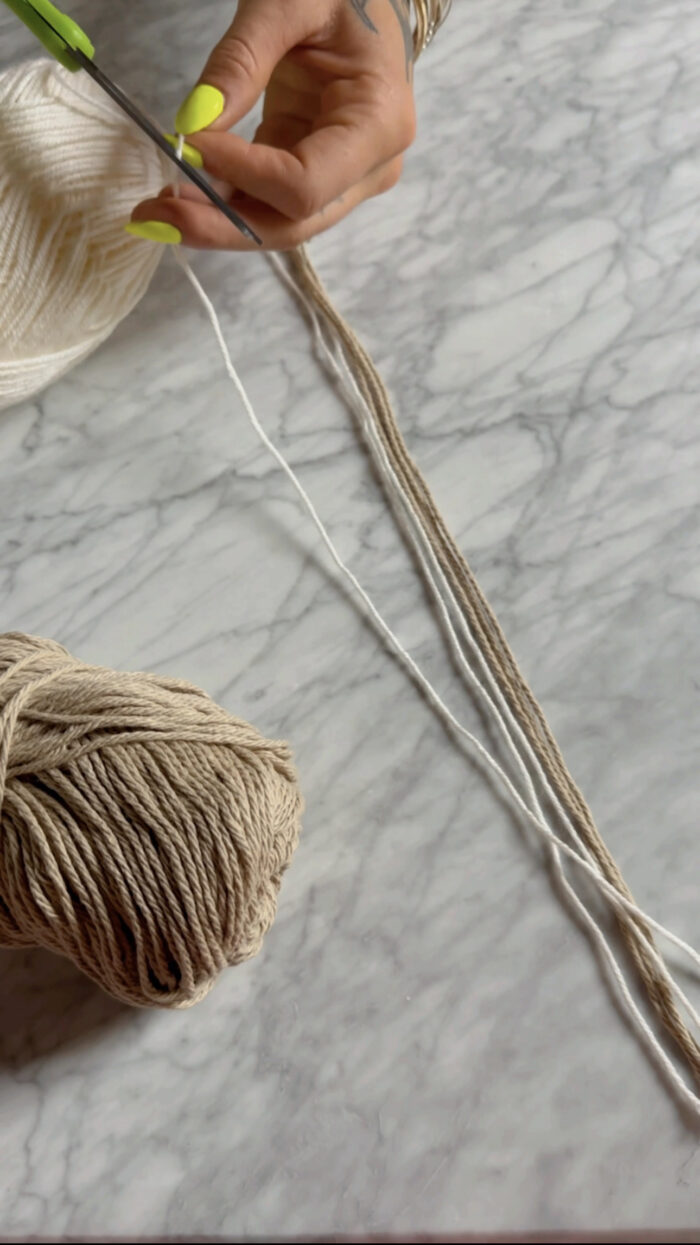
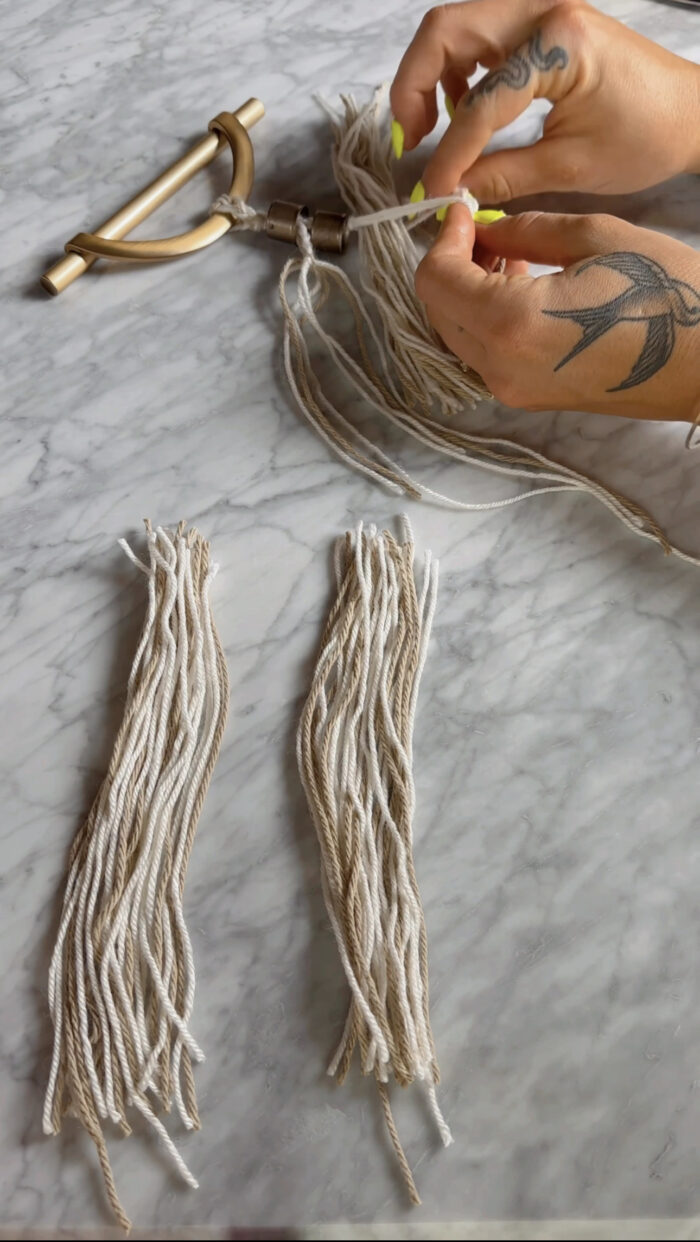
Step Two: Cut 3 Strands of Each Yarn
Around 8″ strands… three of each color!
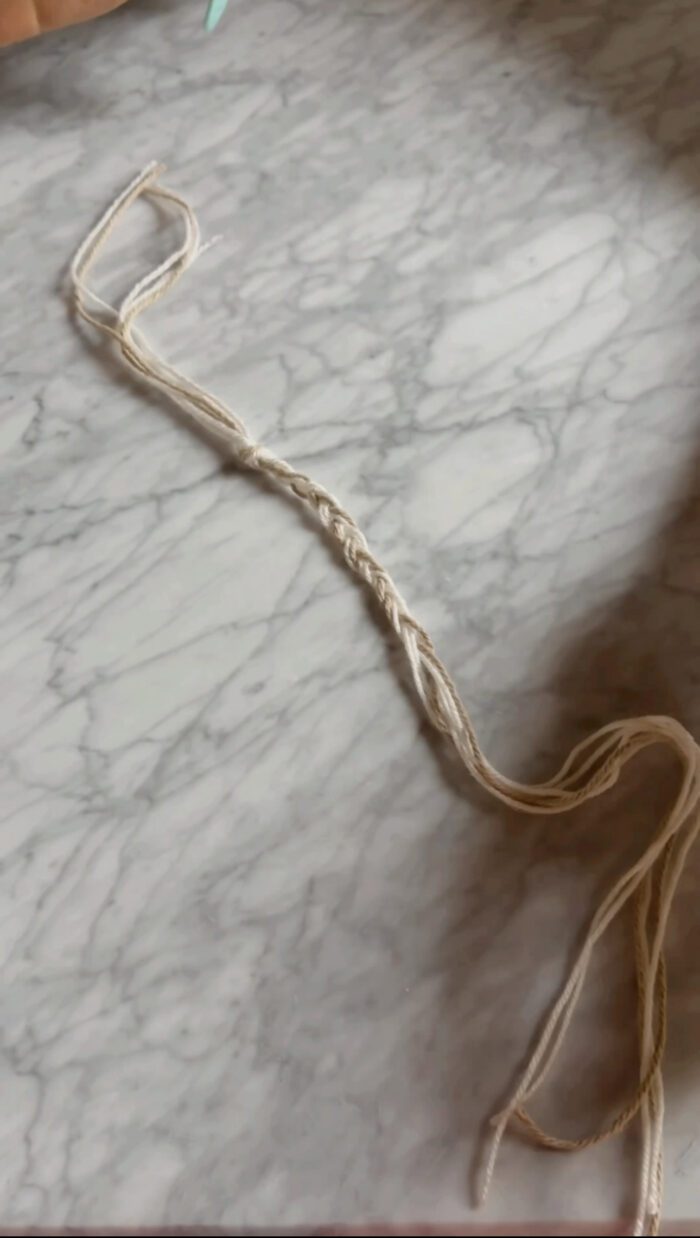
Step Three: Knot and Braid
Make sure you put a knot in the tassel about 2 inches down, and braid a little over an inch past the knot.
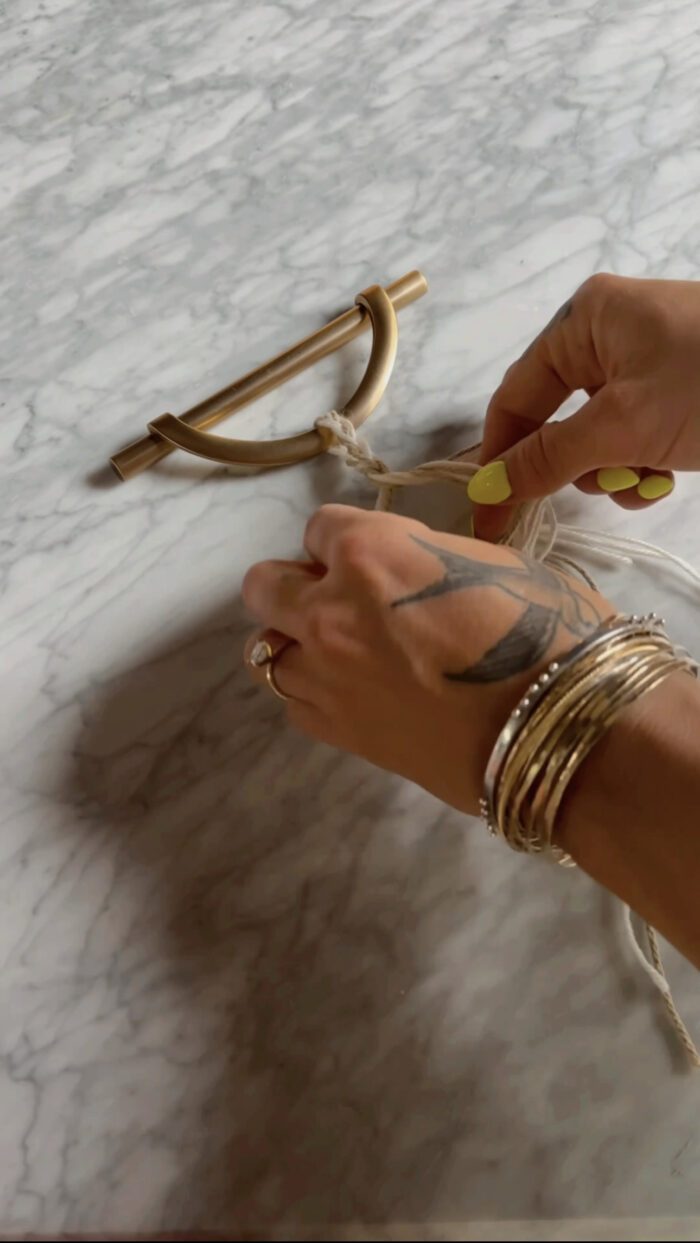
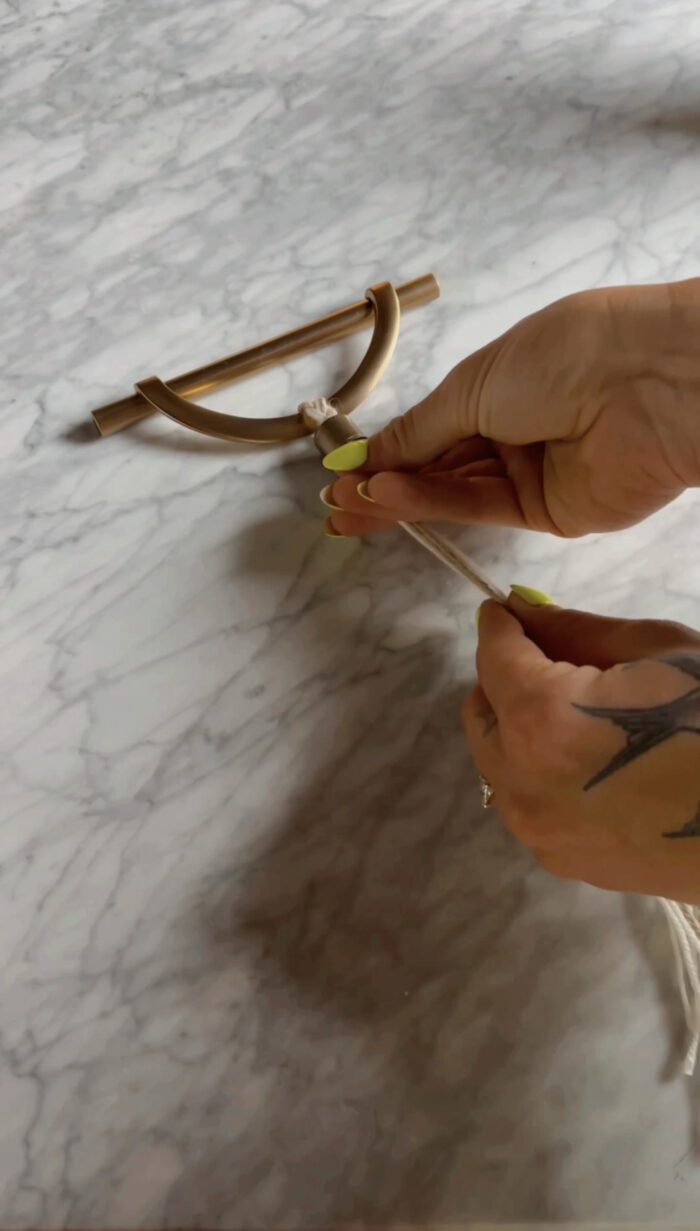
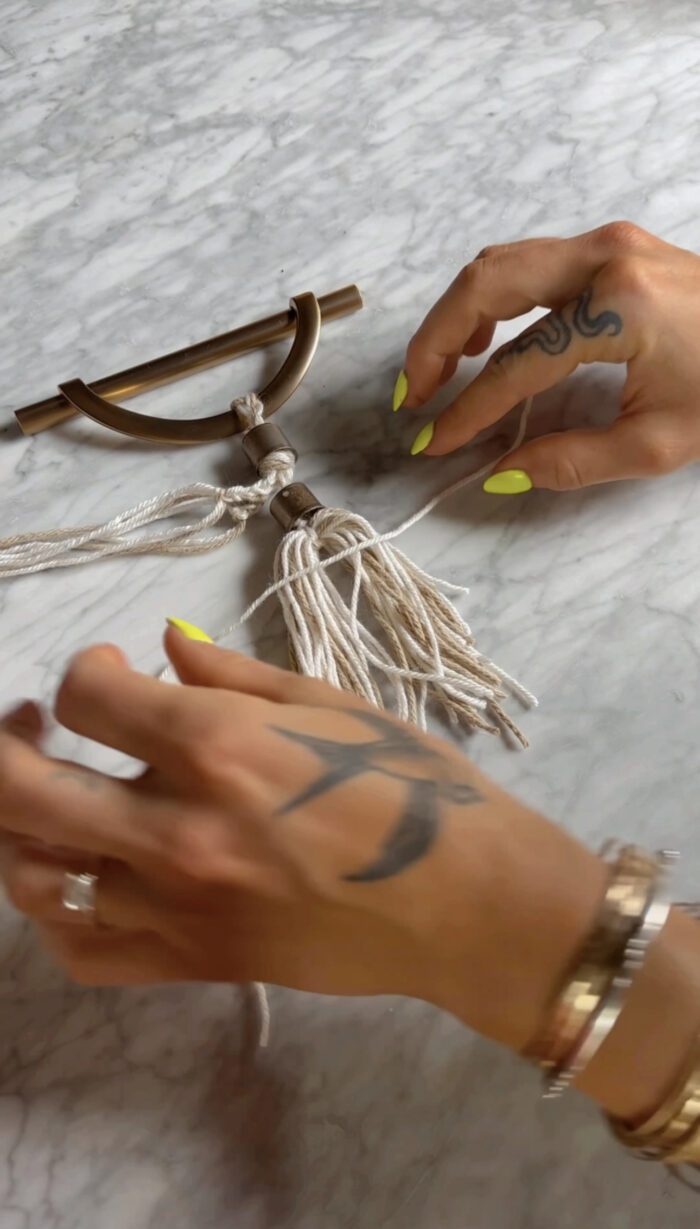
Step Four: Loop the Braid Around Hardware
Loop the braided portion around the hardware and undo the knot. Then, braid the loose string together around 1/2 an inch.
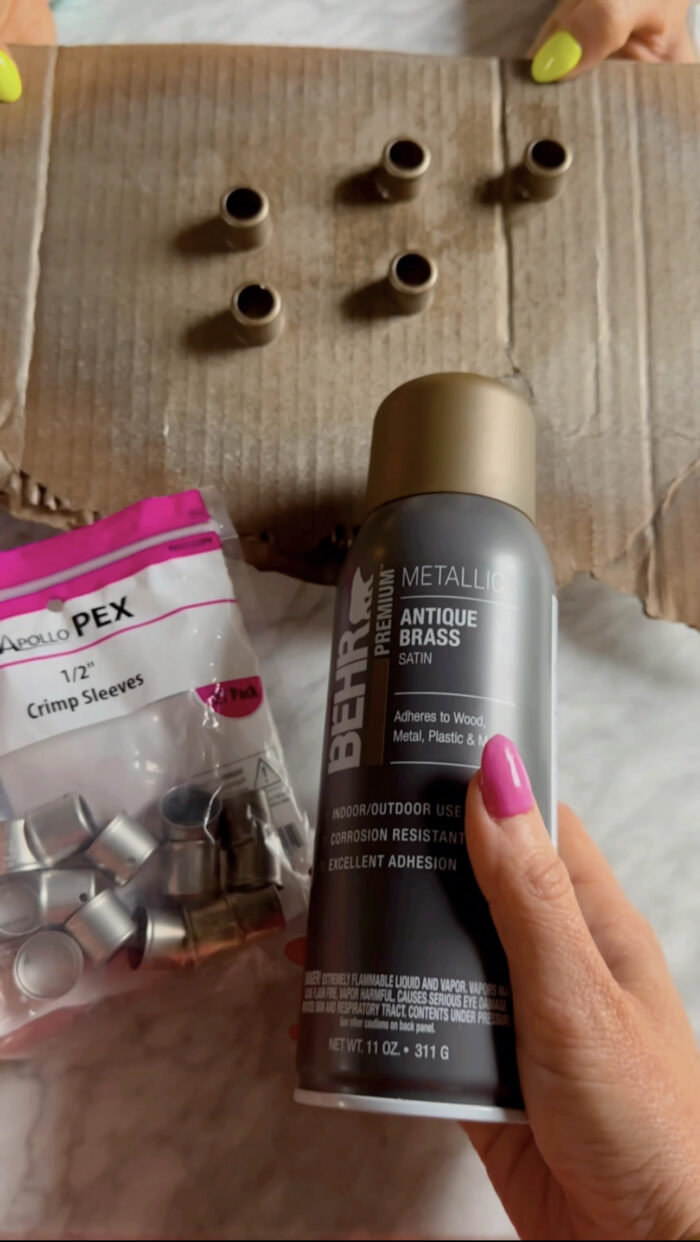
Step Five: Spray Paint Your “Beads”
Spray paint the crimp sleeves.
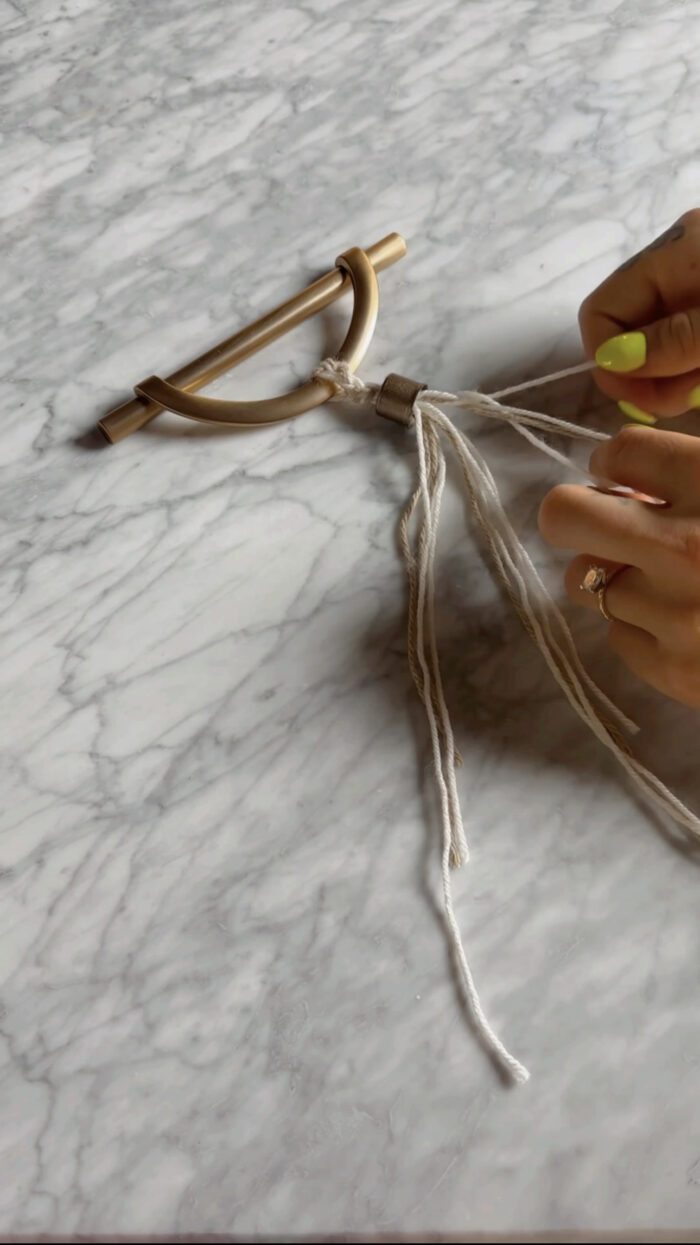
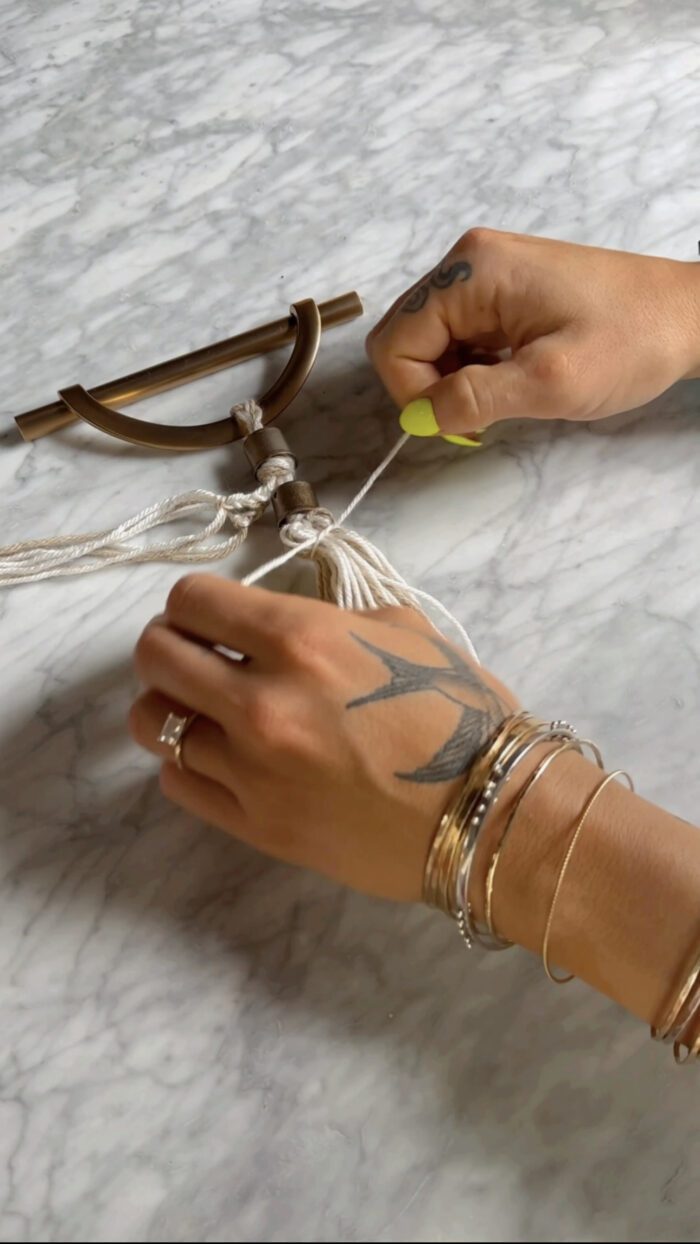
Step Six: Add the First Bead to Your Tassel
Step Seven: Braid Loose String
Tie a knot to secure the bead. Then, separate and braid the loose string.
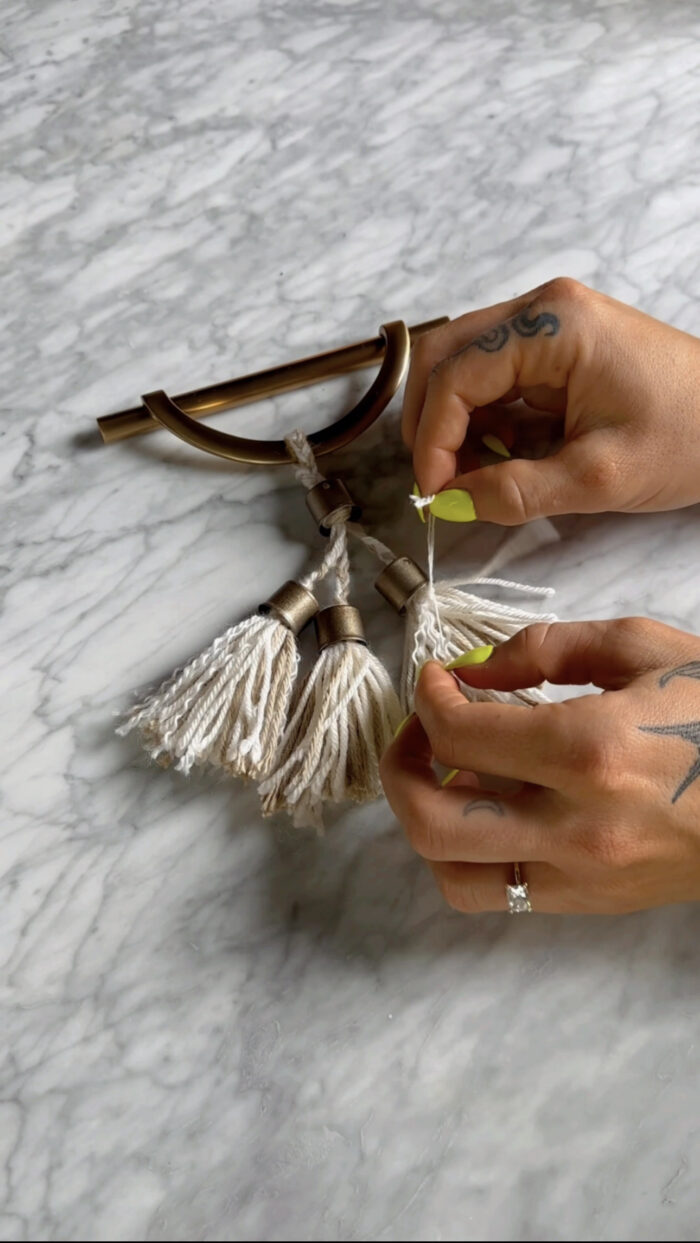
Step Eight: Add Bead and Create Tassel
Add a bead to the end of each new braid and tie a knot to secure it. Next, cut 4″ piles for your tassel. It will end up being a good amount of string depending on how large you want your tassel. Tie a knot around the center to secure your tassel.
Step Nine: Form the Tassel
Take a small string and tie it around the “tassel” to create the tassel’s form.
Step Ten: Fringe the Tassel
Pull the individual strands of the tassel apart to add body and texture to your tassel!
Step Eleven: Secure Your New Hardware
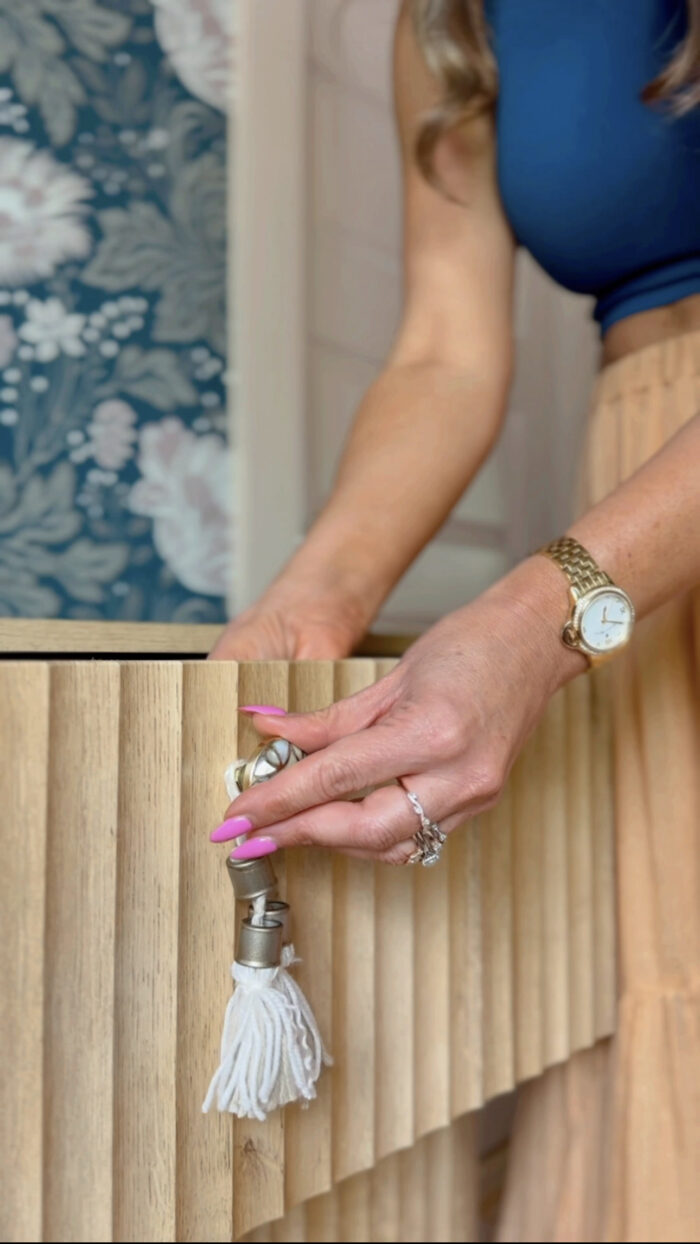
Volia!!
Cabinet / Lamp / Vase / Books
+ view the comments


")
")