
Reclaimed Weathered Wood Stikwood
Yep, I am behind. Really behind on updates. I determined yesterday than when 15 guys are working on our house at a time, every single day, my one women blogging show can’t possibly keep up! I am determined to get caught up over the next two weeks and then we will allllll be on the same page. And yes, that is why my social media posts have been teensy weensy little sneak peeks. Because you will find the full updates here. Always.
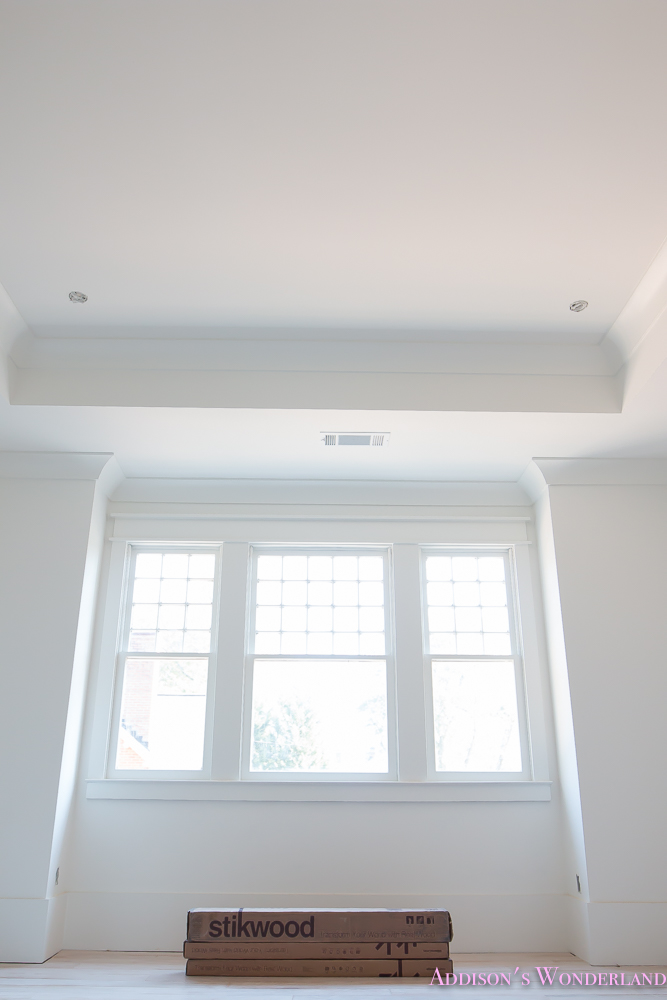
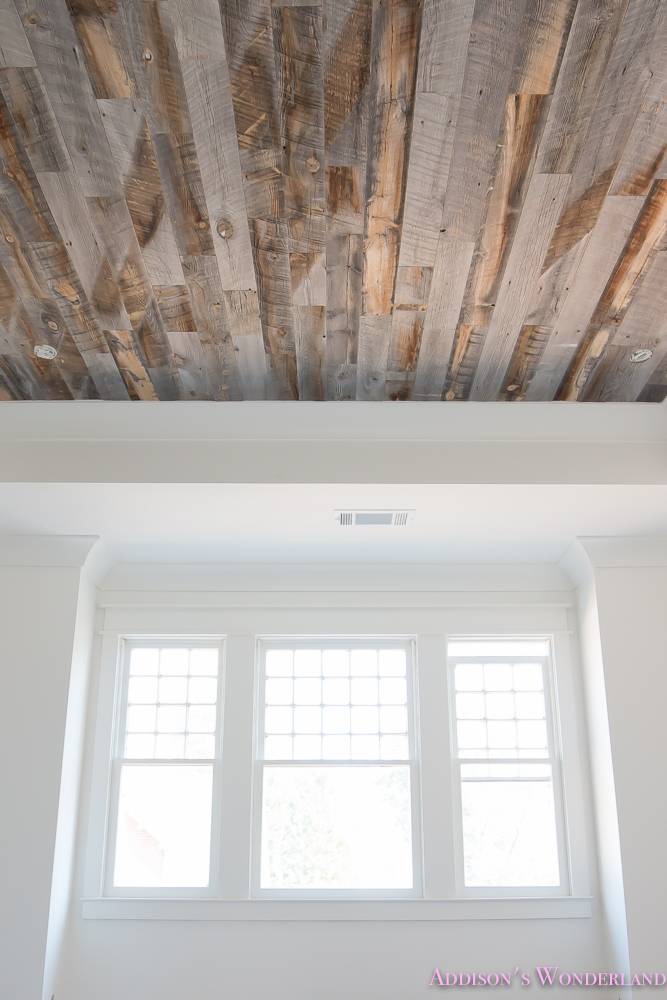
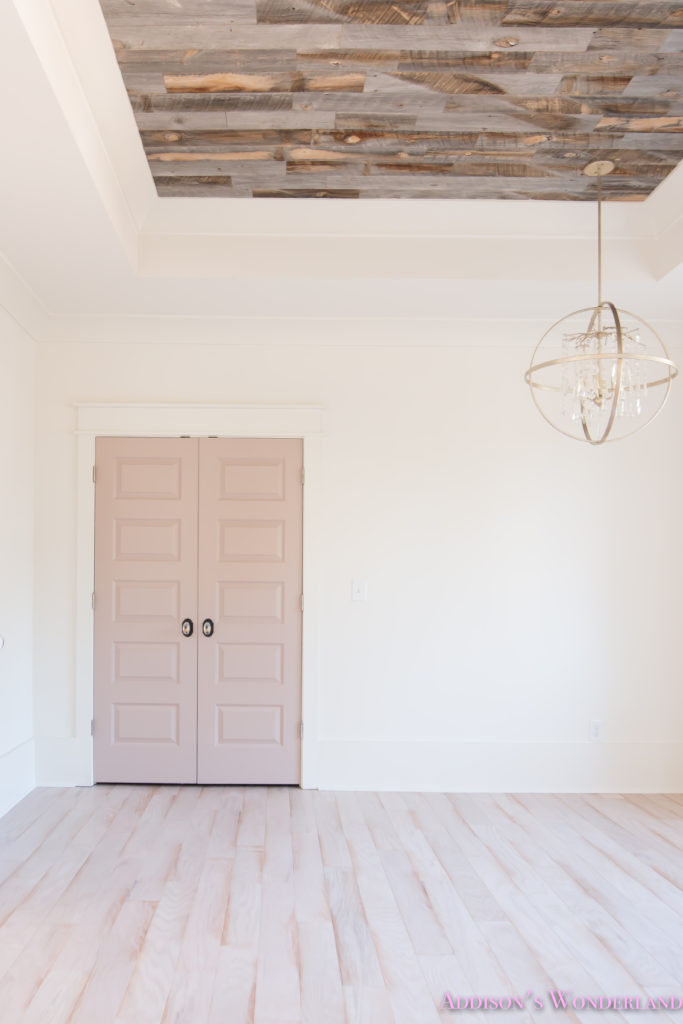
As you may know if you have followed me for any length of time, I LOVE a good ceiling. I love a great ceiling almost more than any other aspect of a room. Almost. As I chatted last week about flooring being the fifth wall of a space, I truly believe that the ceiling is the sixth and most forgotten “wall” of all. I think that a beautiful ceiling can make a space and give any room that mega WOW factor. From paint to wallpaper to wood, there are a million and one options for creating beauty on that forgotten plane.
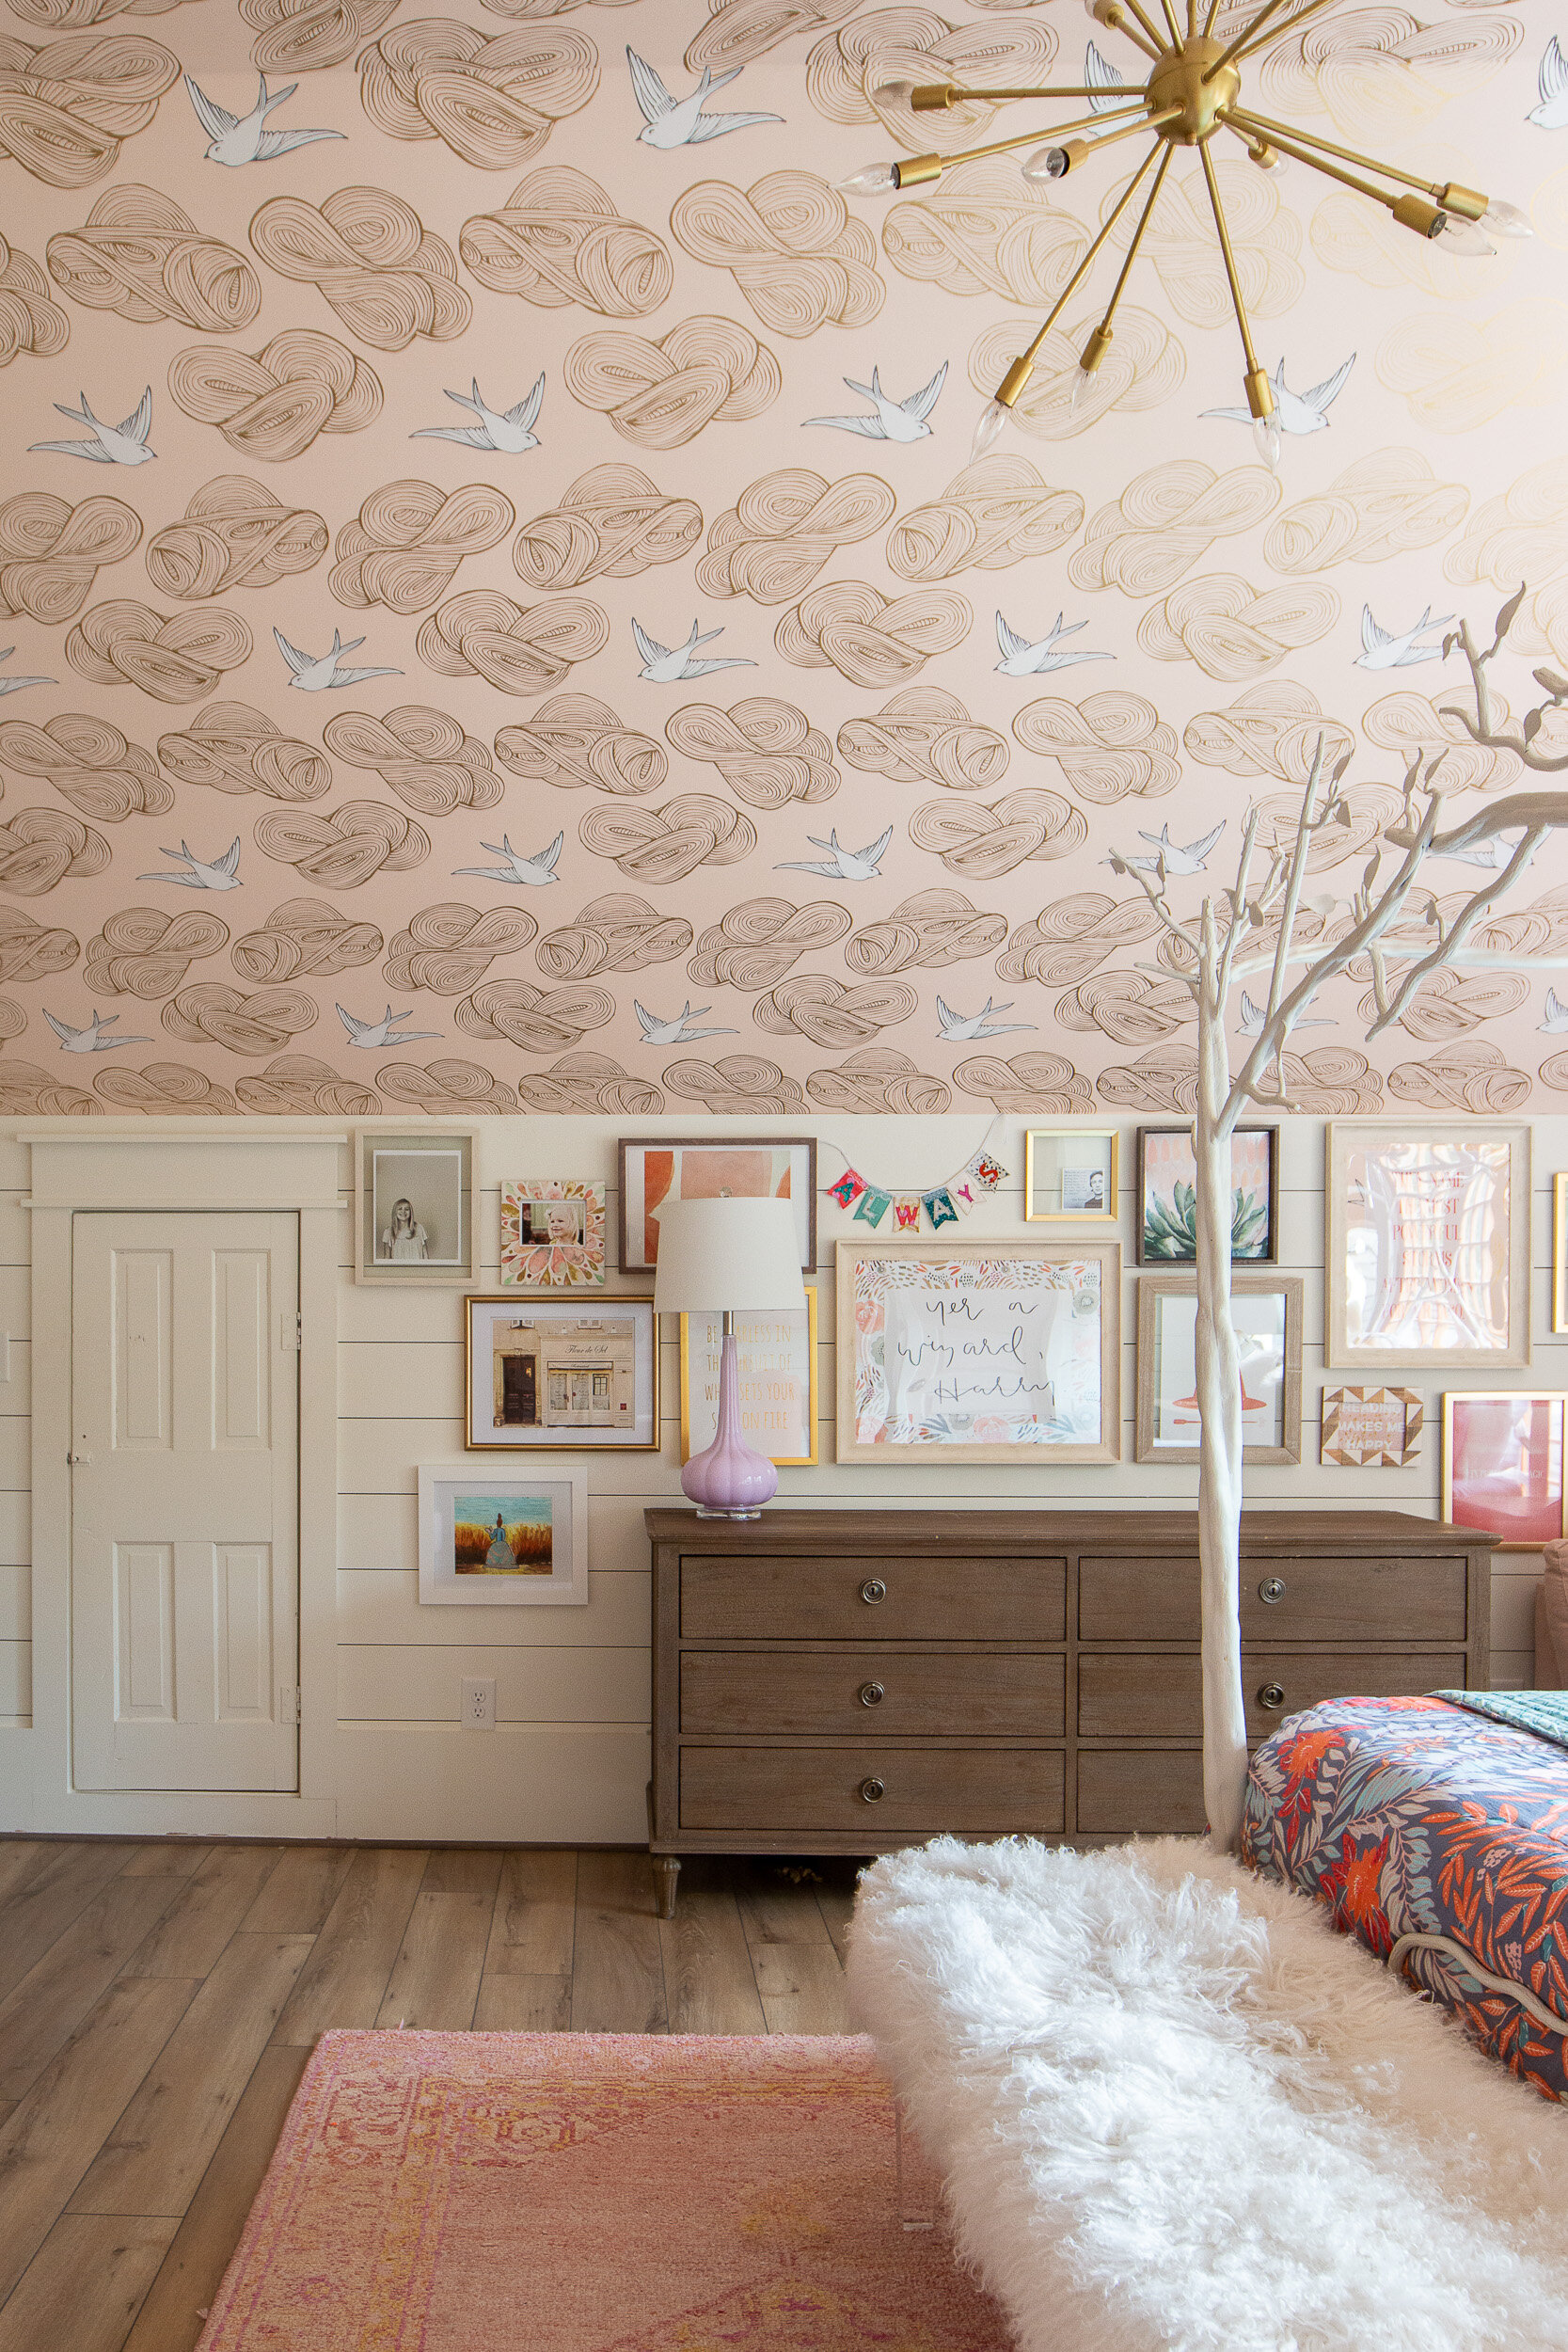
So without further ado, let’s chat about Winnie’s ceiling. Last week you saw her AMAZING flooring and today I am taking you to the opposite “wall” to pull together the full room update. Except for lighting of course. Which was installed today. But I am sitting at ballet tonight and have been DYING to see it hung! So with Winter and Addie’s bedrooms you will now be officially caught up with me!
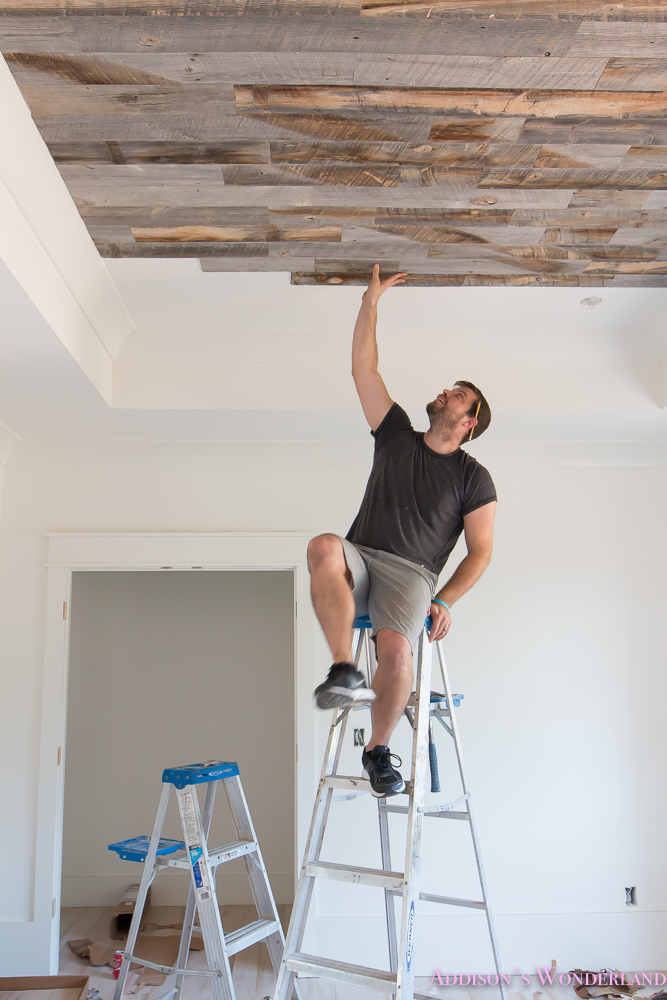
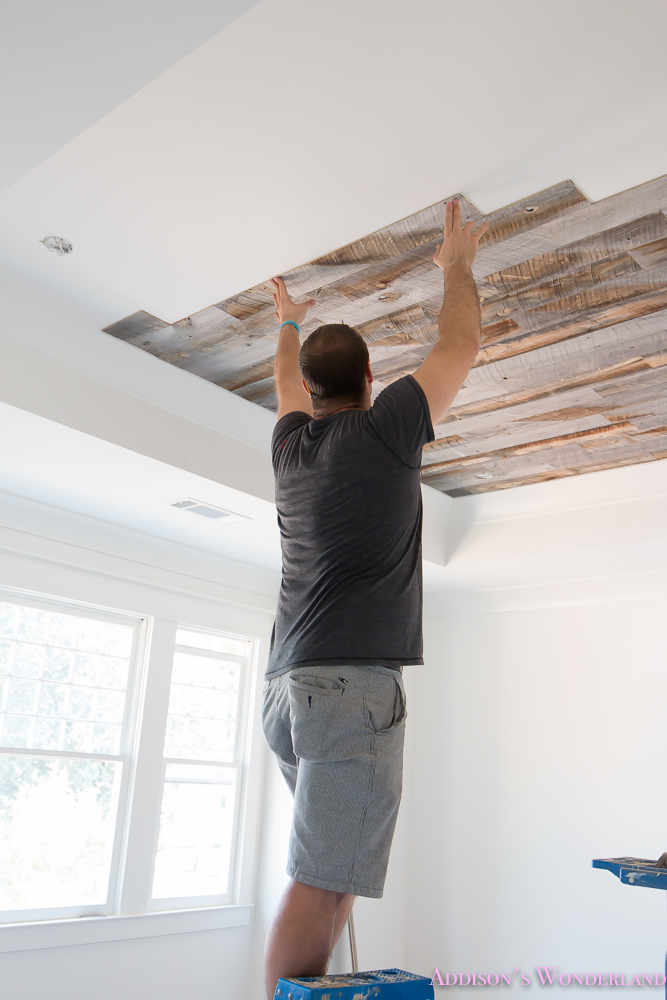
Wood on a ceiling can be STUNNING! But can you imagine how difficult and heavy that would be?!? That is why I was SOOO excited when I found Stikwood! Stikwood is the world’s first Peel & Stik reclaimed and sustainable wood planking. Let’s just say that it is REAL, reclaimed wood that is planed down so thin that it is lightweight and SUPER easy to install! It literally peels and sticks. So let’s take a look at the product…
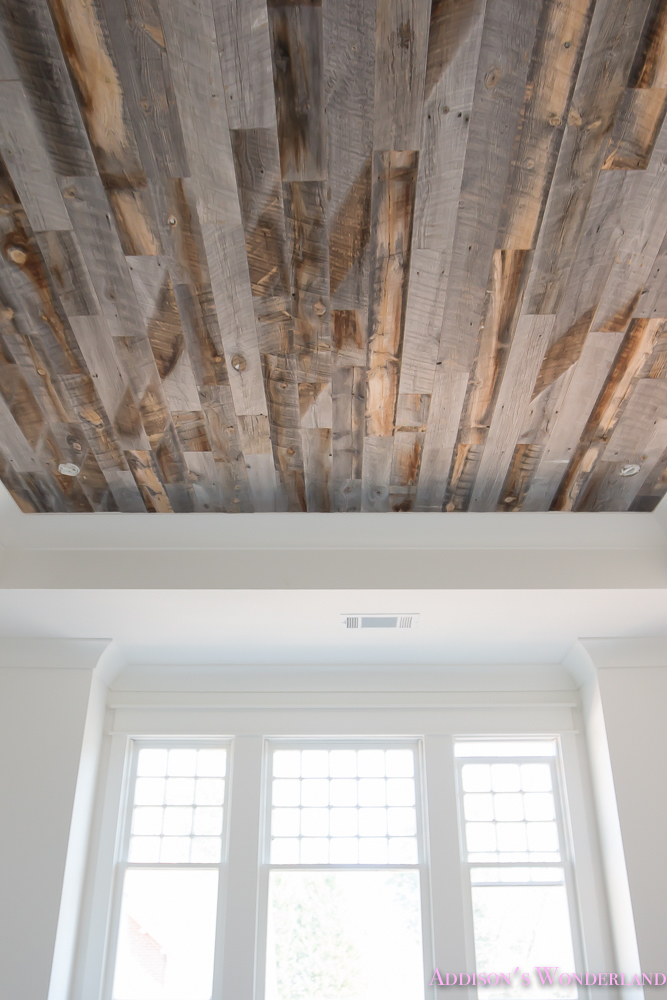
Yep, that is all the boxes it took to cover her entire ceiling! So light that I carried them all into her room all by myself. I am starting to sound like my entirely independent four year old. Hehe. And look at how gorgeous their Reclaimed Weathered Wood is up close…
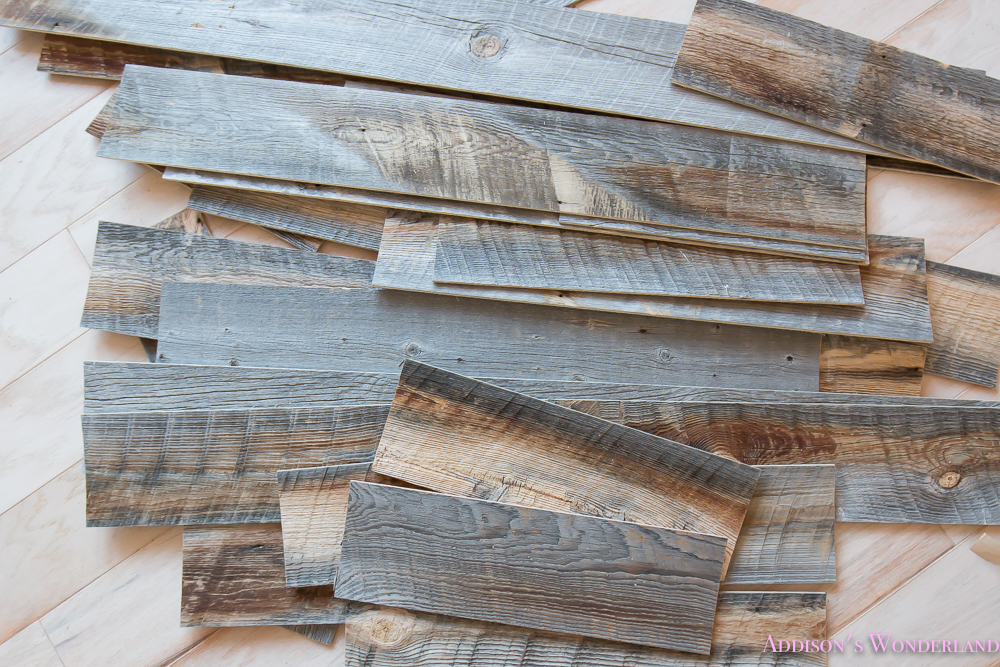
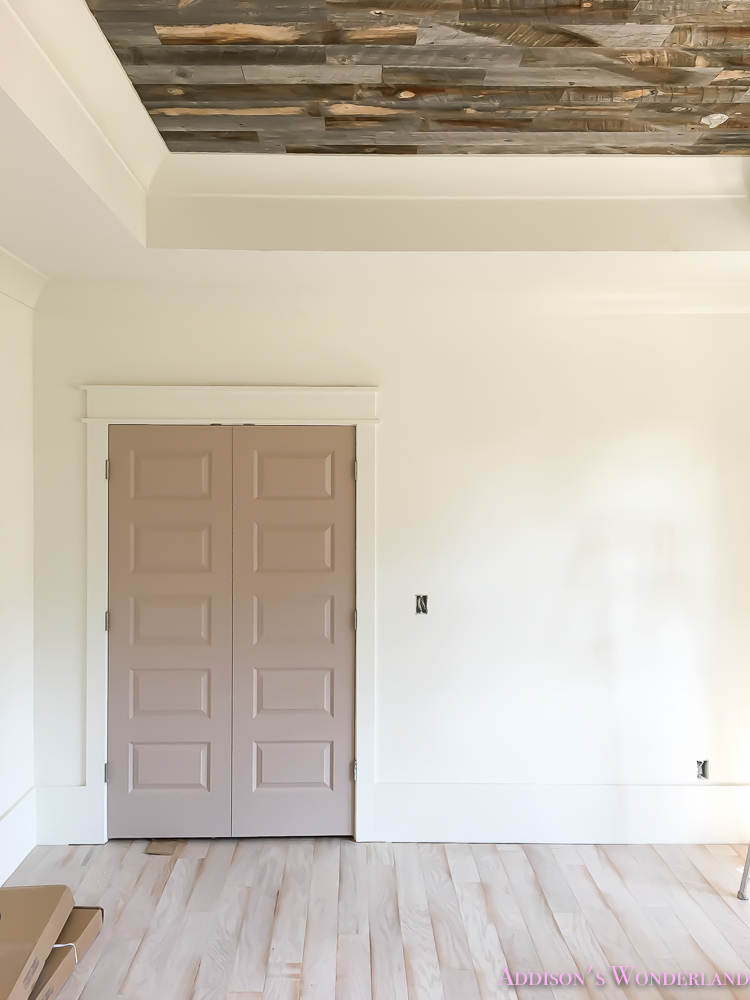
How stunning is that?!? I chose the Reclaimed Weathered Wood for a rustic touch to work against the “pink-ish” doors and soon to be girlie wallpapered walls. There’s a little hint at my future plans ;-).
So let’s get started!
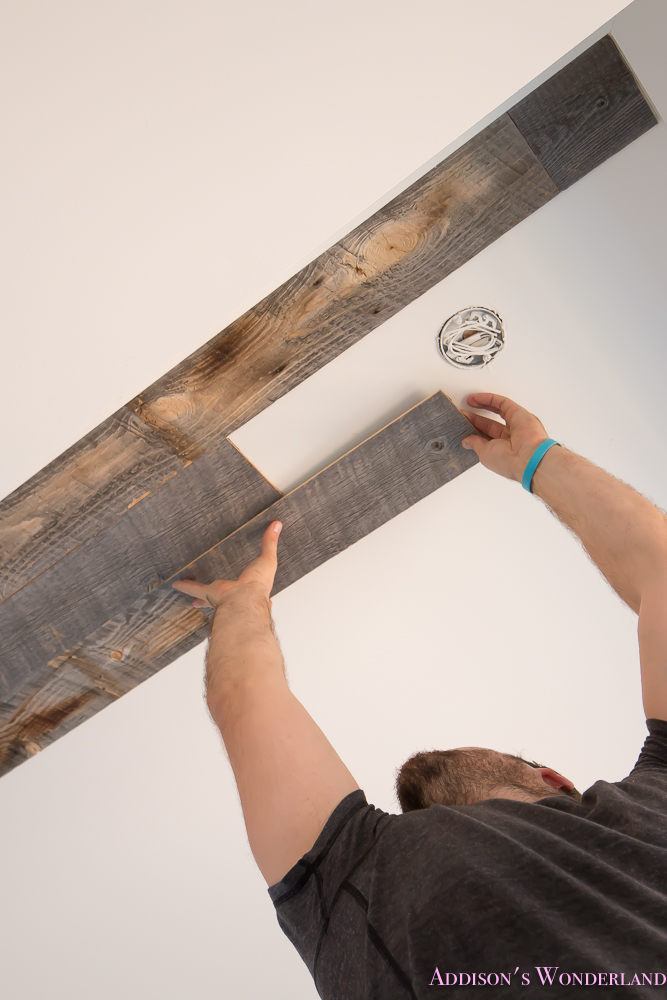
- Peel…
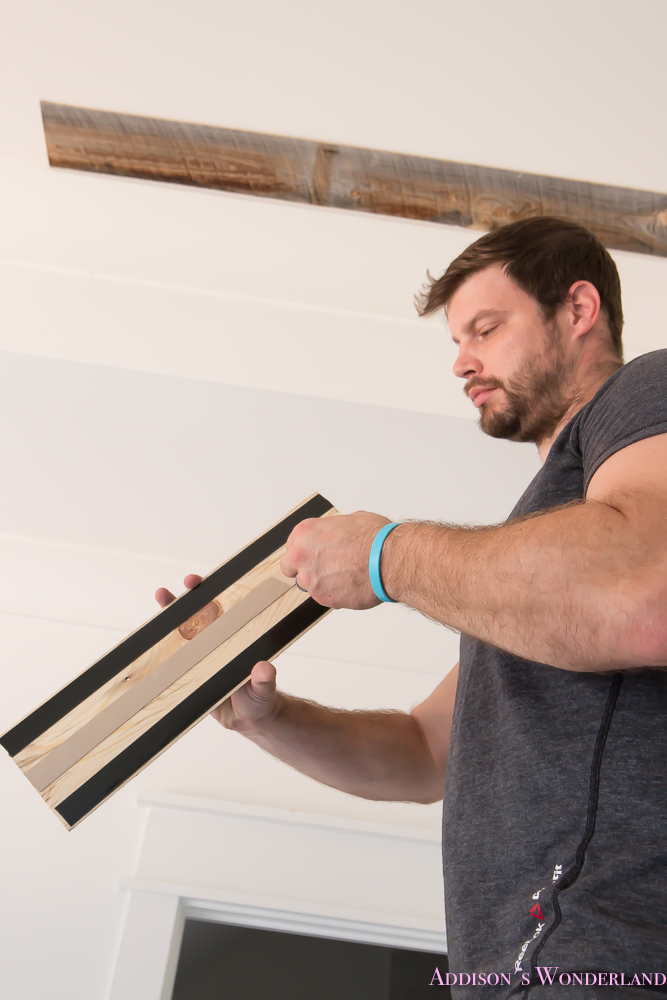
2. And Stick!
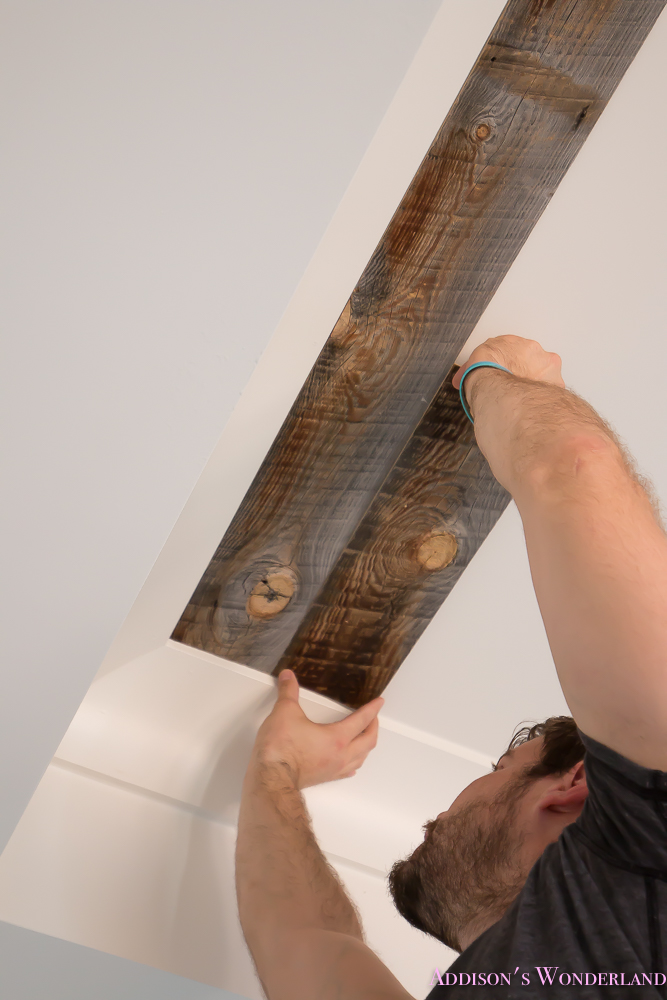
Yes, easy as that!
I suggest varying lengths against the starting point along the entire way. My goal was to change up the wood grain/color of each piece as well as the length when handing Mark all of the pieces. I avoided any seams matching up along the way. Variety is key.

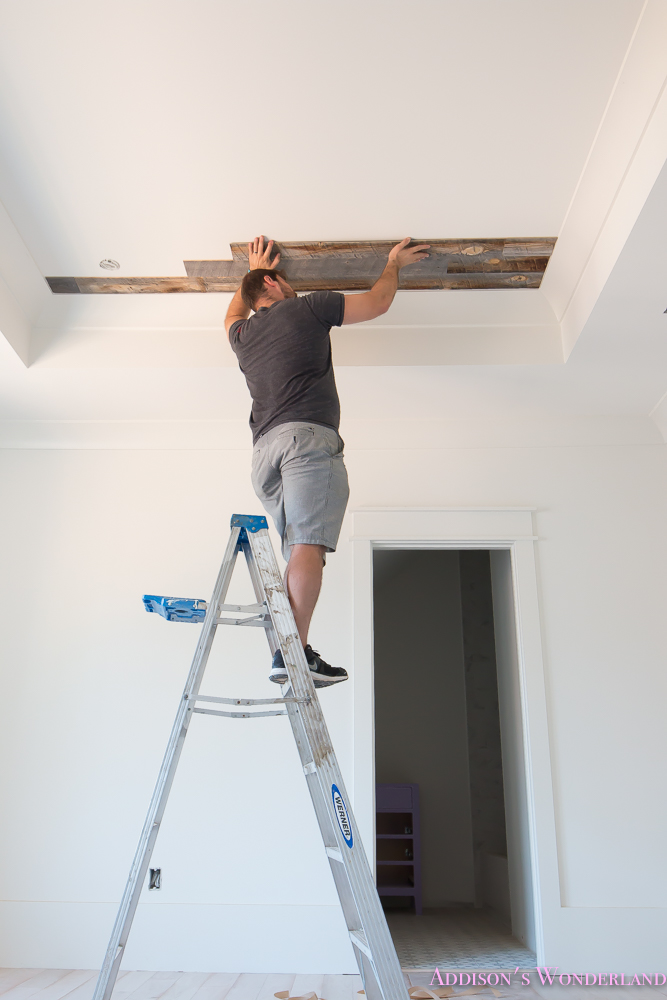
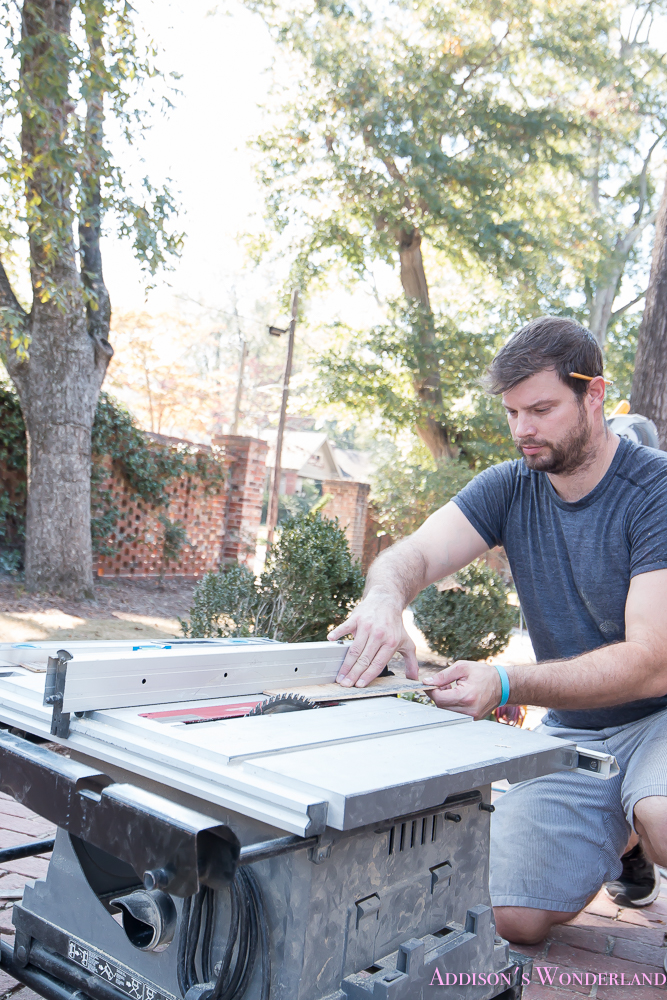
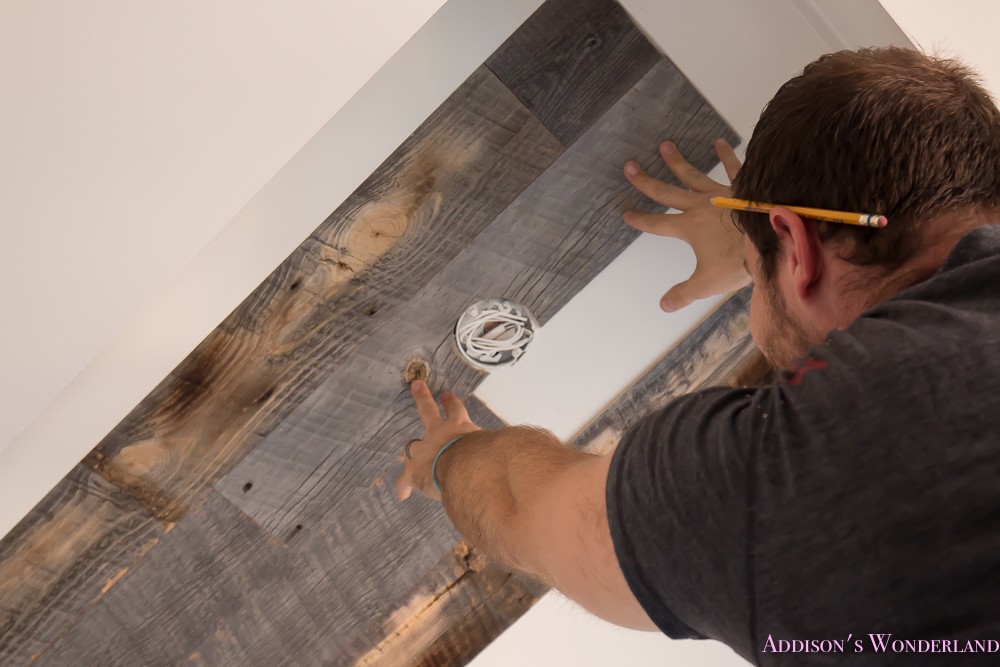
Next, let’s chat about those pesky little outlets or other pitstops along the way. Mark first marked the places needing cut-outs on each piece with a pencil prior to removing the tape. Then he used a Miter Box to cut to the desired length, a jigsaw for any small details or outlets and a table saw to trim the width.
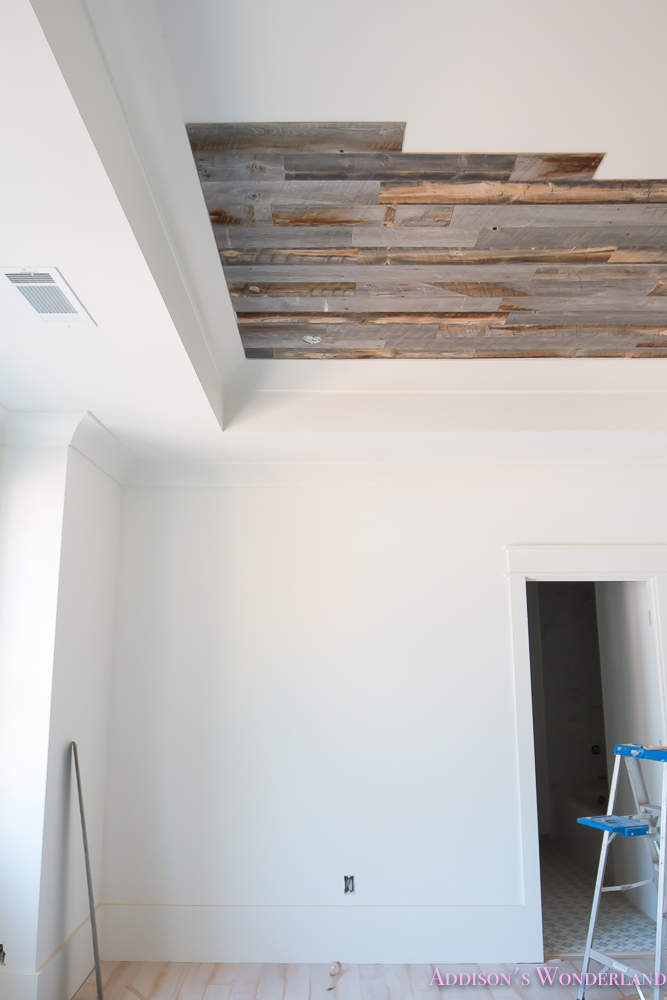
Making progress! It moved sooo quickly!
Three hours from start to finish and we created a breathtaking ceiling on one Saturday morning. Can’t WAIT to show you more in Winnie’s new room soooooon!!!!
DISCLAIMER: THIS IS A SPONSORED BLOG POST. EVERYTHING I WRITE AND POST IS 100% MY OPINION. IF I DON’T LOVE IT, I DON’T POST IT. SIMPLE AS THAT! POST CONTAINS AFFILIATE LINKS.
And here is her room post-construction!
Shop Winnie’s Room:

XOXO, Brittany Hayes
+ view the comments


")
")