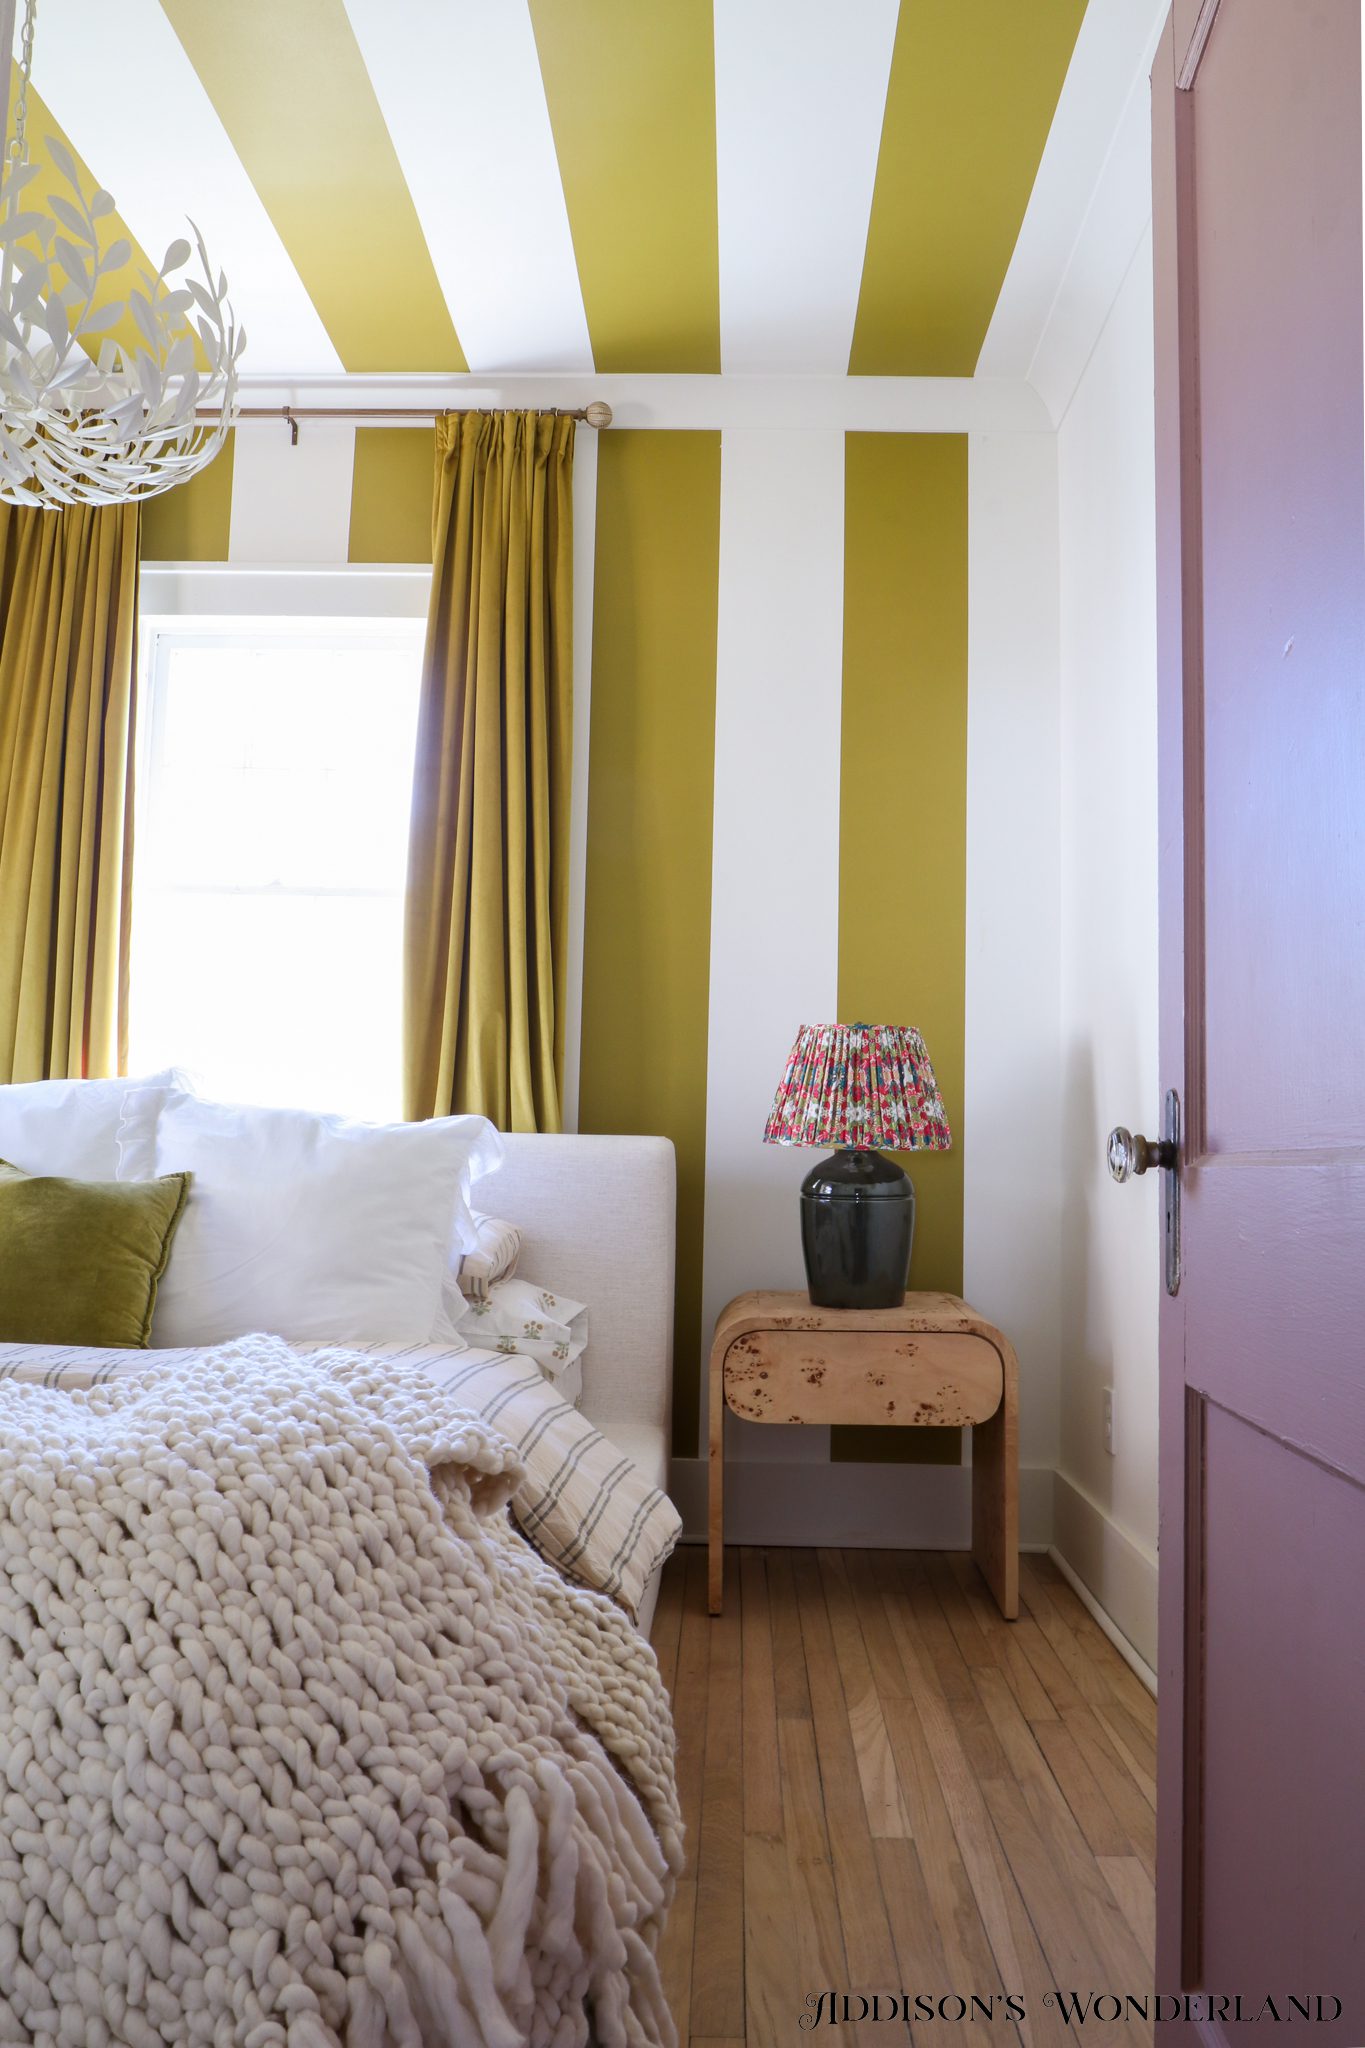
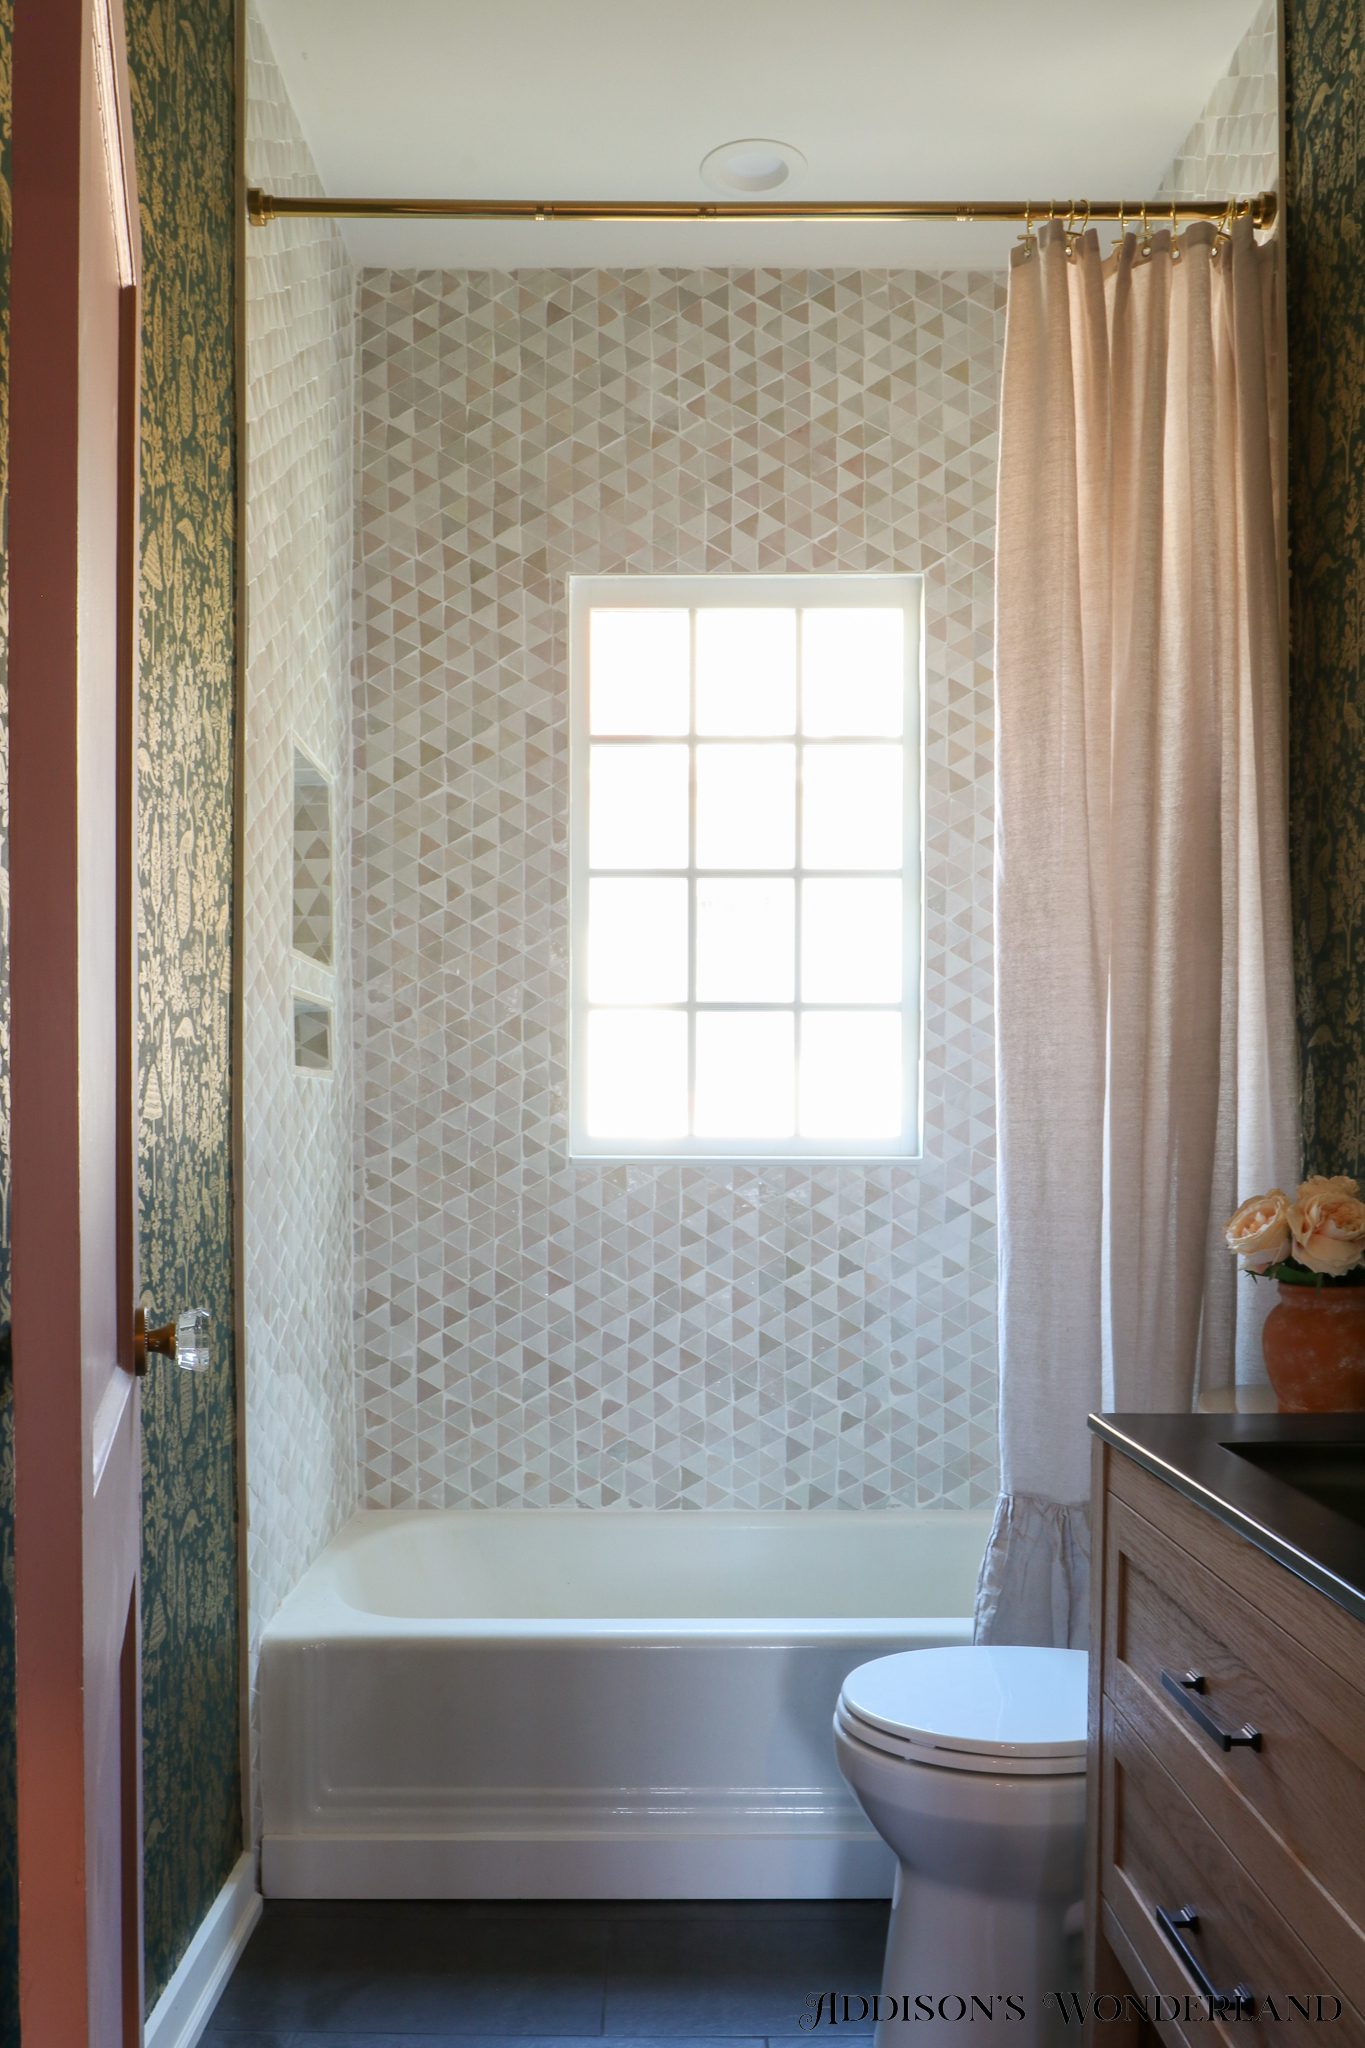
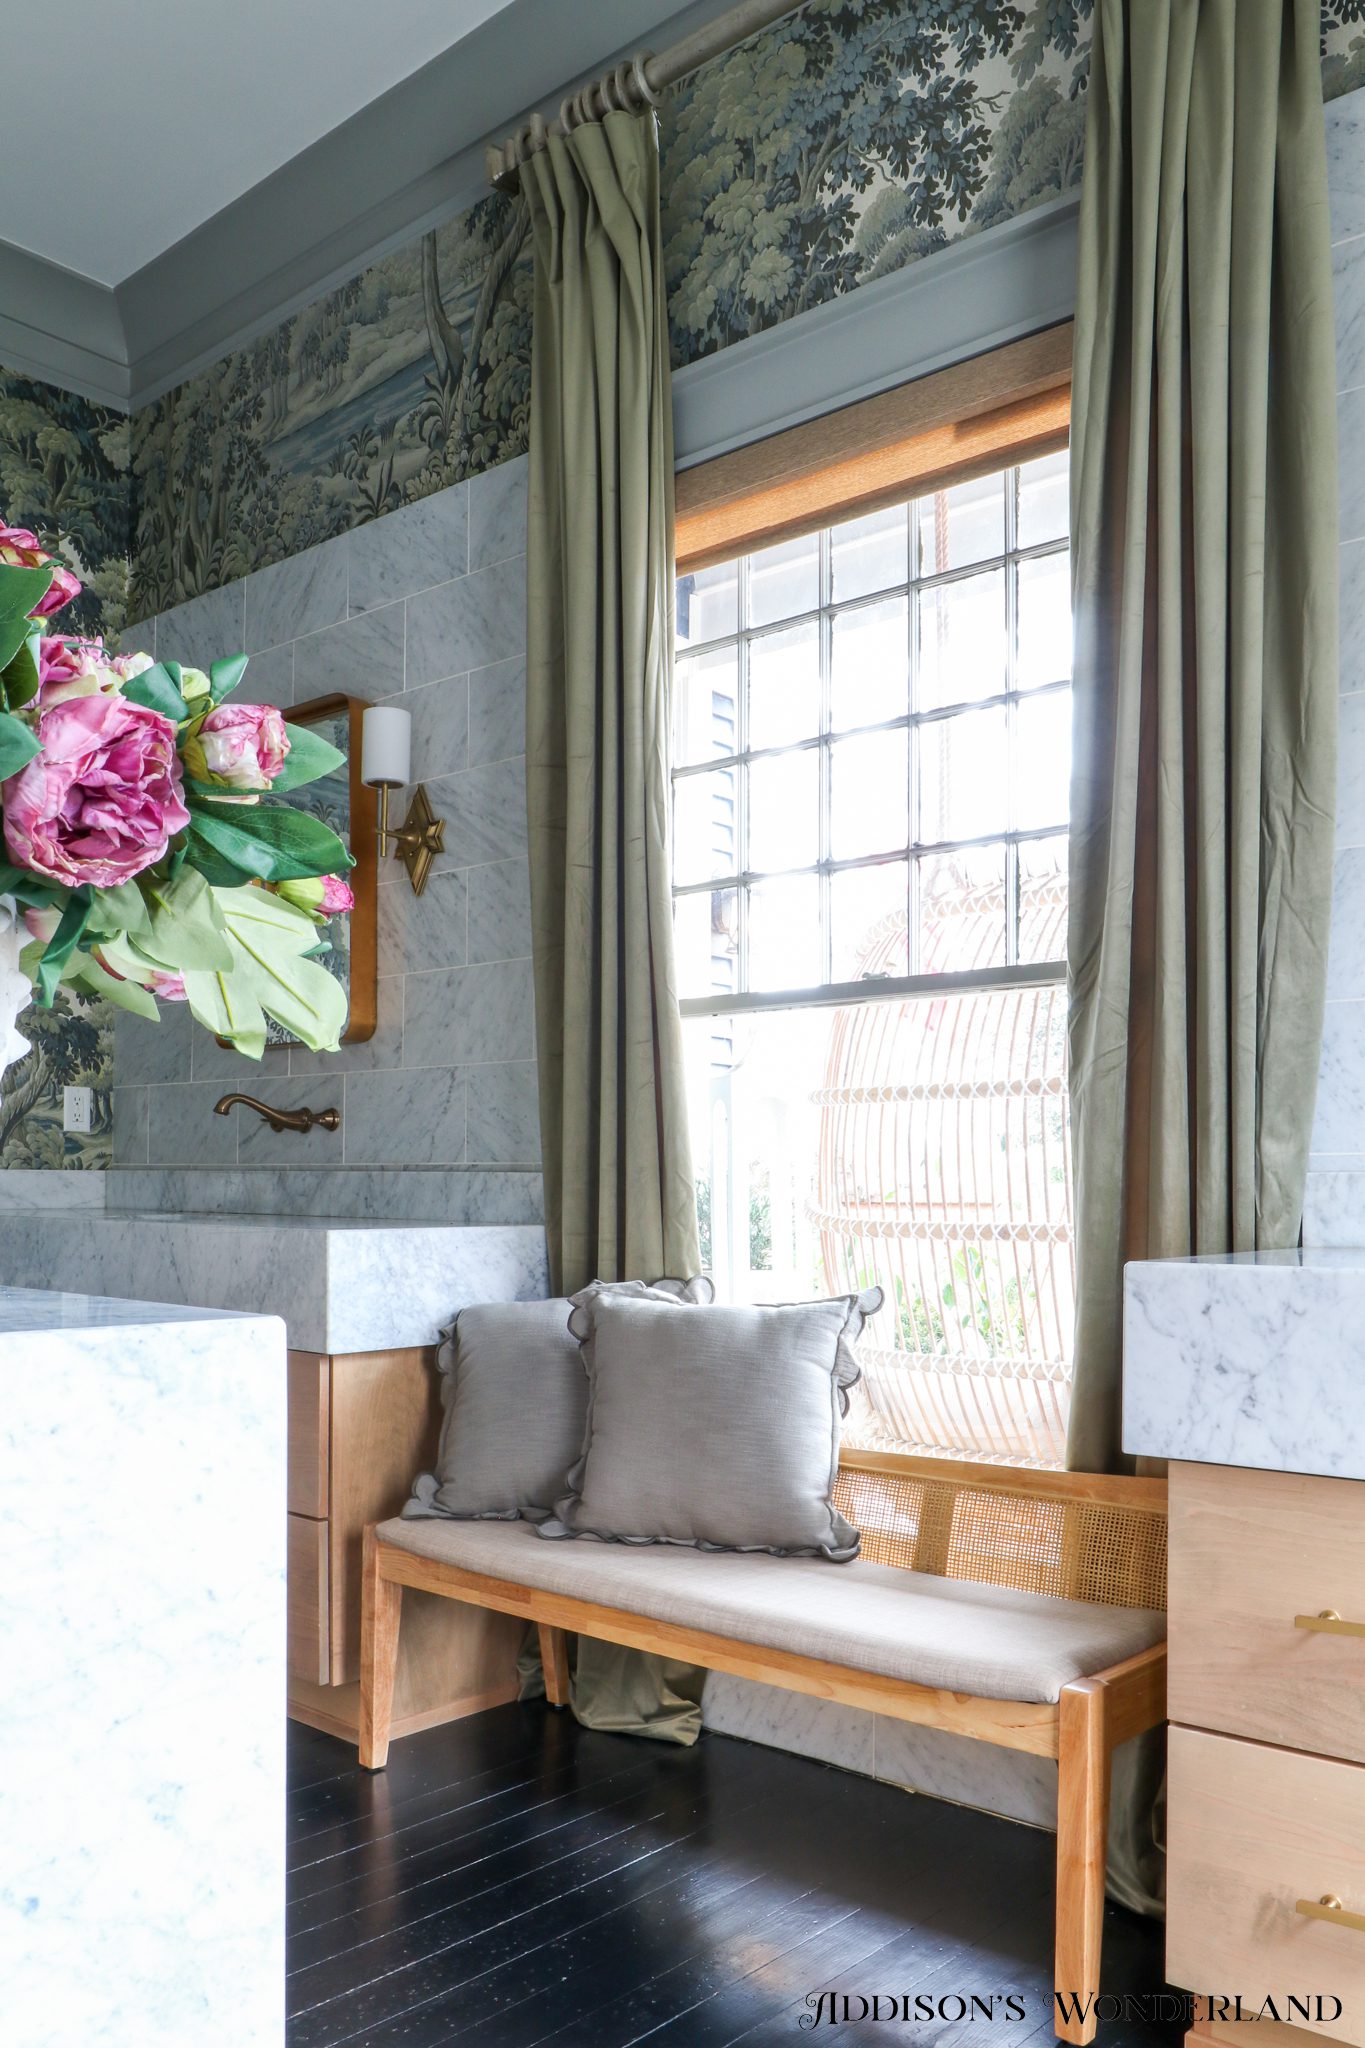
Hi! Thanks for coming by! Sitting here typing with extended arms this morning trying not to mess up the spray tan John just gave me in my elbow creases 😉 Haha yes, honesty is the best policy right?!? First things first and the top thing that has been on my mind all week… we leave for our Sumemr trip next week!!! EEEKKKKKK!!!! I think I become more and more excited for our travels each Summer. Between work getting busier and life getting crazier each year, it seems more needed and much more appreciated as the years go on. As always, I hope you will follow along over on IG stories! I have a big packing post coming up this Friday right here on the blog as well!
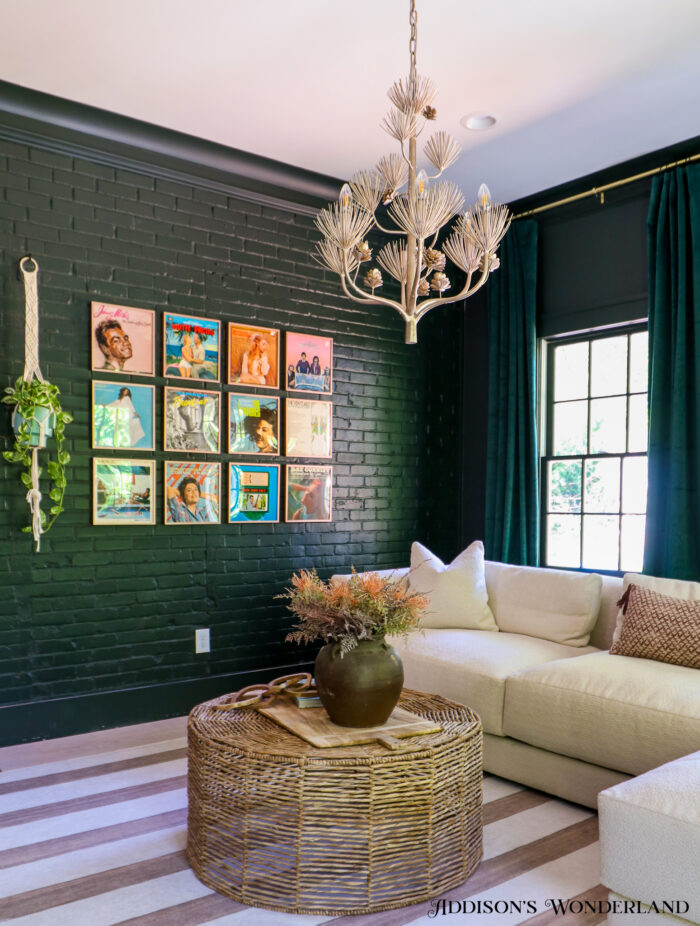
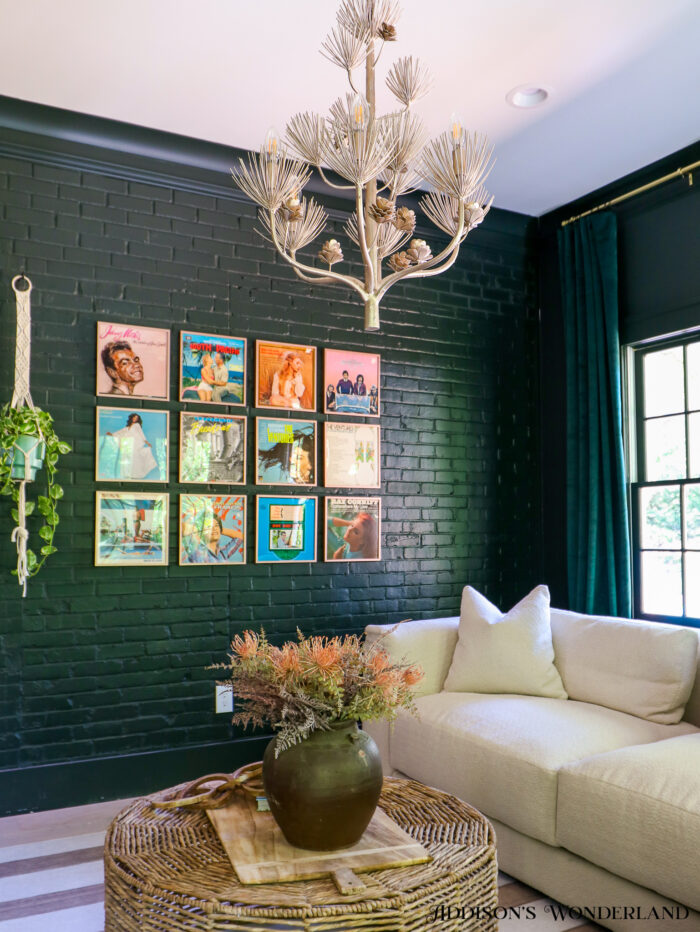
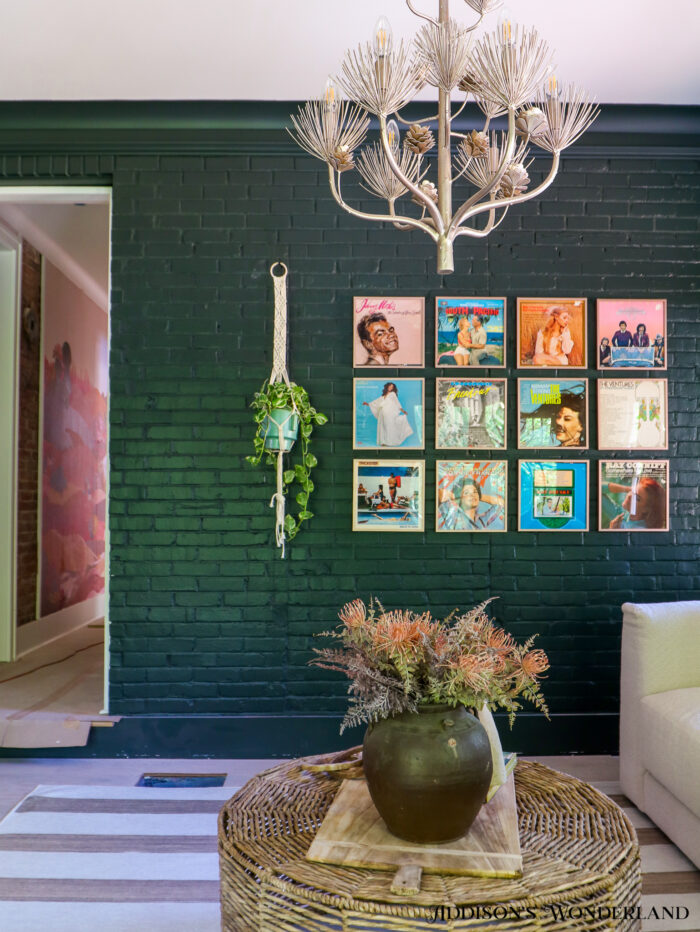
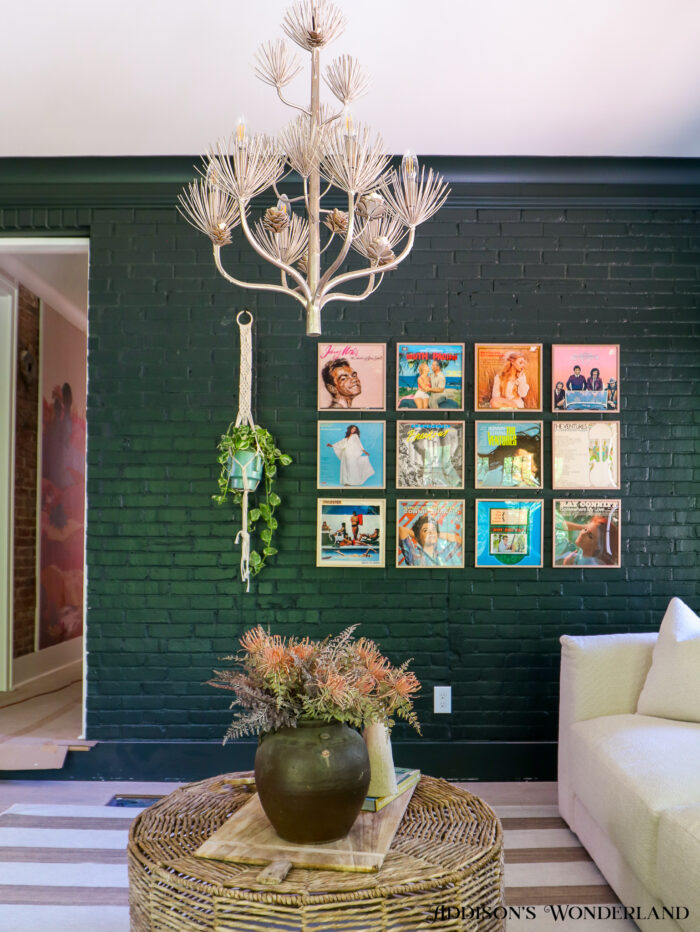
As you may have seen on stories a couple of weeks ago, Ab and I installed a fun little antique store find album cover wall in the family room of our historic flip home a few weeks back. It turned out even cuter than I thought and today I am sharing a little “how-to” and the reveal!
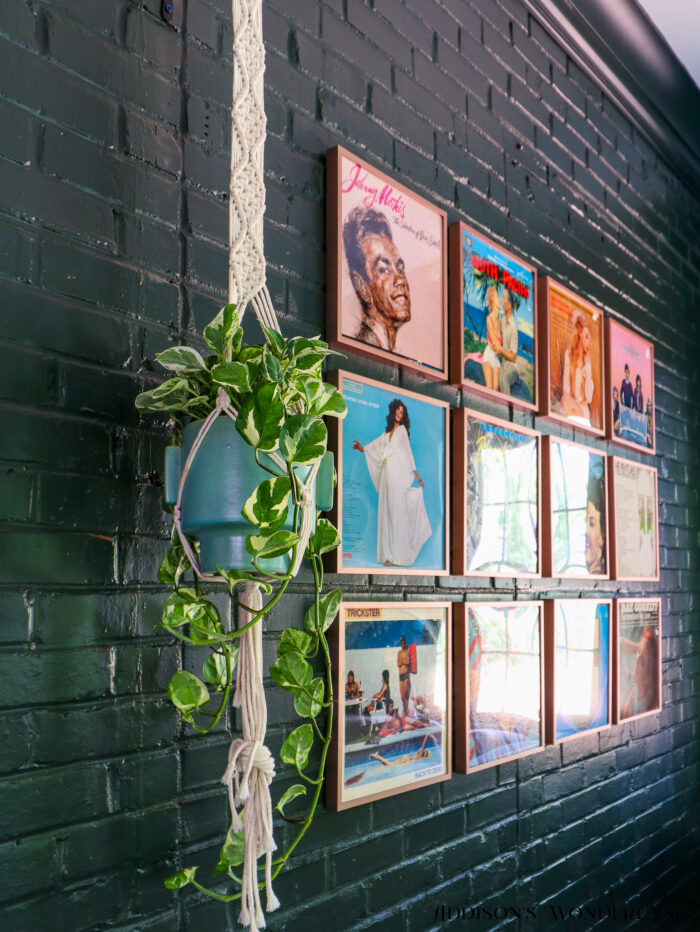
First up, let’s chat about the albums. On a local antique store visit a few months back on a hunt for a sink cabinet for our historic flip, we came across some super fun and colorful album covers and Ab had the best idea… a gallery wall! Each album cover was $5-8 and we found a combination of the most perfect colors and vibes.
Here’s a peek back at the wall BEFORE…
Before…

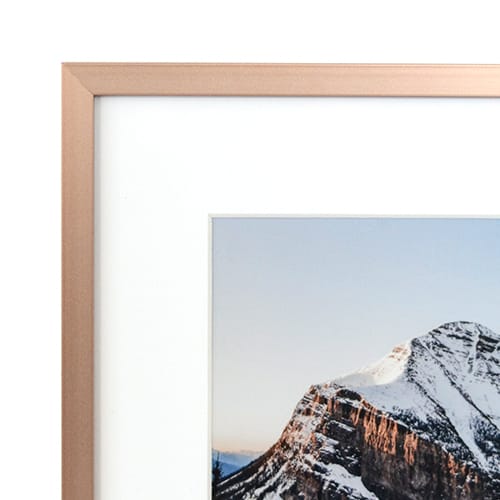
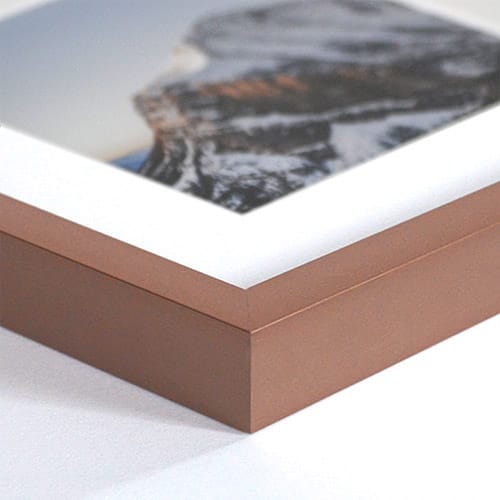
The Frames…
For the frames, I ordered from Frame It Easy and chose 12 3/8″ x 12 3/8″ Ashford style frames in Rose Gold with clear acrylic without a matte…

The How To…
For the install, we had an idea! And P.S… John was soooo unsure about this that he joked we could “pretend” to do it this way and then he could re-measure for when it actually came time for him to drill through the brick. But guess what??? IT WORKED!!!
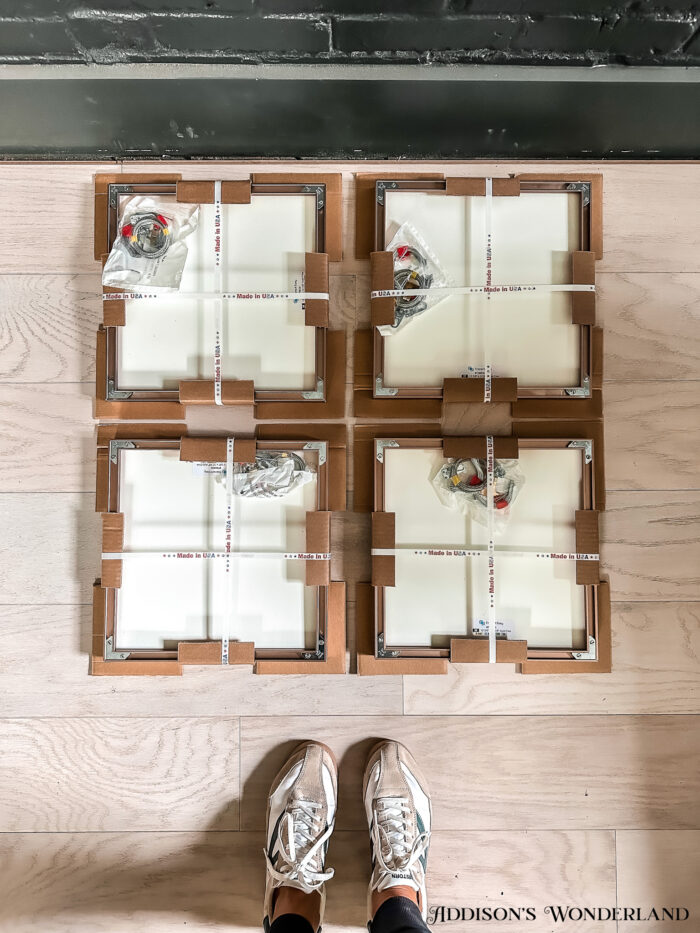
Frames
Step One…
First we laid out our gallery wall formation which was four frames across and three down. We pushed them against the baseboard to ensure they were even and we then used empty silicone bottles to create perfectly even spacing across and down our formation. By the way, you could use ANY household object or whatever you can find for spacing!

Step Two…
Ab then put a run of painter’s tape along the top of the frame formation and along the vertical of it as well.

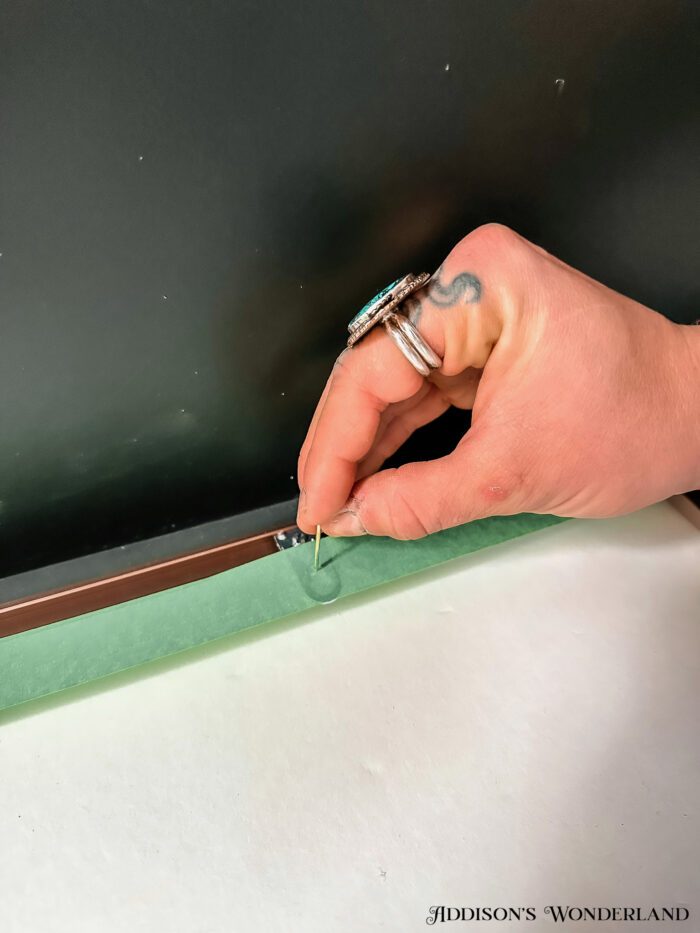
Step Three…
She then poked a hole into each frame’s hanging hardware to note the drill spot for each hole.
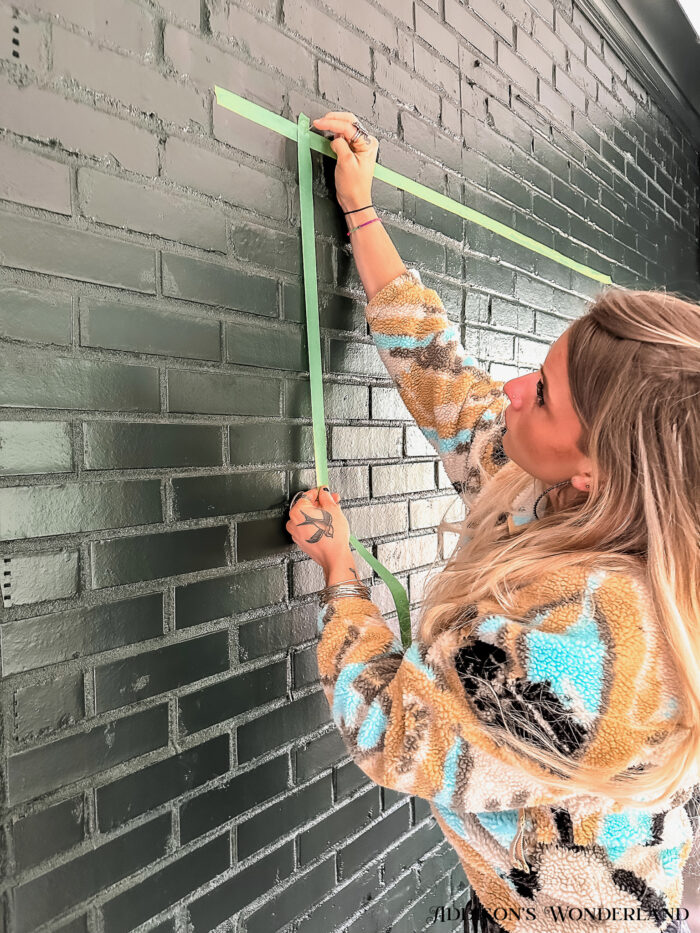
Step Four…
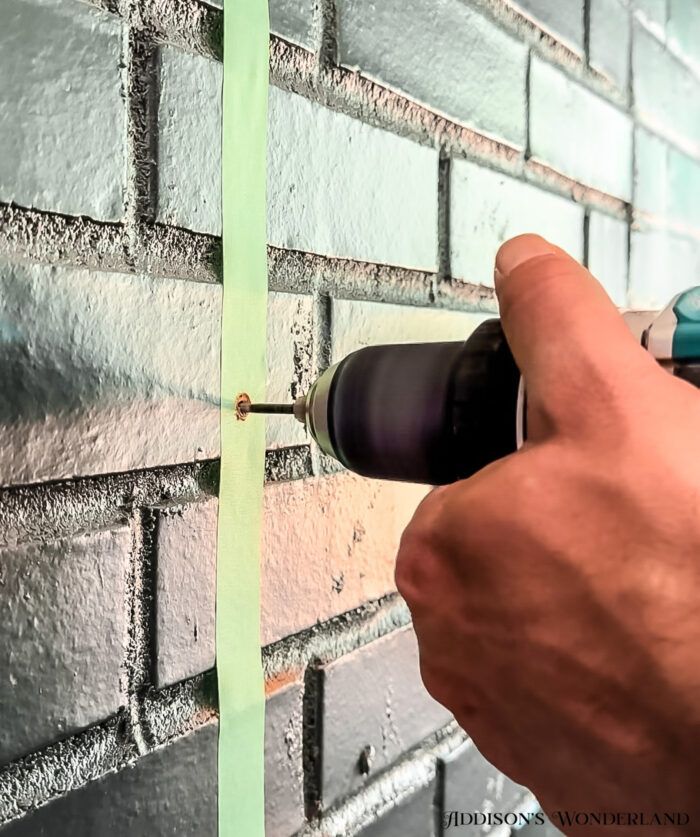
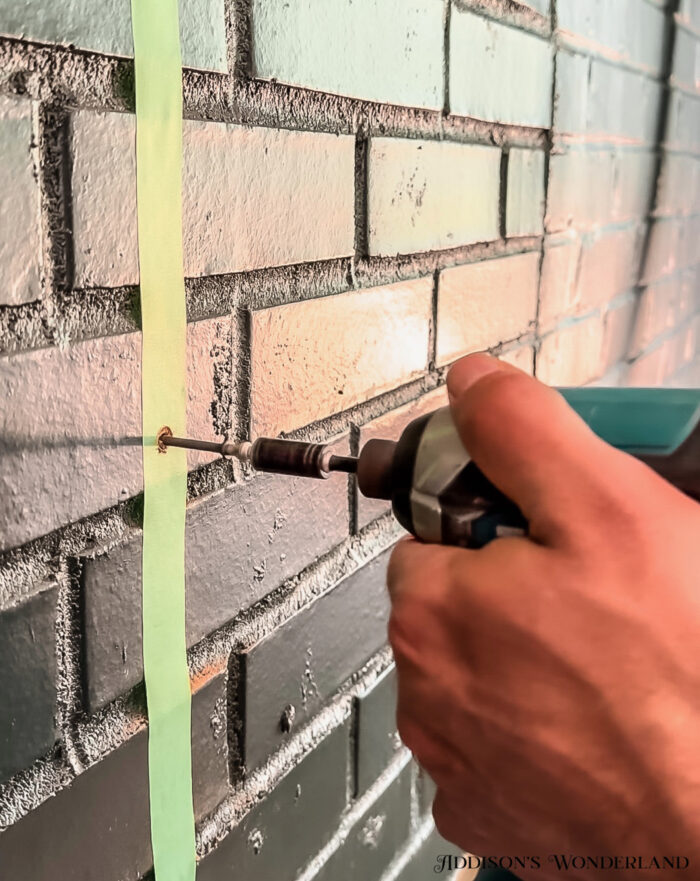
Next, using a level, we transferred the tape onto the wall… both the horizontal and vertical pieces with punctured hardware holes.
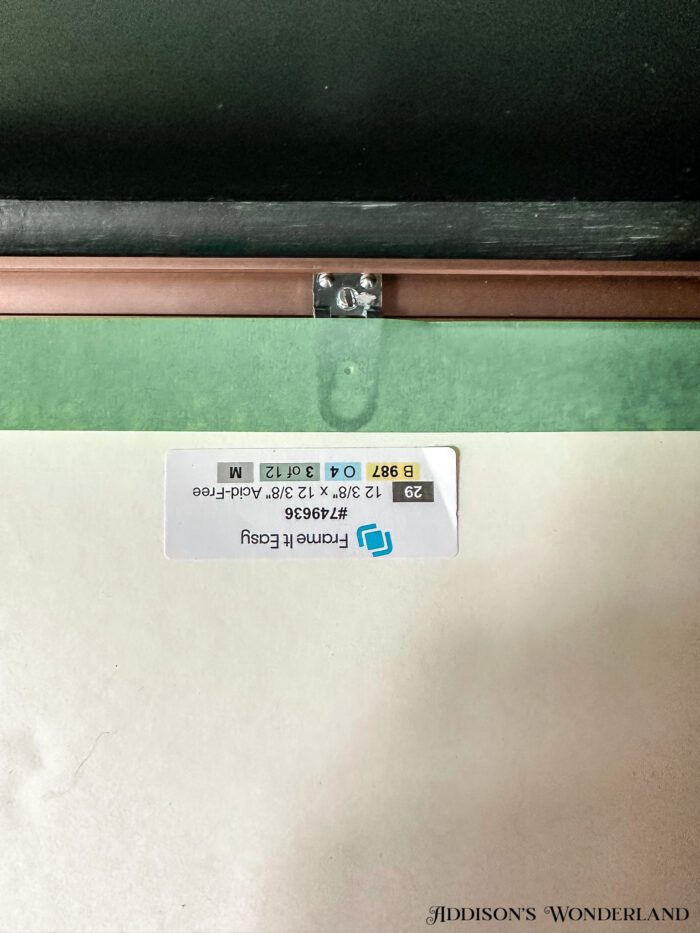
Step Five…
Using a masonry bit, John first pre-frilled into each punctured hole on the tape and then secured a screw into each hole for each frame.
All Complete!

Frames

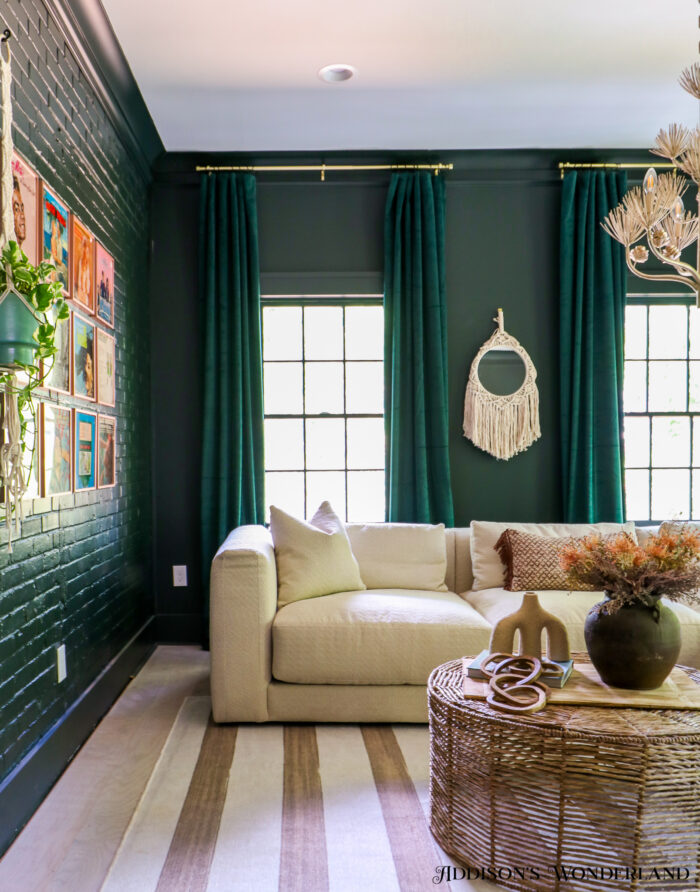
Emerald Green Velvet Curtains / Chandelier / Sectional
Rug / Macrame Mirror / Pillow / Curtain Rods

Ceramic Vase / Vintage Water Pot


Room Details…
ROSE GOLD ALBUM FRAMES
Wall Color- Studio Green by Farrow and Ball
Flooring- Dogwood Engineered Floors by Bruce Flooring in Sattler White Oak
Chandelier- Pinion by Varaluz
Sectional- Ensel in Jubilee Pearl by Jonathan Louis
Emerald Green Velvet Curtains
Rug
Macrame Mirror
Pillow
Curtain Rods
Ceramic Vase
Vintage Water Pot
XOXO, Brittany Palazzo
+ view the comments


")
")