Addison's Wonderland

  • Blog
  • Shop
    • Fashion
    • Home Decor
    • Gift Boxes
    • Brick and Mortar
  • Stay
  • Design
  • About
    • Our Story
    • Contact
    • Press
  • Tour

January 13, 2021

The Reveal and the “How To” of our Penny “Tile Rug” Mosaic Writing Project…

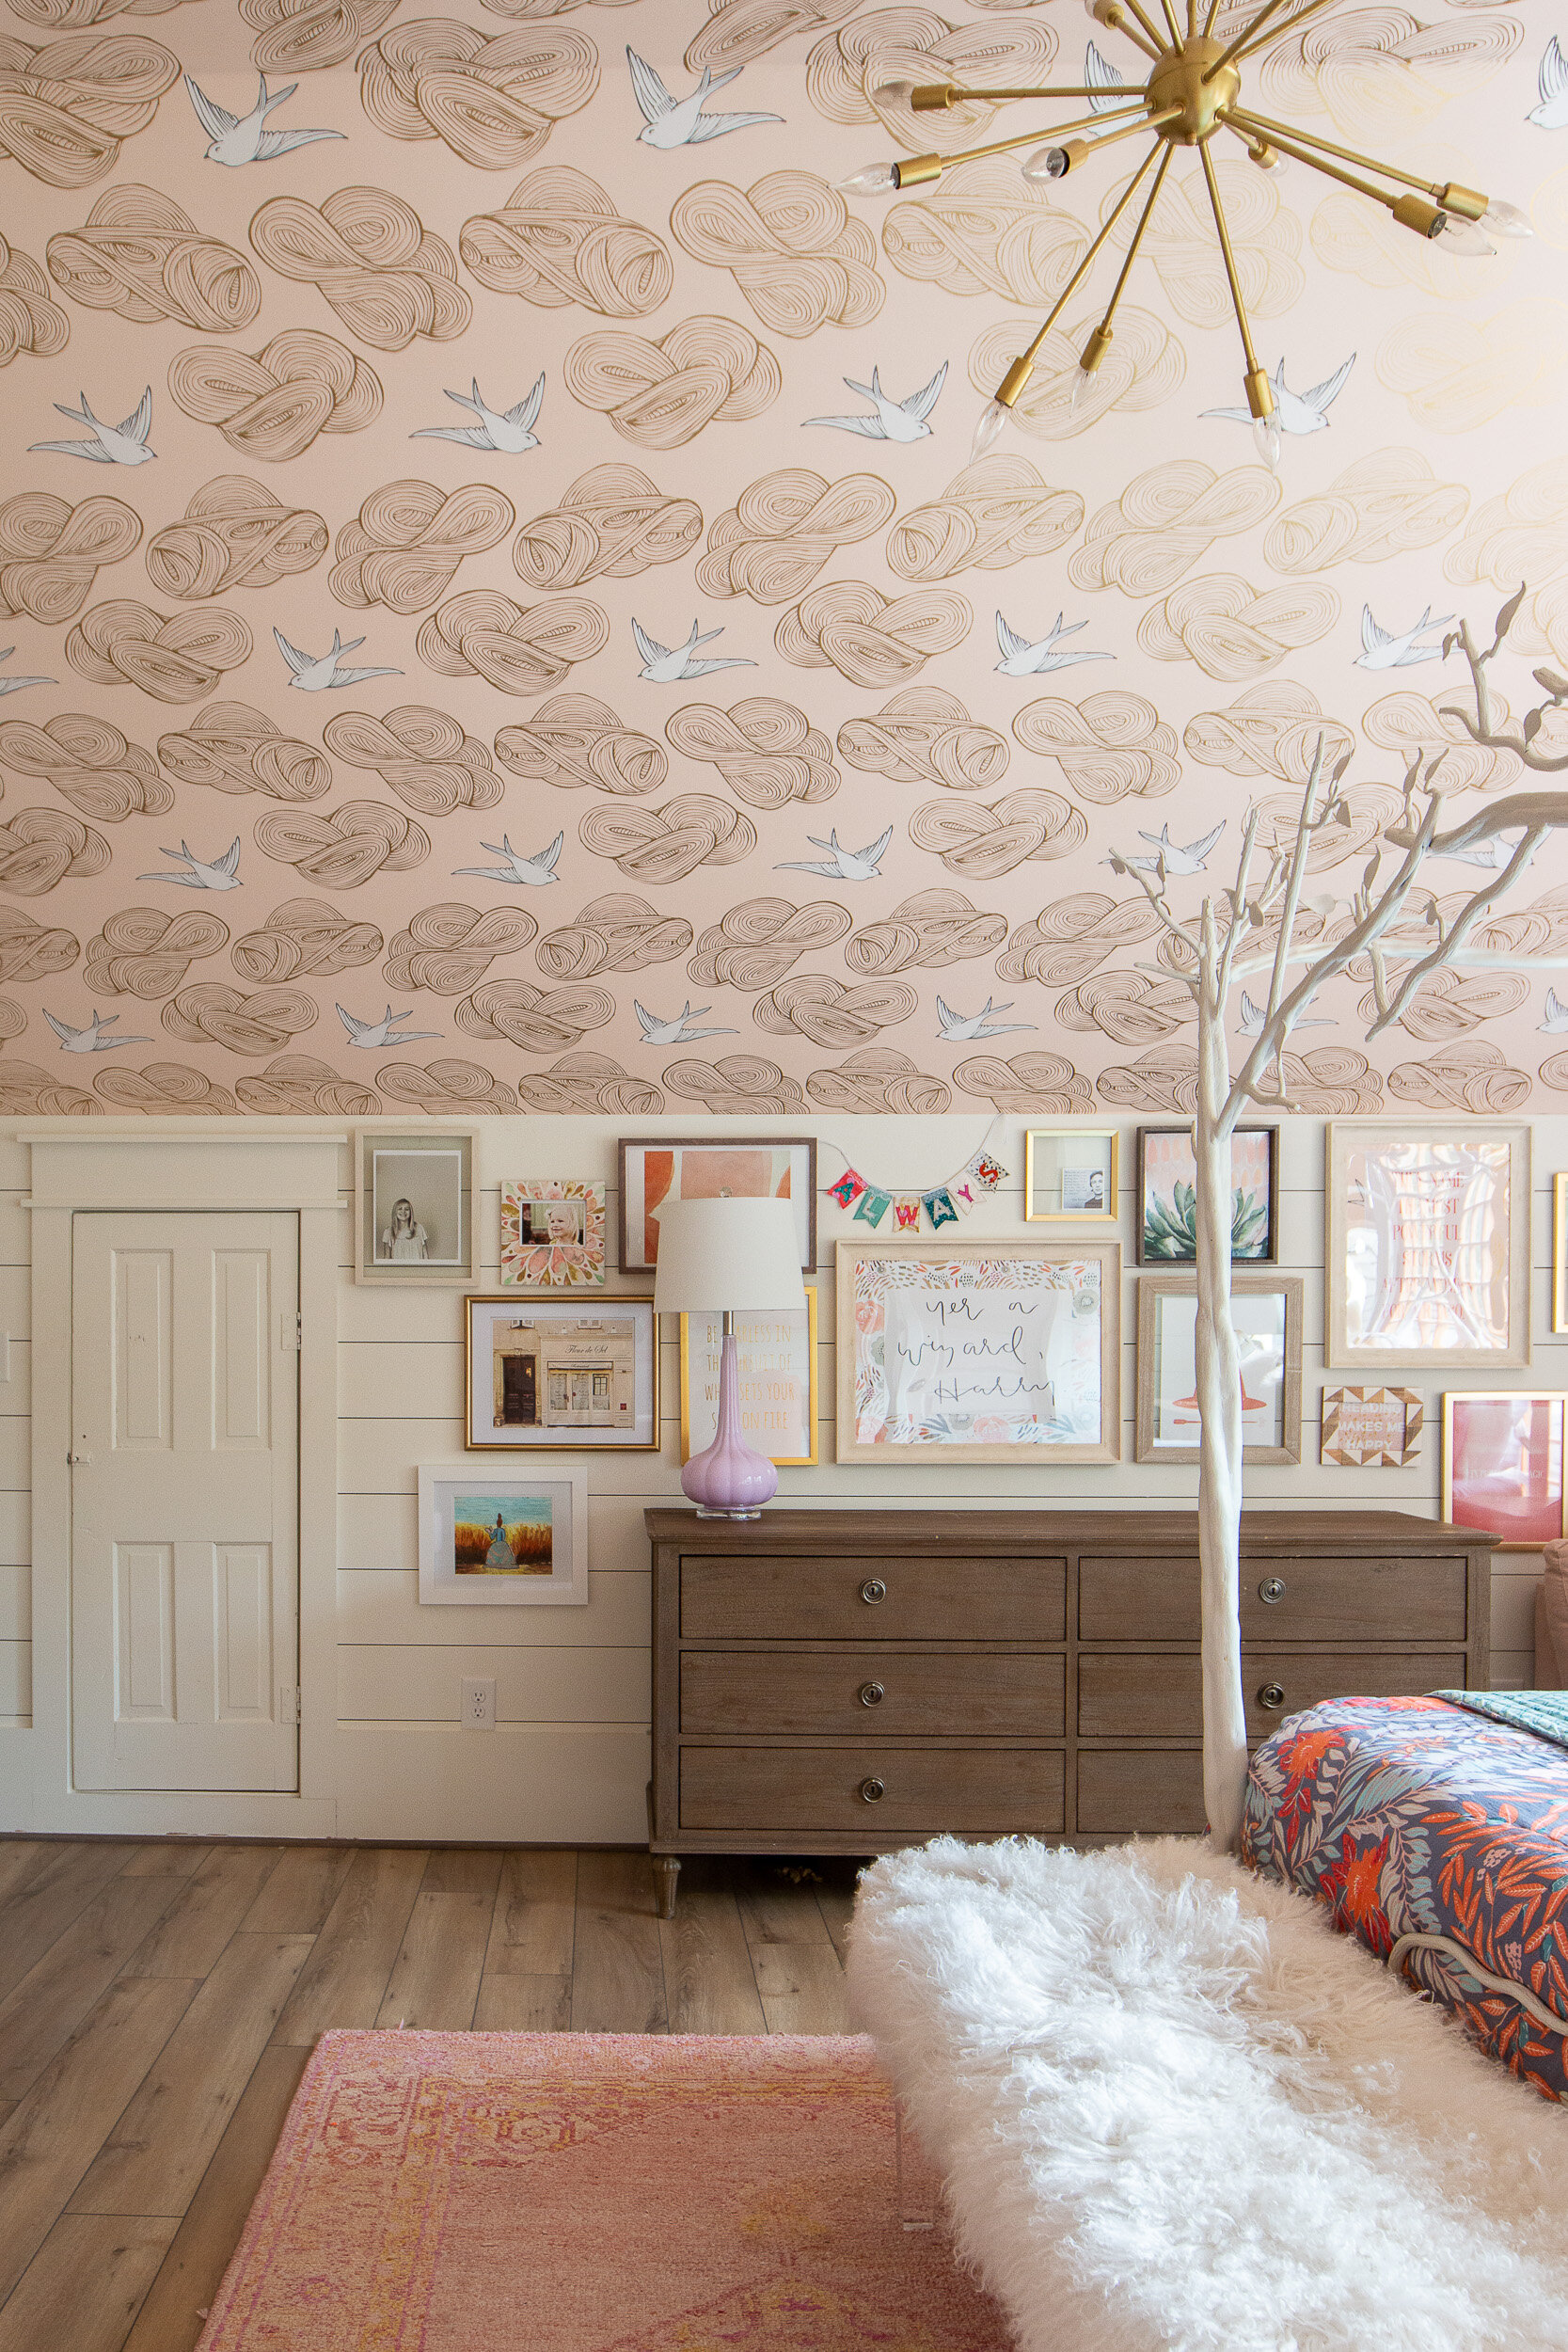
Good afternoon! Sitting here this chilly Tuesday afternoon with this as my current view…

Ab is popping up tack strips in the master bedroom of my newest cabin project prepping for the new laminate wood flooring we just picked up from Floor and Decor on our way up here this morning and I am sipping a Starbucks Nitro Dark Cocoa Cold Brew. Yummy!

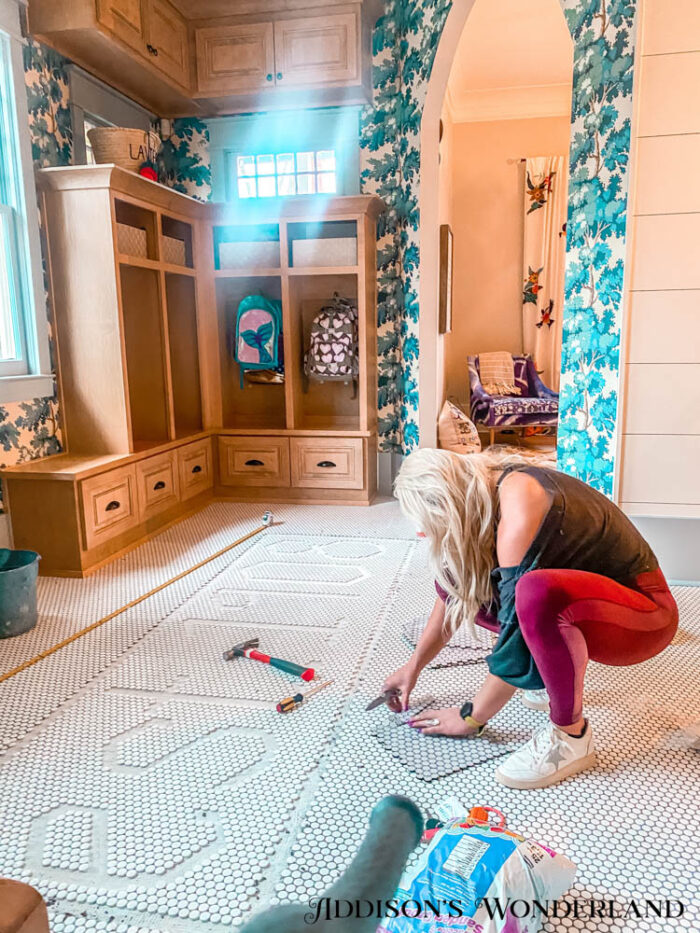
Today we are sharing the “how to” and the reveal of the tile project you may have seen us working on last week on IG stories… the penny tile “writing” installation in my mudroom. A project five whole years in the making! As you may have noticed over the years, this un-grouted rectangle has been waiting patiently in my mudroom since we finished renovations way back in 2015…

Oh and before you ask, HERE IS A LINK TO THIS WALLPAPER & ALL OTHER ROOM DETAILS ARE LINKED AT THE BOTTOM OF THIS POST…

WALLPAPER

I had fabulous intentions of taking this project on back in 2015 or even 2016 but ya know… life happens. So it sat. For five years. And then earlier this month Ab and I were making a list of fun projects to feature on the blog in 2021 and BAM! Given that we had just completed quite a few tile mosaics at Addison’s Wonderland Boutique last Fall very similar to what I was wanting to create in here, we decided it would be a fun start to 2021. And not to mention the fact that Ab has become a “tile rug” professional as of late. So here is where I let her takeover to tell you all of her steps, tips and tricks! And then I will be back at the very end to share the final reveal I photographed earlier this week. Oh and we will be back Friday with the full design plan we’ve been working on for the most wonderful client in downtown Nashville. As I shared on IG stories last week, we will be right here on the blog FOUR DAYS A WEEK now sharing everything from life posts to our own home renovation projects plus fashion, design client reveals and lots more. See y’all Monday!

Hey fam! Let me start off by saying that the term “professional” is a loose one… I’d like to think more of an above your average “never tiled a floor” neighbor. I say that to say, this tile did not end up perfect. There are a couple of low spots and some unleveled tiles but they are hardly noticeable once everything is grouted in. SO if you decide to try this out for your own home, don’t be discouraged during the process. Keep moving and I promise that you will not even notice the little “mistakes” or missteps along the way. On tile jobs, my dad always used to say that grout hides just about everything and he isn’t wrong.

I. First and foremost, find your center point. This might seem obvious but I got so eager with the store mats that I didn’t do this. I ended up having to redraw everything.

Since we had a such a specific area that we were working with, I roughly drew out the phrase on a sheet of paper to get a better idea of what I was looking for with spacing. I also did this to get an idea of the center point of the phrase. Ex. Our mat needed to say est. 1908… e s t. 1 9 0 8… “1” was our center(ish) point.

II. We used an expo marker to mark all of the tiles that we wanted to be black. I found that it was easiest to just simply draw out the letters and numbers first and then go back and fill the tiles in. It is a lot easier to visualize how the circular tiles turn into words if you have the letter there first. What I mean by this is, don’t start filling circles to make the letter. Draw your figure out first and then fill the circles in that closely line up with what you marked out. Does that make sense? Maybe?

III. So you have established which tiles are coming out and now it is time to remove them. Ideally you should use a chisel but we couldn’t find one AND since these tiles have been sitting for quite a while, the flat head screw driver worked just fine. I’m not sure that I would recommend it for tiles that have not been waiting to be removed for five years. Since these tiles have been grout-less for so long, the wear and tear of foot traffic definitely loosened them up a bit.

IV. After you remove all of the tiles make sure that you chisel away any of the excess thin set that is remaining. You want the empty spaces to be as level as possible before you place the new black tiles in. Once the thin set it loose, vacuum the mat super super well to remove all of the dust and chunks.

V. I found that precutting the black tiles with an exactoblade makes the setting process one million times easier. It is easy to spot the patterns in the letters… EX. Most of the vertical lines were in 2’s. I cut a bunch of sheets into sections of two and they popped right into place. This just saves the headache of trying to place each individual tile and makes for a much more level outcome. The next photo depicts what I am trying to say a little bit better…

See what I’m sayin…

VI. Make sure to trim the excess graft off of the segments that you cut. It removes the headache of trying to trim the graft out after you set the tiles… which is almost impossible. The last thing you want is straggler graft sticking up through your grout. I did (: and filing them out was a pain. Don’t be like me… just trim the graft on the front end.

VII. Normally we would use a thin set to lay tile, more info on that in our next post about laying tile, but for this project we used liquid nails. It is way less messy this way and keeps you from getting white spots in your final grout. Just trust me… use the liquid nails.

I drew lines with the adhesive where I knew the tiles were going and popped them in. This is where you have to get crafty. At this point you might notice some of your tiles sitting lower than others. Try your best to put extra liquid nail in the low spots and “float” the low tiles. Let the tiles sit for at least 12 hours before grouting them in.

Grout…

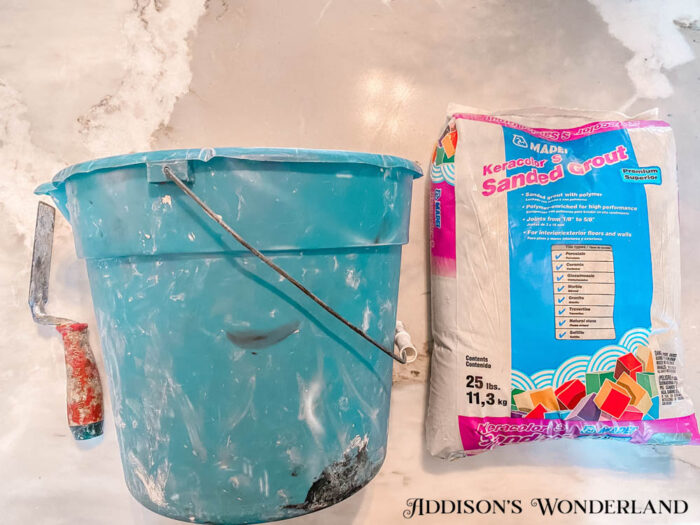
VIII. Make sure you choose a sanded grout. It is better protection against stains and I find that it is easier to work with for a project like this one.

VIIII. When you are mixing the grout for this project, a small bucket and a metal putty knife with do. Most likely you aren’t going to be needing a lot of grout since it is just the mat. I always start with the grout and slowly add water to the mix until I get the right consistency. You want it to be thin since the grout lines are so narrow but not super super thin because it will not set up right. Think, ranch dressing.

X. Use a floating tool to smear the grout onto the mat. Don’t panic… it’s super easy to remove the thin layer off of the tiles. Make sure you work it into each crack and do not have holes in the grout line.

XI. Let the grout sit for a few minutes and then go to town with a sponge and a bucket of water. Your goal at this point is not to get the tiles squeaky clean. Thin grout is basically tough dirt and it will come off the following day with ease. Just do your best to get the majority of the grout off of the tile without pulling it out of the grout line. Let it sit for 24 hours and then mop up whatever is left on the tiles.

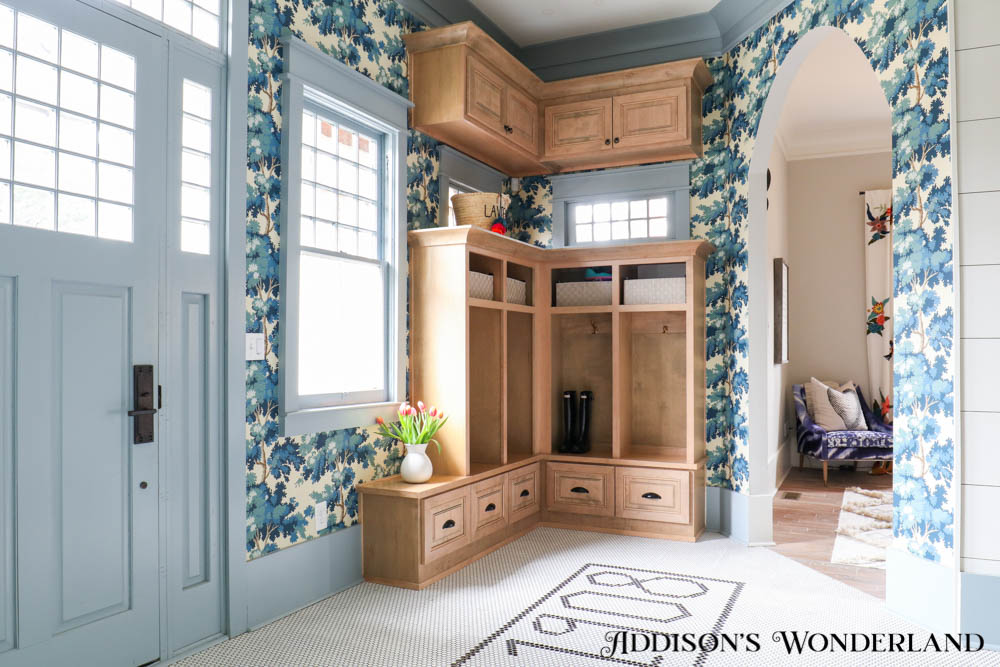
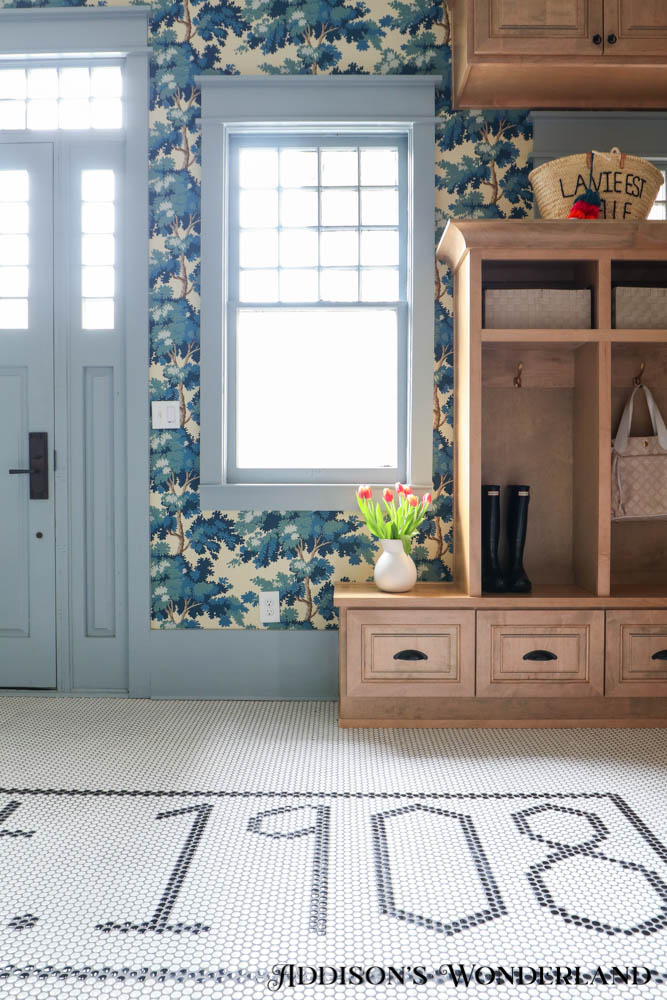
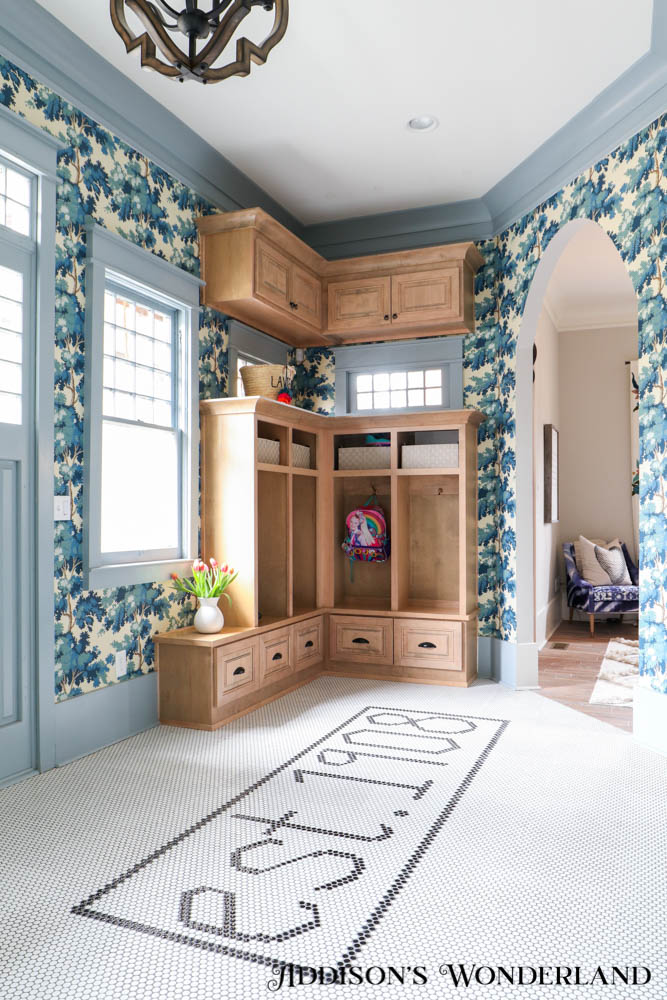
And HERE IT IS! The final reveal…

SHOP THIS WALLPAPER!

WALLPAPER / PENNY TILE / ARTWORK / CHANDELIER

ROOM DETAILS…

WALLPAPER

Trim Color- 1/2 Stardew and 1/2 Uncertain Gray (equal mix at full strength)

Penny Tile

“Always Keep Your” Artwork

Family Room Curtains

XOXO, Brittany Hayes

11 Comments - Leave Yours

« Tuesday’s with Ab- Quick & Simple Pieces for Your Work Wardrobe
AW Design… A Pop of Emerald in a Downtown Nashville Loft! »

Comments

  1. Tina Hayes says

    January 13, 2021 at 10:41 am

    Goegeous

    Reply
    • Brittany Hayes says

      January 18, 2021 at 10:13 am

      Thank you SOOOO MUCH!

      Reply
  2. Wendy says

    January 13, 2021 at 11:19 am

    Wow… this is lovely!!

    Reply
    • Brittany Hayes says

      January 18, 2021 at 10:13 am

      So sweet of you! Thank you!

      Reply
  3. Janet says

    January 13, 2021 at 11:49 am

    You girls can do anything and it looks amazing! Don’t know how you fit everything into your day plus your girls! Thanks for sharing

    Reply
    • Brittany Hayes says

      January 18, 2021 at 10:14 am

      Wow THANK YOU! Means a lot! It’s hard but I love it so that helps 🙂 XOXO

      Reply
  4. Vicki Leuck says

    January 13, 2021 at 12:42 pm

    The result is amazing. What a nice tribute to the house!
    Good job!!!

    Reply
    • Brittany Hayes says

      January 18, 2021 at 10:14 am

      Thank you! I absolutely adore the history of my home 🙂

      Reply
  5. Erin says

    January 13, 2021 at 1:38 pm

    It looks amazing!! So glad yall will be blogging more!

    Reply
  6. Debbie says

    January 13, 2021 at 4:45 pm

    It looks great and the perfect detail added to the mudroom.

    Reply
  7. Liz says

    January 13, 2021 at 7:57 pm

    It looks so good!!! What a great addition to your mud room.

    Reply

Leave a Reply Cancel reply

Your email address will not be published. Required fields are marked *

It may be five years later but this week Ab and I It may be five years later but this week Ab and I are finally finishing this tile! 🙌🏻 In my procrastination defense, I WAS going to put a shelf right there but then I changed my mind... 4 years and 11 months ago now 🤦🏻‍♀️ Better late than never! Excited to make 2021 the year I mark stuff off my list! 💗💗💗 What house project are YOU dying to get done this year?
My home is celebrating it’s 113th birthday and A My home is celebrating it’s 113th birthday and Ab and I are celebrating our first successful project of 2021 AND the first completed week of our new blog schedule! Yep, our penny tile mosaic super detailed tutorial and reveal is LIVE on the blog as well as three more posts this week. Pop over and sign up to follow along! P.S. If you’re wondering why I chose to orient the saying this way, I pondered it for a while. In the end I chose this way because we literally never ever use this back door. Anyone entering our home either comes through the front door where this is visible down the hallway, up the basement stairs where this greets them at the top or around through our laundry room or family room. Basically when your 1908 home has a million exterior doors, most end up going unused. HAPPY FRIDAY!!! ❤️ Oh and P.S.S. This wallpaper, trim color, artwork and all of the tile details are on the post! Linked in bio. http://liketk.it/360s2 #liketkit @liketoknow.it #LTKhome
Ever feel like you’re going to battle choosing a Ever feel like you’re going to battle choosing a paint color? 🙋🏻‍♀️ Looking for the perfect creamy white/blue-green gray combo and tested out quite a few today. What are your faves of either? Sharing some sneak peeks at our cabin progress and my design plan on stories today! Oh and the full reveal and detailed tutorial of the penny tile mosaic we were working on last week is live on the blog today!
Did a little rustic wood shopping over the weekend Did a little rustic wood shopping over the weekend which meant I just had to snag another cutting board 💗 See it over there looking all cute? I think this one just might be cutting board wall worthy! 😉 Sharing more of my finds on stories today. Several new projects coming soon from my finds too! Also thought I’d take this “cleaned my kitchen just for this picture” opportunity to answer two of my most asked questions... what is your cabinet color and what are your countertops? My cabinets are a 50/50 color mix I created when I was determined to find the perfect blue-gray mix. It’s a full strength, equal mix of SW Stardew and SW Uncertain Gray. My countertops are Calcutta Reale marble and I’m sharing all of my thoughts about marble in a kitchen on the blog! Link in bio!
2021 coming in HOT! 🔥 Ab and I both “showed u 2021 coming in HOT! 🔥 Ab and I both “showed up today” for a full day of work in a full face of makeup and well... THIS. Links anyone? John’s socks are mighty cozy! 🤦🏻‍♀️ Baby steps into the new year. Baby steps. In other news, my closet is next on the list for completion! A few finishing touches and I’ll finally share it all on the blog ❤️
P.S. For those about to ask, the built-ins are a 50/50 mix of SW Stardew and SW Uncertain Gray at full strength just like my kitchen cabinets and main level interior doors and the island is BM Dark Harbour. HAPPY FRIDAY!
Hello 2021! We are back and READY FOR IT ❤️ Ca Hello 2021! We are back and READY FOR IT ❤️ Can’t say I’ll miss 2020 or even 2019 quite honestly. So dang ready for a new year and all kinds of new beginnings. From new projects to new business ventures and all kinds of big personal life changes, hoping 2021 is everything we are all praying it can be. Today on stories we started our first project of 2021 that’ll hit the blog next week and I wrapped up my first soon-to-be weekly inspirational/motivational/personal/raw and super real blog post that’ll be live on Monday. Missed y’all! ❤️❤️❤️
All is Merry & Bright ❤️... My love for renova All is Merry & Bright ❤️... My love for renovations just went pint-sized! I cannot even tell you how much fun Ab and I have had on this mini little renovation. #ad Winter asked for a Barbie dreamhouse for Christmas and I just couldn’t hold back. The only problem was that I only had a day or so to go and we were still wrapping twine for chandeliers and spray painting furniture… oops! Thank GOODNESS for @walmart and Walmart+. By becoming a member of Walmart+, you can save nearly 2.5 hours per week with free delivery from your store on orders $35+ (Savings based on 3 store trips per week. Excludes time spent shopping online. $35 minimum order. Restrictions apply.) With our family Christmas party last night and Winnie at home all week, sneaking off to the store wasn’t really an option. I needed a few extra dollhouse supplies and a few things for the party tonight so I hopped online and logged into my Walmart+ account. Sharing LOTS more on stories today! And, in other exciting news, Walmart+ recently introduced Walmart+ free shipping, no order minimum on items from Walmart.com with two-day or next-day shipping options (Excludes oversized/freight & Marketplace items)! #Walmartplus http://liketk.it/34yWz #liketkit @liketoknow.it #LTKhome http://liketk.it/34yWT
My very own sidekick WONDER WOMAN 👊🏻 This gi My very own sidekick WONDER WOMAN 👊🏻 This girl right here demoed out this entire cabin with her own two hands in 24 hours. A million pounds of junk and carpet and tack strips and everything in between. We just might have had a little fun on stories today documenting some of it too! Now it’s time for DESIGN!!! Eeeeekkkk!!!! If only y’all could’ve been a fly on the wall watching us take these pix 🤦🏻‍♀️ We finally decided, after a million failed attempts with a tiny phone tripod perched on the hood of my car, to video and then screenshot the best moment. Genius Ab. GENIUS!!!
This error message is only visible to WordPress admins

Visit Addison’s Wonderland

Please call Abigail with any questions! 678-206-7272

Copyright © 2021 · Addison's Wonderland · Design By Alpine Lane · Privacy Policy