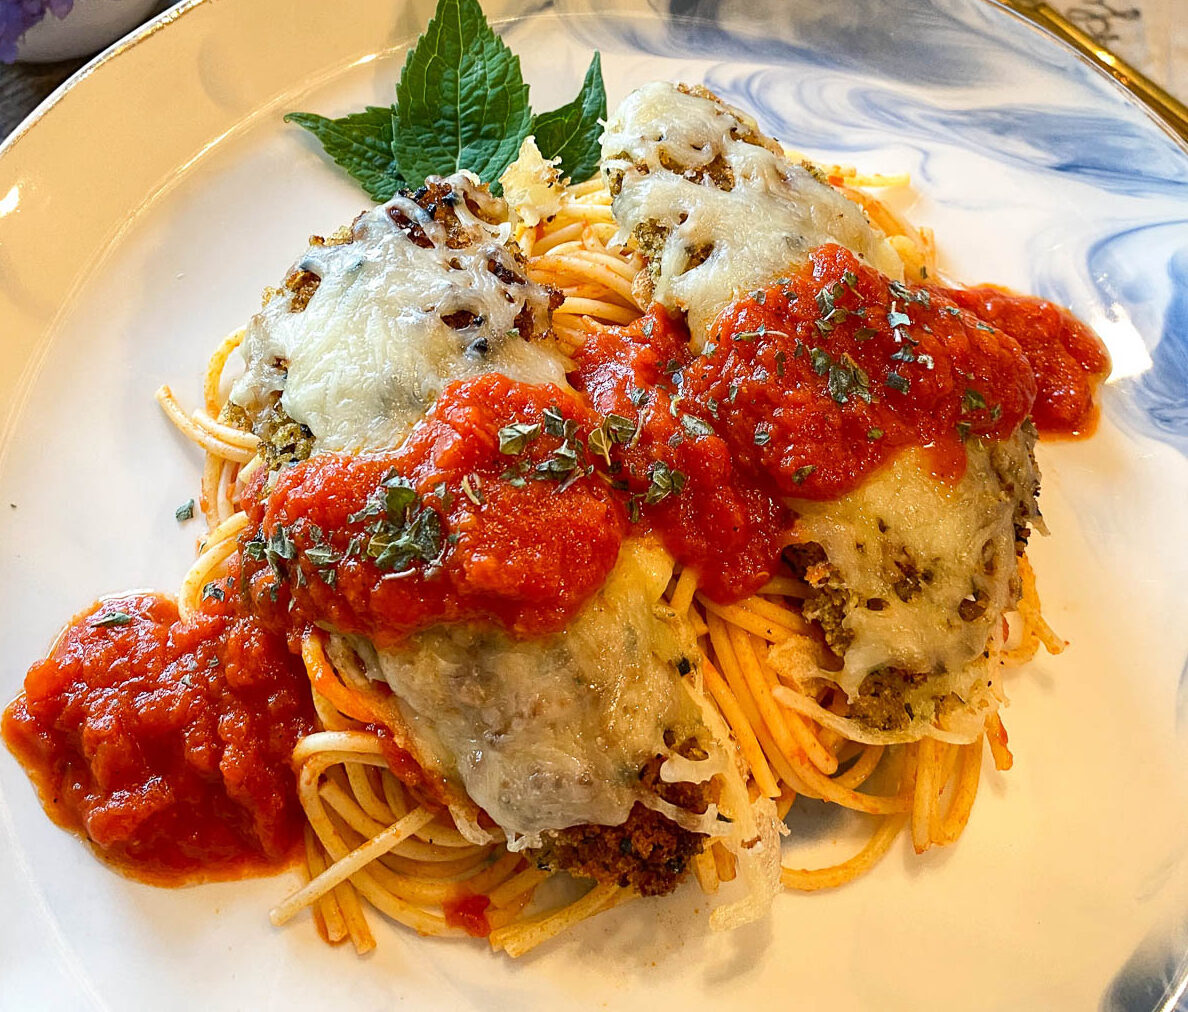
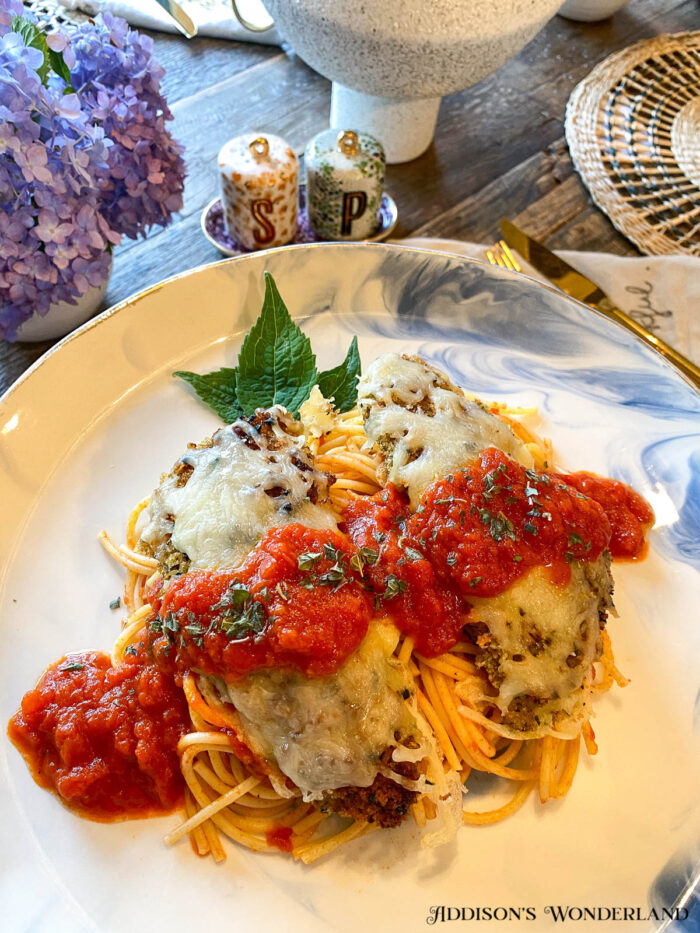
Good evening!!! Happy FriYAYYYY!!! John and I are sitting here this Friday evening at 9pm writing this post between eating this exact chicken parm and playing Spades with the kiddos. We have a constant tournament going between Addie and I versus John and Zach. This time the losers will be cooking and doing dishes for the rest of the weekend. Wish Addie and I LUCK! Today we took the crew to the Van Gogh Immersive Exhibit in Atlanta at the Pullman Yards and it was AMAZING! I would highly recommend it! Even the boys went on and on about how much they enjoyed it. We then had a late lunch at one of my very favorite restaurants, Minera at Ponce Market, and then came home to back and finish this chicken. John is finally sharing his yummy and super simple tricks! And I even made the table up all cute ;-)… Happy Weekend!!!

Tea Towels / Abstract Vase / Pillows / Cutting Board / Placemats
Step One… Tenderizing
Before we get going on step one, let’s chat about chicken selection! John prefers using chicken tenders versus chicken breasts for chicken parmesan since the tenders are smaller and thinner with less needed trimming and cook time. Once you’ve trimmed down the tenders a bit to rid of any “foreign objects” (i.e. fat and tendons and such), you’ll want to tenderize them using a meat mallet like the one we are using HERE. He prefers this one in particular because it is dishwasher safe. Some of the ones he has used in the past tend to get ruined in the dishwasher.
First, you’ll want to clean your surface and then lay out a double layer of Saran wrap, laying the chicken out on the first half and then folding over the second half back over top of the chicken. Next, pound each piece consistently using the mallet until it flattens out evenly. Just make sure not to beat it to the point that it punctures through the chicken.
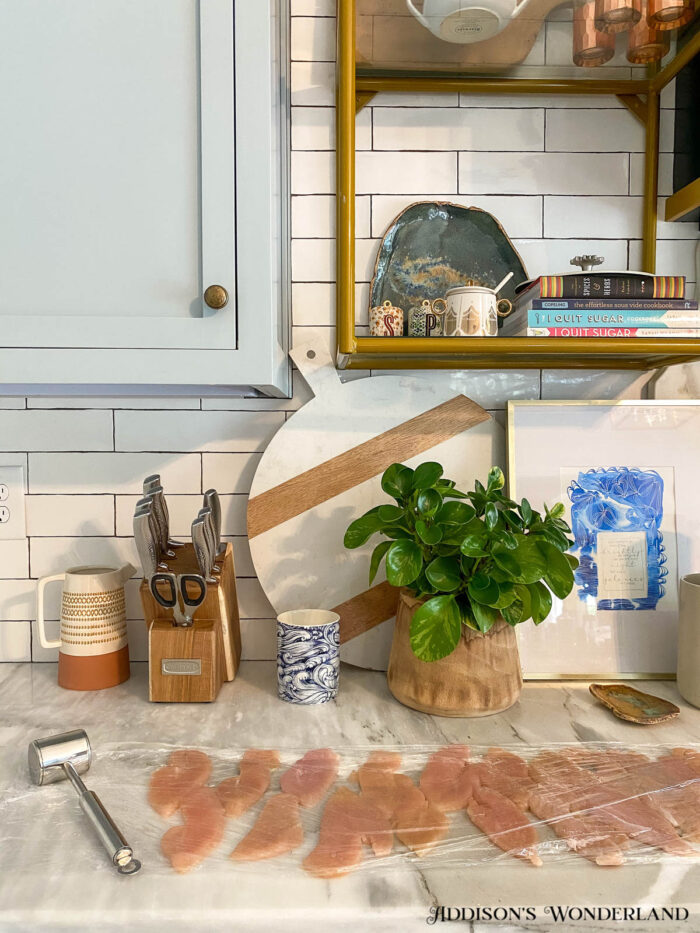
Meat Mallet / Salt & Pepper Shakers
Step Two… Brining
This next step is key to making the chicken tender and juicy! John tries to plan ahead so that the chicken can brine in the refrigerator for two days before we are ready to make the chicken parm. You’ll want to do this step second because once you brine it, it’ll be too soft to properly tenderize.
To brine, simply fill a bowl 2/3 with water so that it will be just enough to cover then chicken and then add a considerable amount of salt to the bowl.
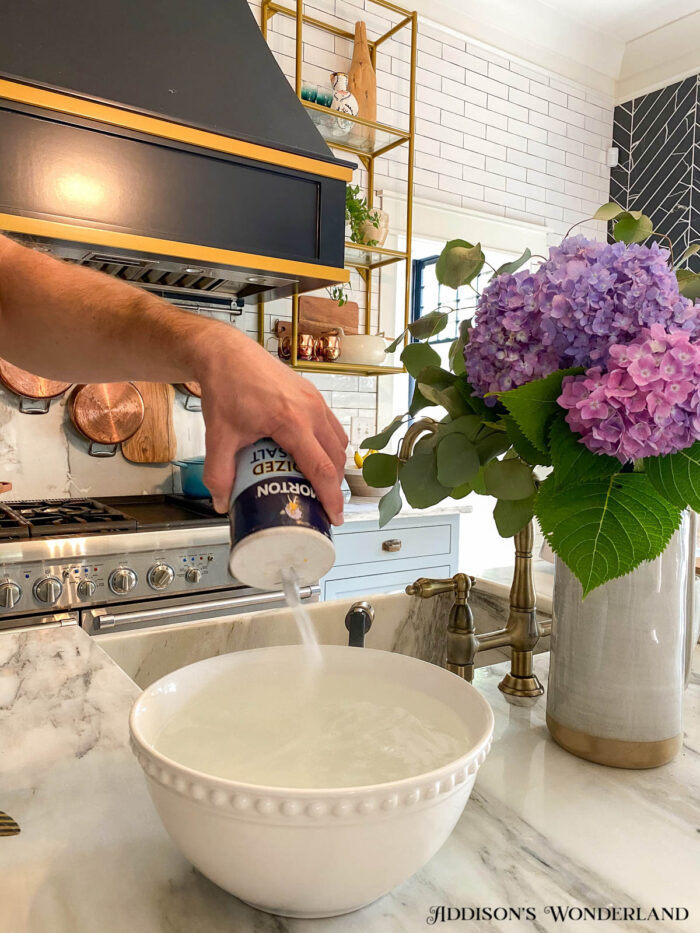
Stoneware Pitcher / Kitchen Faucet
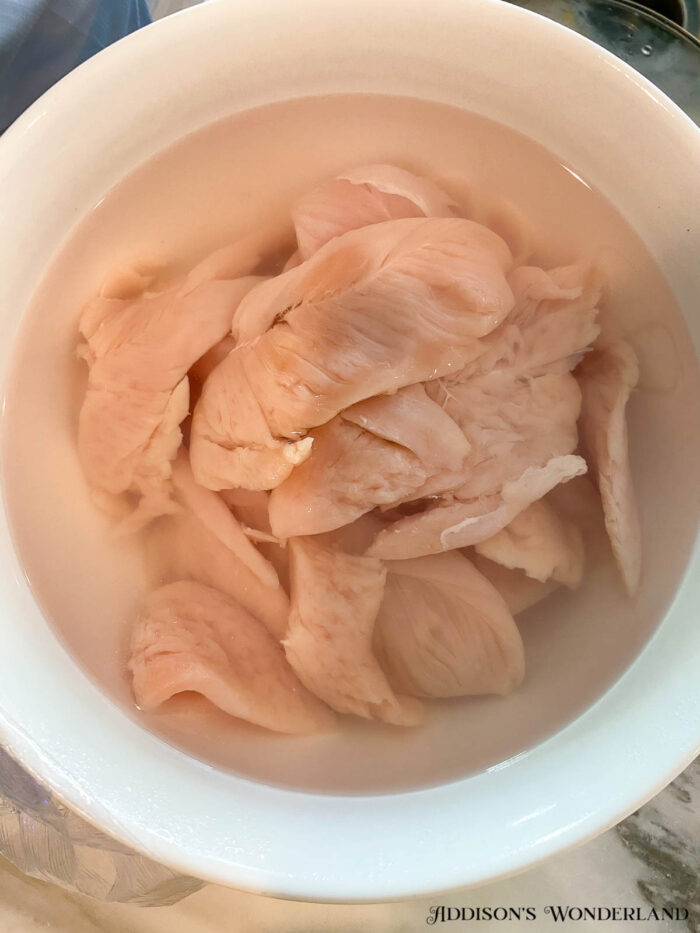
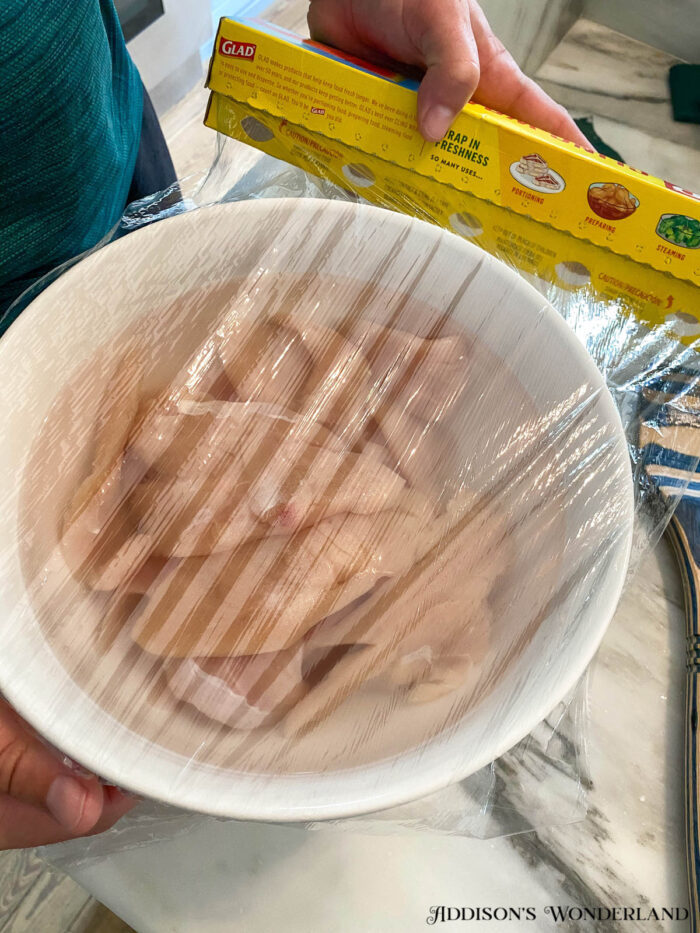
Add the chicken to the salt water, cover and place in the refrigerator for up to two days…
Step Three… Breading
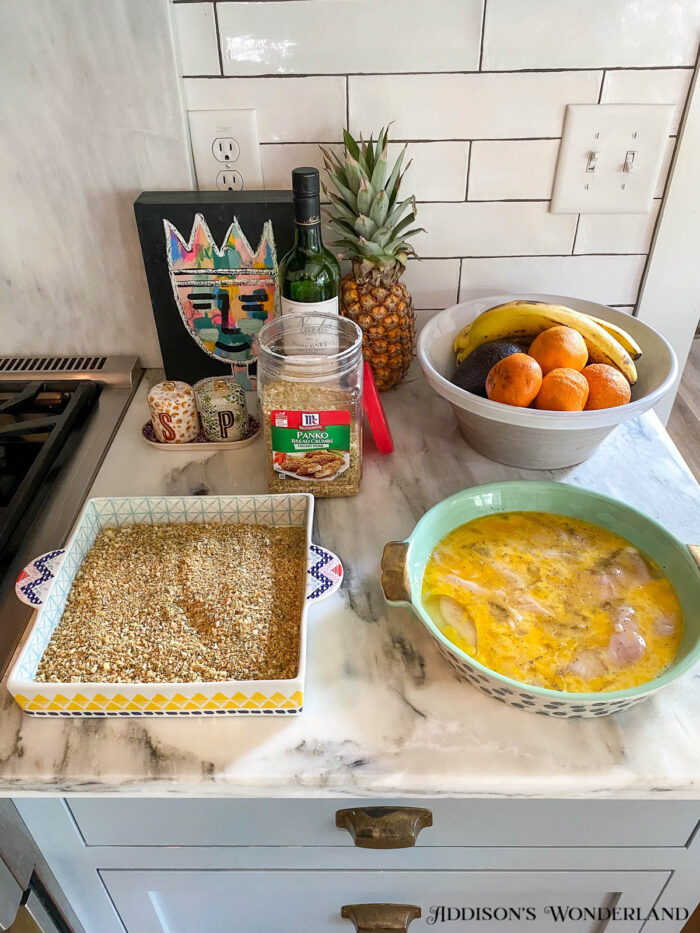
Once your chicken has been brining for up to two days, remove the chicken from the refrigerator and drain out all of the water. For this next step, you’ll need two bowls or deep plates, eggs and bread crumbs. John prefers using THESE Italian Style Panko Bread Crumbs because regular bread crumbs tend to hold moisture which keeps the coating soggy thus making it fall off the chicken easier. These stay crisp and delicious!
First, crack and scramble 4-6 eggs in a shallow dish or bowl…
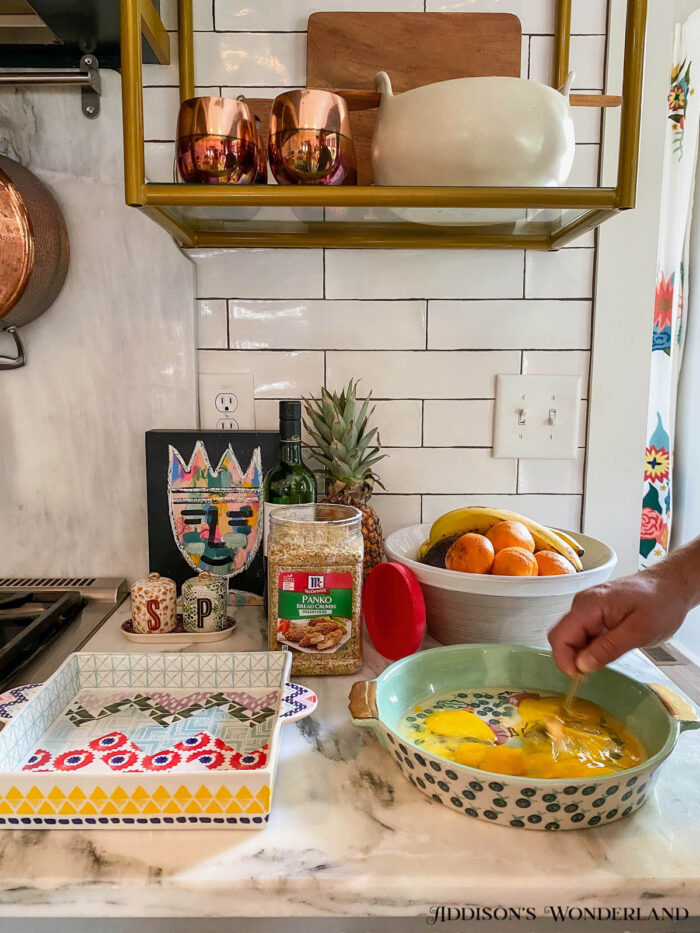
Bread Crumbs / Pie Dishes
Next, add salt and pepper to this egg batter…
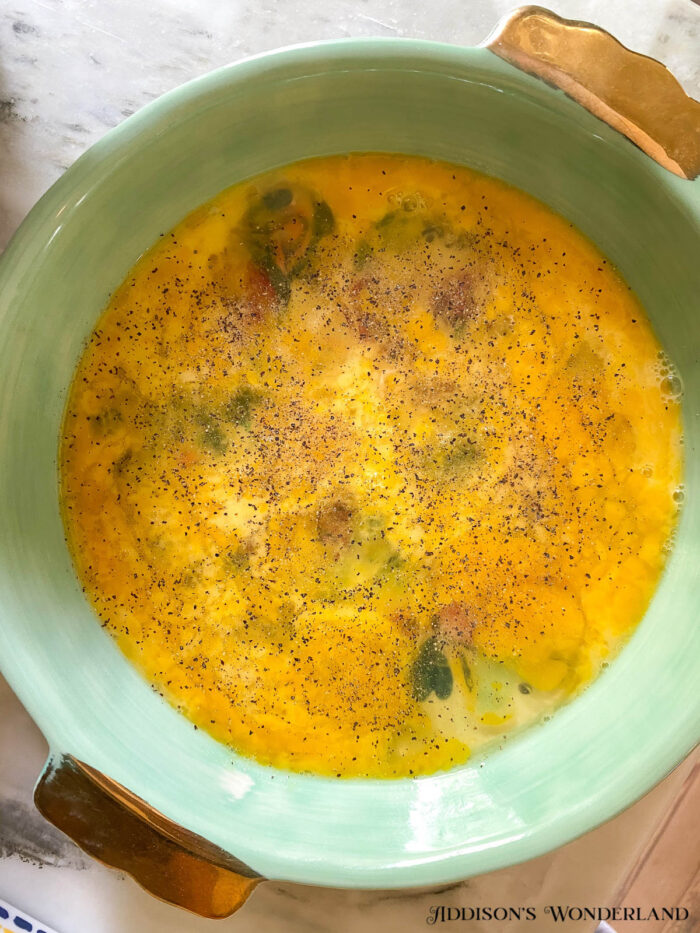
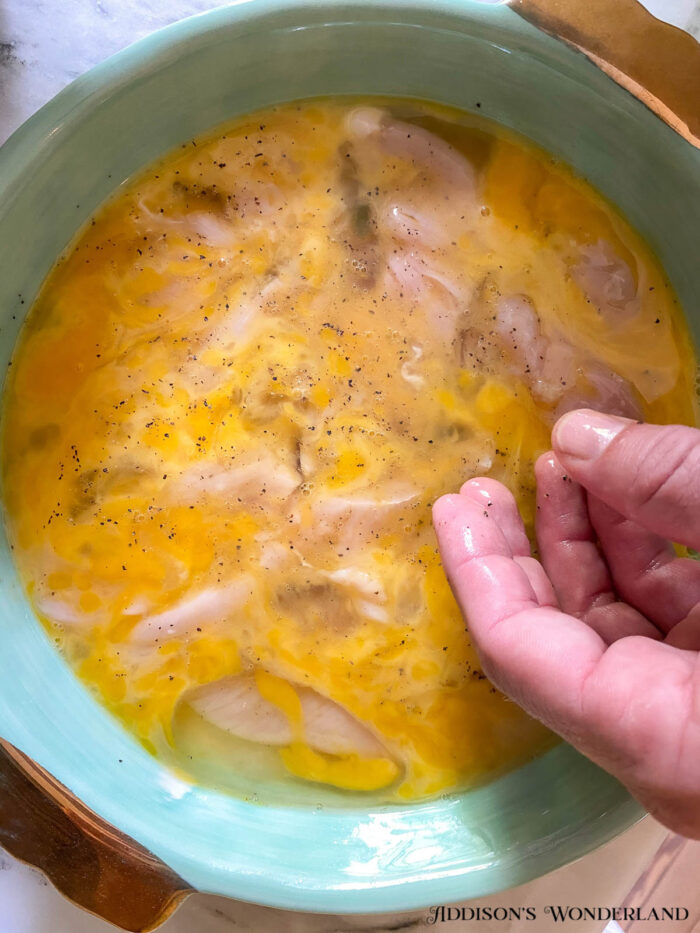
Place several pieces of chicken in the batter and let fully submerge for several minutes…
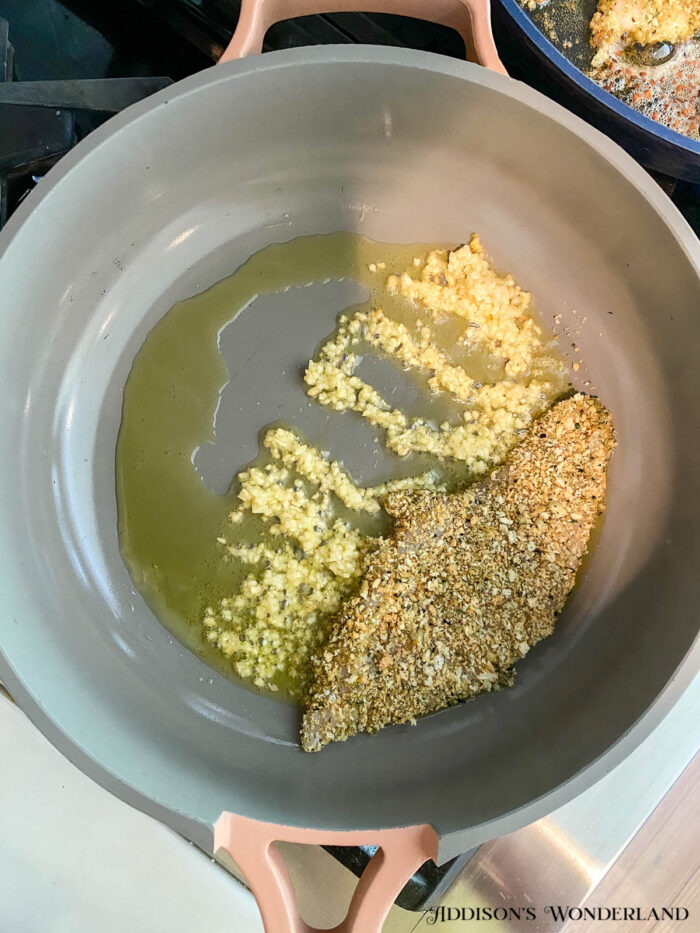
While you are waiting for the chicken to marinate, heat up a considerable amount of olive oil and garlic in a pan over very low heat…
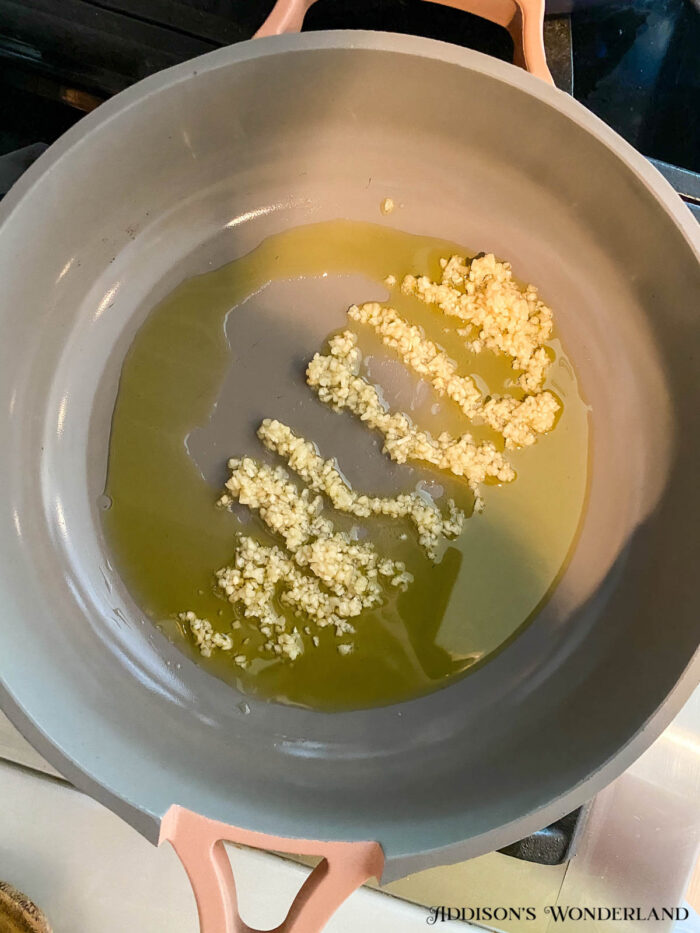
Always Pan
You will also want to grease a baking dish or two at this time as well…
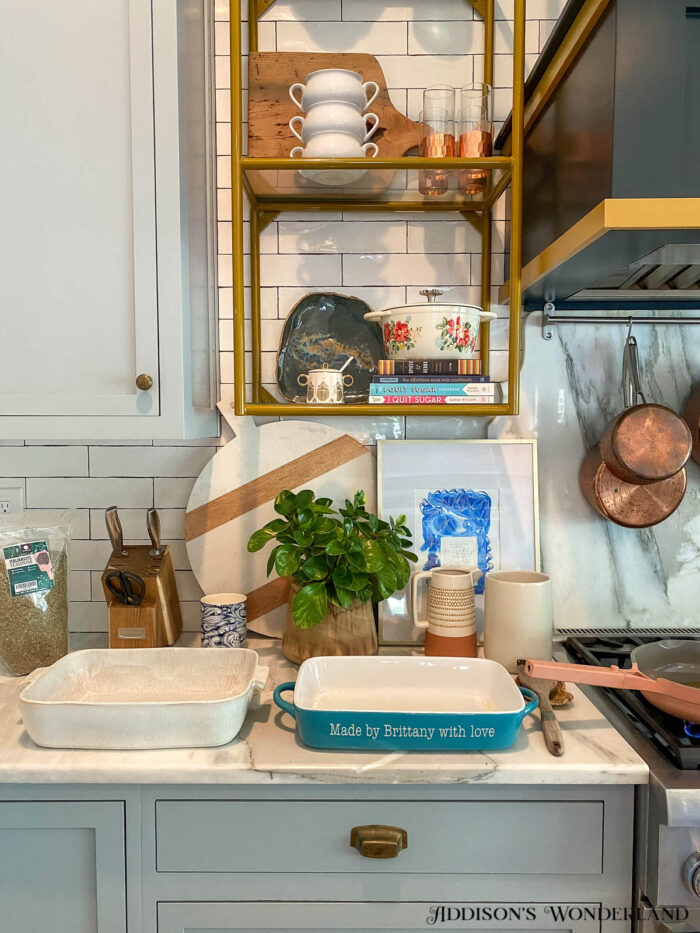
White Casserole Dish, Monogrammed Casserole Dish
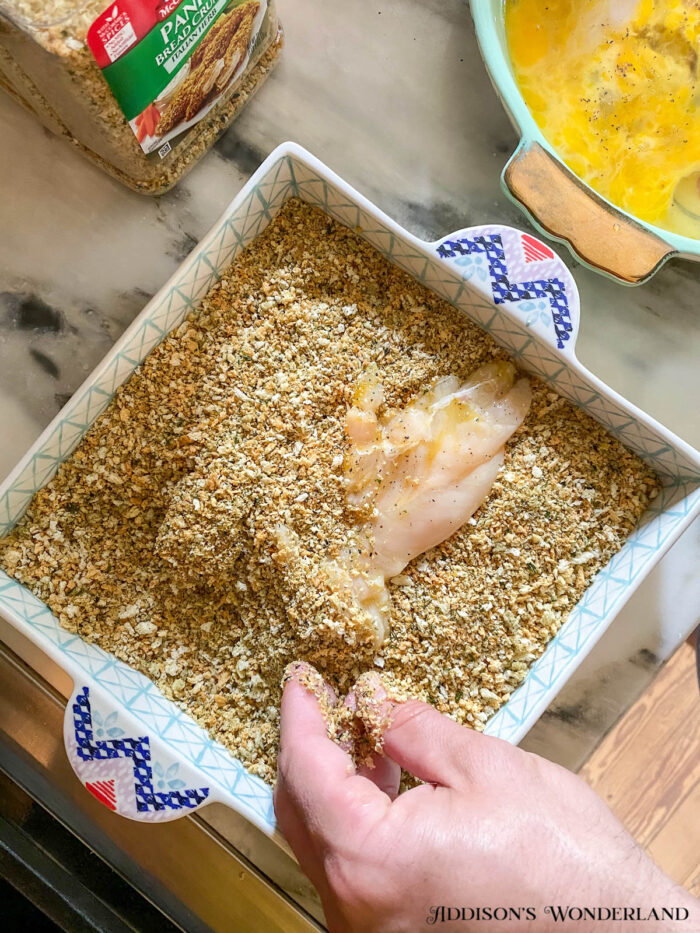
Once the chicken has marinated for several minutes, you will now want to coat each piece in panko bread crumbs. While you are doing this step, you will want to increase the heat of your olive oil/garlic pan to medium. To bread the chicken, take each piece from the egg batter pan to a shallow dish of panko bread crumbs flipping and continuously adding and patting until all parts of the chicken are covered…
Step Four… Browning
Once several pieces are breaded, place each piece in the hot pan as it begins to sizzle…
Step Five… Baking
Brown each side over medium heat and then place in oven safe dish…
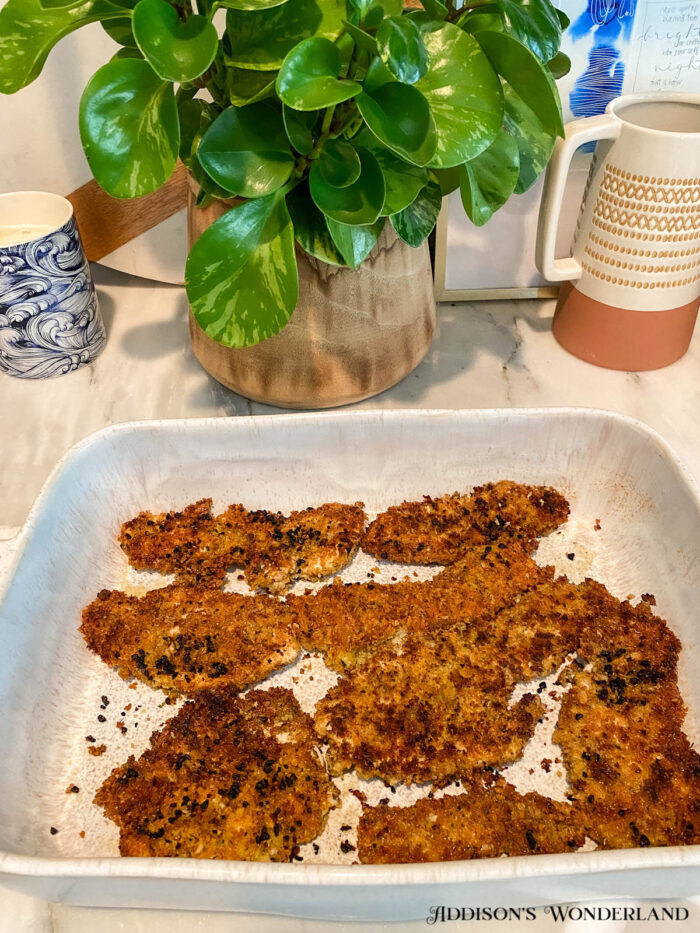
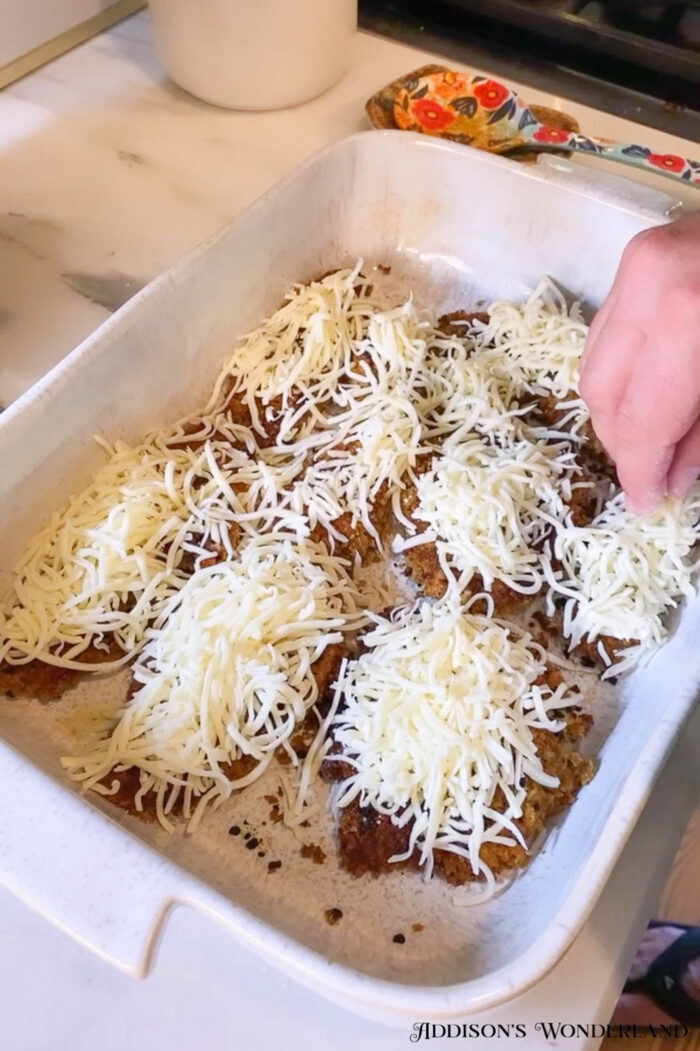
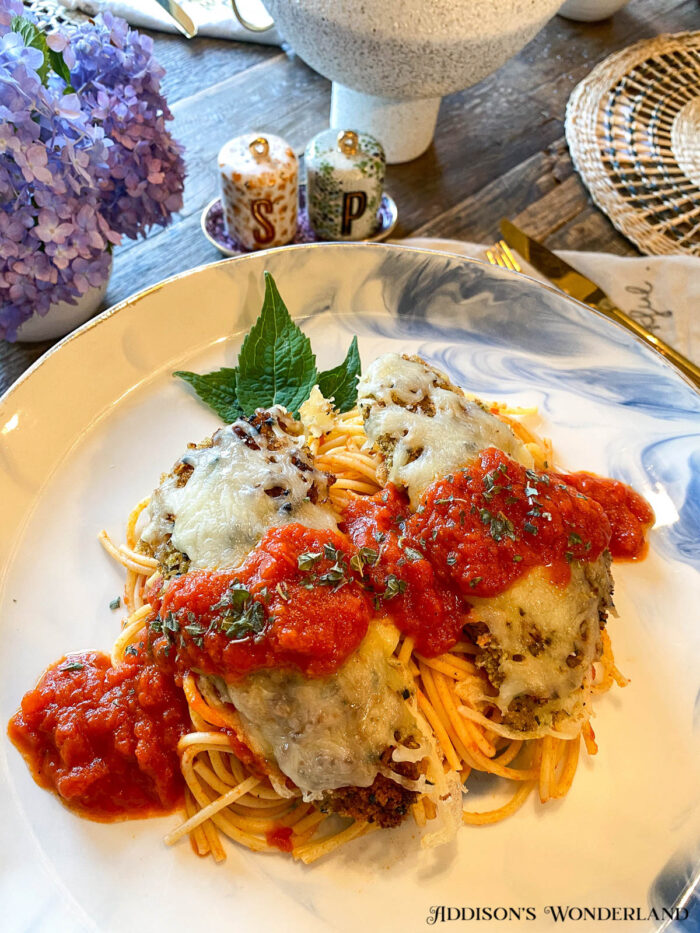
Once you’ve browned all of the chicken, sprinkle with mozzarella cheese and bake until the chicken reaches a temperature of at least 160 degrees. Plate and serve! For our sauce recipe, READ THIS BLOG POST!
We will be back next week with another easy family dinner recipe!
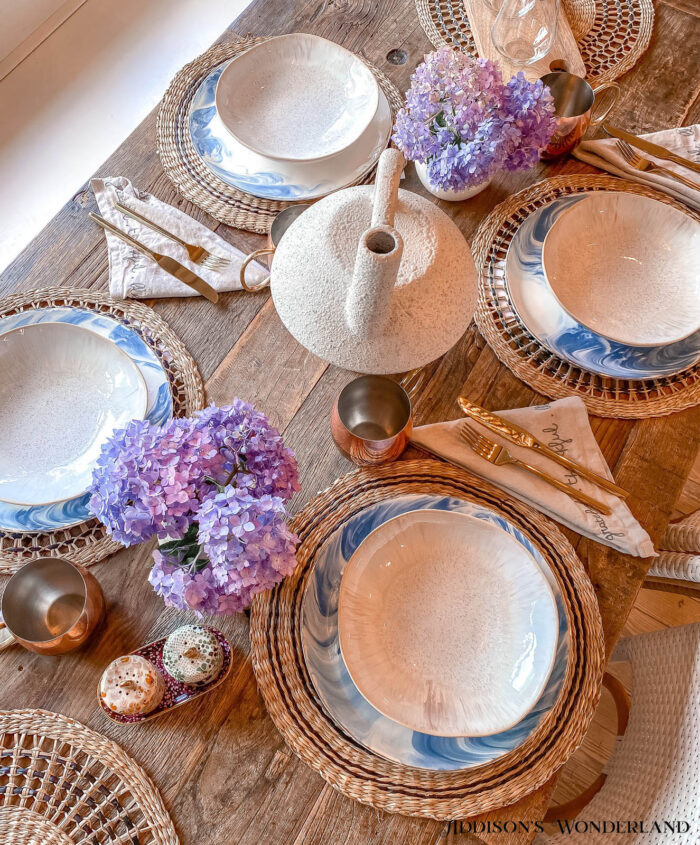
Tea Towels / Abstract Vase / Pillows / Cutting Board / Placemats
XOXO, The Future Mrs. Palazzo
+ view the comments
