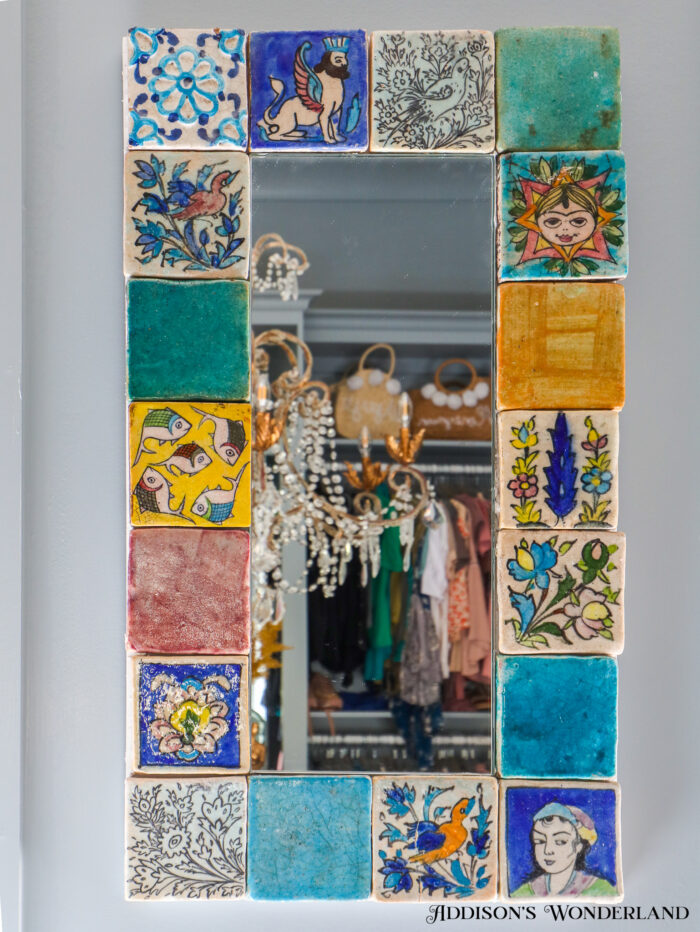
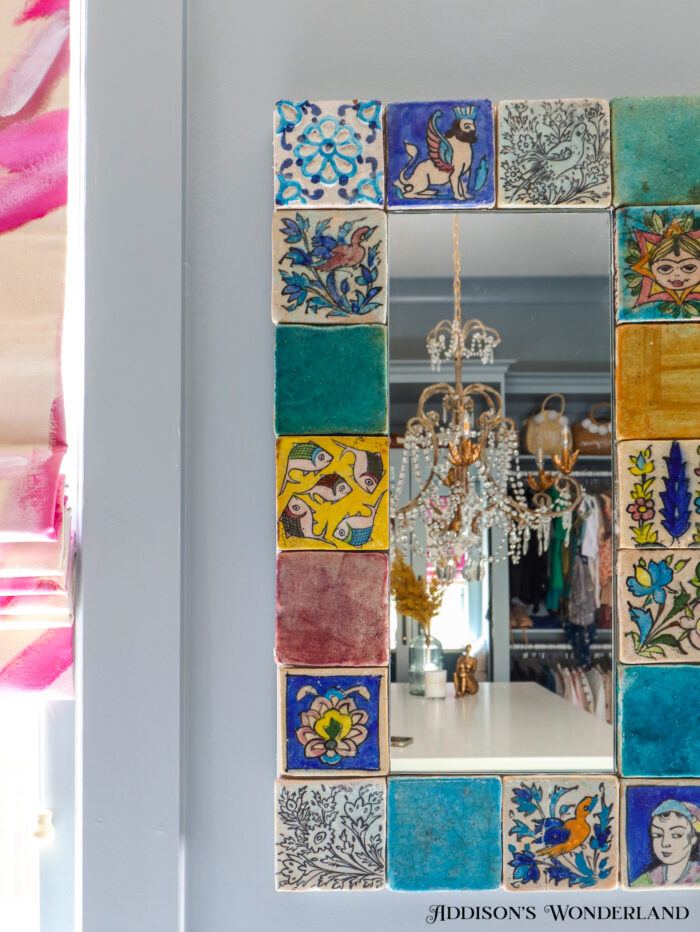
Oh so excited to finally have this post done to share today!!! Last Summer as some of you may remember, we popped inside the most incredible ceramics store in Florence, Italy and I about DIEDDDDDDD!!! Until that store, I had never had anything shipped back to the States… we typically just packed and carried on all of our travel finds but in this store, I found WAYYYYYY too much! They had sooooo many beautiful tiles but I just wasn’t sure at first what I’d even do with them! Until John had an idea…
A MIRROR!!!
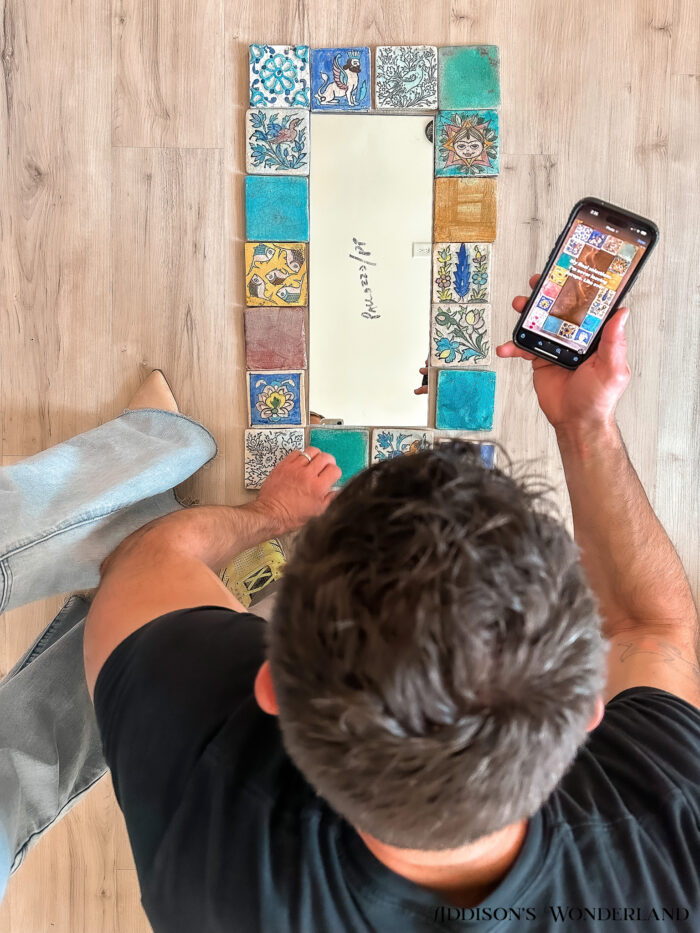
The Purchase…

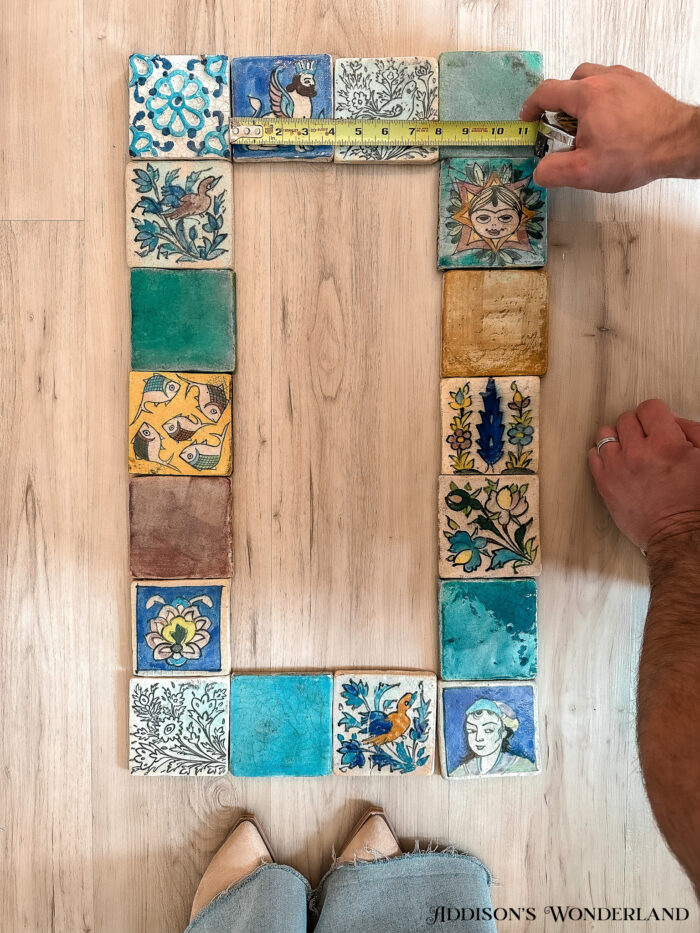
Step One…
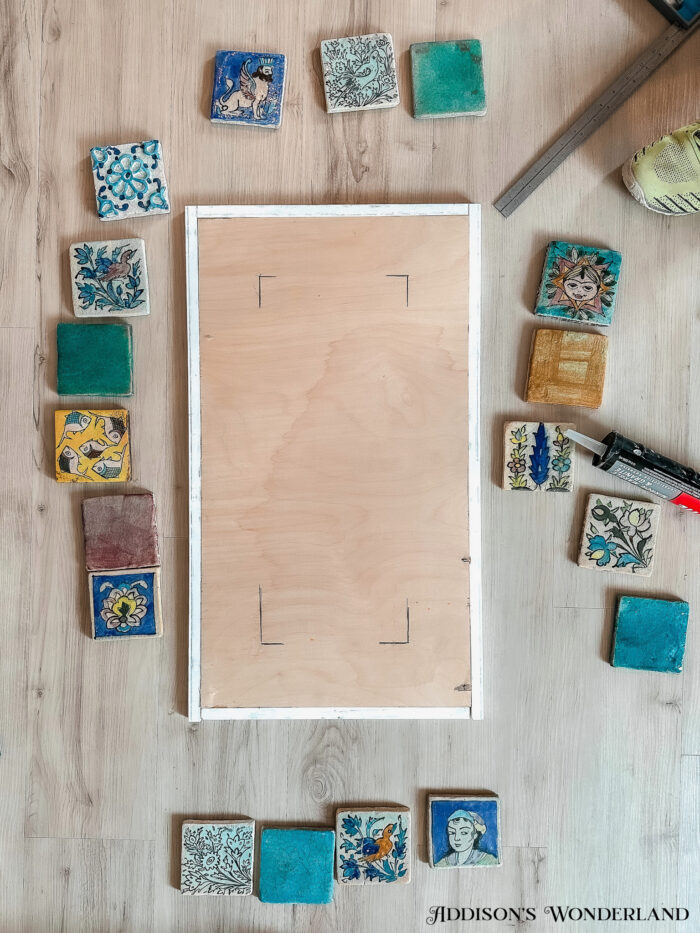
Lay out the tile to create the mirror enclosure. Next, measure the inside length and width to find your mirror size. Order a piece of mirror glass in the size determined.
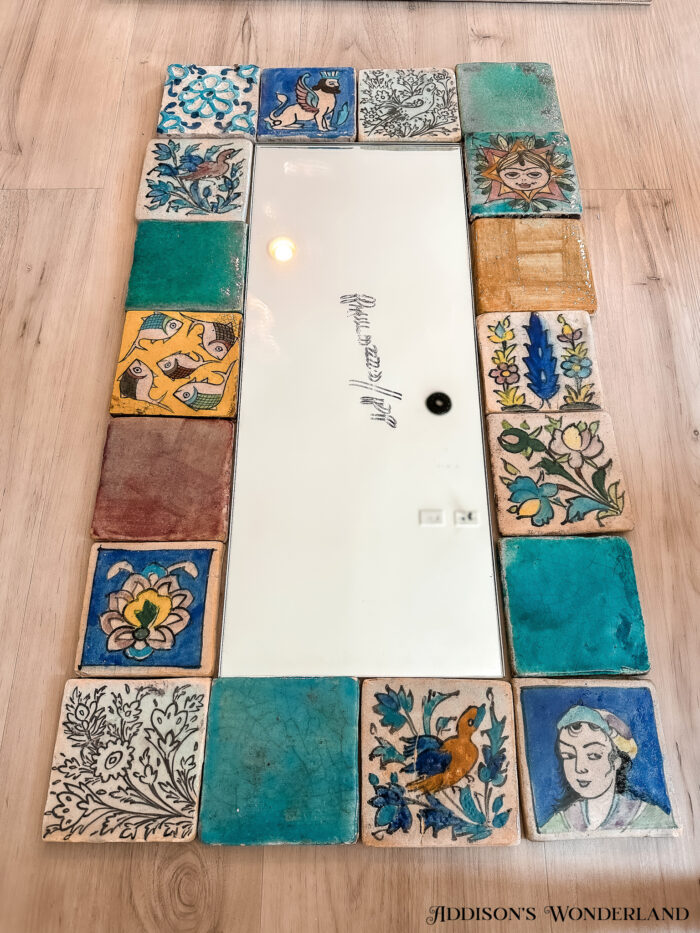
Step Two…
Once you receive your custom cut mirror, with the new mirror in the center… dry stack the tile around it.
Step Three…
Adjust each tile to desired look and fit. In this case, each tile was sized a little differently so it took a bit of adjusting.
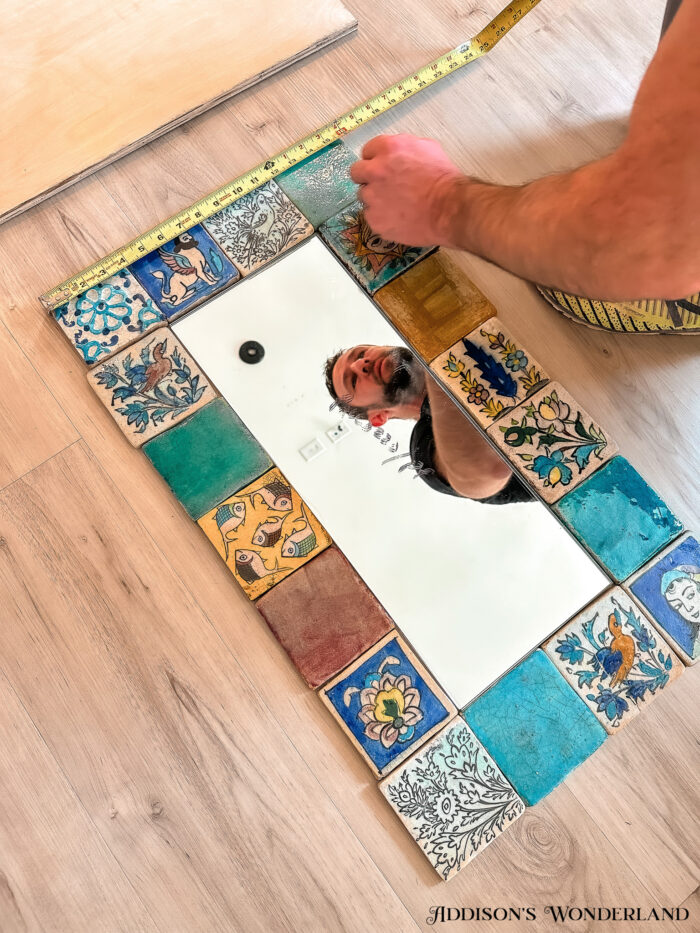
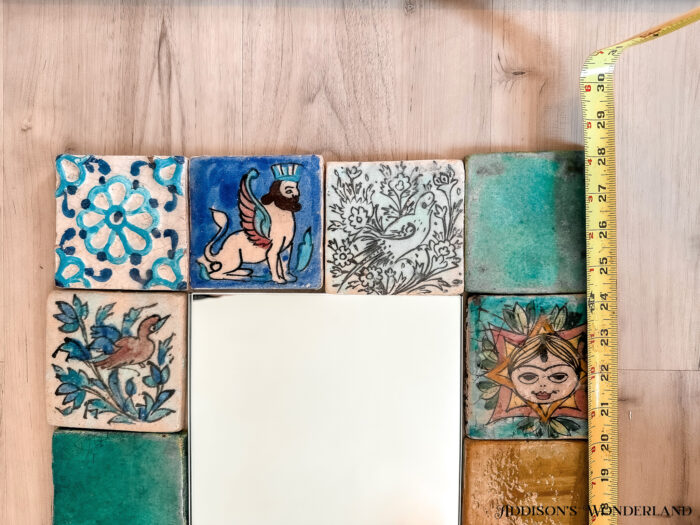
Step Four…
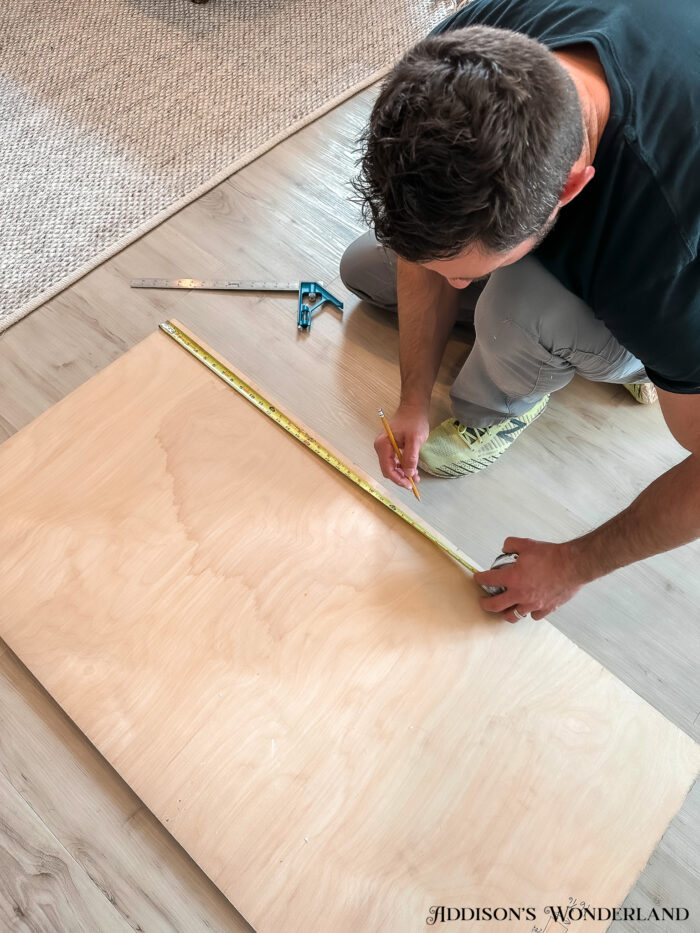
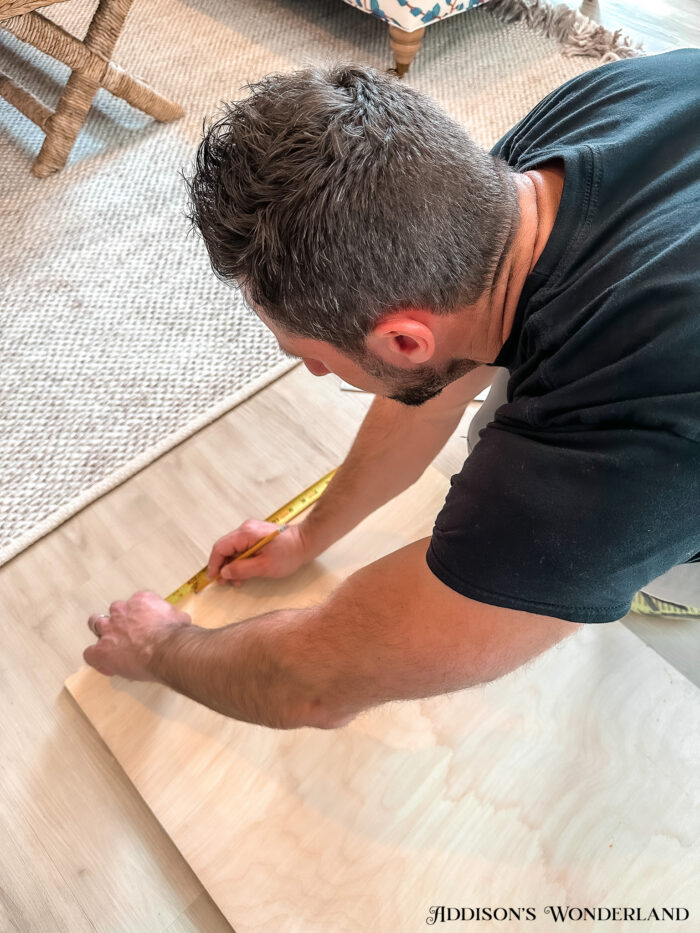
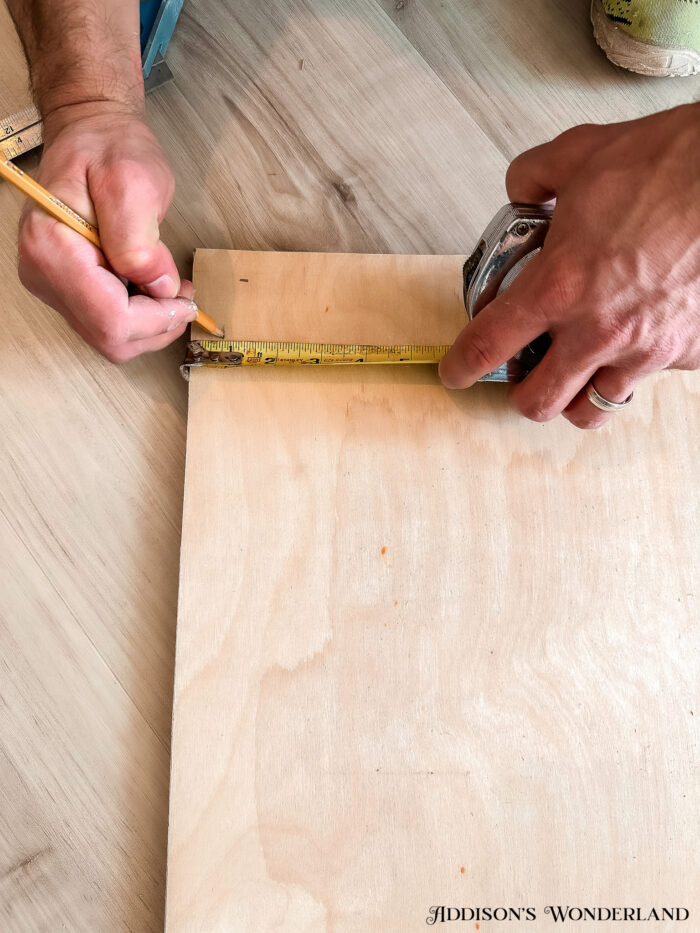
Once the tile is set in it’s final position, measure the overall length and width of the outside perimeter.
Step Five…
Using a 1/2″ piece of plywood, transfer and mark the overall measurements to create the backing for the mirror.
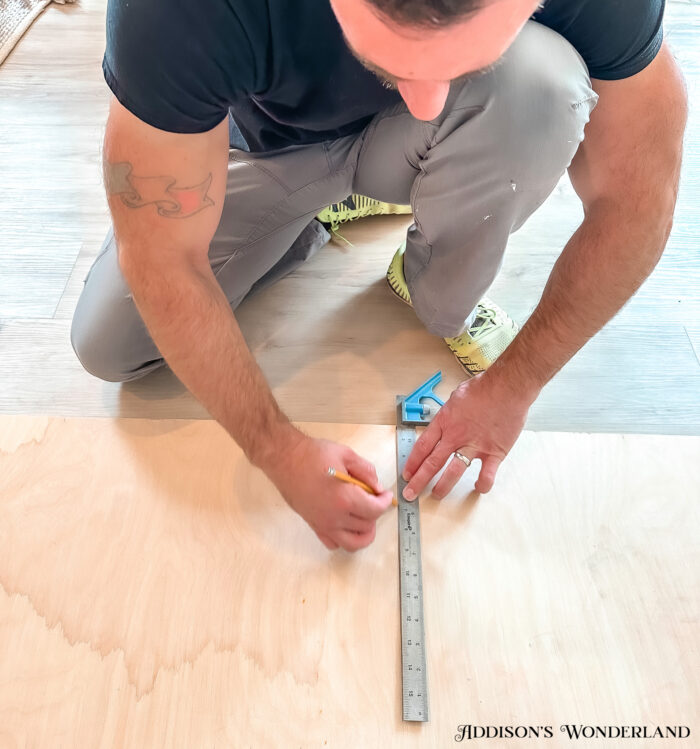
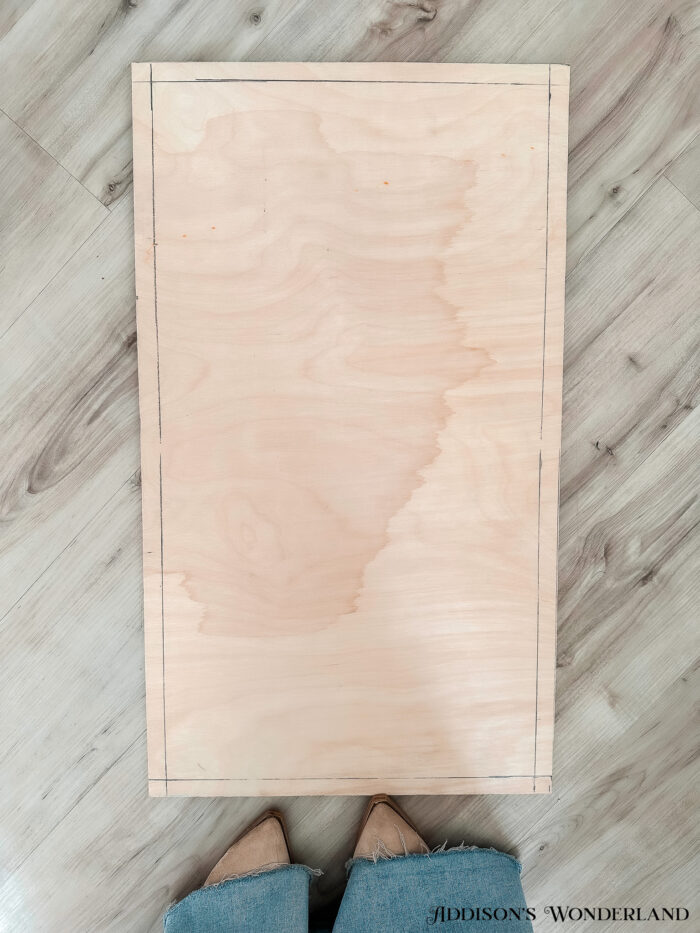
Step Six…
With a straight edge, mark the cut lines.
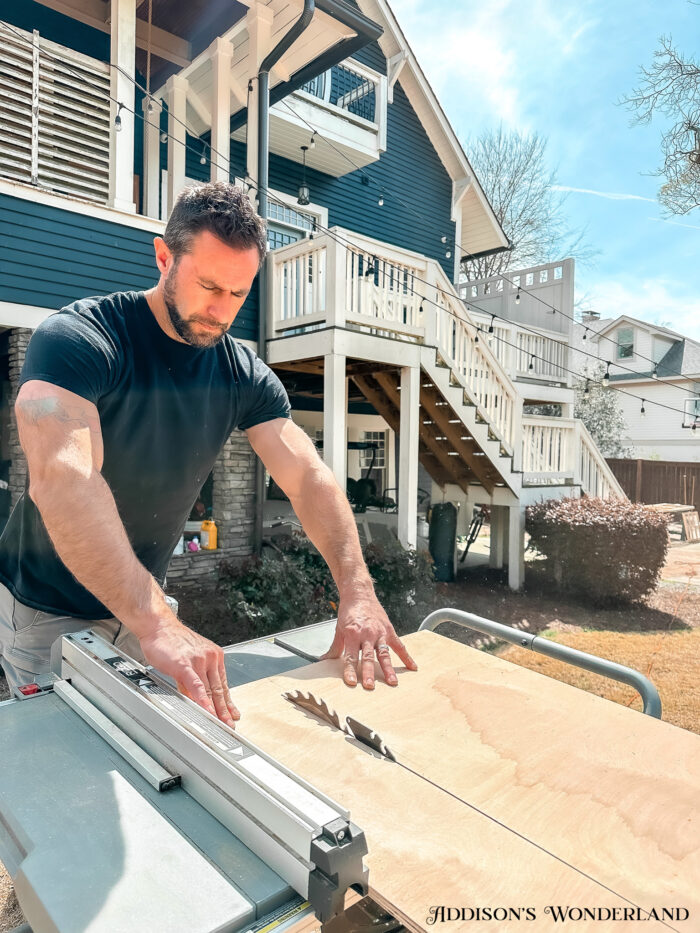
Step Seven…
Cut the plywood using the reference marks.
Step Eight…
Now that the plywood backer is cut, measure and mark 3/4″ inset line around the piece.
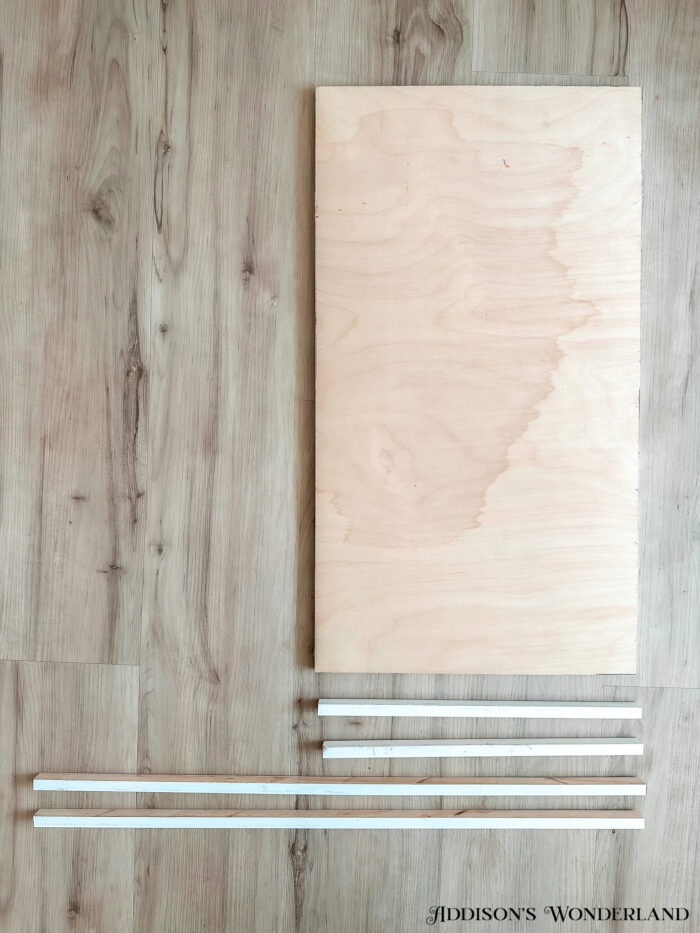
Step Nine…
Using a table saw, cut the marked 3/4″ inset line on the plywood. Next, cut 3/4″ wood strips out of solid 1x material. Then cut the strips to the length and width of the plywood.
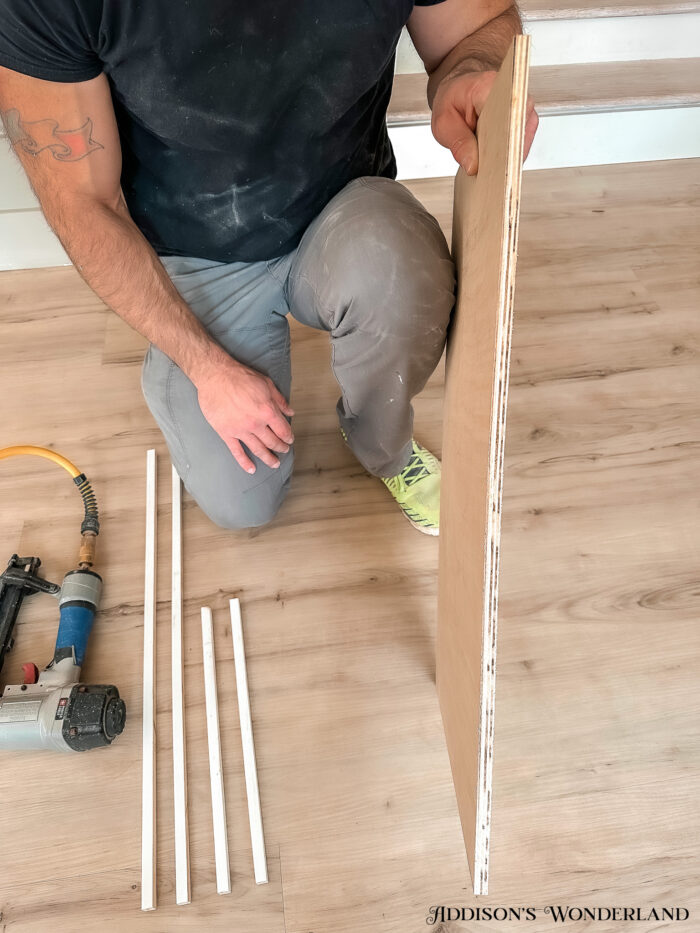
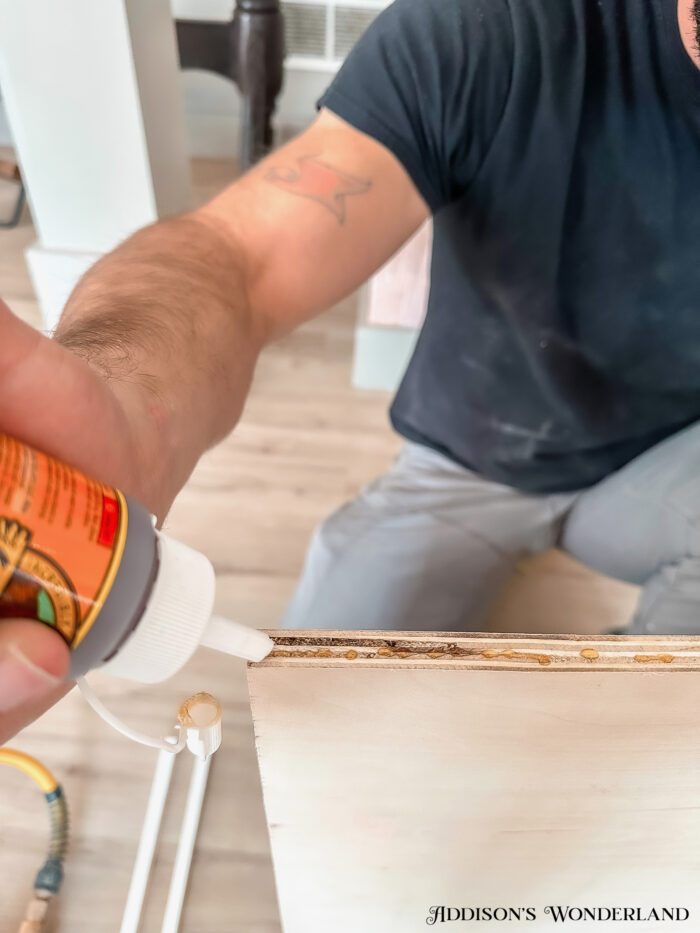
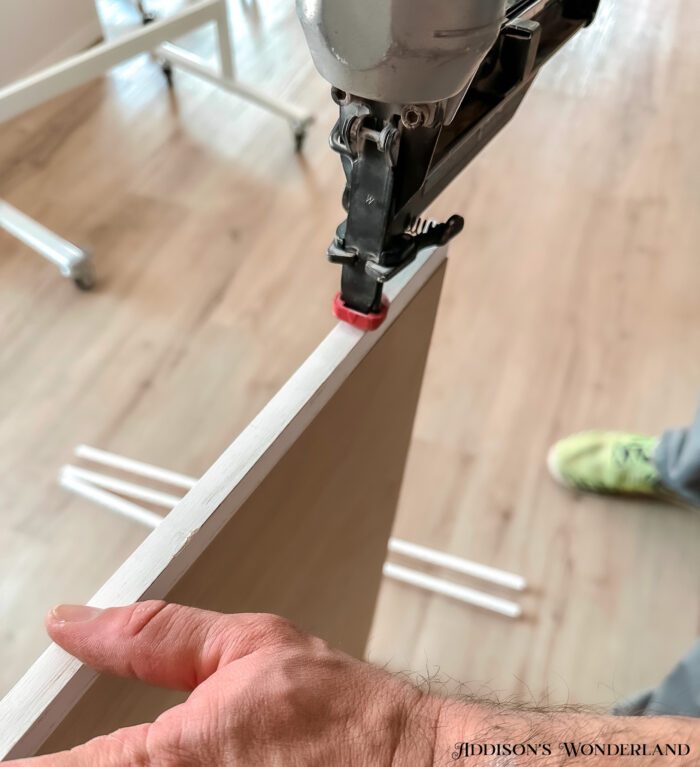
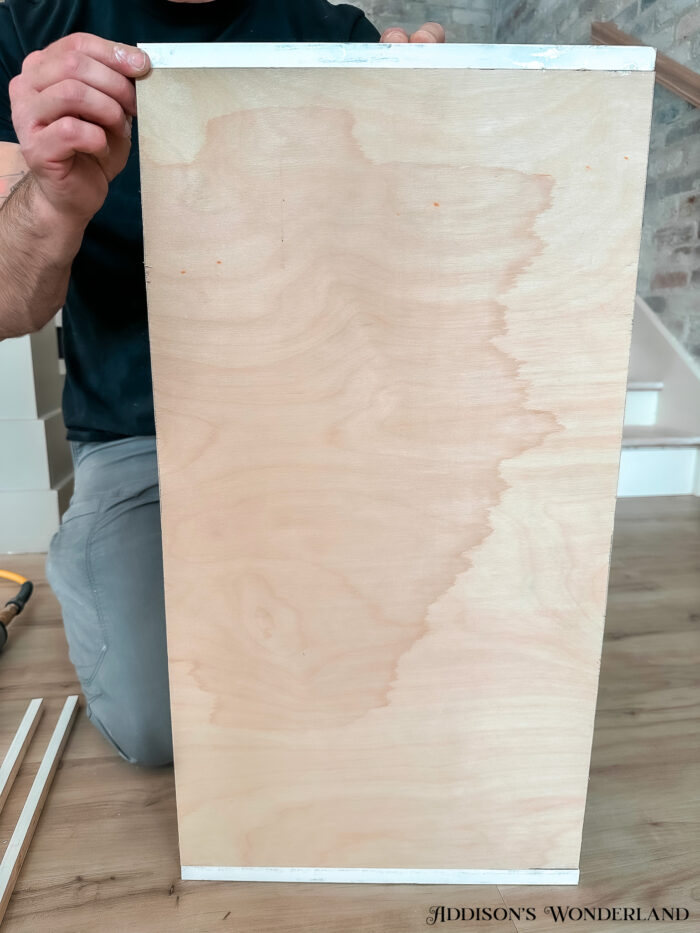
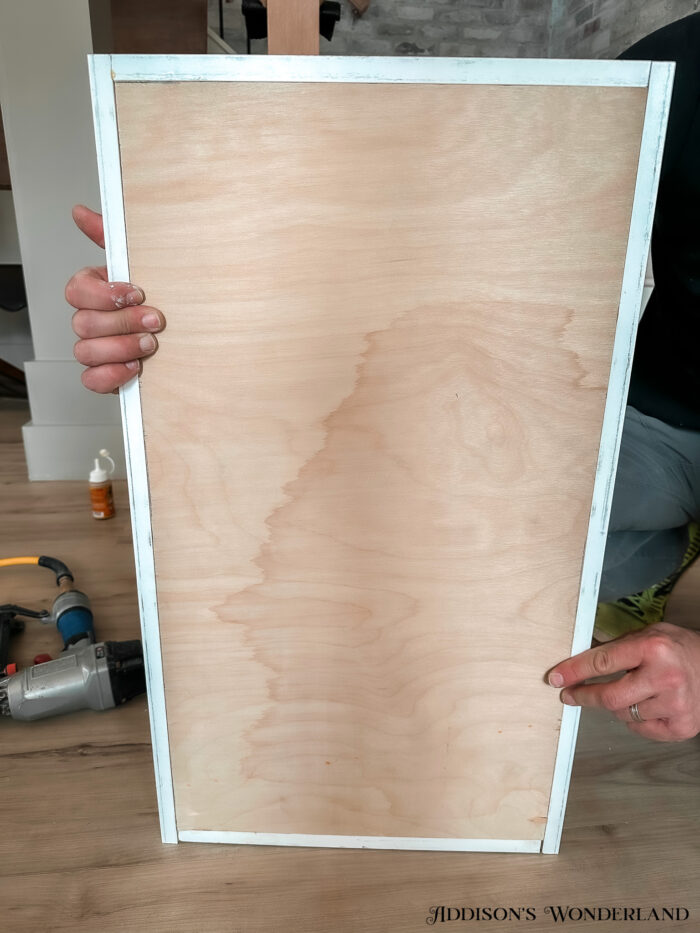
Step Ten…
Using wood glue and a nail gun, glue and nail the wood strips around the perimeter of the plywood. This will hide the plywood end grain.
Step Eleven…
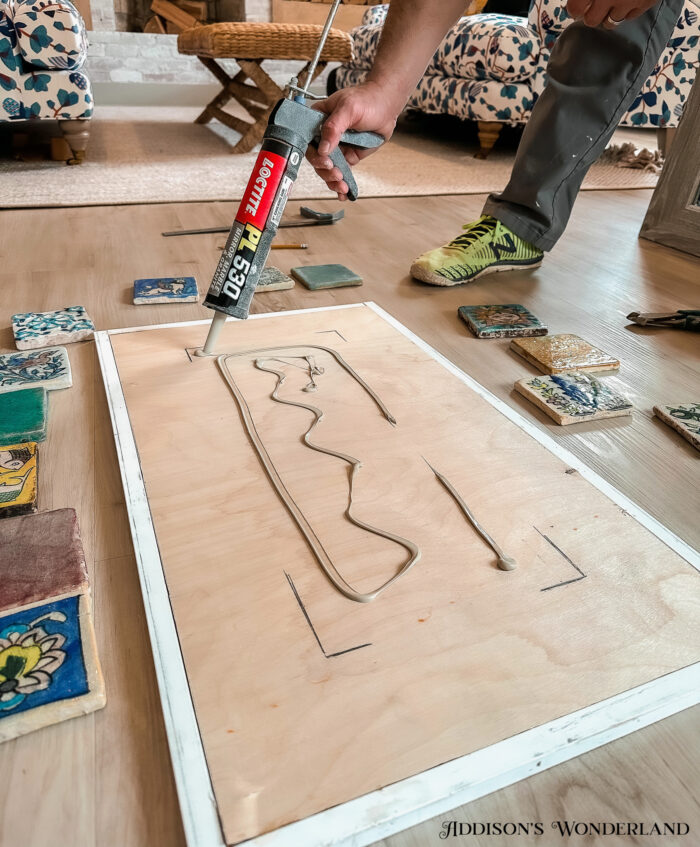
After dry stacking the mirror and tile onto the plywood to check for positioning, mark the outline of the mirror location.
Step Twelve…
Place mirror mastic inside your mirror marks.
Step Thirteen…
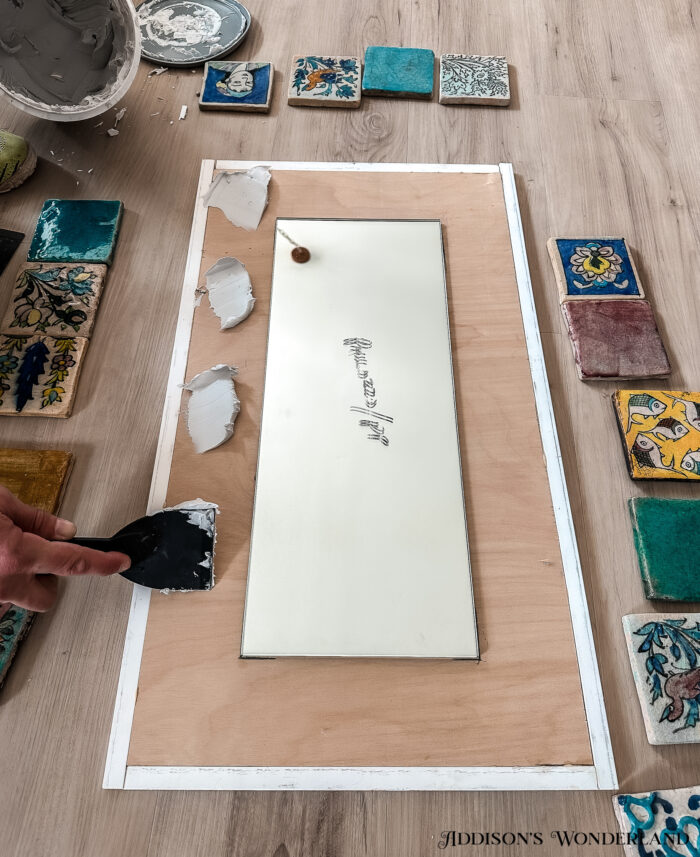
Place and press mirror into position. Put a light weight object on top for pressure. Let it sit for 24 hours.

Step Fourteen…
After the mirror is fixed to the plywood, spread premixed thin set mortar around perimeter of the mirror.
Step Fifteen…
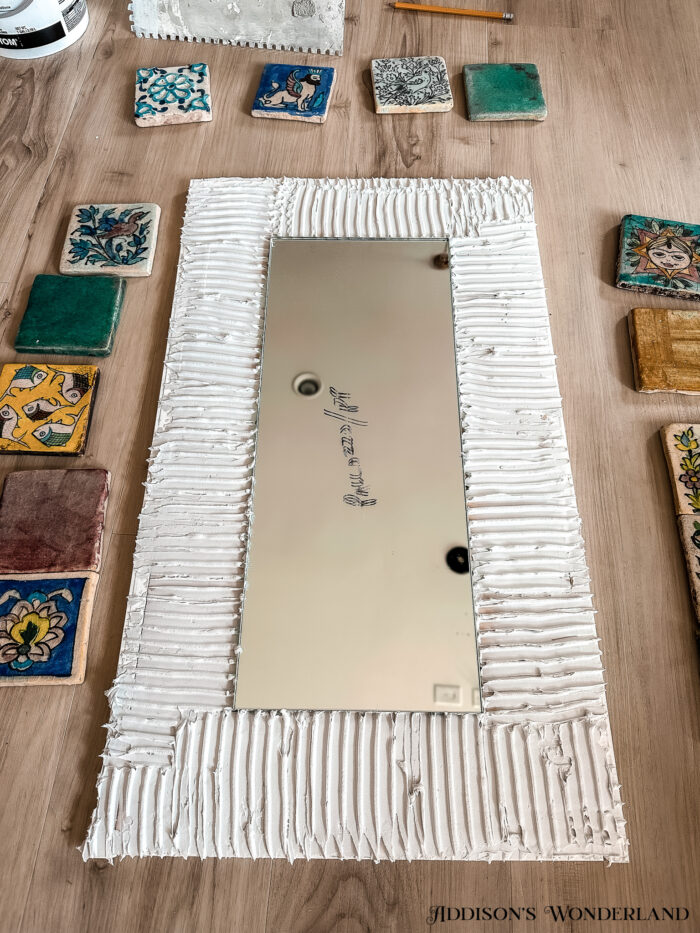
Trowel the thin set mortar evenly throughout the plywood. Then lay the tile onto the thin set mortar. Apply a little pressure onto each tile. Make sure it has full contact with the mortar. Let it sit for 24 hours.
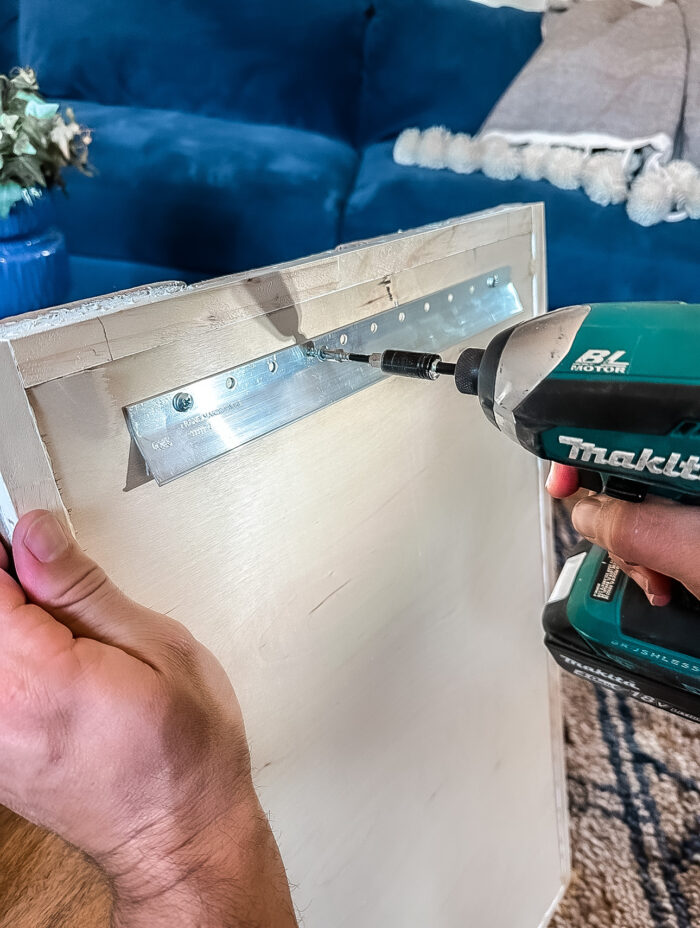
Step Sixteen…
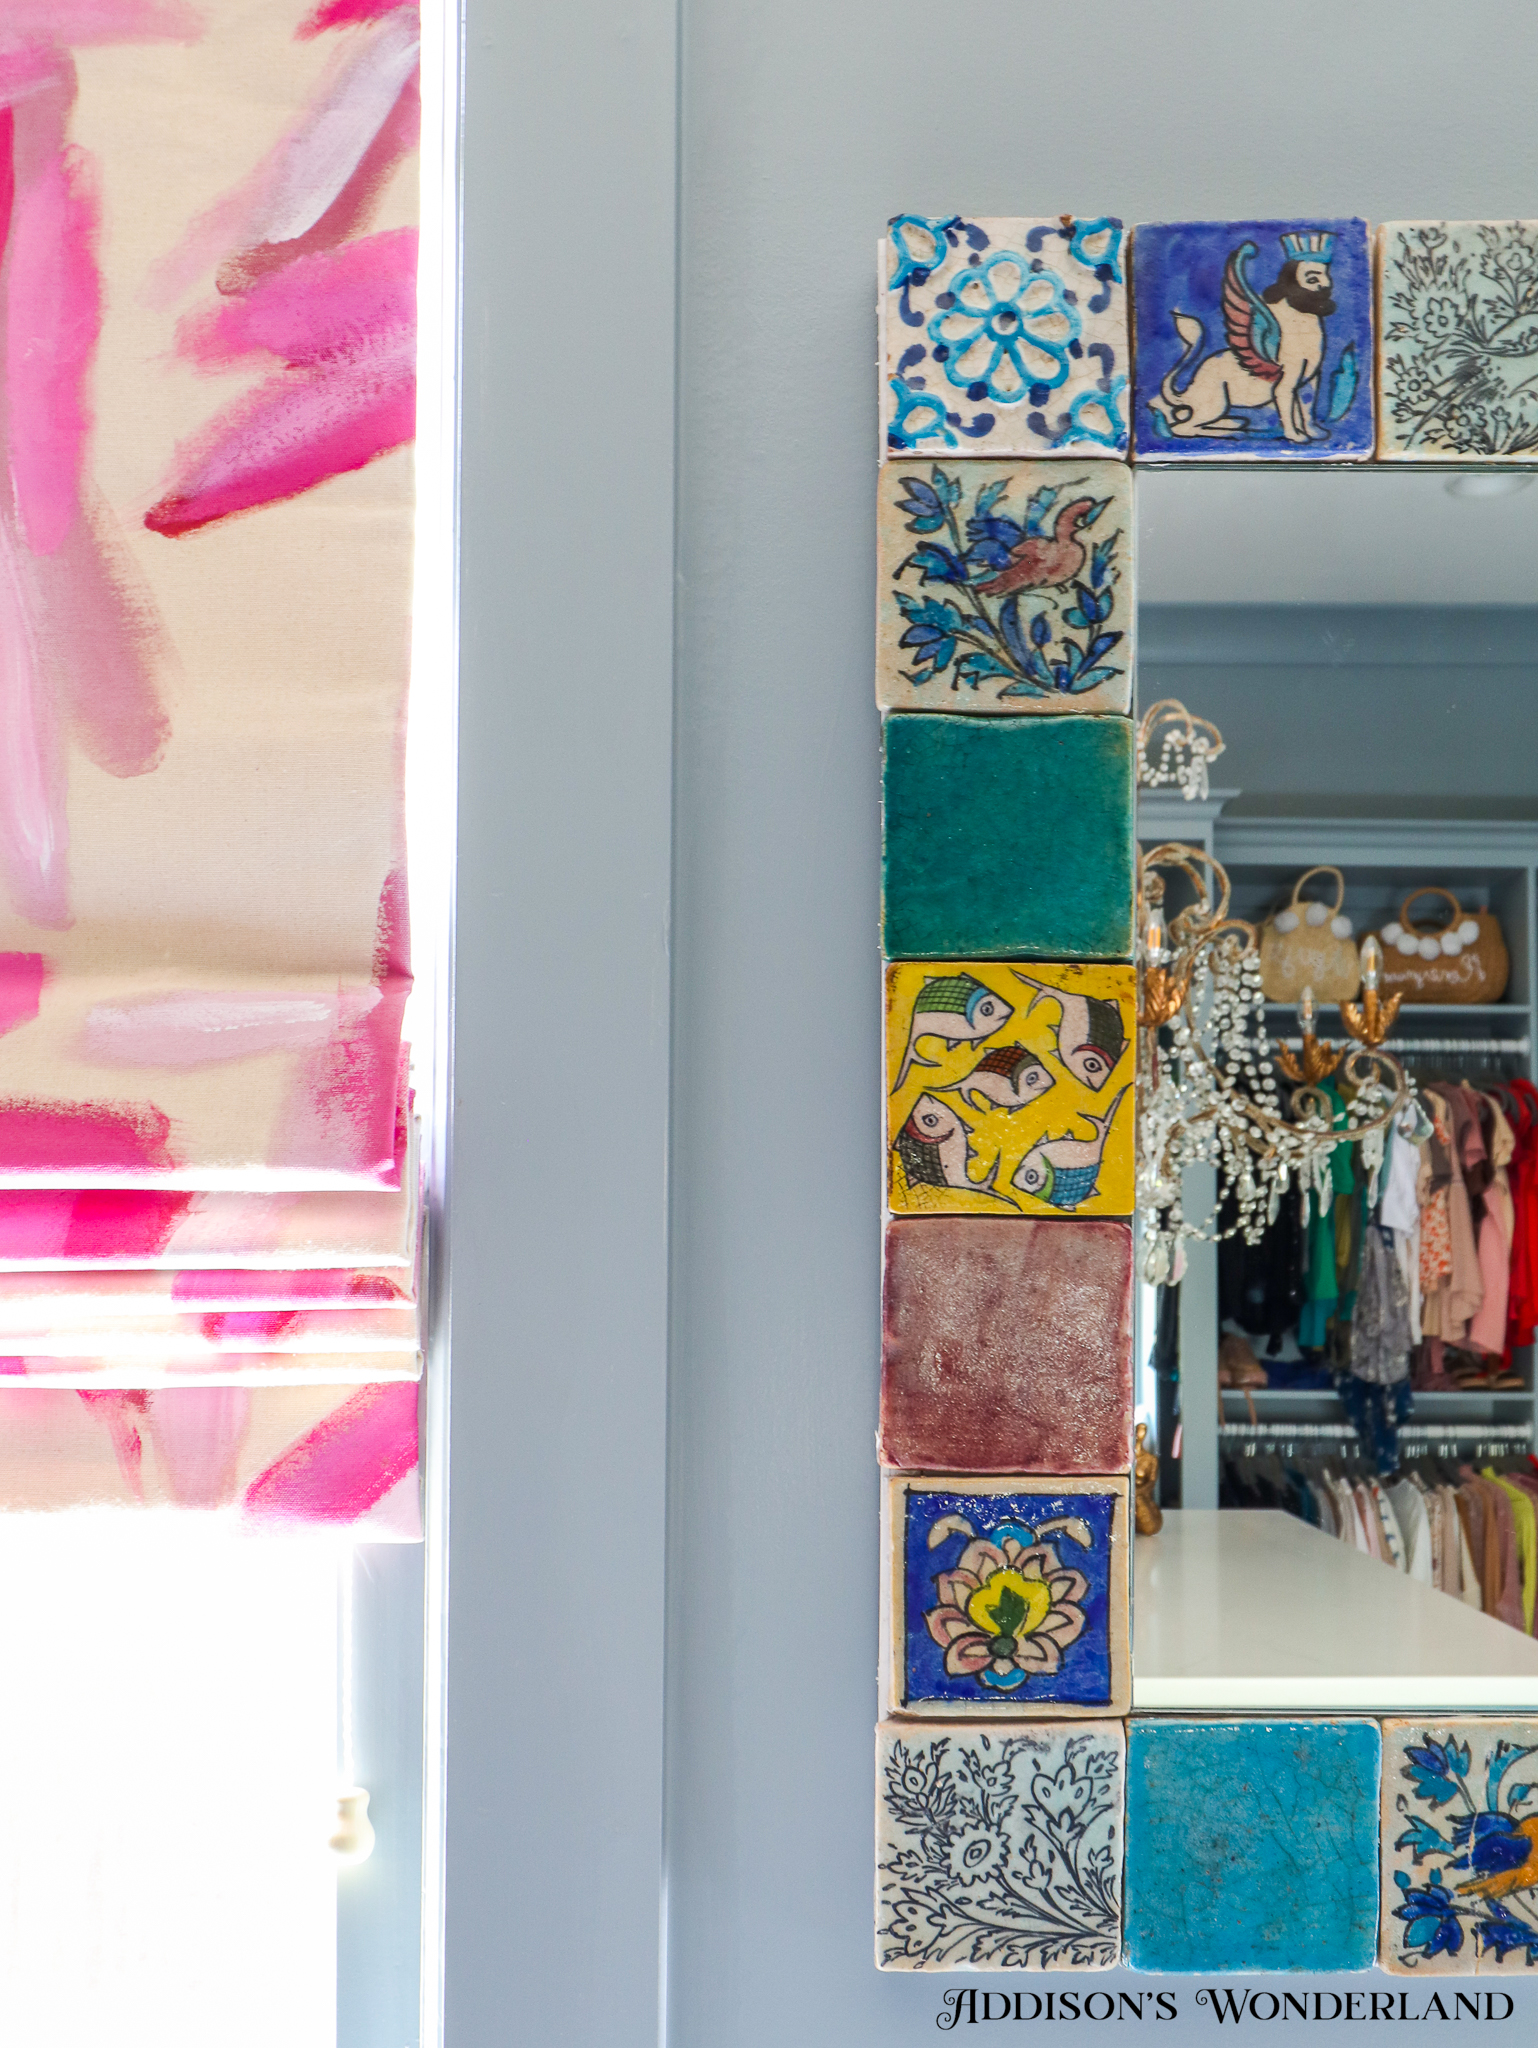
Finally, install French cleat hanging hardware. Now it’s ready to hang!
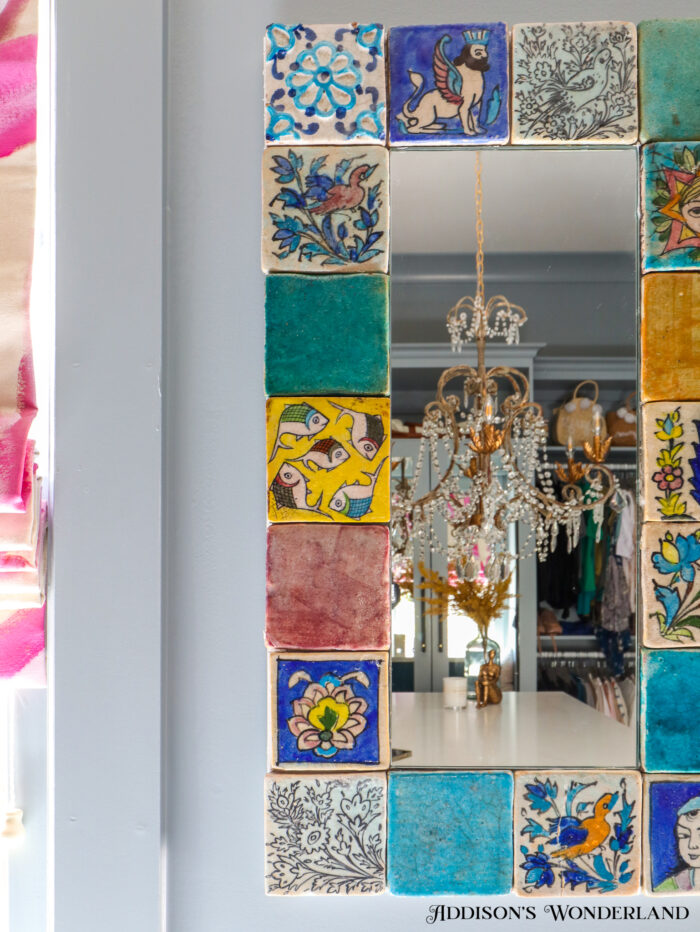
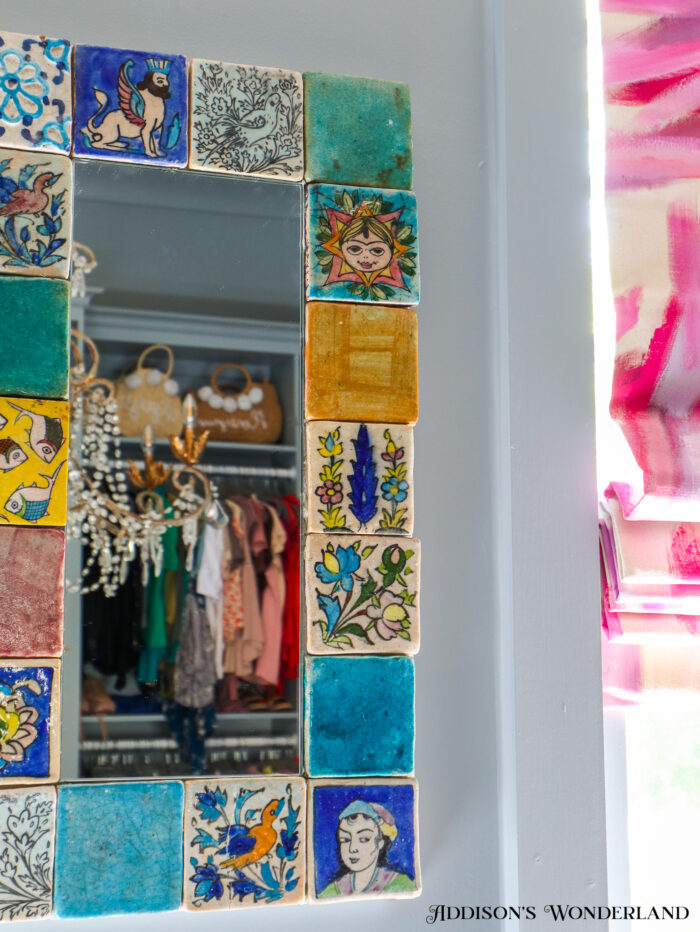
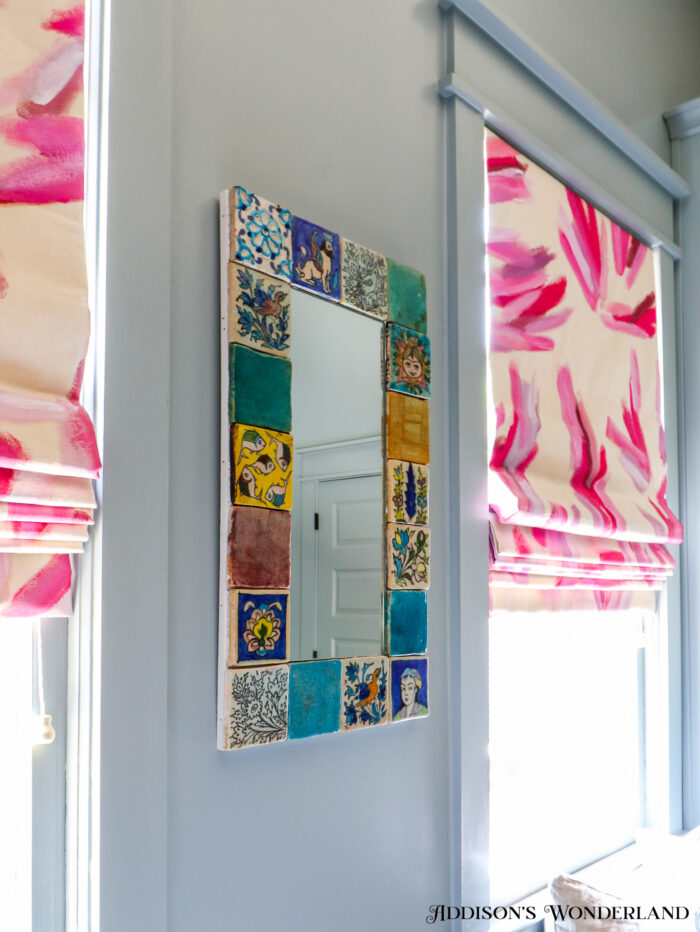
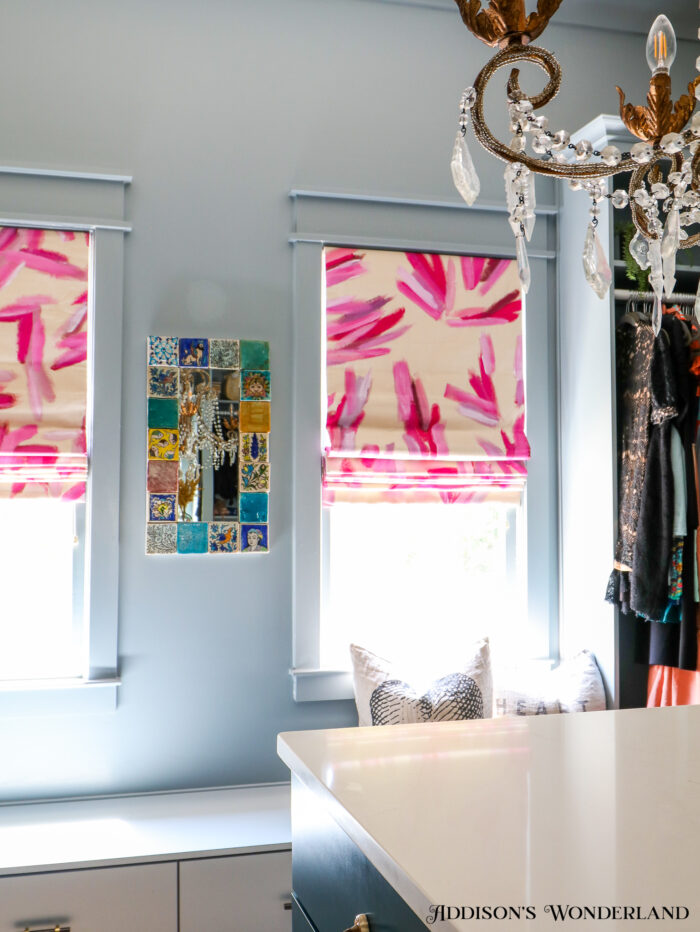
COMPLETE!
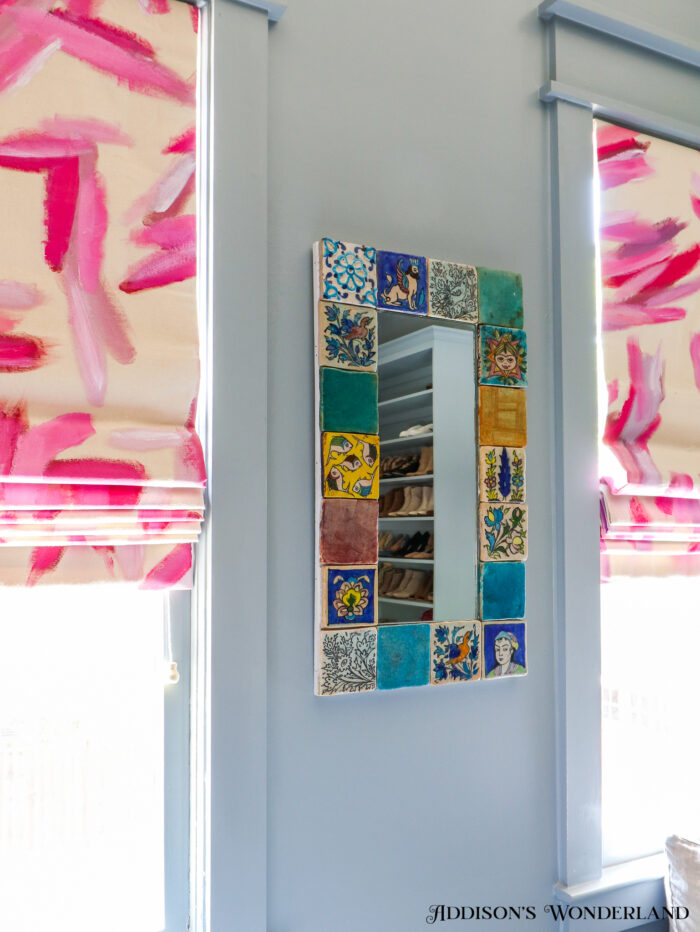
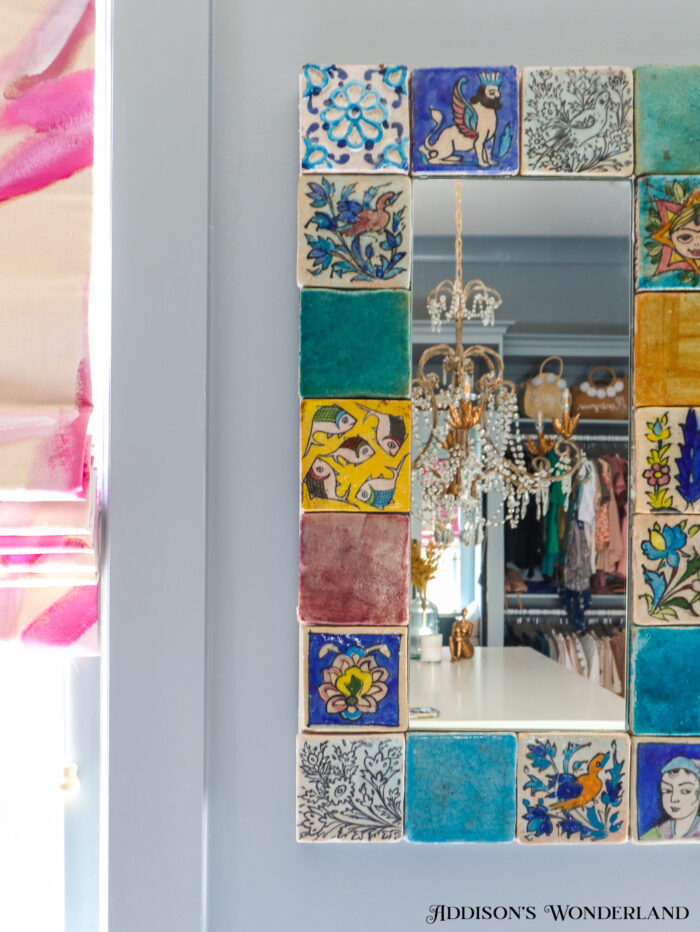
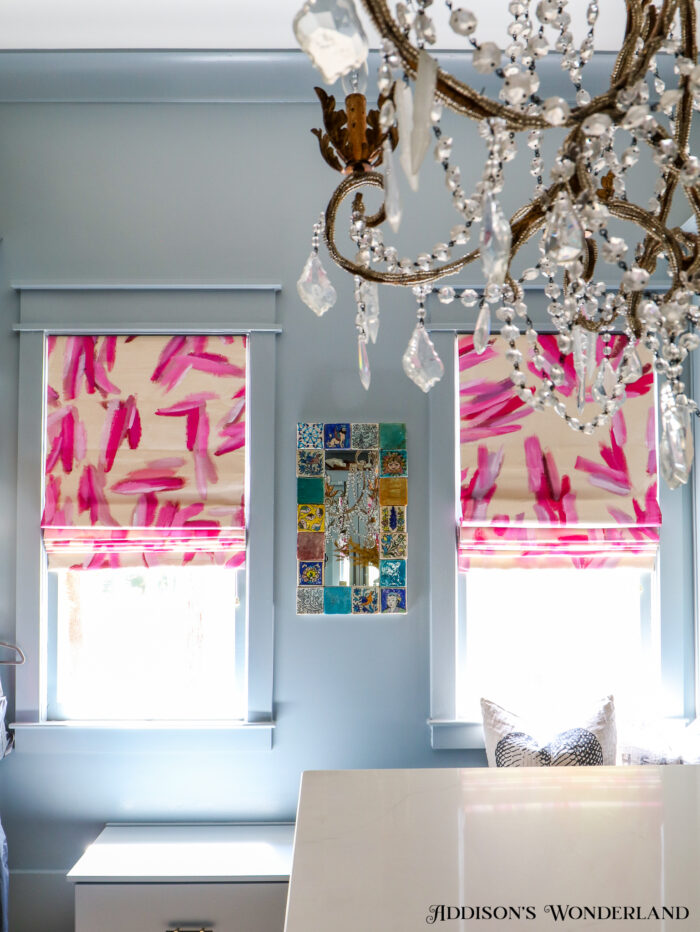
We ended up deciding to hang it in our closet and it’s just PERFECT!
XOXO, Brittany Palazzo
+ view the comments


")
")