DISCLAIMER: This post is sponsored by Osborne Wood Products. All opinions are my own.
Thank you to Osborne Wood Products for sponsoring this post! Post contains affiliate links.
Lately I have not been the best at short and sweet posts and this one just might top the list! I have so much to say and so much to share that you just might want to kick off your shoes, grab a cup of coffee or glass of wine and stay awhile…
I have to admit that I am still pinching myself on a daily basis that “Our Historic Wonderland” is actually mine and that we call this amazing gem home. Sooo much thought and planning and hard work went into bringing this 111 year old house back to life that it still doesn’t even seem real. If you missed any of my previous room reveals, simply CLICK HERE and scroll through them all one by one!
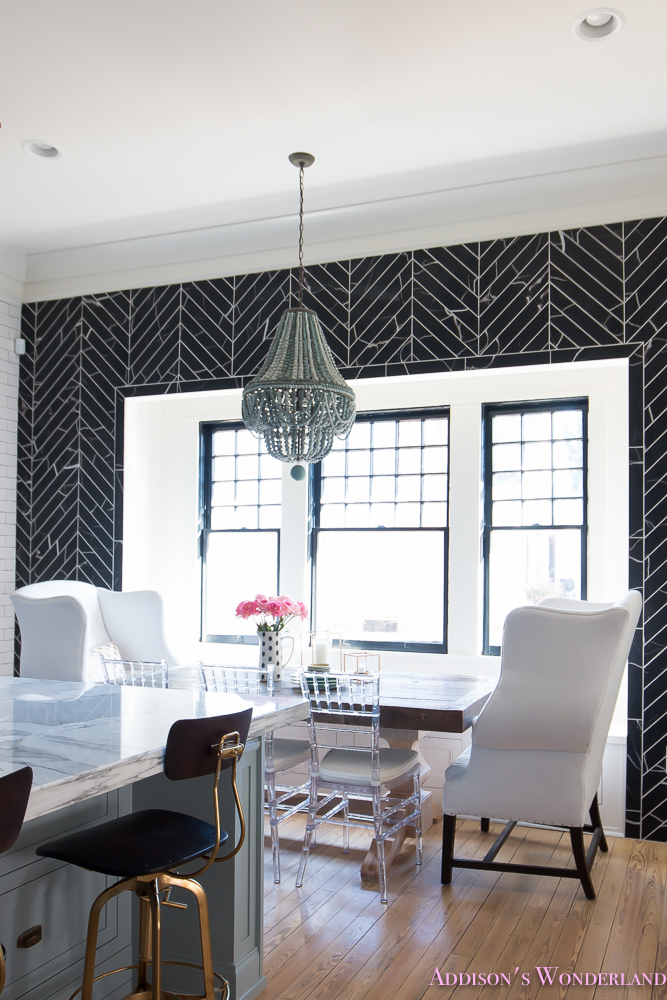
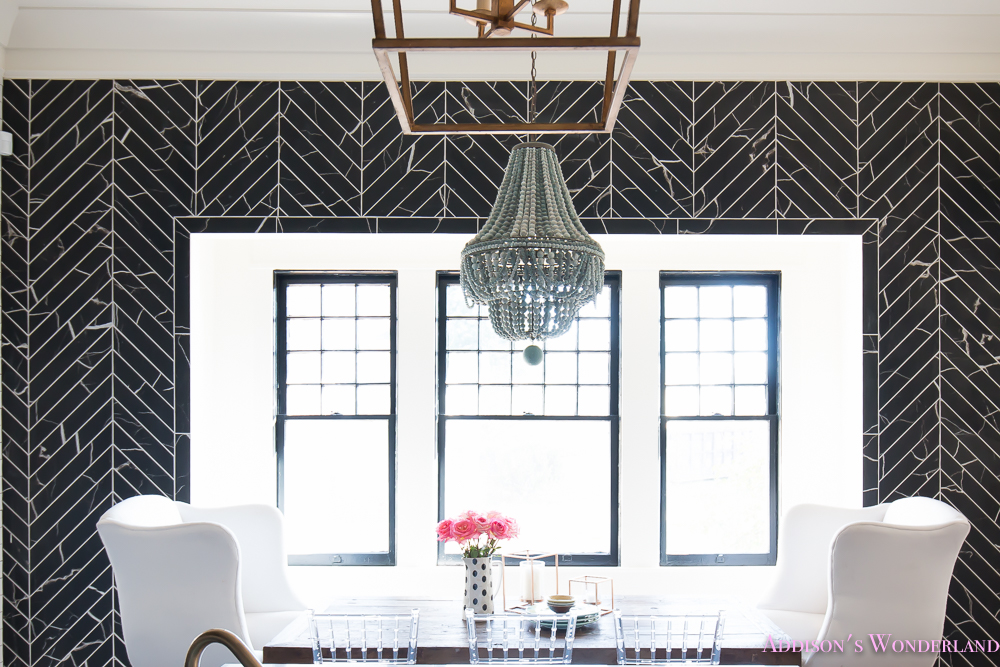
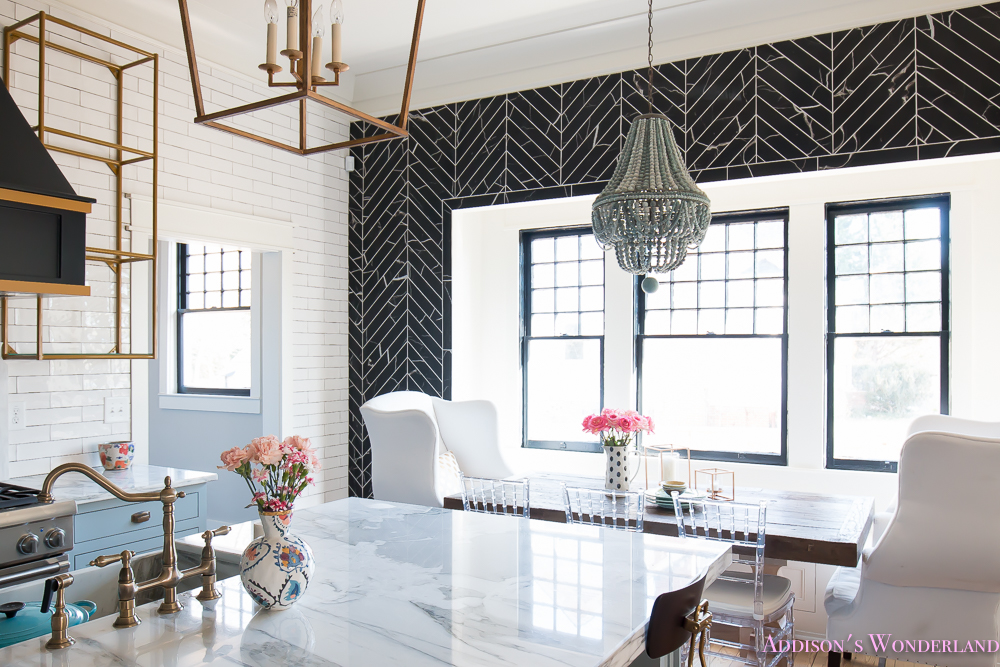
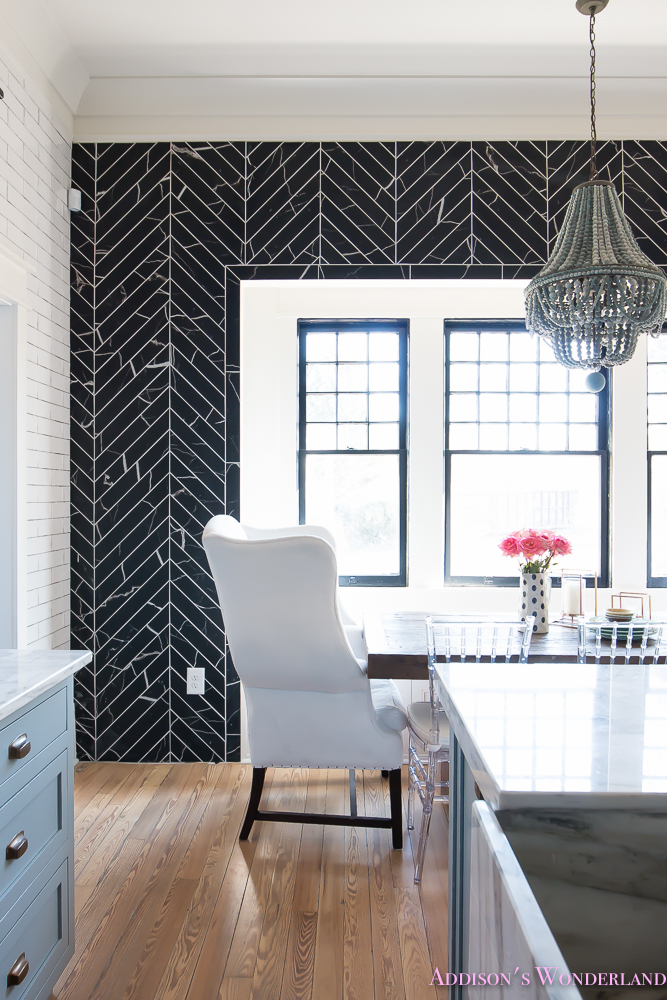
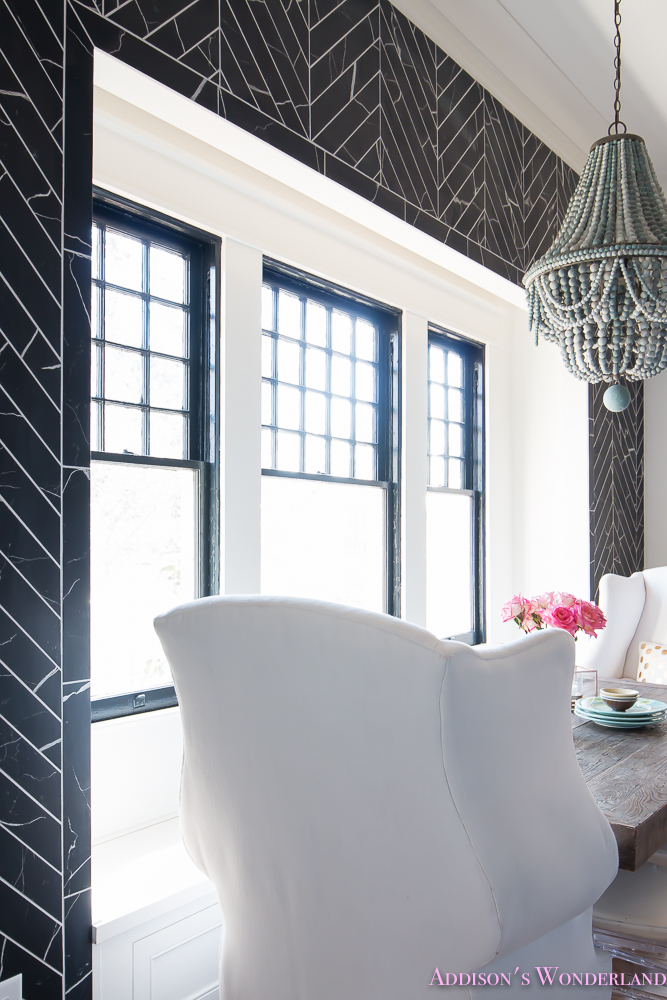
Today I am super duper excited to share one of our most “complete” rooms and honestly one of my faves. I still remember the day I posted a sneak peek of the tile being installed on our breakfast room wall on social media. I think you guys were a little confused at what it was and what you were even looking at! And then I remember when I told Mark I was tiling our breakfast room wall black. “The look” has faded quite tremendously over the years. That “are you SURE?!?”. That “I trust you… I think”. That “why the hell do I always say yes”. Look. It was back in action that day though! He really does always say yes (budget permitting) and for that I really am thankful. Allowing me to dream big and truly make my design visions a reality have helped me create my dream company and for that I am very thankful. And yes, I just might be acting like my nine year old who gussies me up before asking for something. Like that crazy wallpaper I currently love for the dining room. Hehehe.
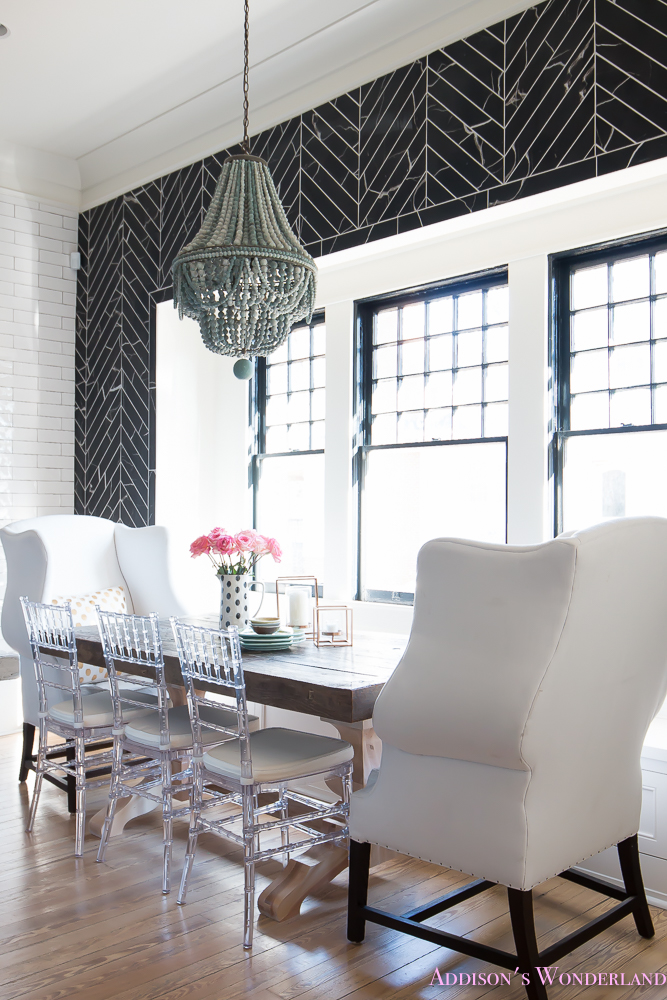
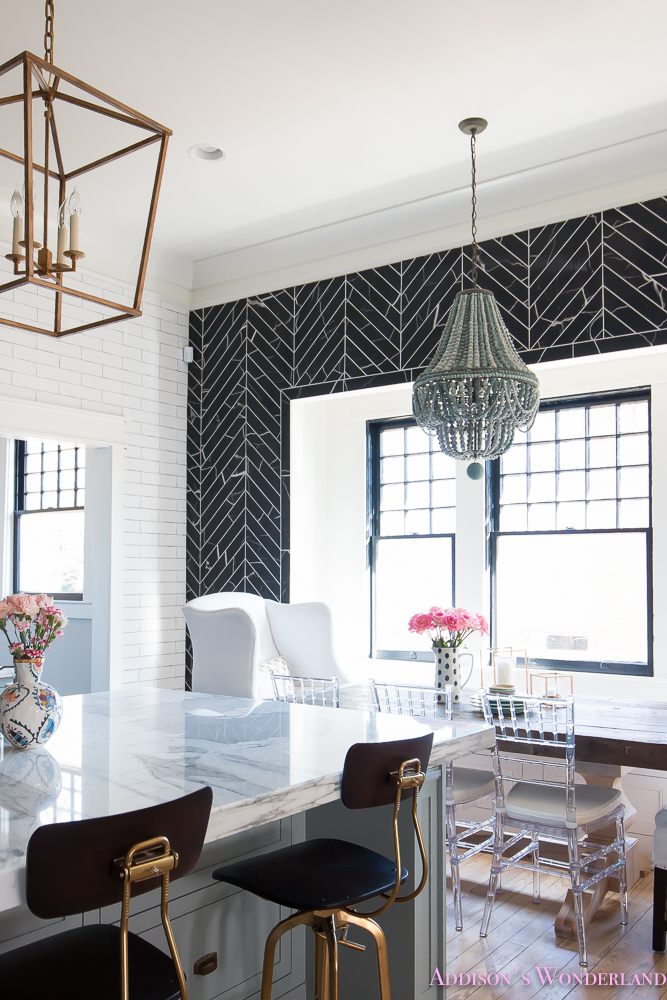
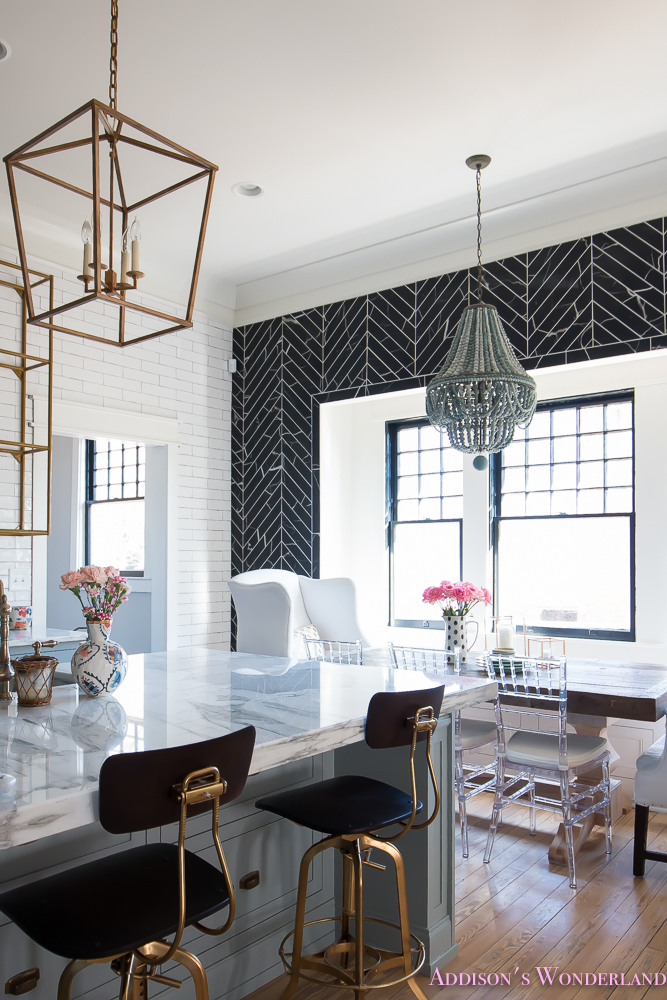
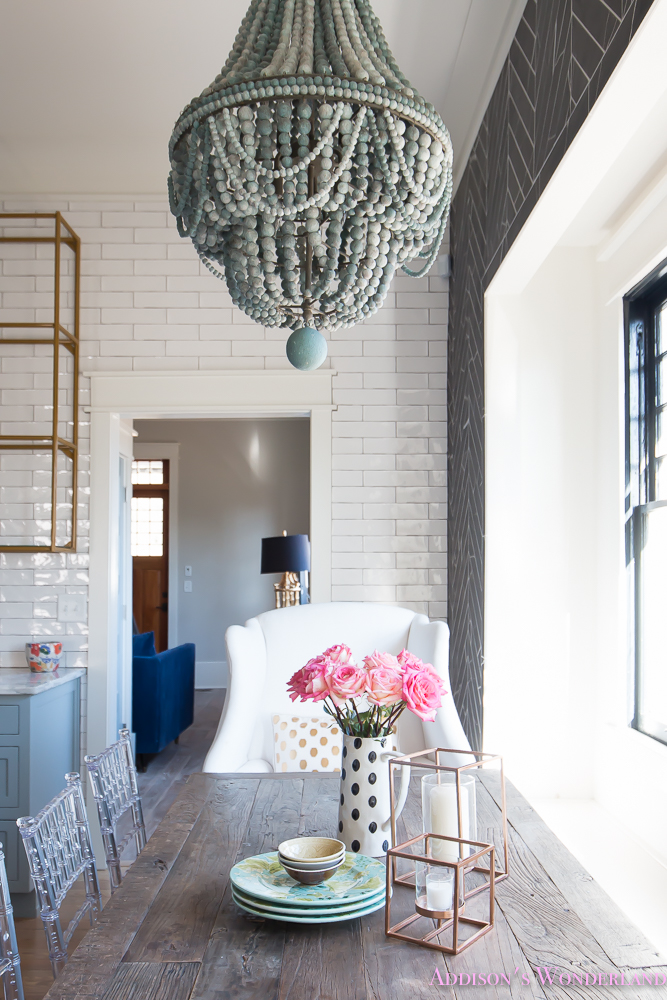
One of the signatures of my design style AND the element I feel is crucial to creating a unique yet balanced home is the design element… TEXTURE. I get a lot of random e-mail and questions asking for advice on how I achieve a balance of whimsy, femininity and elegance. And the key is always playing with textures. For our kitchen/breakfast room, given the powder blue cabinet color, the glossy white tile and the feminine lighting… adding rough wood textures was a MUST. Re-finishing our original hardwoods in a light finish that really showcased the rough, rustic grain of the hardwoods was the first goal in my vision. The second part was a big, rustic wood table…
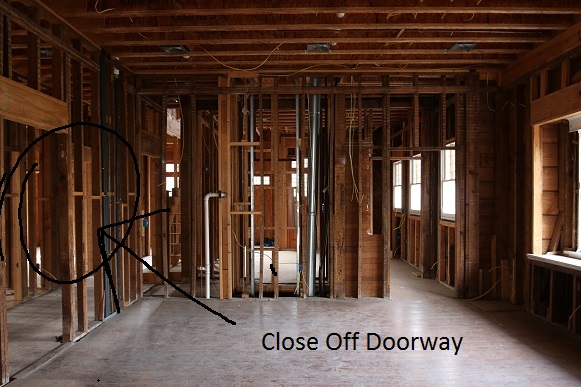
So first, let’s take a look at our kitchen BEFORE…
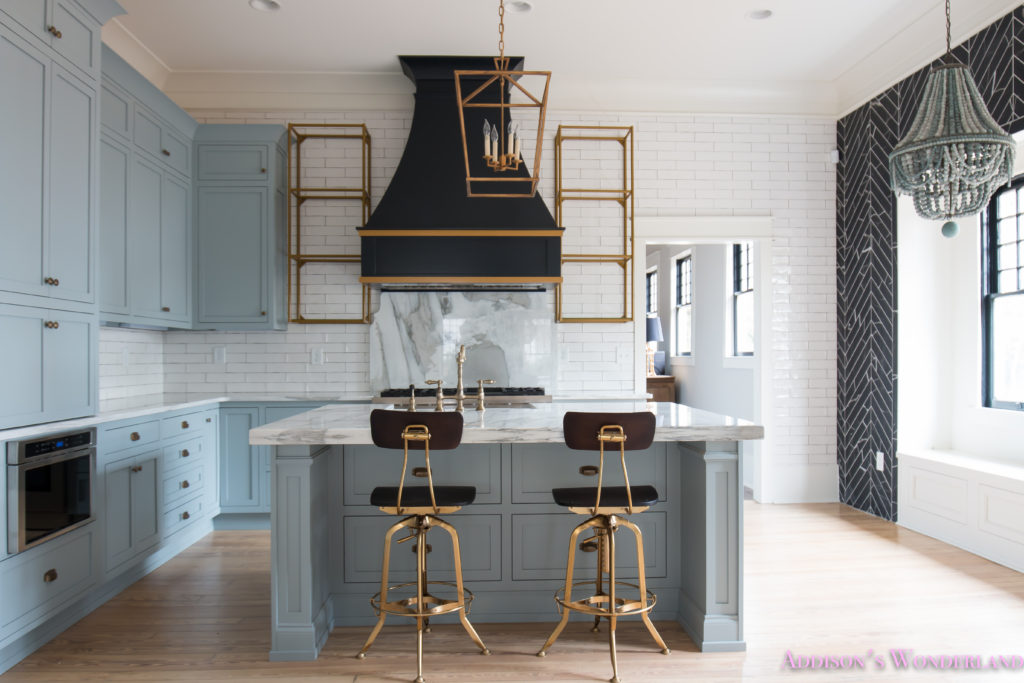
And AFTER Construction…
You can read all about our kitchen renovation in “Our Vintage Modern Kitchen Reveal“!
So once the kitchen was complete, I set my sights on a table for our breakfast room on the right side of our kitchen. I would be using the built-in bench we created for the right side seating which would also allow for a larger table. I honestly searched online forever and ever and could never find something that I loved. I knew I wanted something wood but also very rustic and possibly a two-toned wood look to create even more visual texture. I get these dang visions in my head and then cannot ever find exactly what I am looking for. Or I do and it costs a million dollars. Seriously story of my life.
Then one day I was doing a little shopping at Restoration Hardware and found this amazing tabletop that was marked down because the table base was missing. I fell in LOVE with the color and the texture and the finish. It had a great ashy color and wasn’t too red or orange like lots of tables I had seen. I purchased the top and loaded it up!
Then I went on an online search for a table base. And TADA…
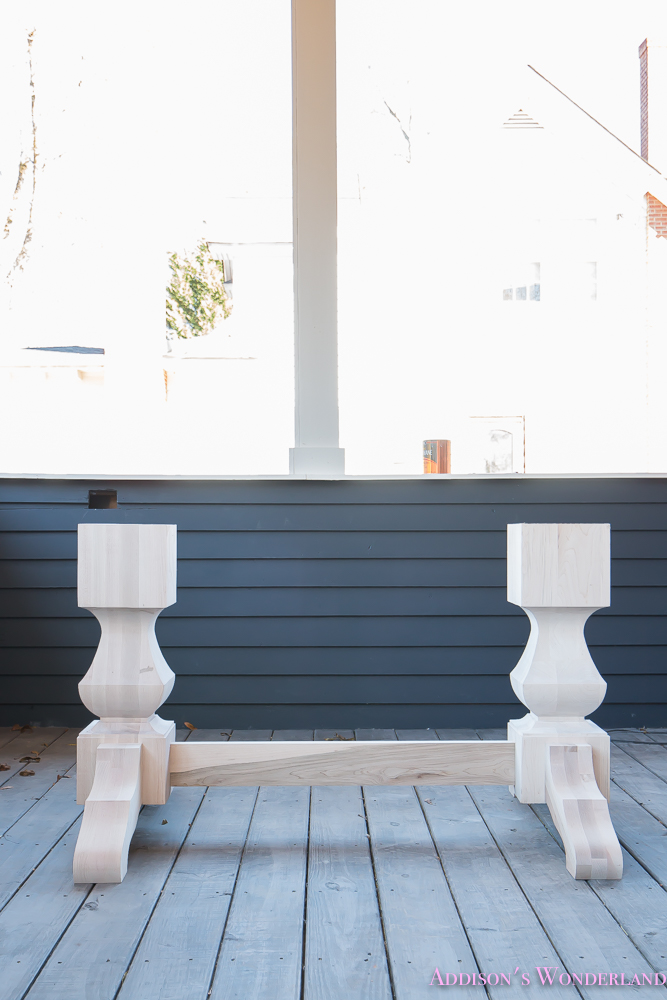
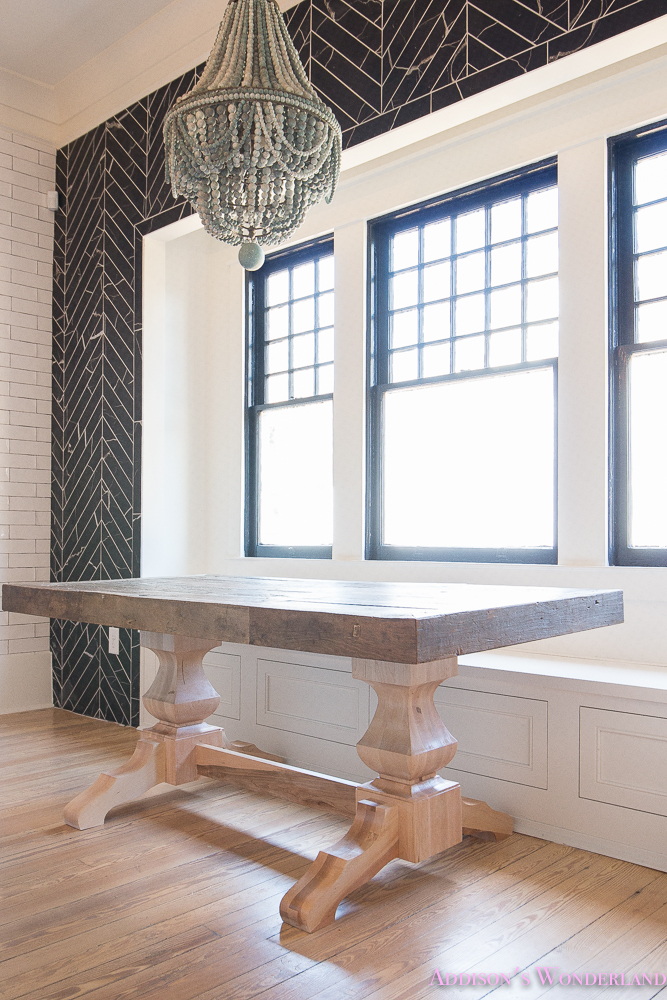
Tall 29” High Extended Old World Double Pedestal Kits in Soft Maple
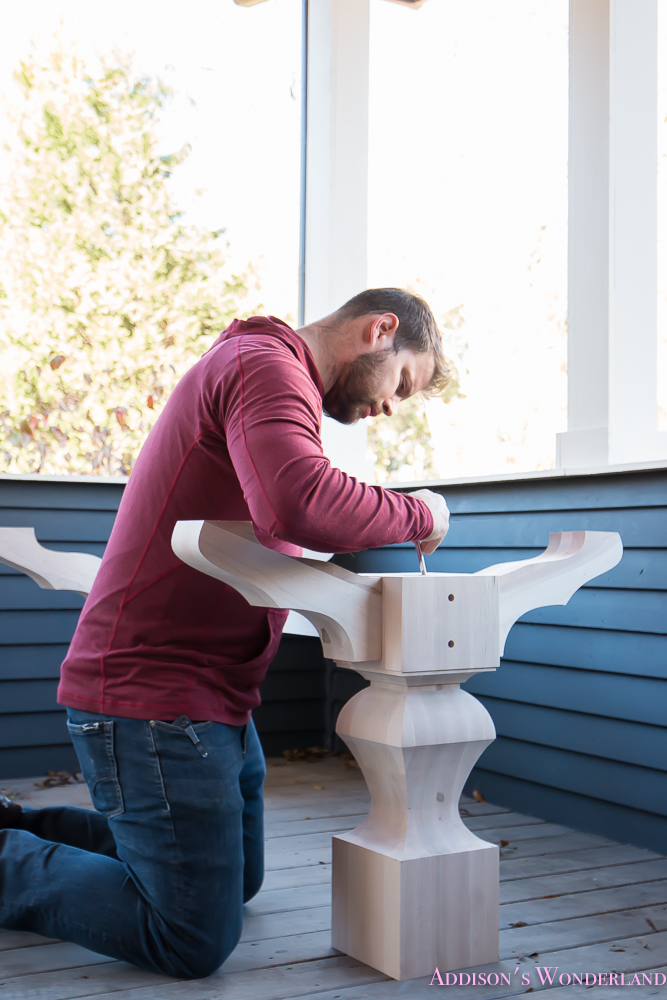
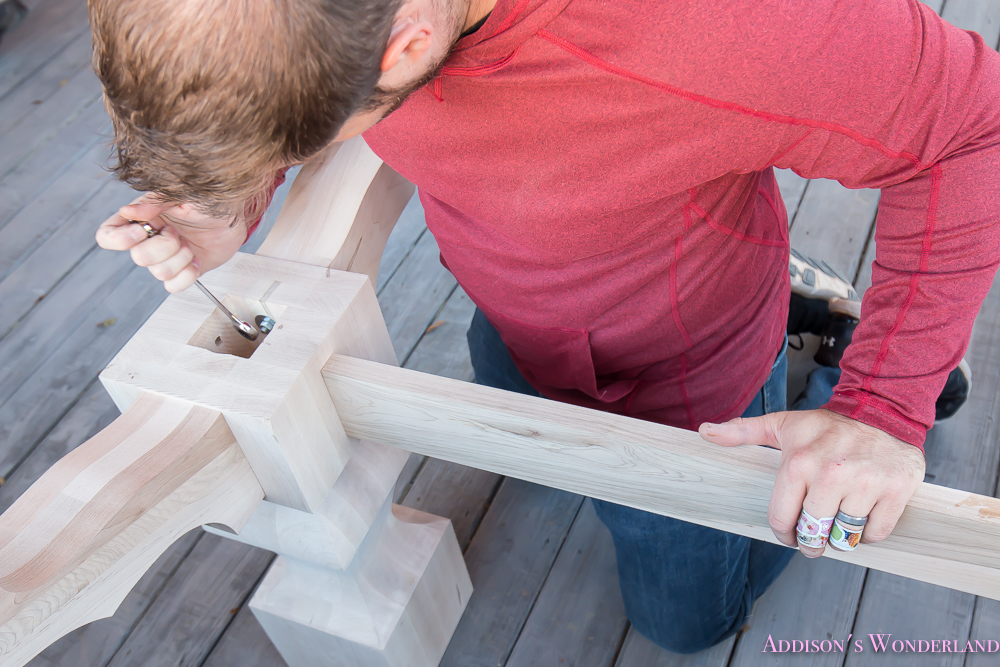
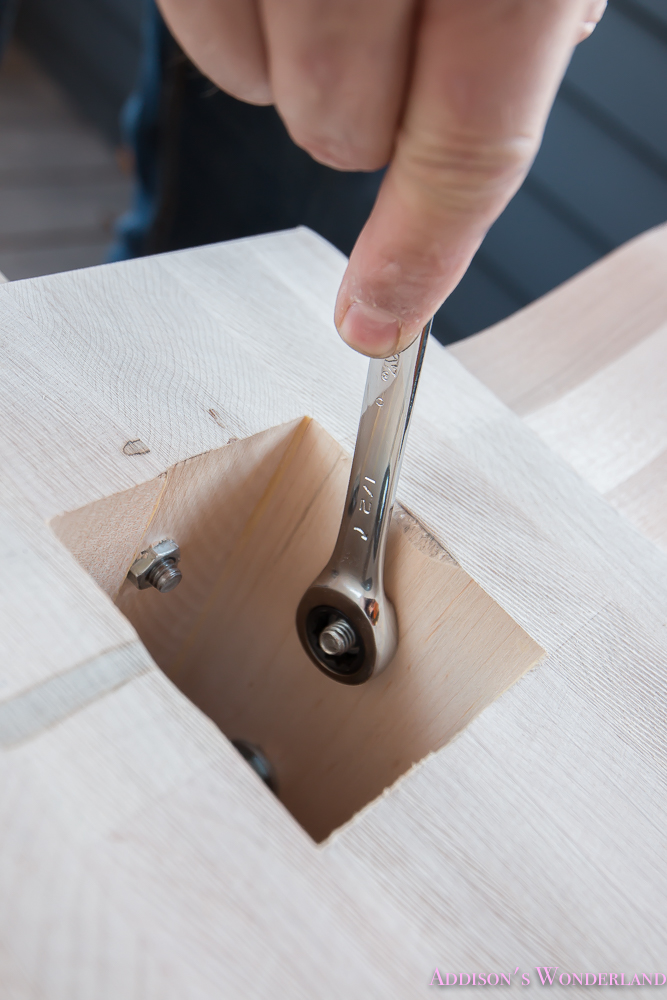
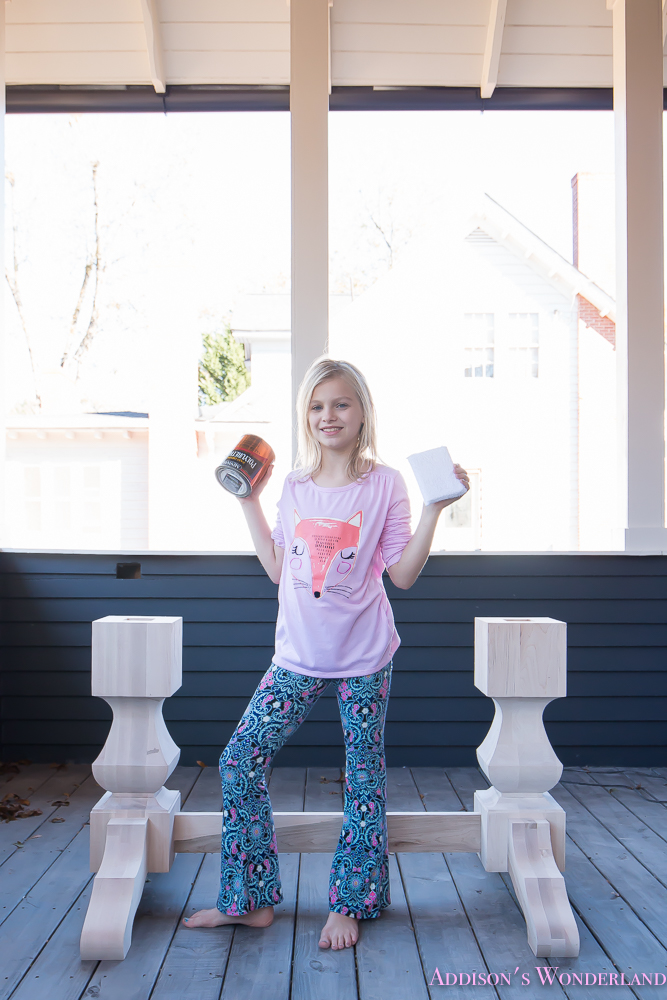
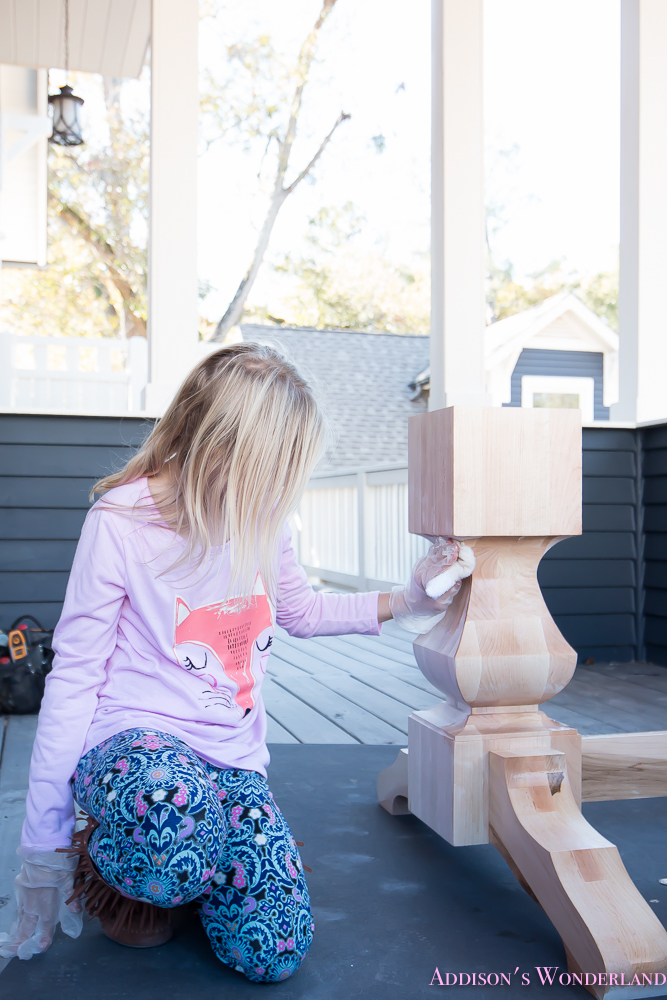
It was love at first sight. I loved the detailed legs. I loved the unfinished wood color that coordinated with our flooring. And the size was perfect! So I reached out to Osborne Wood Products, Inc. and we partnered for this post! They were amazing to work with and their customer service was fabulous. Whether you are looking for table legs, corbels, molding, trim or even a pedestal kit like ours, I can almost assure you they will have what you need AND love! I searched forever and their HUGE product selection had me hooked. Their shipping was super fast too! I received the table kit in early November and it was even more beautiful in person. Mark simply attached the legs and we got to staining! We did choose to not add the outside legs at the time because we weren’t sure what end chairs I would find. We still have them though and they work great with the wingback chairs so I may actually add them soon! Here’s a peek at Mark assembling our new table…
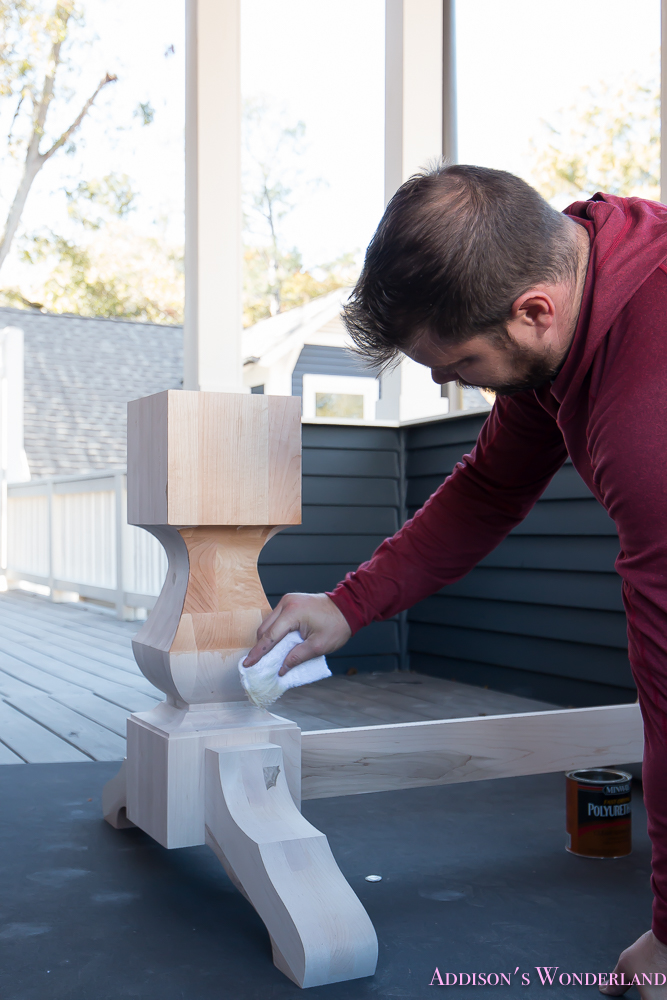
As I mentioned above, it was actually a more beautiful wood finish in person so I chose to simply use a Clear Polyurethane by Minwax…
And here’s the finished product! Thank you Osborne Wood Products, Inc.!
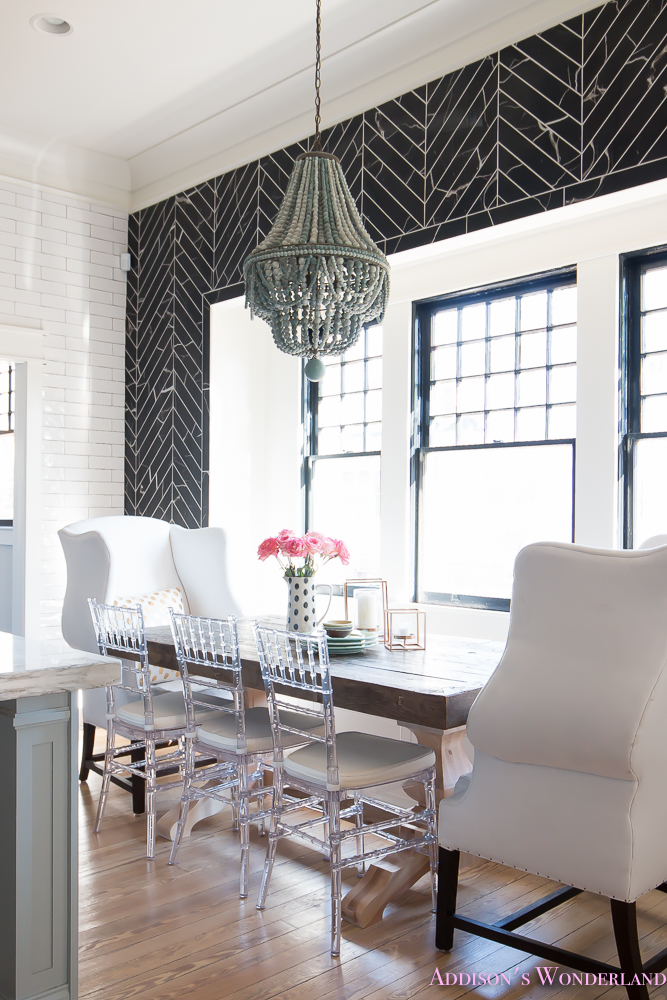
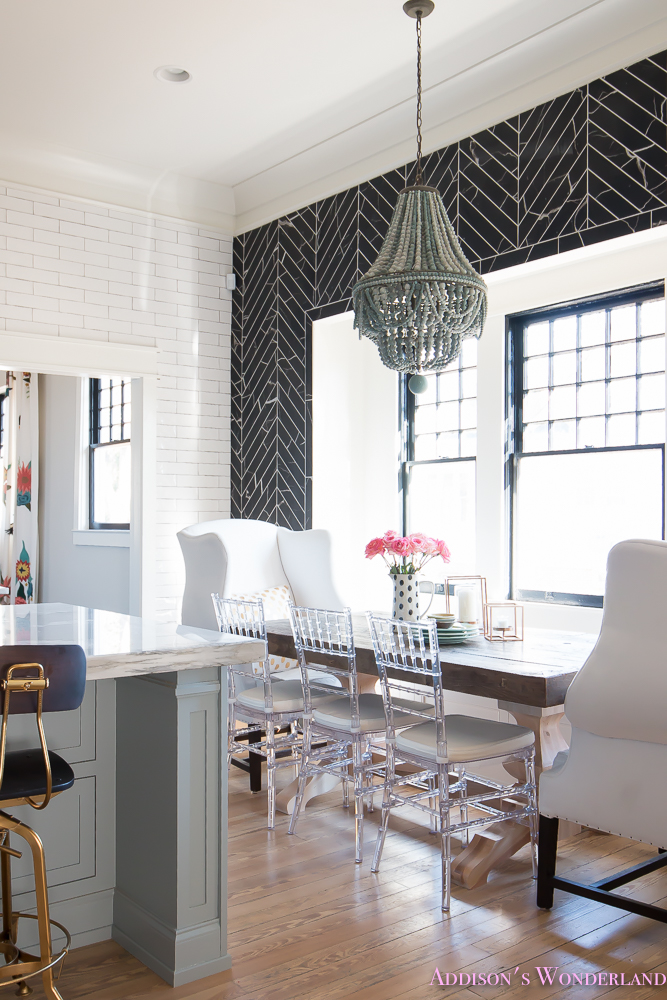
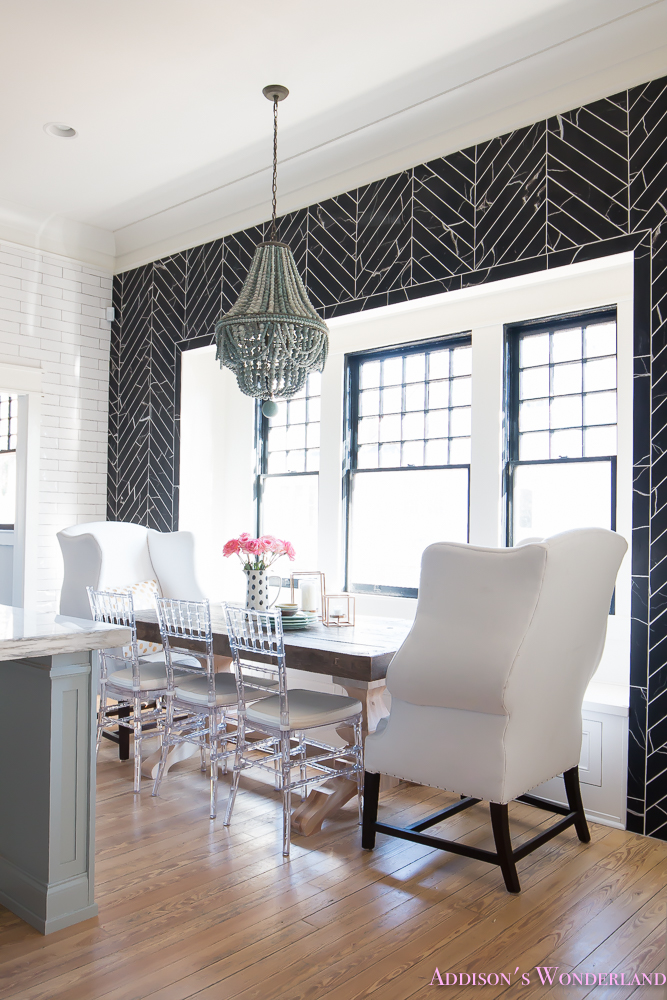
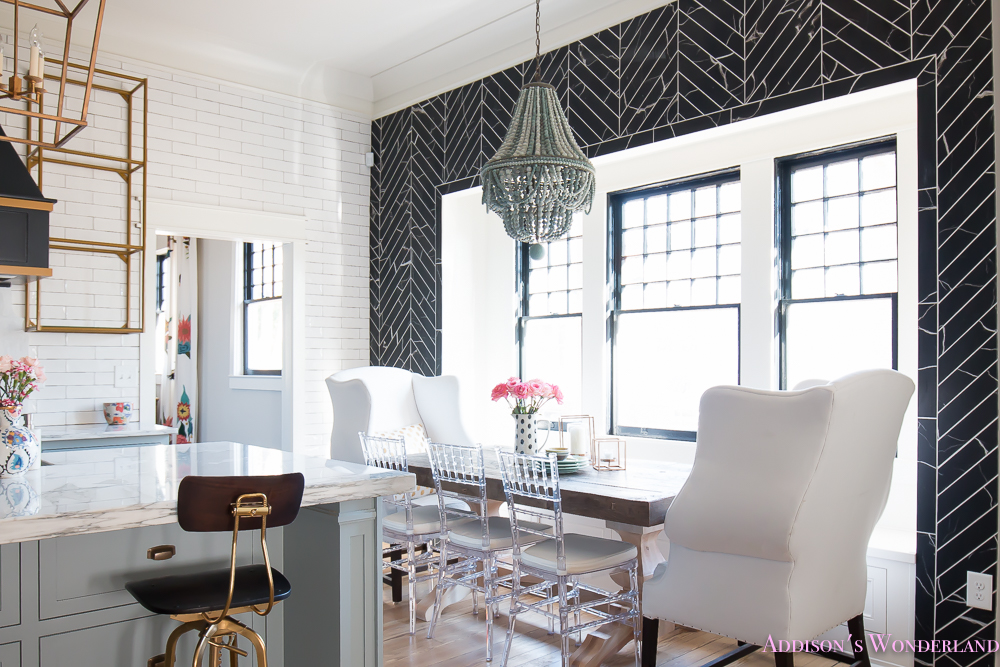
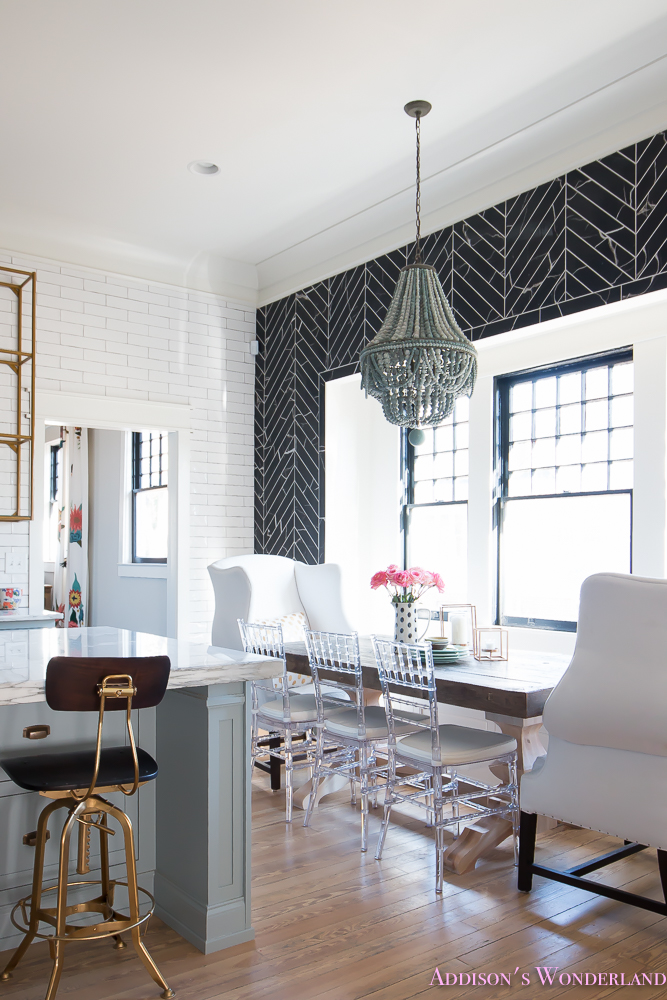
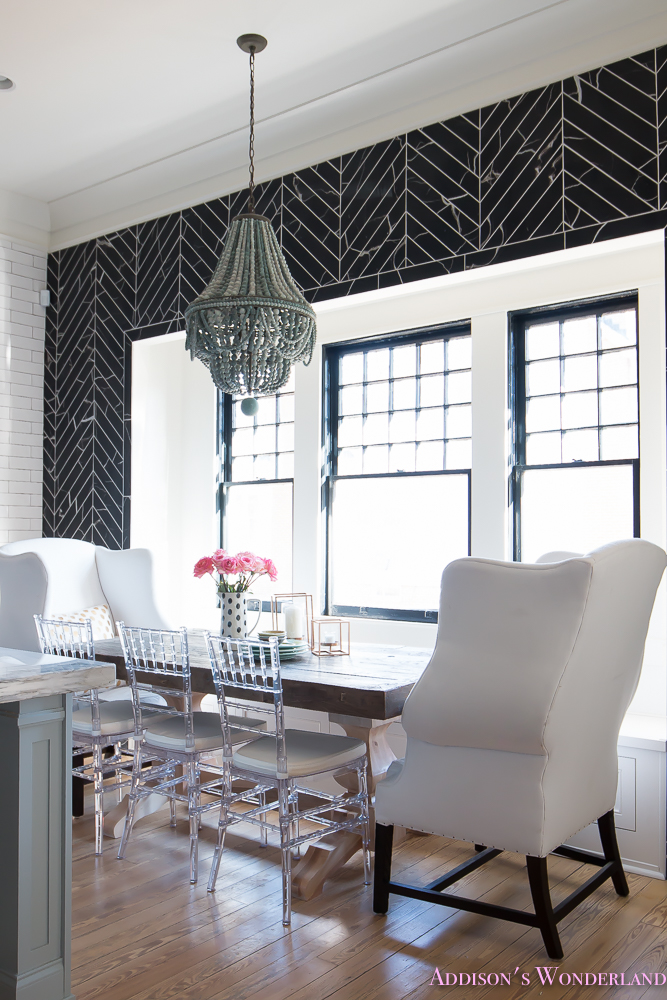
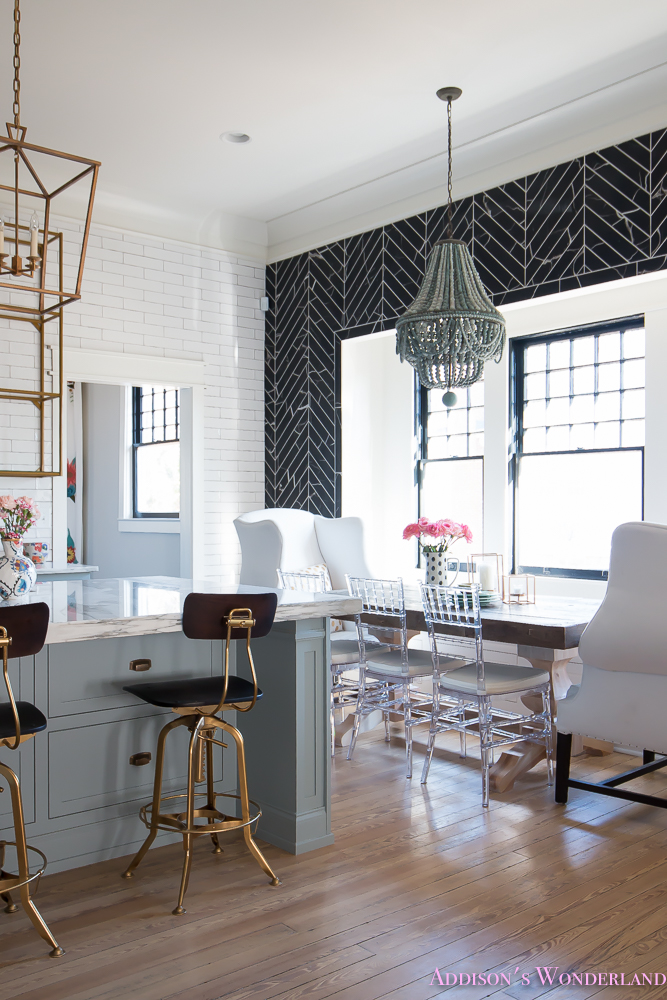
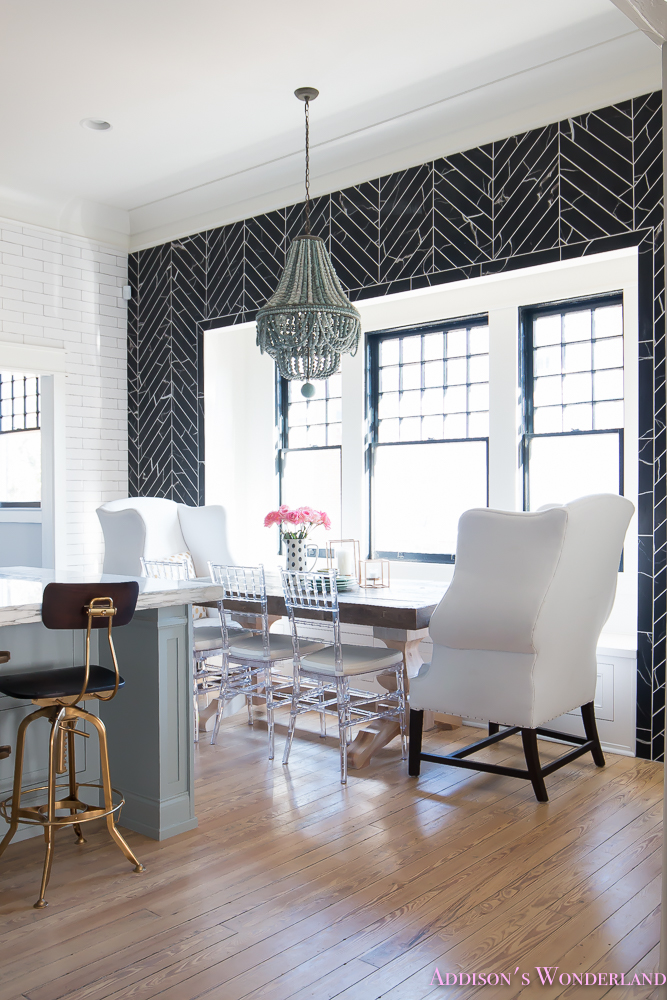
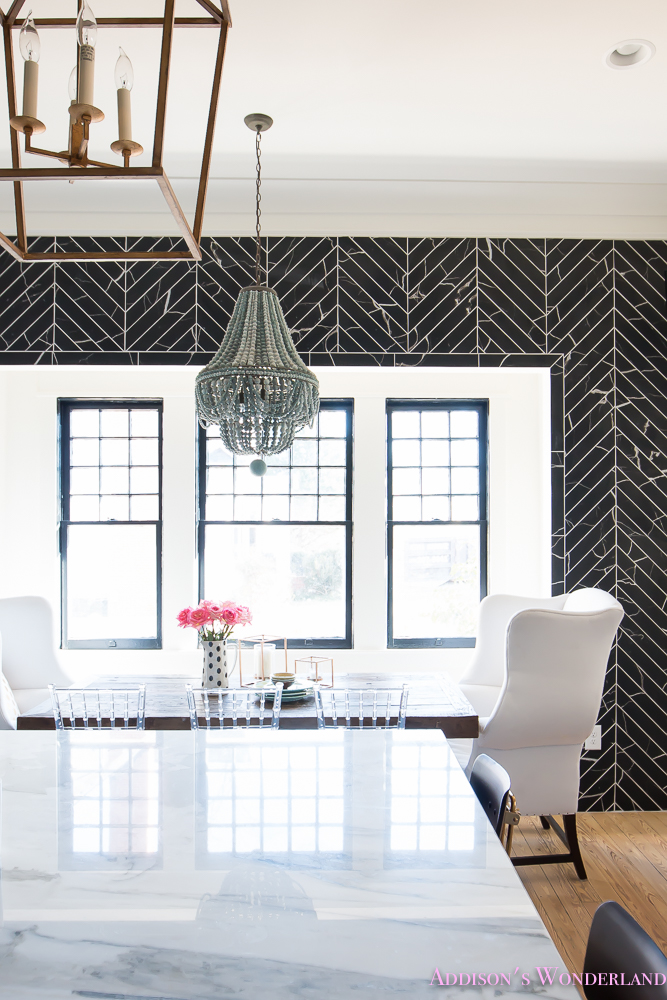
Once the table was in place, I got to work finding chairs. I had large wing back chairs in mind for the end chairs and ended up finding these beauties at Restoration Hardware! I love the vintage style and the white really sets off the black wall tile. Next, I searched and searched and finally decided that clear chairs would be the best option visually for the side chairs to keep the space from looking too busy or visually “heavy”. I found these cute clear chairs that have great spindle detailing and were the perfect size for the space.
Shop More Wingback Chairs I LOVE:
Shop More Clear Chairs I LOVE:
First let’s take a look back at our breakfast room BEFORE:
And now let’s take a look at our breakfast room TODAY!
XOXO, Brittany Hayes
+ view the comments
