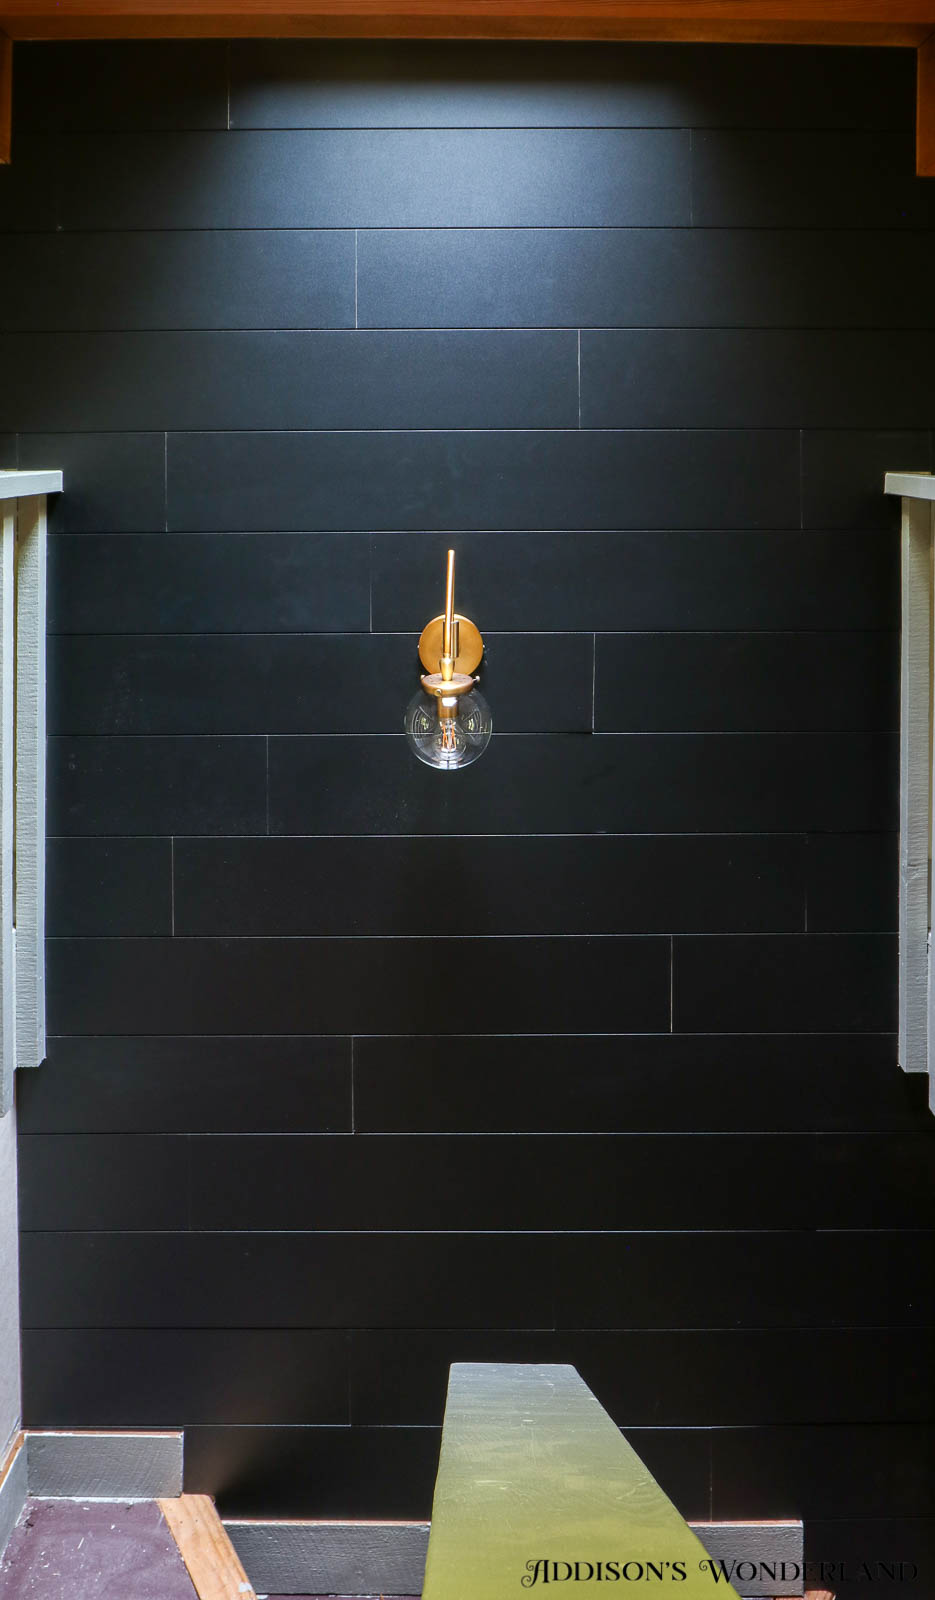
Good evening!!! Happy Wednesday! Coming to y’all this Wednesday morning to share a fun and super easy “little” DIY project we completed at the cabin last week… a peel and stick black shiplap wood wall! Yep, we finally tackled this eyesore in “Ever After Wonderland”…
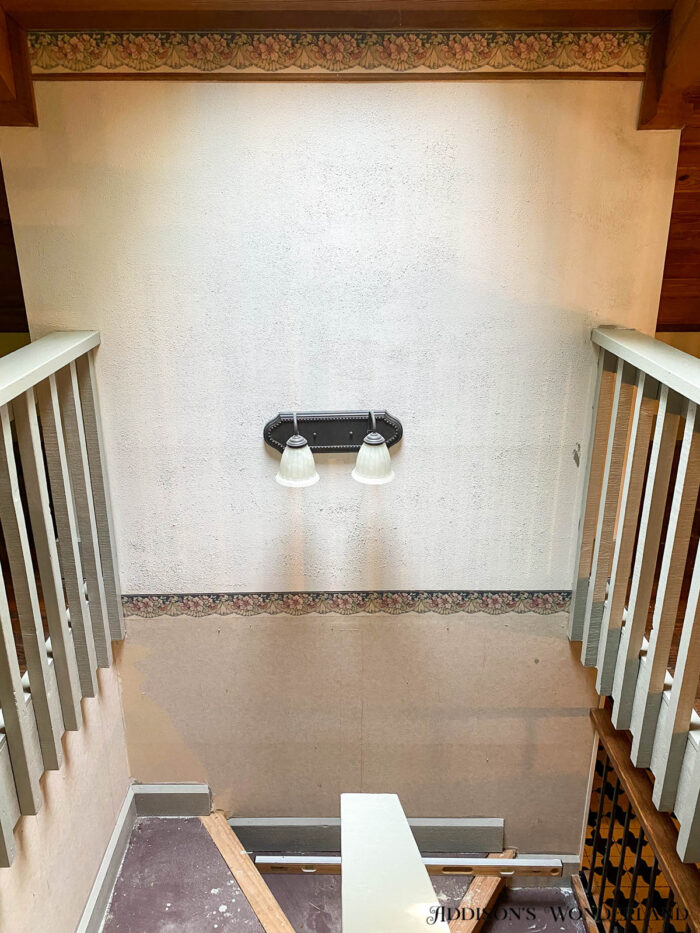
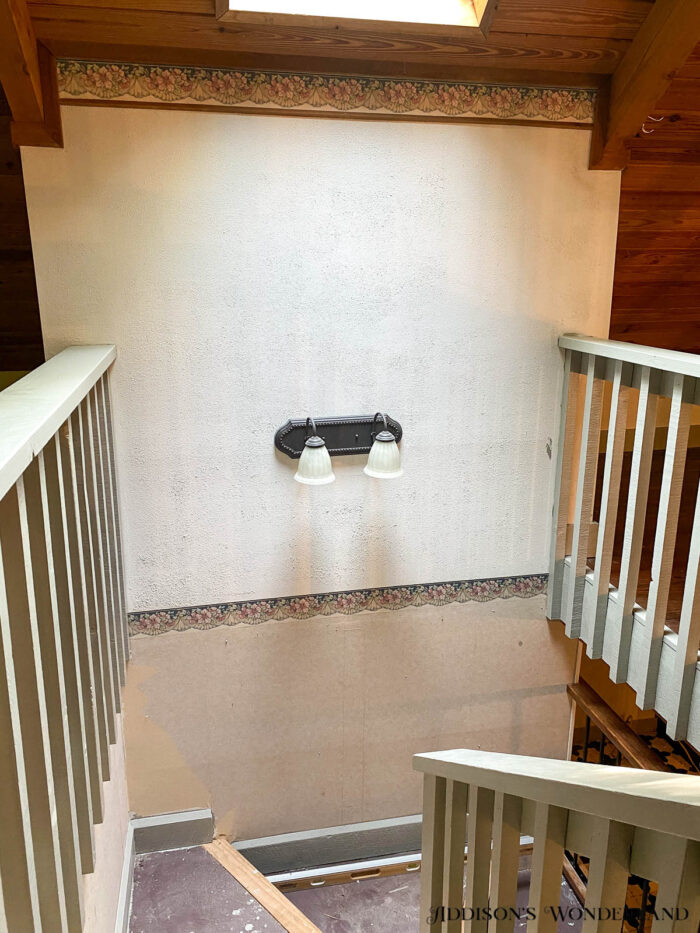
A wall covered in half wallpaper and half stucco that we never got around to addressing during our demo stage. I think we just crossed our fingers that the painting crew would somehow work their “magic” and it would all go away… BUT they also ignored it as well. LOL. So, I searched back through my e-mails and reached back out to a company that had contacted me several months back about a possible collaboration and said YES, I have just the project! I chose Wallplank’s Classic Black Shiplap Vinyl Plank for a “quick fix” to this problem wall…

I had my fingers mega crossed that it would work on both surfaces… over wallpaper AND over stucco… and IT DID!!! Here’s a little step by step tutorial…
Step One…
Find and mark a level line, preferably starting from the bottom. You also may want to clean your wall first as well. They suggest using TSP!
Step Two…
Once you have a level line, starting from left to right, run full board pieces all the way to the end of the wall which will most likely leave you with a cut piece at the end (more on that in a sec!)…
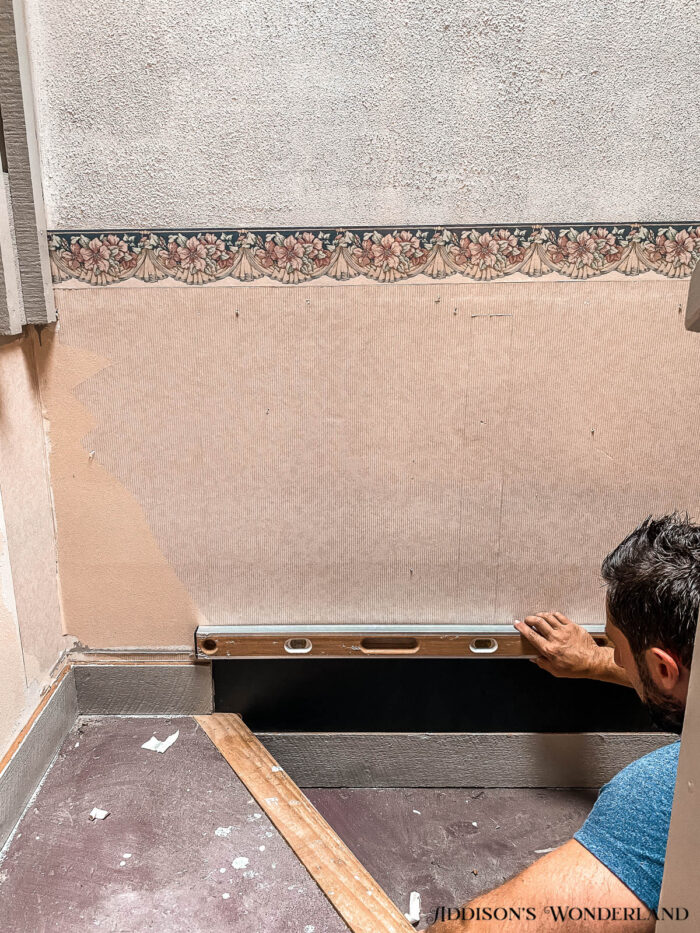
To install, simply peel back the adhesive paper and starting from the bottom, angle with the tip of the bottom first and slowly lay it upright fitting each piece inside the shiplap groove of the piece underneath it (with the exception of your first run). This angled installation helps keep the alignment along the bottom without sticking the entire piece at once…
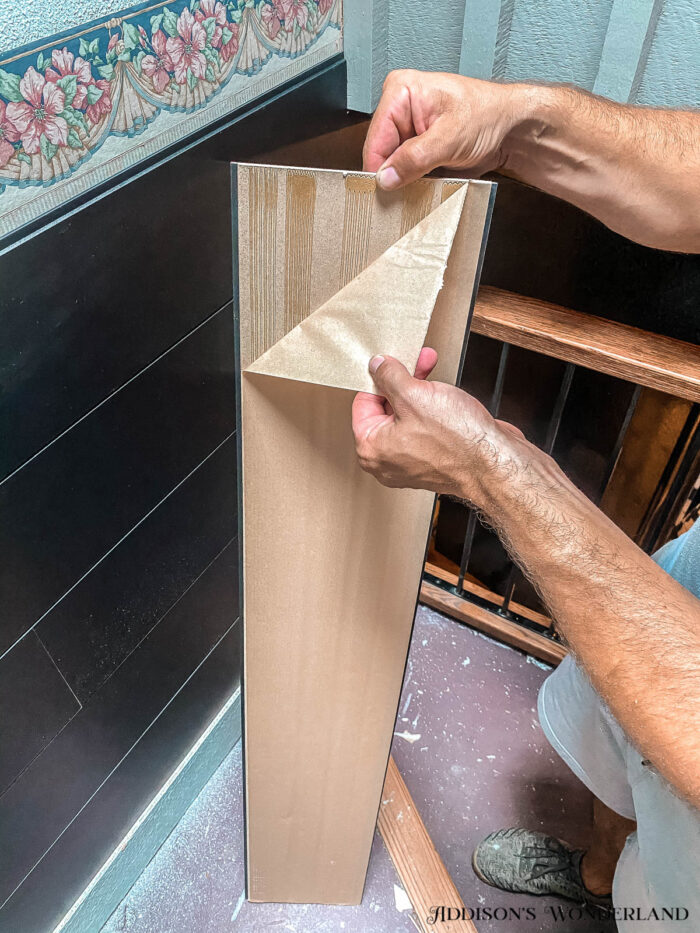
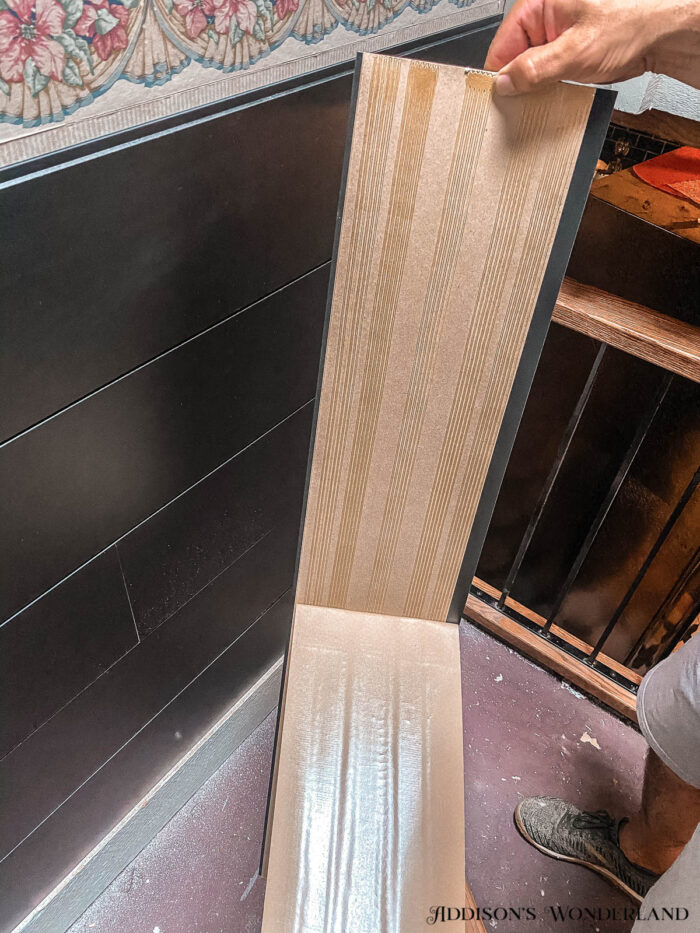
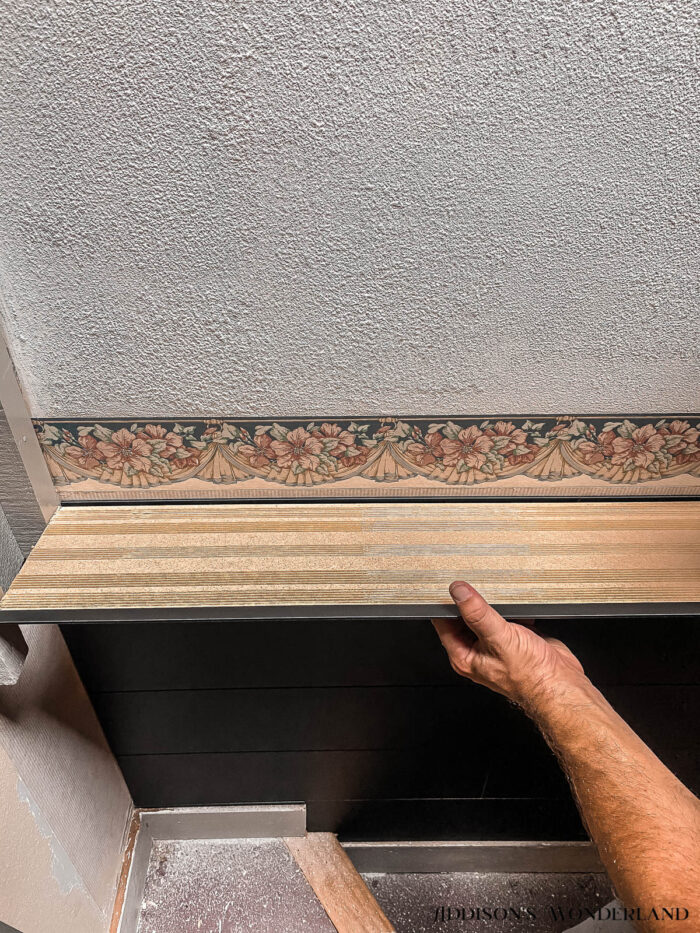
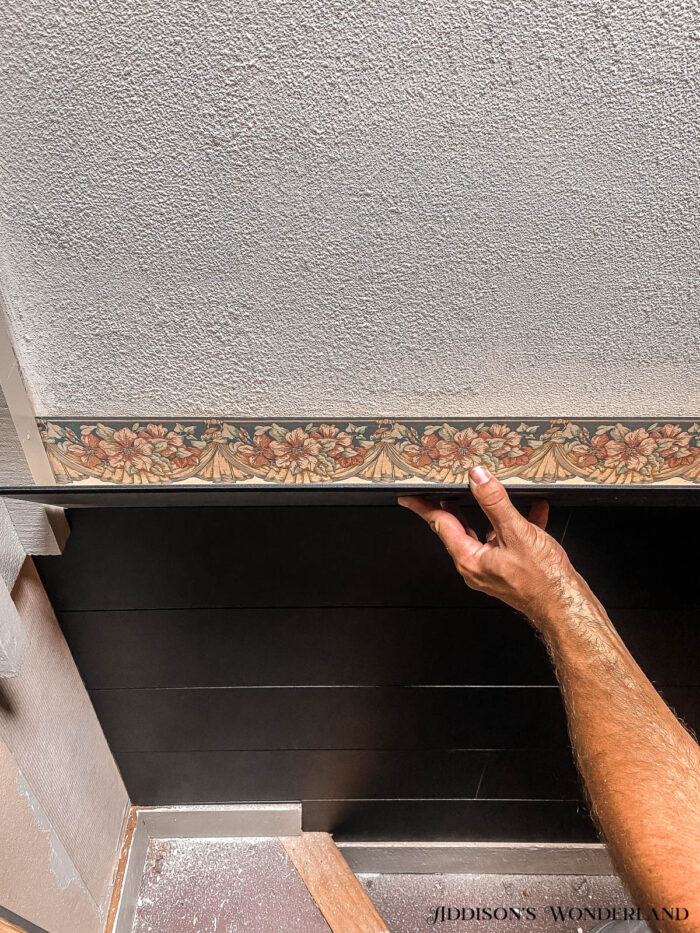
And finally, make sure to go over the freshly installed pieces with their J-roller tool to ensure it stays put!
Step Three…
Once you come to a piece that needs a cut, first measure the remaining space to the end of the wall and mark accordingly on a piece of shiplap…
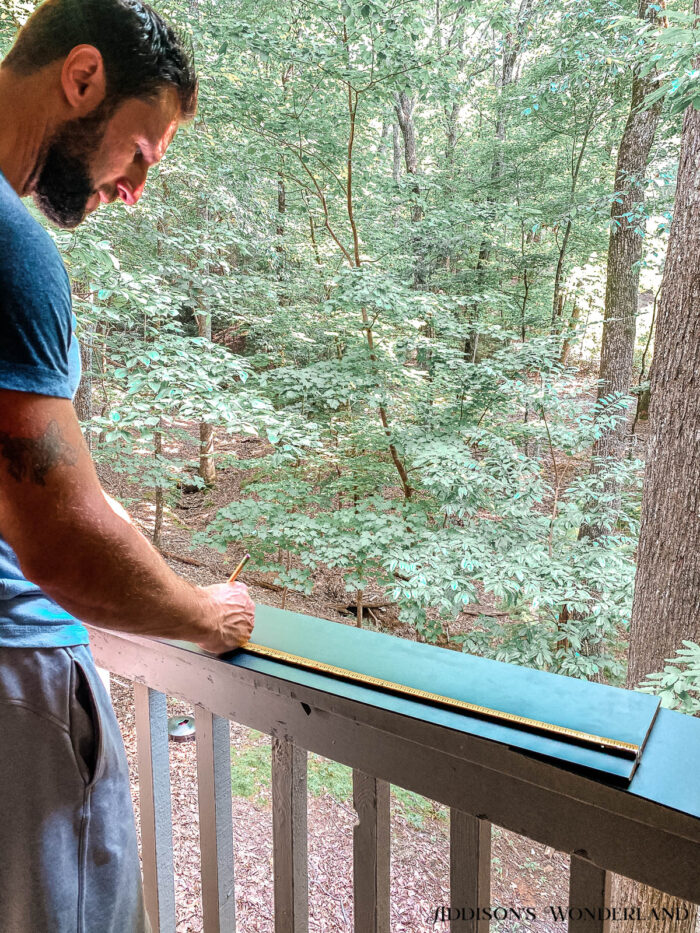
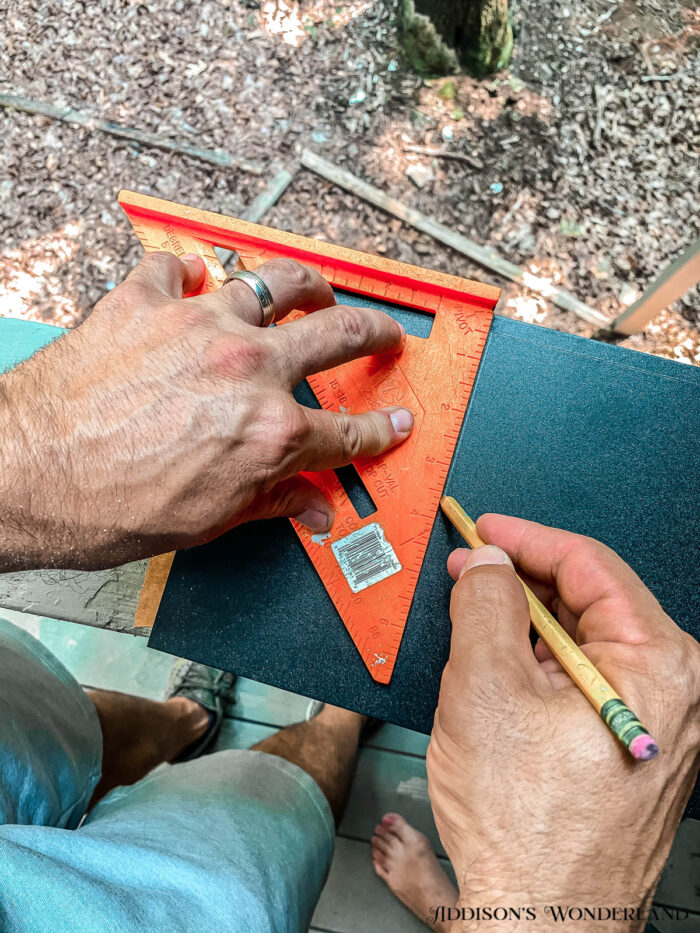
Using a speed square, mark a full line with a pencil…
Now using a miter saw, cut the piece accordingly…
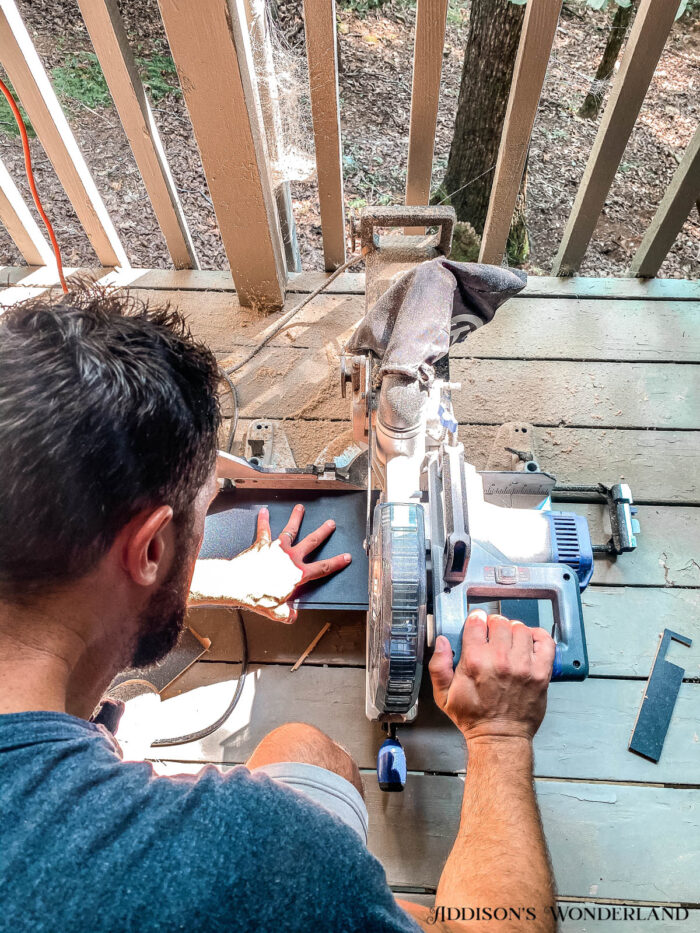
Note: we suggest leaving a gap of around 1/16″ on each side to allow expansion of the material over time.
Step Four…
As you continue along, make sure and continue to check level and to vary joints a minimum of 6″ or more so that joints do not line up vertically…
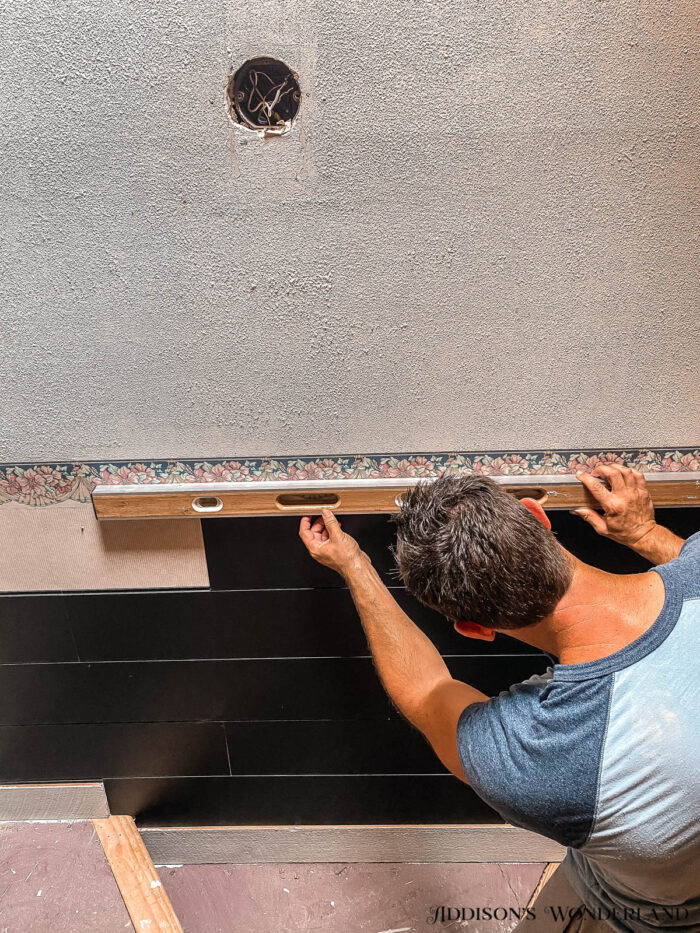
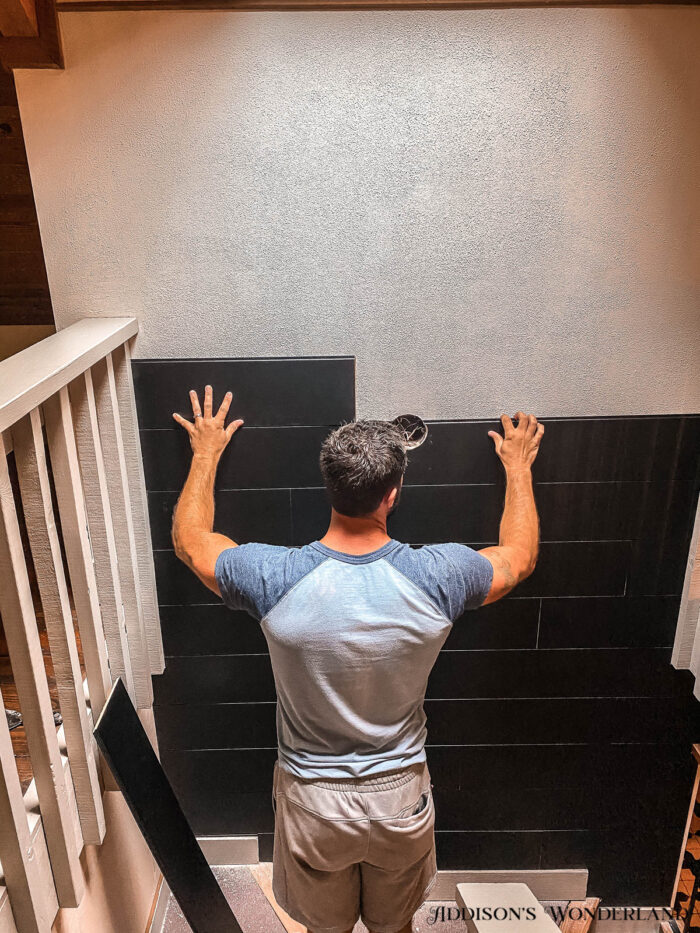
For additional installation tips, visit… https://www.wallplanks.com/pages/classicshiplap
Reveal!
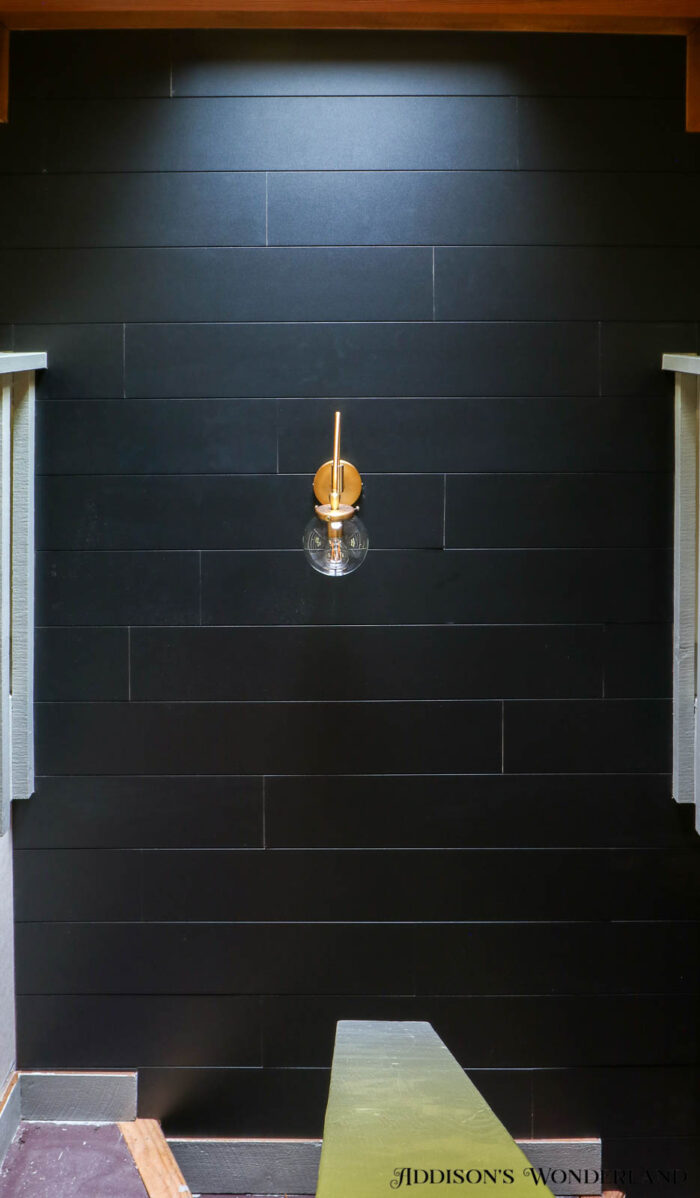
Black Shiplap / Gold Sconce
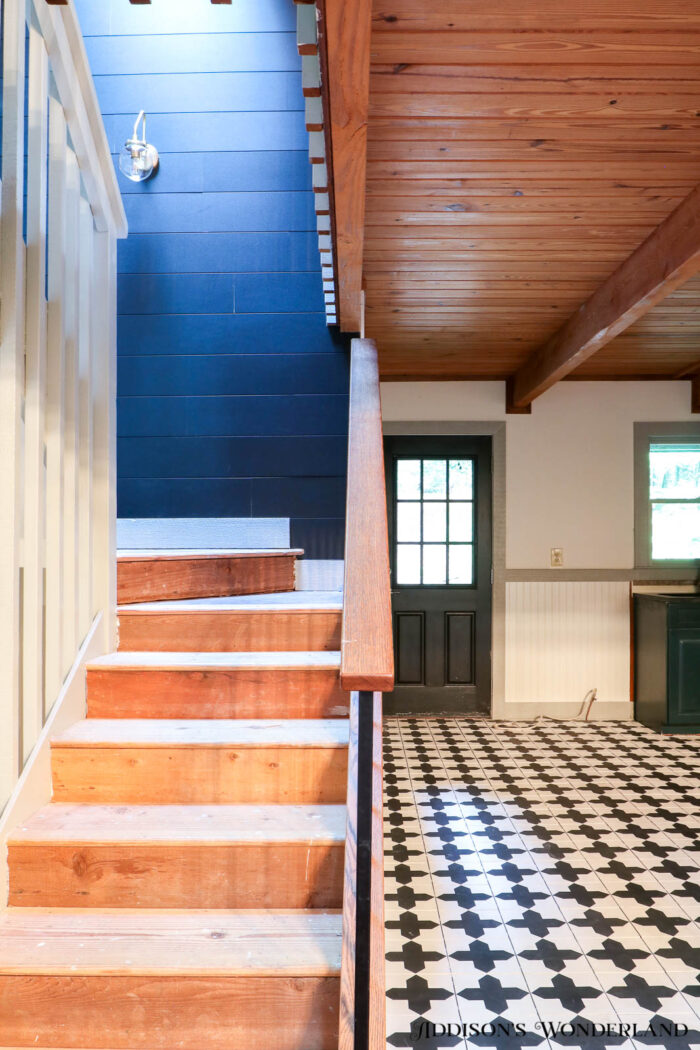
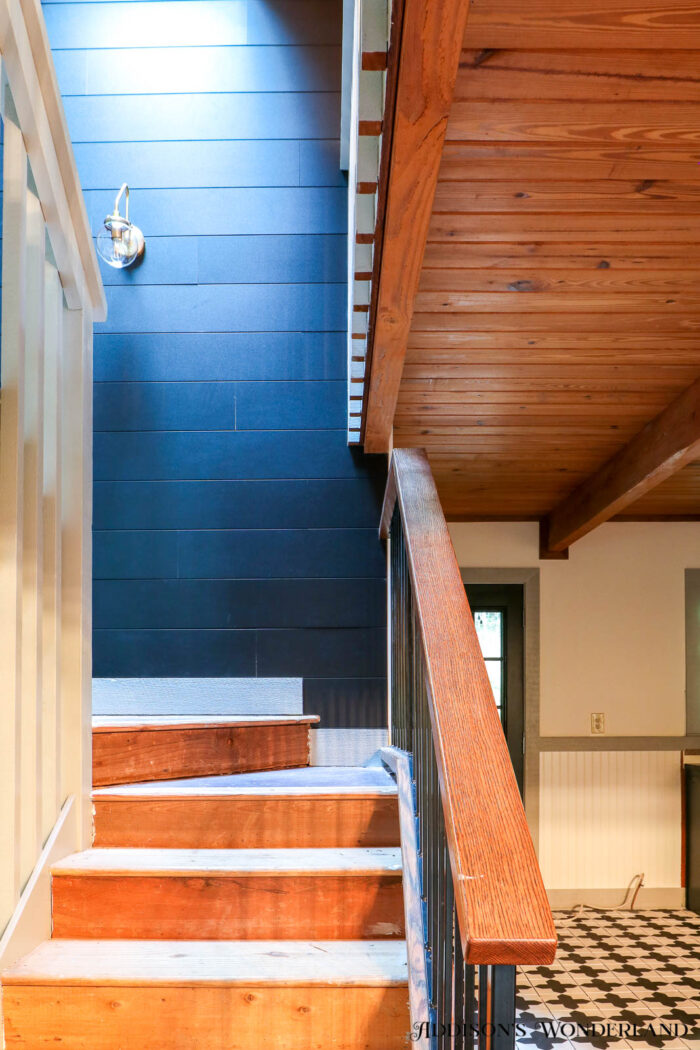
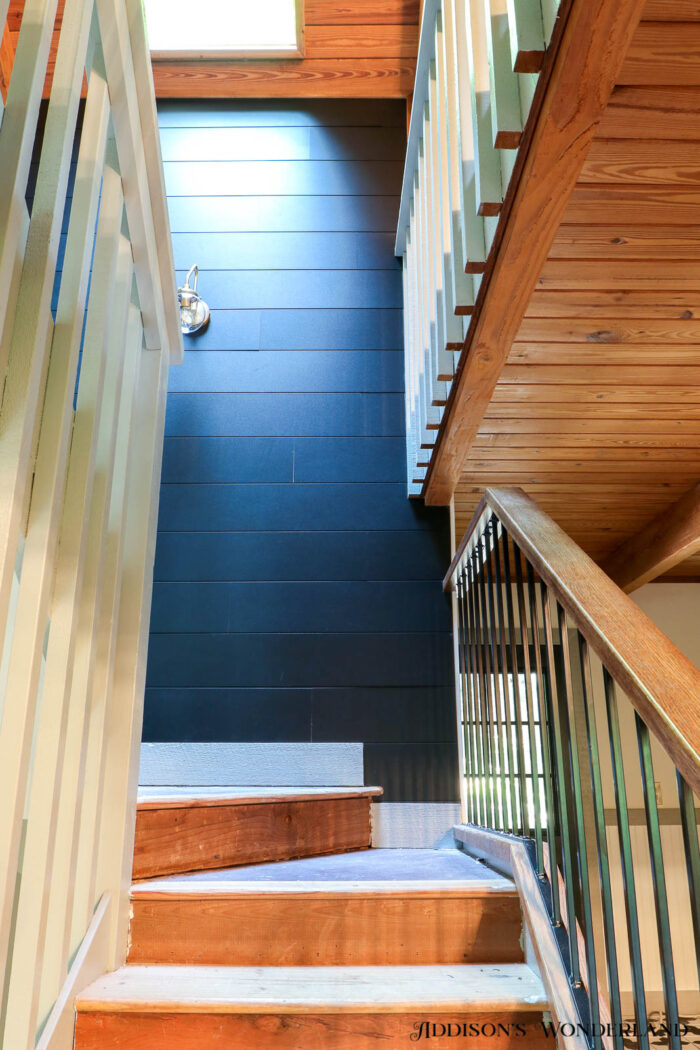
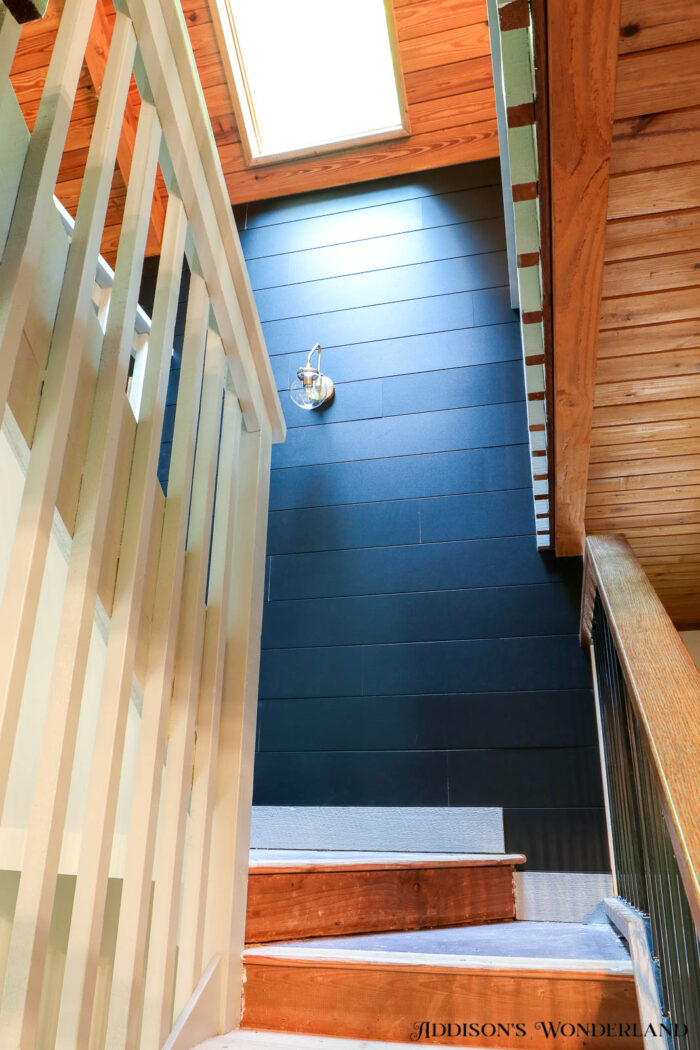
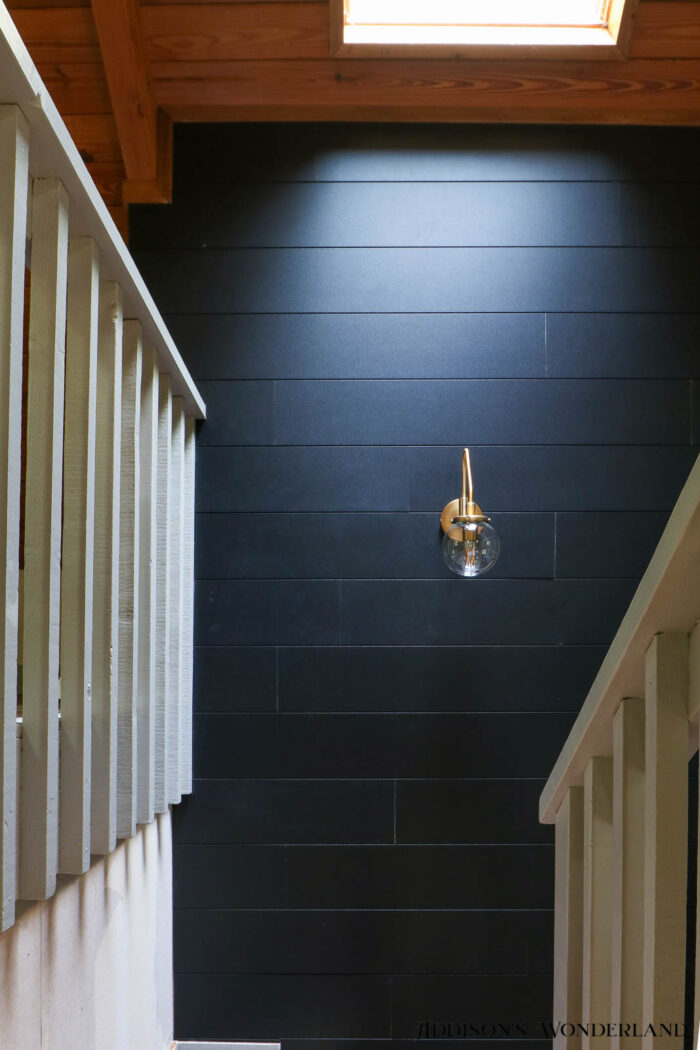
Room Details…
Black Shiplap
Gold Sconce
XOXO, Brittany Palazzo
+ view the comments