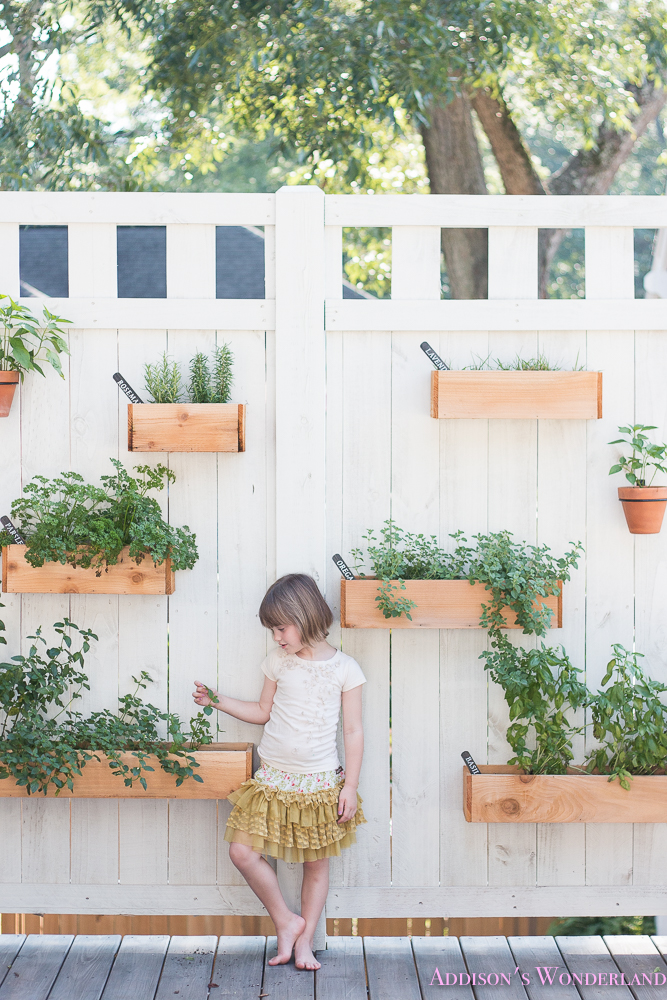
Happy Thursday friends! Today I am totally changing things up and doing something I never ever do! I am sharing a super affordable and super duper awesome DIY project! Okay that probably sounds weird. Weird as in not how I mean it. Mark and I really do LOVE some good DIY projects. We literally DIY’ed our entire first two homes. Problem is that now we have a business or two, two kids and no less than 25 other things going on at all times. I SO wish we had more time to do stuff like this now because we truly enjoy it. We ARE planning to do lots of little DIY’s on our new home renovation. Which we close on this Friday. More on that SOON!
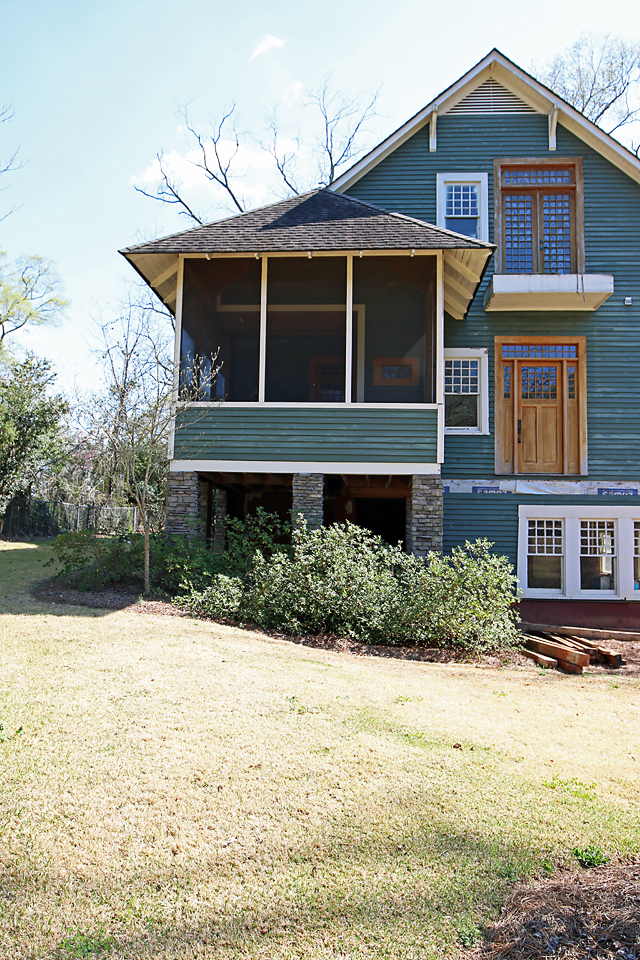
Nowadays our DIY projects are always things that I dream up and then cannot seem to find anywhere else. I dream it up, sketch it out and then the idea sits for quite some time until we have a free weekend. Which is EXACTLY what happened with this one! Crazy as it sounds I dreamed up doing an outdoor herb wall waaaay back when we were first restoring Our Historic Wonderland. When we replaced our back porch early on in our remodel, I requested a wall be built on the side of our new back porch for privacy AND for a future herb wall. Here’s a peek at the back of our home BEFORE…
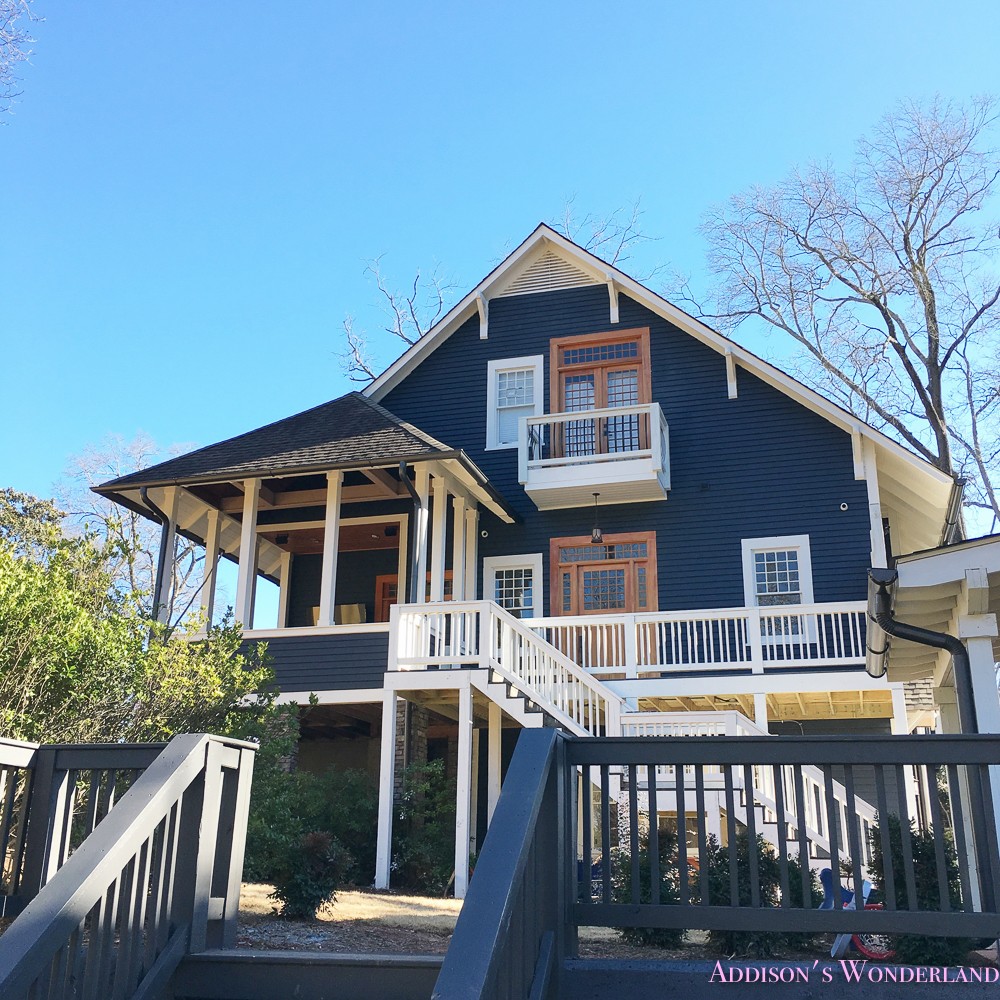
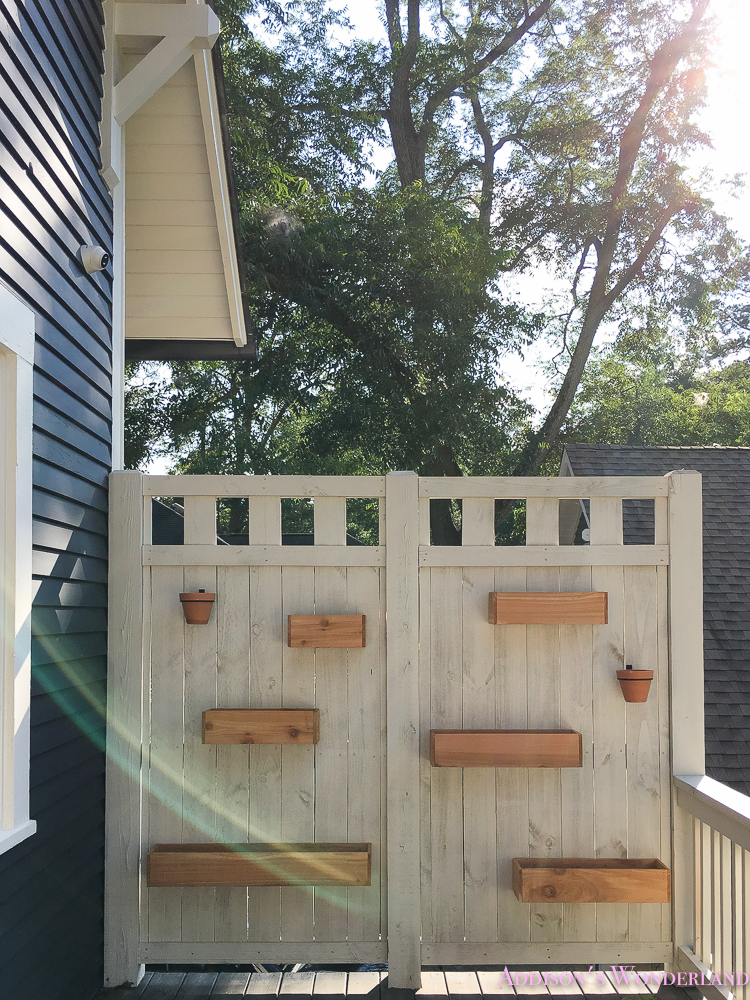
So yes, see that floating back door? It got a brand new back porch… And a side wall… Which you can KIND OF see here…
Exterior Colors:
Trim- Dovetail by SW
Siding- 1/2 Soot & 1/2 Witching Hour by BM
Several weekends ago, the moon turned blue and we had no plans for an entire weekend 😉 The weather was amazing and Mark was in the mood for a project! All of that together literally only happens once every blue moon. Seriously. So I took FULL advantage and requested my herb wall. We popped over to Home Depot and went on a hunt for herb boxes! I was secretly hoping we would find finished ones that I loved BUT that didn’t happen. I envisioned simple, natural looking ones but all they had were ones with little chalkboards on the front and such. AND they were $24.99 each! So we then made our way to the lumber section. First, we chose cedar boards but it was pretty expensive as well because they were priced per foot. Mark then stumbled upon cedar fence pickets that were $3 each! Score! So now let me take you step by step through the process…
Shop Materials (exact materials purchased linked below):
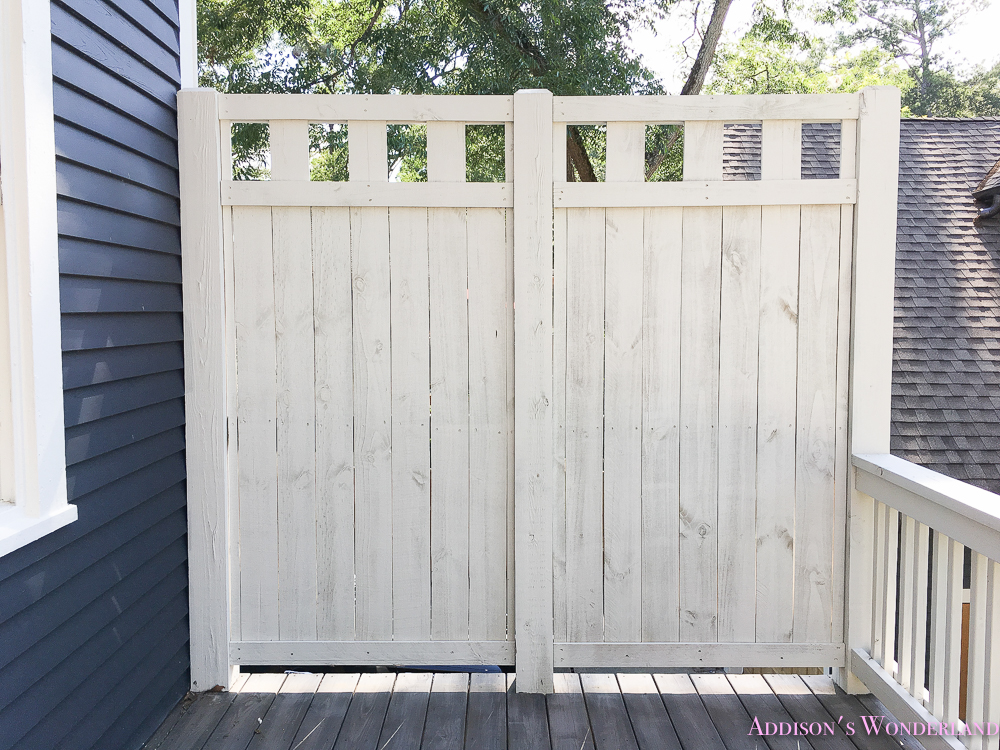
The Wall (Post-Renovation and BEFORE Herb Wall)…
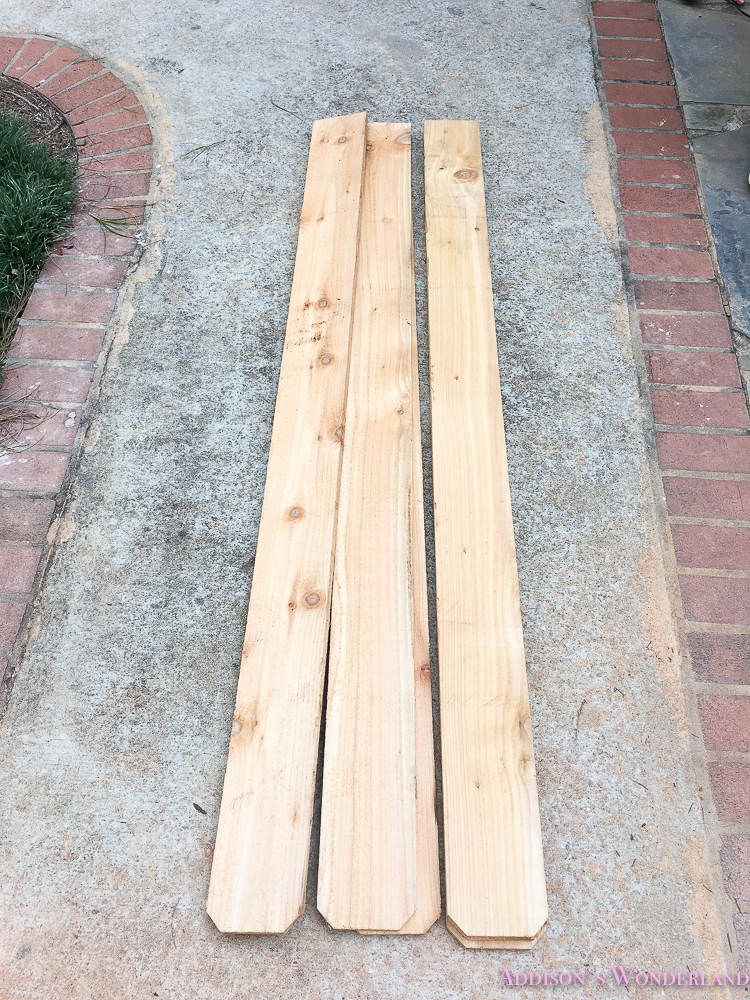
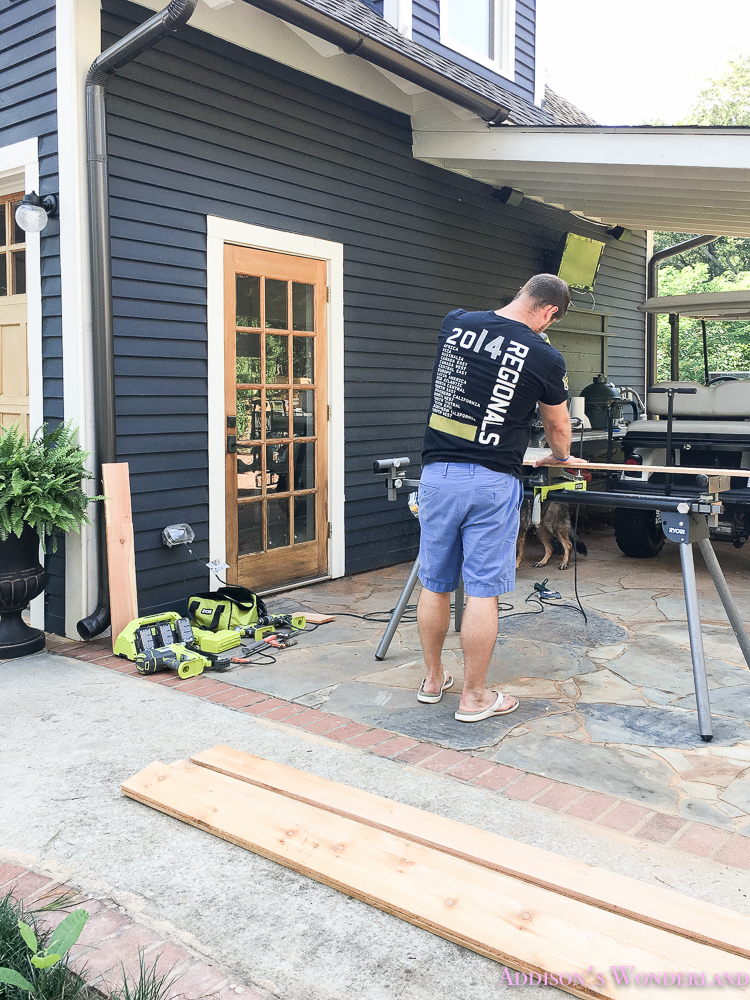
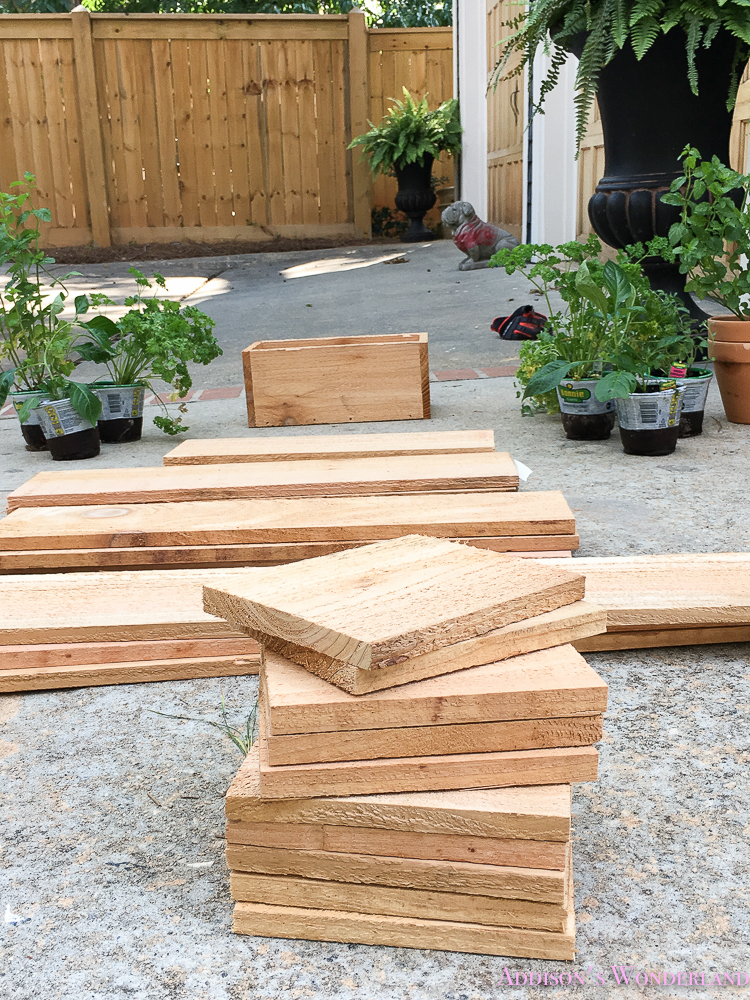
- Cut down eight 6′ cedar fence posts for 1- 36″ box, 2- 24″ boxes, 2- 18″ boxes and 1- 12″ box. We did 6.5″ widths for the sides so that equaled 12 6.5″ sections plus… 3- 36″ boards, 6- 24″ boards, 6- 18″ boards and 3- 12″ boards (top, bottom and back of box). We also purchased two 6″ terra cotta pots and two 6″ wall mount plant holders for the pots. We also purchased an array of herbs from rosemary to oregano to mint.
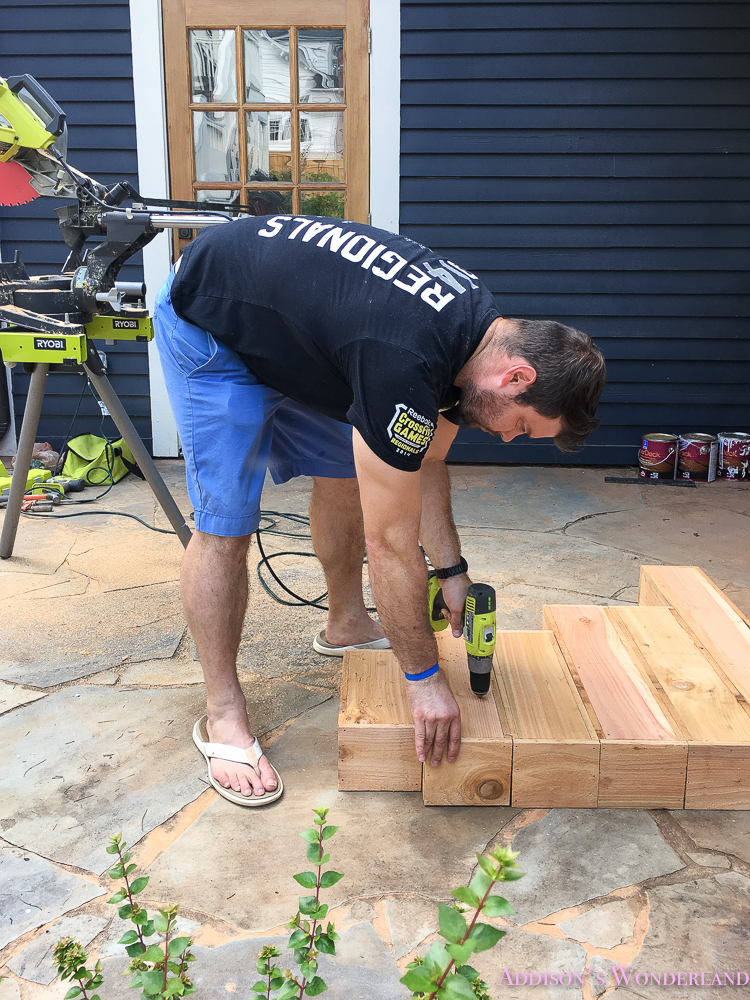
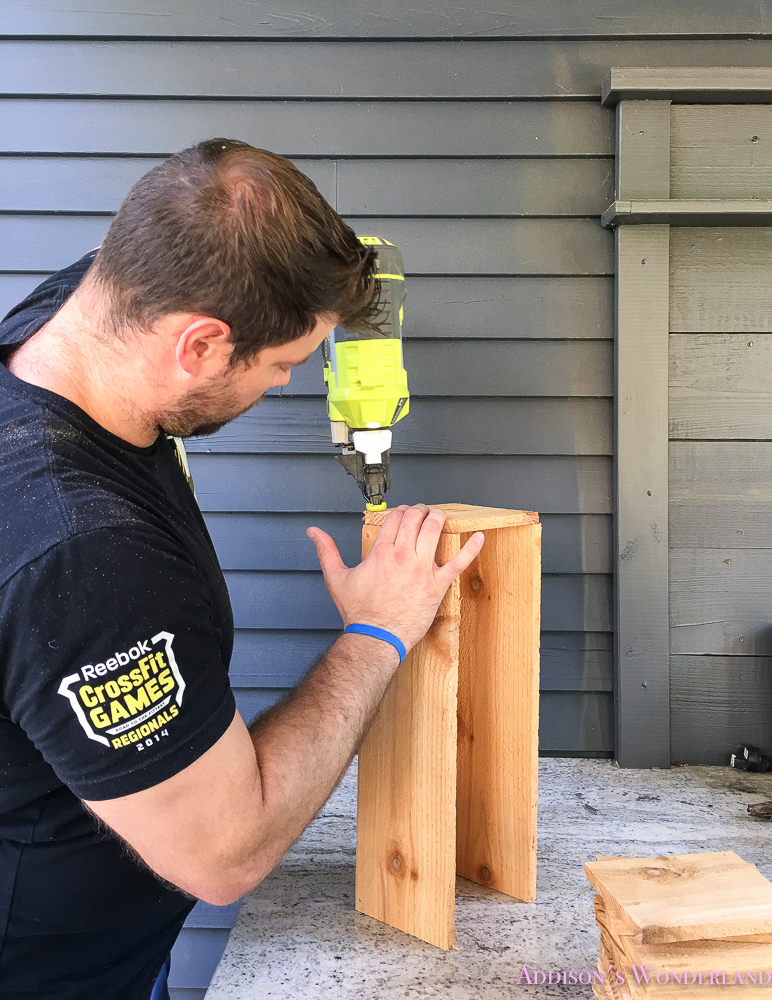
2. Mark then began assembling each box using exterior 2″ trim nails…
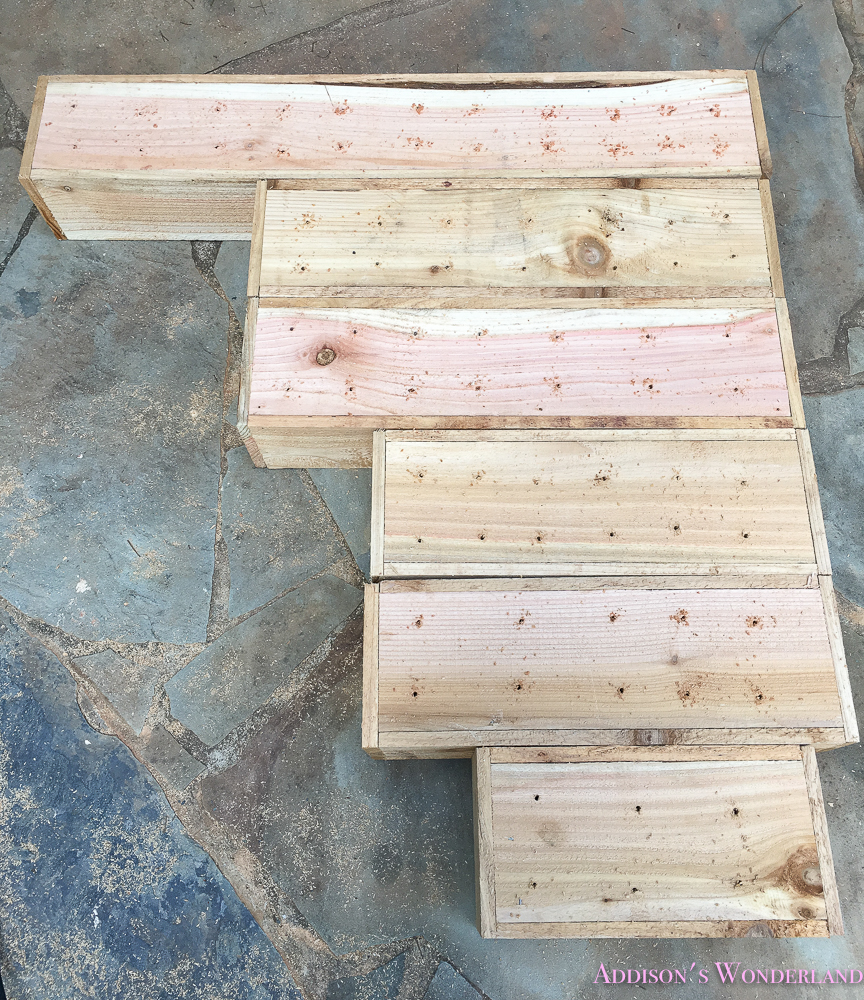
3. After assembly, Mark drilled holes in the bottom of each box for drainage…
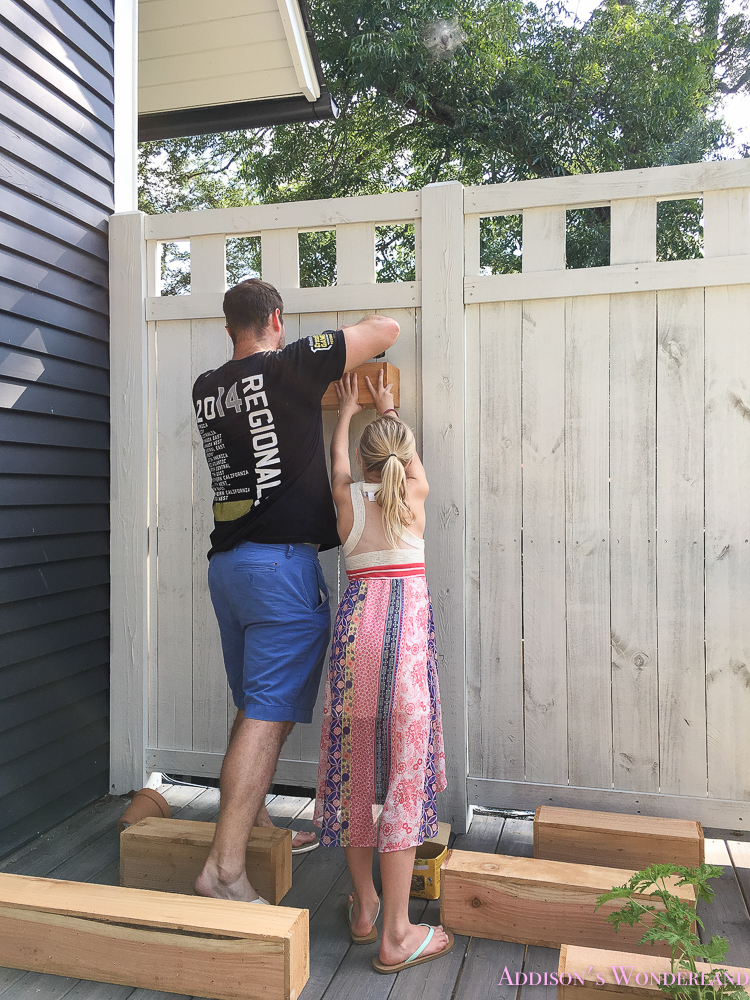
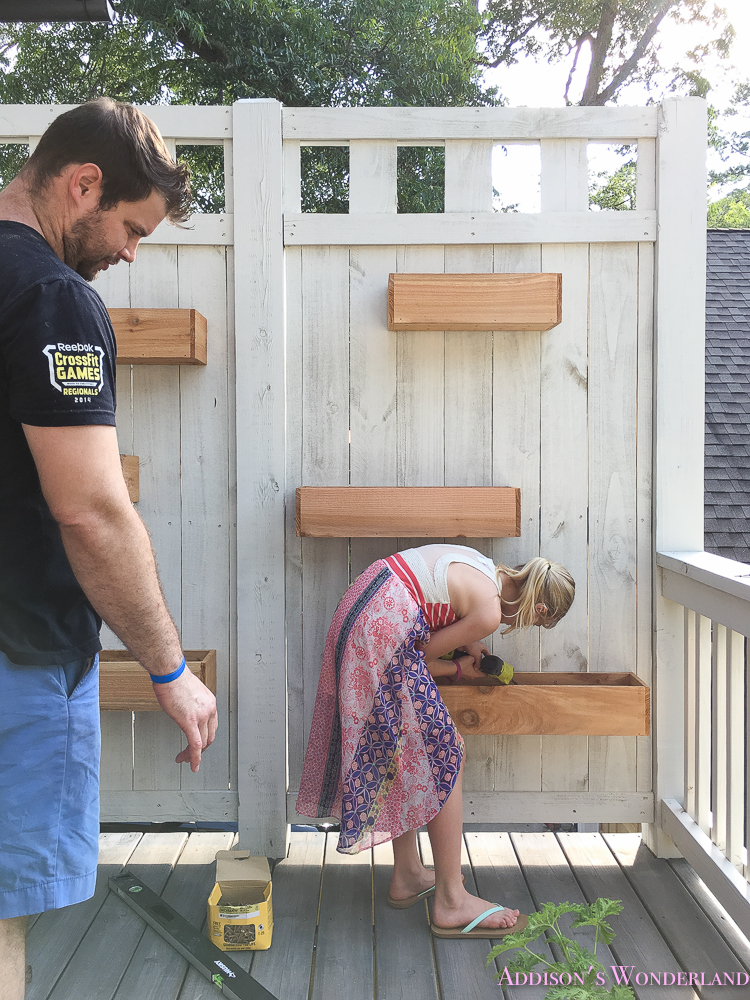
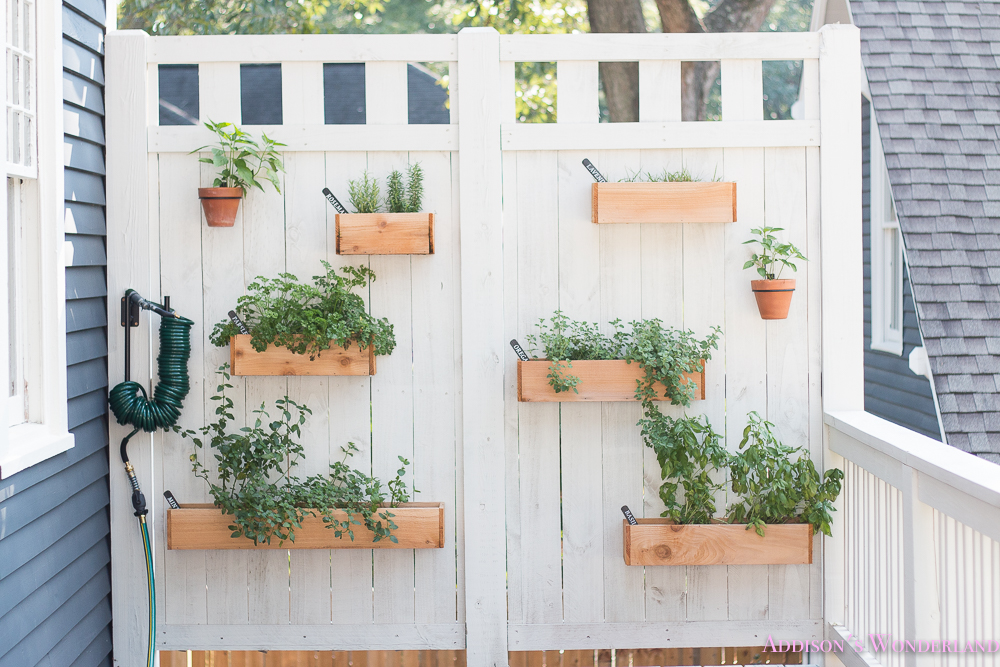
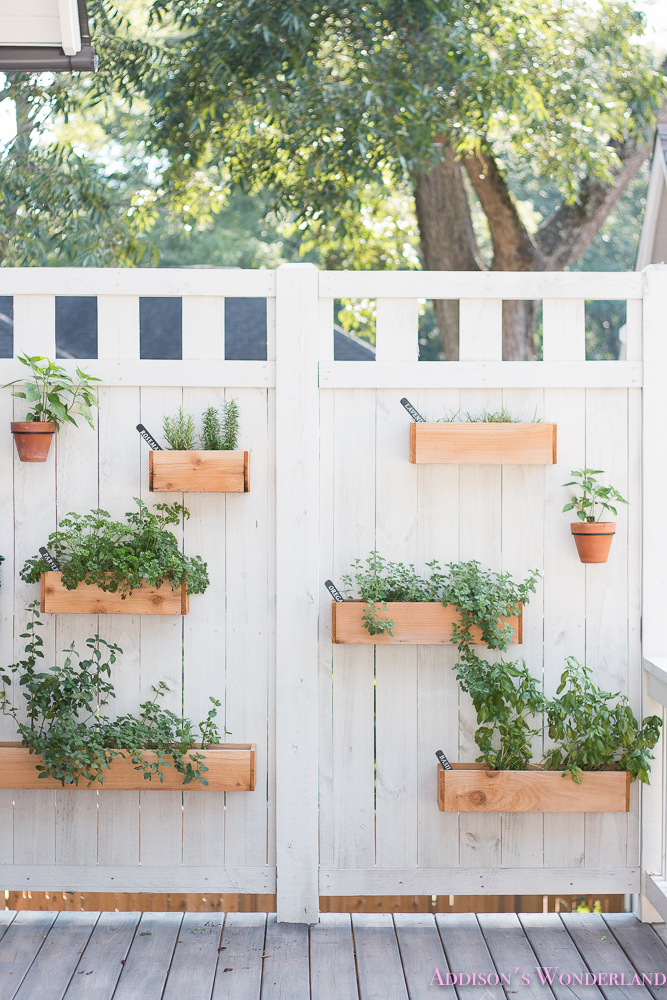
4. And finally, Mark AND Addie worked together to secure the boxes to the wall using exterior screws… The best part? We knocked out this entire project in less than two hours!
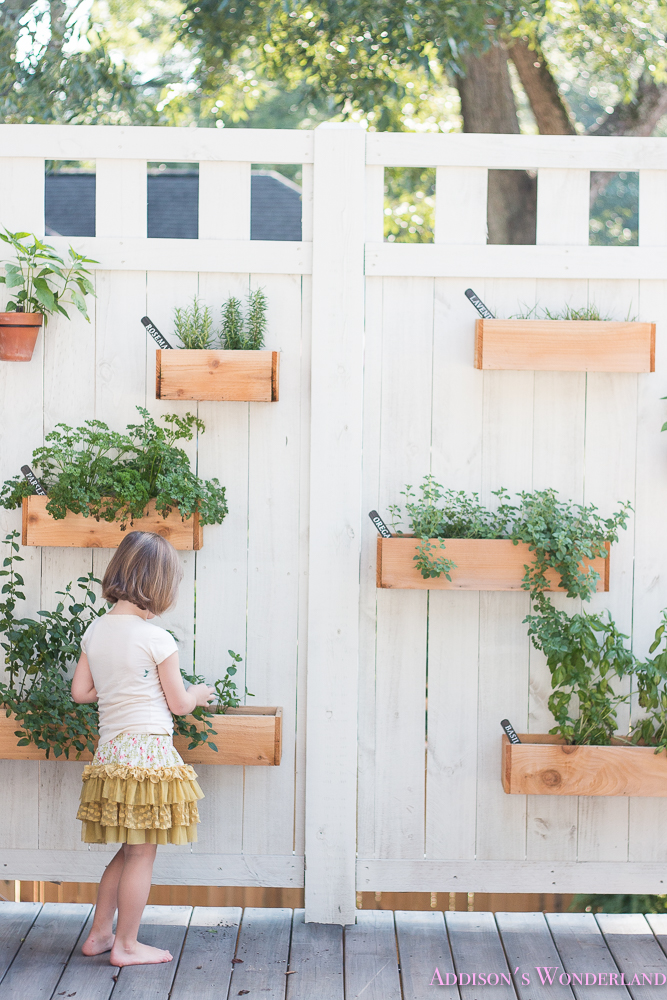
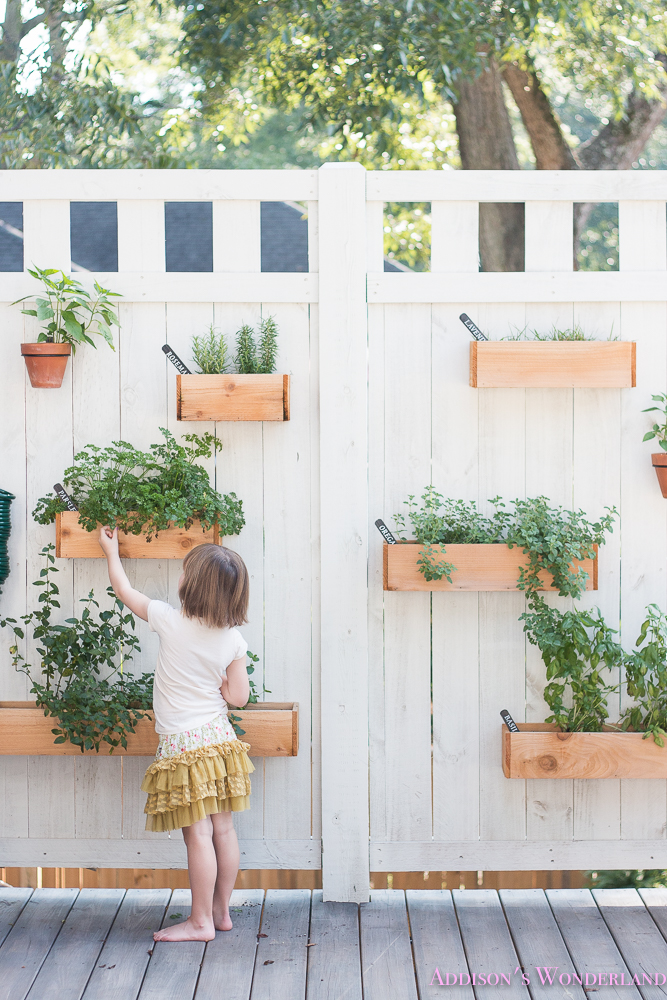
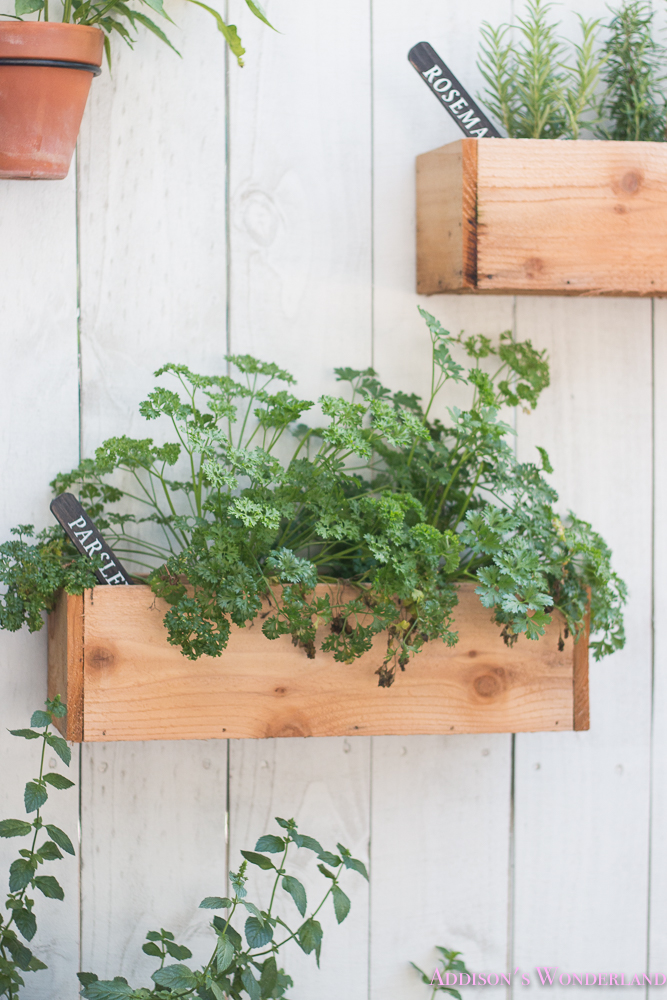
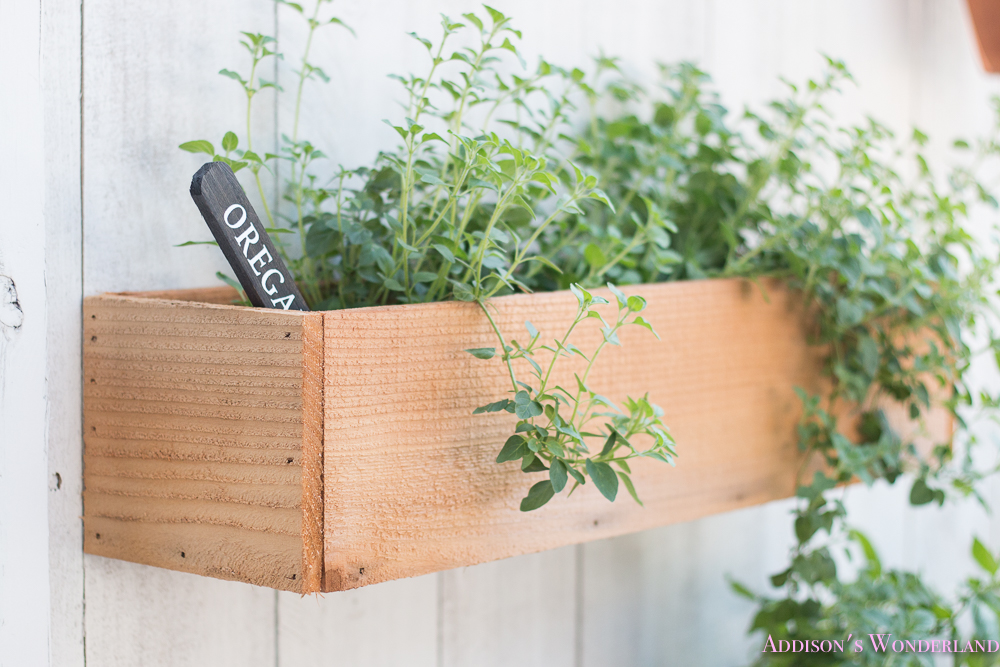
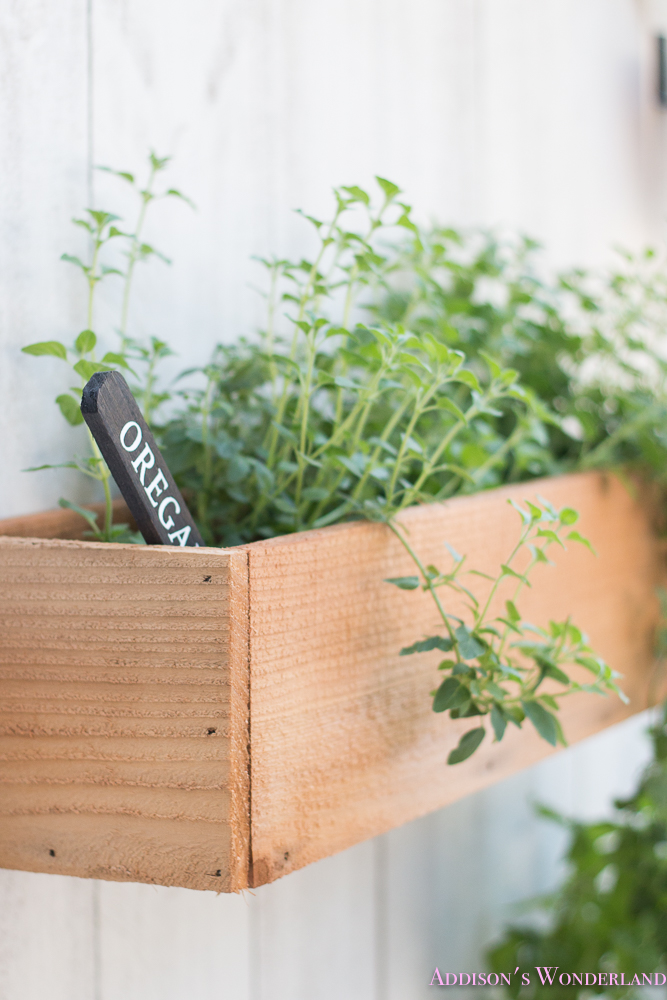
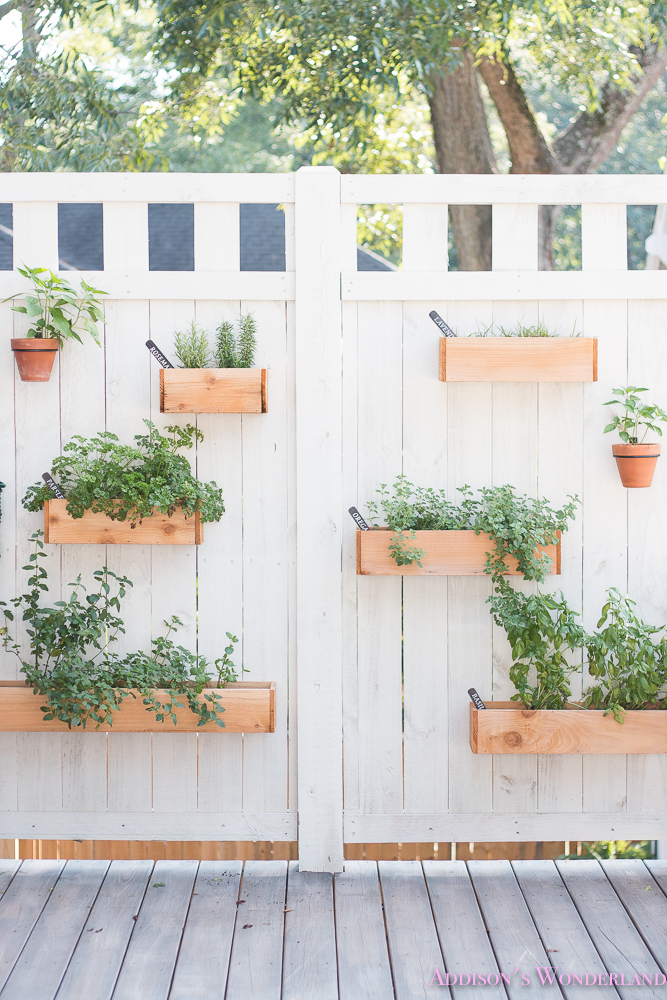
And here is WAY too many pictures of our herb wall TODAY! I am so in love with how it turned out! And we honesty use them all the time!
Shop Materials:
Not Feeling a DIY Project? Shop Cute Ready-Made Planters:
XOXO, Brittany Hayes
+ view the comments
