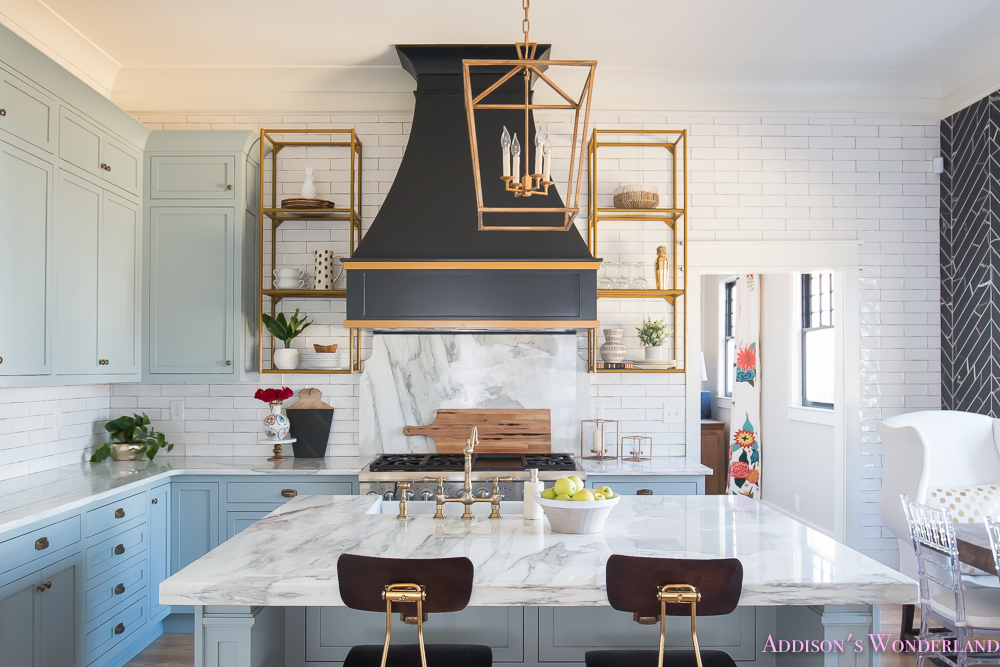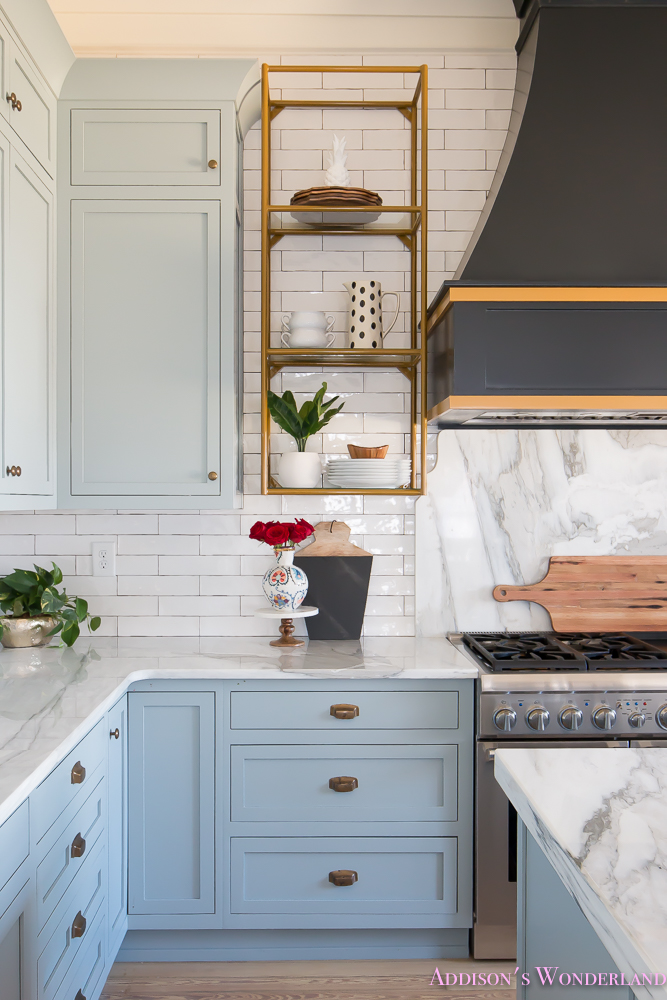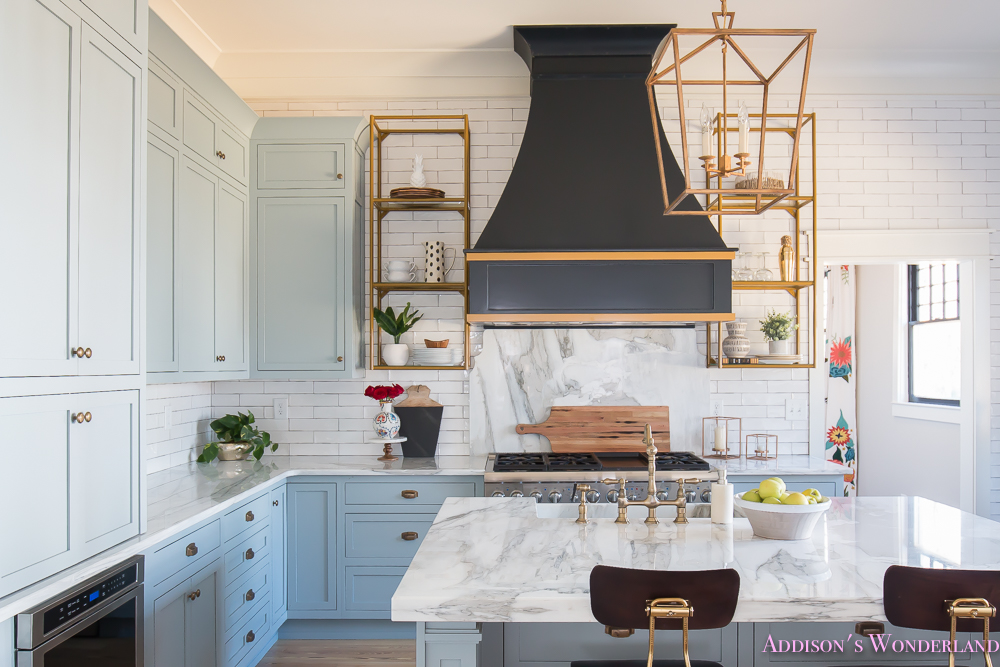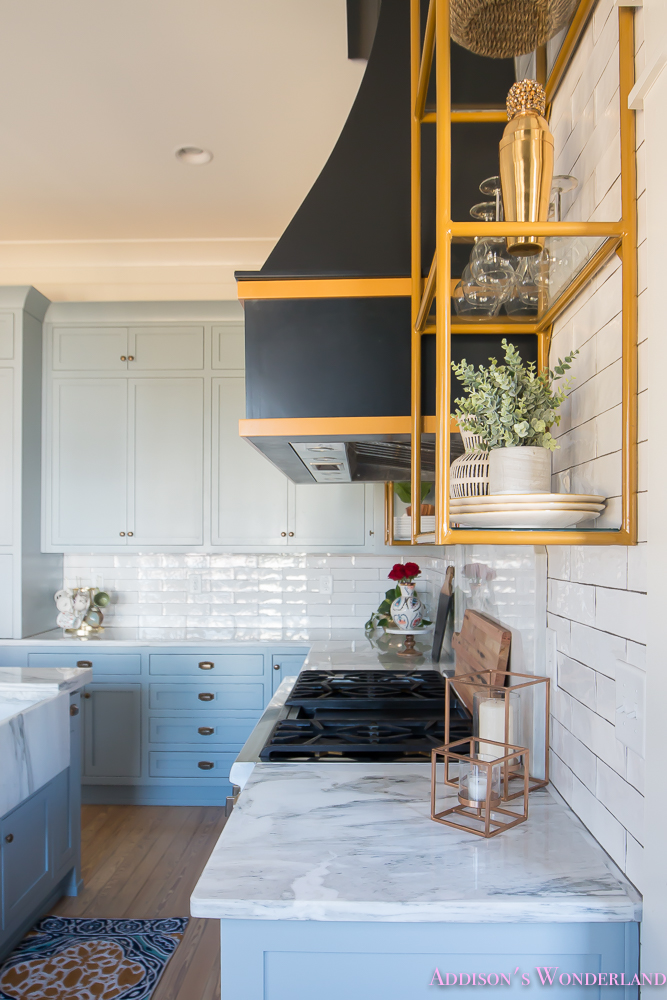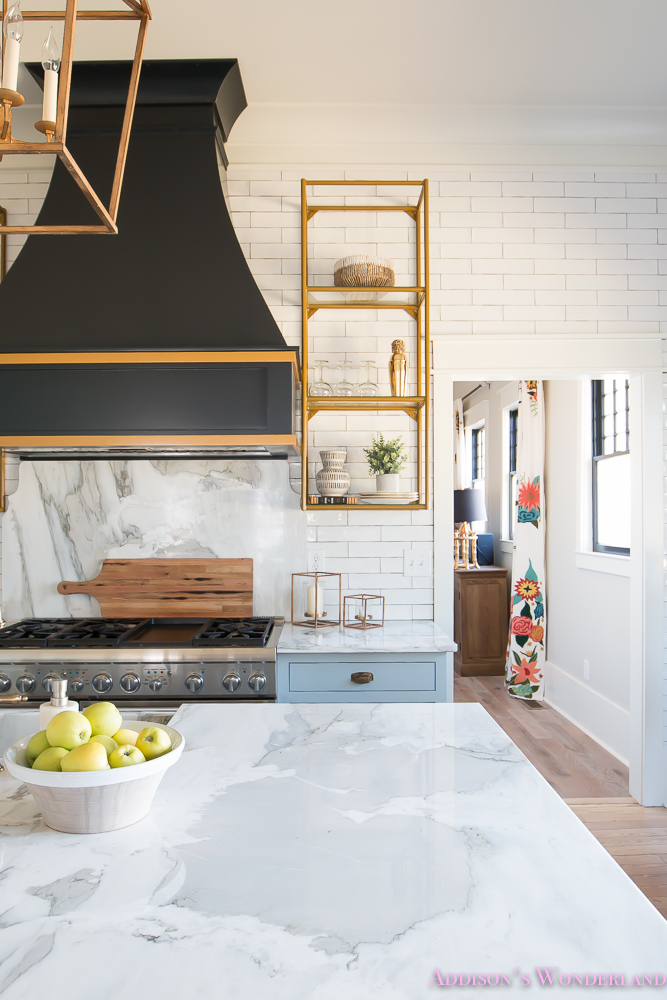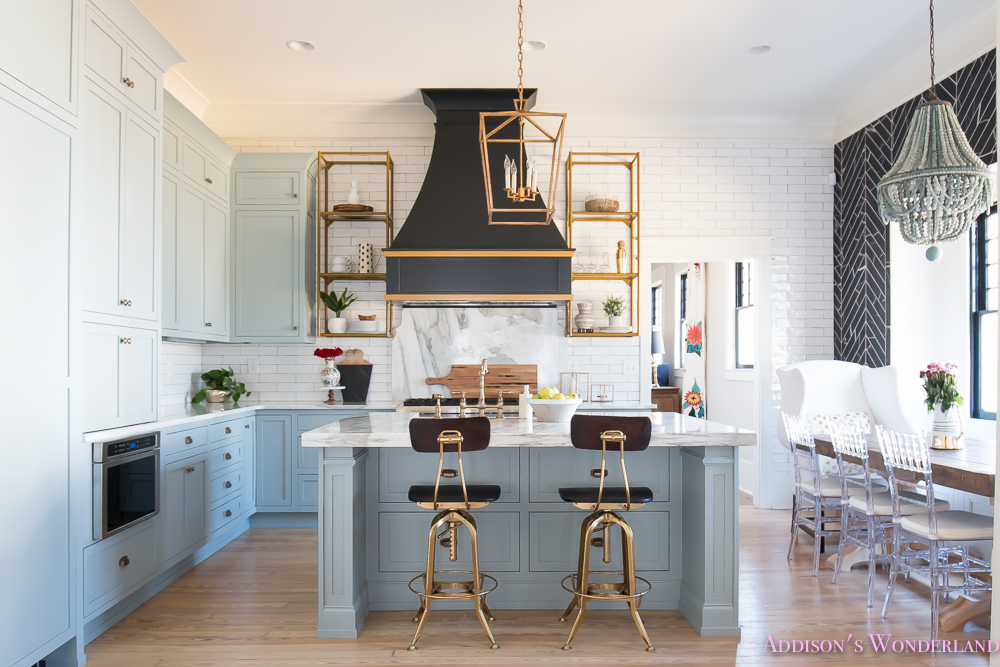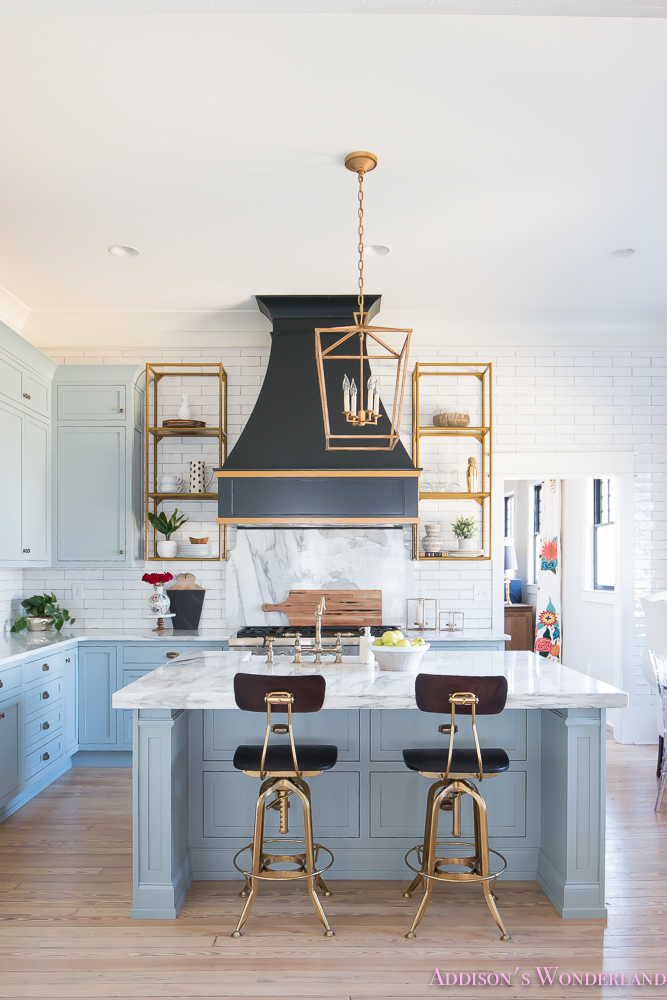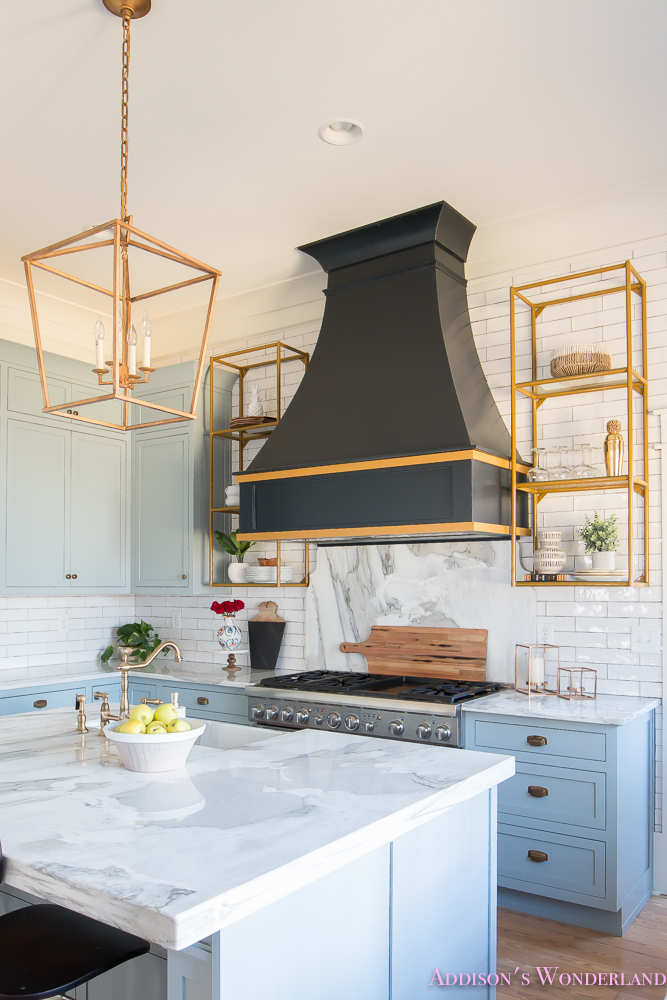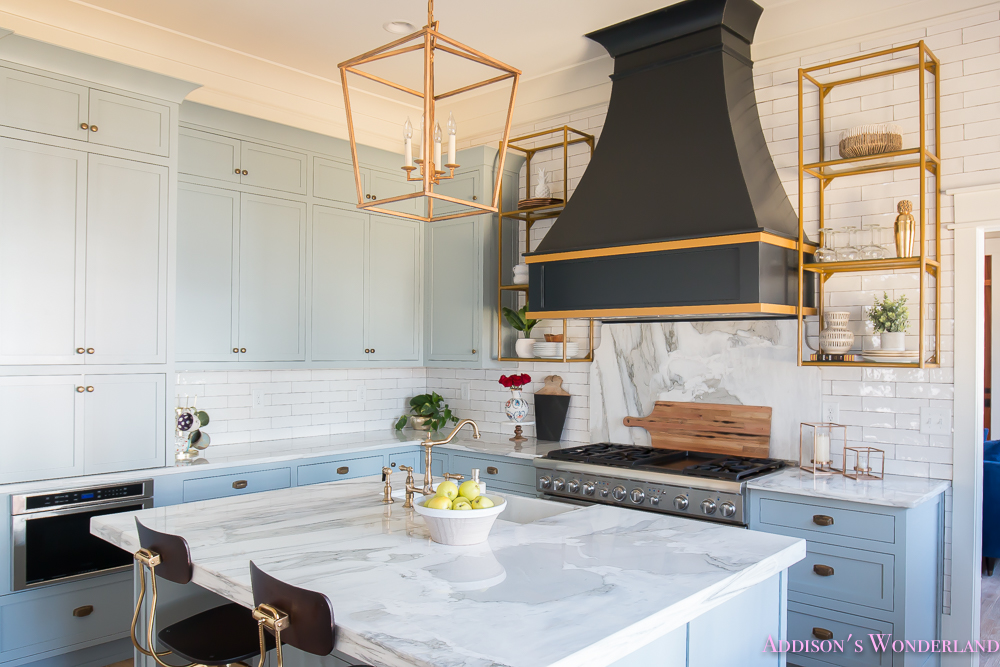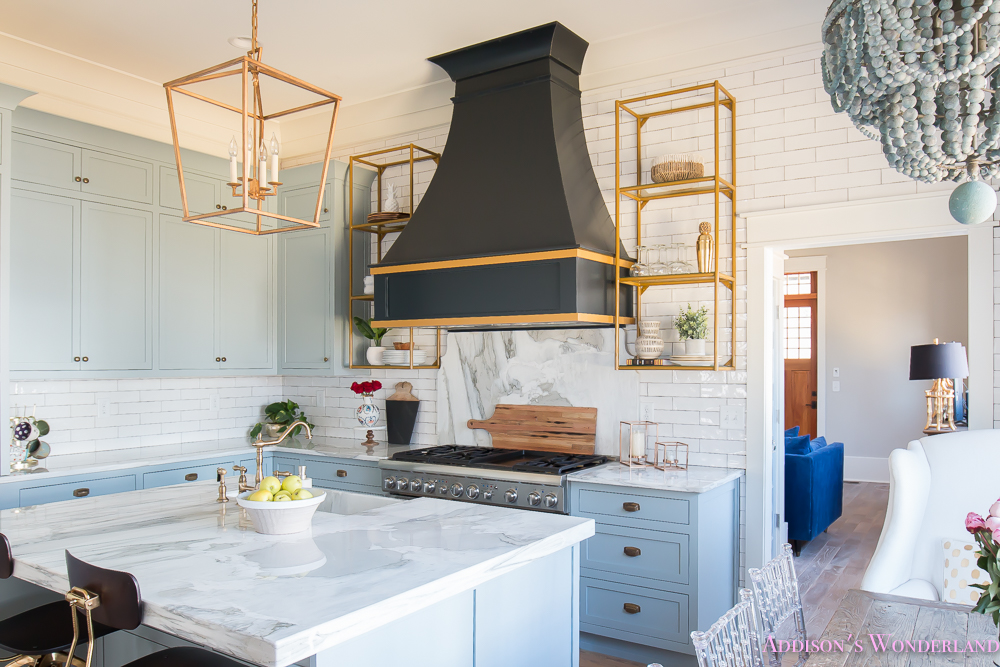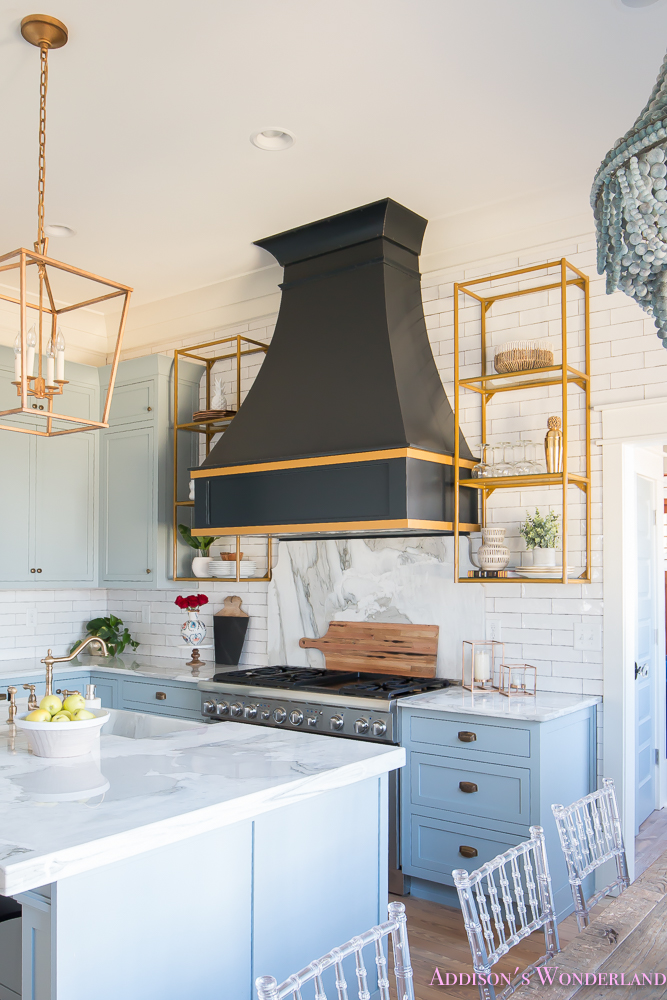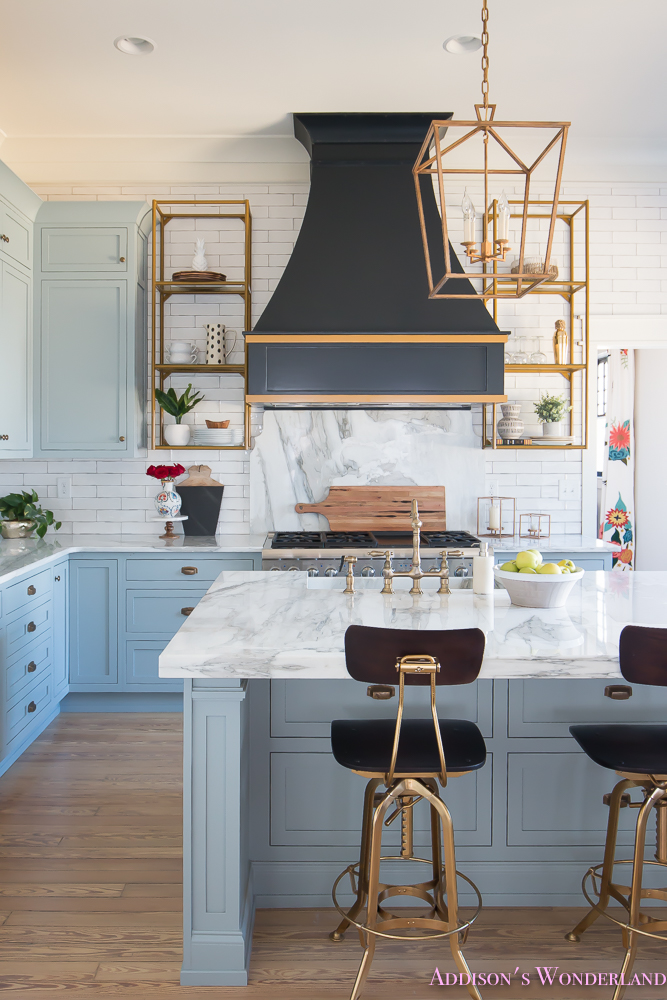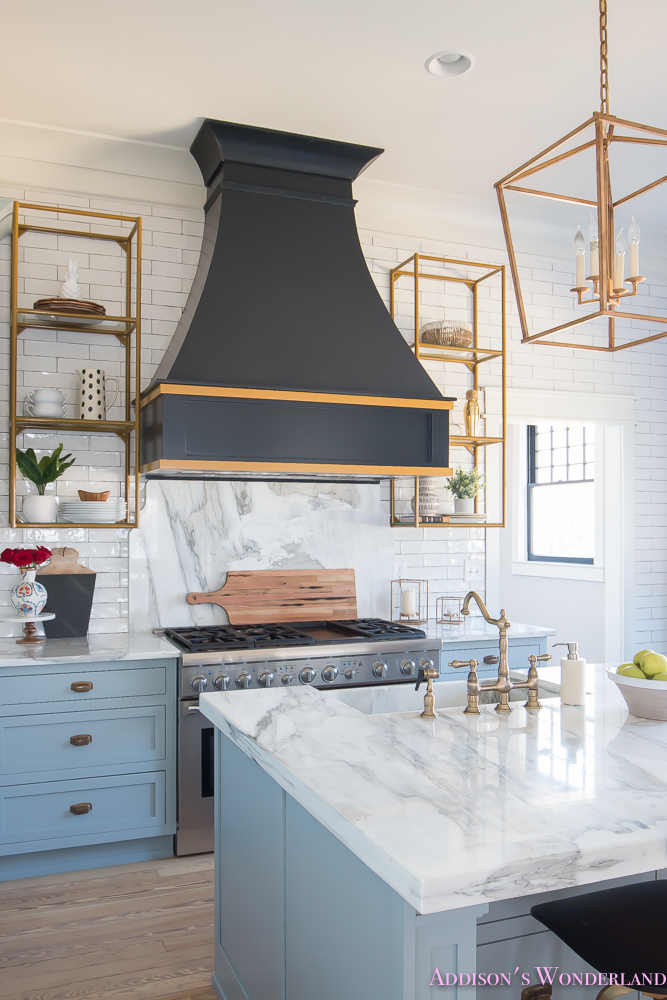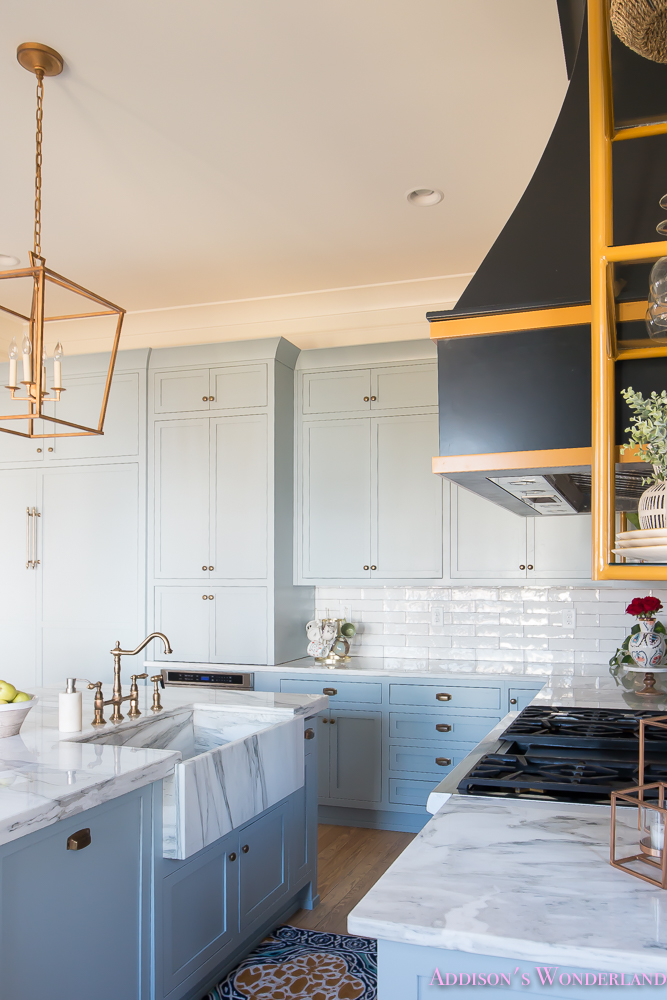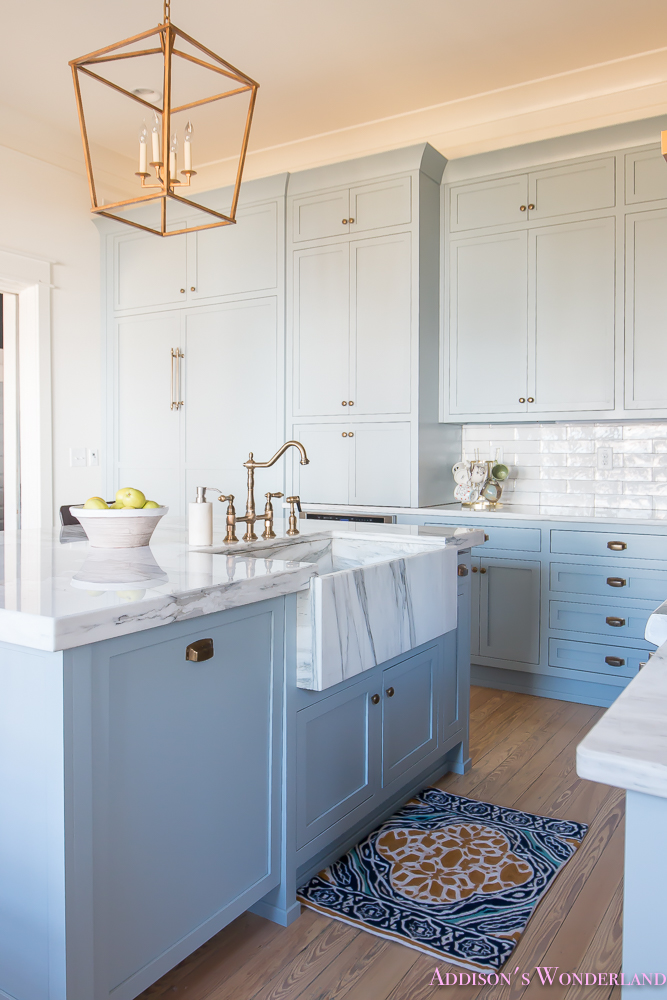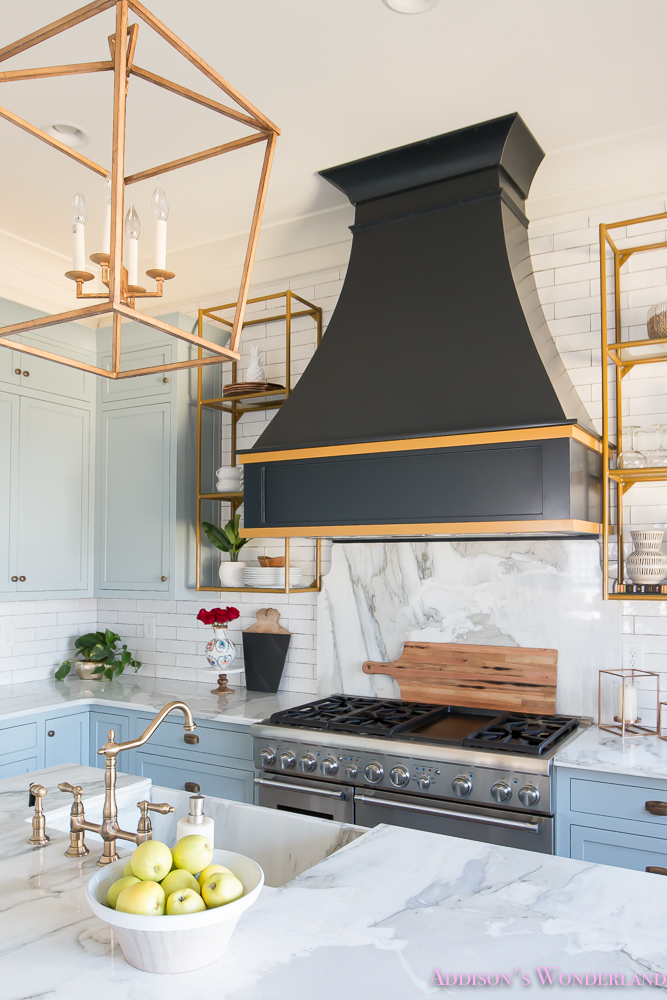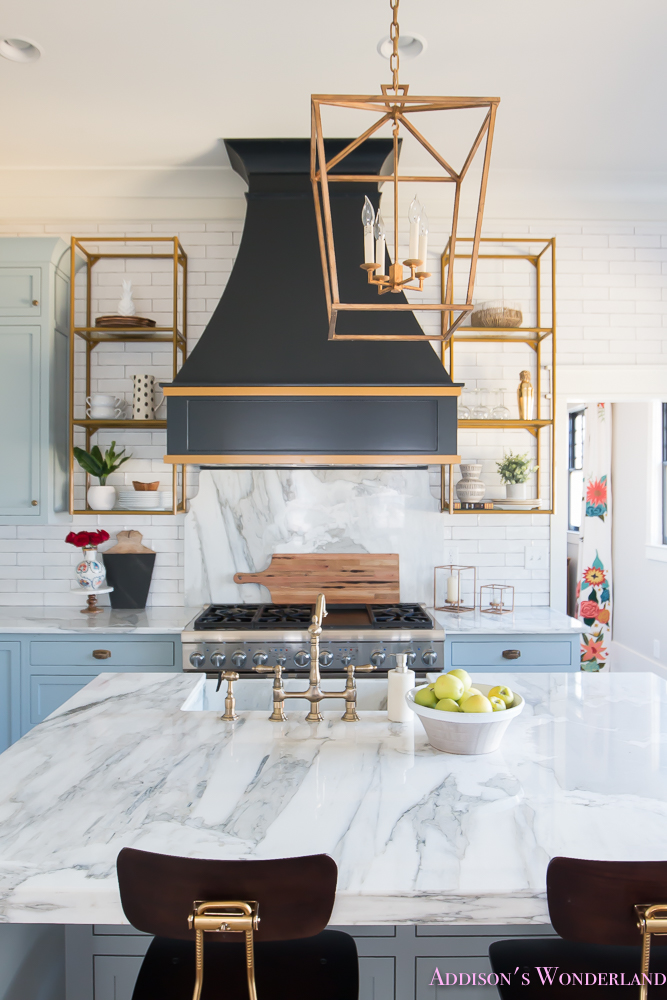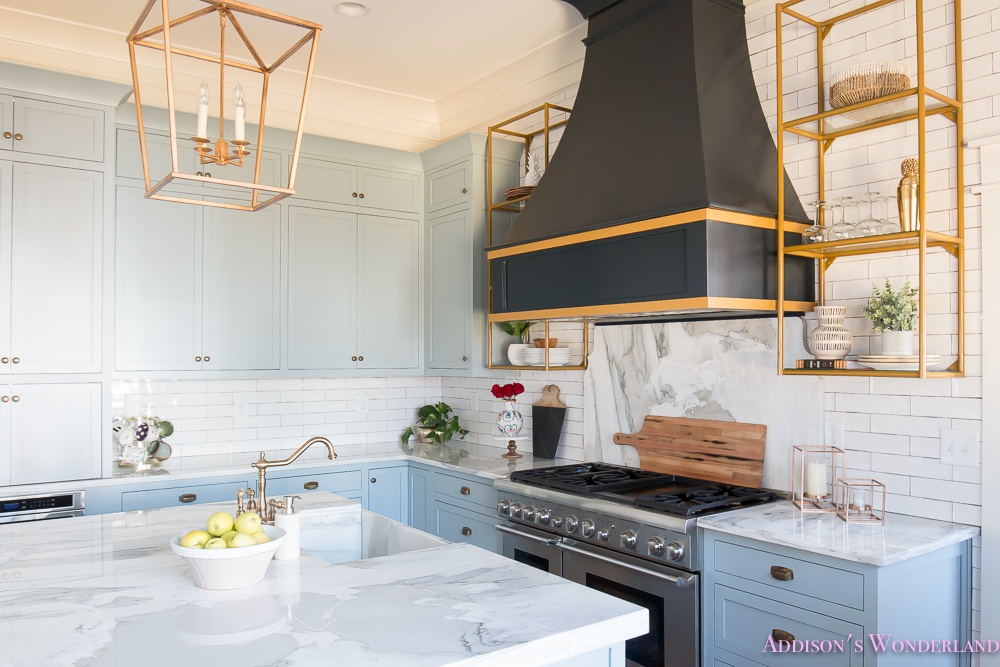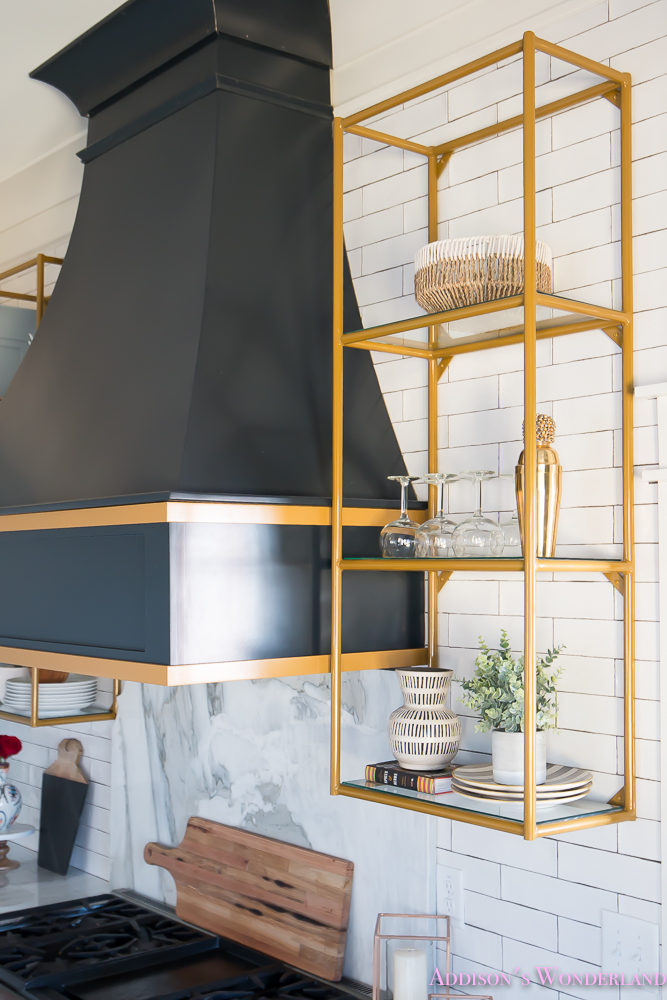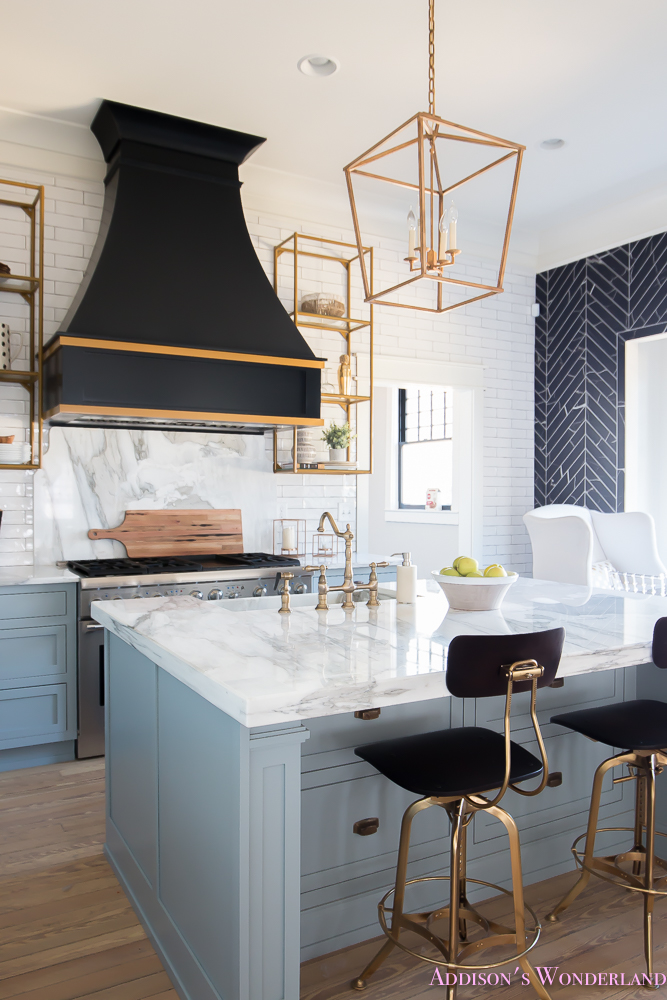
Those dang kitchen shelves. I swear I have probably answered more than thirty comments now on Instagram about our dang shelves. So much so that I pushed it to the top of my “honey do list” over the weekend. Everything from “what are they”, “why is there nothing on them” to no lie… “please put stuff on your shelves, they drive me nuts when I see them”. Okay weird. If you follow me on Instagram, I shared the installation on my IG stories over the weekend! So here’s the story on our shelves…
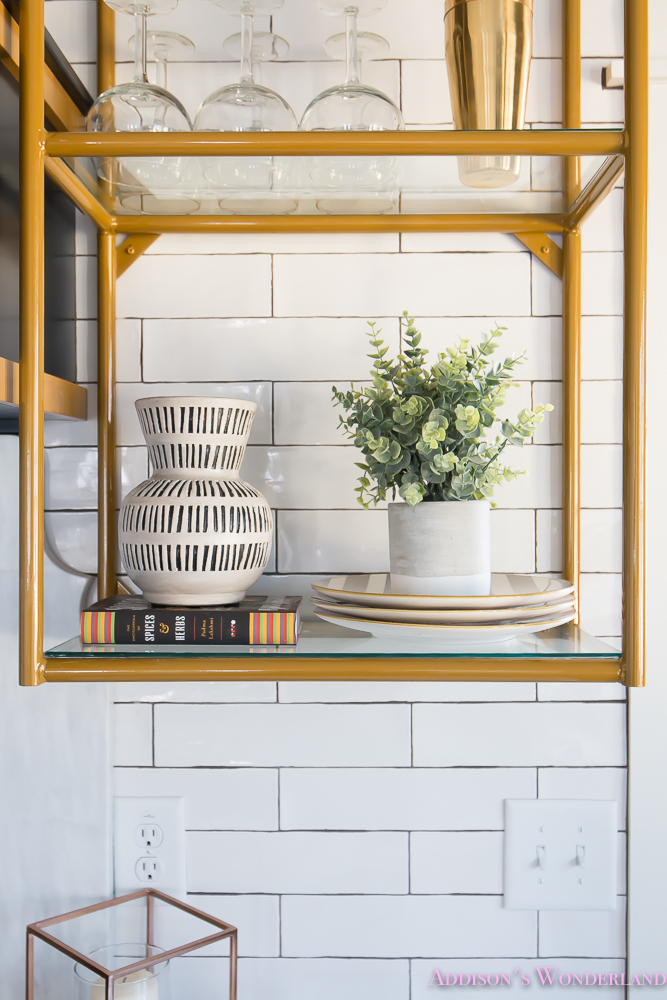
Our beautiful gold open shelves were custom made by a local company which I shared lots about in my post “Our Vintage Modern Kitchen Reveal“. Mark wanted to make sure they fit and worked and I liked them and all of that jazz, so he waited until they were installed to measure for the glass. Once we received the glass, he decided they needed to be “glued” to the shelves to prevent them from sliding and falling through so I waited several days for him to purchase said glue. And then he tore his ACL. And then every project I dreamed of completing before Christmas came to a screeching halt. So that my friends is why we have been living with empty shelves. And yes, they are in fact shelves.
So now that I got THAT out of the way, let’s chat about decorating shelves. I have really been in this mode lately of wanting a really truly CURATED home. I think in the past I just bought a lot of cute things and placed them everywhere and it made a cute room. Now I am taking my time and really thinking about everything I purchase. Although I do love changing some things up from time to time, overall I want a beautiful yet functional home that is not full of ALL THE THINGS. I think this is why I have been taking my time with OHW and really enjoying the journey. I am carefully crafting my design and making sure it’s what I want for a looooooong time. So having babbled all of that, I tried to really just use what we had and what I love without buying lots of new accessories. I did pop into HomeGoods and pick up the herb vase, wooden bowl and white pineapple. But other than that, it was all things I had or had recently purchased for my “Valentine’s Day Dinner at Home” post.
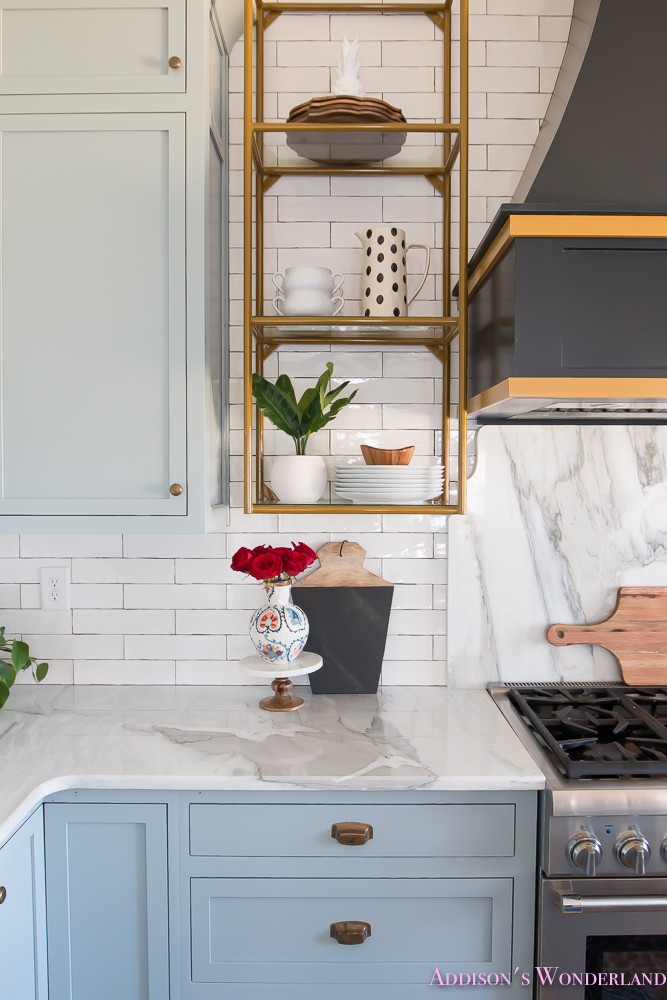
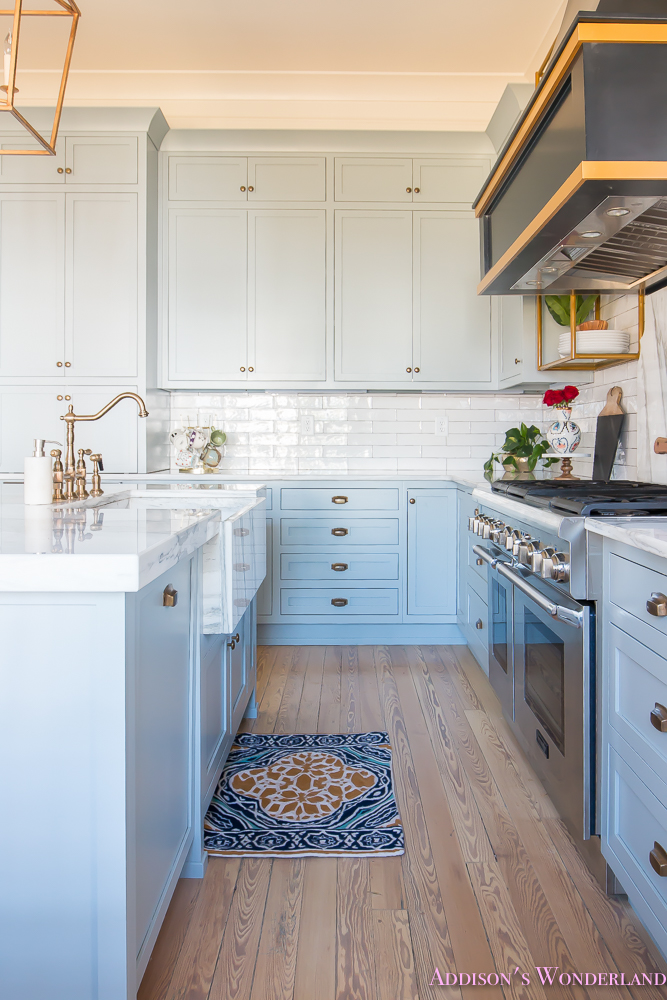
Here are some (okay, a ton) updated images of our kitchen as well as my tips on accessorizing open shelving in a kitchen…
P.S. Wallpaper, and lots of it, is being installed in our home next week. EEEEEKKKK! So keep checking back for sneak peeks and updates!
- Make It Functional: I love a cute decorative item as much or EVEN more than most but I think making shelving functional makes a kitchen feel more organic and “homey”. I placed our everyday dishes as well as wine glasses and soup bowls within easy reach on both sides of the shelving. This also gave me more neutral decor to stack and layer throughout each shelf.
2. Add A Touch of Nature: Whether it’s greenery or flowers, adding a “live” or even an artificial touch of nature breaks up the rough textures and straight lines to add a touch of color and “life” to your display.
3. Layer, Layer, Layer: In pretty much any arena of accessorizing, I love layering. Setting random objects on top of one another or in front of one another adds depth and interest to your display. In this case, I stacked plates, added vases and bowls on top of settings and layered glasses.
4. Play With Texture: Once again a rule that extends far beyond shelving. Texture is always key. Whether it’s literal texture of a basket or vase or visual texture with pattern and color… texture is the ultimate key to making decor visually interesting and unique.
5. Play With Height: Back to that visual interest thing, varying heights takes your eye around a space and makes everything work together in harmony.
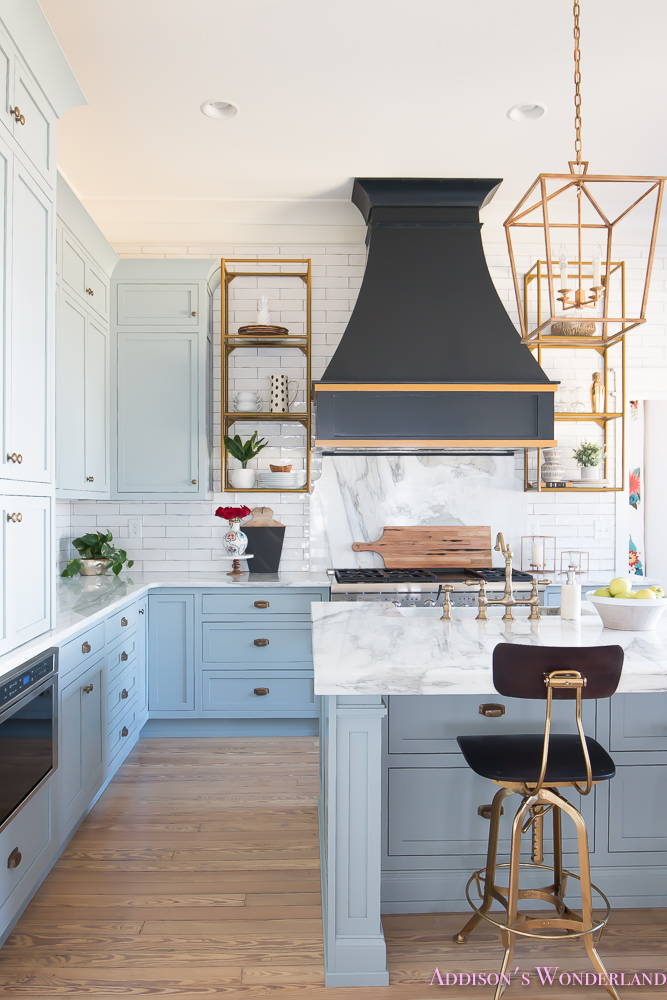
Aaaaand a bunch more pictures I took because if I am going to get this kitchen this clean, I am going to take LOTS of pictures 😉
Cabinet Color: 1/2 Stardew & 1/2 Uncertain Grey by Sherwin Williams
Flooring: Read “They Nailed It! Or Maybe Stained…“
Barstools- Restoration Hardware (similar ones linked below)
White Wingback Chairs: Restoration Hardware (similar ones linked below)
XOXO, Brittany Hayes
+ view the comments
